It is important to create high-quality content. With the Beauty Fx Filter in DaVinci Resolve, you can easily retouch your videos and remove skin imperfections. This guide will walk you through the process step by step to get the most out of this powerful filter. Whether you are a beginner or advanced user, the following steps will help you achieve the desired results.
Key Takeaways
- The Beauty Fx Filter is only available in the Studio version of DaVinci Resolve.
- The filter offers two modes: "Ultra Beauty" and "Automatic".
- There are multiple sliders to adjust skin smoothing, details, and texture.
- Before and after comparisons are possible to see changes.
Step-by-Step Guide
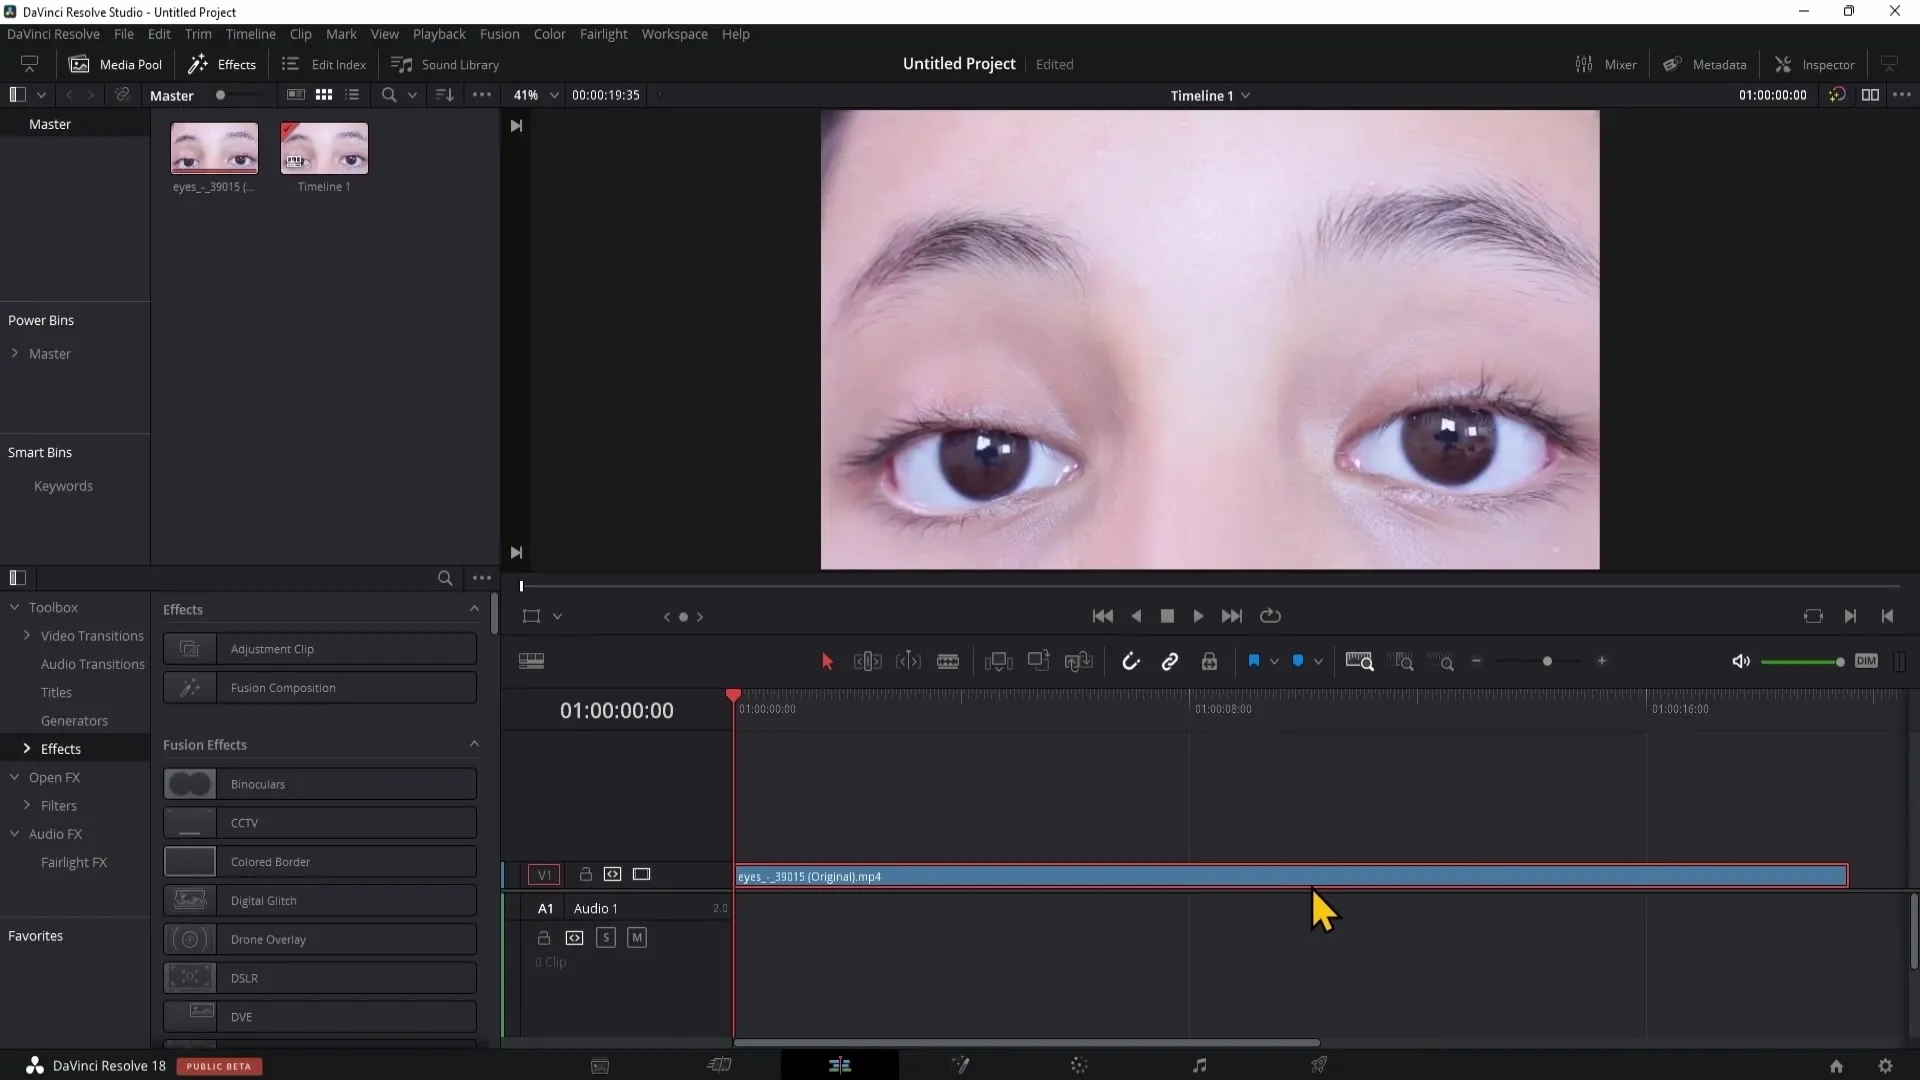
Launch DaVinci Resolve and open the project you want to work on. Make sure you already have a clip or photo that you want to retouch. Navigate to the clip you want to enhance.
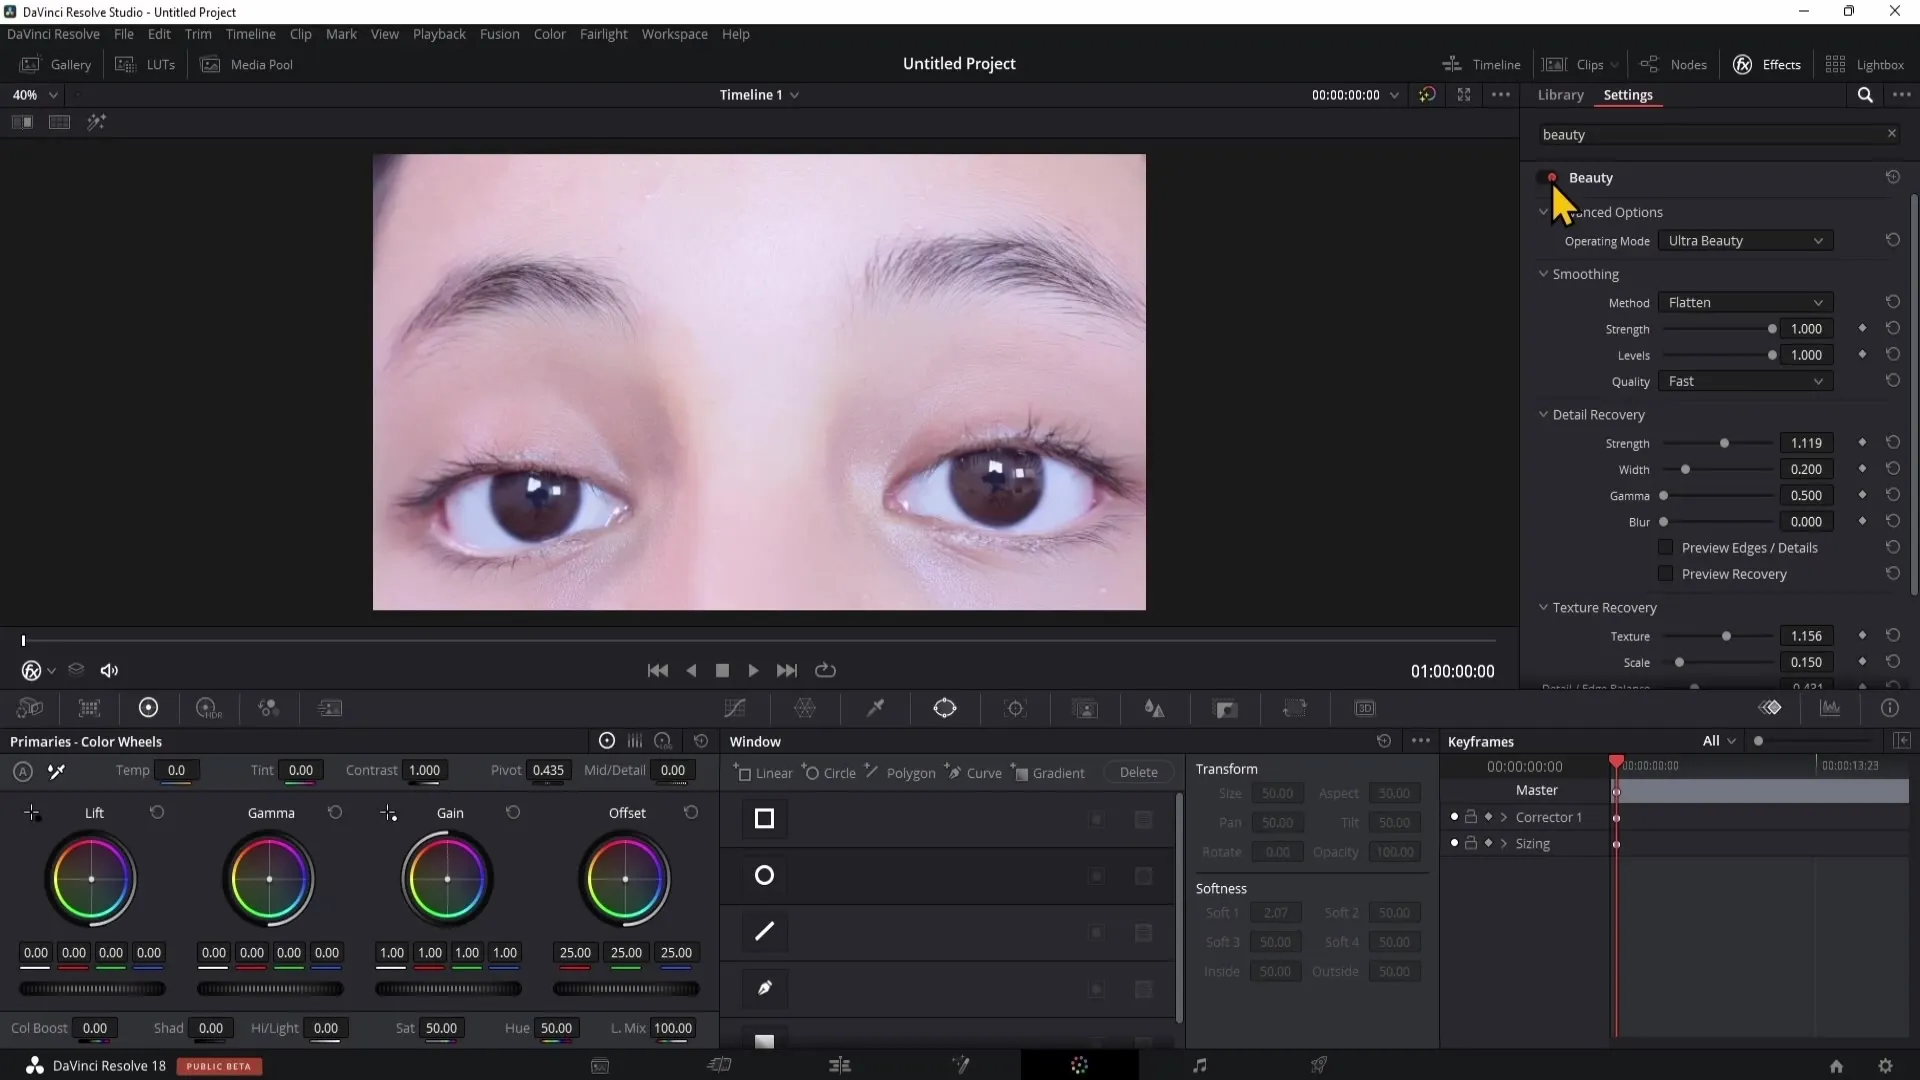
Once you are in the program, you will see the user interface. Select the desired clip from the media pool.
Now, go to the "Color" tab by clicking on the corresponding tab at the top of DaVinci Resolve. Here you will find various tools and effects for color correction and editing.
To activate the Beauty Fx Filter, you need to show the effects first. Click on the effects panel at the top of the user interface.
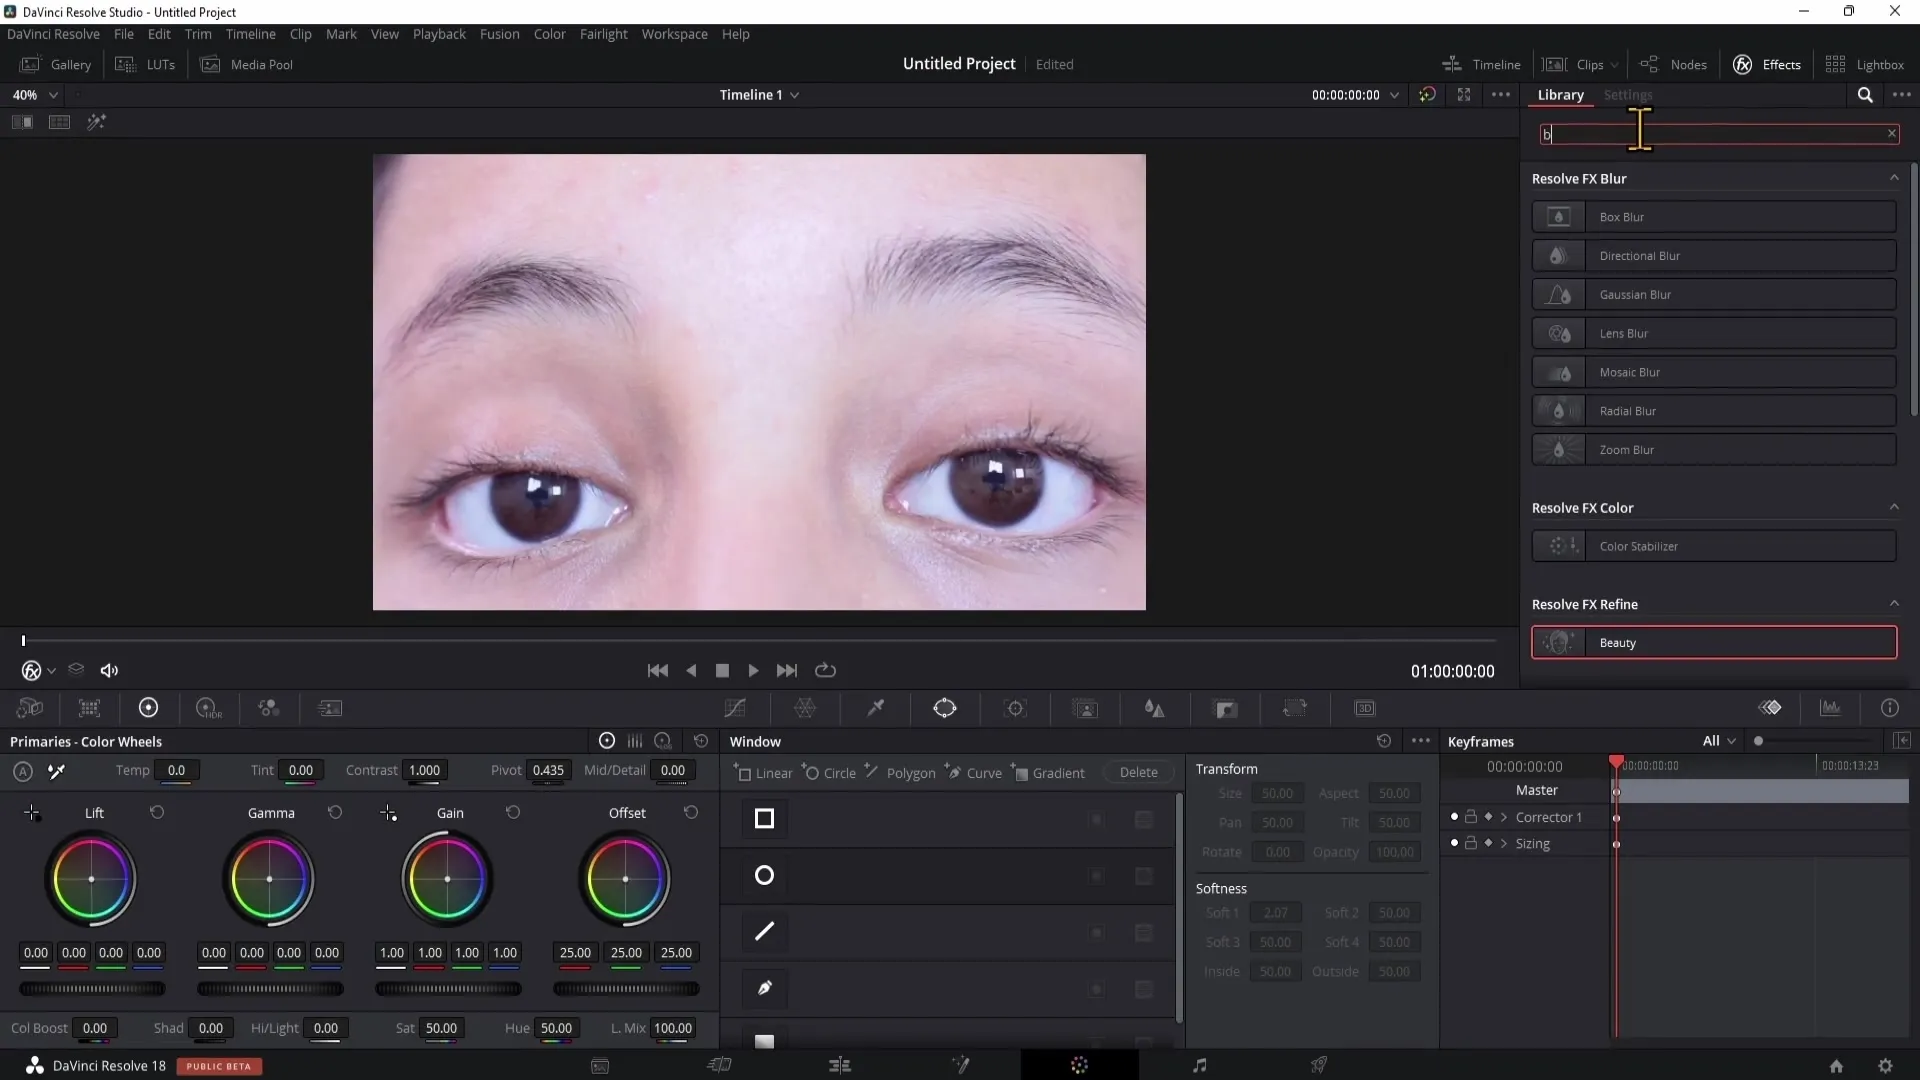
Now, look for "Beauty" in the effects list and drag the filter to your node that you want to use. Note that this filter is only available in the Studio version, so make sure you have the correct version.
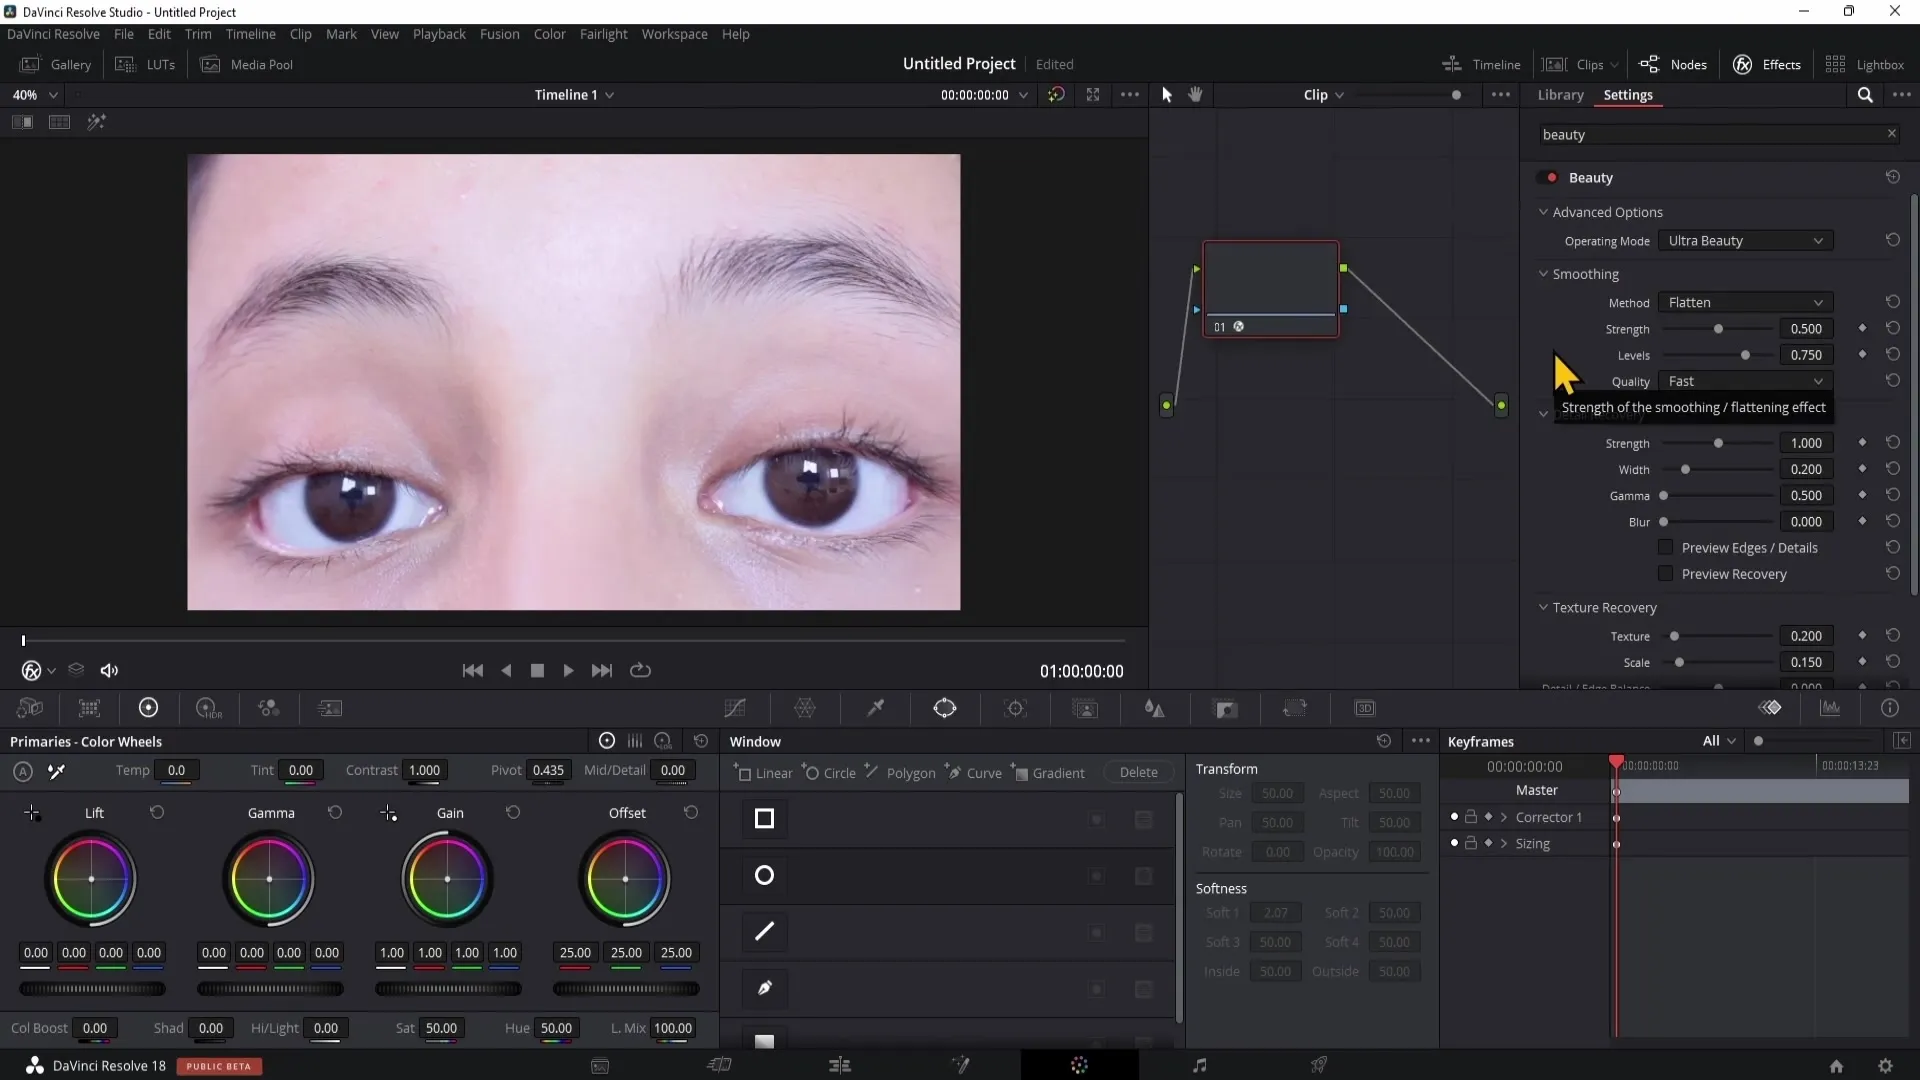
Now that you have applied the filter, you can choose between two modes: "Ultra Beauty" and "Automatic". I recommend using "Ultra Beauty" as it provides more customization options for the best results.
Next, let's look at the slider for "Smoothing". This is the most important aspect for skin smoothing. With this slider, you can adjust how much the skin is smoothed. A moderate value ensures a realistic result.
Increasing the smoothing strength will make the skin smoother, but do not overdo it to avoid an unnatural look. The "Levels" slider below offers you the ability to control the detail strength. Play with these values to achieve the desired look.
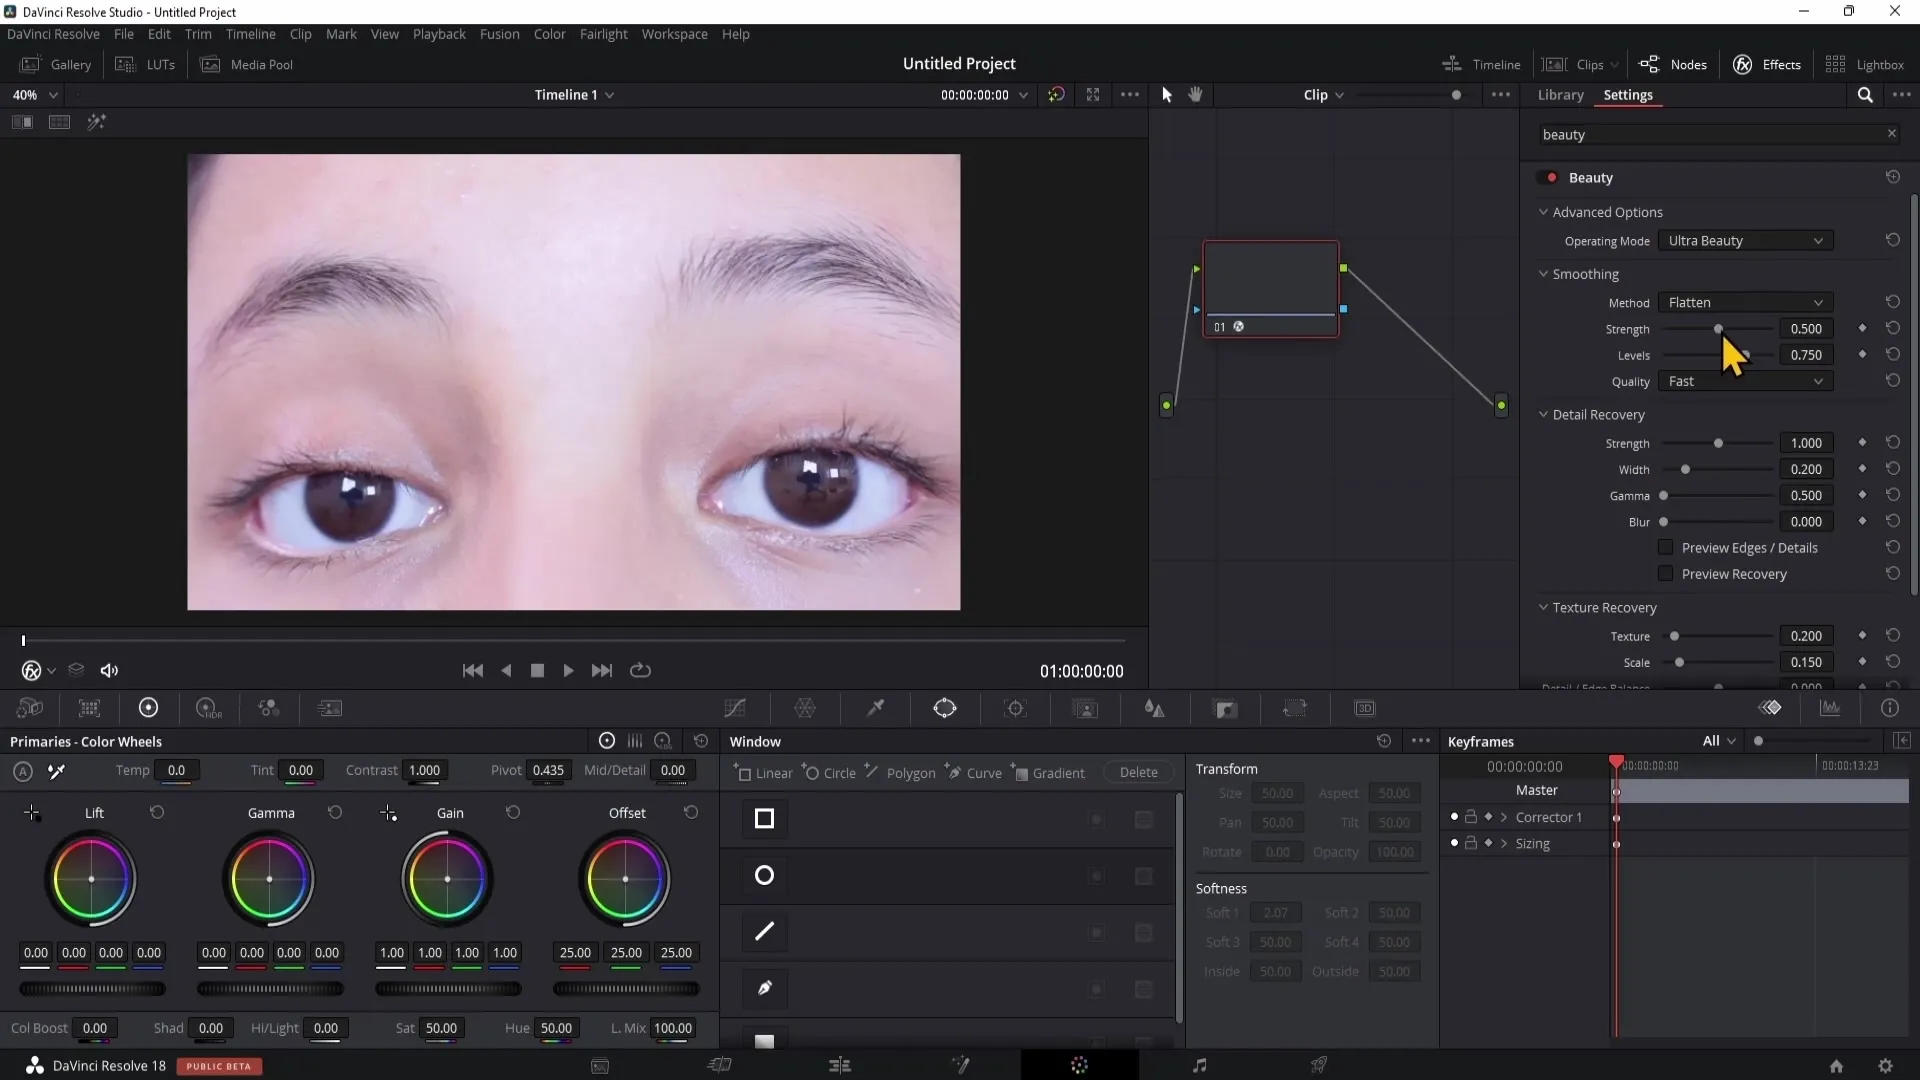
Directly below these sliders, you will find the opacity, which you can adjust to control the filter's effect. Reduce the opacity if you want a less intense result.
Now onto the next point: "Detail Recovery". With this slider, you can bring back details in your image. This is important to keep your face natural even after smoothing. Experiment with this slider to find the balance between skin smoothing and details.
Below, there are more sliders to help you fine-tune the details. Consider the look you want to achieve and adjust the sliders accordingly.
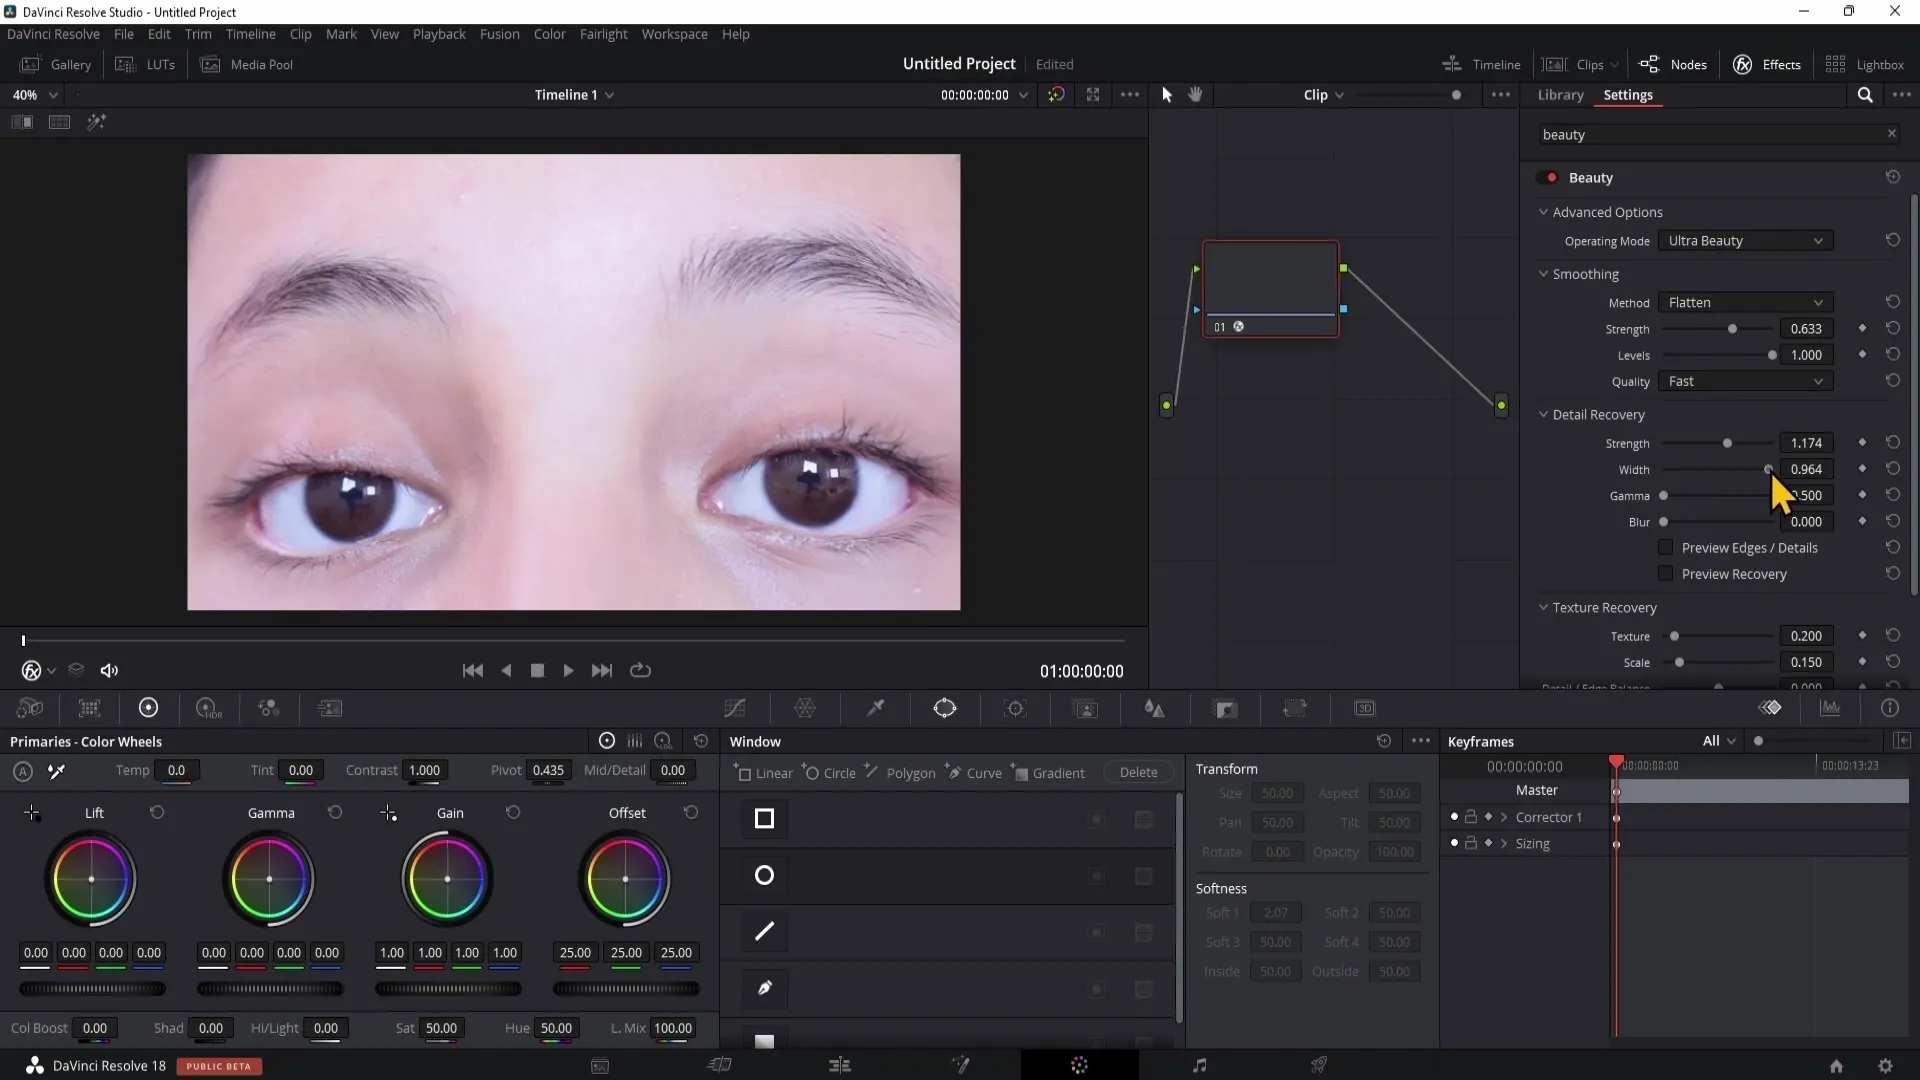
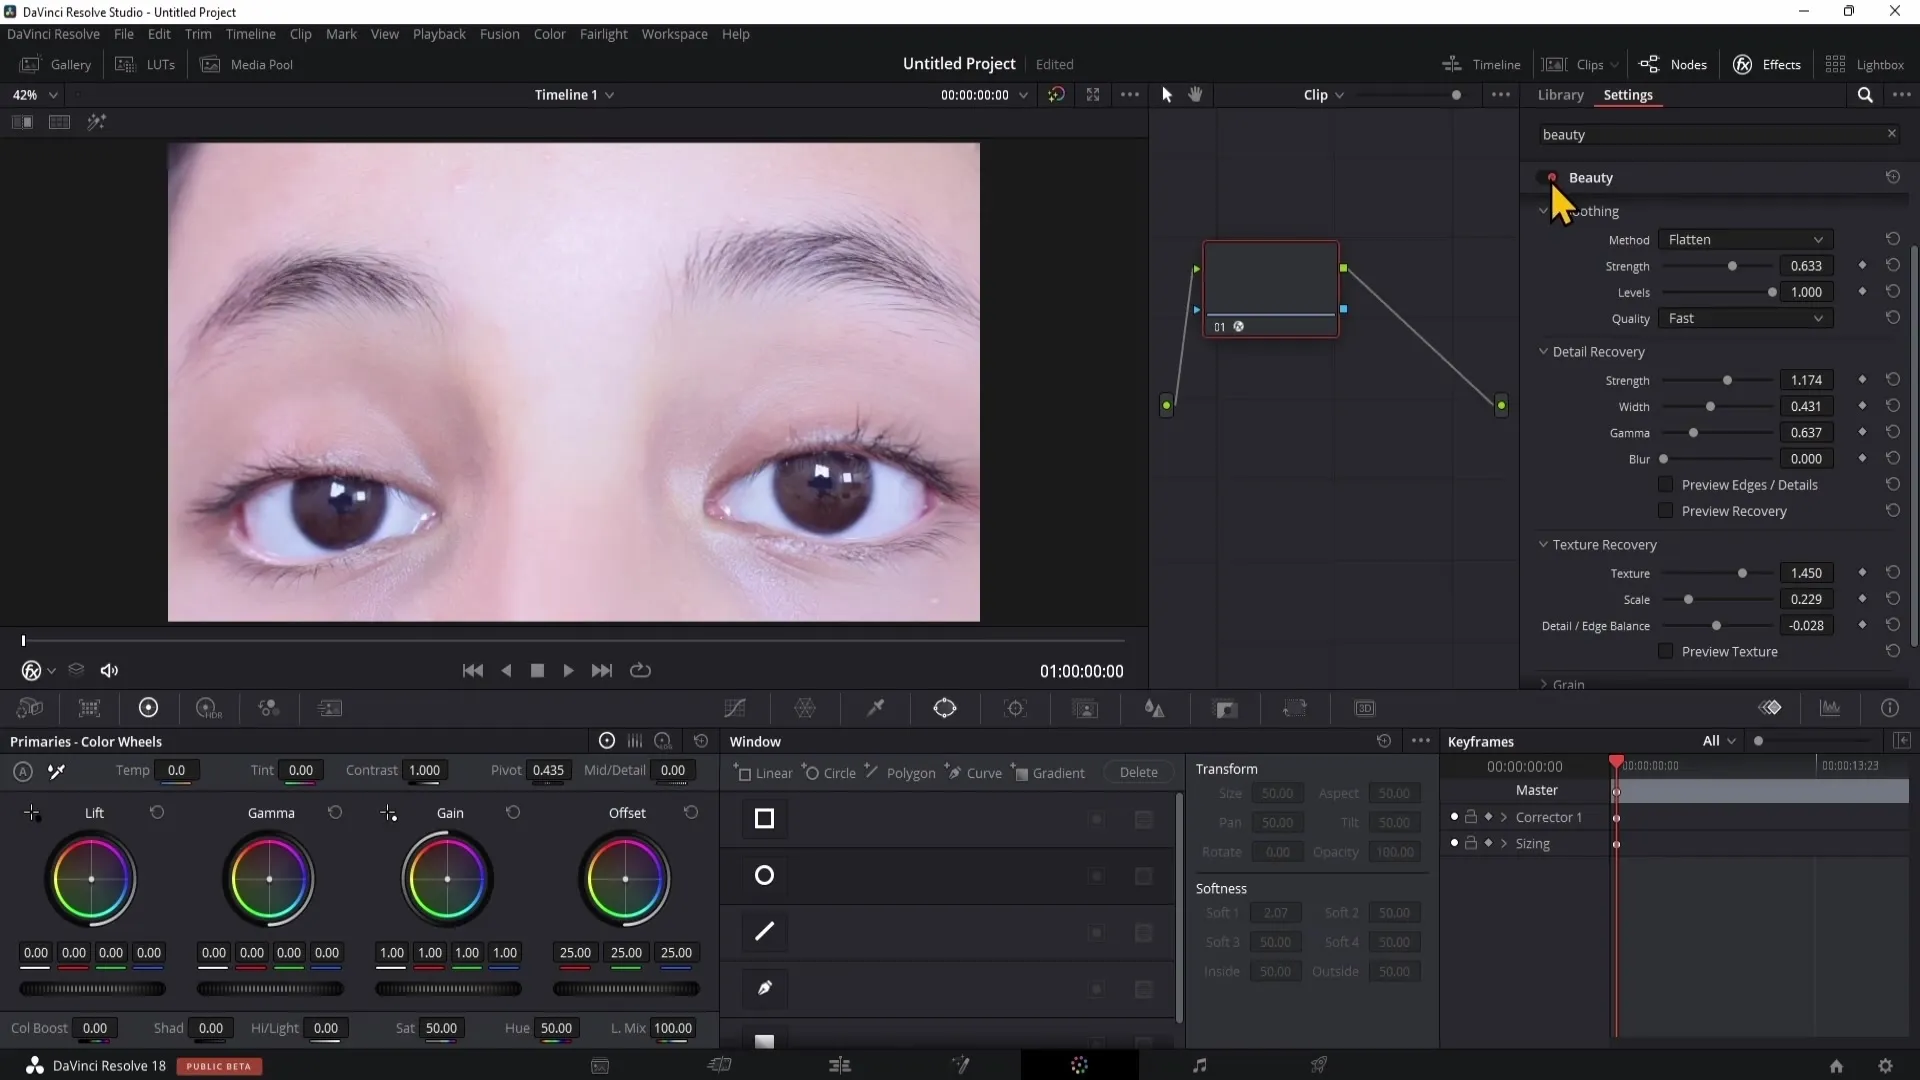
Once you are satisfied with the details, go to "Texture Recovery". Here you can adjust the texture of the skin. Depending on how much texture you want to add or remove, work with these sliders carefully.
The "Scale" adjustment allows you to control the finer skin textures. A higher value will reveal more textures, while a lower value will reduce them.
Make sure you are happy with your adjustments. You can always view a before and after comparison by clicking on the Beauty button at the top. This will give you a good idea of the changes you have made.
Please note that there may be occasional lags as DaVinci Resolve needs to render the effects. This is normal and does not affect the final output of your video when using the delivery area.
Summary
In this tutorial, you have learned how to use the Beauty Fx filter in DaVinci Resolve to retouch your video footage and eliminate skin imperfections. The detailed step-by-step guide walked you through the user interface and the various sliders to help you achieve the perfect result. Utilize the filter's capabilities to give your videos the finishing touch.
Frequently Asked Questions
How can I use the Beauty Fx filter in the free version of DaVinci Resolve?The Beauty Fx filter is only available in the studio version.
What are the best settings for the Smoothing slider?A moderate setting provides natural skin smoothing without creating an unnatural look.
Can I use the Beauty Fx filter on photos?Yes, the filter can be applied to both videos and photos.
How can I view before-after comparisons?Click on the Beauty button above to make the changes visible.
How long does it take for the filter to render?The rendering time depends on your computer's processing power and the length of the video.


