In this tutorial, I will show you how to work with the new Depth Map function in DaVinci Resolve 18. The Depth Map allows you to detect different depths in the image and edit them selectively. Whether you want to blur a background, change the colors of a specific layer, or achieve a special effect, the Depth Map offers many creative possibilities. Let's get started!
Main Insights
- The Depth Map is exclusive to the Studio version of DaVinci Resolve.
- It allows for a differentiated editing of foreground and background.
- With various controls, you can precisely adjust and control the effect.
Step-by-Step Guide
Accessing the Depth Map
Before you start editing, you need to insert the Depth Map into the Color Grading area of DaVinci Resolve. Go to your Color Grading area and search for the Depth Map. You can find it by clicking on the effects at the top right and typing in "Depth Map".
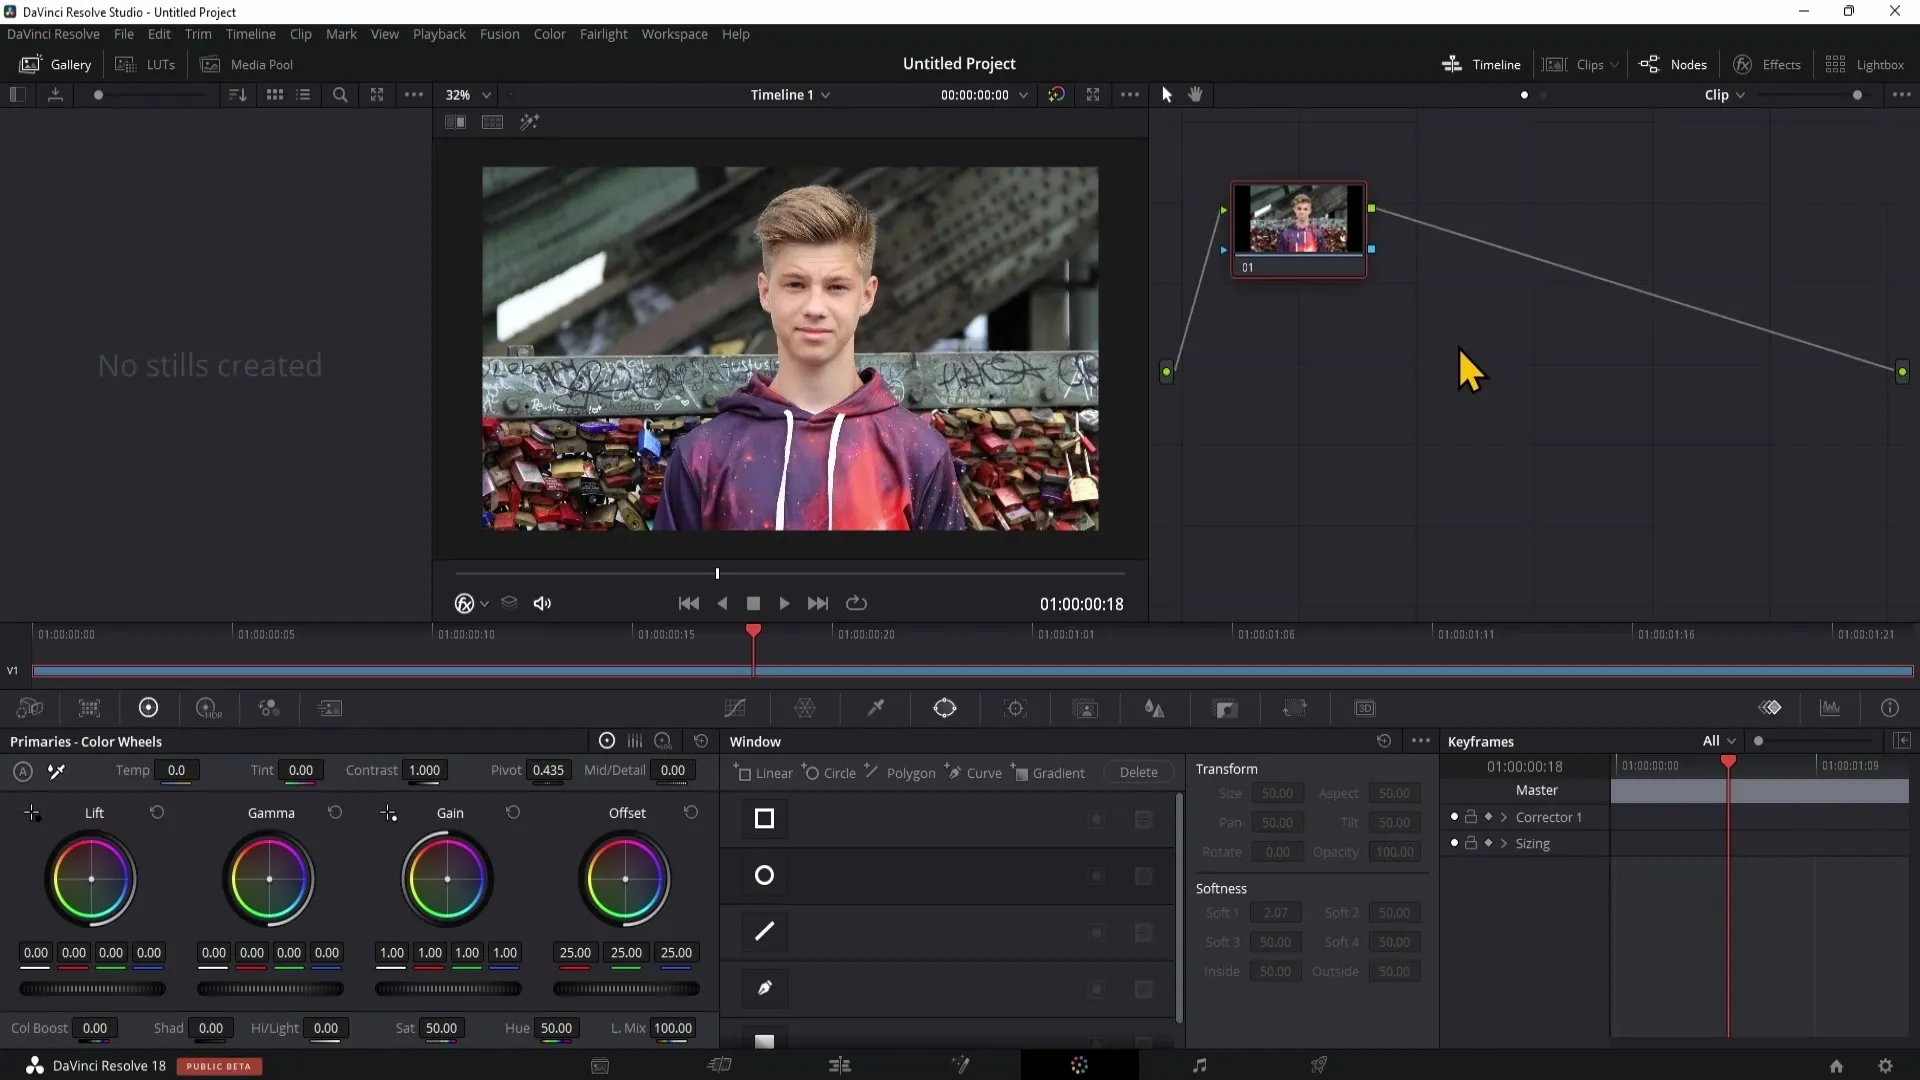
Adding the Depth Map to your Project
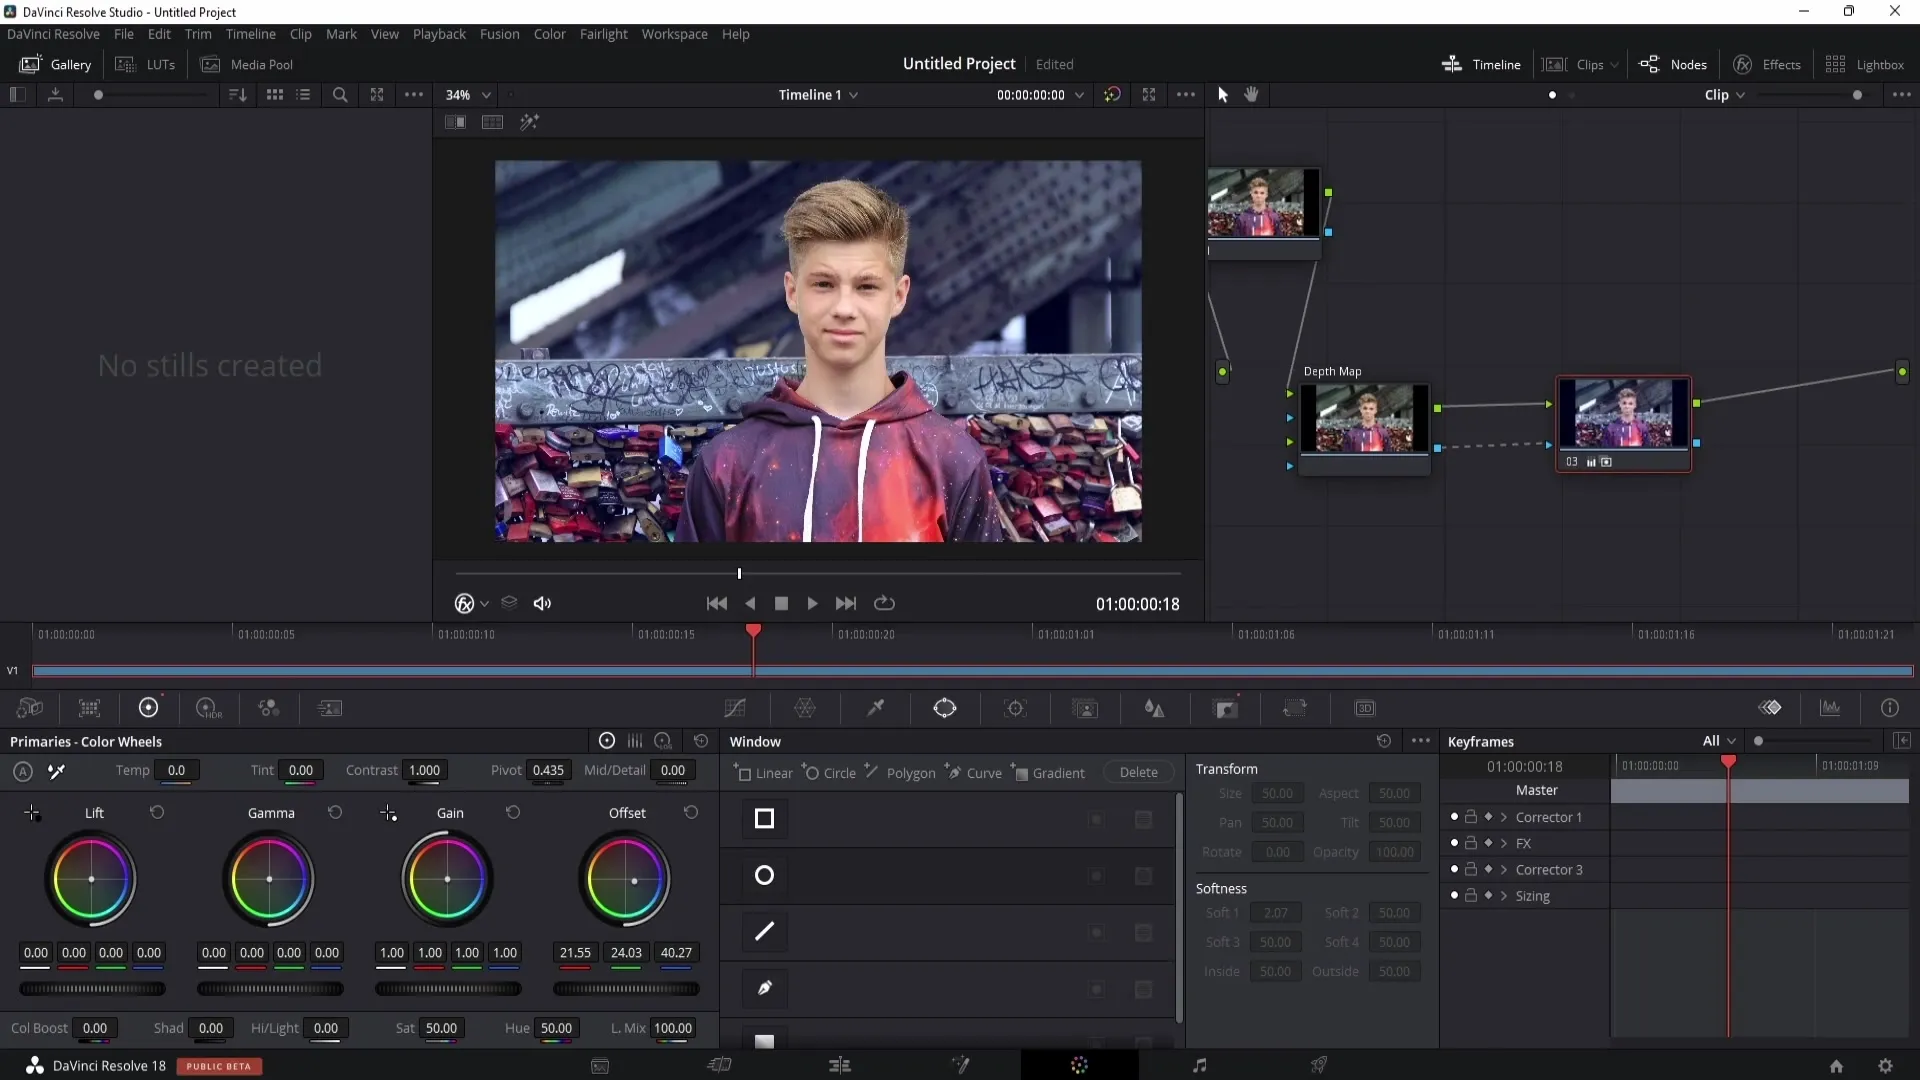
Once you have found the Depth Map, drag it into an empty area of your notes. Then connect the green dot of the Depth Map to the output of your note. This activates the Depth Map in your image and prepares it for editing.
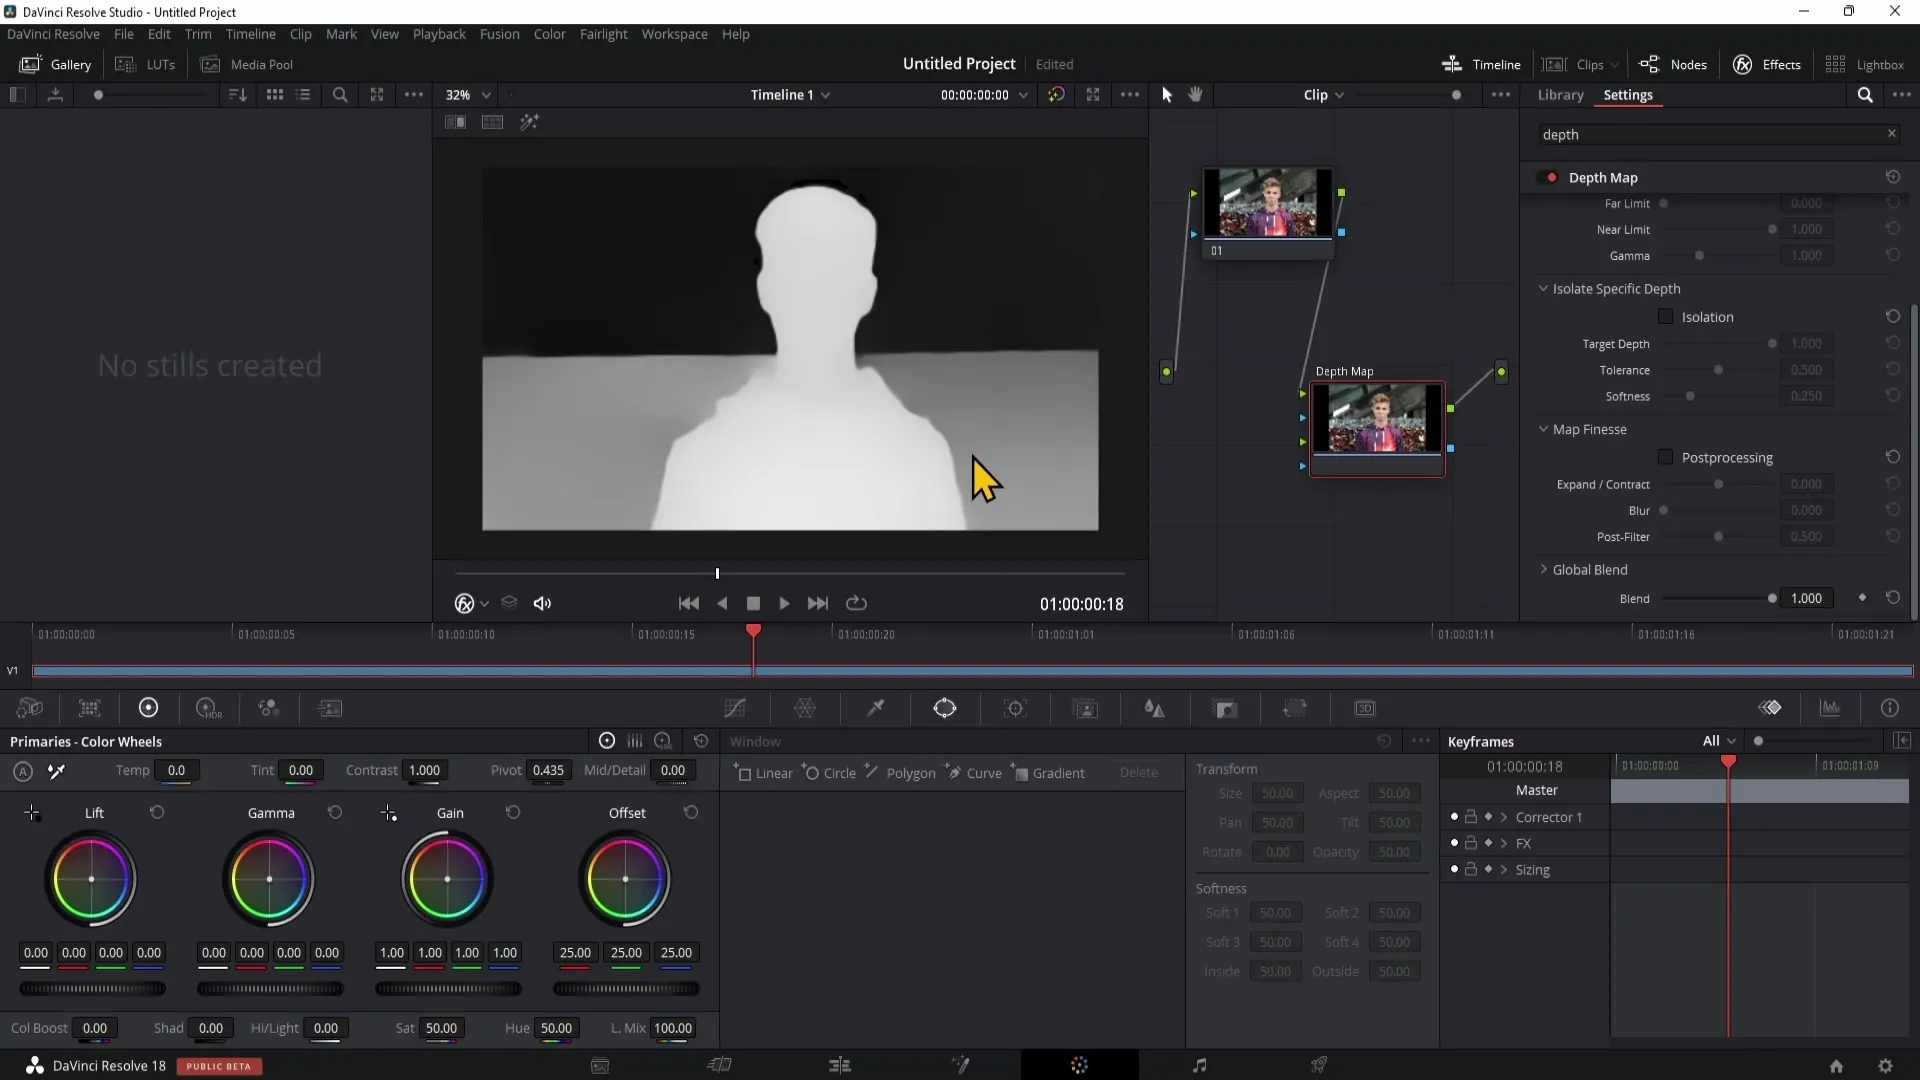
Understanding the Depth Map
In the preview, you will see how the areas of your image are represented by white, gray, and black. Areas that are 100% white will be affected by the application, while 100% black will not be affected. Gray areas show the intensity of the applied effect - the darker the shade of gray, the weaker the effect.
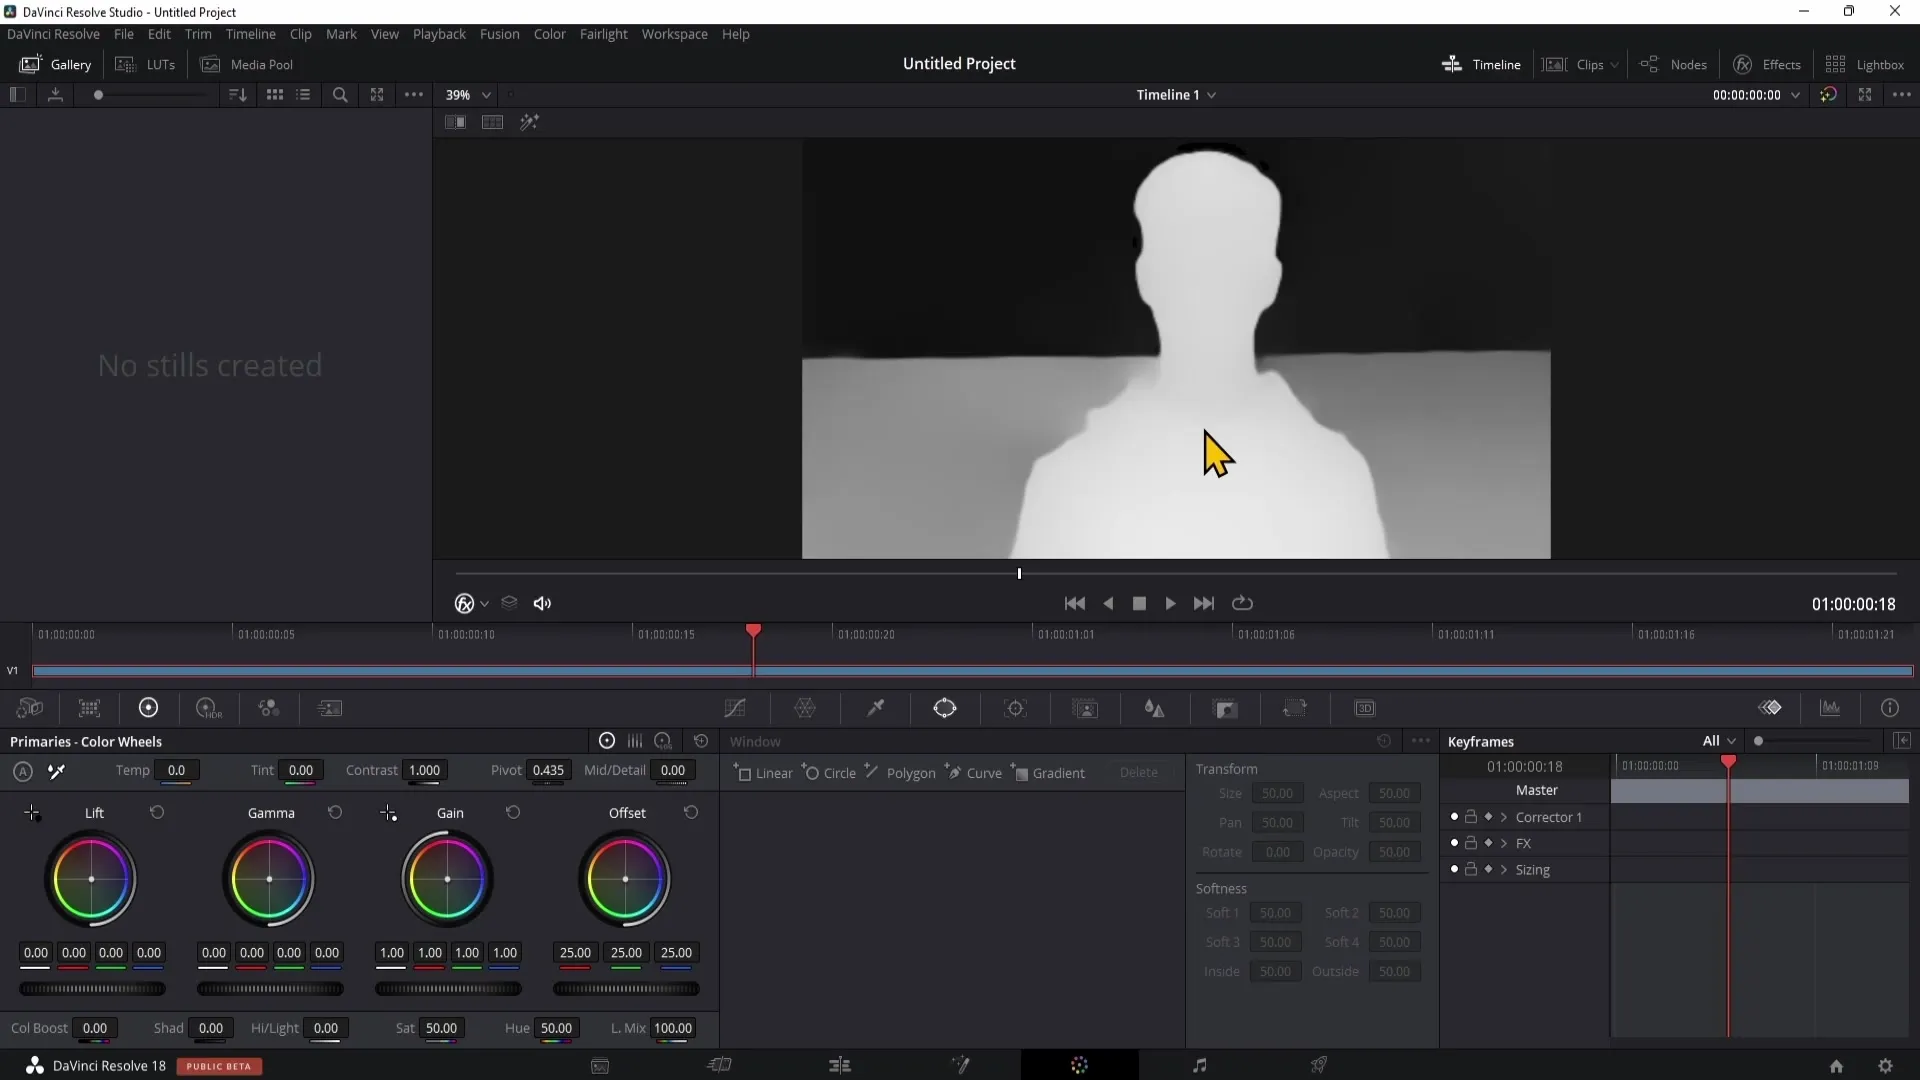
Quality Settings
Before you start editing, make sure that the quality setting is set to "Faster". This will help you have better performance during editing. You can enable or disable the Depth Map Preview to see how the changes affect your image.
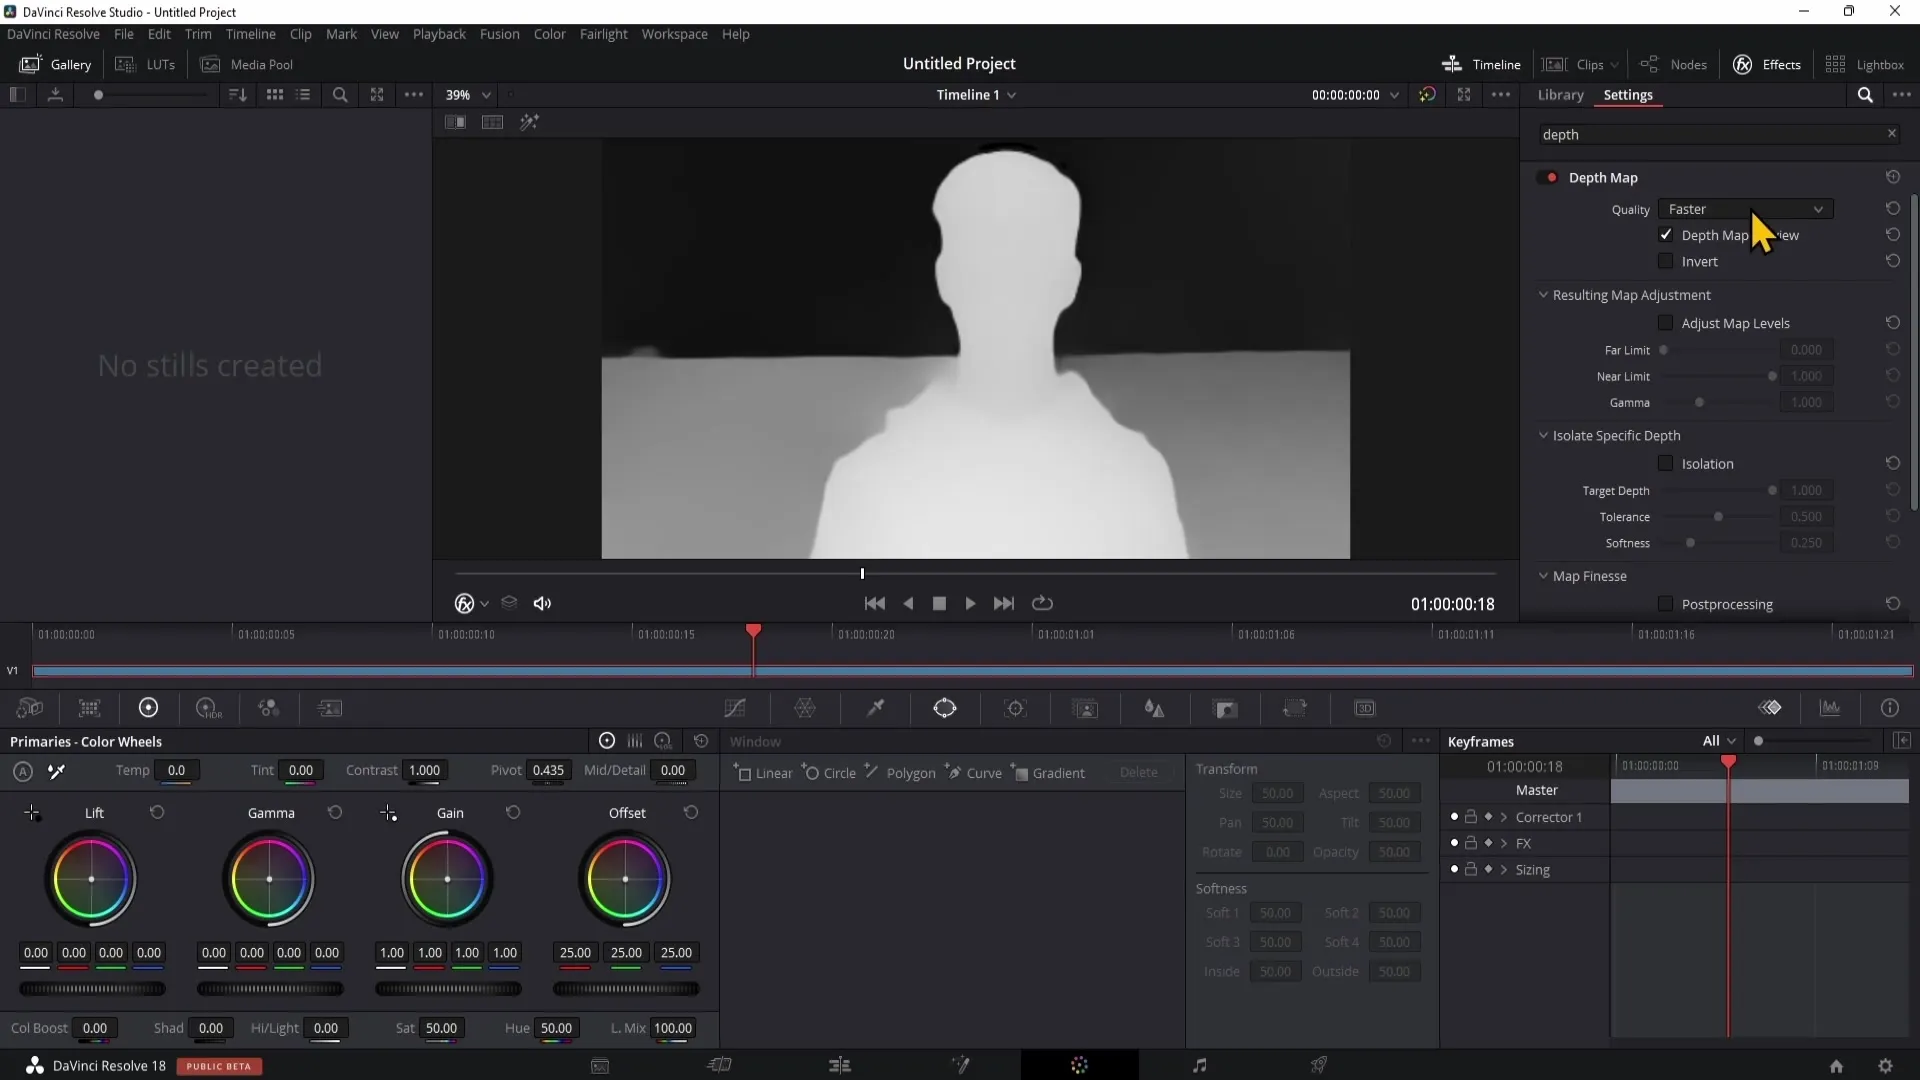
Adjustments to the Depth Map
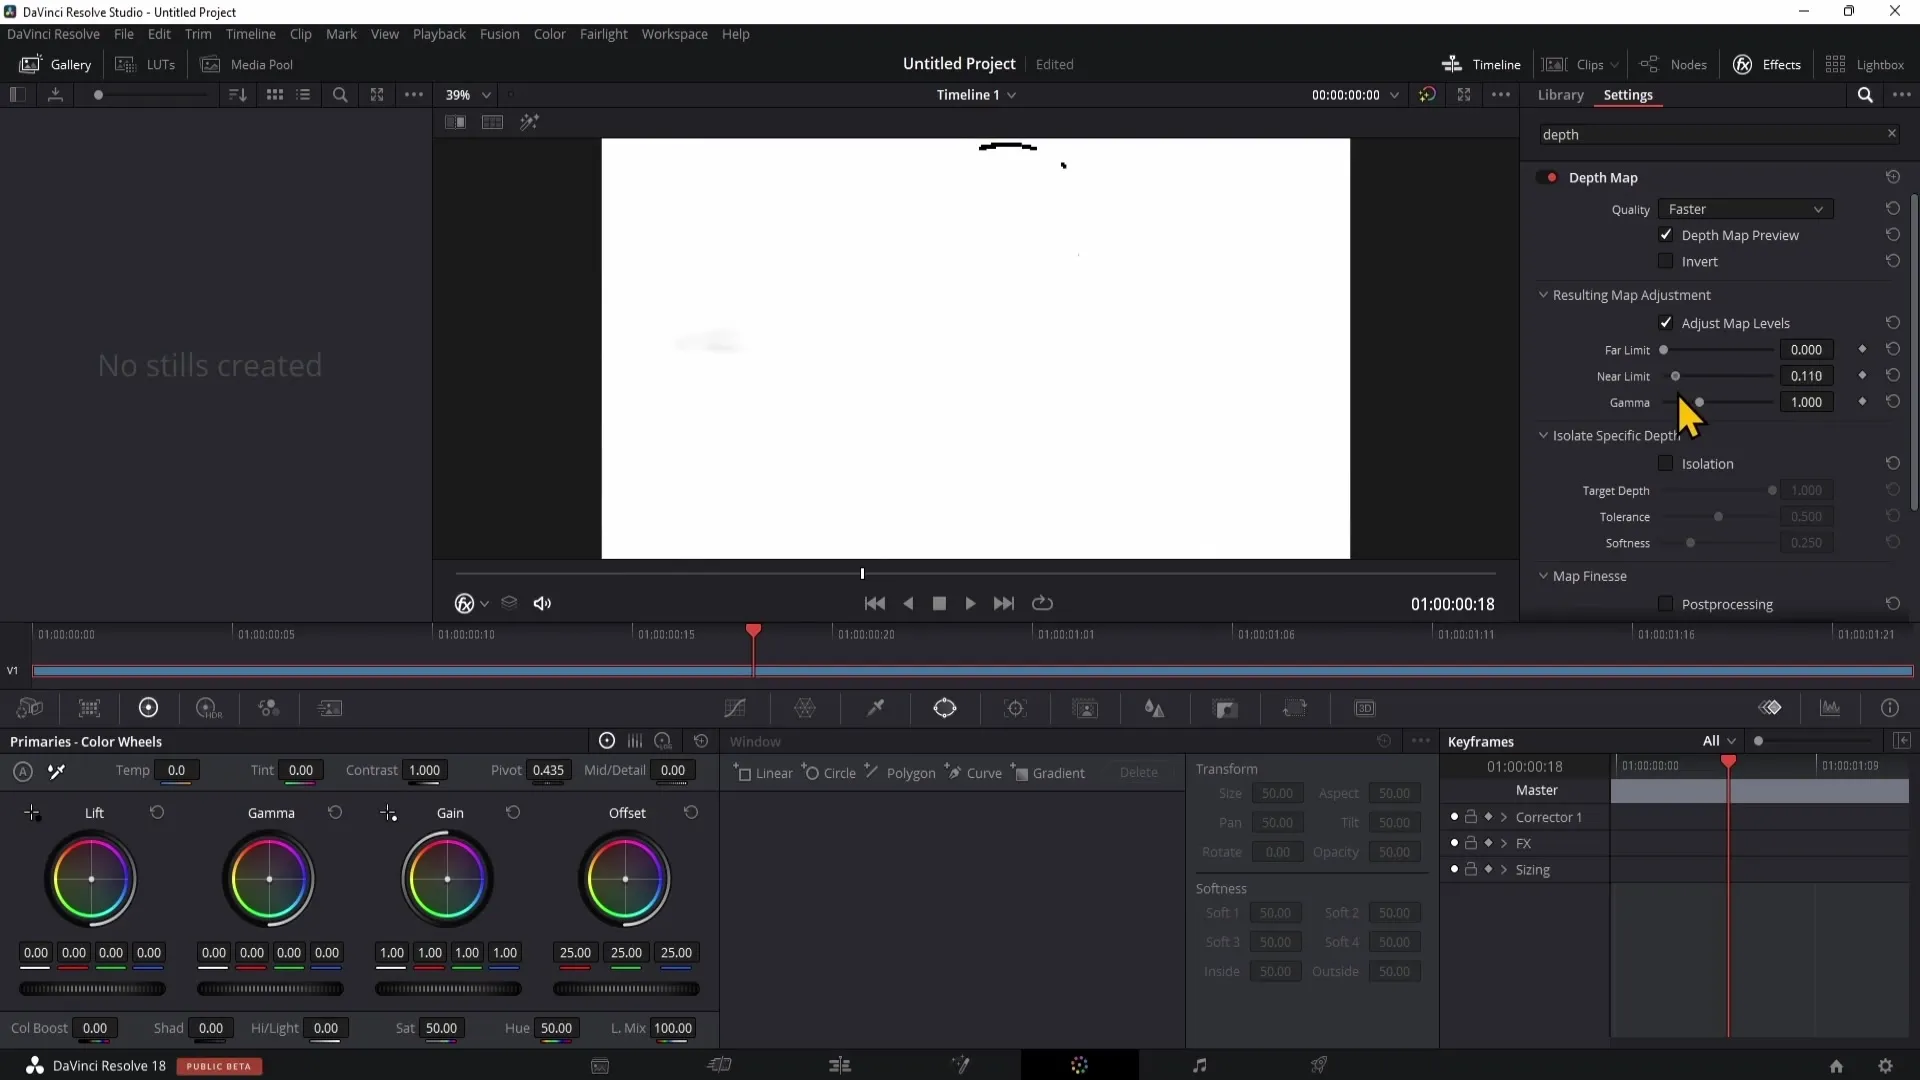
Here come the more interesting parts. First, you can control the background and foreground range with the "Far Limit" and "Near Limit" sliders. By sliding the Far Limit slider to the right, you can more effectively isolate the background, while the Near Limit slider helps you define the foreground.
Isolating Background and Foreground
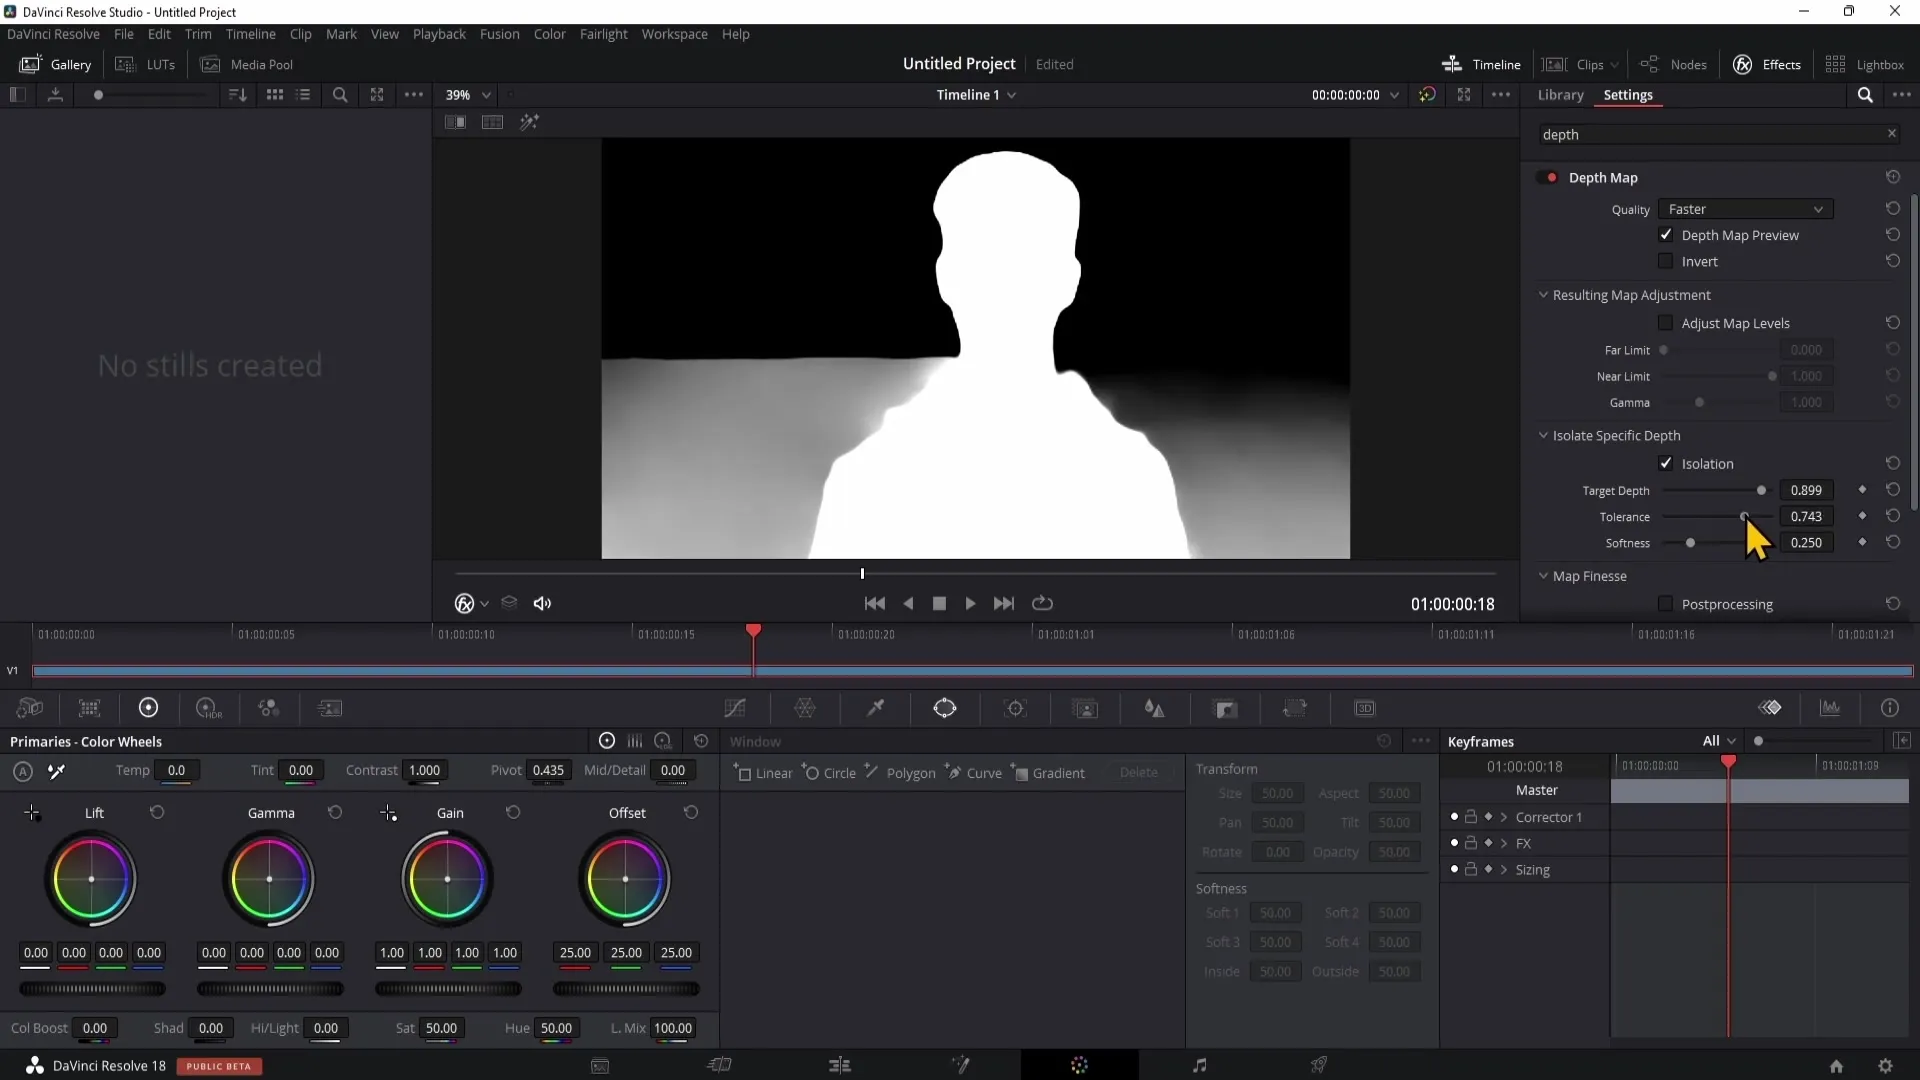
To further isolate the background from the foreground, you can use the Isolation function. Slide the Target Depth slider back and forth to adjust the separation between the foreground and background. The Tolerance gives you the option to consider more of the background or foreground.
Fine-tuning with Softness and Map Fineness
The Softness setting allows you to smooth the transition between the black and white areas. For finer adjustment, you can enable Map Fineness to expand or shrink the objects in the foreground.
Using the Postfilter
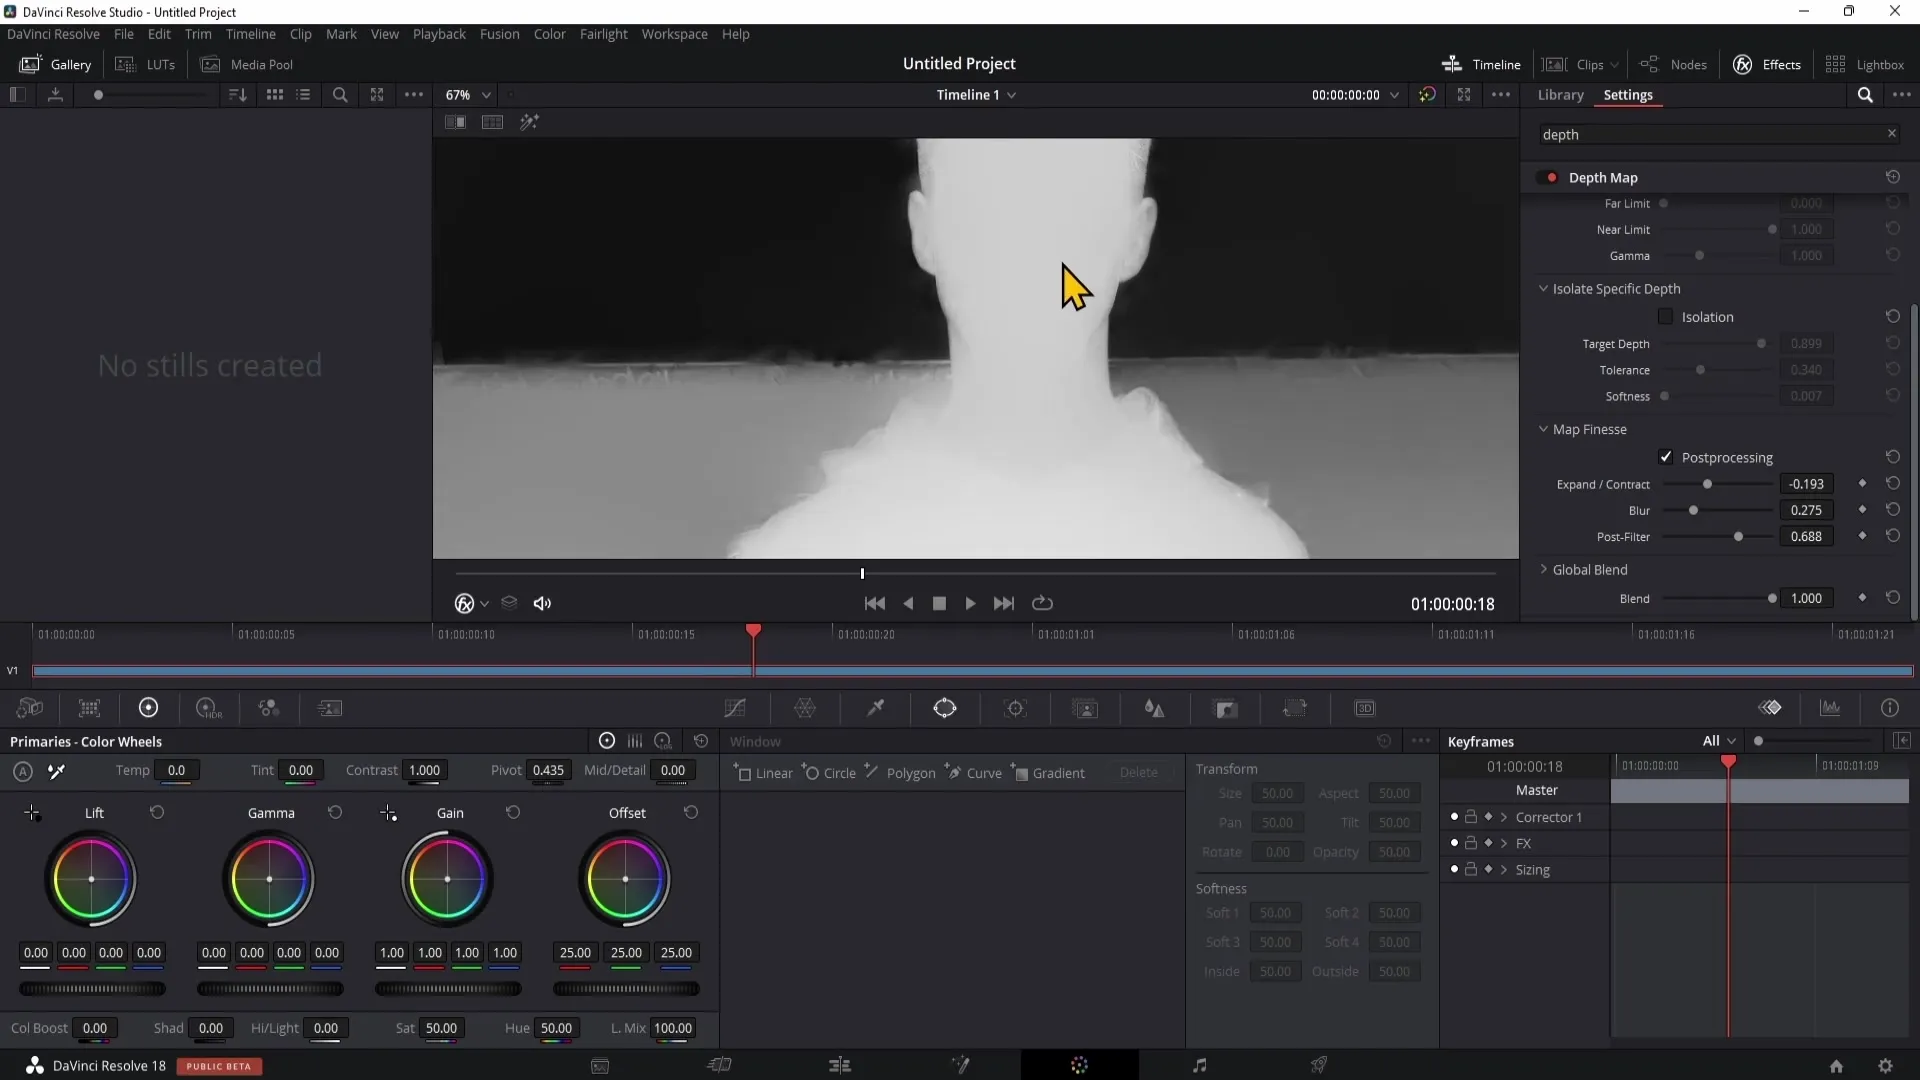
The Postfilter offers the possibility to add structure to your image. With the Glide setting, you can adjust the structure at the edges to achieve a softer or more detailed image.
Global Blend Settings
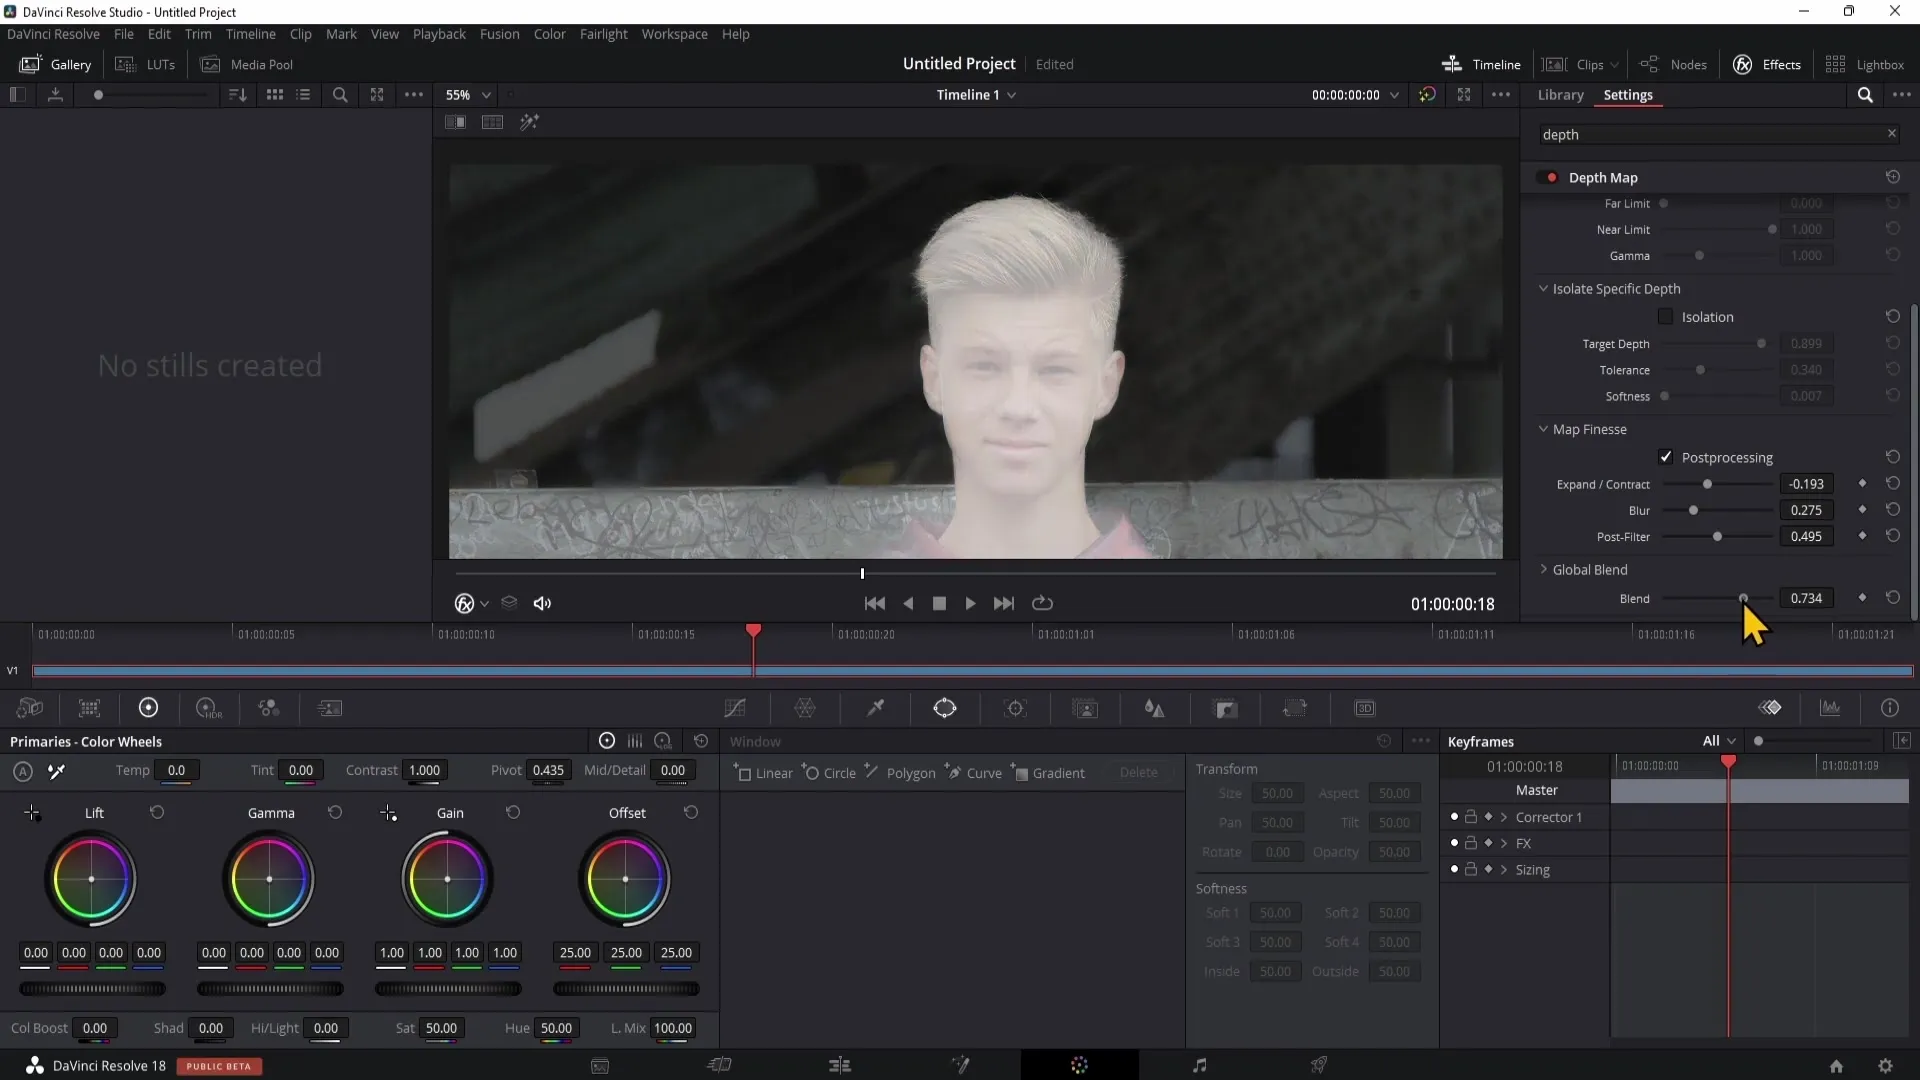
Here you can control the opacity of the mask. If you are not sure if you have made the right selection, you can adjust the Blend slider and check if the selection meets your expectations.
Getting Started with Image Editing
Now that you have understood the basics, you can start editing. Reset the quality to "Faster", activate the Map Levels adjustment and define the depths. You may want to blur or darken the background.

Application of Color Changes
Now go to the new note by holding down the Alt key and pressing "S". Connect the new note to the Depth Map and start changing the color of the background. You can adjust the coloring so that only the background is colored while the person in the foreground remains unchanged.
Summary
In this guide, you have learned the basics of using the Depth Map in DaVinci Resolve. You have learned how to use the various controls to precisely edit the foreground and background and how to achieve stunning effects. With these techniques, you are ready to creatively design your videos.
Frequently Asked Questions
How can I activate the Depth Map in DaVinci Resolve?You activate the Depth Map by dragging it from the Effects area into a Note and connecting it with the green dot.
Which version of DaVinci Resolve do I need for the Depth Map?The Depth Map is only available in the Studio version of DaVinci Resolve.
Could I use the Depth Map for presentations?Yes, the Depth Map can be very useful to highlight specific areas in presentations or edit the background.
Can I apply the Depth Map reversibly as well?Yes, at any time you can adjust or undo the changes using the Blend slider.
How can I improve the quality of my editing?Set the quality to "Faster" to ensure smoother editing and achieve better results.


