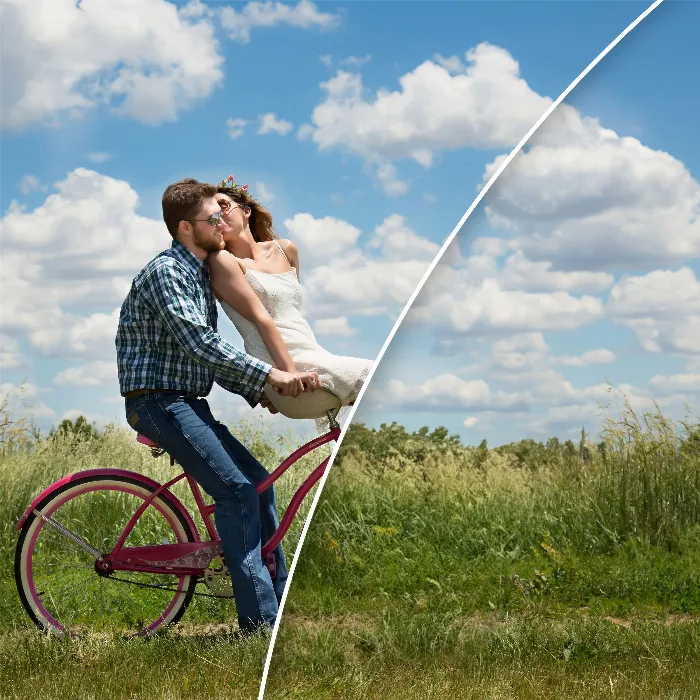
With AI-powered tools like Leonardo.Ai, you can remove disturbing objects or even people from photos without having in-depth knowledge of image editing. Leonardo.Ai is not only free, but also provides impressive results. In this guide, you will learn step by step how you can effectively edit images with the software. Let's get started!
Main Takeaways
- Leonardo.Ai is free and only requires a user account.
- The software allows for easy removal of objects and generating new image content.
- Before you start, ensure that your computer has an adequate graphics card to achieve optimal results.
- The user interface is intuitive and accessible, making your work easier.
Step-by-Step Guide
1. Registration and Login
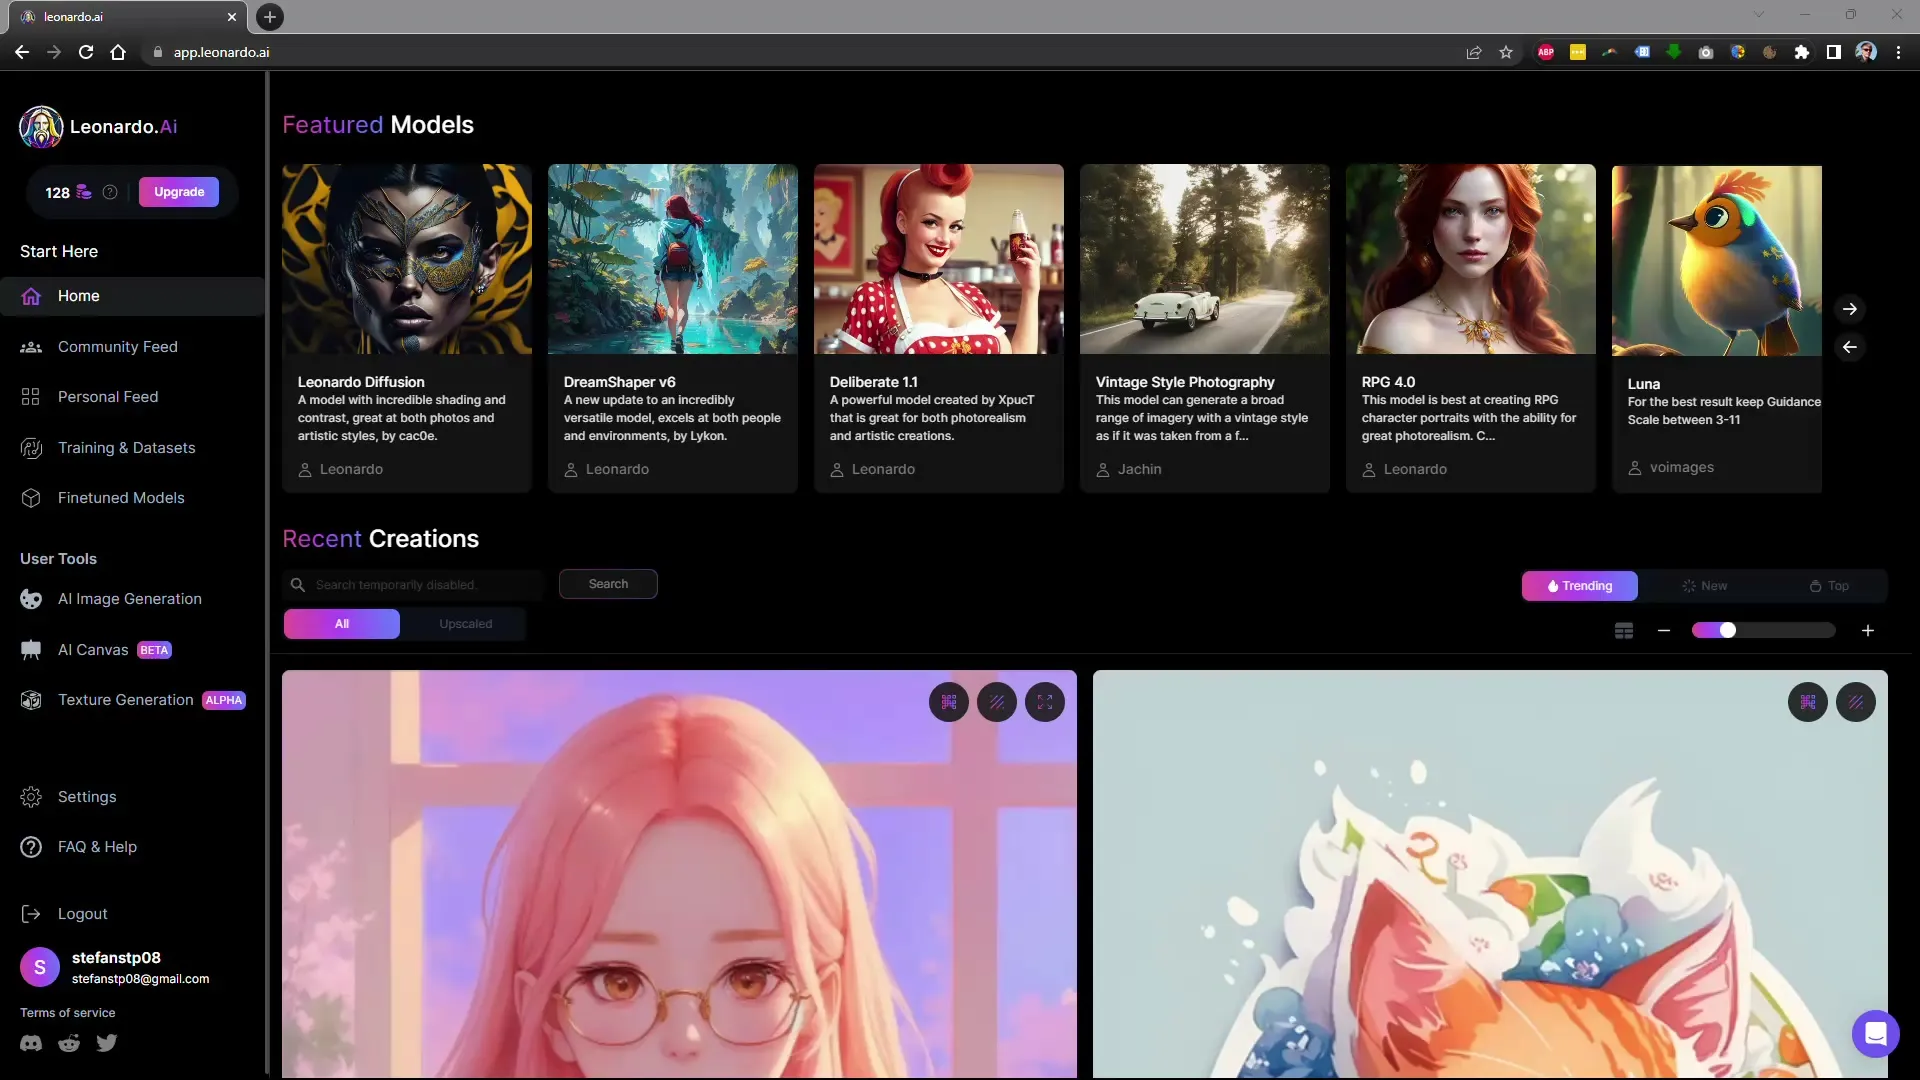
First, you need to visit the Leonardo.Ai website. Go to the URL app.leonardo.ai and sign in. You will need a valid Google or Microsoft address to create an account.
2. Selection of Workspace
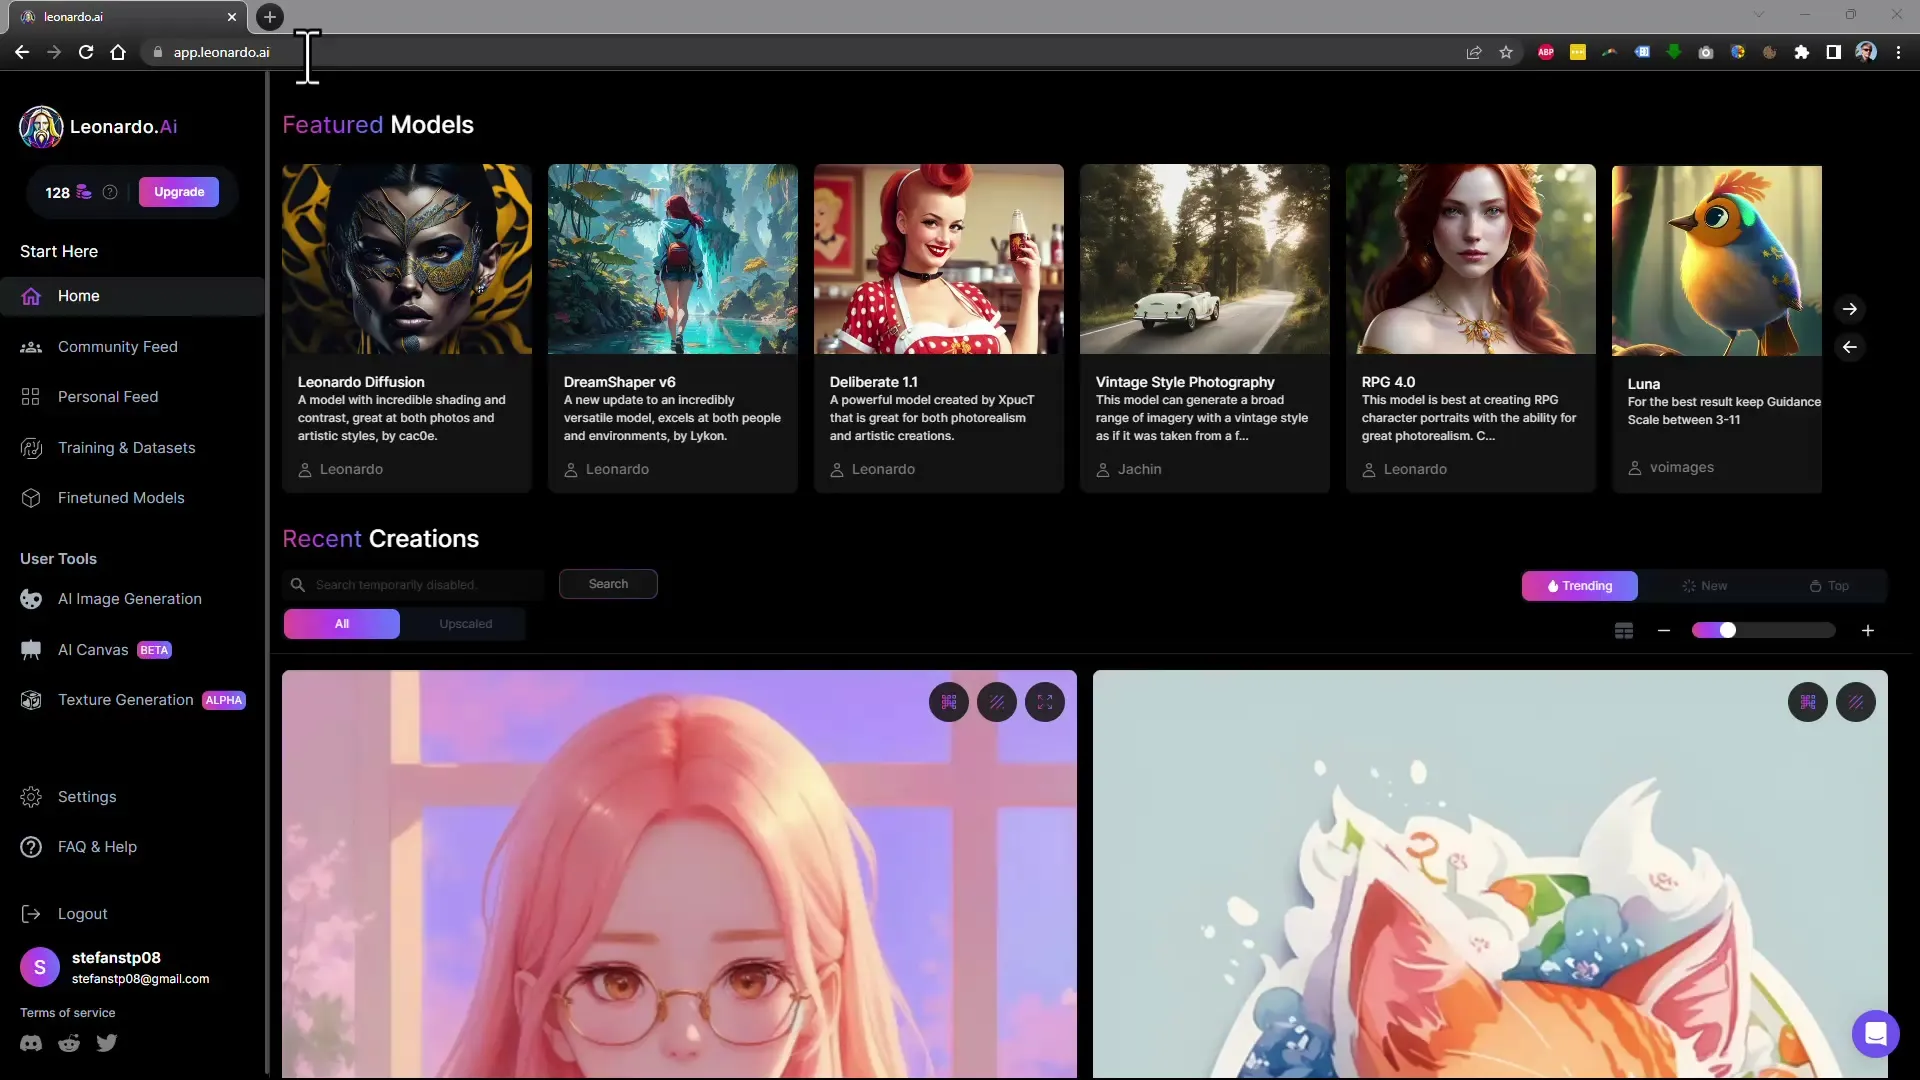
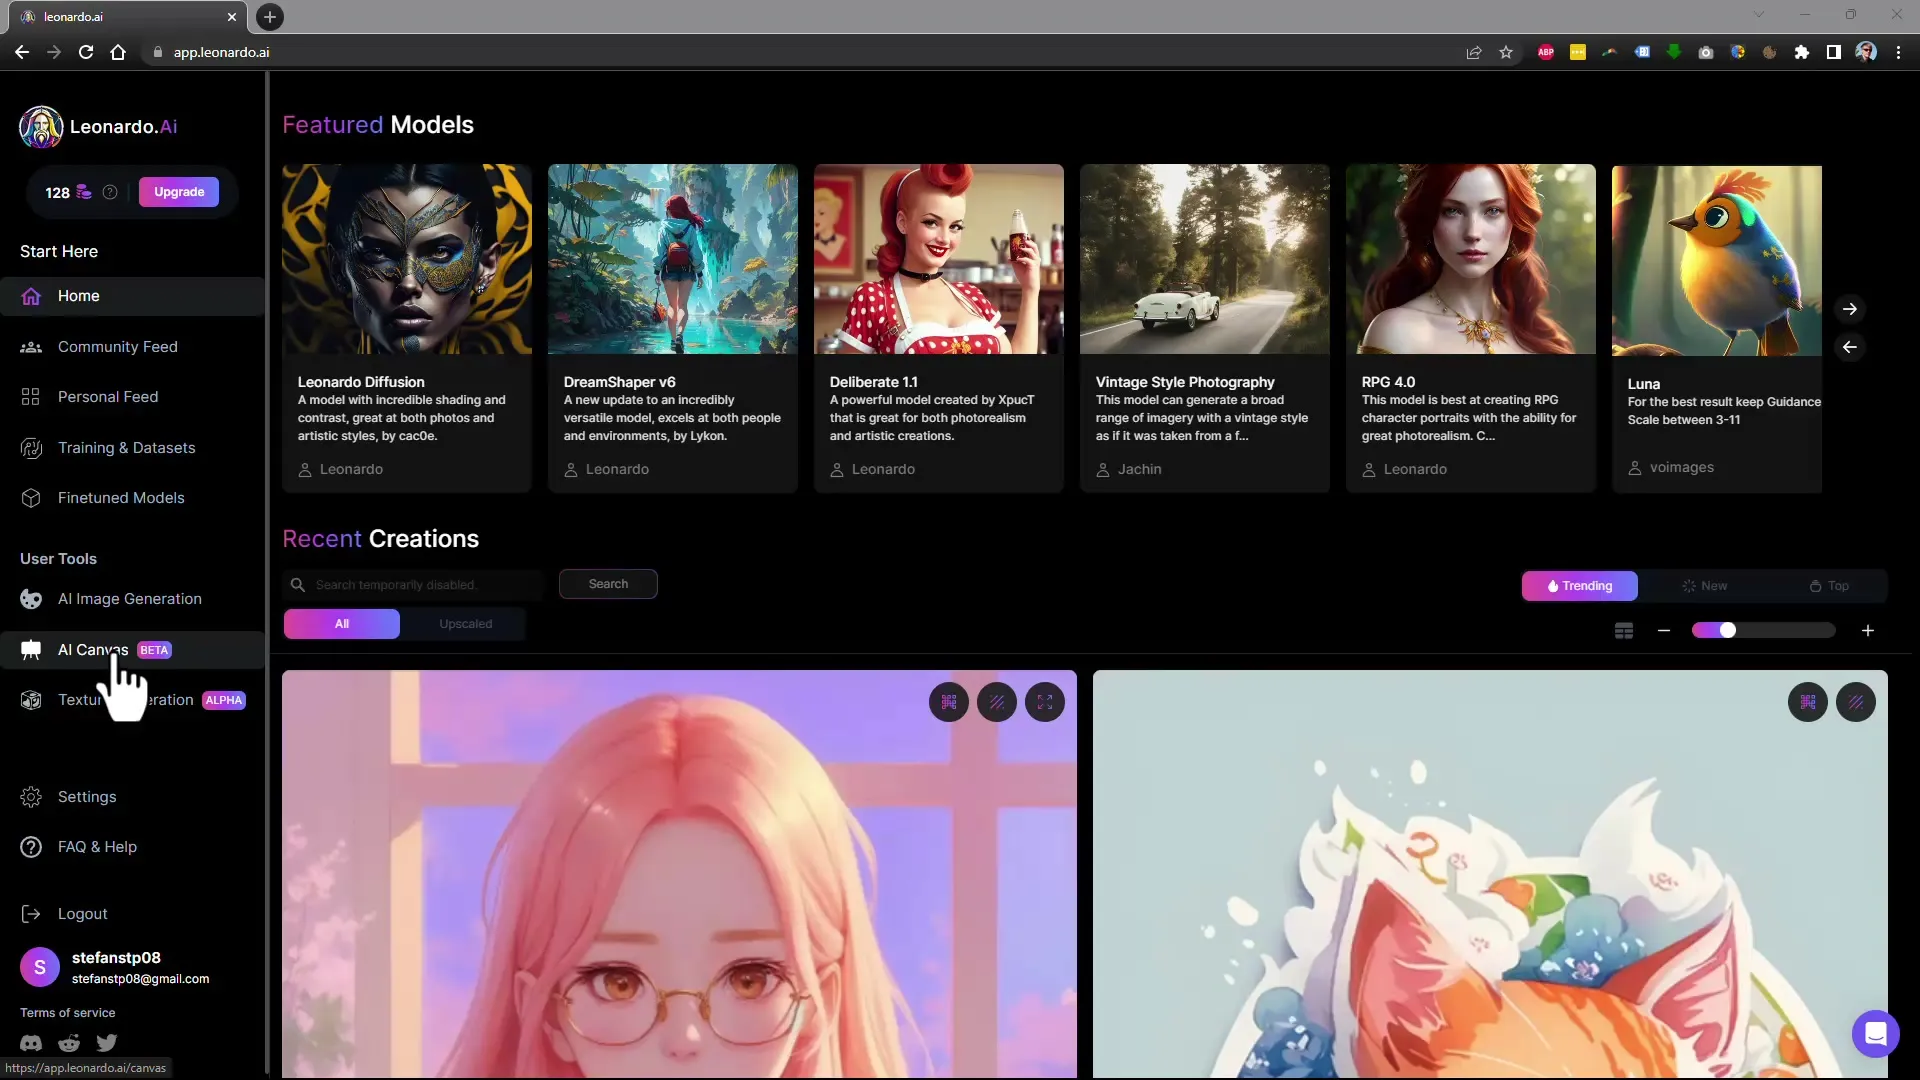
After successfully logging in, select the "AI Canvas" workspace. Here you can start editing your images. The software is still in beta, but the performance is satisfactory, especially if you have a powerful graphics card.
3. Uploading an Image
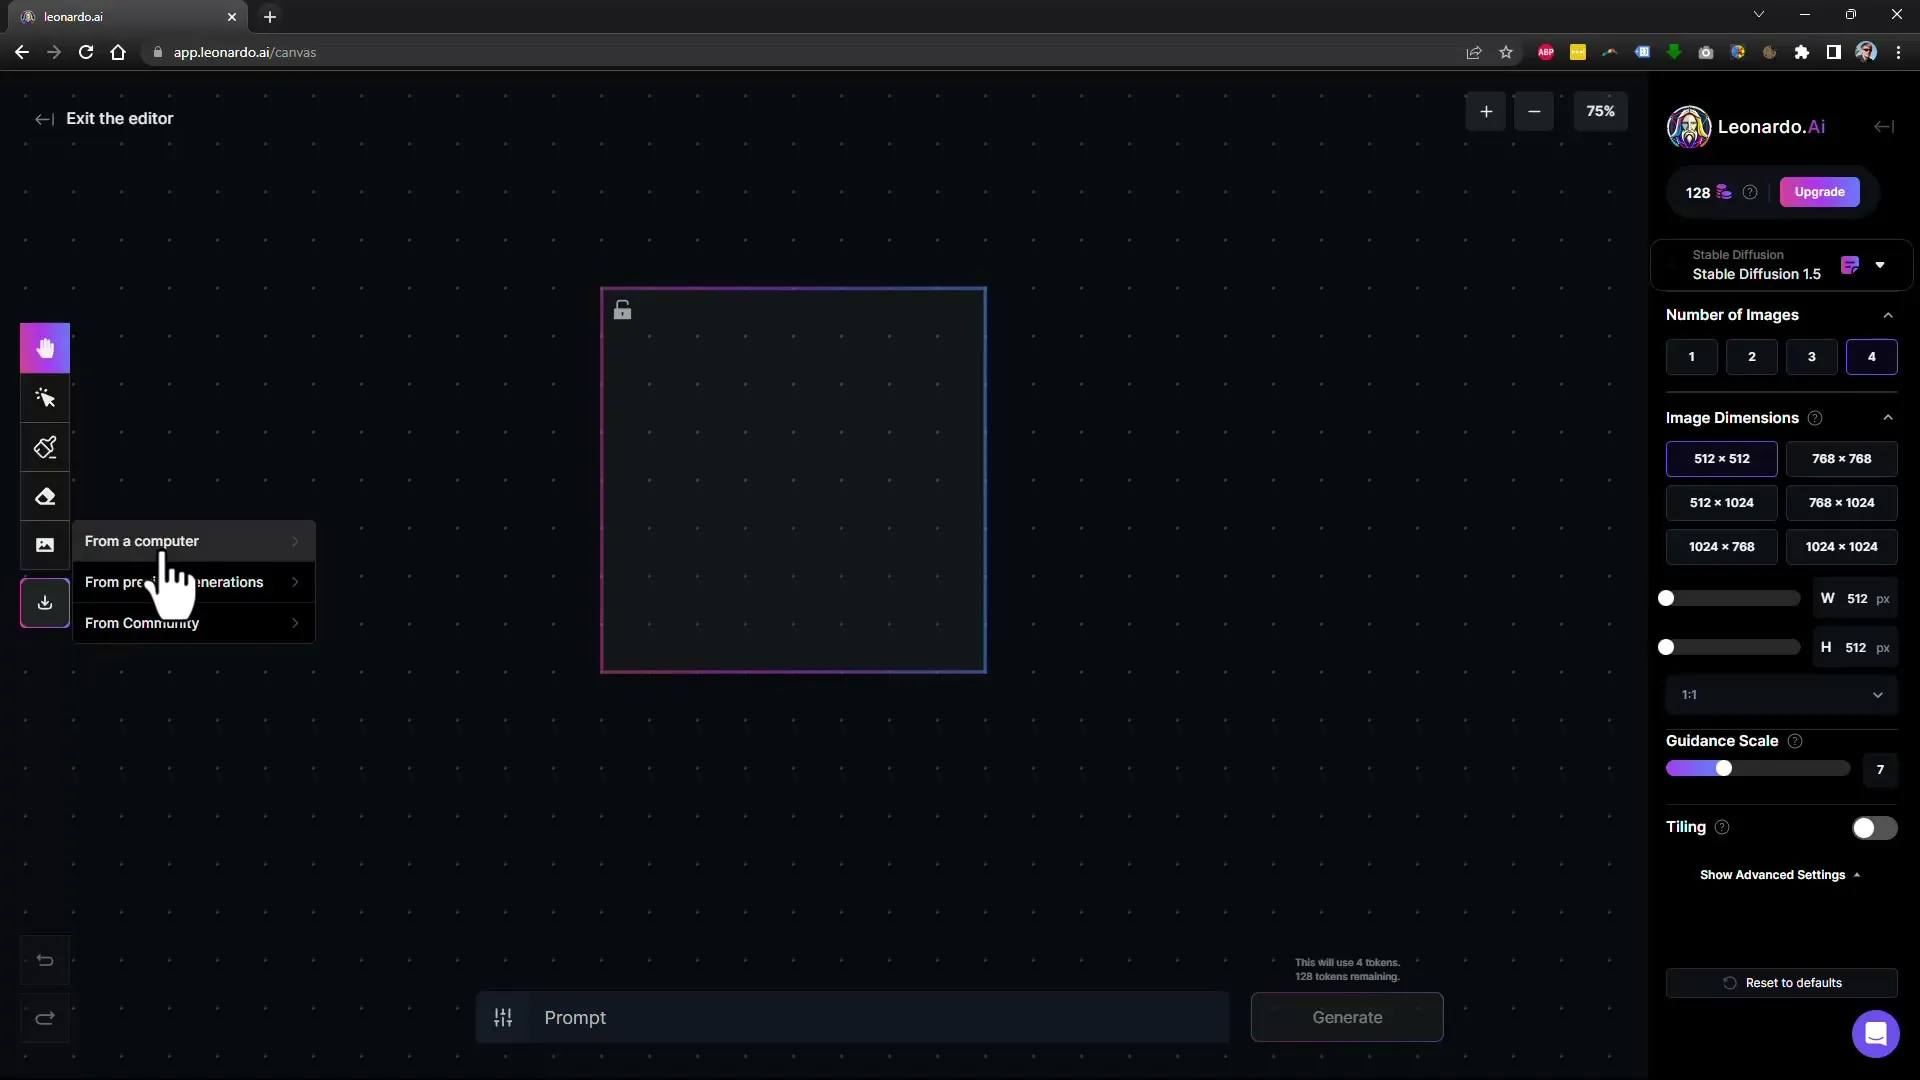
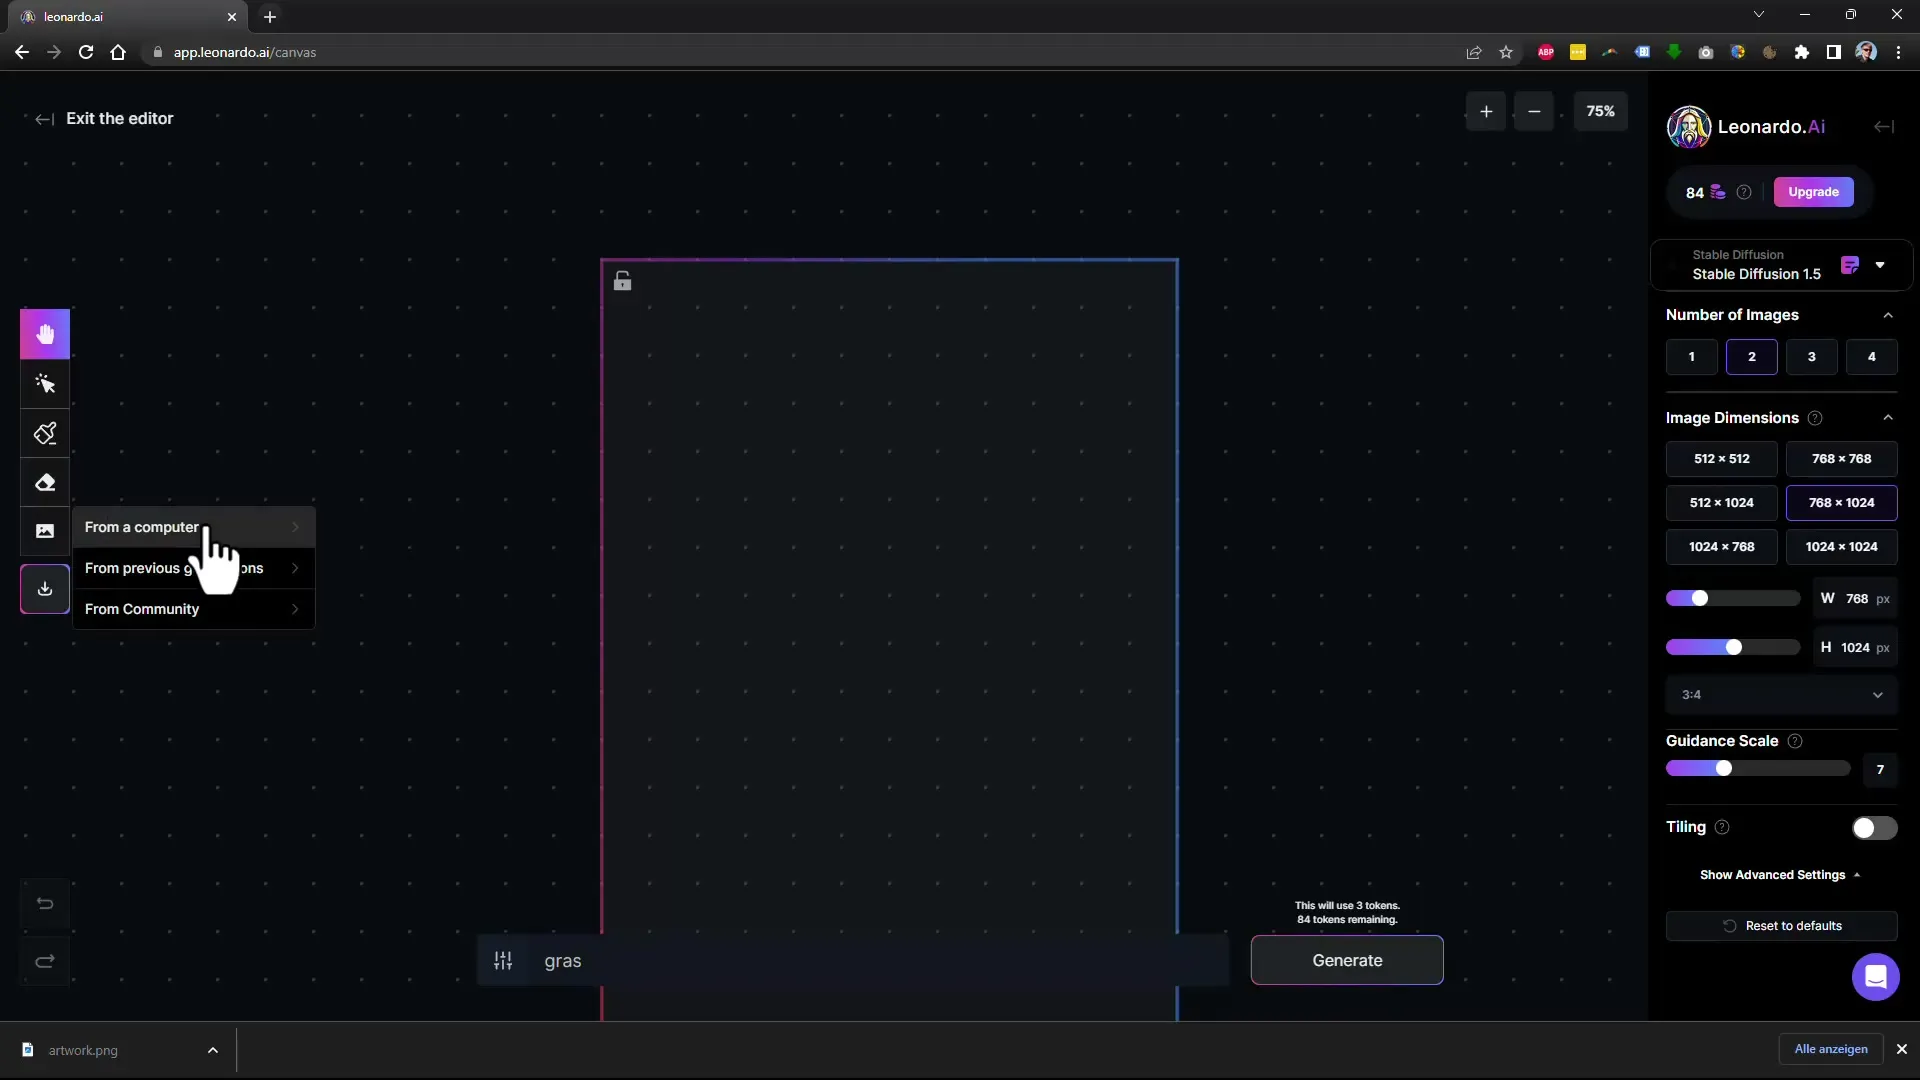
To select an image for editing, click on the image icon in the workspace and choose the "Upload Image" option. You can upload the image directly from your computer.
4. Selection of Editing Area
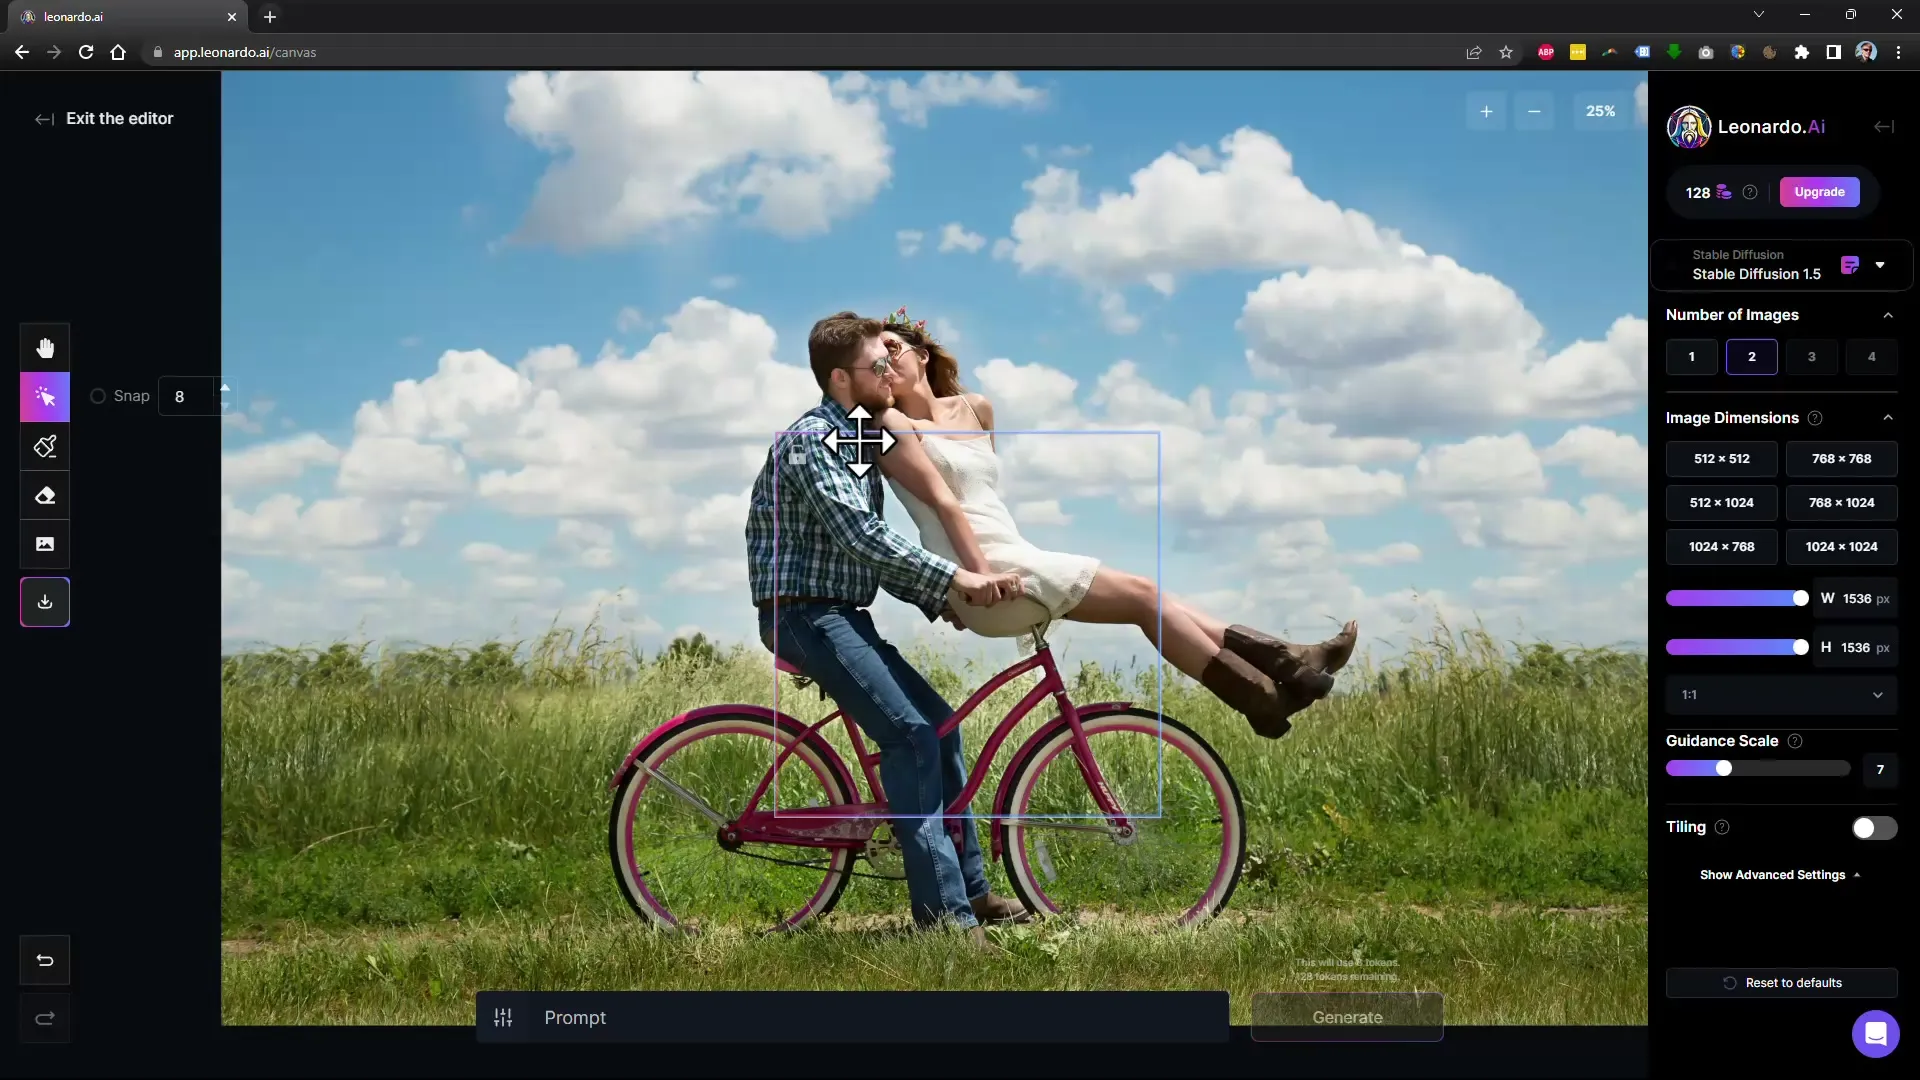
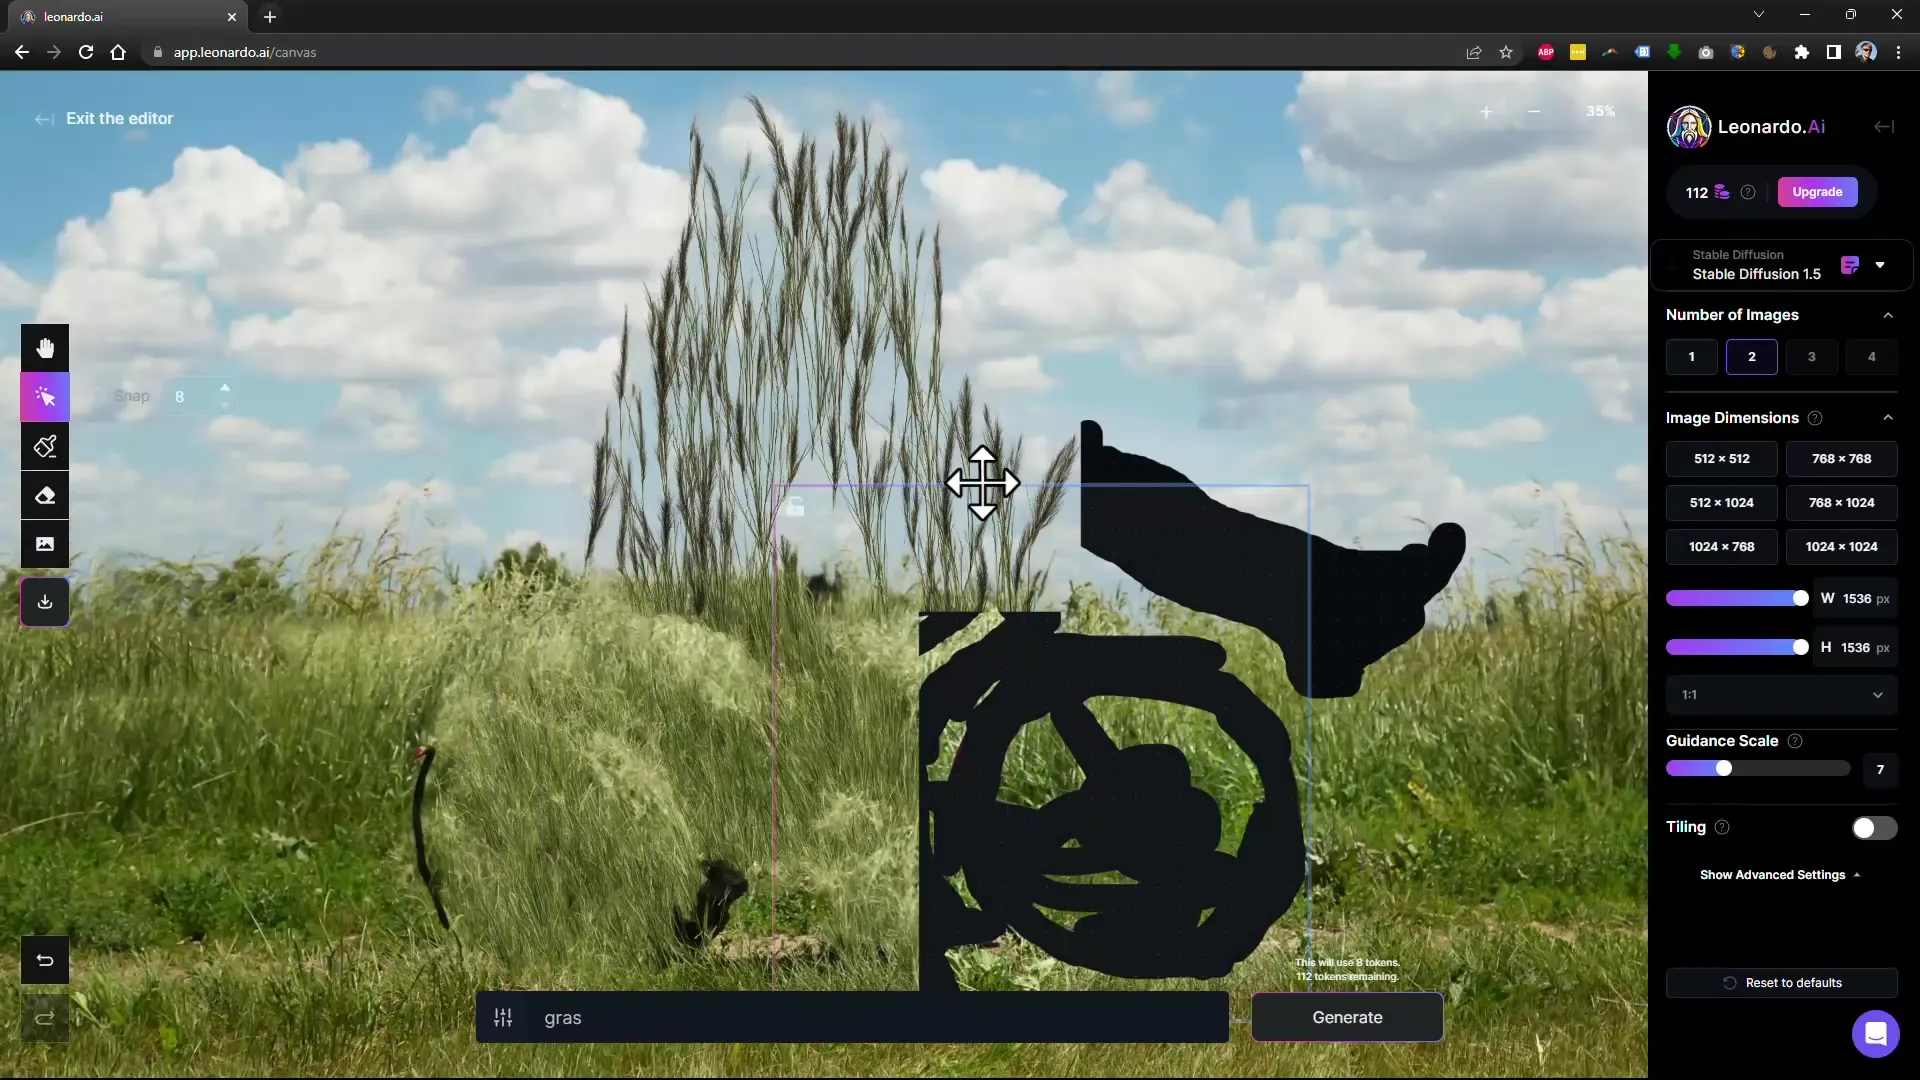
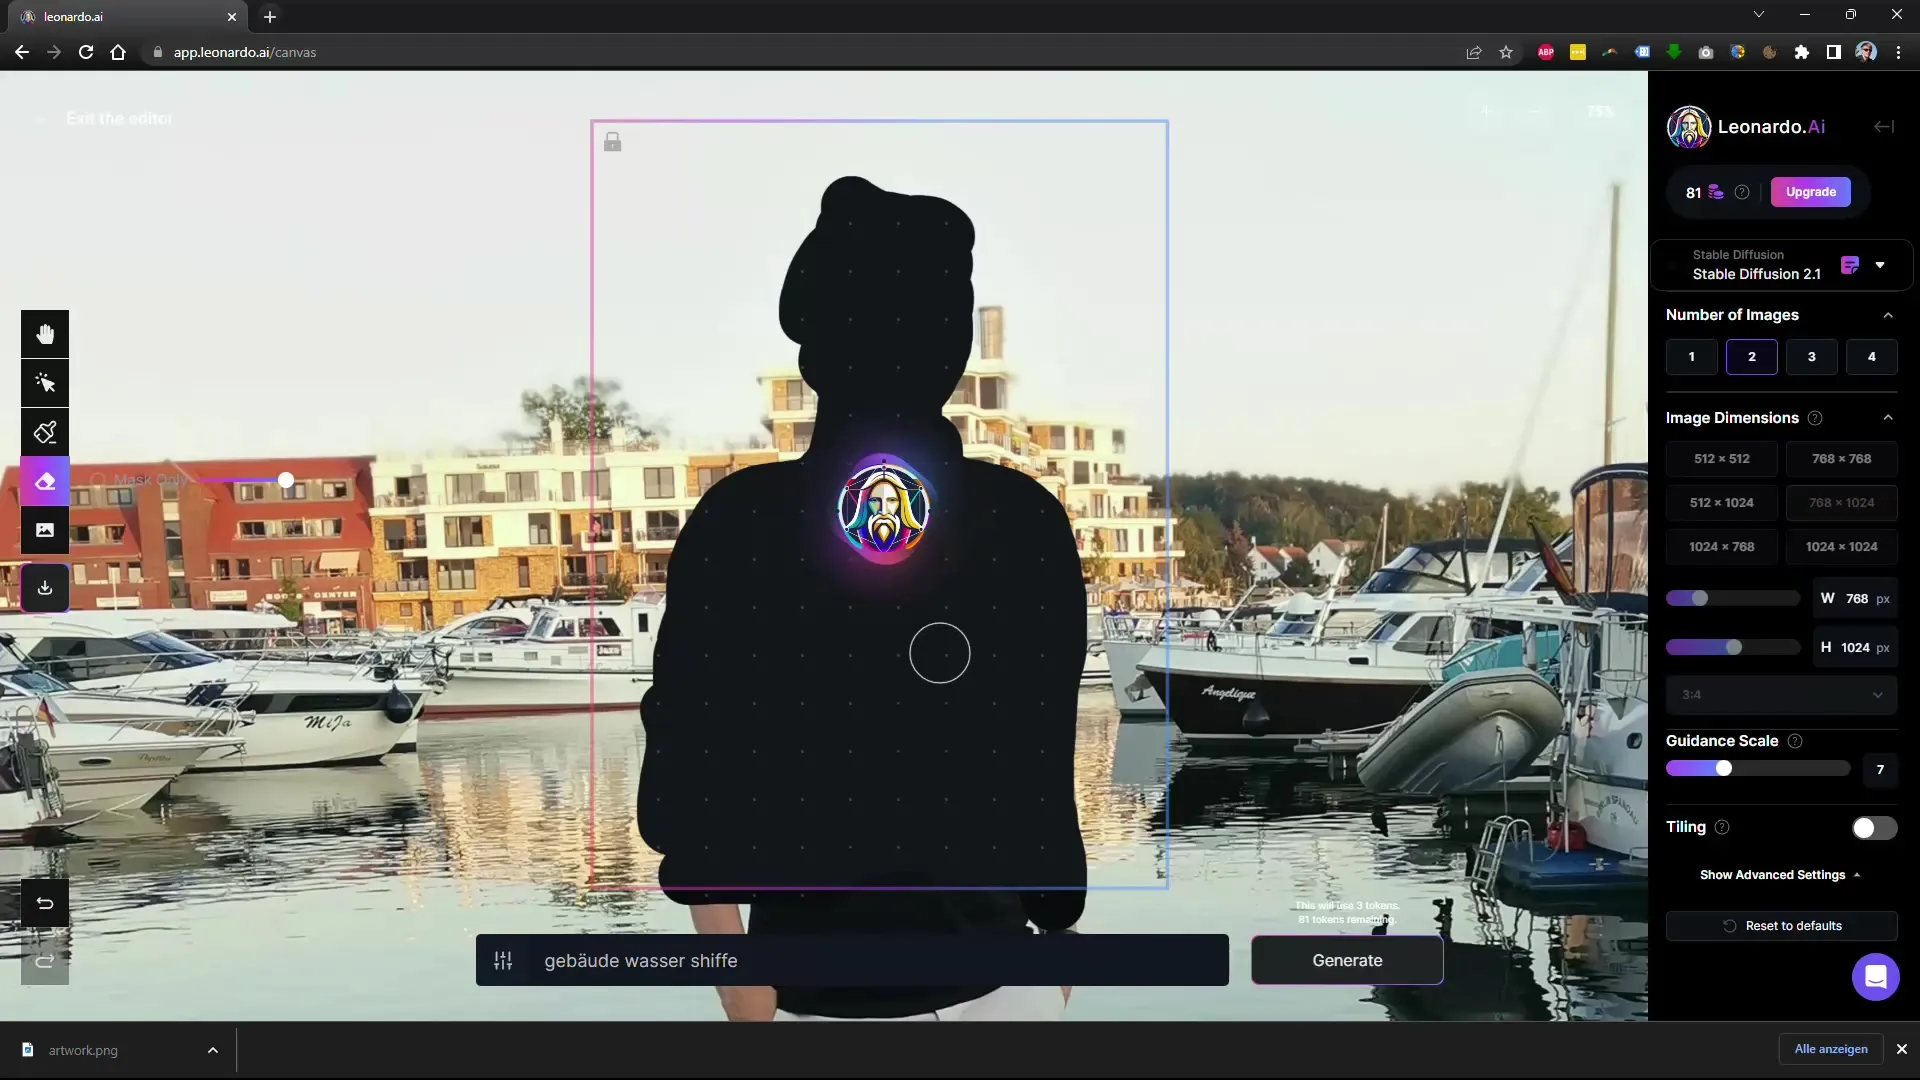
Once the image has been uploaded, you need to select the area from which you want to remove objects or people. You can adjust the width and height of the editing window with the slider. Use the eraser to mark the parts of the image that should be removed.
5. Removing Elements
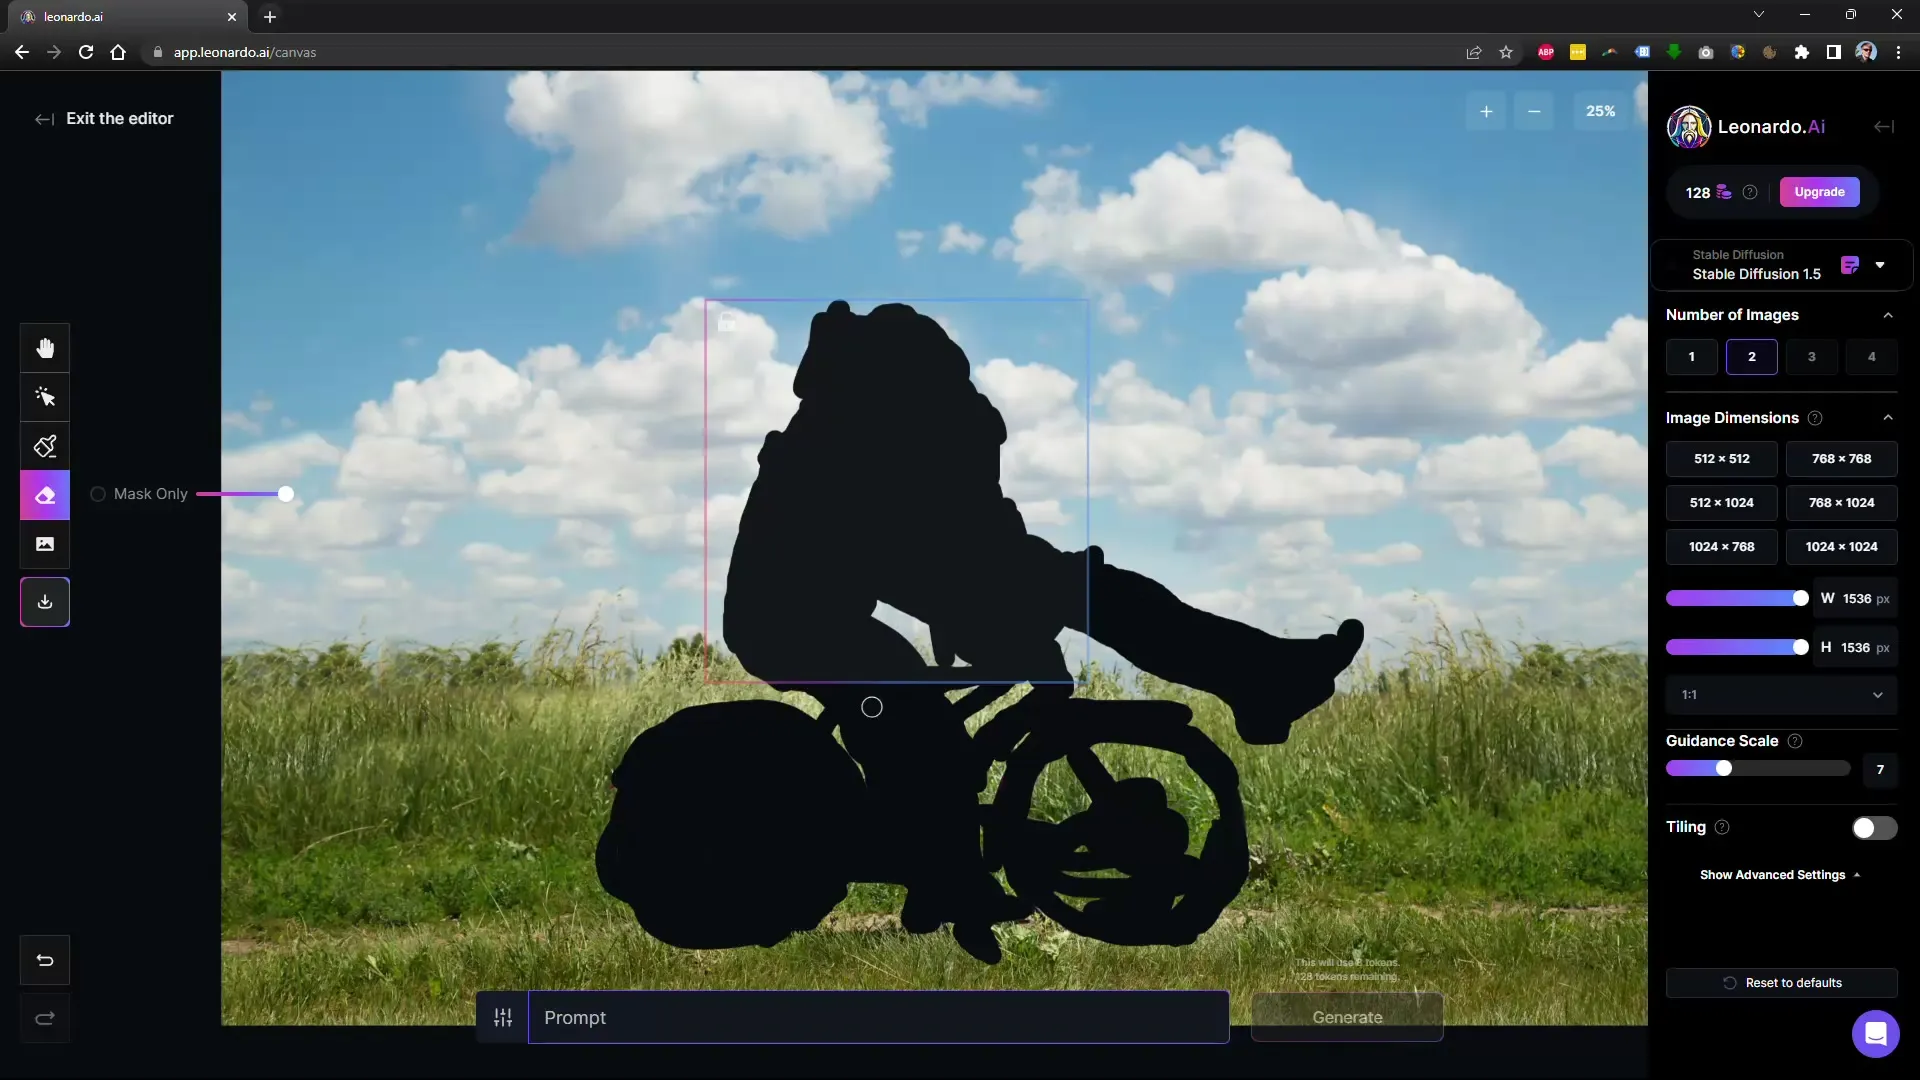
Select the brush and adjust the size before covering the desired areas on the image. For example, if you want to remove a couple and a bicycle, mark the corresponding parts of the image.
6. Describing What to Replace
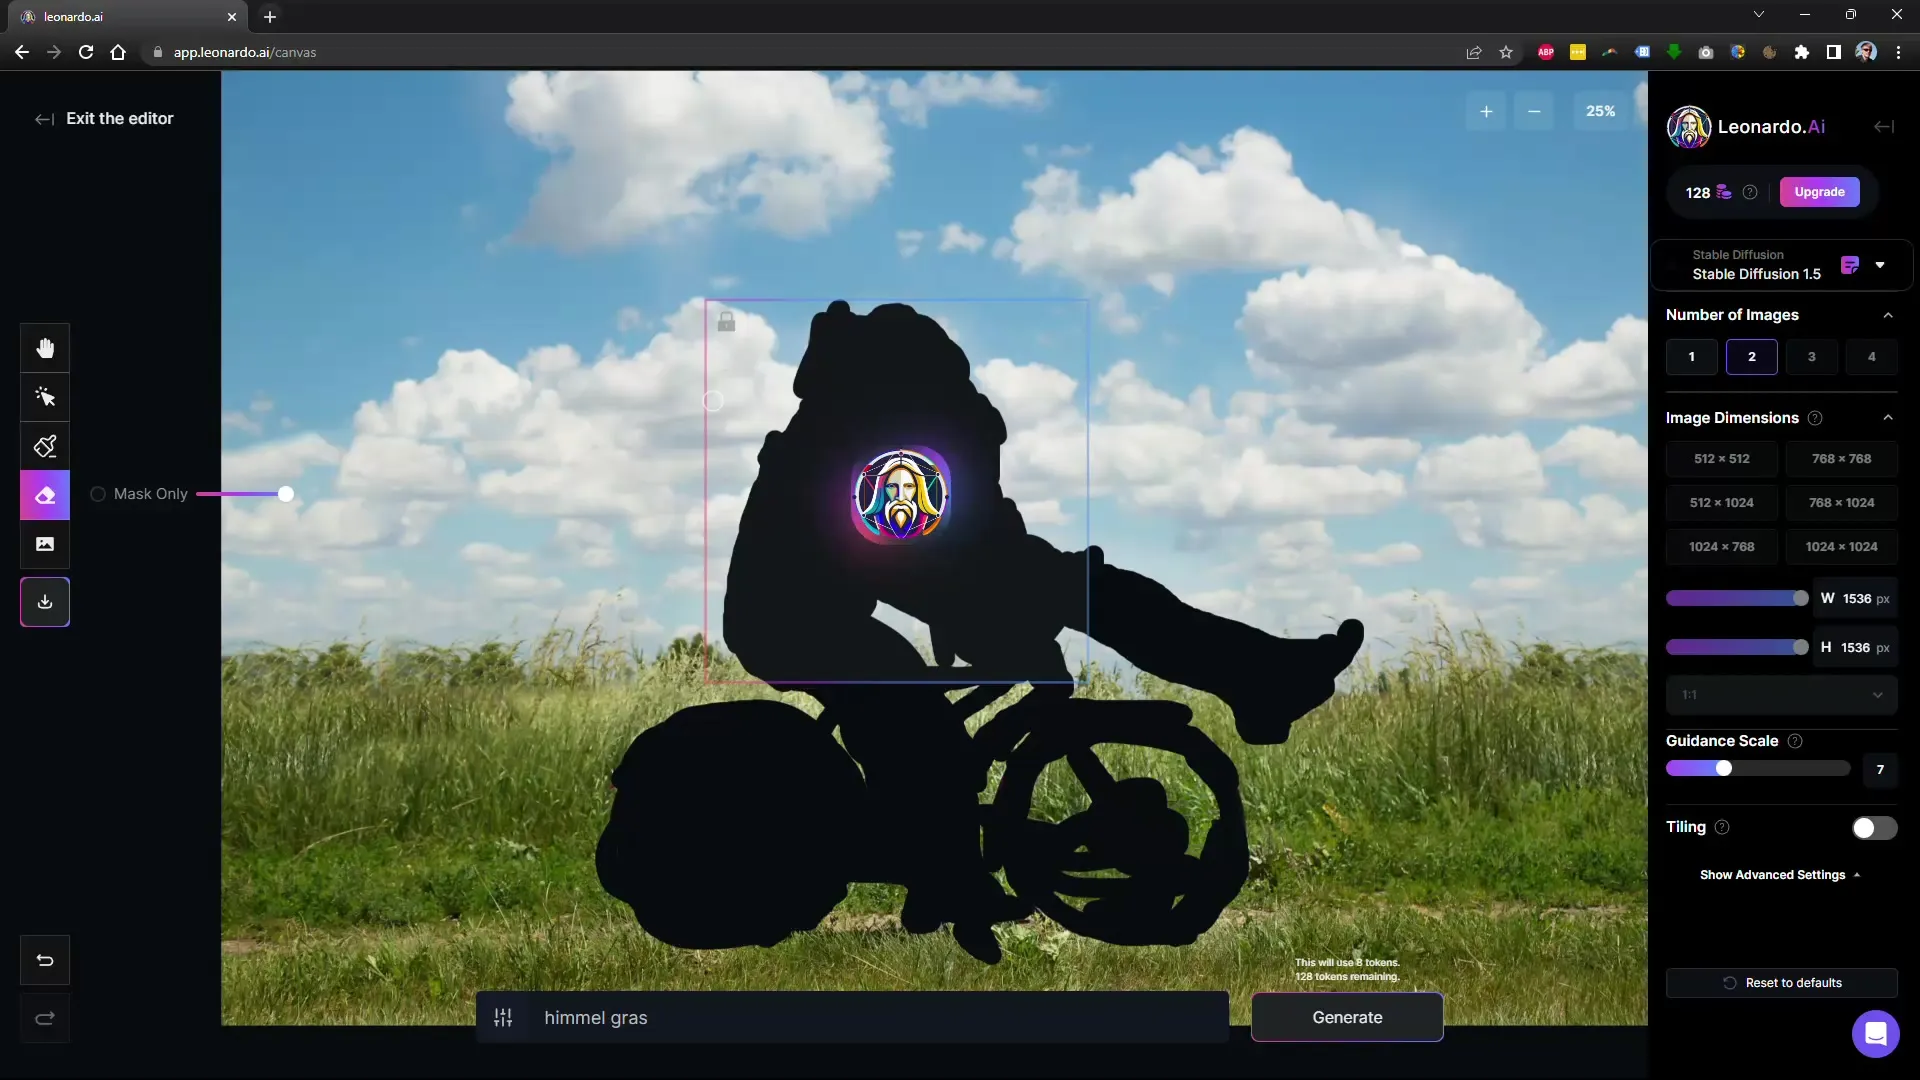
Once you have marked the unwanted elements, specify what should appear in their place. For example, you can enter "sky" and "grass" and then click on "Action" to start the editing process.
7. Reviewing the Results
Leonardo.Ai will now edit the marked area and adjust the image accordingly. Keep an eye on the generated suggestions to ensure that the result meets your expectations.
8. Making Adjustments
If the generated image does not match what you had in mind, you can make changes by adjusting the frame and using the editing functions again.
9. Saving the Edited Image
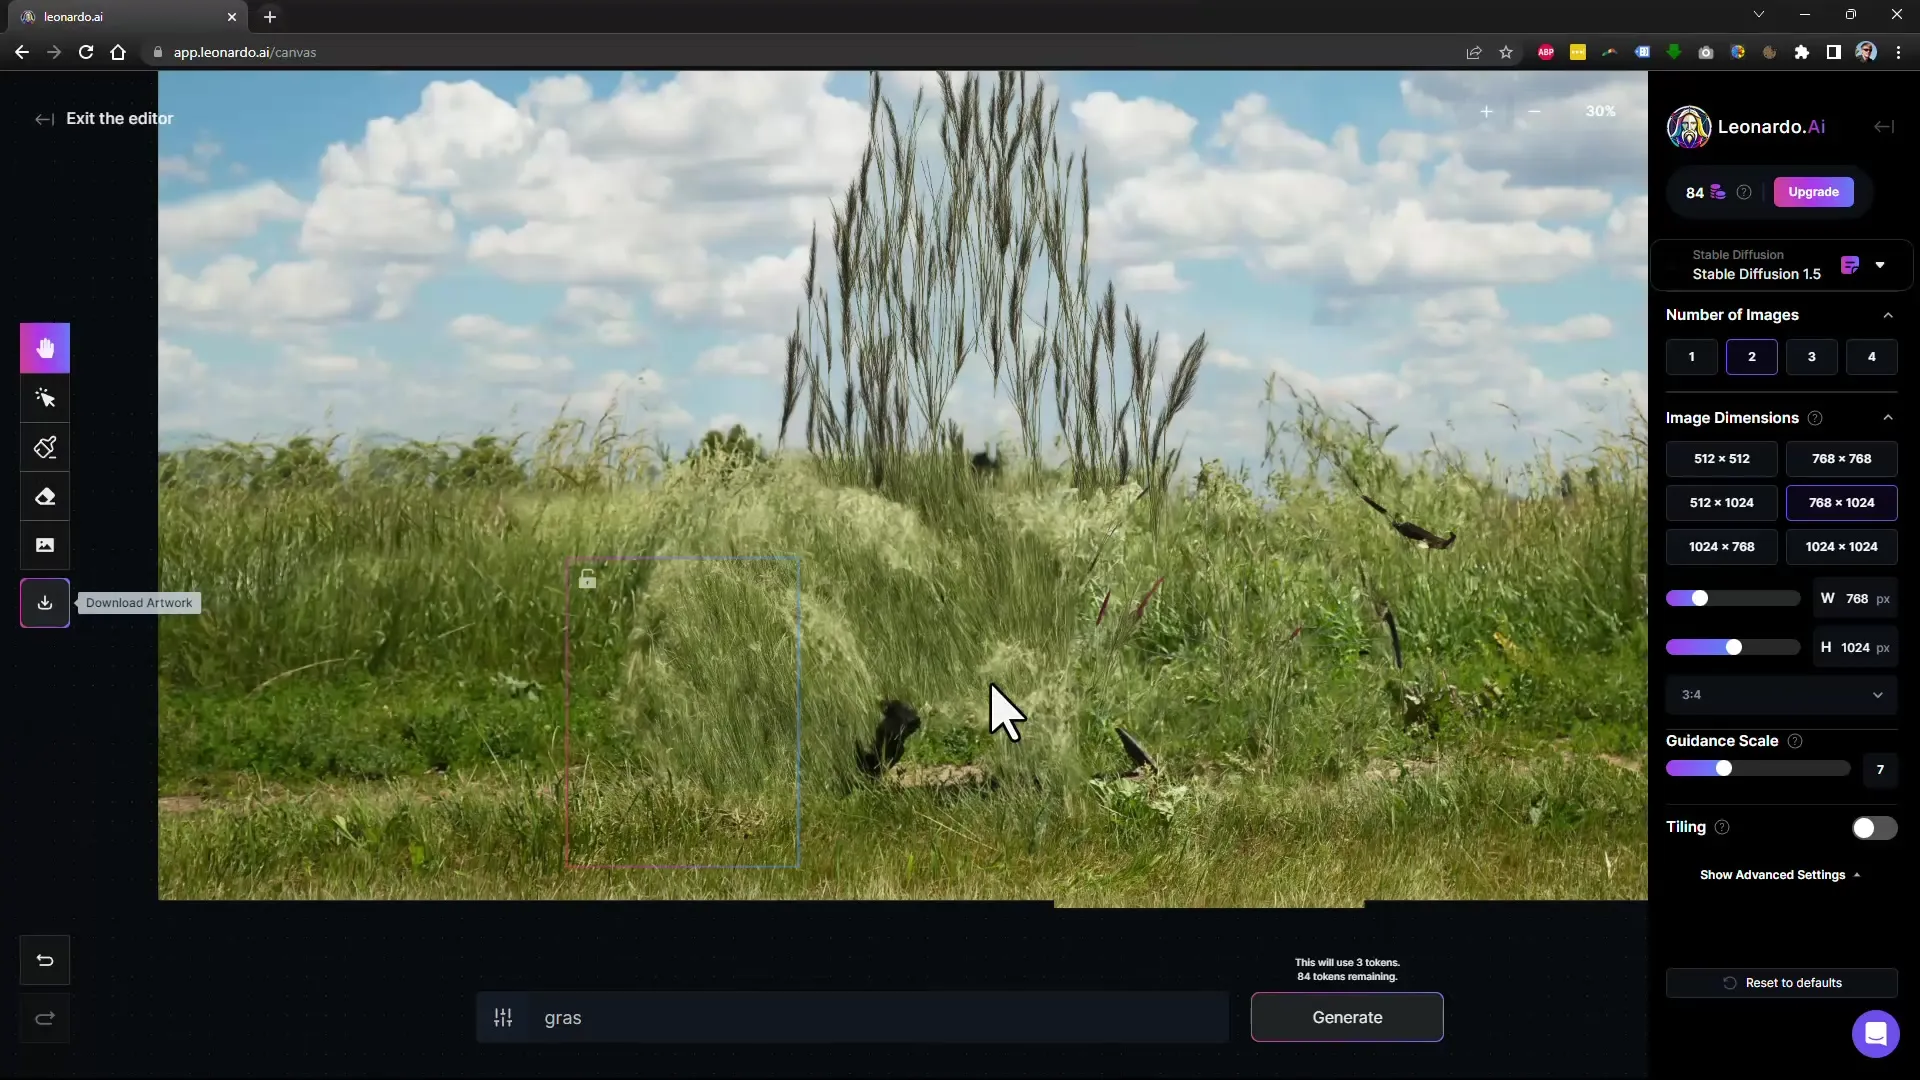
If you are satisfied with the result, click on the download option to save the edited image.
10. Edit a New Image
If you want to edit another image, go back to the "AI Canvas" and upload a new one. Repeat the steps mentioned above to remove disturbing elements again.
11. Edit More Complex Scenes
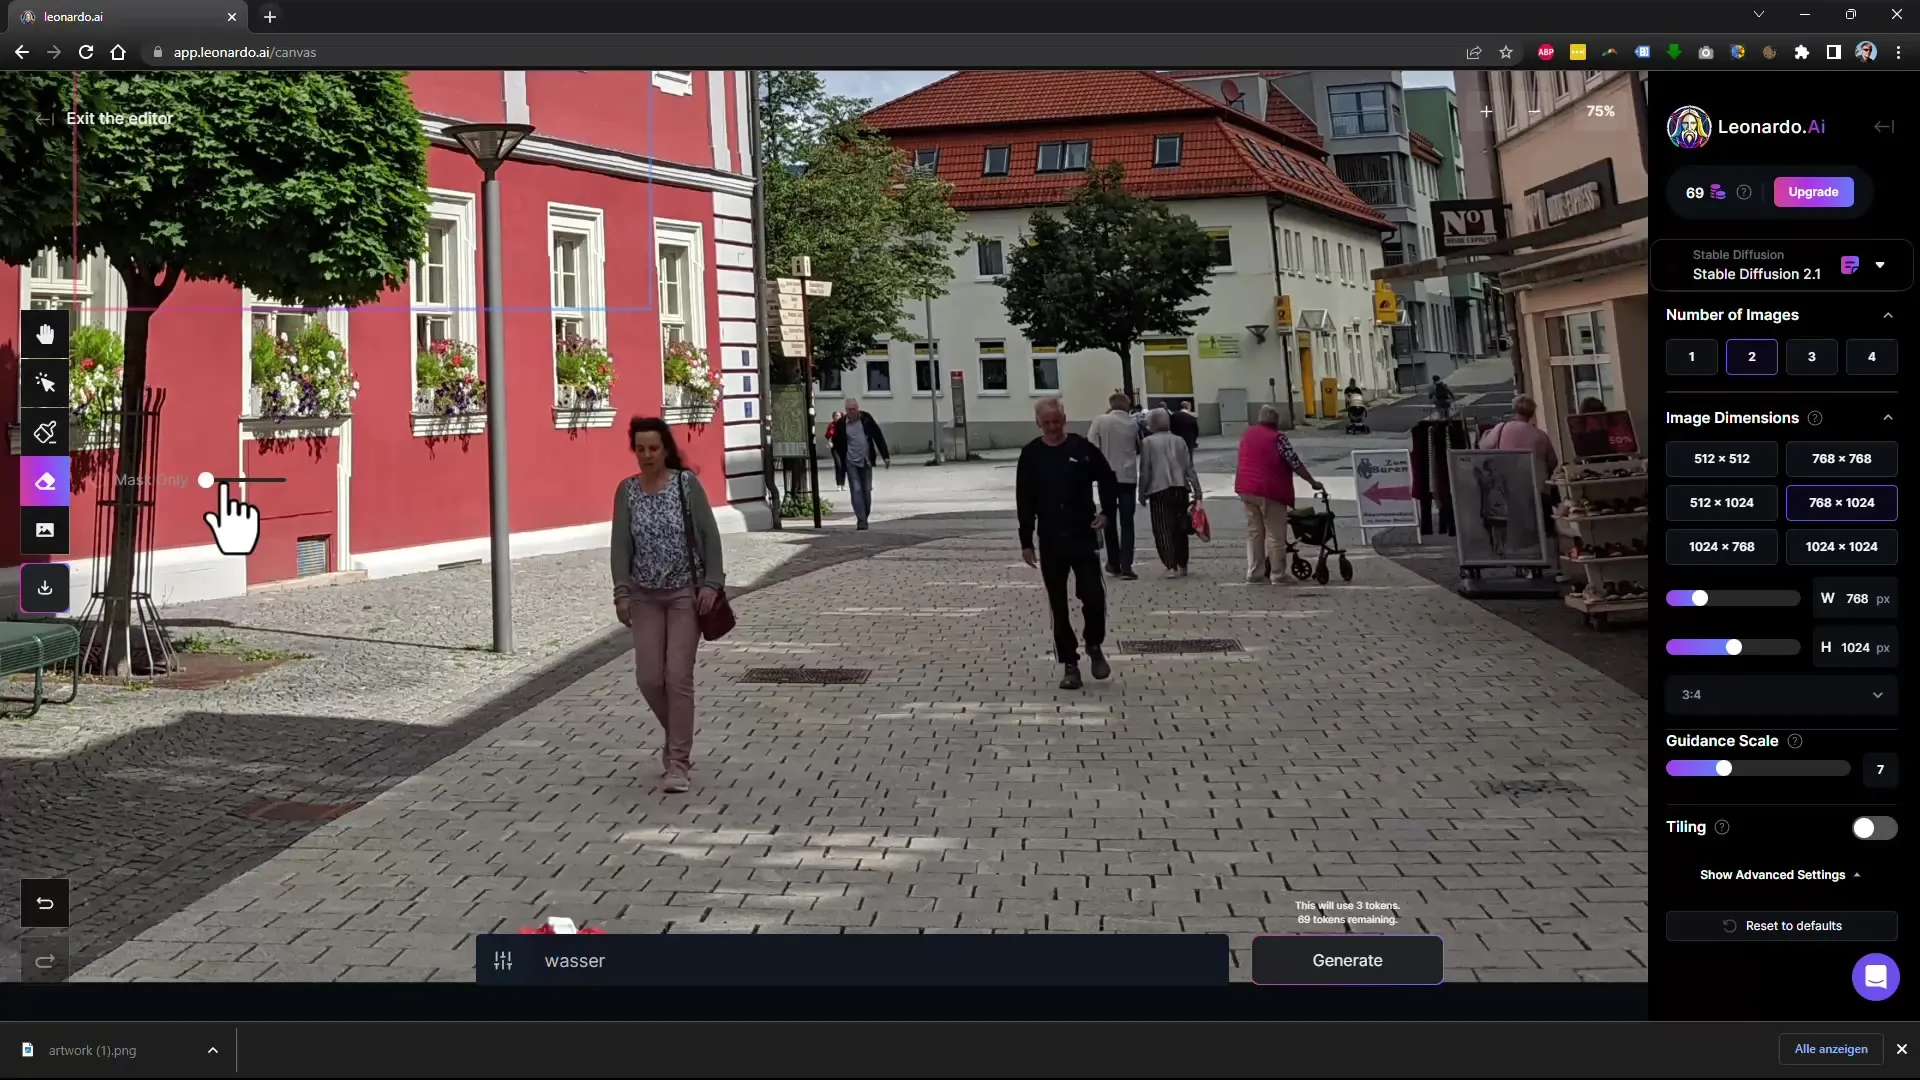
For more complex images where you want to remove multiple objects or people, it is recommended to tackle each area step by step. Start with the largest area and then work your way to the smaller details.
12. Experiment with Settings
Leonardo.Ai also offers different models for you to test which ones are best suited for your images. Try out different settings to achieve the desired result.
Summary
In this tutorial, you have learned how to remove disturbing objects and people from images using Leonardo.Ai. The steps are simple, and the software is user-friendly. With a little practice, you will quickly be able to achieve impressive results.
Frequently Asked Questions
What is Leonardo.Ai?Leonardo.Ai is a free AI-powered tool for image editing that allows you to remove objects and people from photos.
Do I need special skills to use Leonardo.Ai?No, Leonardo.Ai is user-friendly and does not require any special knowledge of image editing.
Does Leonardo.Ai work on every computer?You will achieve optimal results with a good graphics card, but the software should also work on average computers.
Do I have to pay for Leonardo.Ai?Using Leonardo.Ai is free, but there are paid models that offer additional features.
How do I save an edited image?You can save the edited image by clicking on the download option in the user interface.
