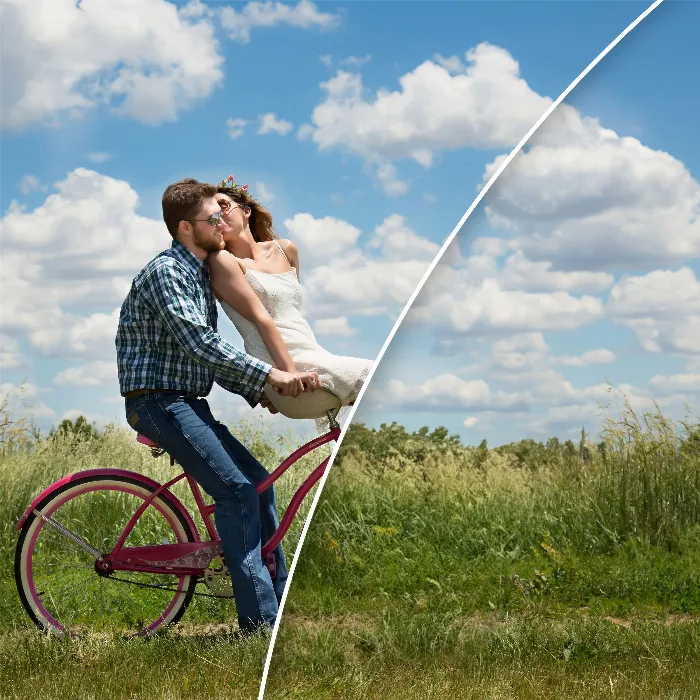
In this guide, I will show you how to remove people and objects from images using the programs Affinity Photo and the free online tool Photopea. Both tools utilize AI technology to assist you in this challenge. You will notice that the efficiency and results of the two programs vary. Let's dive straight into the steps to make the most of their functionality.
Key Takeaways
- Affinity Photo provides good results as long as the object's background allows it.
- The "Inpainting" feature in Affinity Photo helps in object removal but often requires additional post-processing.
- Photopea is a free tool that offers similar features to Photoshop but may differ in performance from Affinity.
- For minor adjustments like removing blemishes, the restoration brush proves to be very effective.
Step-by-Step Guide
Step 1: Prepare Affinity Photo
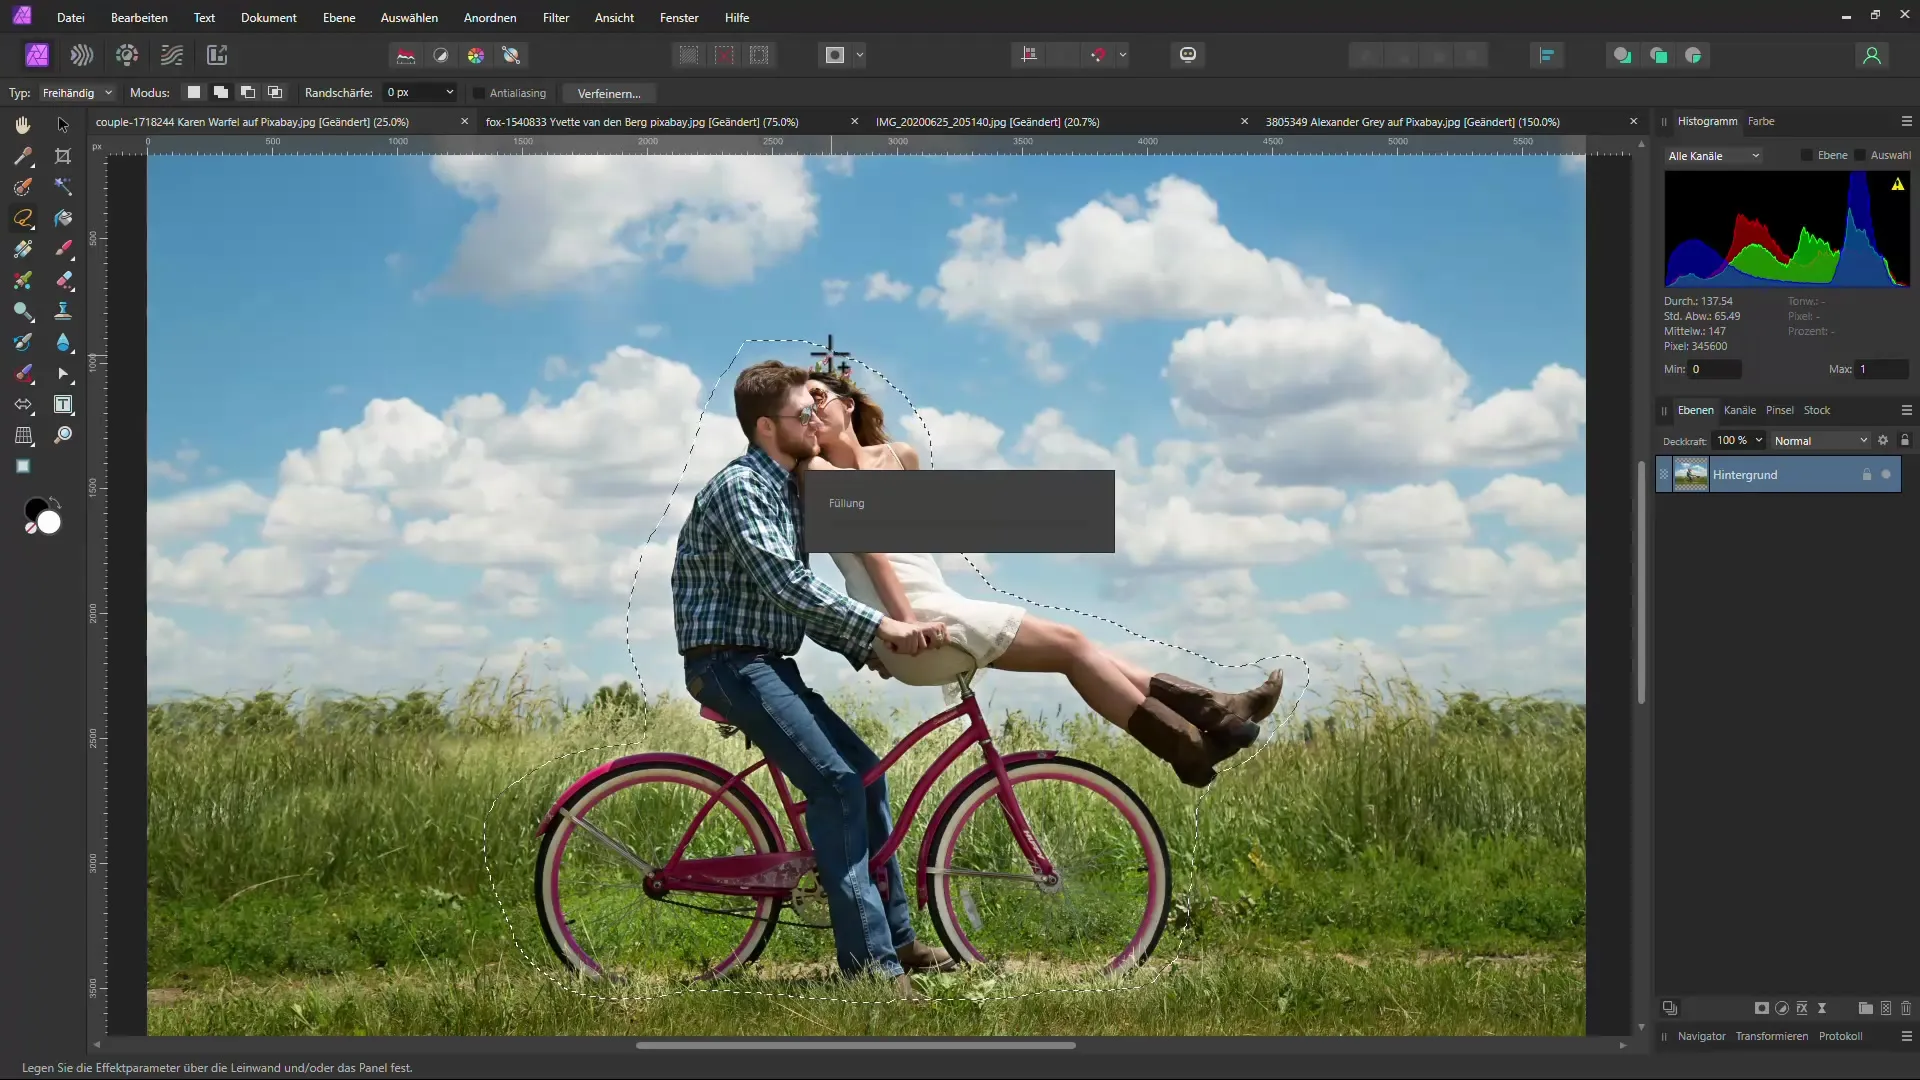
Open Affinity Photo and load the image from which you want to remove an object. In this example, we want to remove a couple from a bicycle.
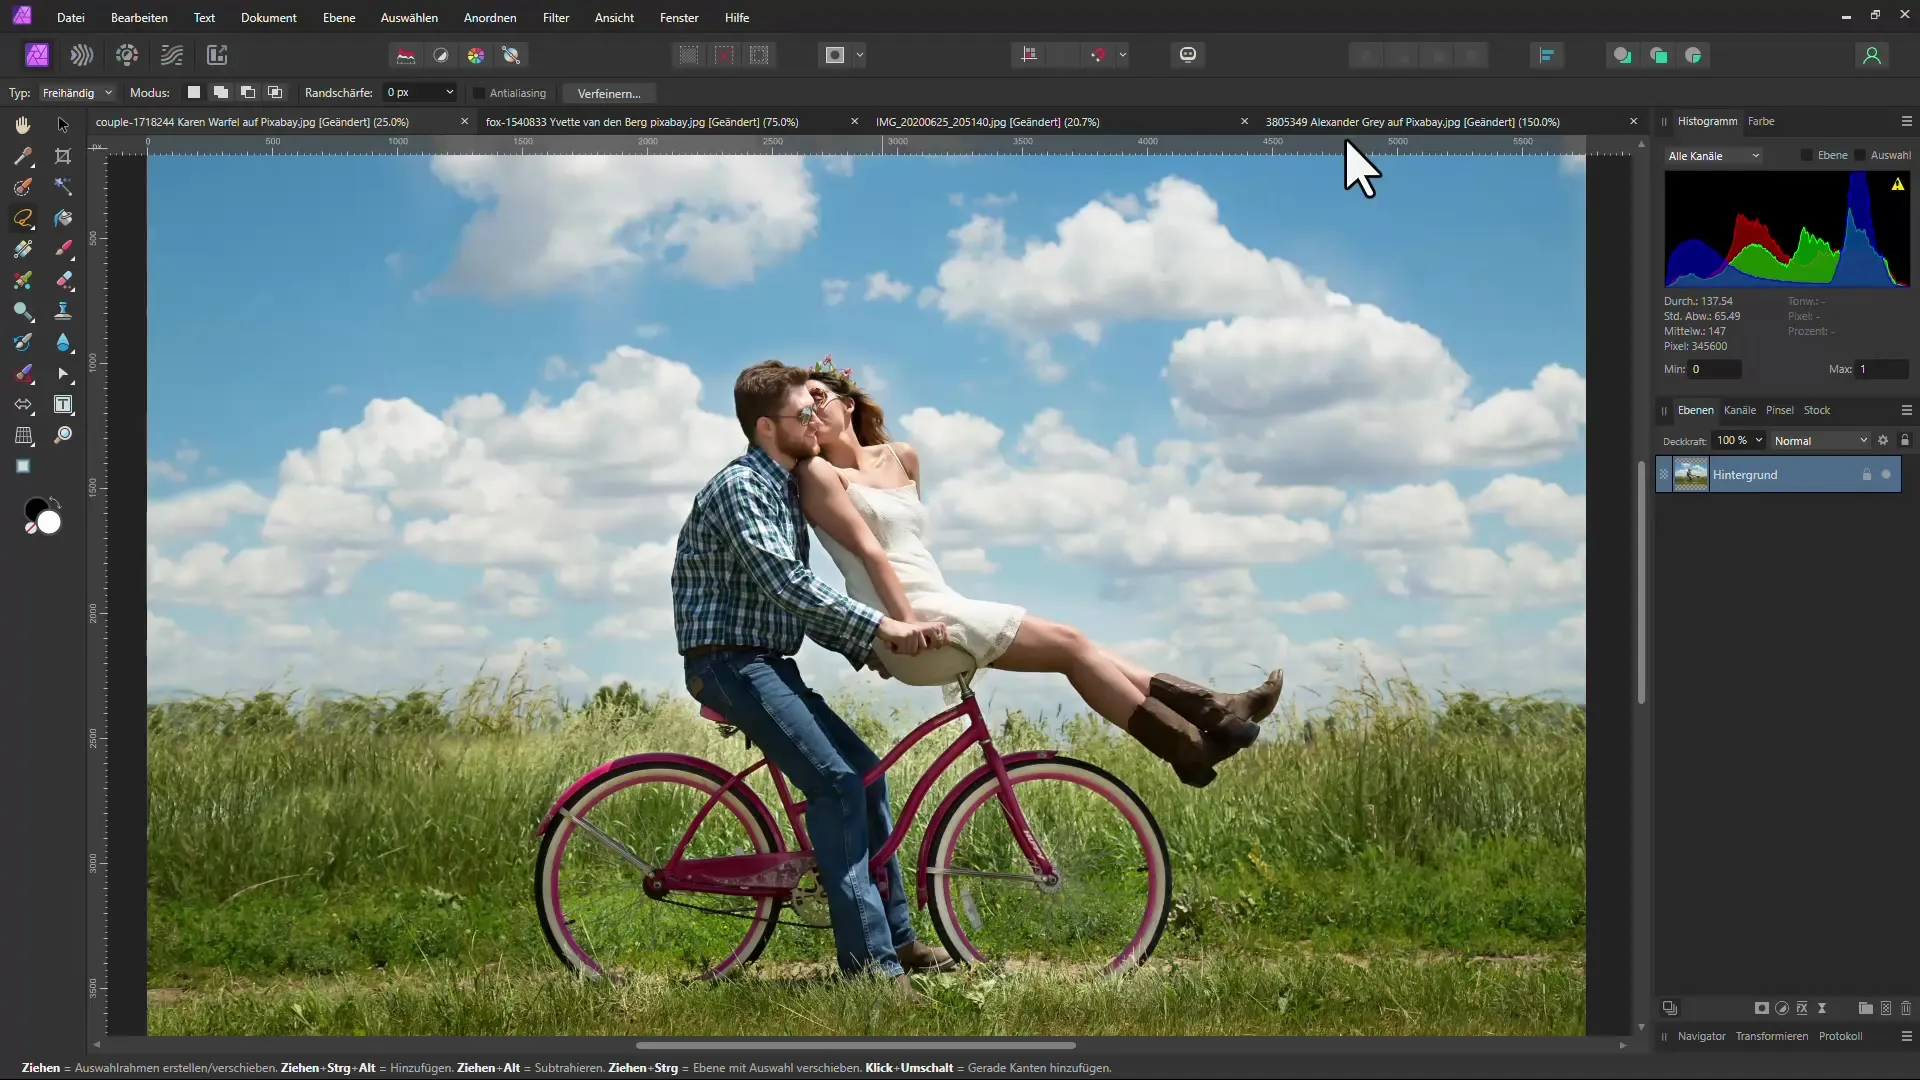
Step 2: Use the Freehand Selection Tool
Select the Freehand Selection Tool from the toolbar. You now have to roughly select the couple you want to remove. It is not necessary to make the selection perfect; a rough selection is sufficient.
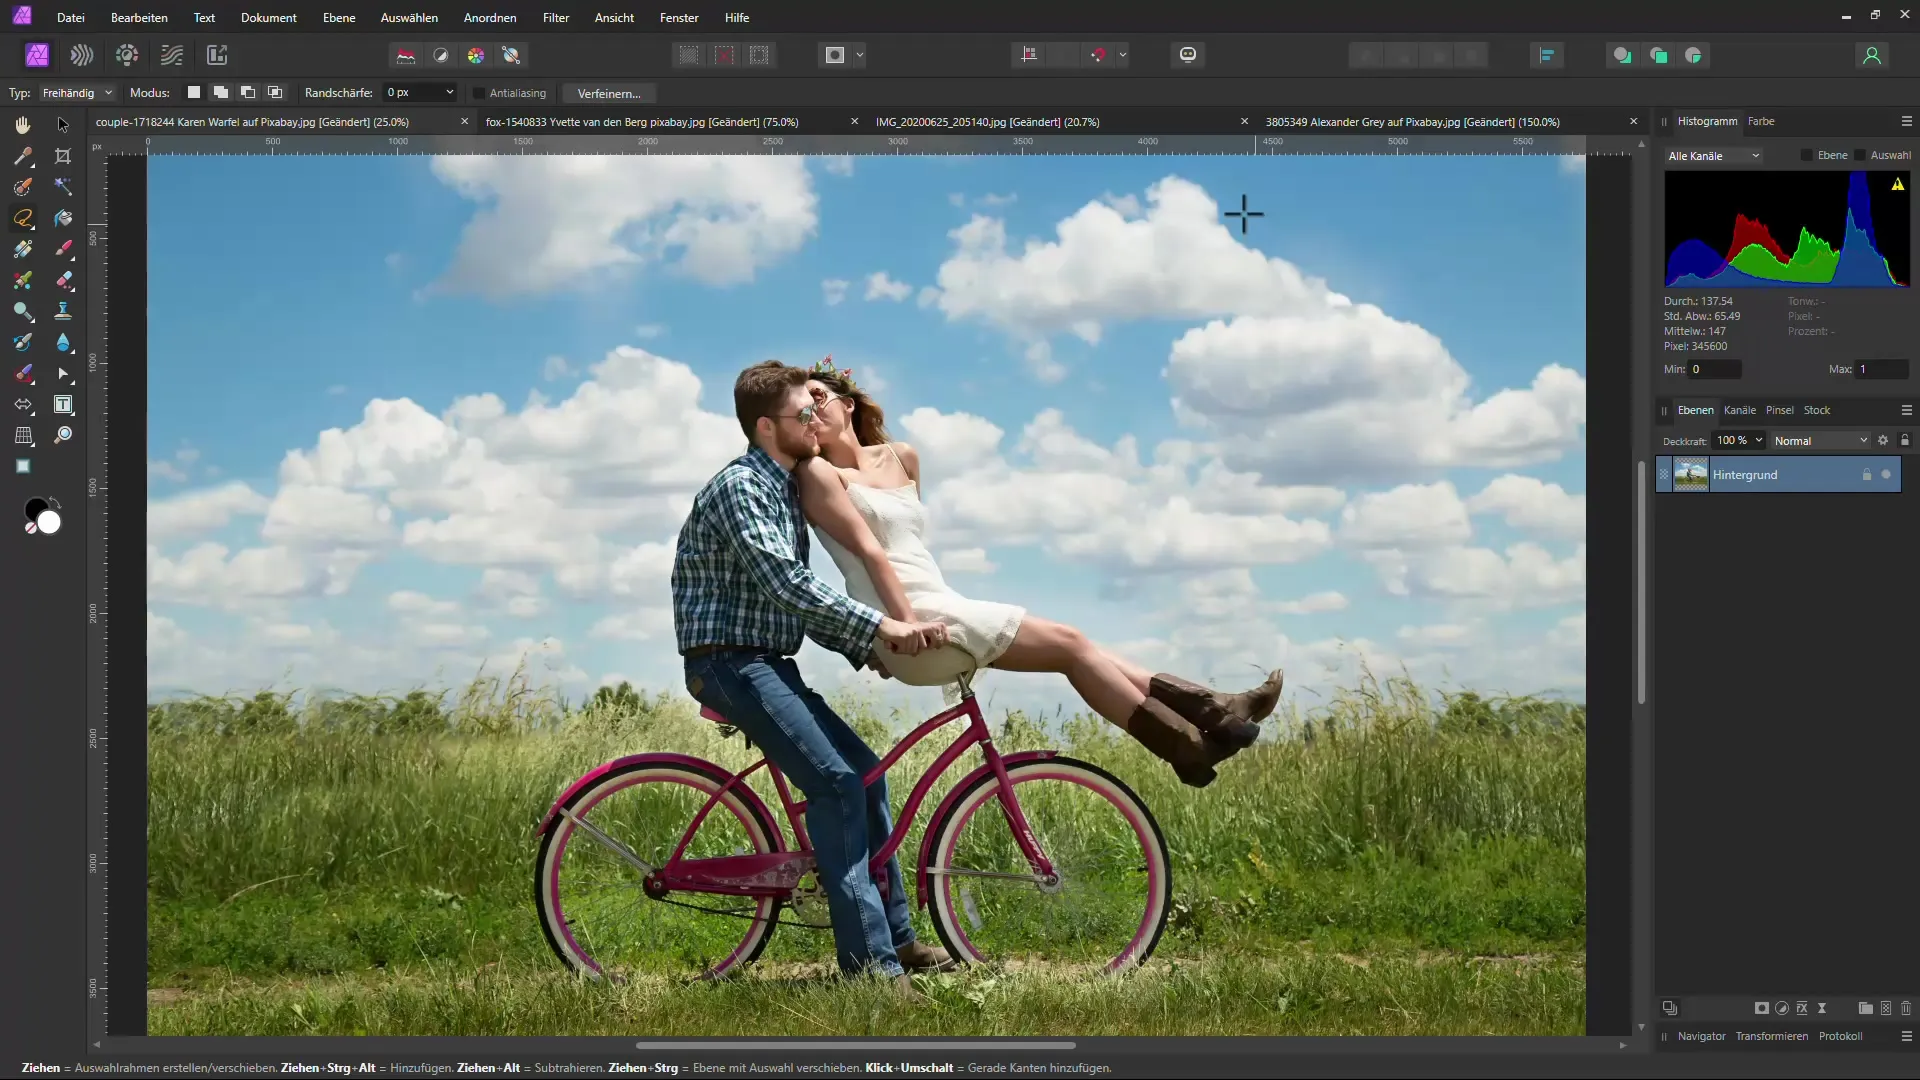
Step 3: Access Edit and Fill
After making the selection, go to "Edit" and choose "Fill". A new window will open where you select the option for Inpainting.
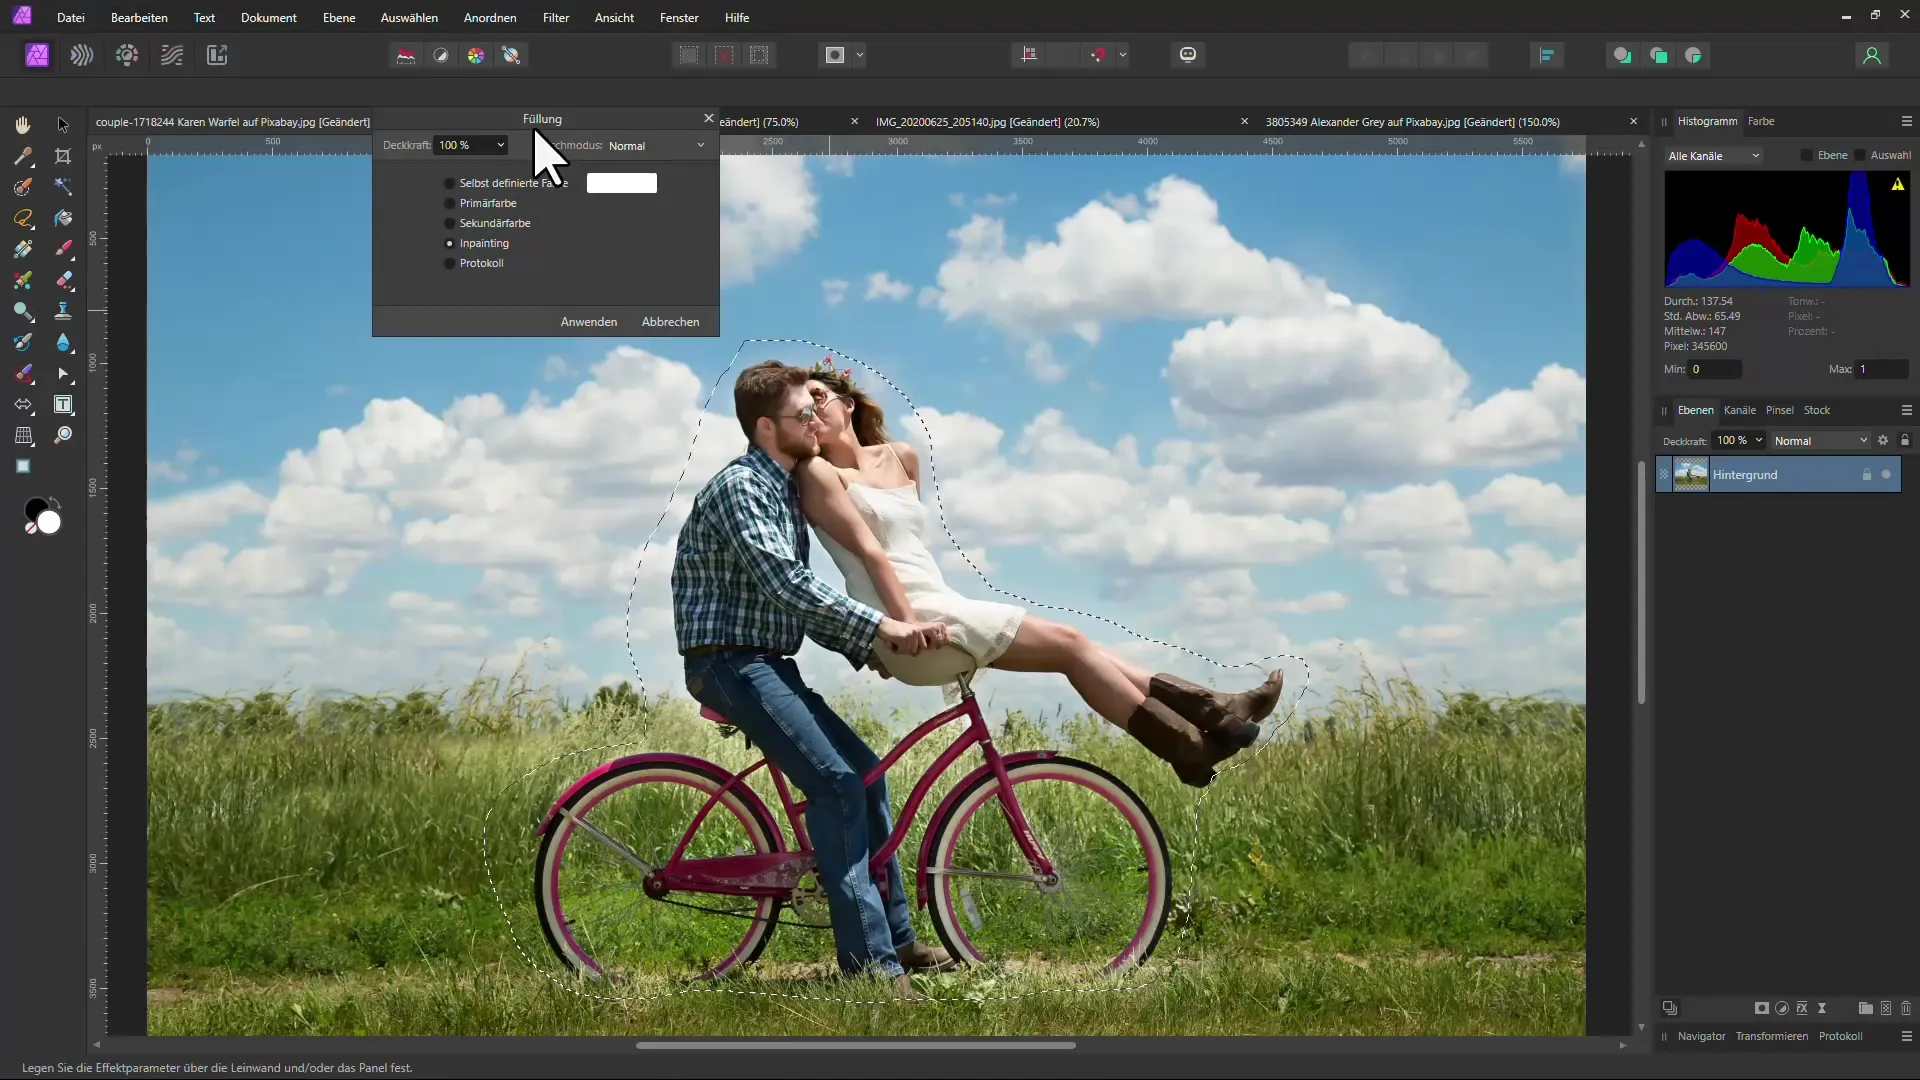
Step 4: Apply Inpainting
Click "Apply" to let the AI automatically remove the selected area.
Step 5: Deselect the Selection
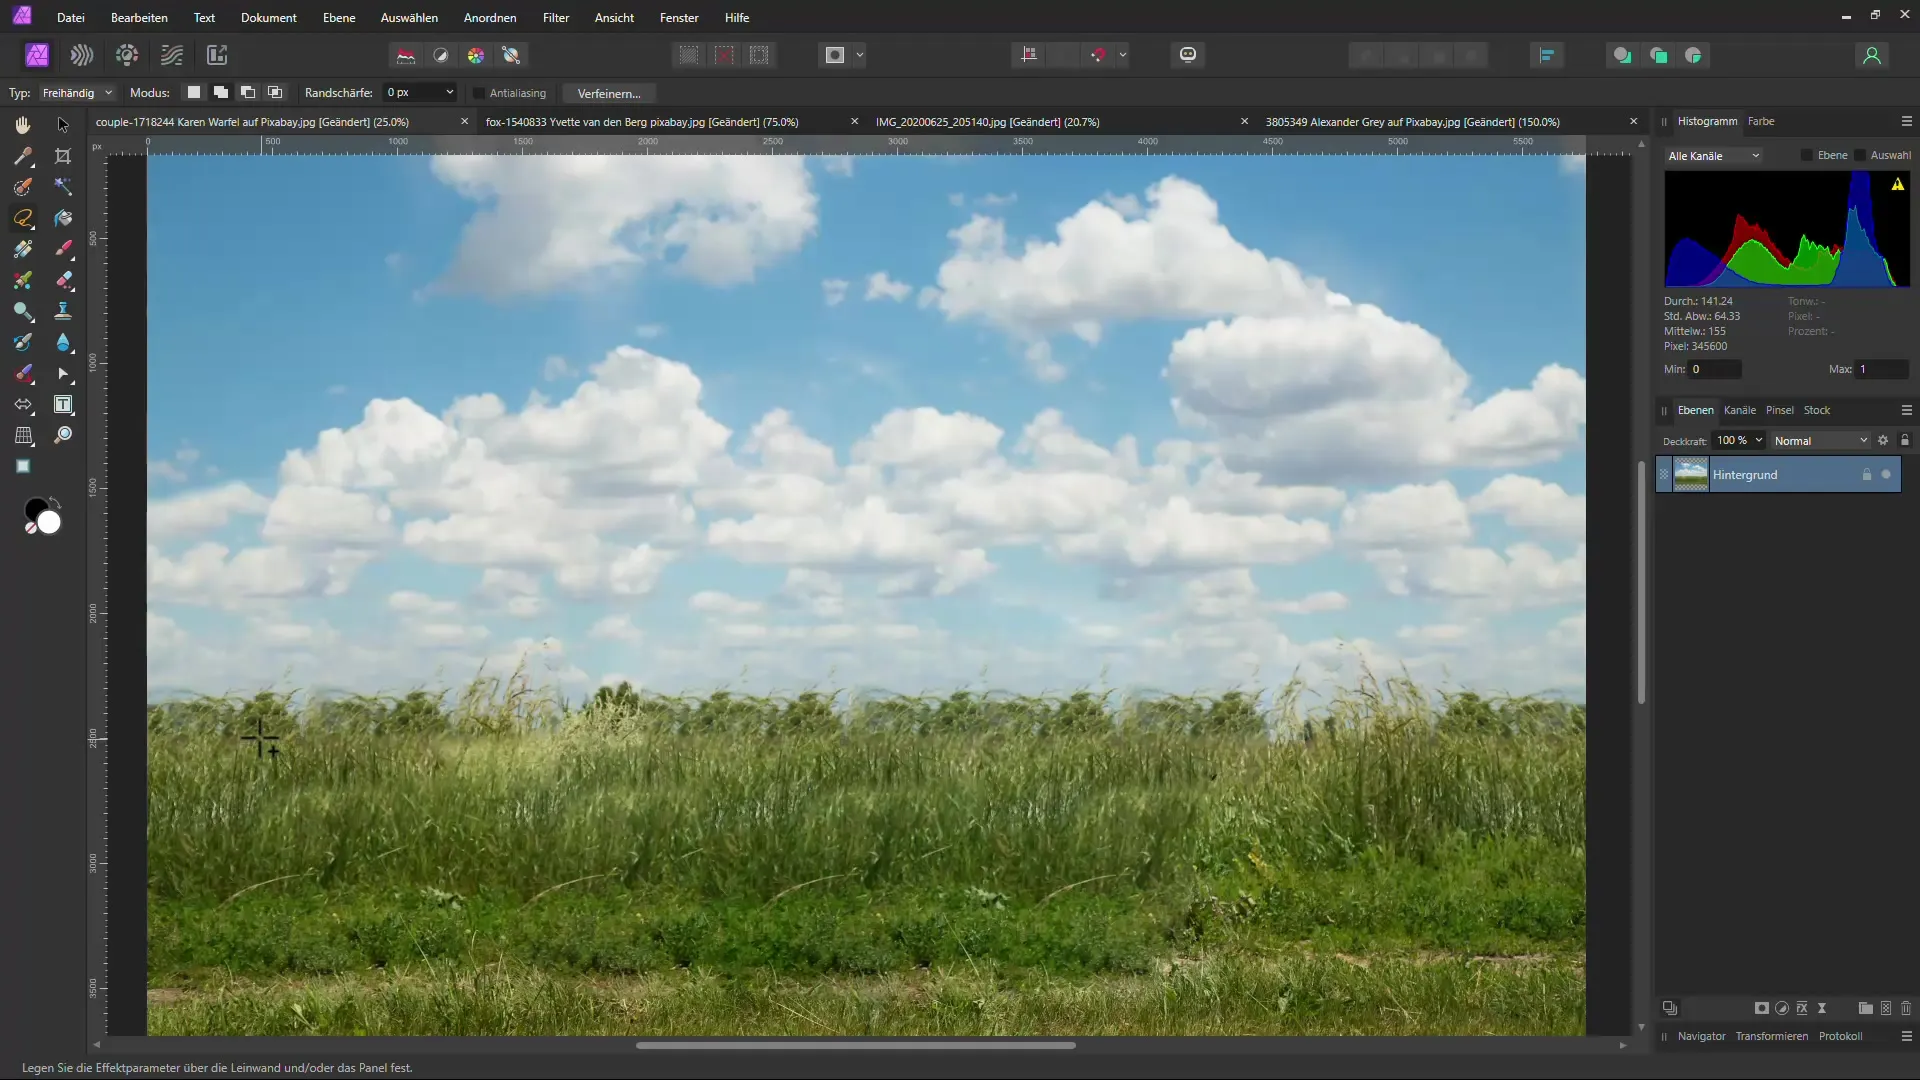
Press "Ctrl + D" to deselect. You will now see that the couple has been removed and the overall image looks very good.
Step 6: Review the Image
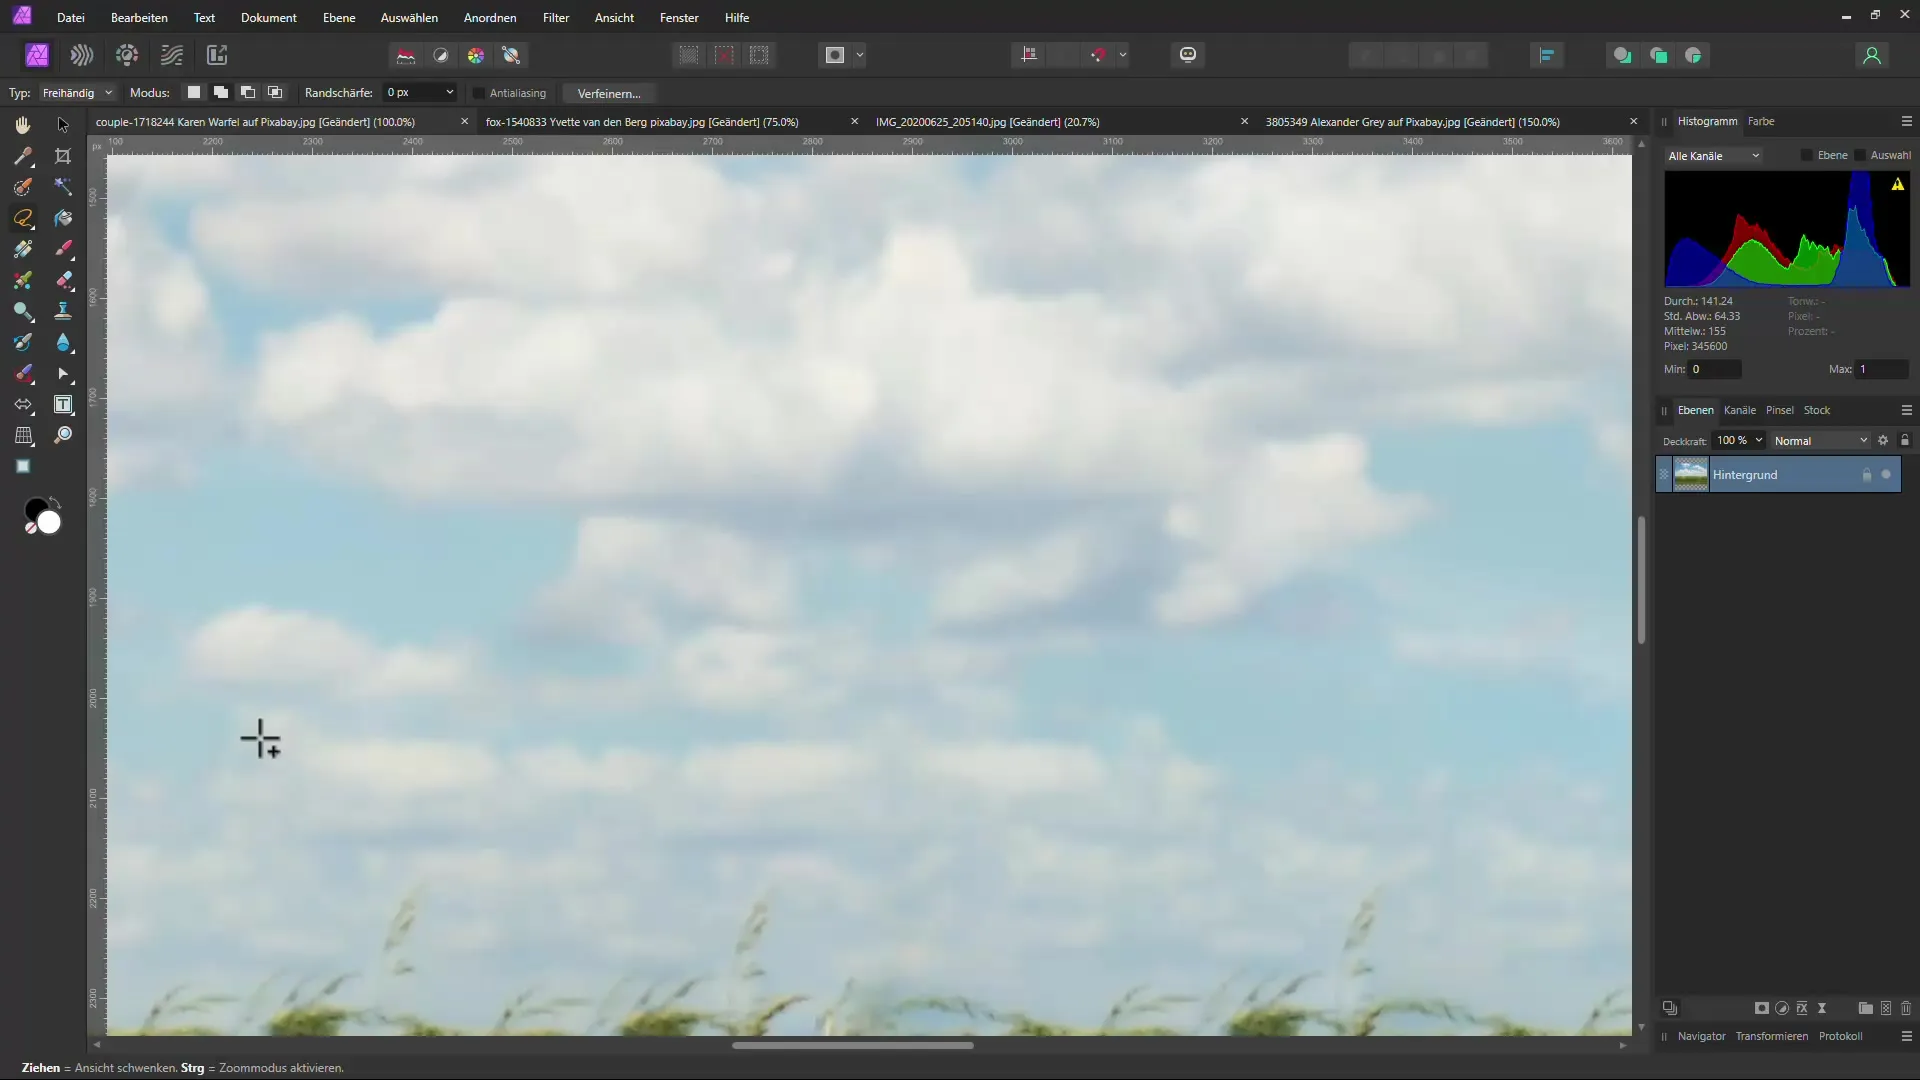
Zoom into the image to review at 100%. While the results are good, some slightly blurred areas may become visible.
Step 7: Challenge with Complex Backgrounds
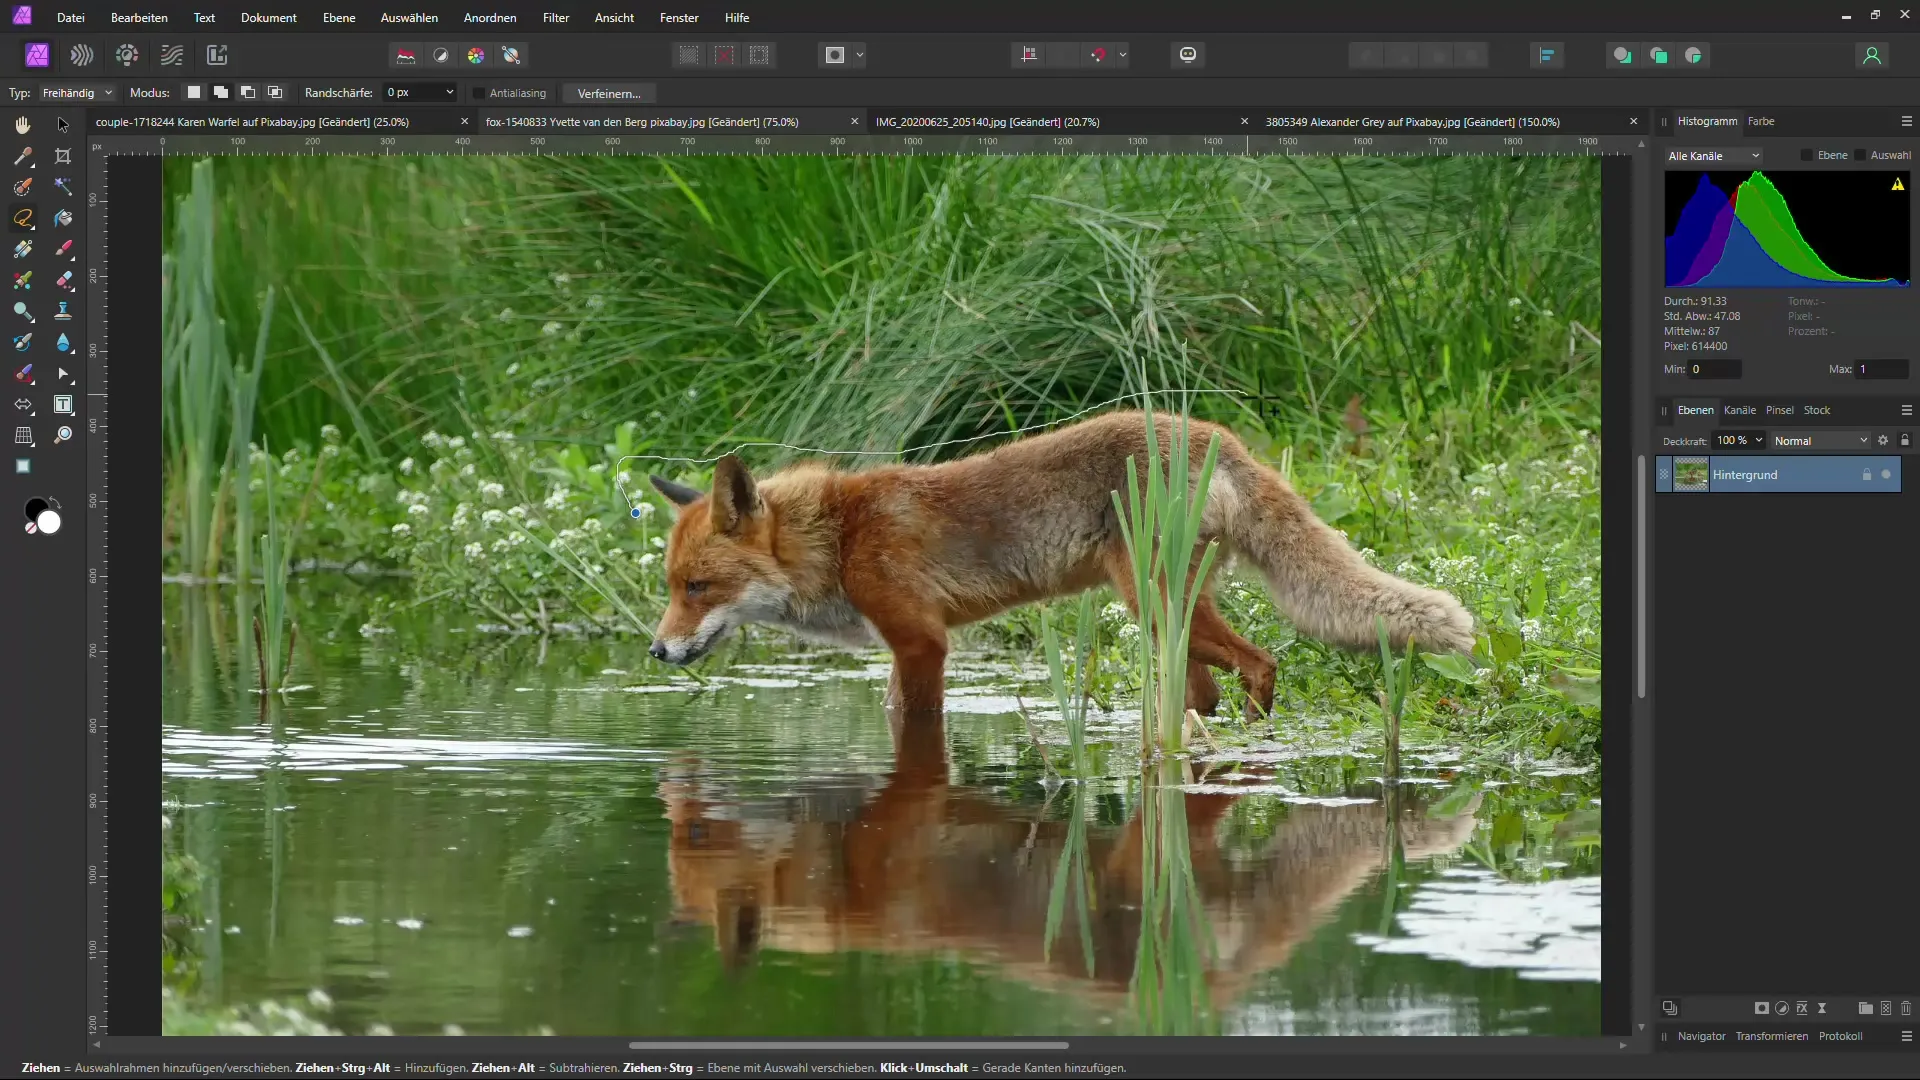
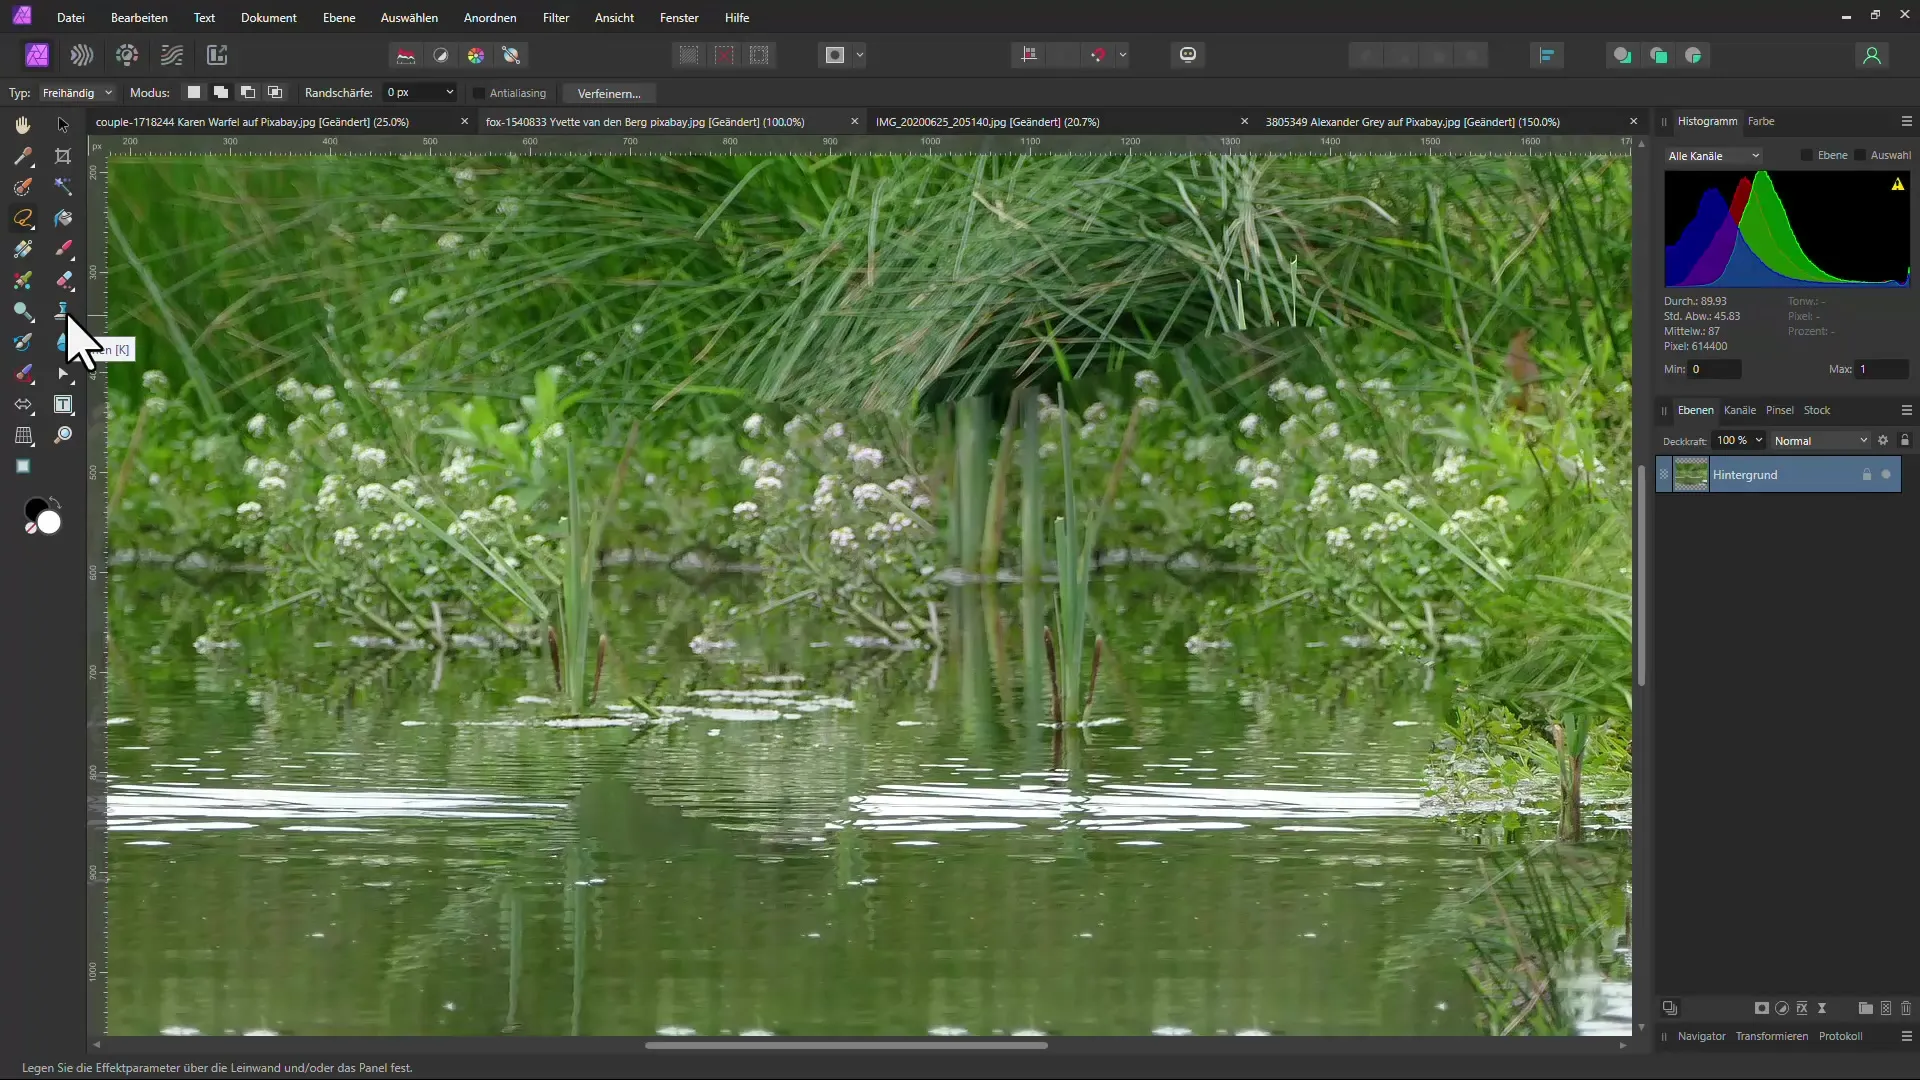
Now let's try a different scenario. Remove a fox from the image and make sure to mark its reflection as it affects the quality of the result.
Step 8: Analyze the Results
After applying the Inpainting technique, zoom out and examine the result. You will notice that the quality is poorer with more complex backgrounds. It is often necessary to work with the clone tool to achieve a better result.
Step 9: Another Example with Affinity Photo
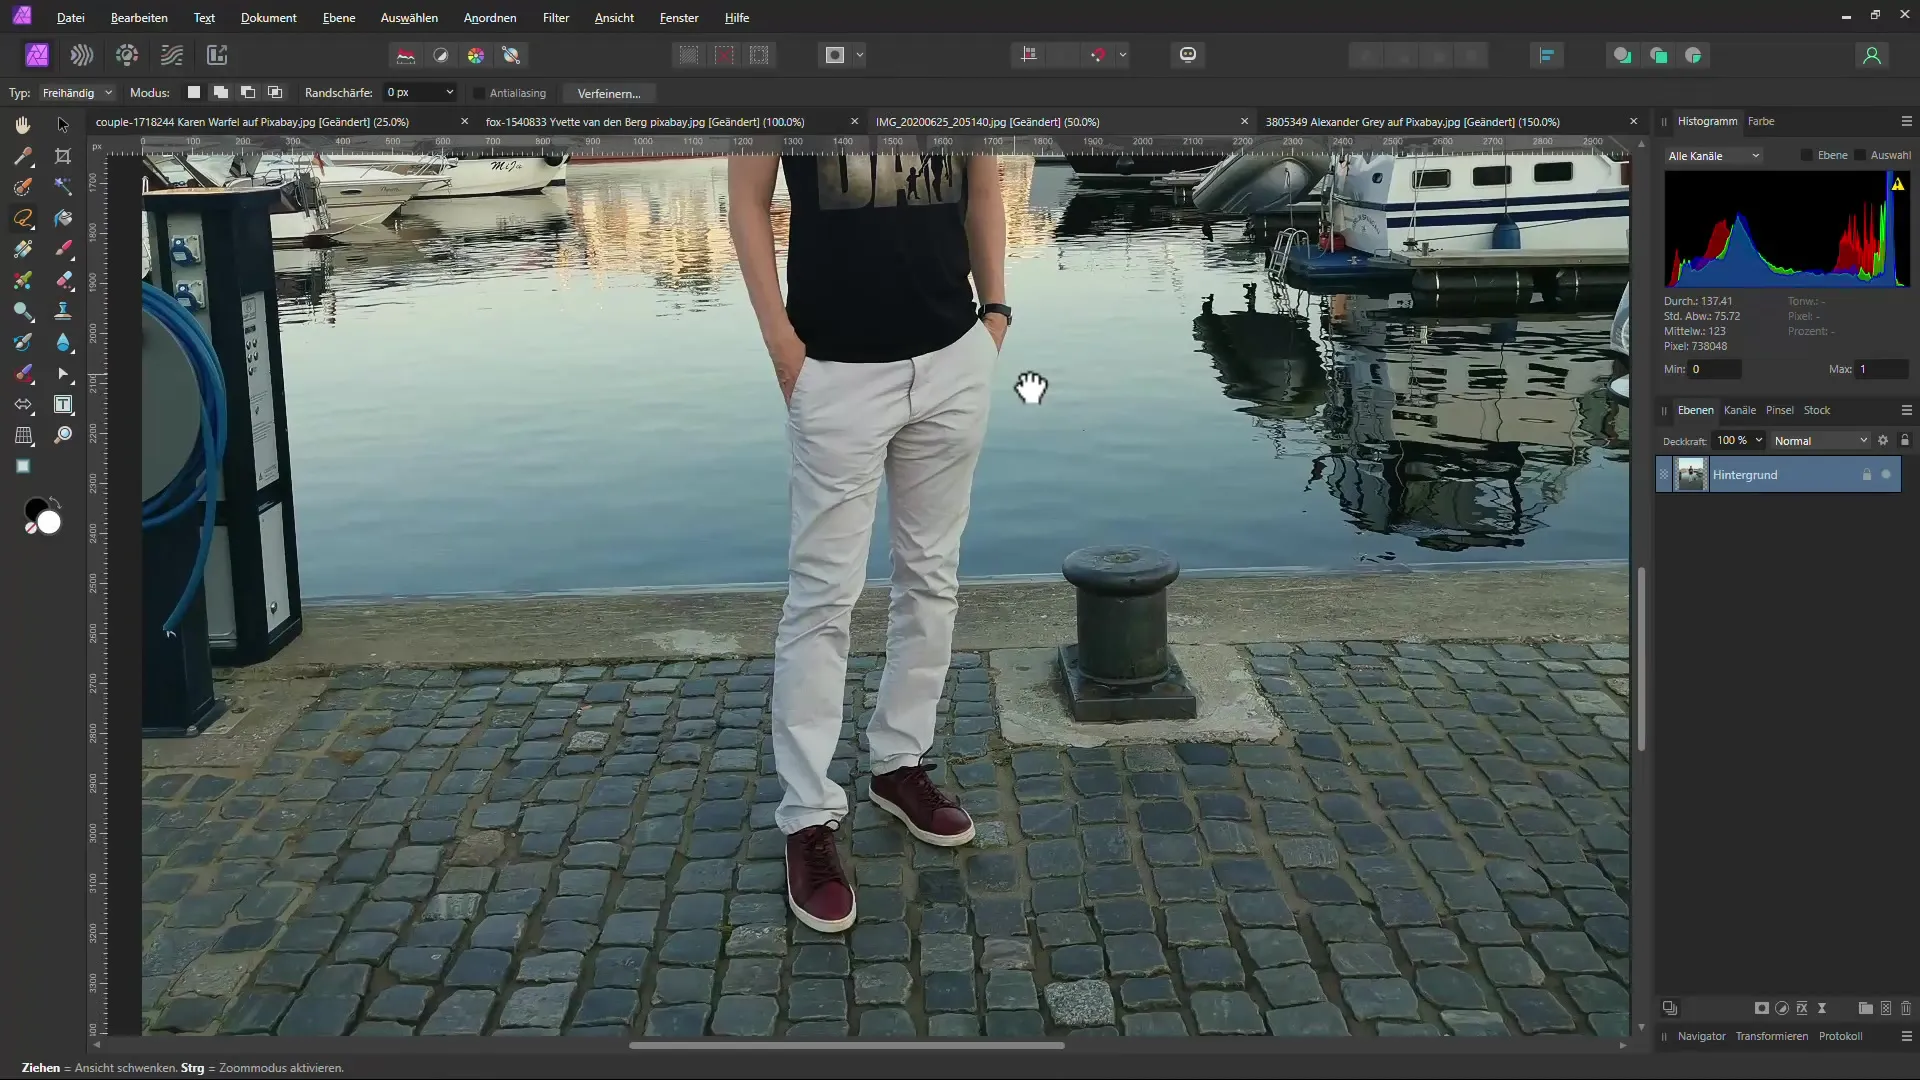
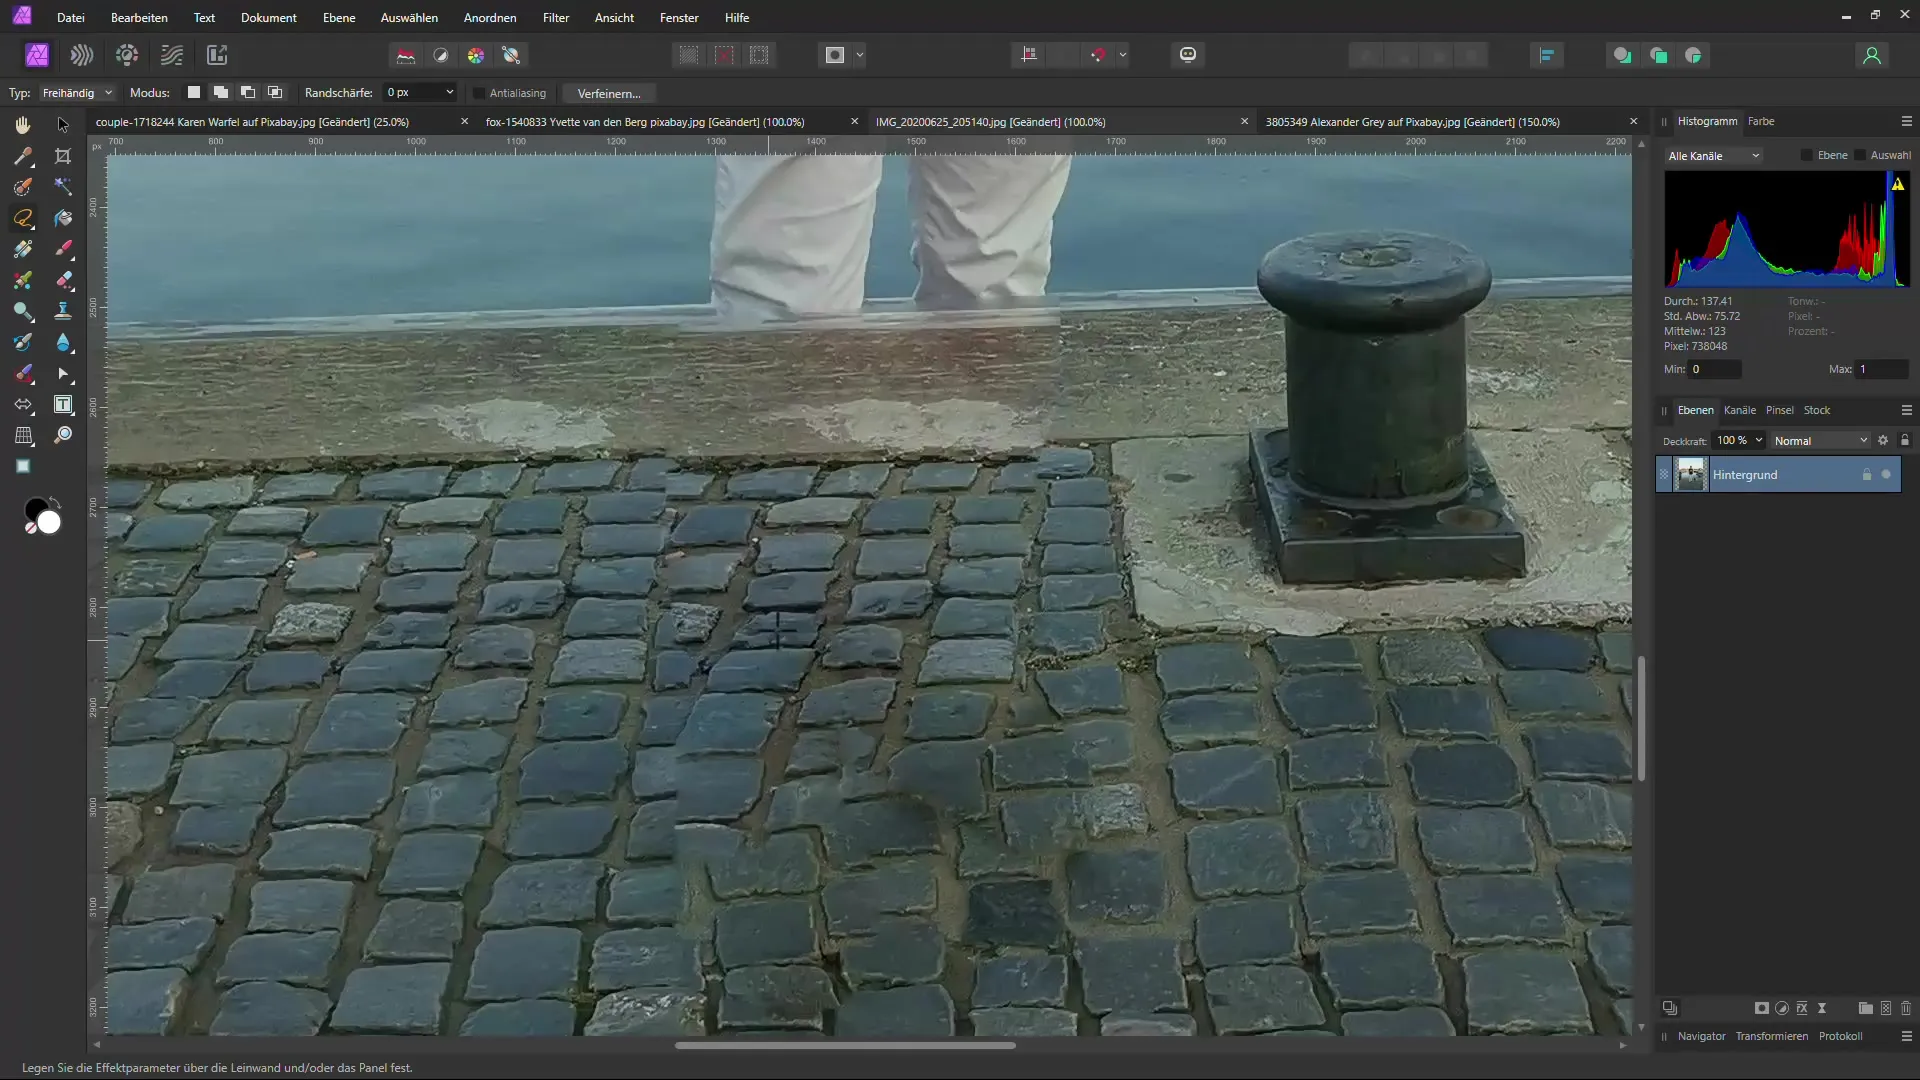
Now try removing a person's legs to explore the limits of the software.
Here too, you may see disappointing results that necessitate post-processing.
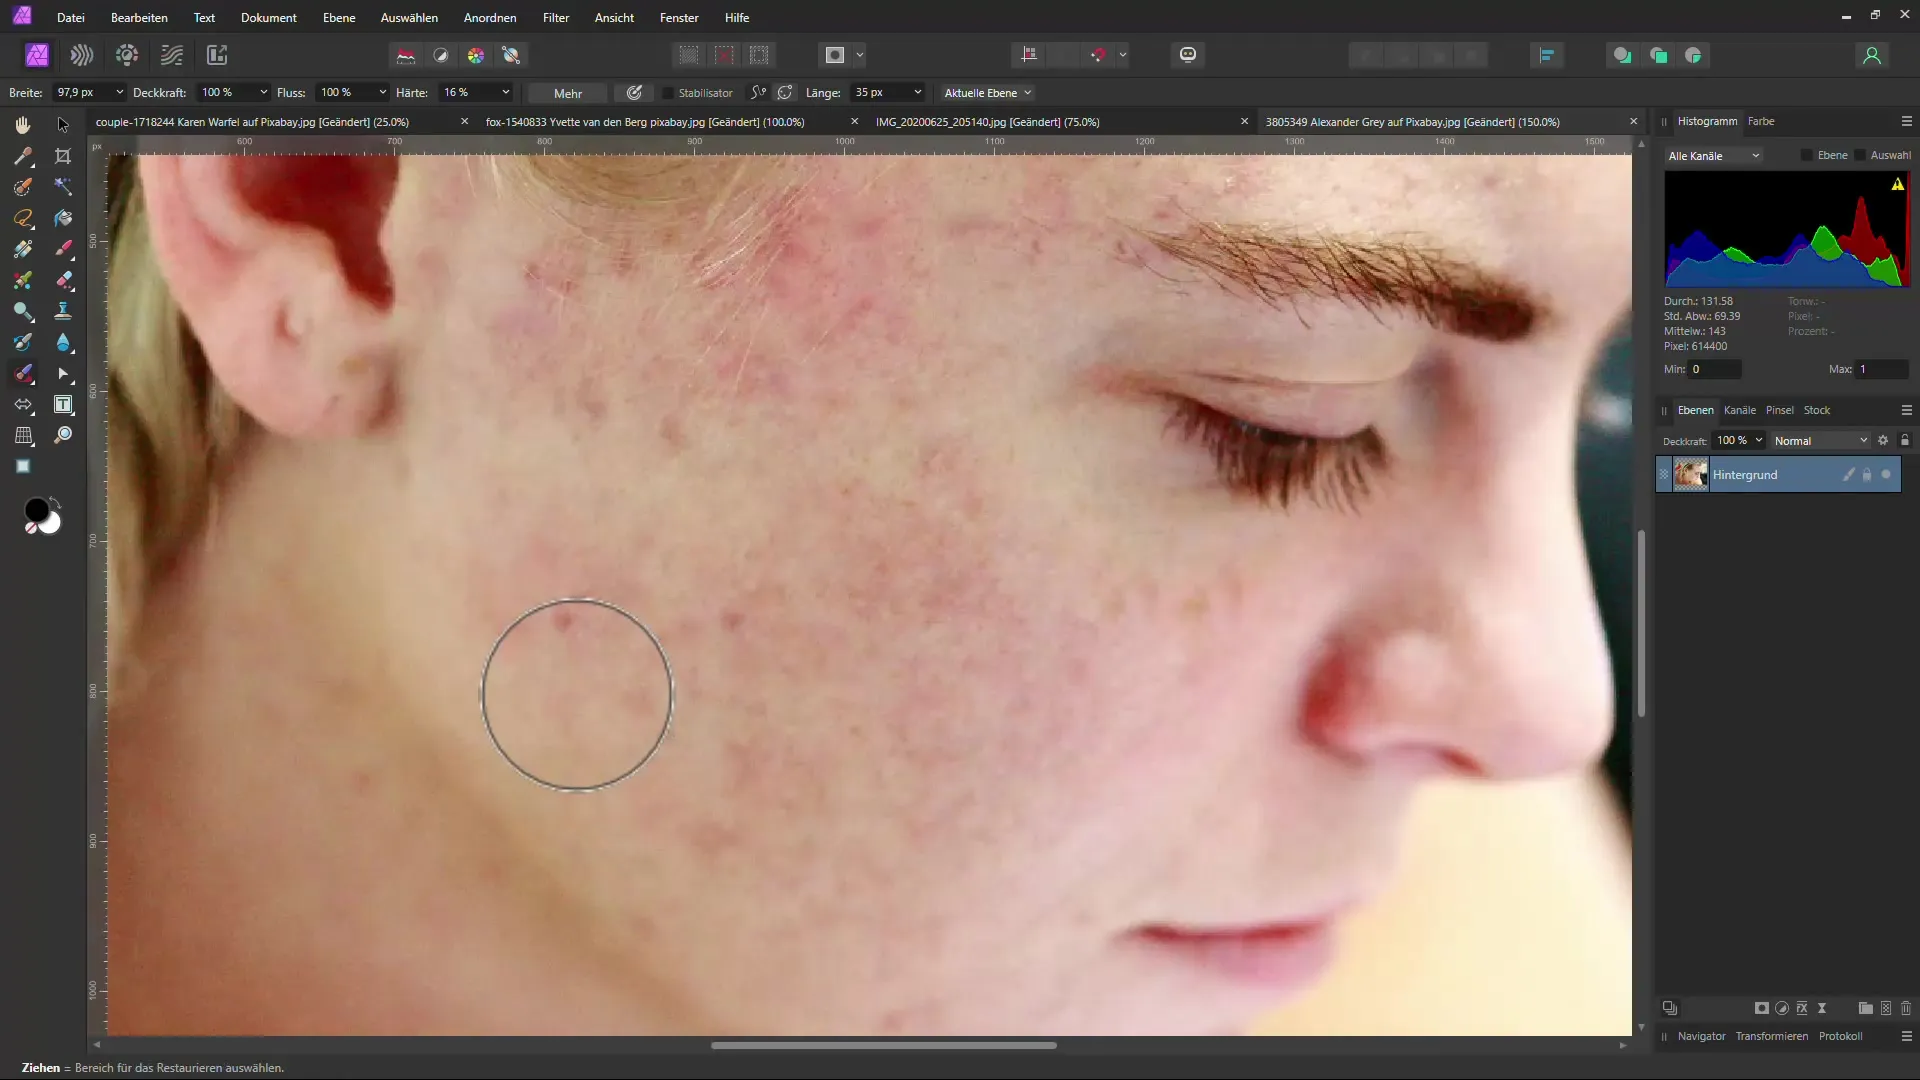
Step 10: Using the restoration brush
For minor flaws, such as removing pimples, the restoration brush shows its strengths. Practice to perform a quick and efficient correction.
Step 11: Using Photopea
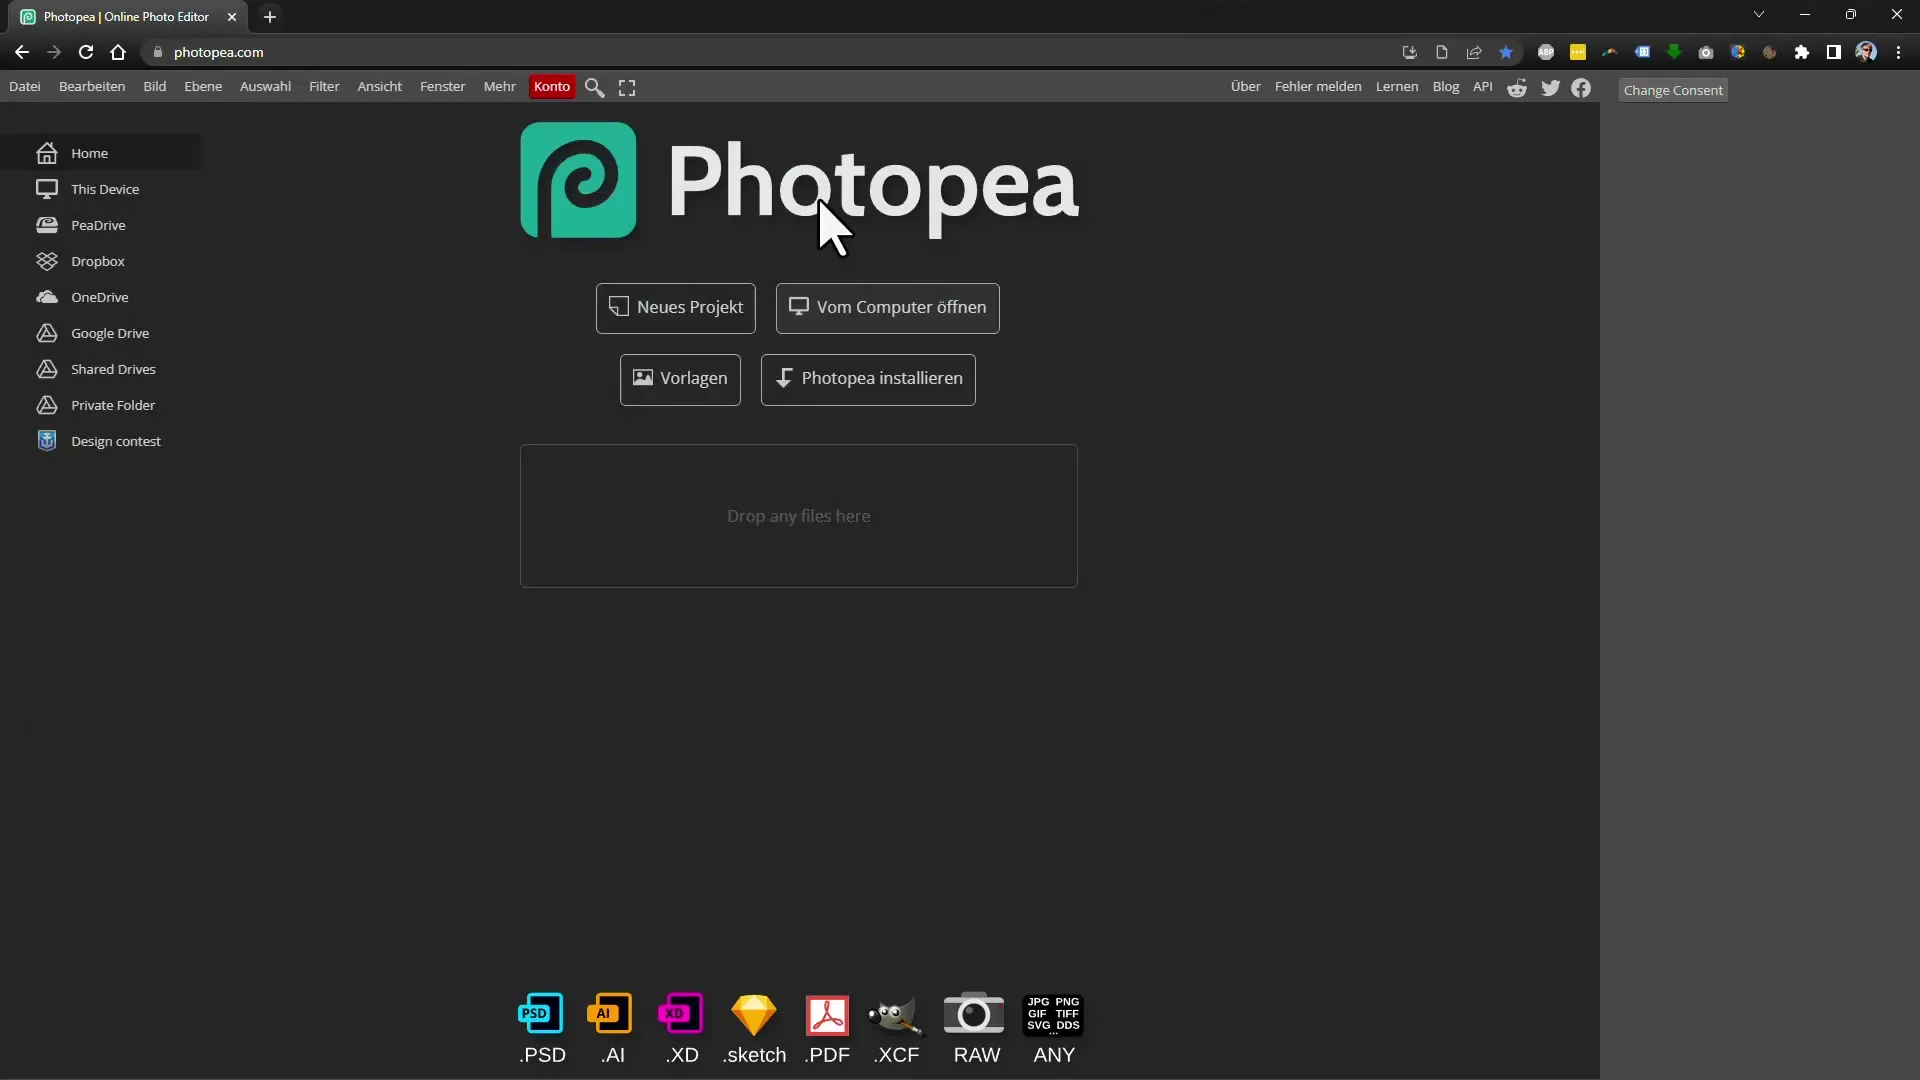
Now let's take a look at Photopea. Open the website and upload the image. The interface is similar to Photoshop.
Step 12: Removing objects with Photopea
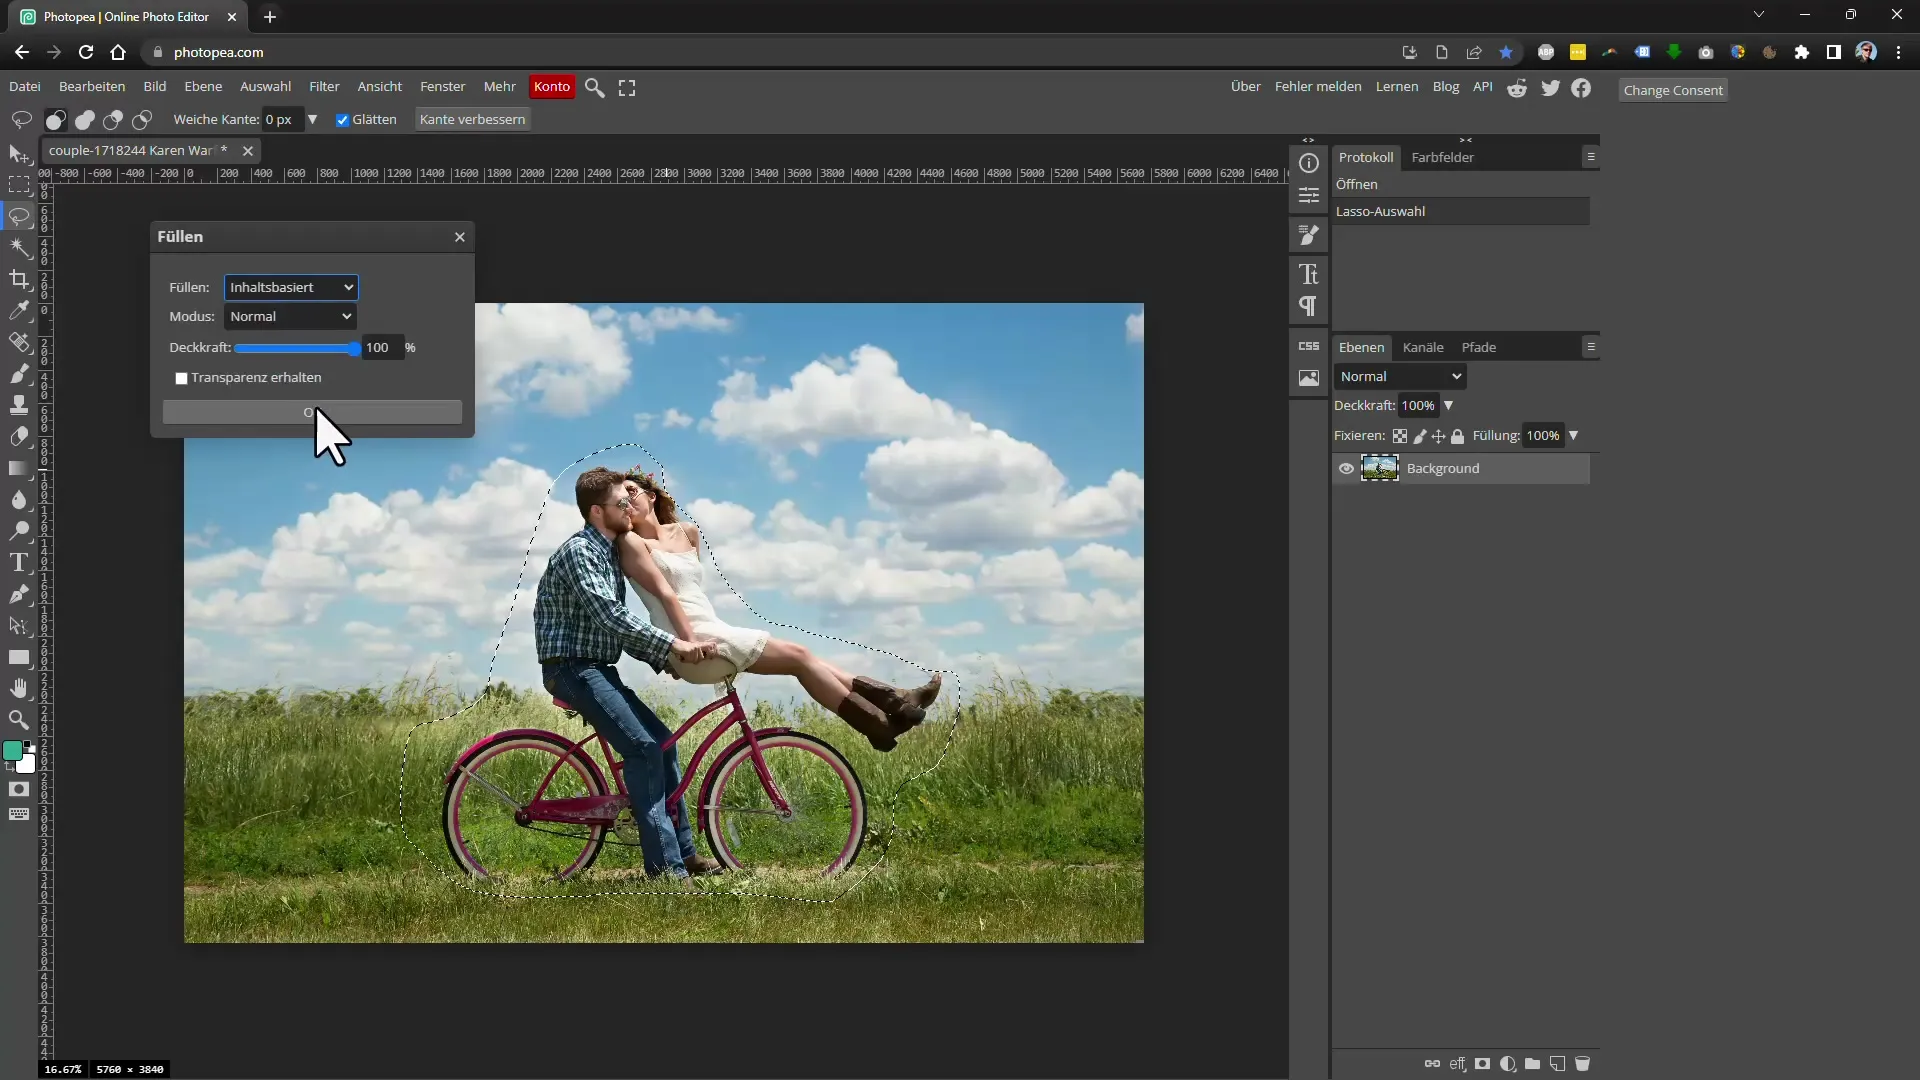
Select the desired object, go to "Edit" as in Affinity, and then to "Fill". Choose the option for content-aware fill. The results may vary, and it may be necessary to refine some areas.
Step 13: Analyzing results
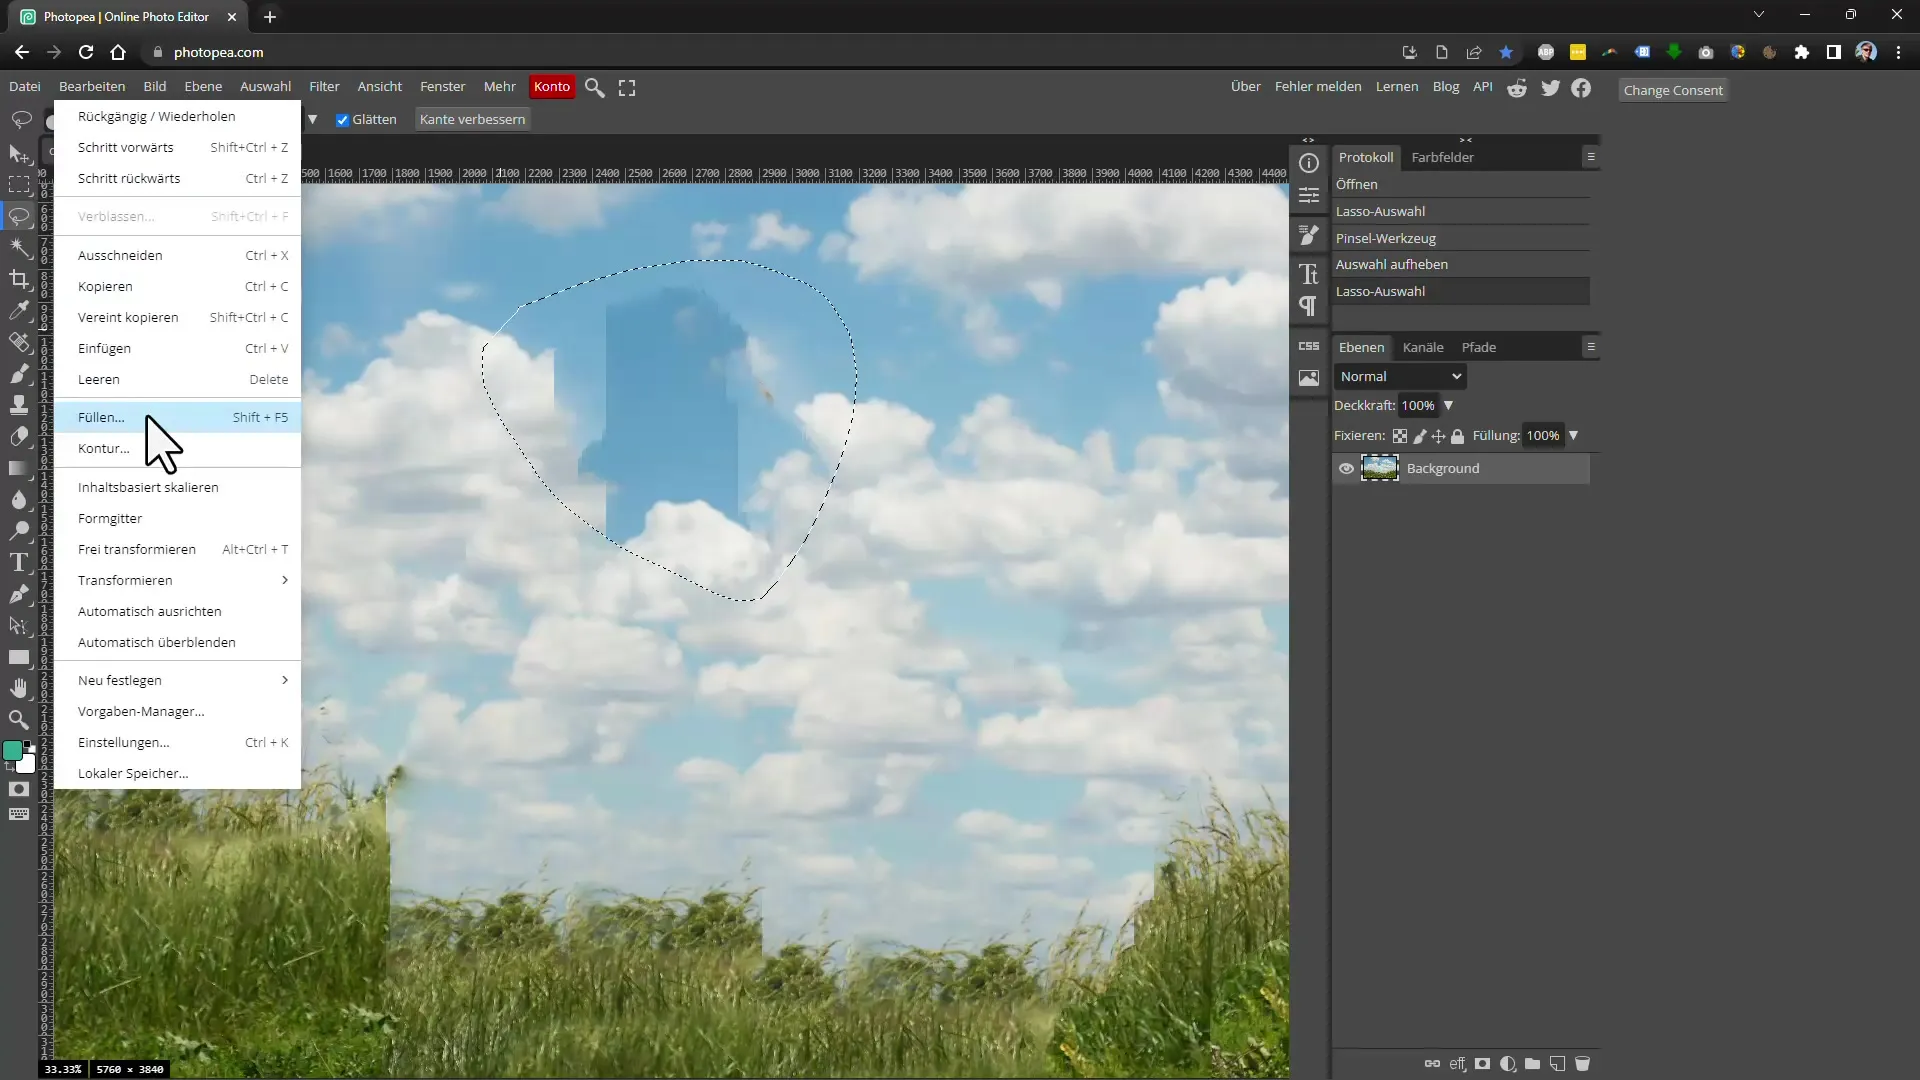
Review the work. As already noted, there are differences in performance between Photopea and Affinity Photo.
Step 14: Final post-processing
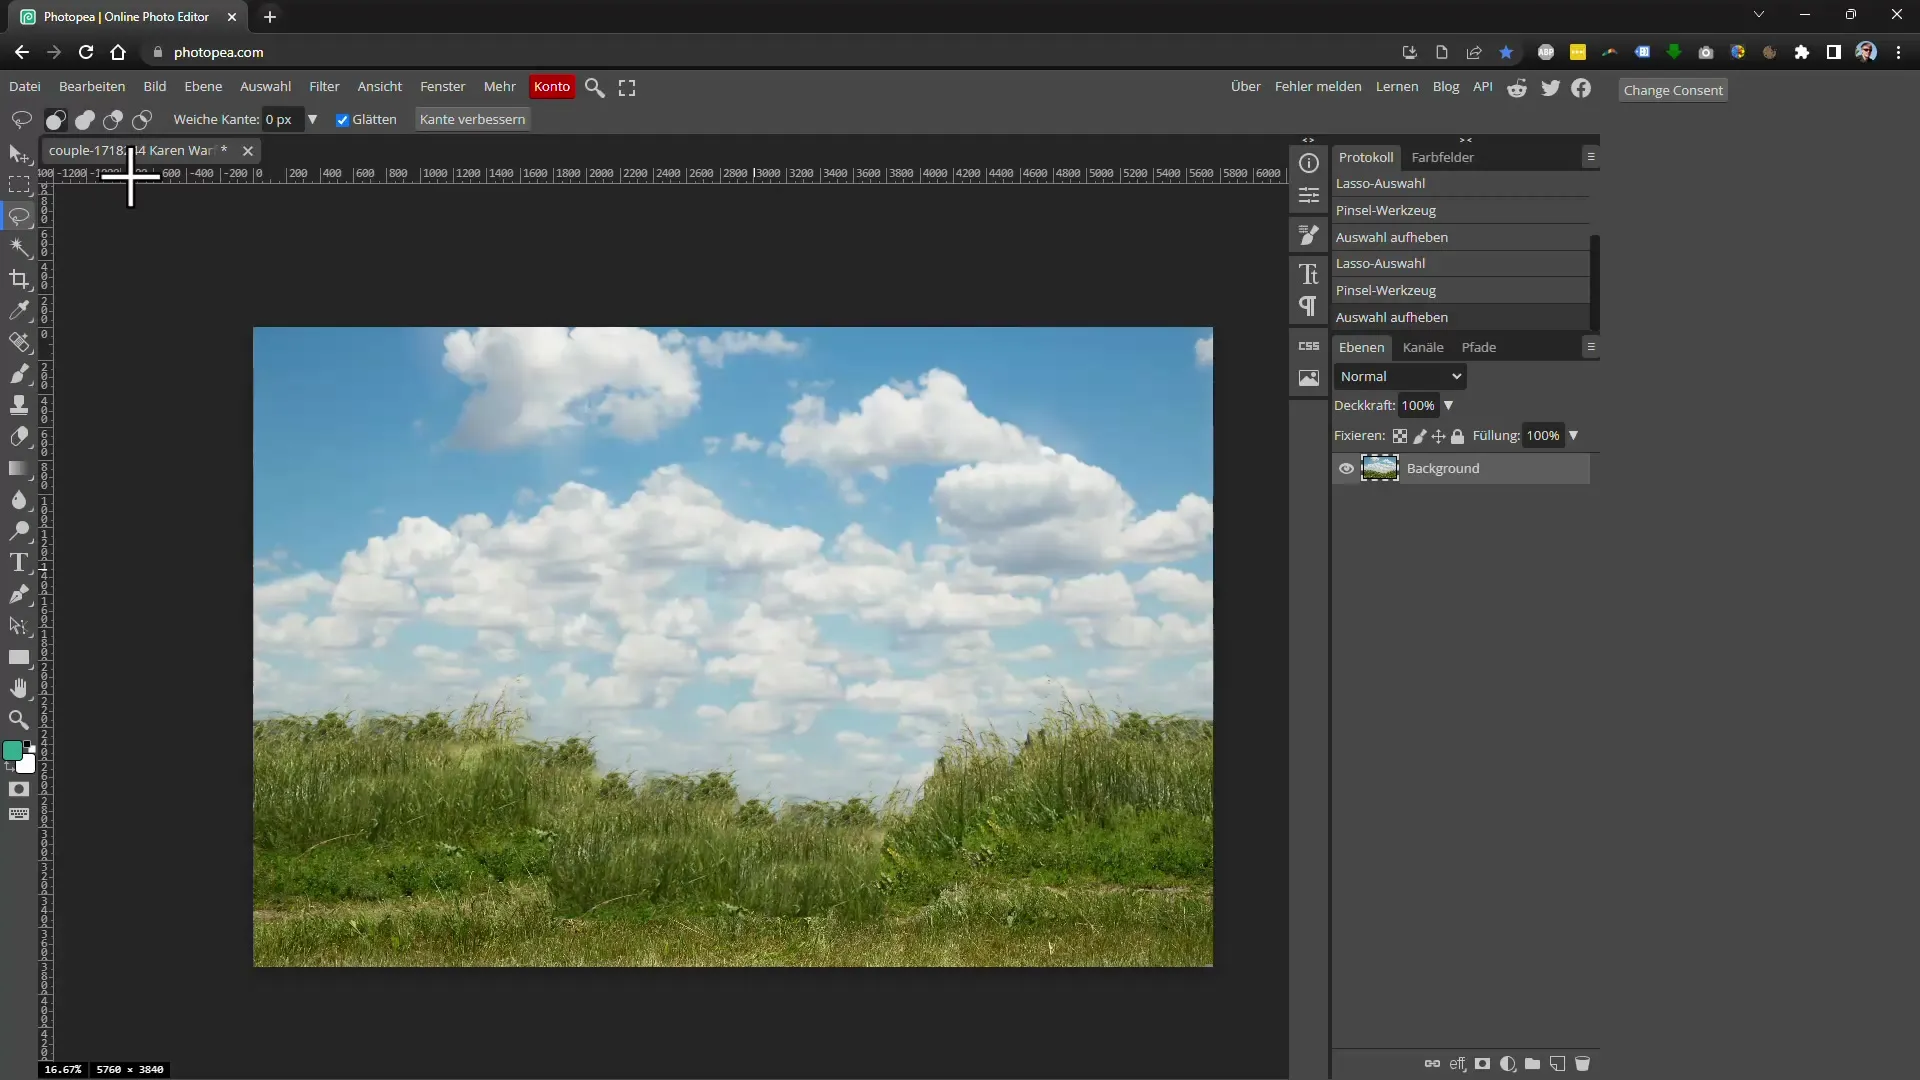
To achieve the best visual result, a final post-processing may be necessary, especially for complex images.
Summary
In summary, both programs have their strengths and weaknesses. They are very useful for removing small objects; however, when dealing with larger objects, it may be necessary to use additional post-processing steps to achieve optimal results.
Frequently Asked Questions
How does Inpainting work in Affinity Photo?Inpainting uses AI algorithms to analyze the surroundings of the selected area and create a seamless fill.
Can I use Photopea for free?Yes, Photopea is a free online tool and offers similar features to Photoshop.
Are there alternatives to Affinity Photo and Photopea?Yes, there are many other image editing software and tools, but the quality and results vary greatly.
