Welcome to this comprehensive tutorial on using Shared Nodes in DaVinci Resolve and saving Color Grades. In this article, I will explain how Shared Nodes work and how you can save your own color adjustments for future use. The possibilities that these functions offer will significantly enhance your workflow and increase your efficiency in color grading.
Key Takeaways
- Shared Nodes allow you to apply a grade to multiple clips.
- Changes made to a Shared Node automatically affect all clips using that node.
- You can save color grades as stills and reuse them in other projects.
- To save multiple grades for different projects, you should use the PowerGrade area.
Step-by-Step Guide
Step 1: Switch to the Color Grading Tools
First, you need to switch to the Color Grading area in DaVinci Resolve. You can do this in the bottom bar of the program. Click on the color icon to access the necessary tools and work with the Shared Nodes.
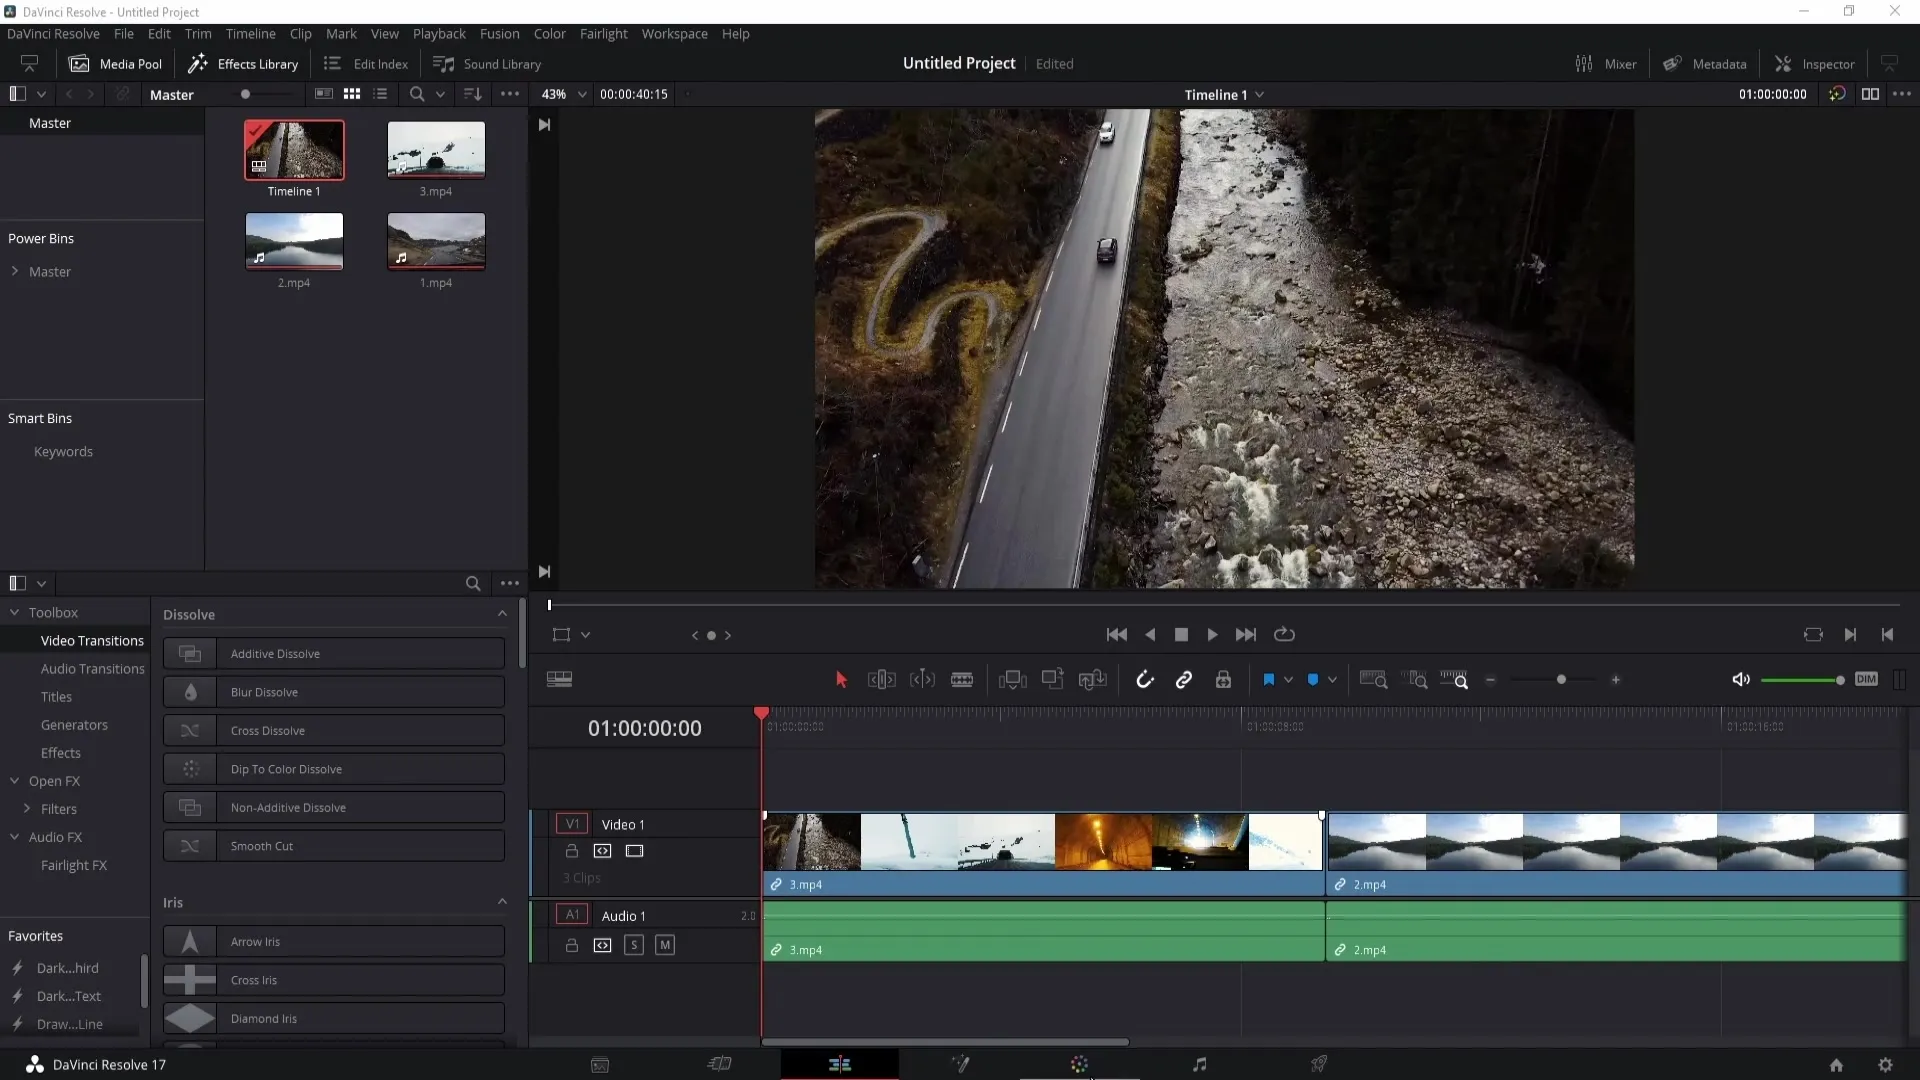
Step 2: Creating a Shared Node
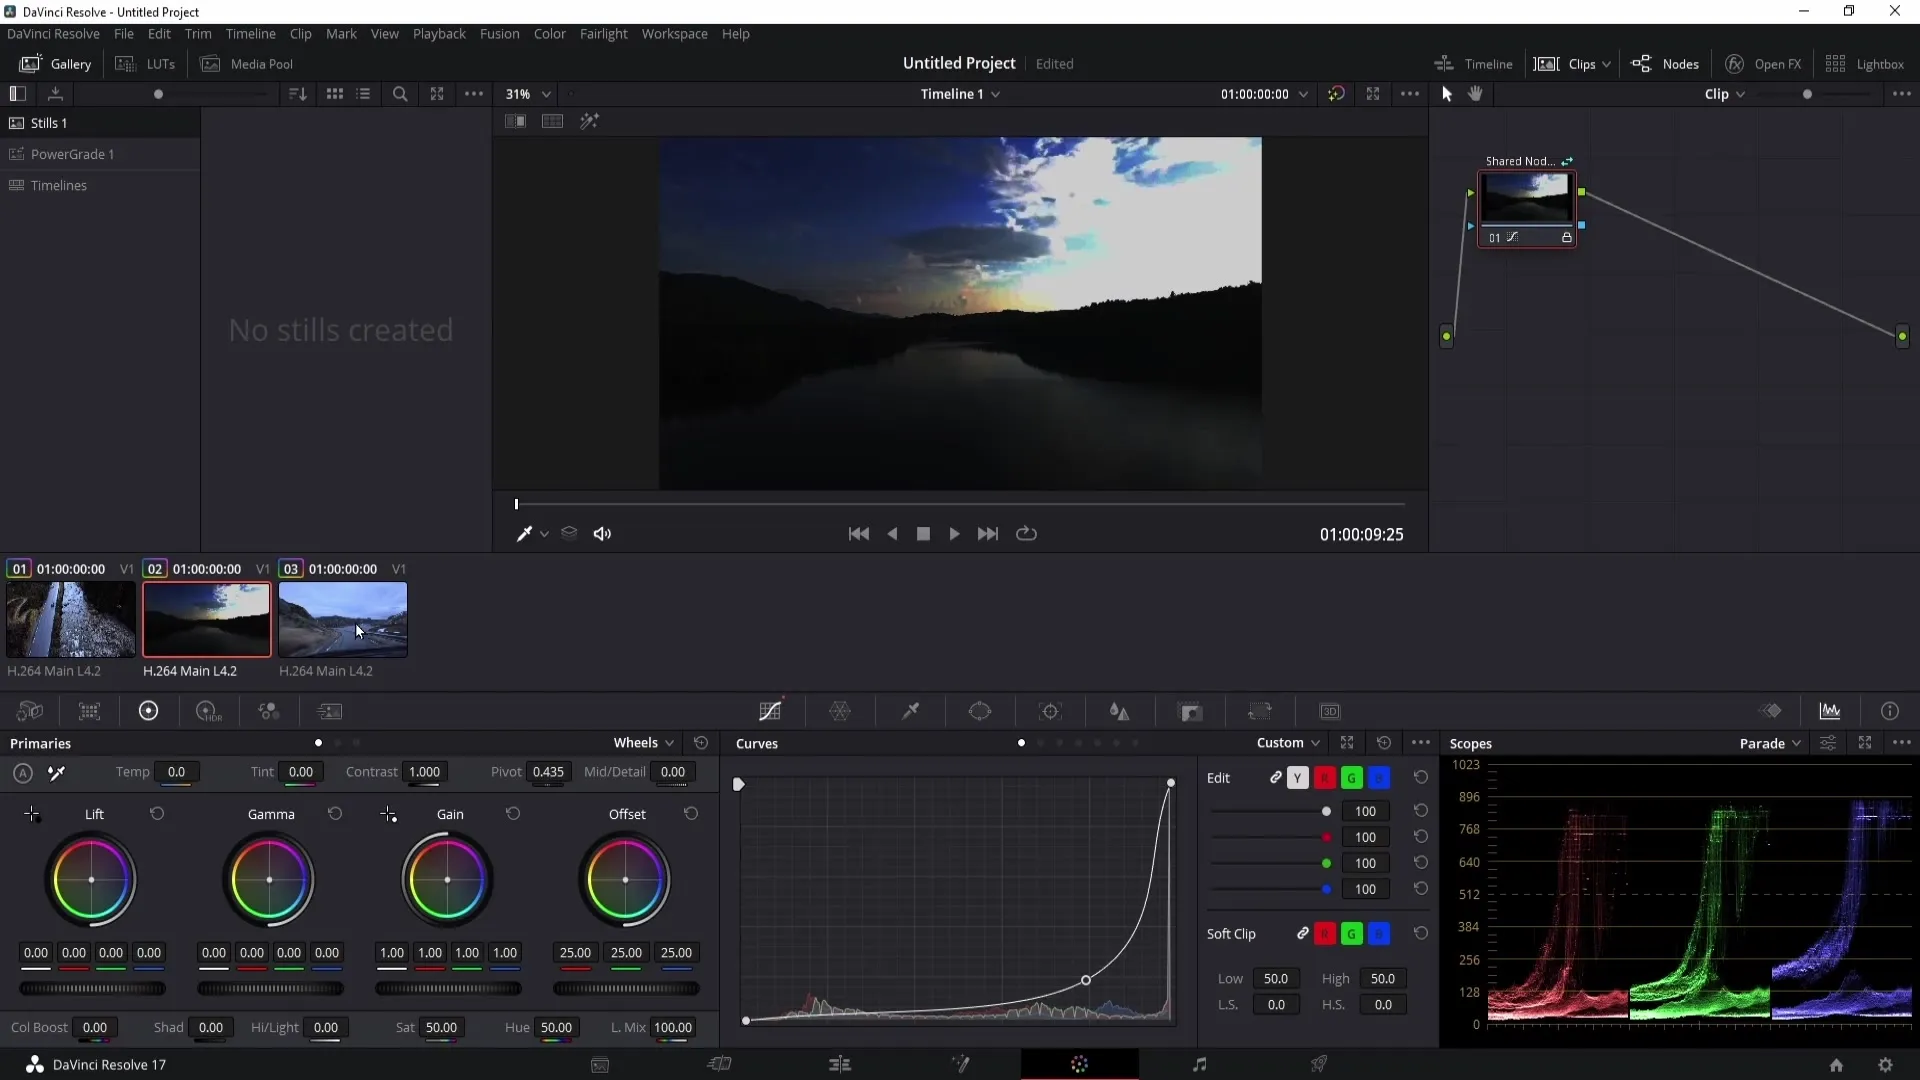
To create a Shared Node, first select a clip and create a node. You can make adjustments to this node, for example, you can drastically change the color temperature. Do this now and save the node as a Shared Node by right-clicking on the node and selecting "Save as Shared Node".
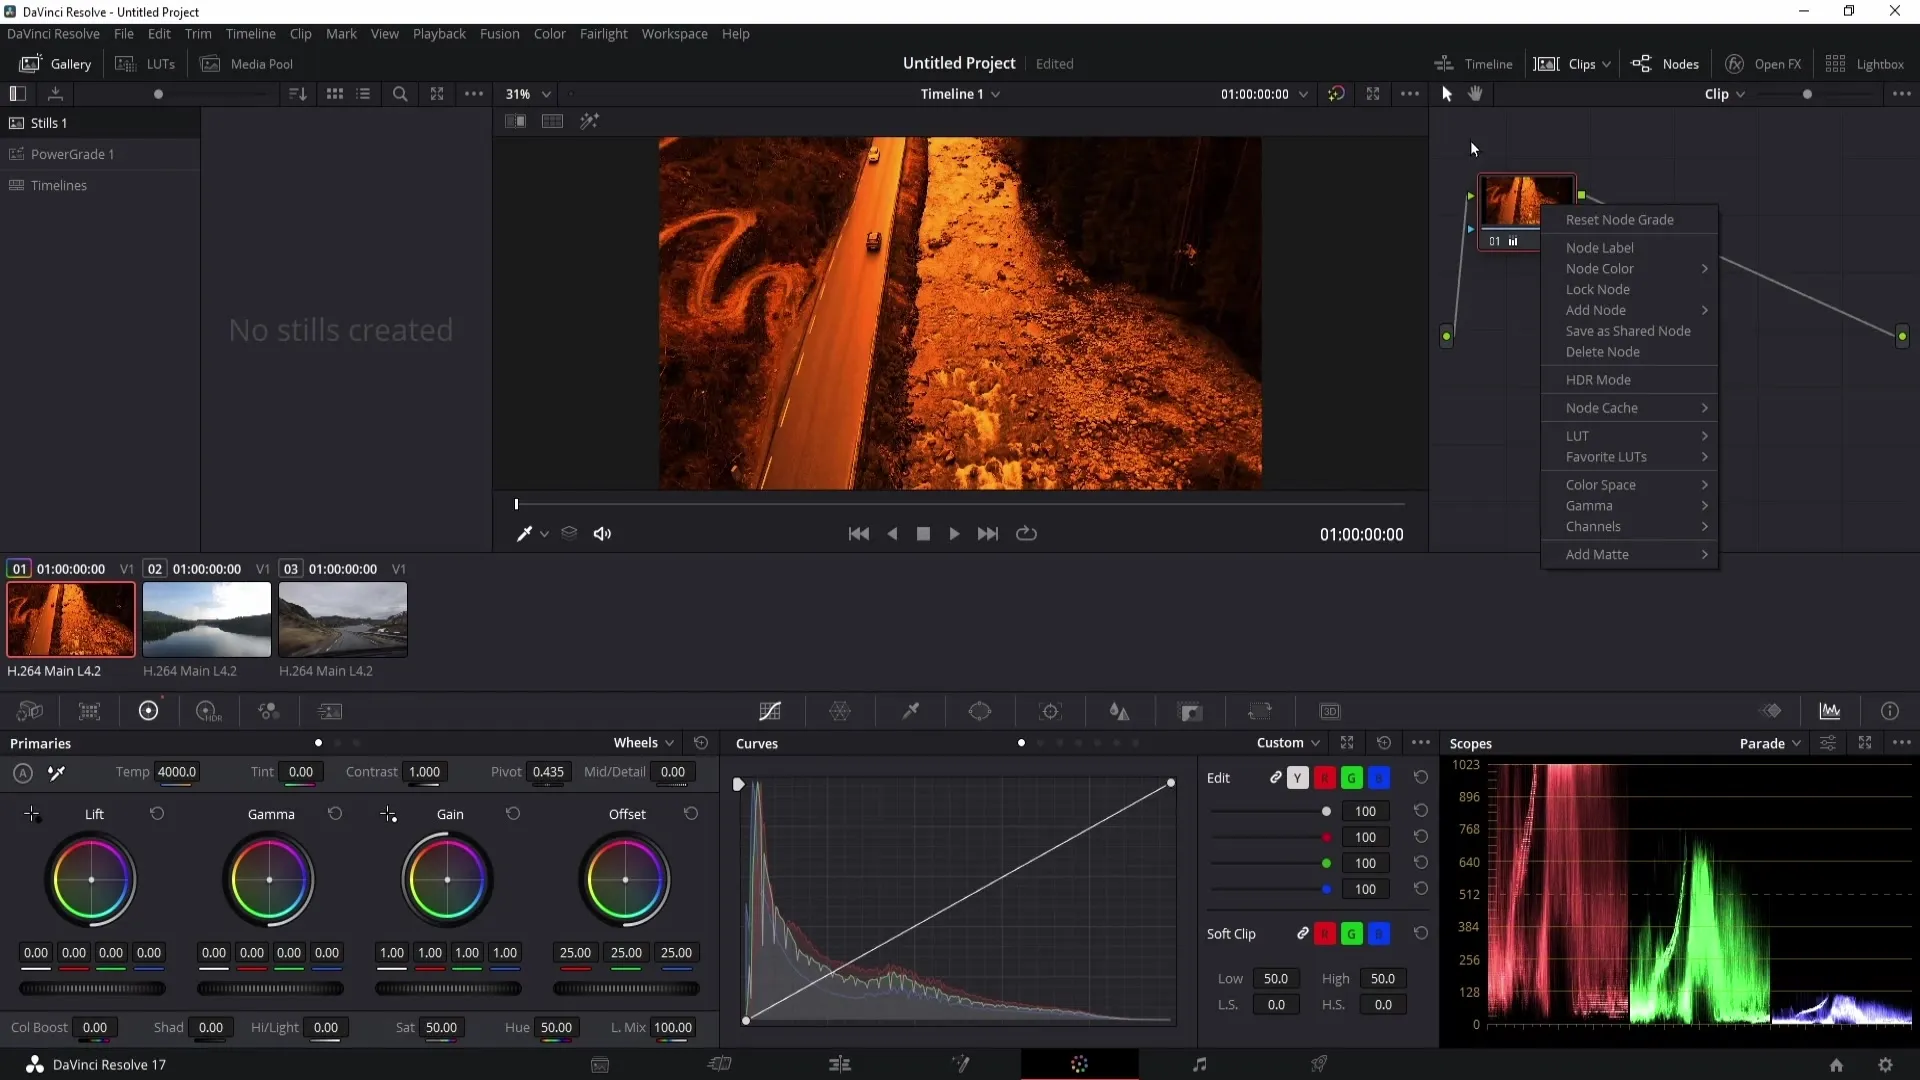
Step 3: Applying the Shared Node to Other Clips
Once you have created a Shared Node, you can apply it to other clips. Select another clip, right-click on a node, and choose "Add Node". There you will find the Shared Node you just saved. When you select it, the same grade will be applied to the new clip.
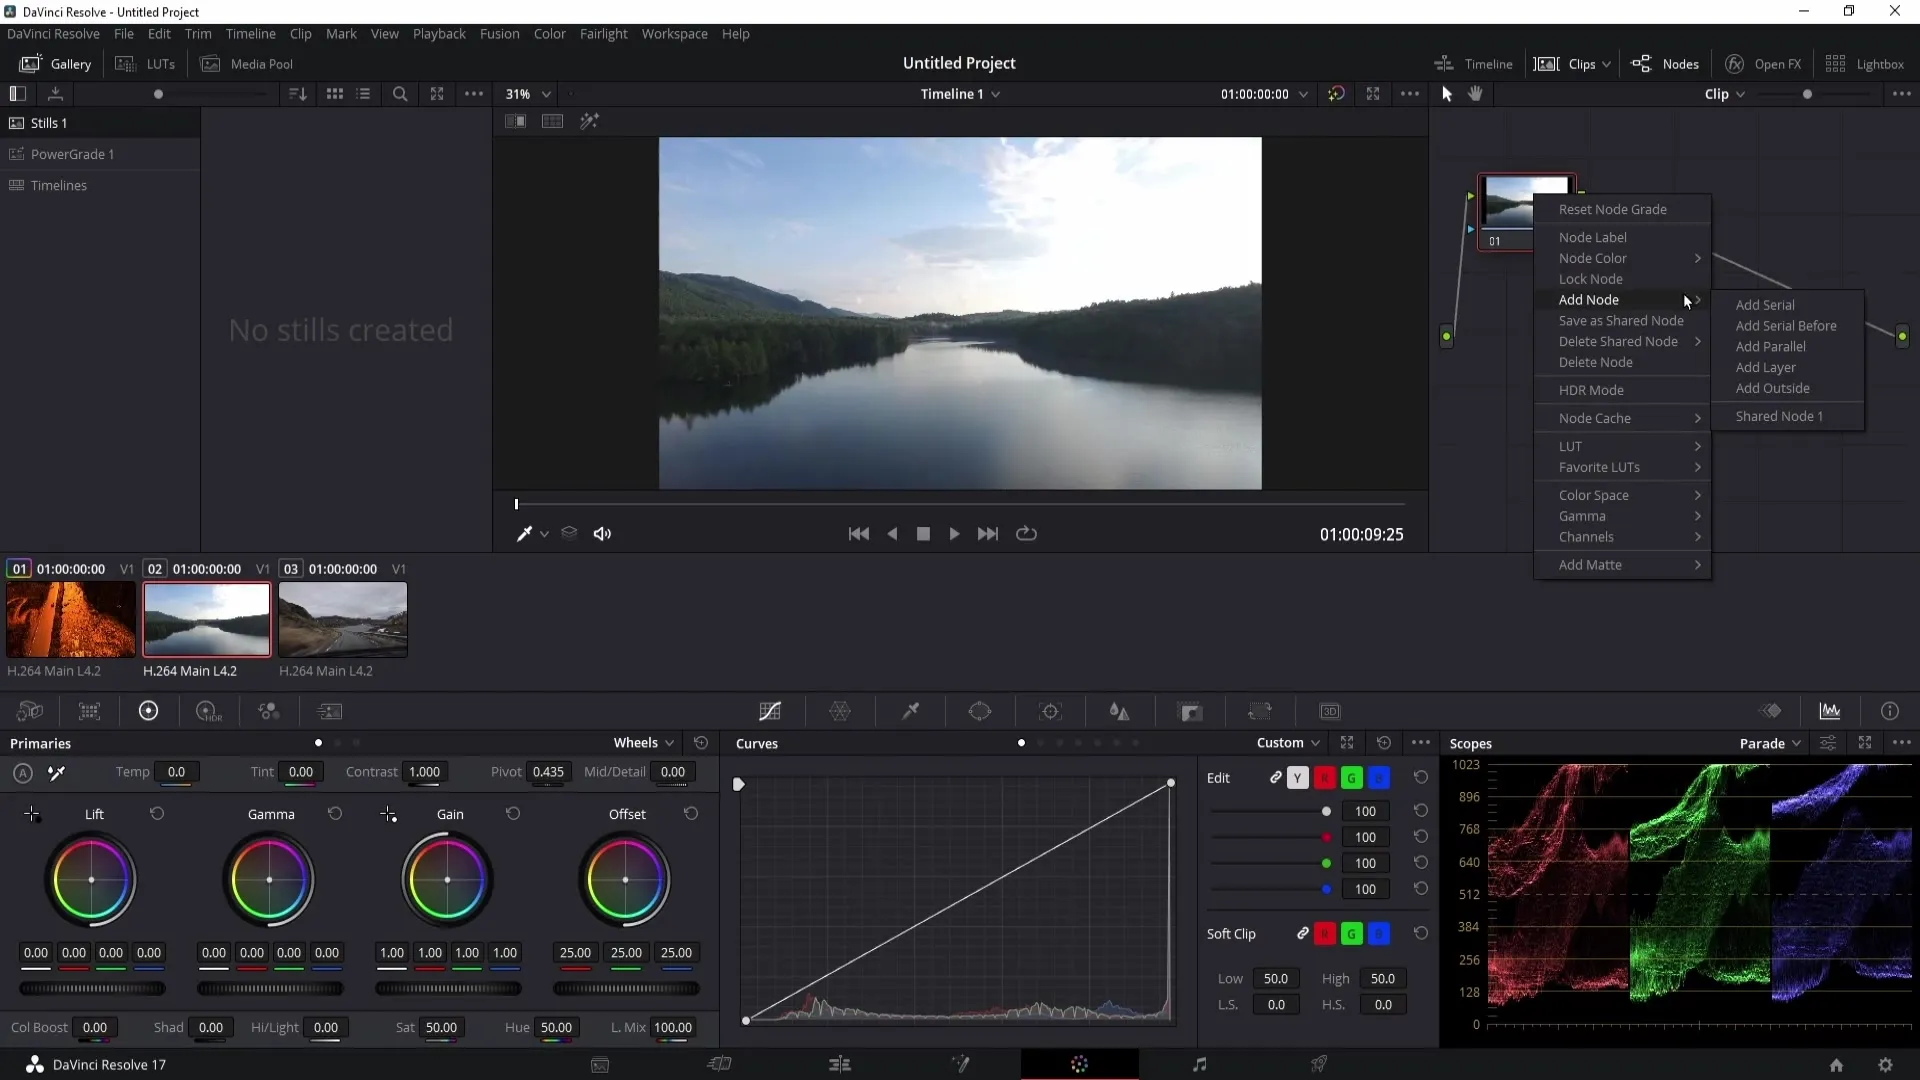
Step 4: Selecting Multiple Clips for the Shared Node
If you want to apply the Shared Node to multiple clips at once, you can do so by using the control key. Hold down the control key and click on the clips you want to select. Then click on the clip with the Shared Node, and it will be applied to all selected clips.
Step 5: Making Changes to the Shared Node
Note that you have modified the Shared Node on Clip 1. If you want to make changes, you need to unlock the node, as the adjustments will be applied to all clips. You can unlock the node by right-clicking on the node and selecting "Unlock Node". Then, you can adjust the color temperature or other values.
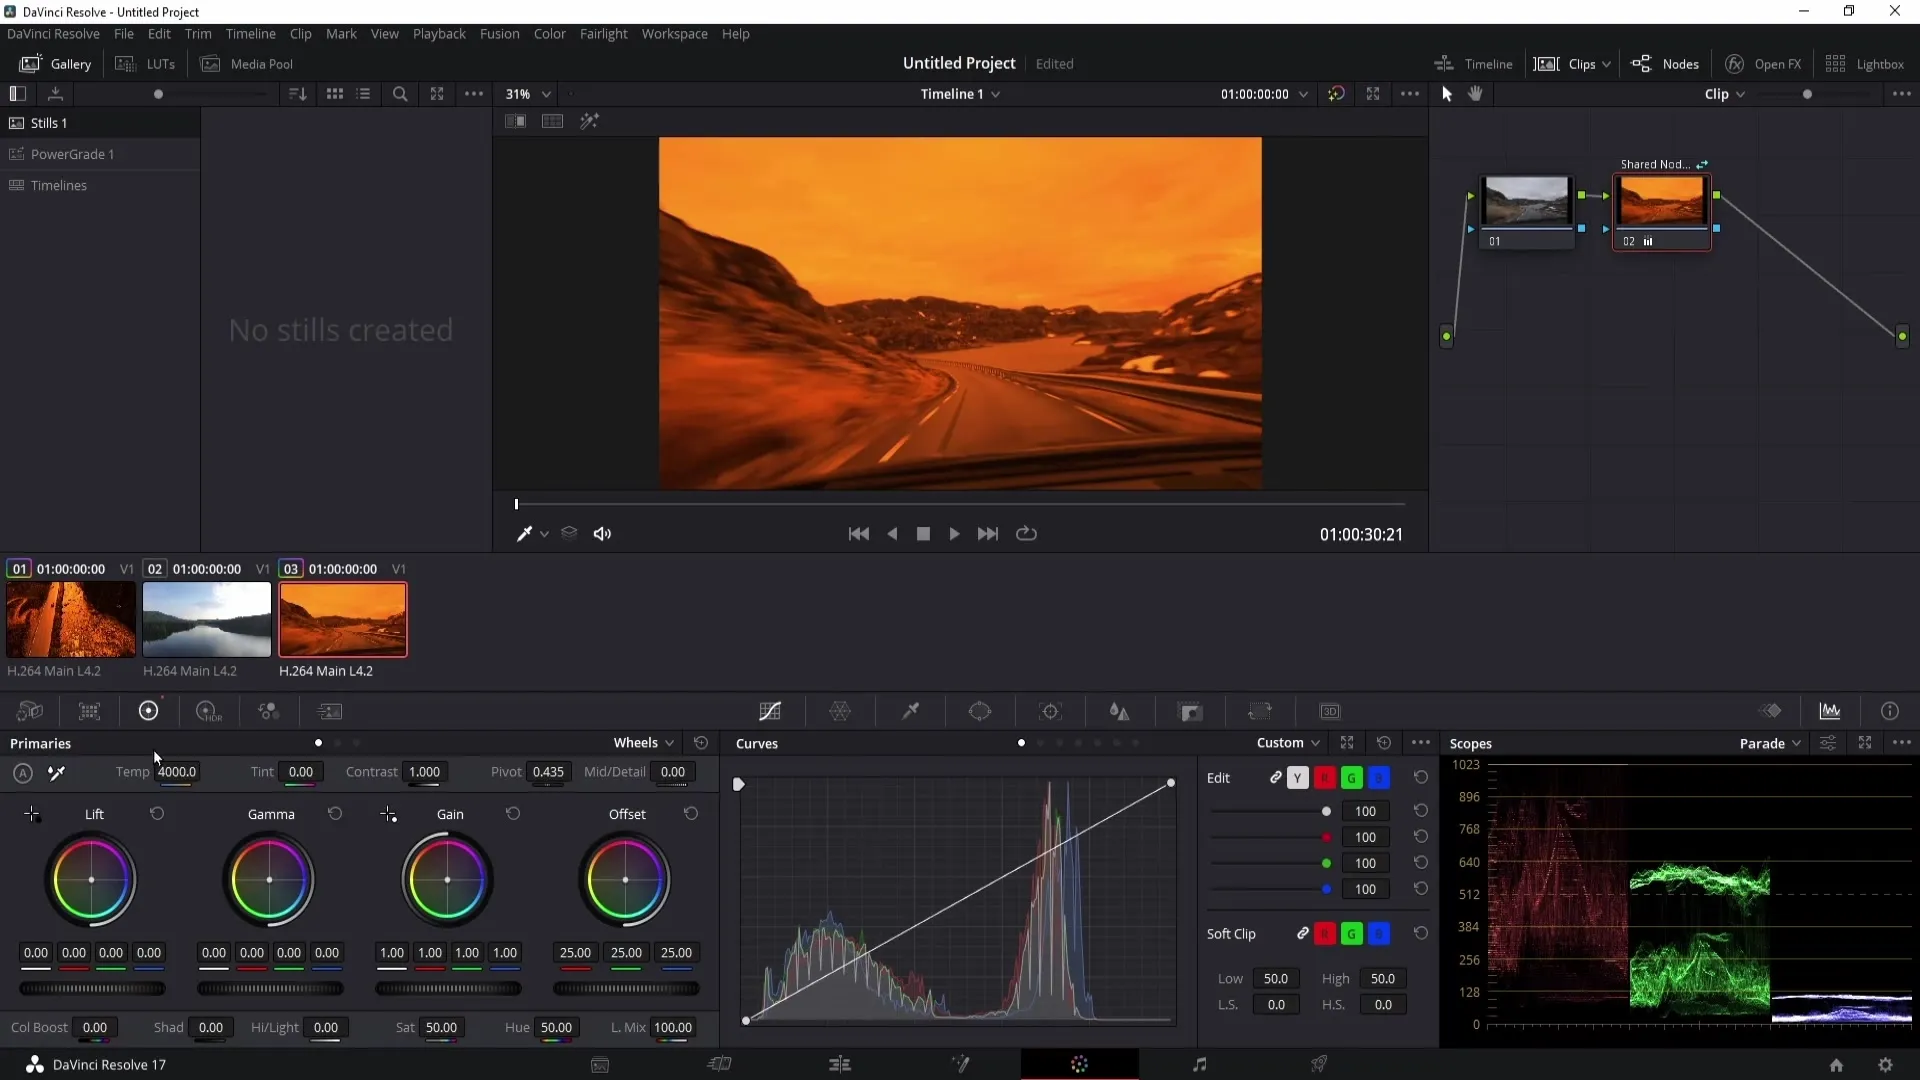
Step 6: Creating Duplicate Shared Nodes
If you want to create another Shared Node, simply go back to the clip where the original Shared Node was applied and make an additional adjustment. Save this again as a Shared Node. Right-click on the node again and select "Save as Shared Node".
Step 7: Deleting Shared Nodes
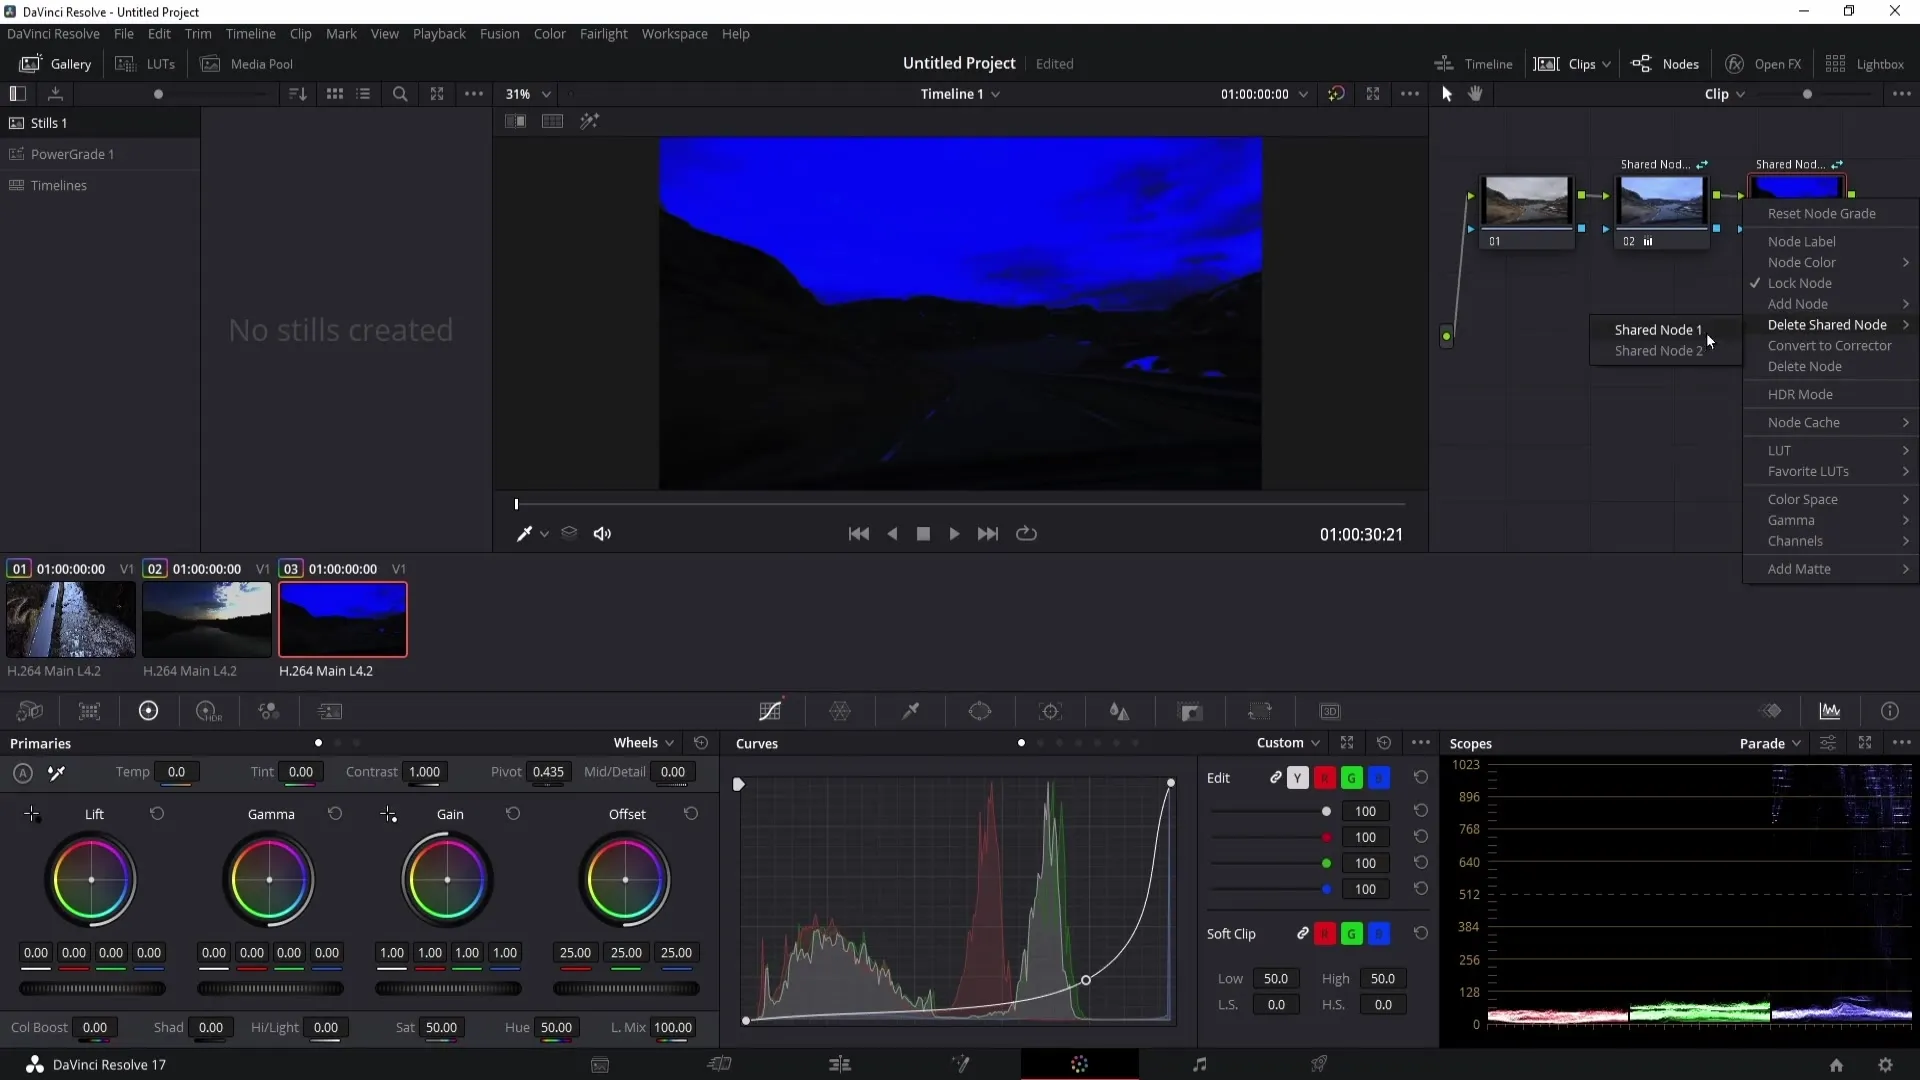
If you no longer need a Shared Node, you can simply delete it. Right-click on a clip, go to "Delete Shared Nodes", and select the node you want to remove. For example, you can delete the second Shared Node and keep only the first one.
Step 8: Saving Stills
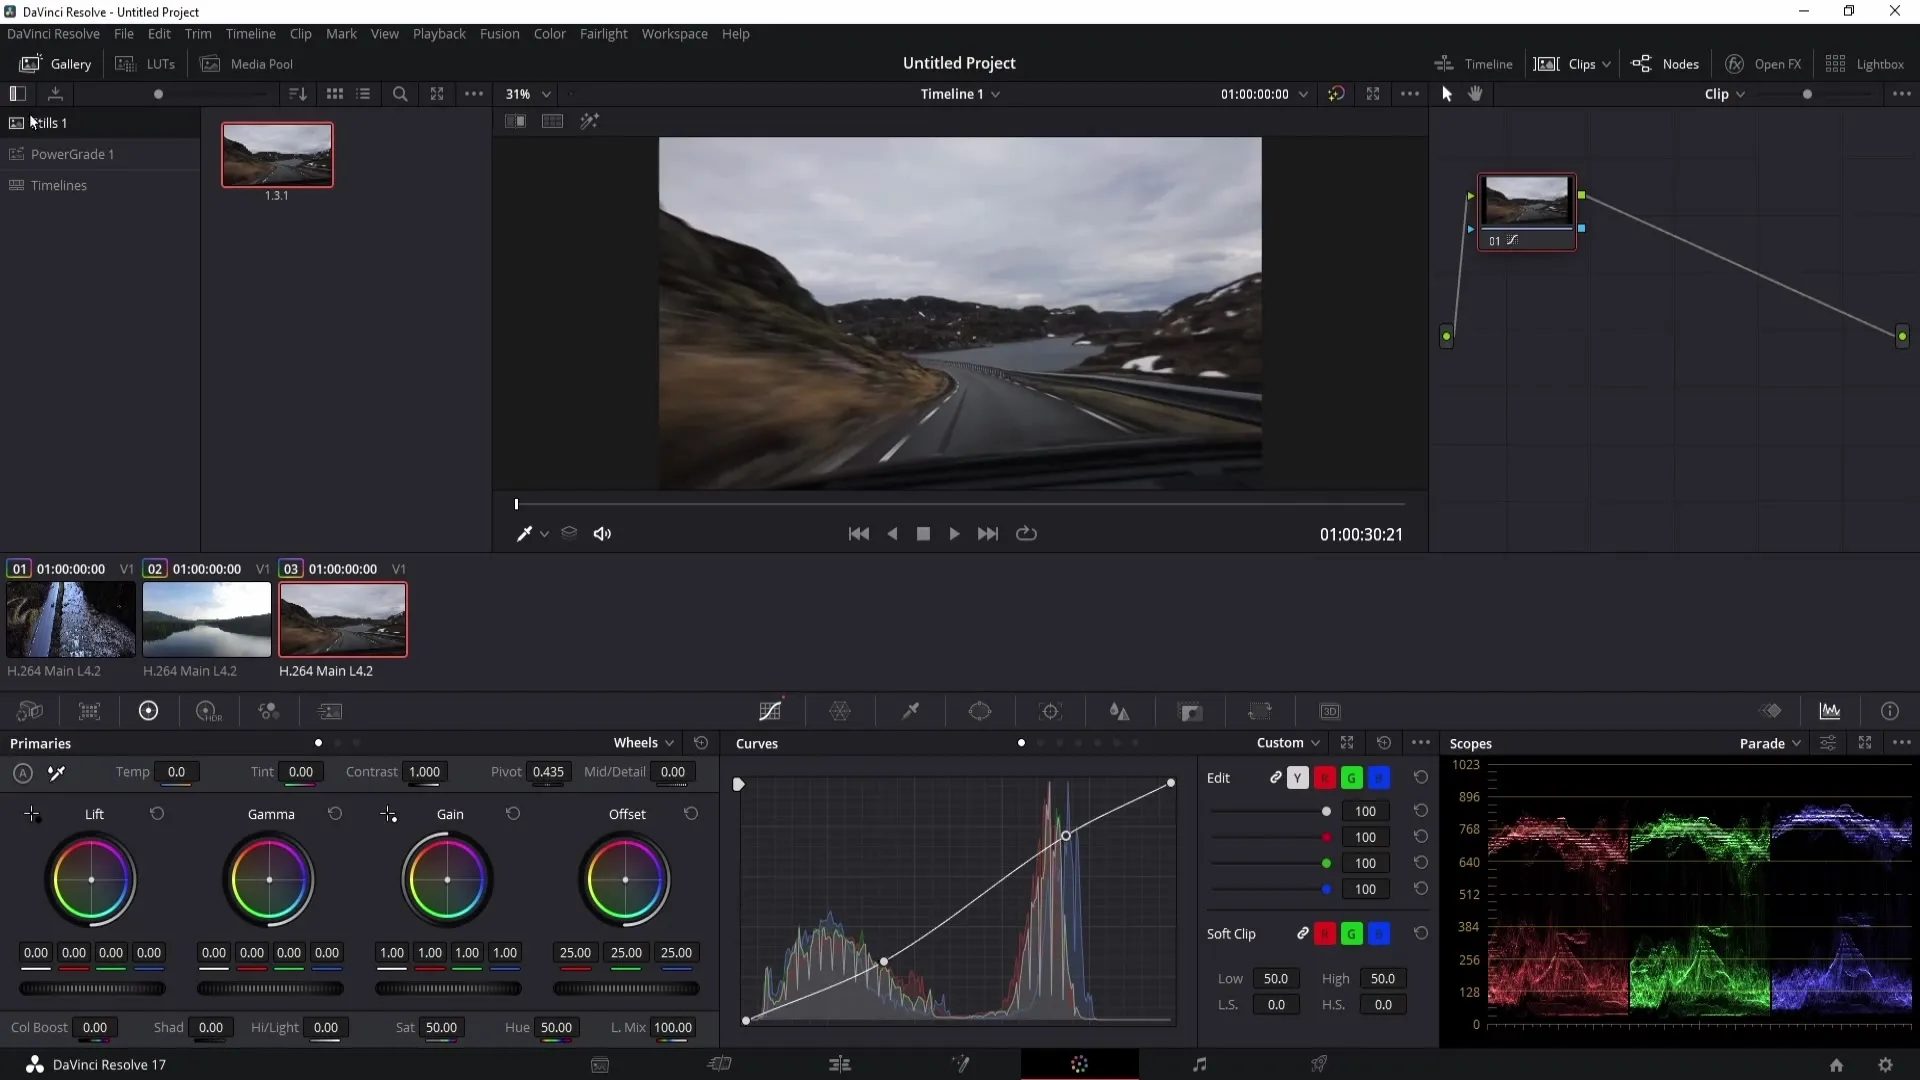
To save your grades for multiple projects, you need to create stills. Do this by right-clicking on the thumbnail and selecting "Grab Still". Remember to work in the PowerGrade area to save your grades for other projects.
Step 9: Drag Notes into the PowerGrade area
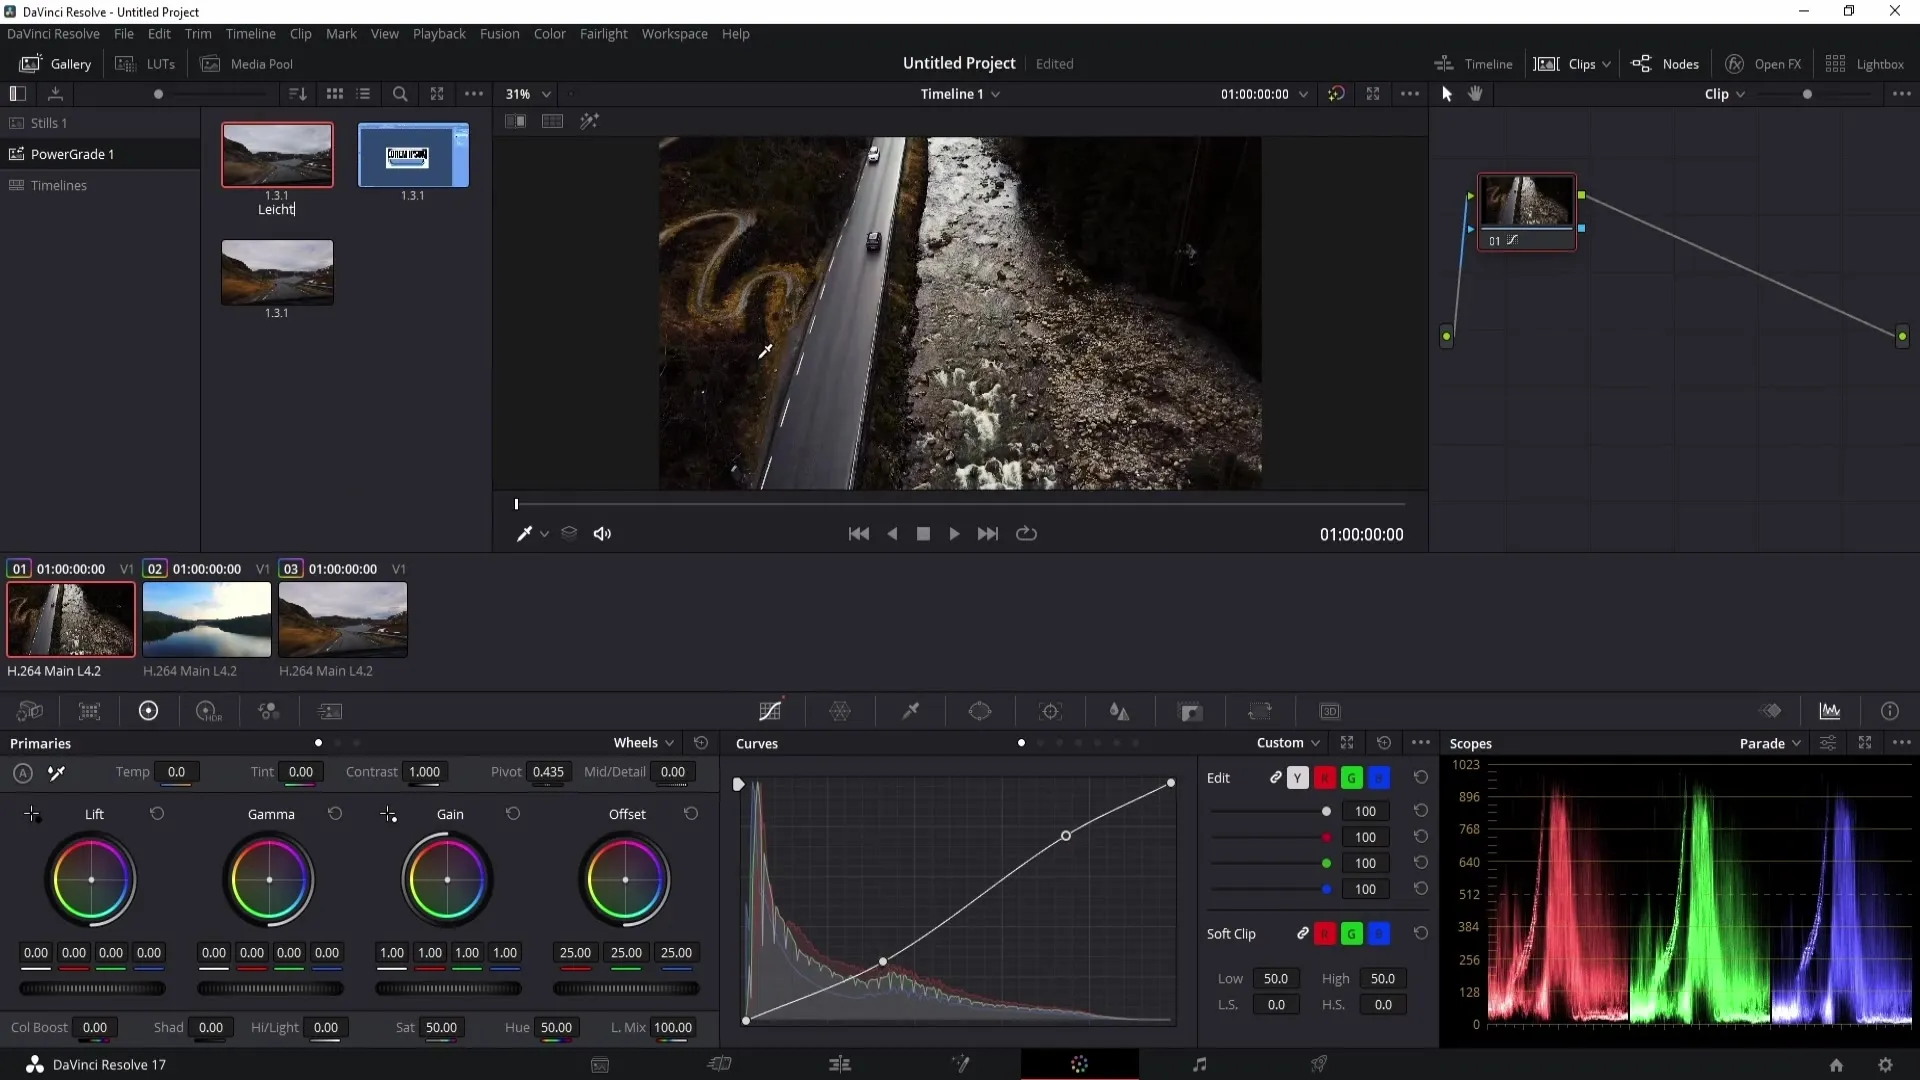
After saving the notes, drag them into the PowerGrade area. This way, you can use them for future projects. This is particularly useful if you want to apply the same color correction in different projects.
Step 10: Renaming Notes for better organization
To better organize your notes, it is recommended to name them sensibly. Right-click on the note and choose "Change Label". For example, name it "Slight Contrast Adjustment". This way, you can keep track of your different color corrections.
Summary
In this tutorial, you have learned how to use Shared Nodes in DaVinci Resolve and save your own color corrections. You can apply one note to multiple clips, as well as make creative color changes and adjustments. By using the PowerGrade function effectively, your work will become more efficient and flexible. You now have the knowledge to significantly enhance your workflow in color grading!
Frequently Asked Questions
How do Shared Nodes work in DaVinci Resolve?Shared Nodes allow you to apply a color correction to multiple clips simultaneously. Changes to the Shared Node will affect all clips using that note.
Can I save multiple notes as Shared Notes at the same time?No, you can only save a single note as a Shared Node at a time.
How do I save my notes for other projects?To save your notes across projects, drag them into the PowerGrade area and save them there.
Why are my saved stills not available in the new project?Stills are tied to the current project unless saved in the PowerGrade area.
How can I rename a note?Right-click on the note and select "Change Label" to give it a new name.


