In this guide, I will show you how to transfer a Color Grade from one clip to another in DaVinci Resolve. The software offers various ways to efficiently copy color corrections, allowing you to shorten your editing time and achieve a consistent look for your clips. With the simple steps outlined below, you can quickly learn how to transfer the desired color looks.
Key Insights
- You can easily transfer a Color Grade by selecting and right-clicking on the clip.
- It is important to retain color values beforehand if you wish to make subsequent adjustments.
- You can create your own Color Grades and apply them to other clips.
Step-by-Step Guide
To copy a Color Grade in DaVinci Resolve, follow the instructions below:
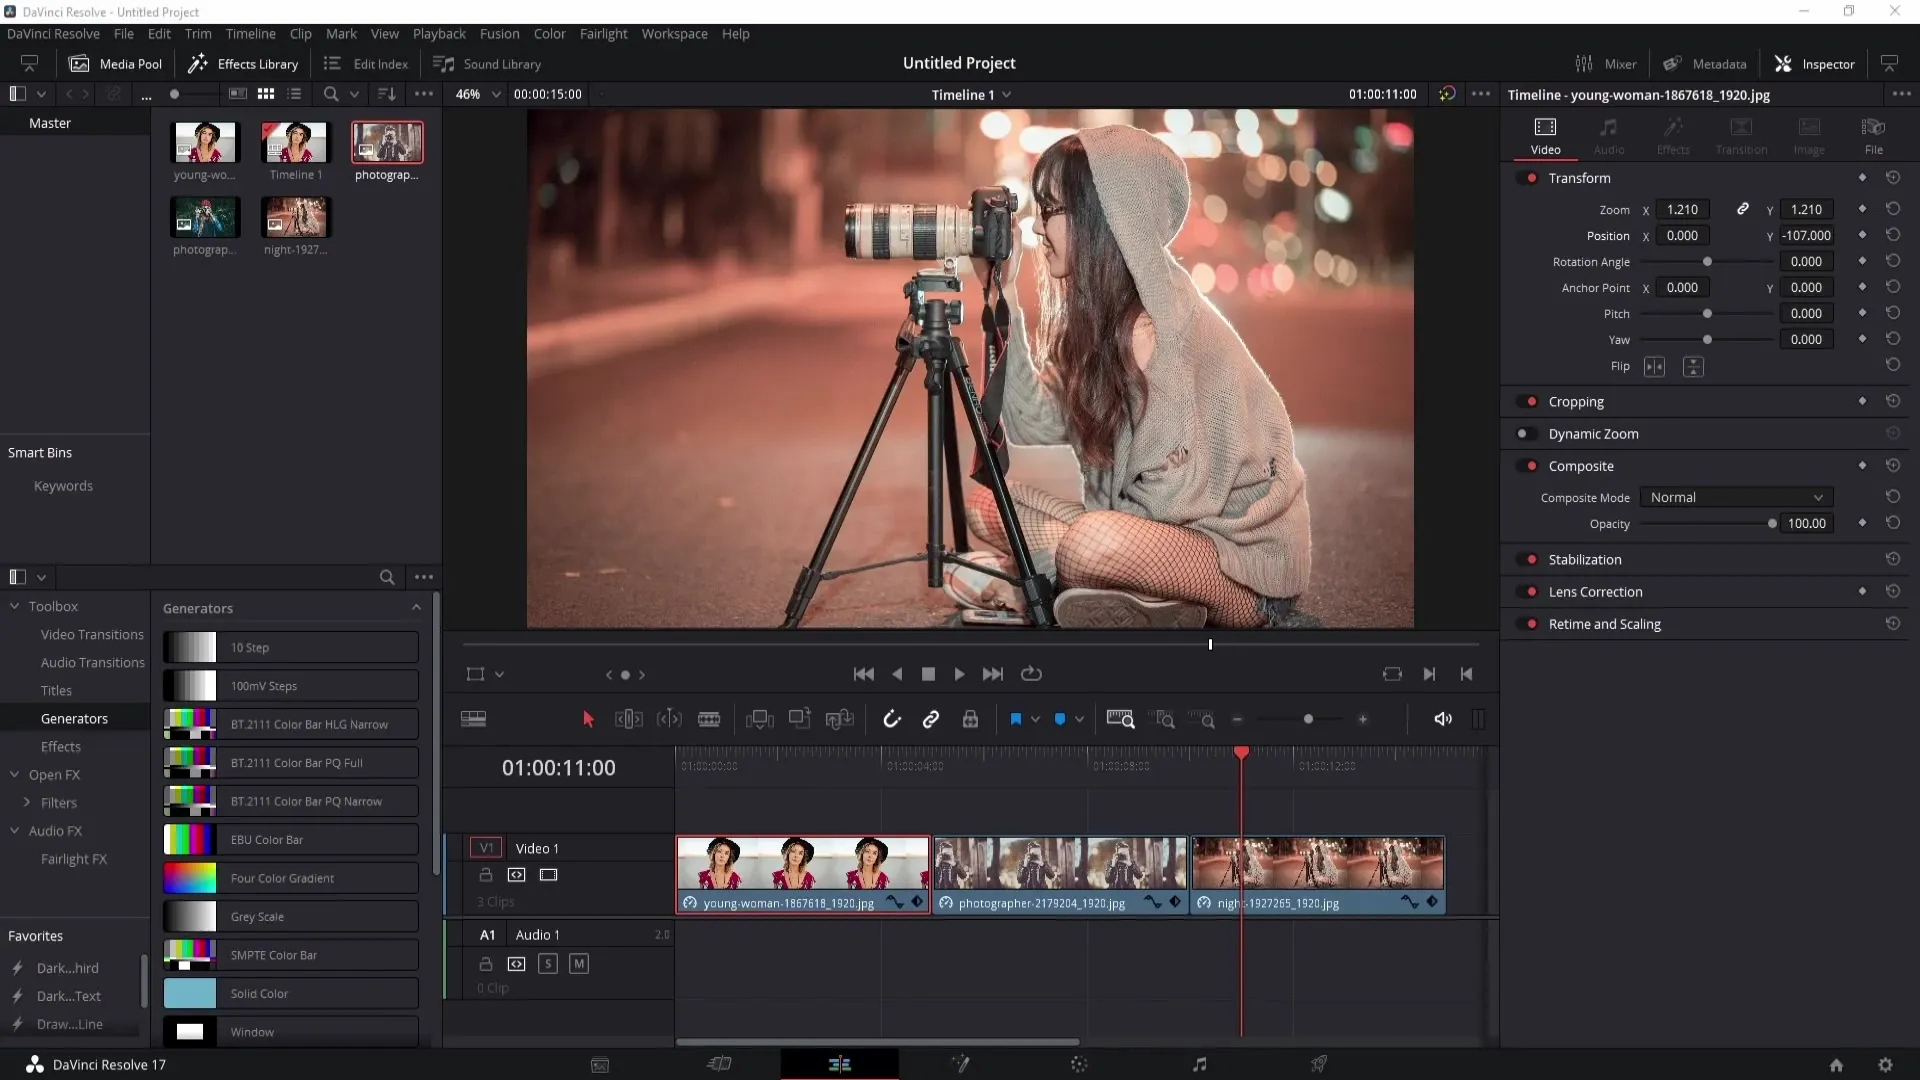
First, open DaVinci Resolve and load your project where you want to work. In this example, I already have three images in my timeline. However, you can also repeat this process for video clips. To switch to the Color Grading area, click on the "Color" tab in the bottom menu bar. This step is also important to have all color correction tools available.
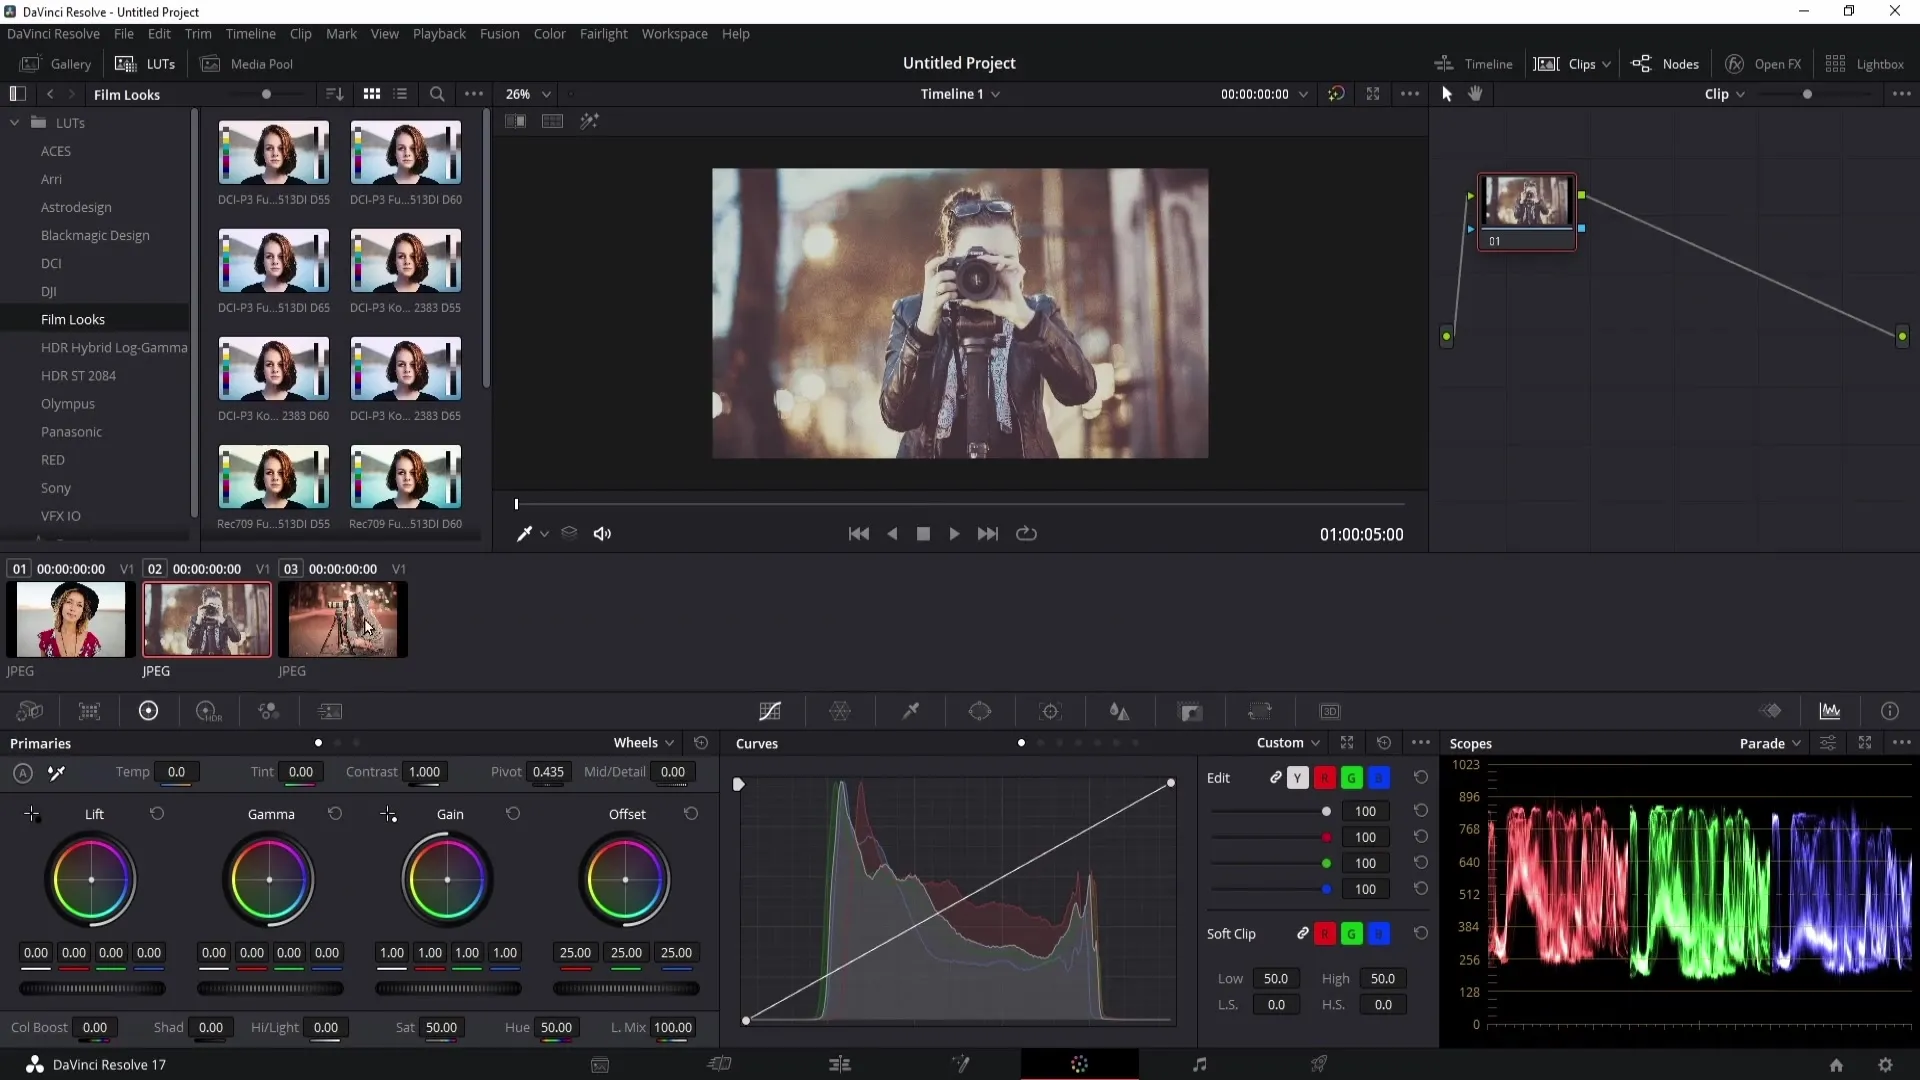
Once you are in the Color section, you will see the clips you can edit. Select the clip whose Color Grade you want to copy. You can do this by individually selecting multiple clips with the Control key (Ctrl) pressed or holding down the Shift key to select a range. For this example, I have chosen the first and second images to transfer the desired Color Grade.
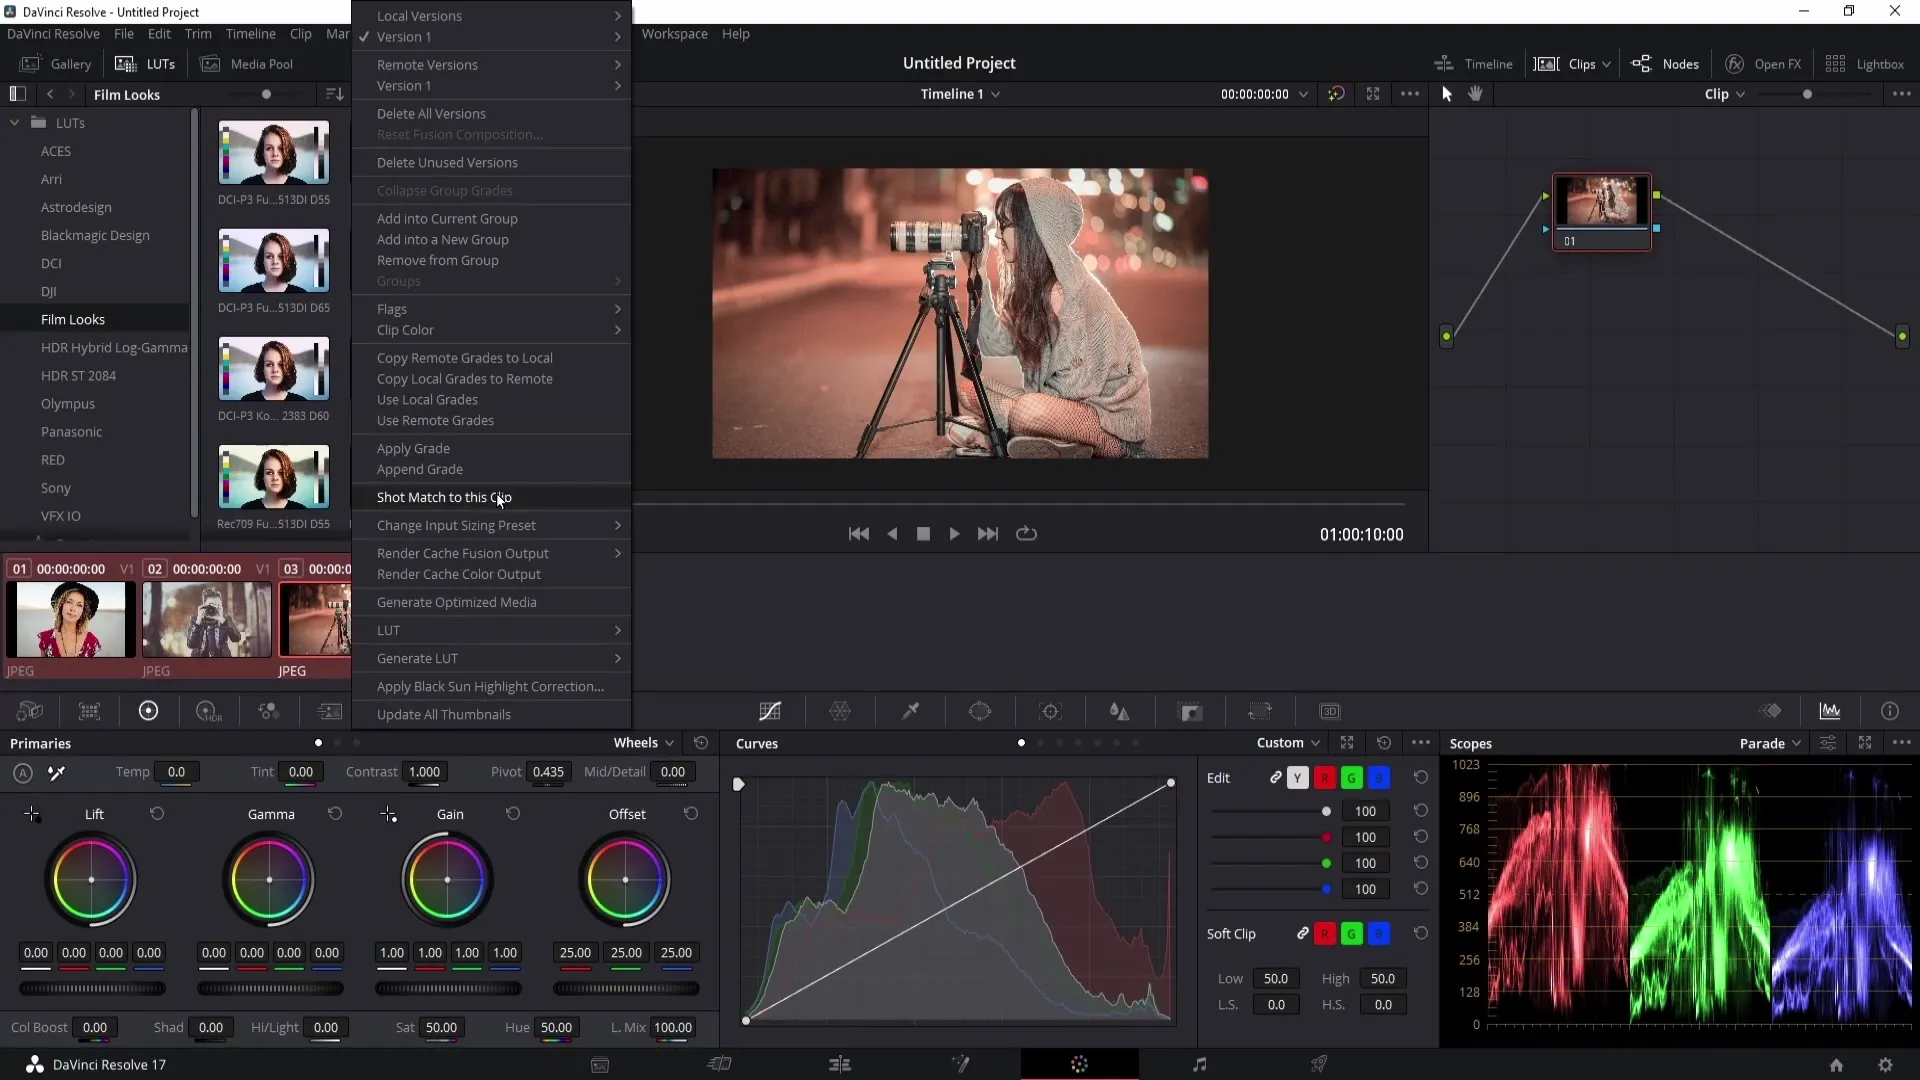
After selecting the clips, right-click on the clip from which you want to transfer the Color Grade. In the context menu, you will find the option "Shot Match to this Clip." Click on it, and DaVinci Resolve will automatically apply the Color Grade to the other selected images. You can see that the look of your clips has now changed and the new Color Grade has been adopted.
If you wish to make adjustments after the transfer, I recommend doing this in a new node. This will preserve the original color values of the first grade. Right-click again and select "Add Note." You can then make both contrast and color adjustments in the new node while retaining the original note.
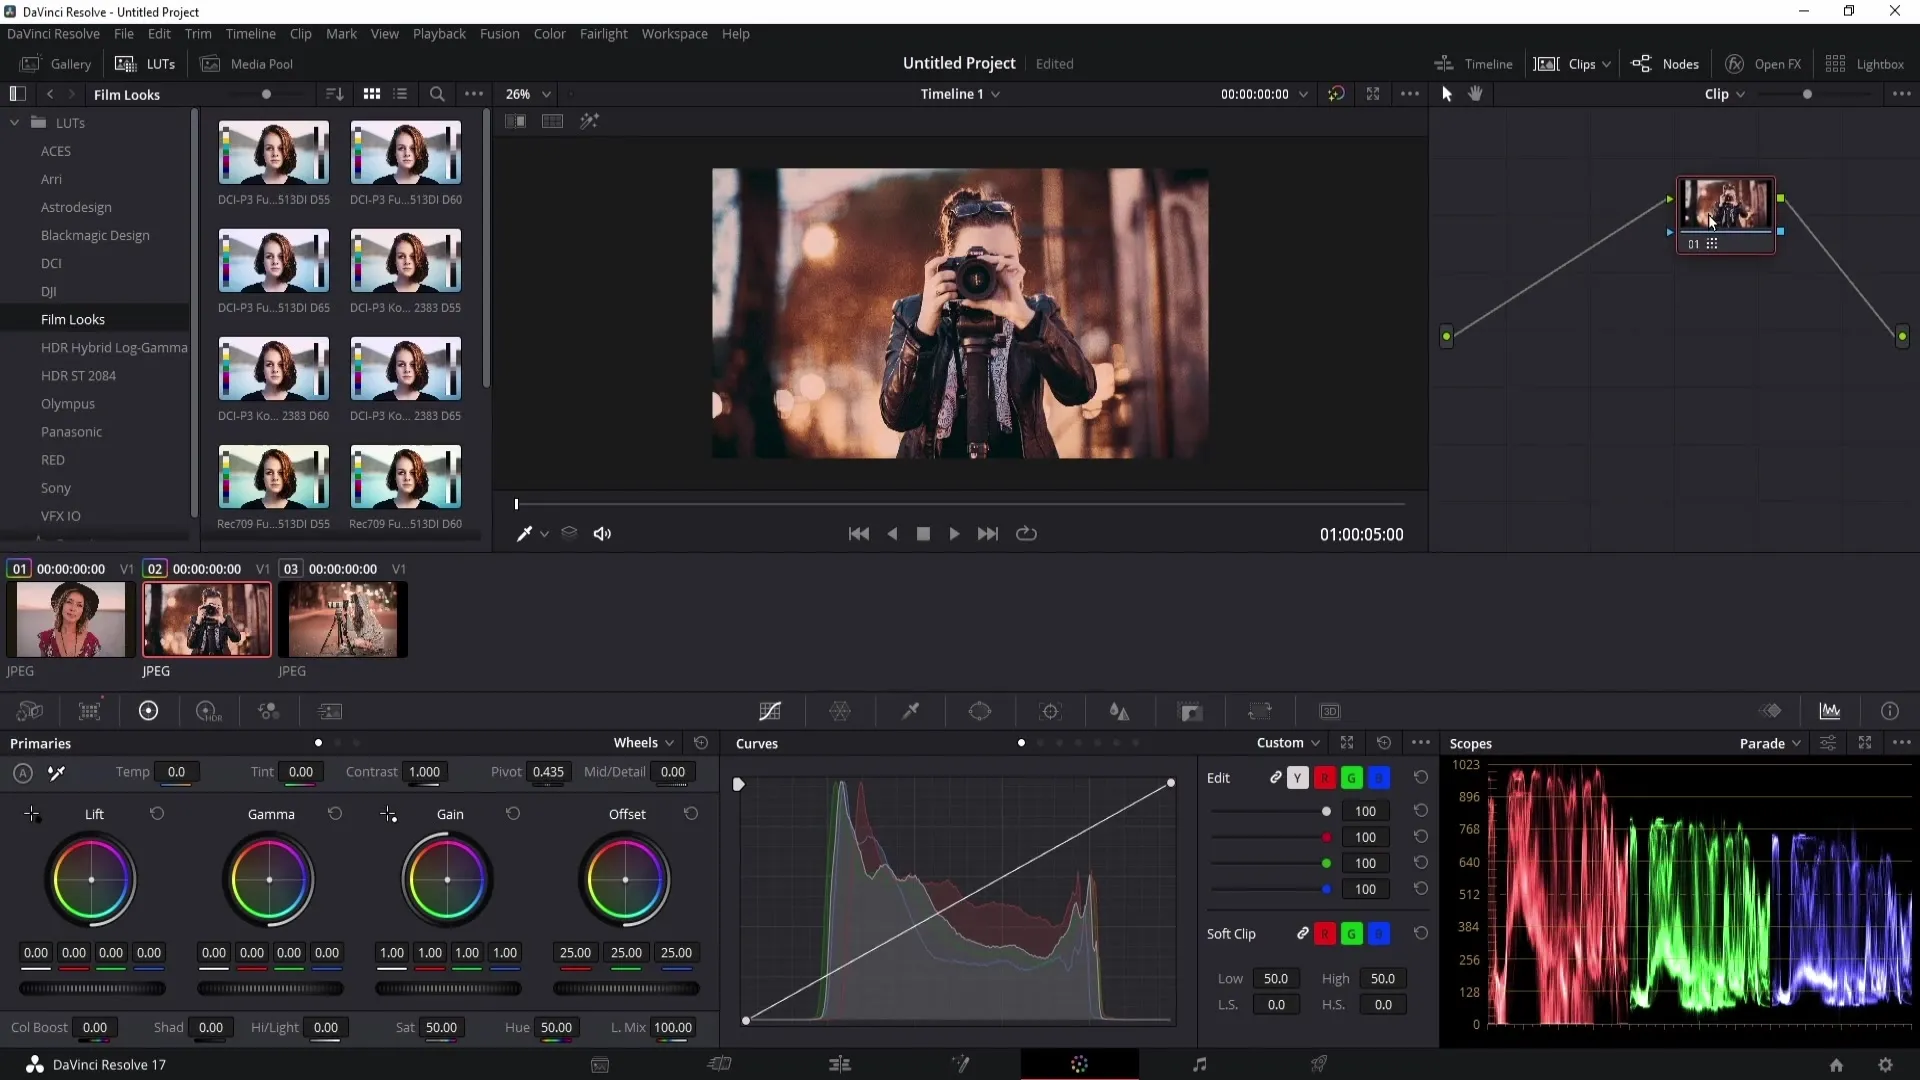
Now you can work with the new node. For example, you could change some contrast settings and possibly adjust the color temperature. These step-by-step adjustments will help you personalize your Color Grade without losing the original settings.
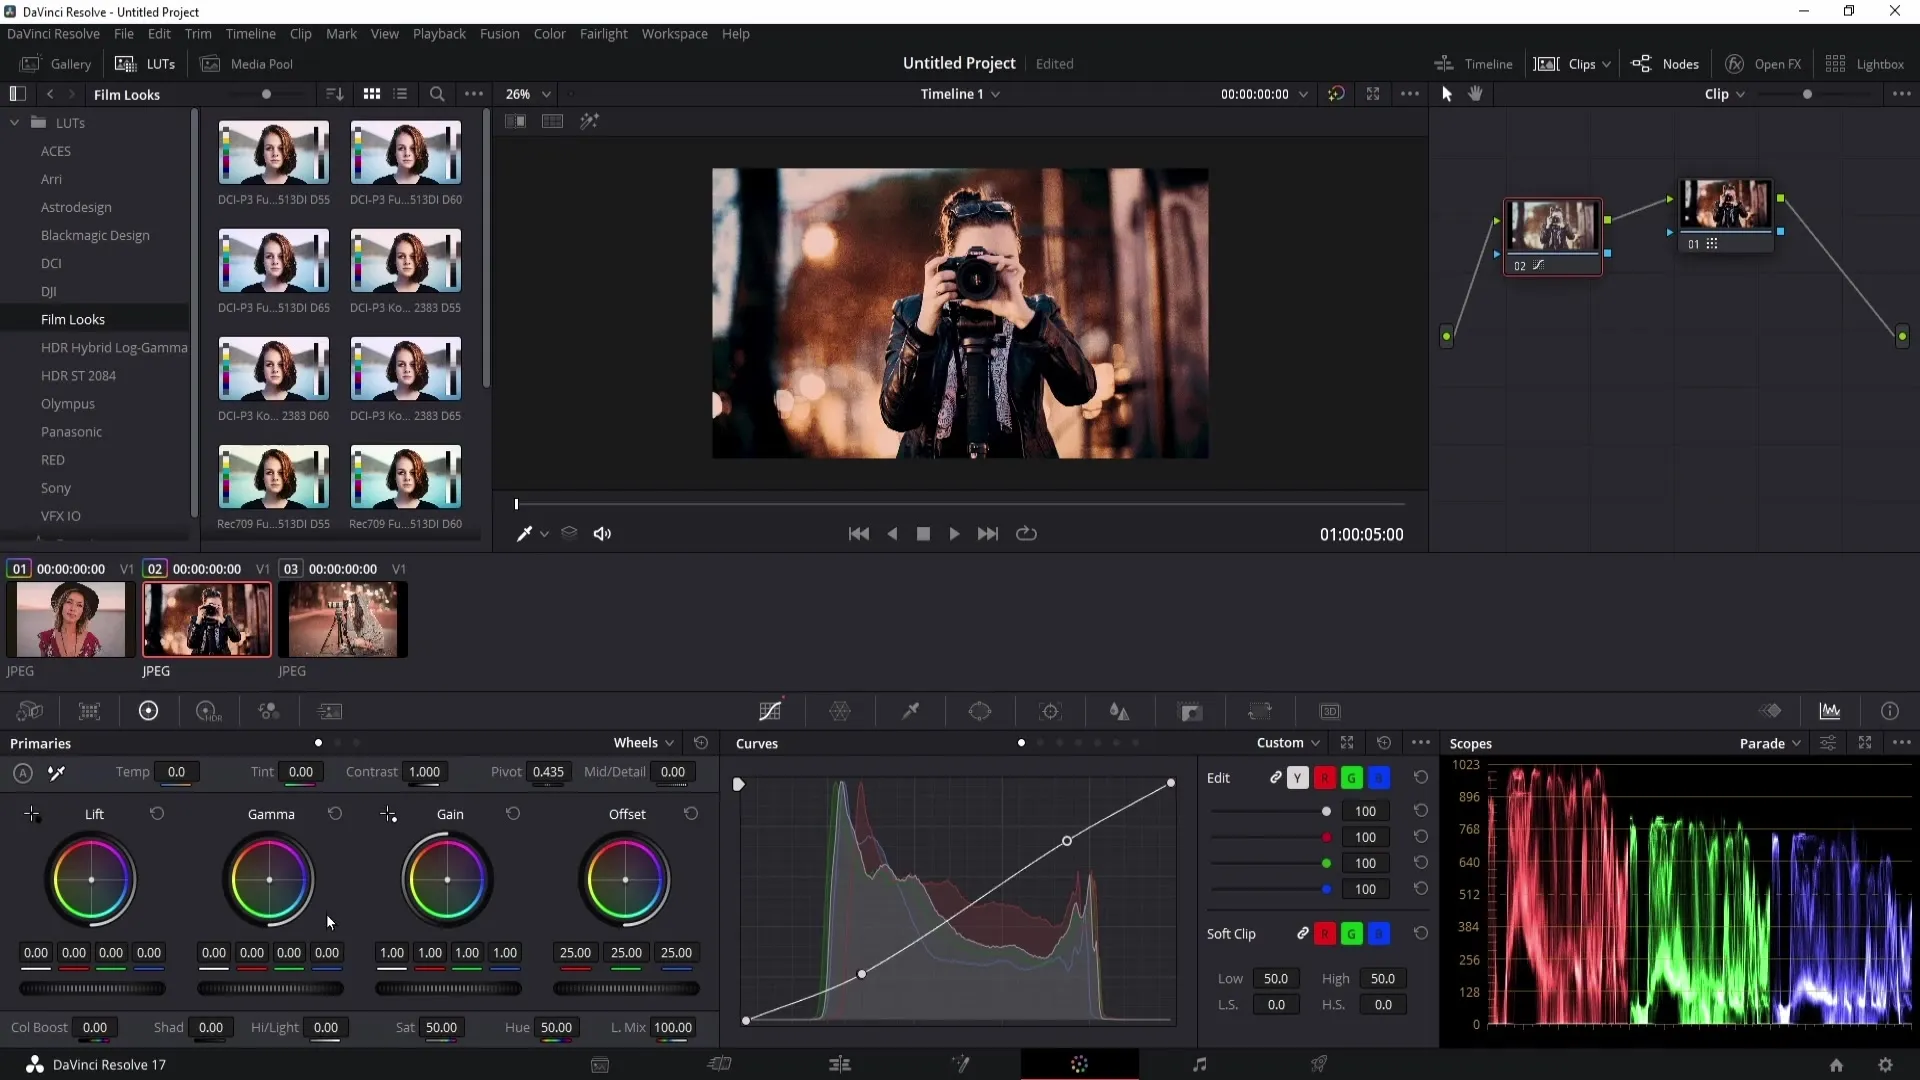
In the new node, you can also apply a LUT (Look-Up Table), which is great for trying out different looks. To use a LUT, create a new node, go to the LUT section, and select the desired file. You can then adjust the opacity of the LUT to achieve the desired effect.
Naming is important! When making changes, you should name the notes so that you can quickly see what adjustments you have made in each note. Simply right-click on the note and choose "Note Label" to set a name for the note. For example, you could use "Color Adjustment" for the note where you change the colors and "Contrast" for where you adjust the contrast settings.
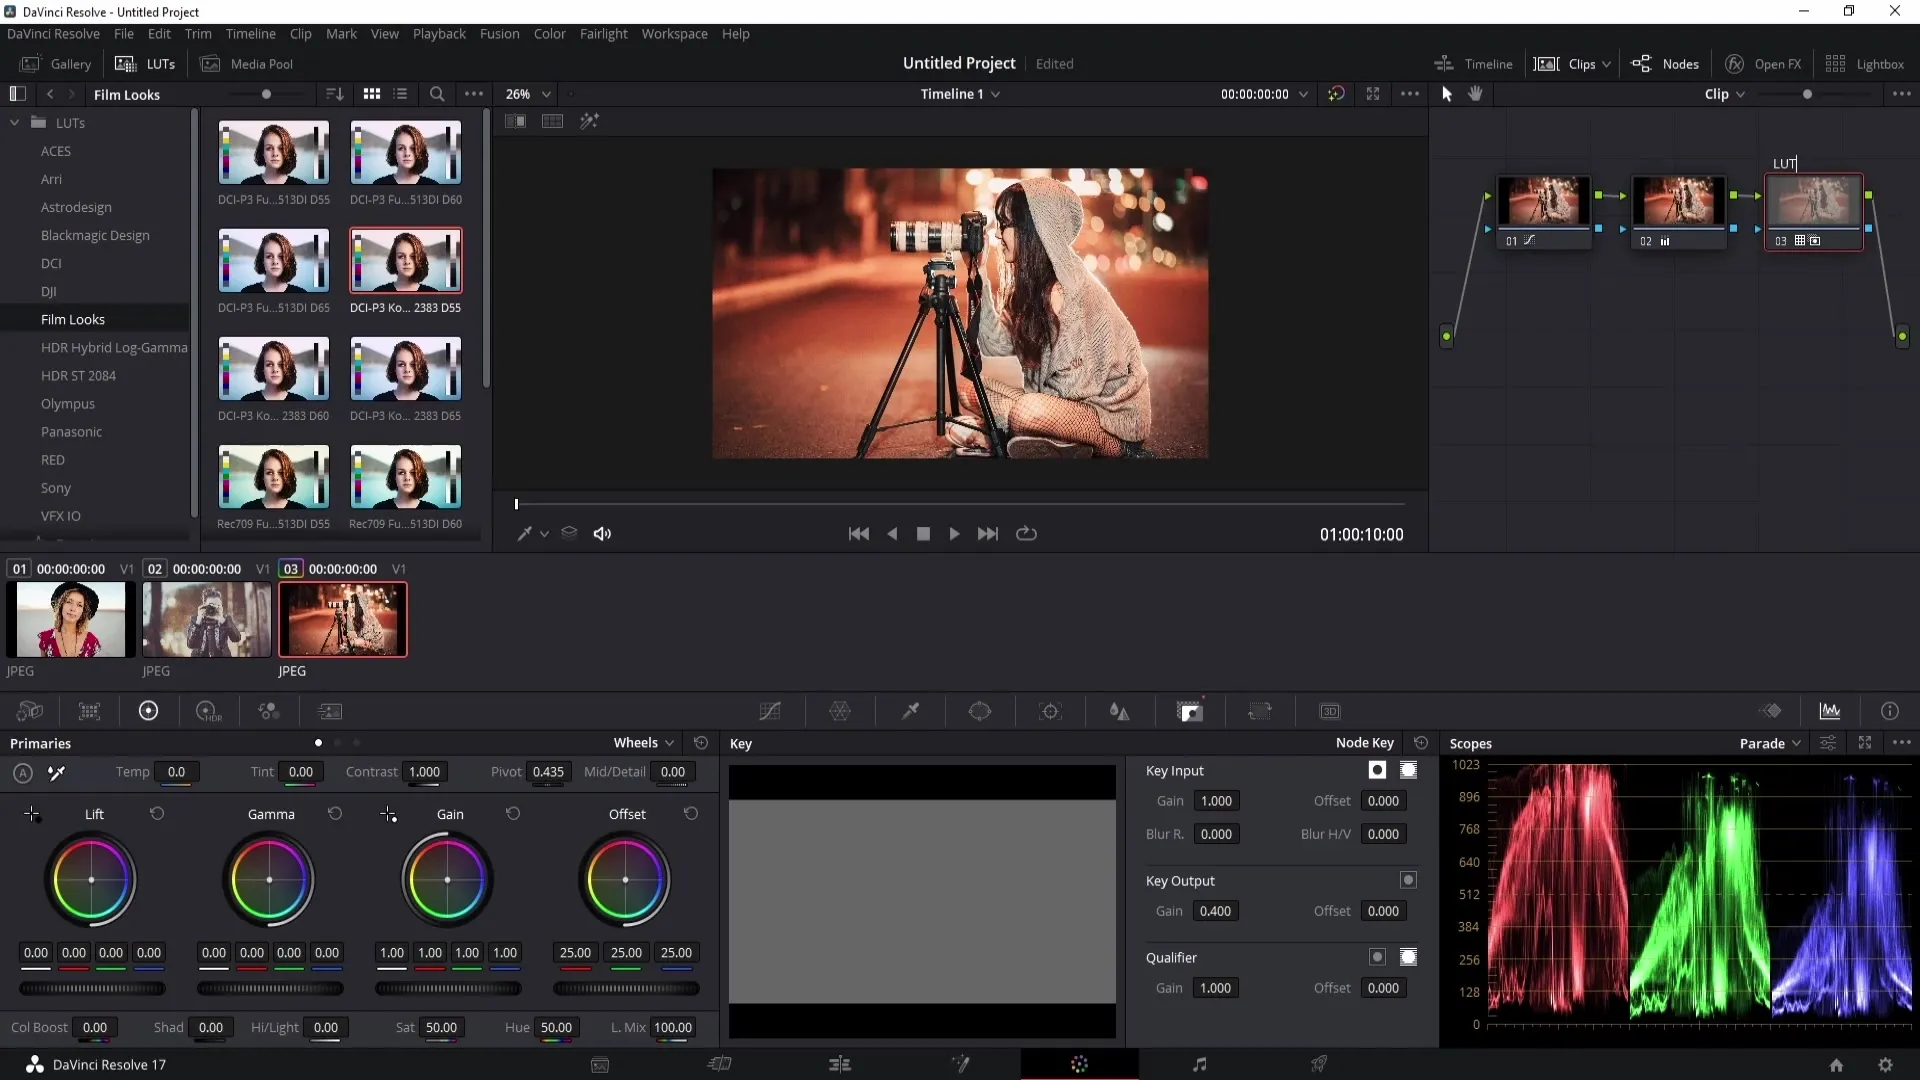
To transfer the generated Color Grade to another clip, first select the clip to which you want to apply the adjustments. With a simple scroll wheel click on the clip where you created the original Color Grade, the grade will now be transferred to the new clip. This is a quick and efficient process.
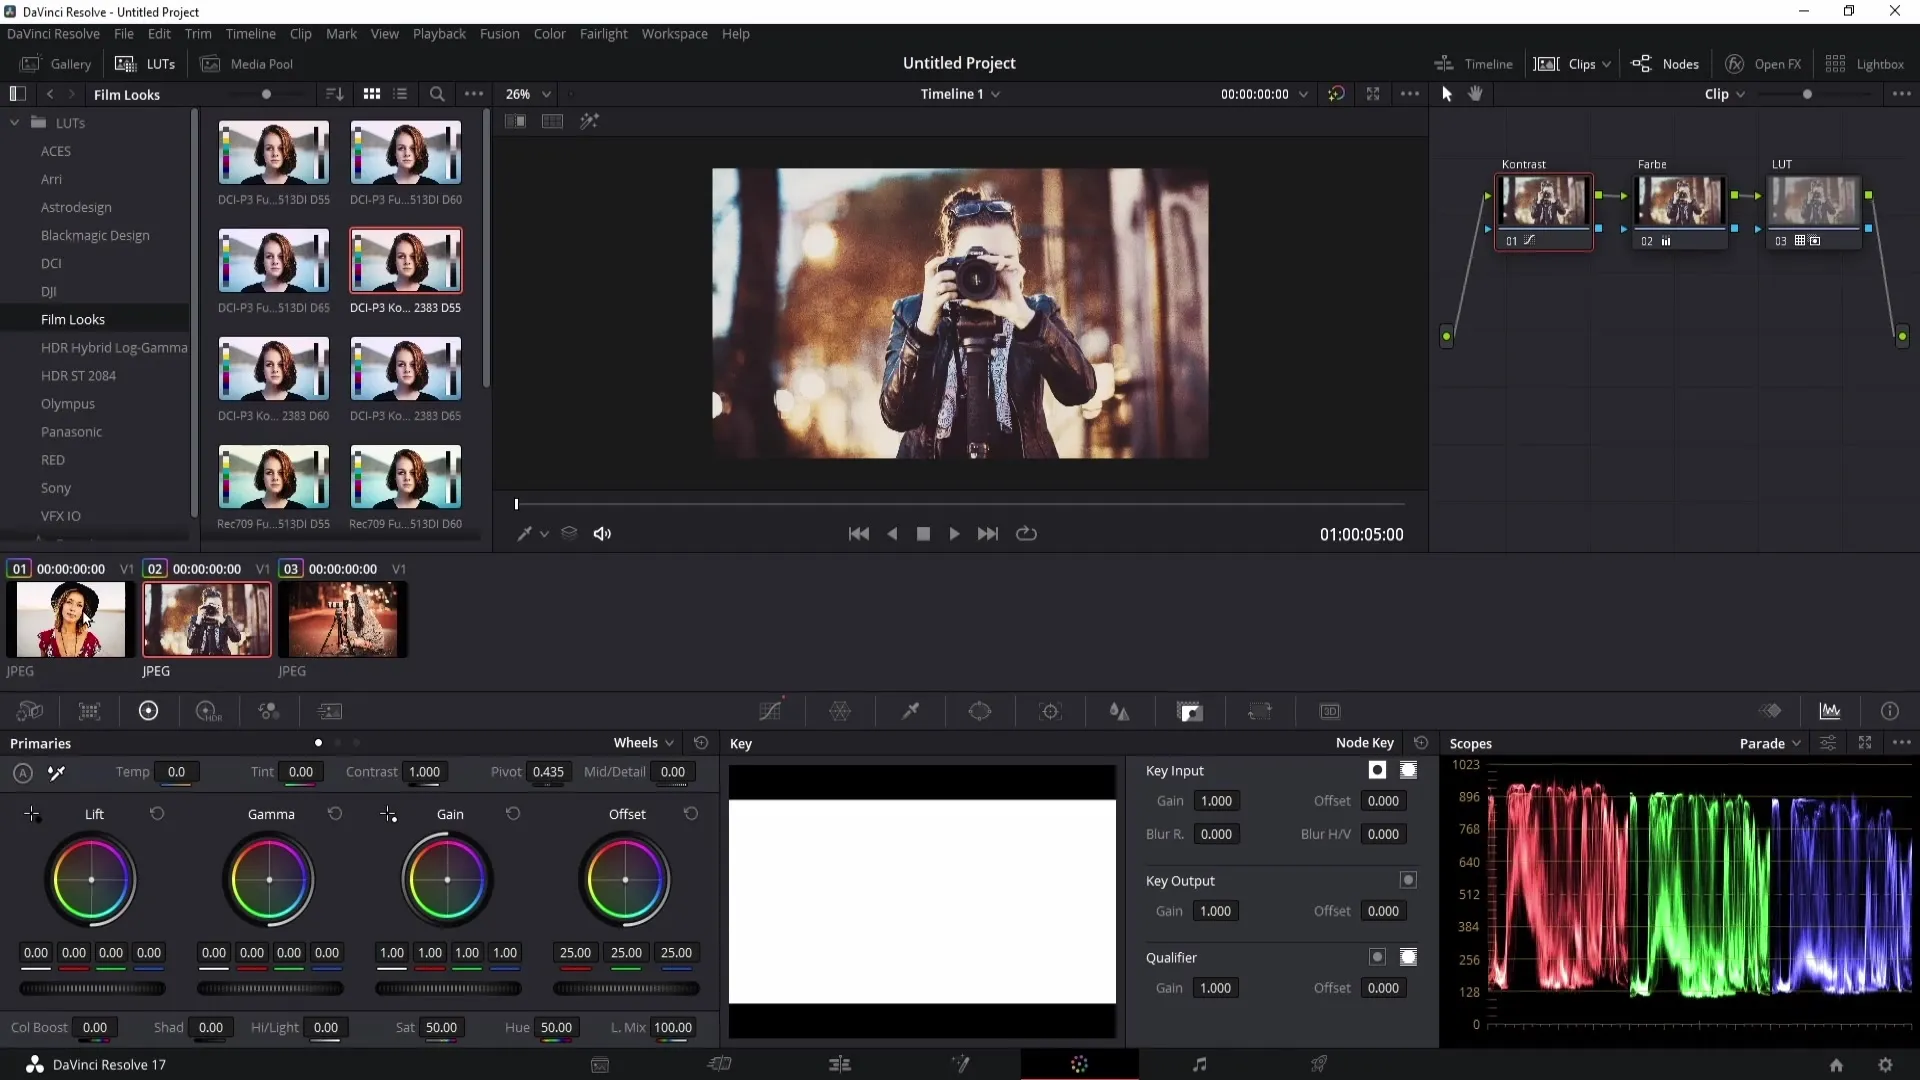
After selecting the clips, you can continue to customize the appearance at any time. You can go back to a note and make changes or compare the results by toggling the individual notes on and off. Click on the number of each note to hide it. If you want to view the original image, simply activate the corresponding symbol in the top bar.
Summary
In this tutorial, you have learned how to transfer a color grade from one clip to another in DaVinci Resolve. You have gone through the different steps, from selecting the clips to making adjustments with notes and LUTs. These techniques make your color corrections faster and more efficient. With these tools, you can craft your visual storytelling to remain appealing and consistent.
Frequently Asked Questions
What is a Color Grade?A color grade is a color correction or visual style applied to an image or video to change the mood or overall impression.
How do I apply a color grade to multiple clips?Select the clips using the control key or shift key and right-click on the clip whose grade you want to use. Then choose "Shot Match to this Clip."
Can I make adjustments after applying the transfer?Yes, you can make adjustments in a new note after the transfer to preserve the original color values.
How do I use LUTs in DaVinci Resolve?Create a new note, go to the LUT section, and select a LUT. You can then adjust the opacity to achieve the desired effect.
Why should I name my notes?Naming your notes helps you keep track of the adjustments made and simplifies the workflow.


