In this guide, I will show you how to synchronize audio to a video in DaVinci Resolve. This is a fundamental skill for anyone working with video editing, especially if you record audio separately. You will learn both manual and automatic synchronization to choose the method that best suits your needs.
Key Takeaways
- You can synchronize audio manually by comparing the waveforms.
- DaVinci Resolve offers an automatic synchronization function based on the waveforms.
- Both methods allow you to significantly improve the audio quality of your project.
Manually Synchronizing Audio
To synchronize audio manually, follow these steps:
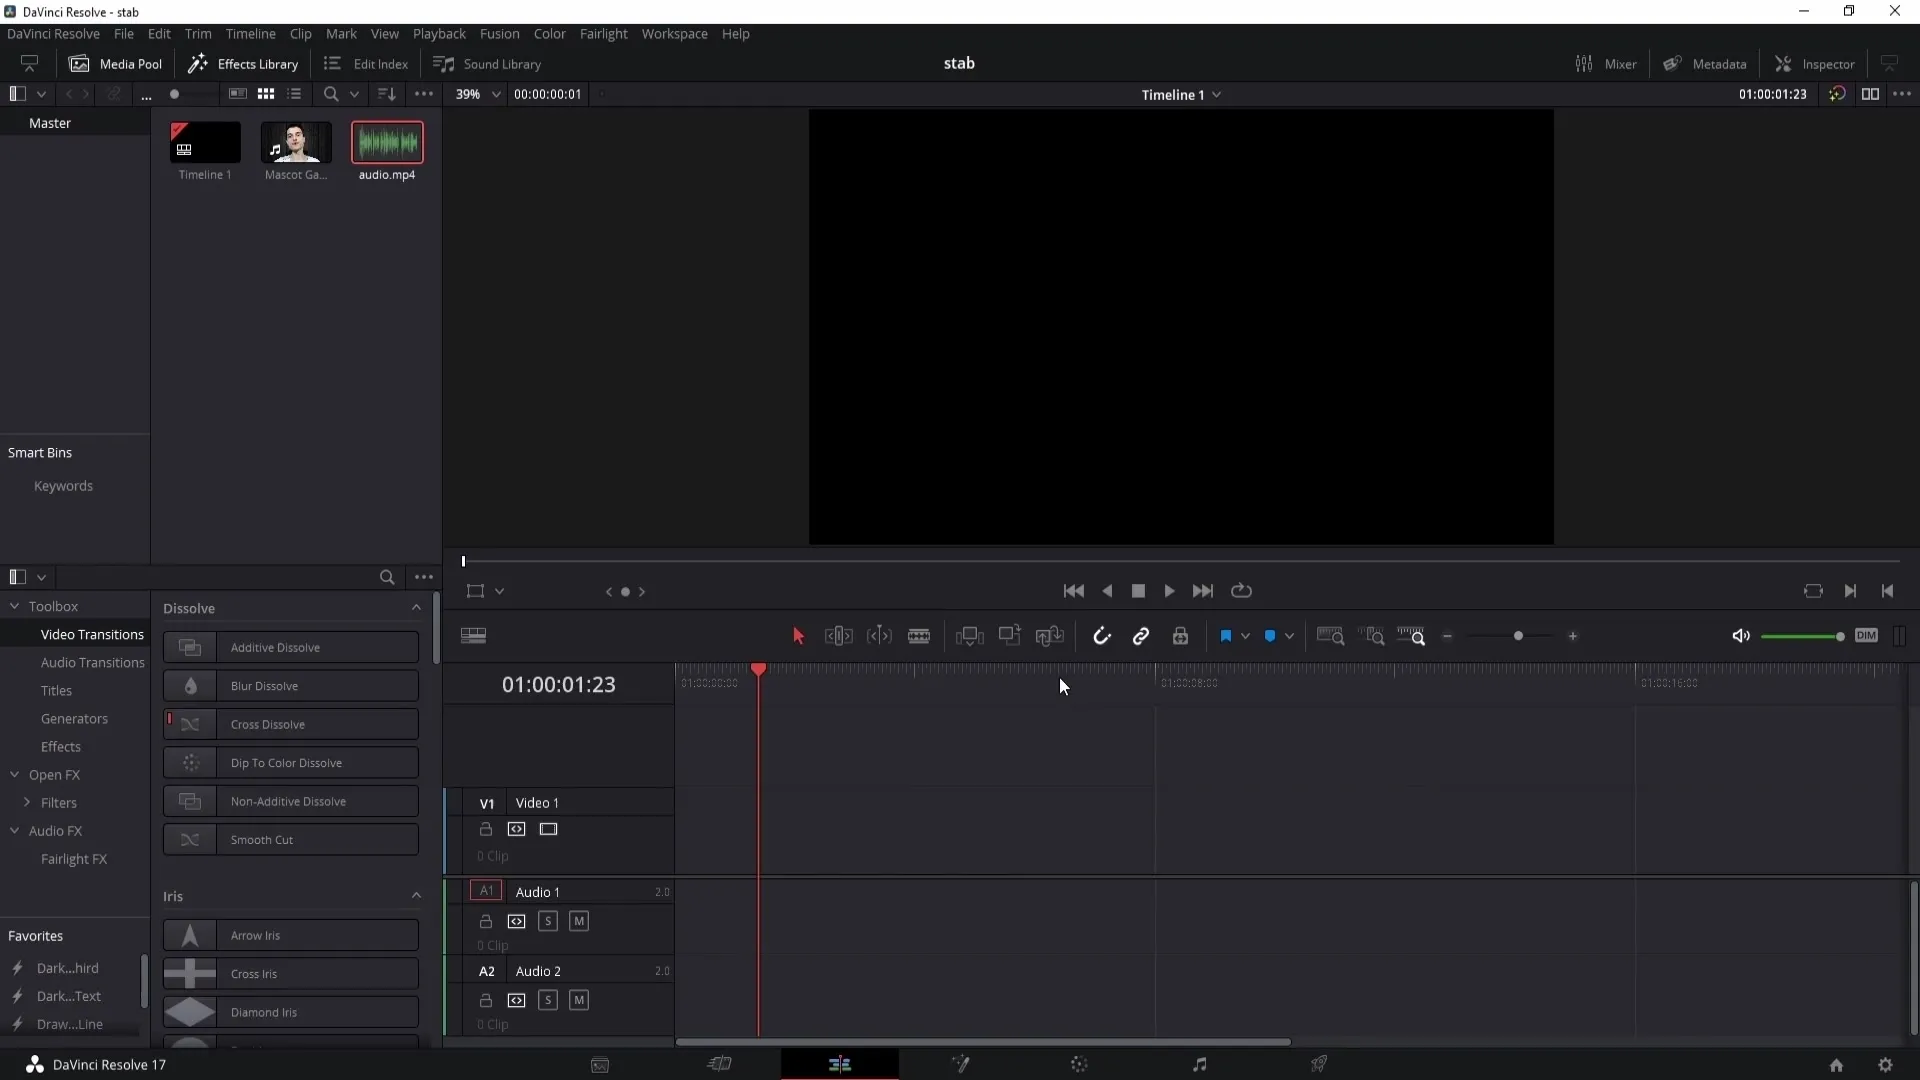
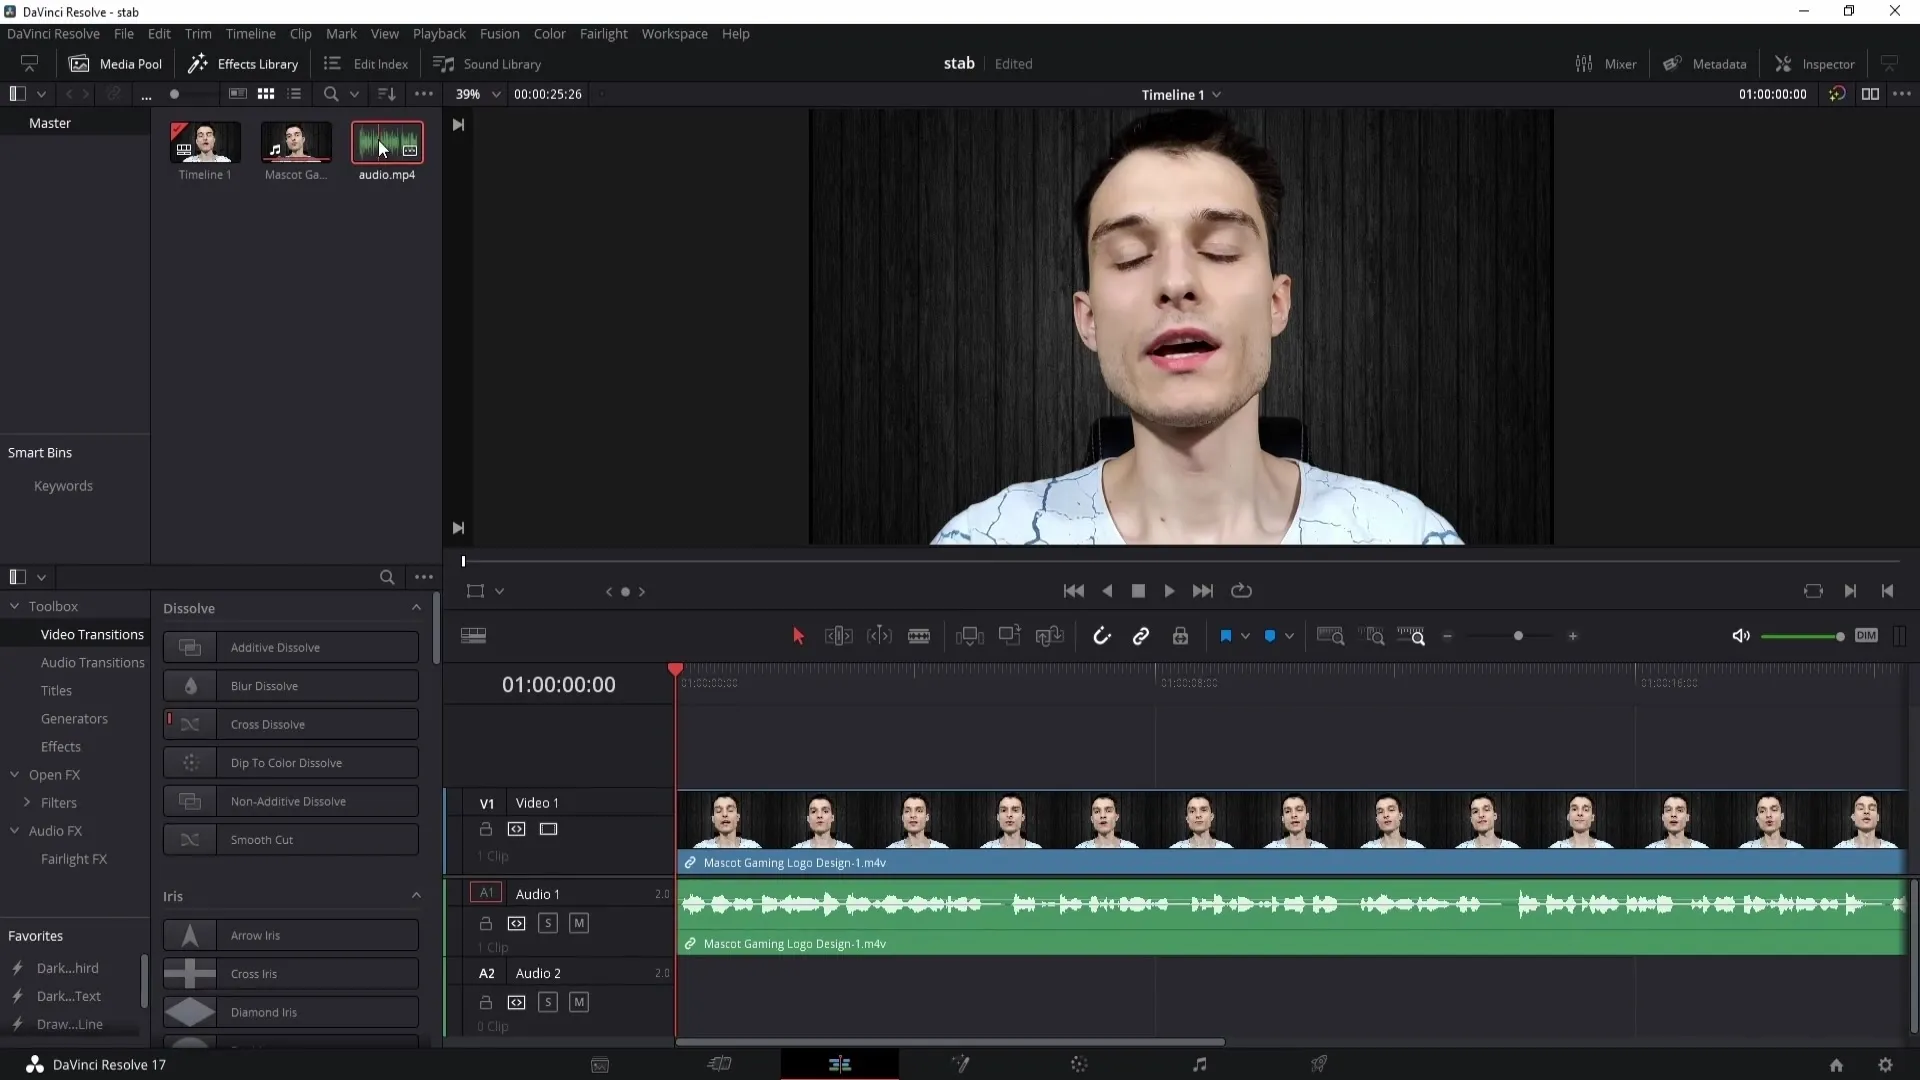
First, import your video and its corresponding audio recording into DaVinci Resolve. Suppose you have a video taken with your phone and a separate audio recording created with a microphone.
Next, start by examining the waveforms of both audio sources. Pay attention to the peaks of the waveforms: this is where you can identify where the audio information begins. Drag the lower audio recording to a position that matches this waveform in the upper video recording.

A recommended step is to use the zoom feature in the middle view. This way, you can see the waveforms more clearly and work more precisely. Zoom in the view until you can clearly identify the structure of the audio waves.

Now, you can further adjust the audio recording by moving it back and forth until it is perfectly synchronized with the video. Sometimes, it may be helpful to slightly shift the audio recording forward or backward to achieve precise synchronization.
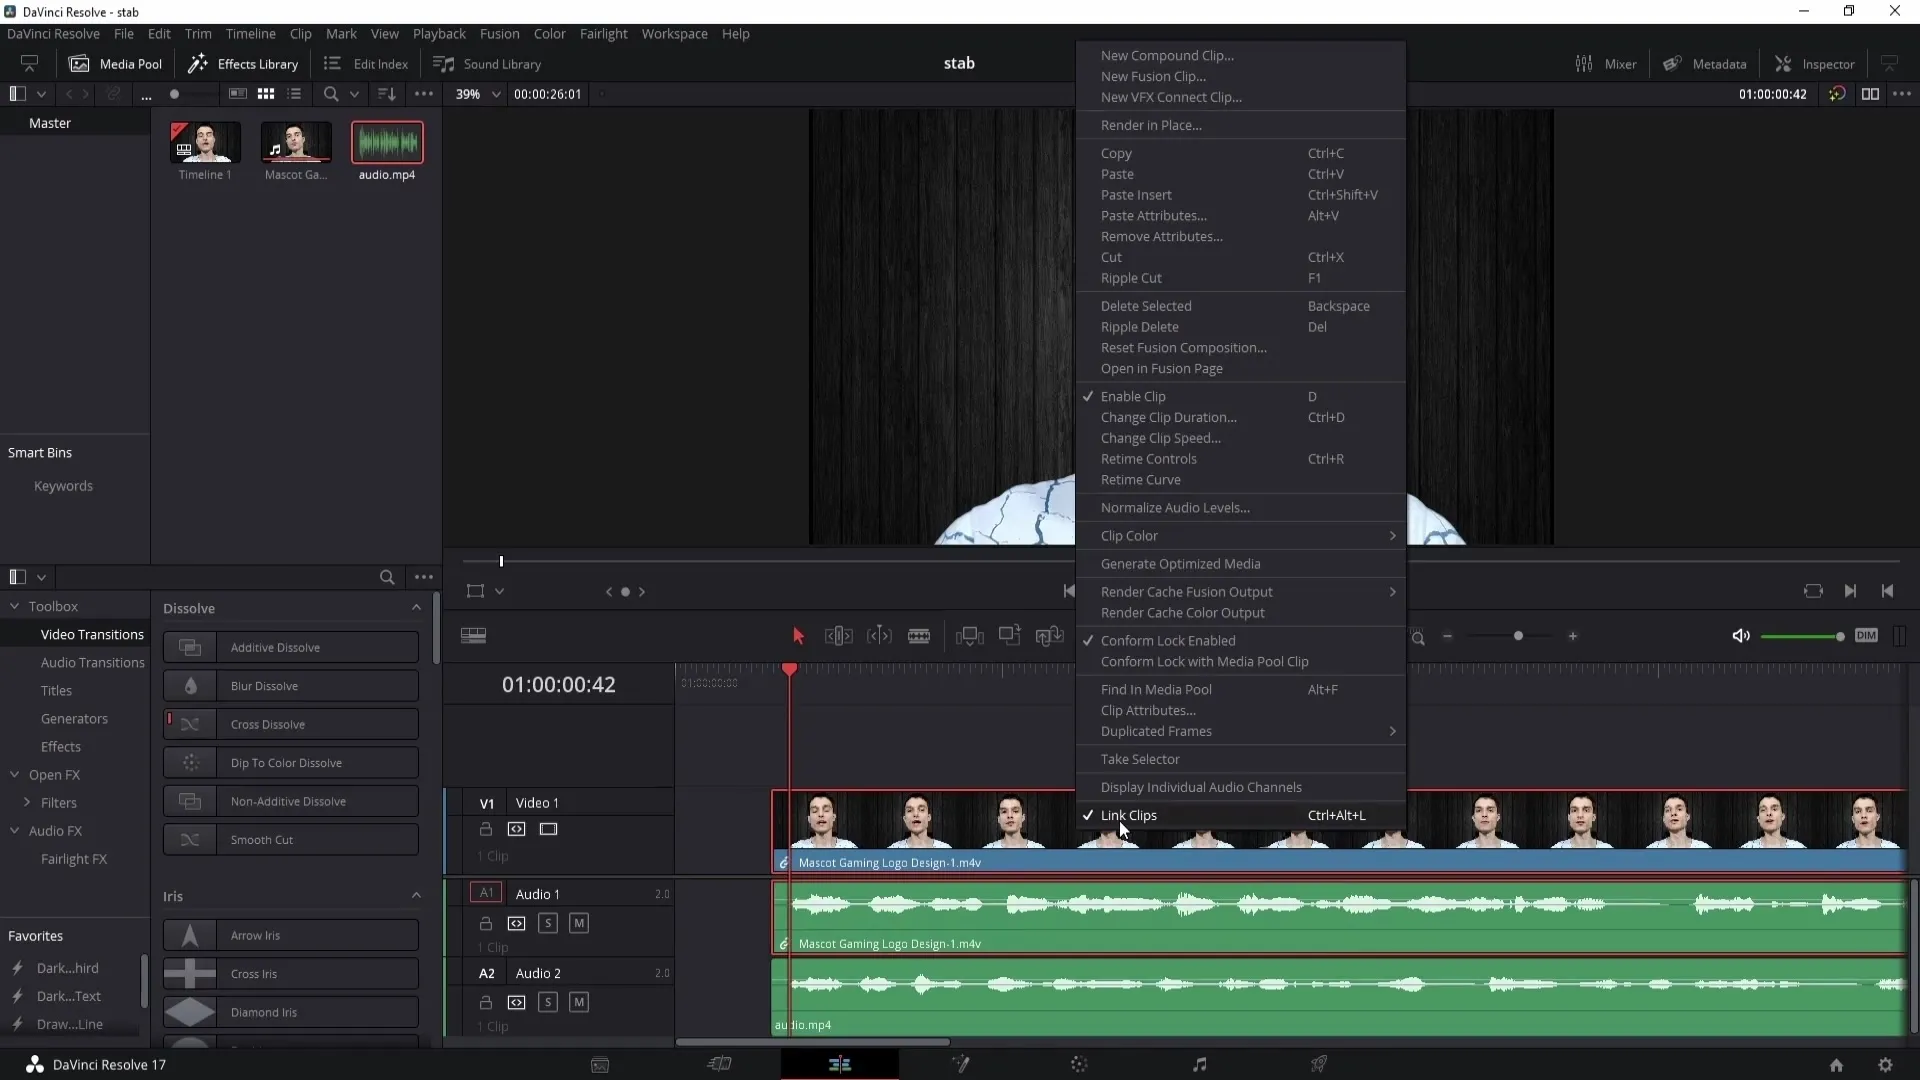
If the synchronization is satisfactory, you should link the clips. Right-click on the clips and select "Link Clips." This ensures they stay together in the timeline.

If you want to remove the audio from your video, click on the audio that is no longer needed and delete it. Now you are left with the synchronized audio recording that you need for your project.
Automatically Synchronizing Audio
However, the manual method may be too time-consuming for you. In this case, DaVinci Resolve offers a convenient automatic synchronization function.
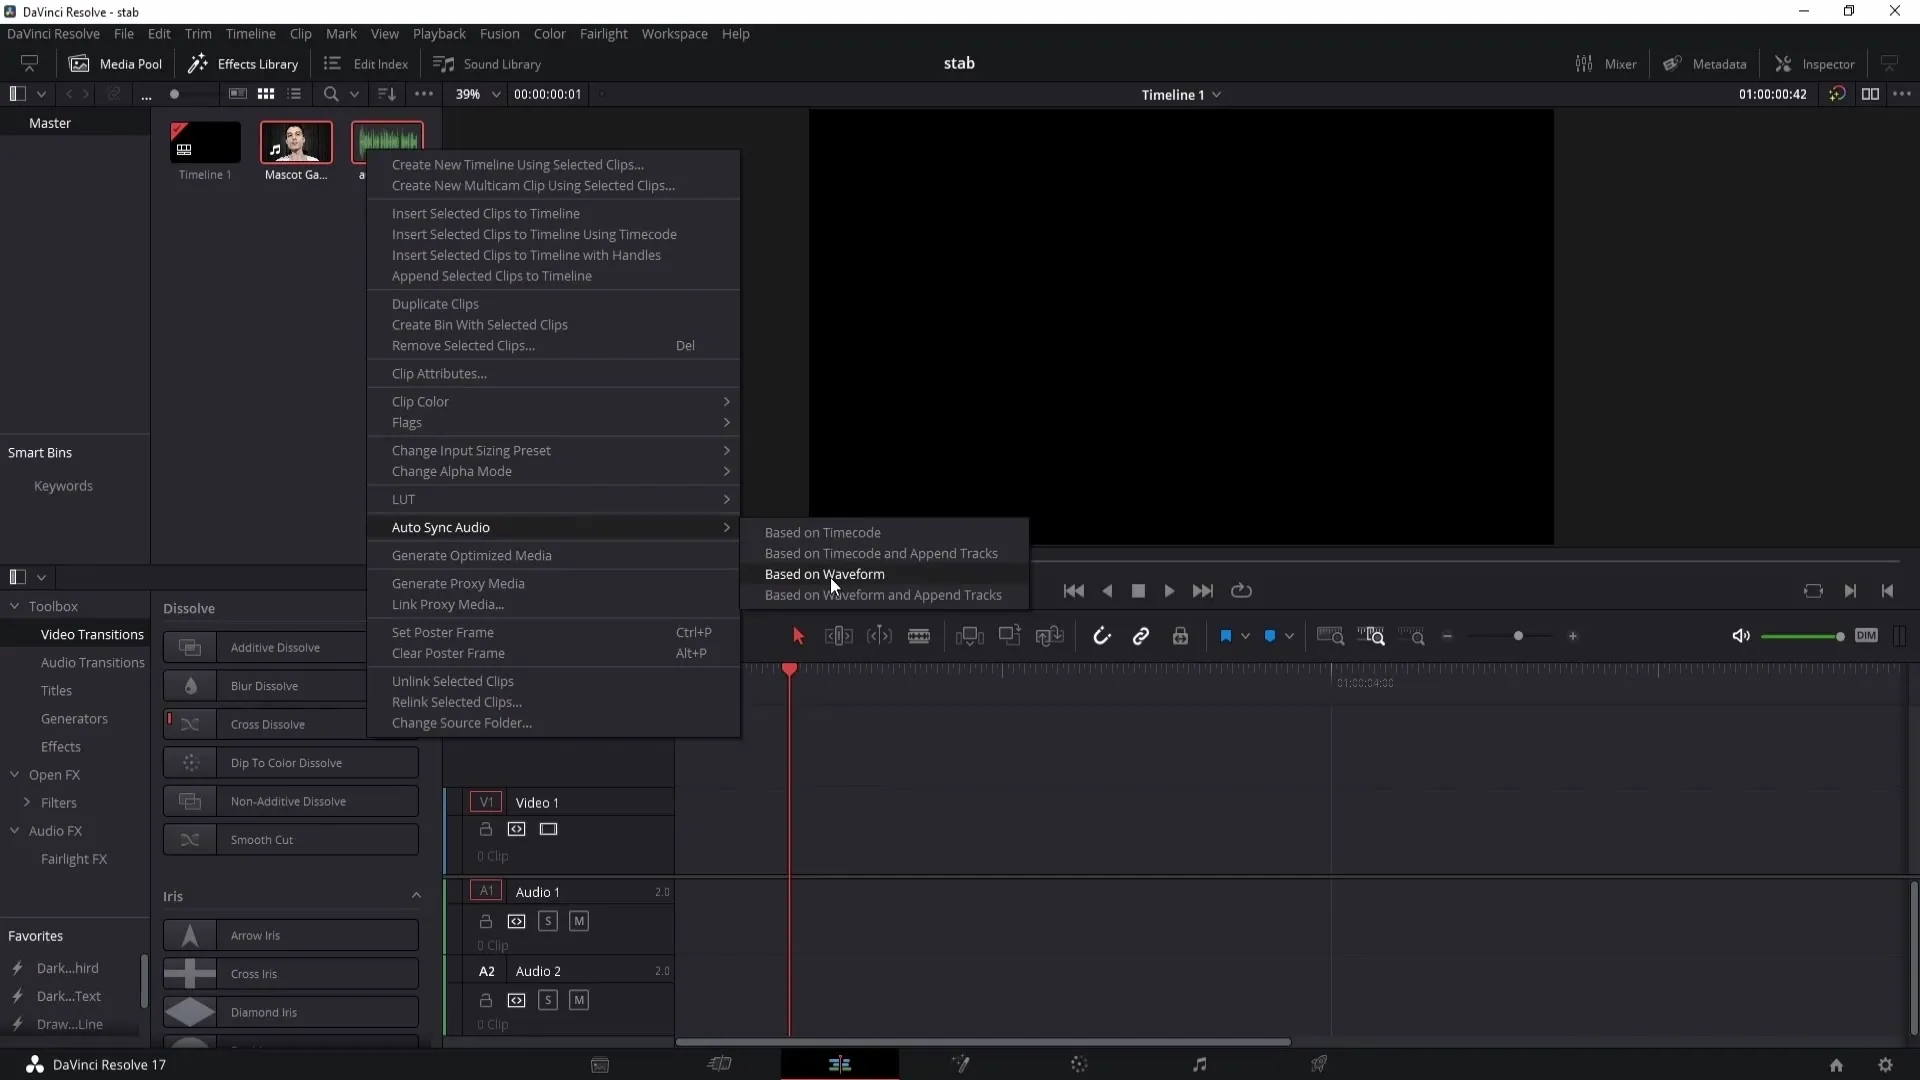
First, make sure your video and audio recording are available in the media pool for synchronization. Select the video and hold the control key while selecting the audio recording.
With both clips selected, right-click and go to "Autosync Audio" in the menu. Here, choose the option "based on waveforms."

DaVinci Resolve will now synchronize the audio automatically based on the waveforms. Wait a moment for this process to complete. Afterward, you can drag the video into the timeline and see that the audio recording is synchronized.
Summary
In this guide, you have learned how to synchronize audio in DaVinci Resolve, both manually and automatically. With these methods, you can edit your video in a way that maintains high-quality audio and harmonizes perfectly with the visual elements.
Frequently Asked Questions
How can I synchronize audio in DaVinci Resolve?You can synchronize audio manually by comparing the waveforms, or automatically using the "Autosync Audio" function.
What should I do if the waveforms do not match?You can manually adjust the audio recording by dragging it back and forth to synchronize it with the visual cues in the video.
Can I change the method at any time?Yes, you can switch between manual and automatic synchronization depending on what works best for you.


