In this guide, I will show you how you can separate and reconnect audio from video in DaVinci Resolve. Separating audio and video can be useful in many situations, especially when you want to make adjustments to the audio track or add separate audio effects. With DaVinci Resolve, you have a powerful tool at your disposal to efficiently perform these tasks. Let's dive right into the steps to use these functions.
Key takeaways
You will learn how to:
- Separate audio from video in DaVinci Resolve.
- Reconnect the separated audio and video clips.
- Link clips for easy editing and moving.
Step-by-step guide
To separate audio from a video in DaVinci Resolve, you first need to import the video. Start by opening DaVinci Resolve and loading your desired video into the Media Pool.
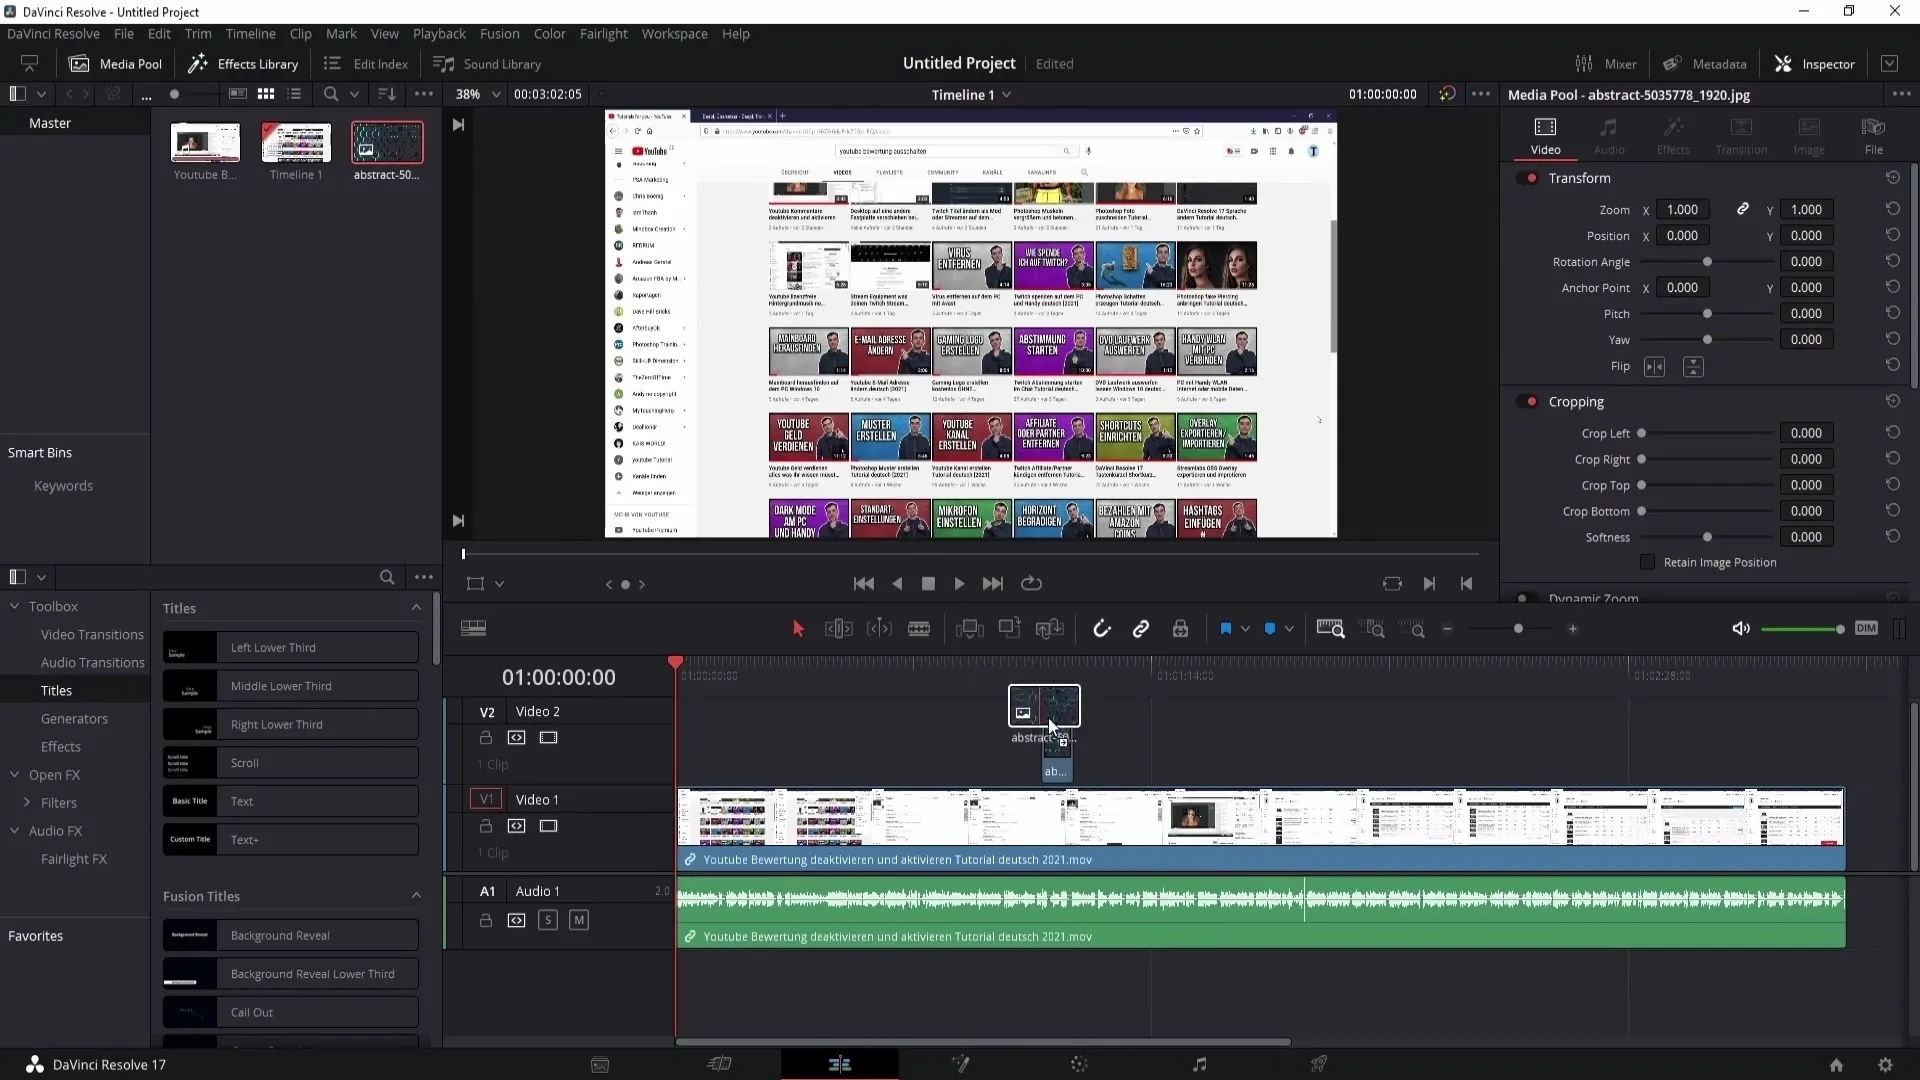
Simply click on the "Media Pool" and drag the video into the pool using drag-and-drop. It is also a good idea to drag the video into the timeline to have a visual representation to work with.
Once your video is in the timeline, you should be able to see the audio waveform. Drag the audio track column down slightly so that the peaks are more visible.

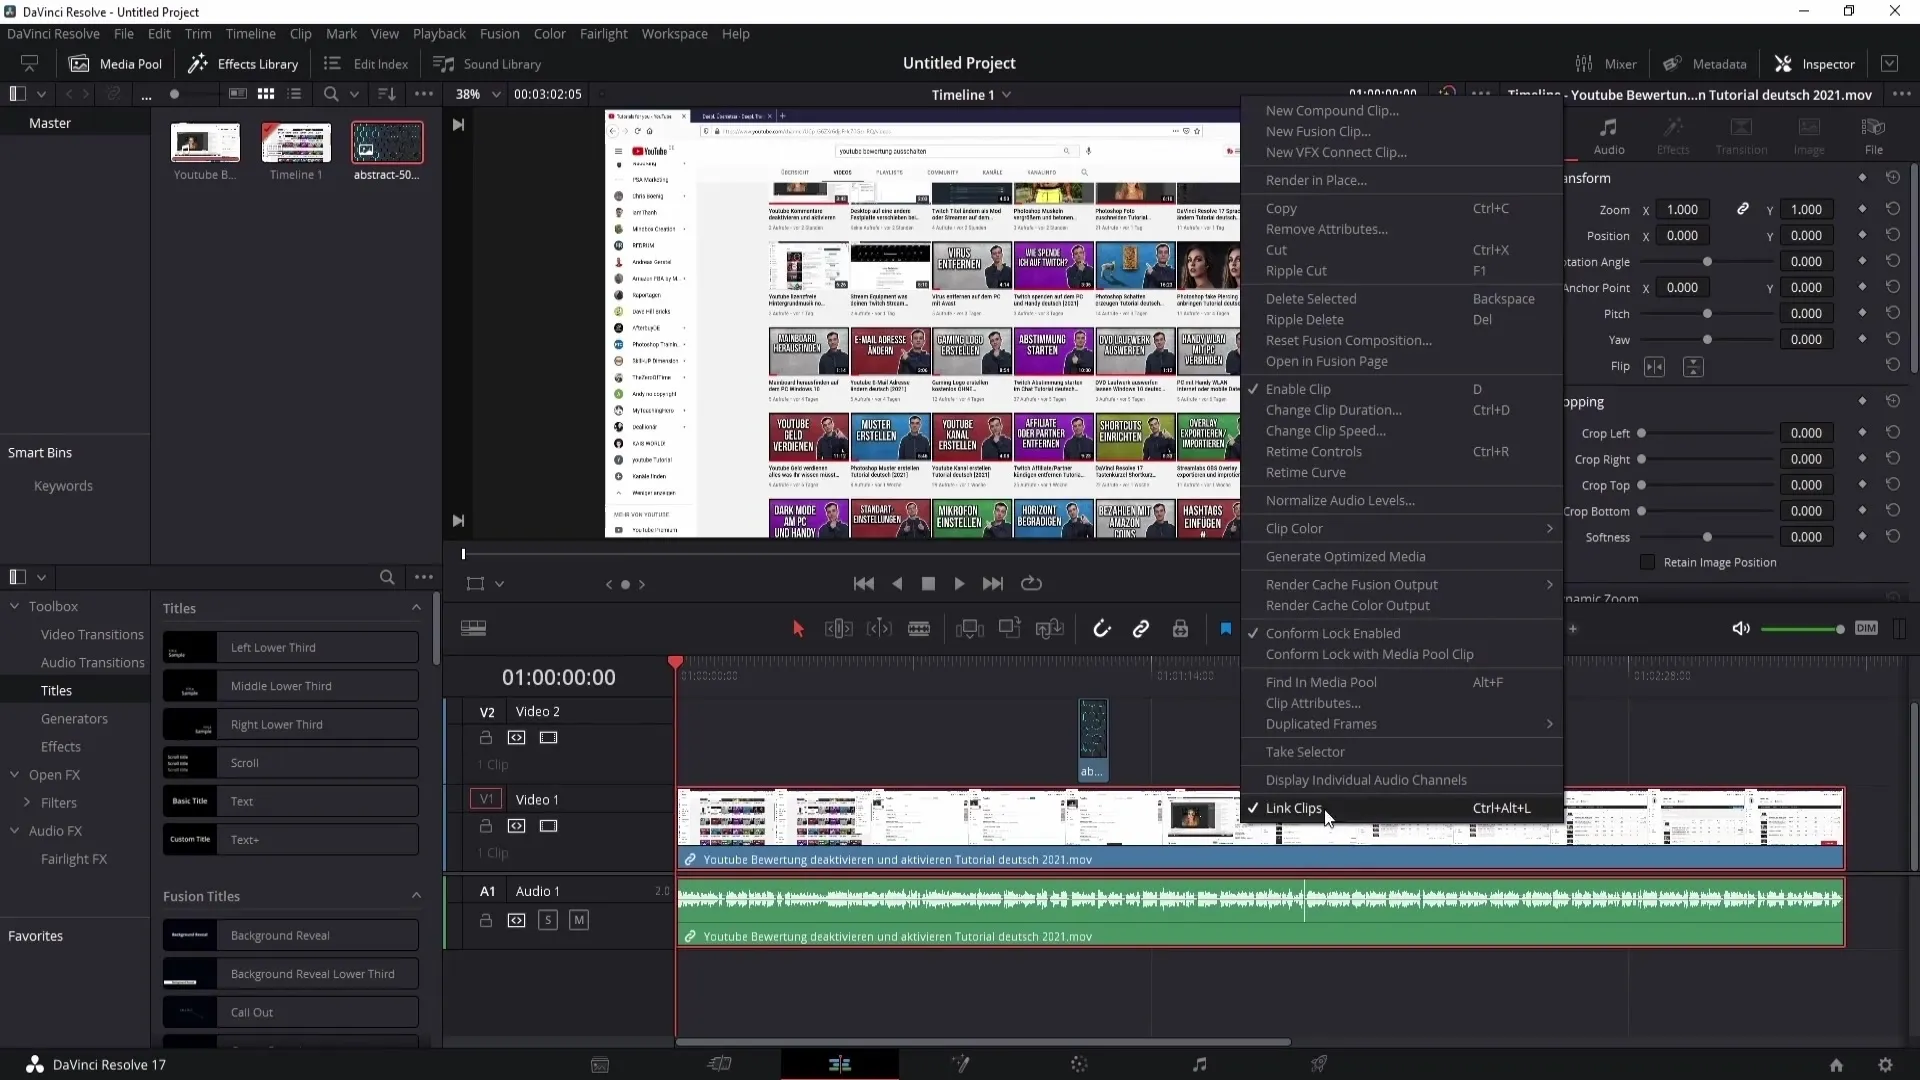
Now it's time to separate the audio track from the video. Right-click on the video clip within the timeline and select the "Link Clips" option. Alternatively, you can also use the Ctrl + Alt + L key combination to unlink the clips.

After unlinking, click again in the gray area of the timeline and then on the audio clip itself. Now only the audio clip will be outlined in red, indicating that it is selected.
To reconnect the clips, select either the video or audio clip and hold down the Control key. Then click on the other clip again to highlight both. Right-click again and select "Link Clips." Now the audio and video clips are reconnected.
You can also link the image or video clip with the audio track. To do this, select both the image and the audio track simultaneously by holding down the Control key. Then right-click and choose "Link Clips."

This process allows you to move or edit all clips together, significantly simplifying the work. The advantage is that you can quickly and efficiently adjust the clips as needed.
If the clips are ever unlinked, you can edit the audio track separately without affecting the original video.
Re-linking is especially helpful for more complex projects where you need to keep track of multiple clips. It also allows for more precise editing when it comes to adjusting audio and video, as the clips are treated as a unit.
Summary
In this guide, you learned how to separate and reconnect the audio track from a video in DaVinci Resolve. These skills are essential for editing multimedia projects and can help you optimize your audio productions.
Frequently Asked Questions
How do I import videos into DaVinci Resolve?You can drag videos into the Media Pool using drag-and-drop.
How do I separate audio from video in DaVinci Resolve?Right-click on the video clip and select "Link Clips," or use the Ctrl + Alt + L key combination.
How do I reconnect the audio track with the video?Select both the video and audio clips, hold down the Control key, right-click, and choose "Link Clips."
What is the benefit of linking clips?It allows you to edit and move multiple clips simultaneously.
Can I edit the audio track when it's linked to the video?No, as long as they are linked, you cannot edit the audio track separately.


