In this guide, you will learn how to download and import LUTs (Look-Up Tables) for DaVinci Resolve for free. LUTs are a valuable tool in color correction and color grading to give your video material a certain look and improve visual quality. With this step-by-step guide, you can easily find your preferred LUTs and integrate them into your project. Let's get started!
Key takeaways
- There are many websites where you can download free LUTs.
- Importing LUTs into DaVinci Resolve is a simple process.
- LUTs can help you achieve the desired look for your videos by strategically applying them.
Step 1: Downloading Free LUTs
First, you need to download the desired LUTs. Visit the website where you can find them. Often, there are specific sections for free downloads. Click on the download link for the LUTs you want to use.
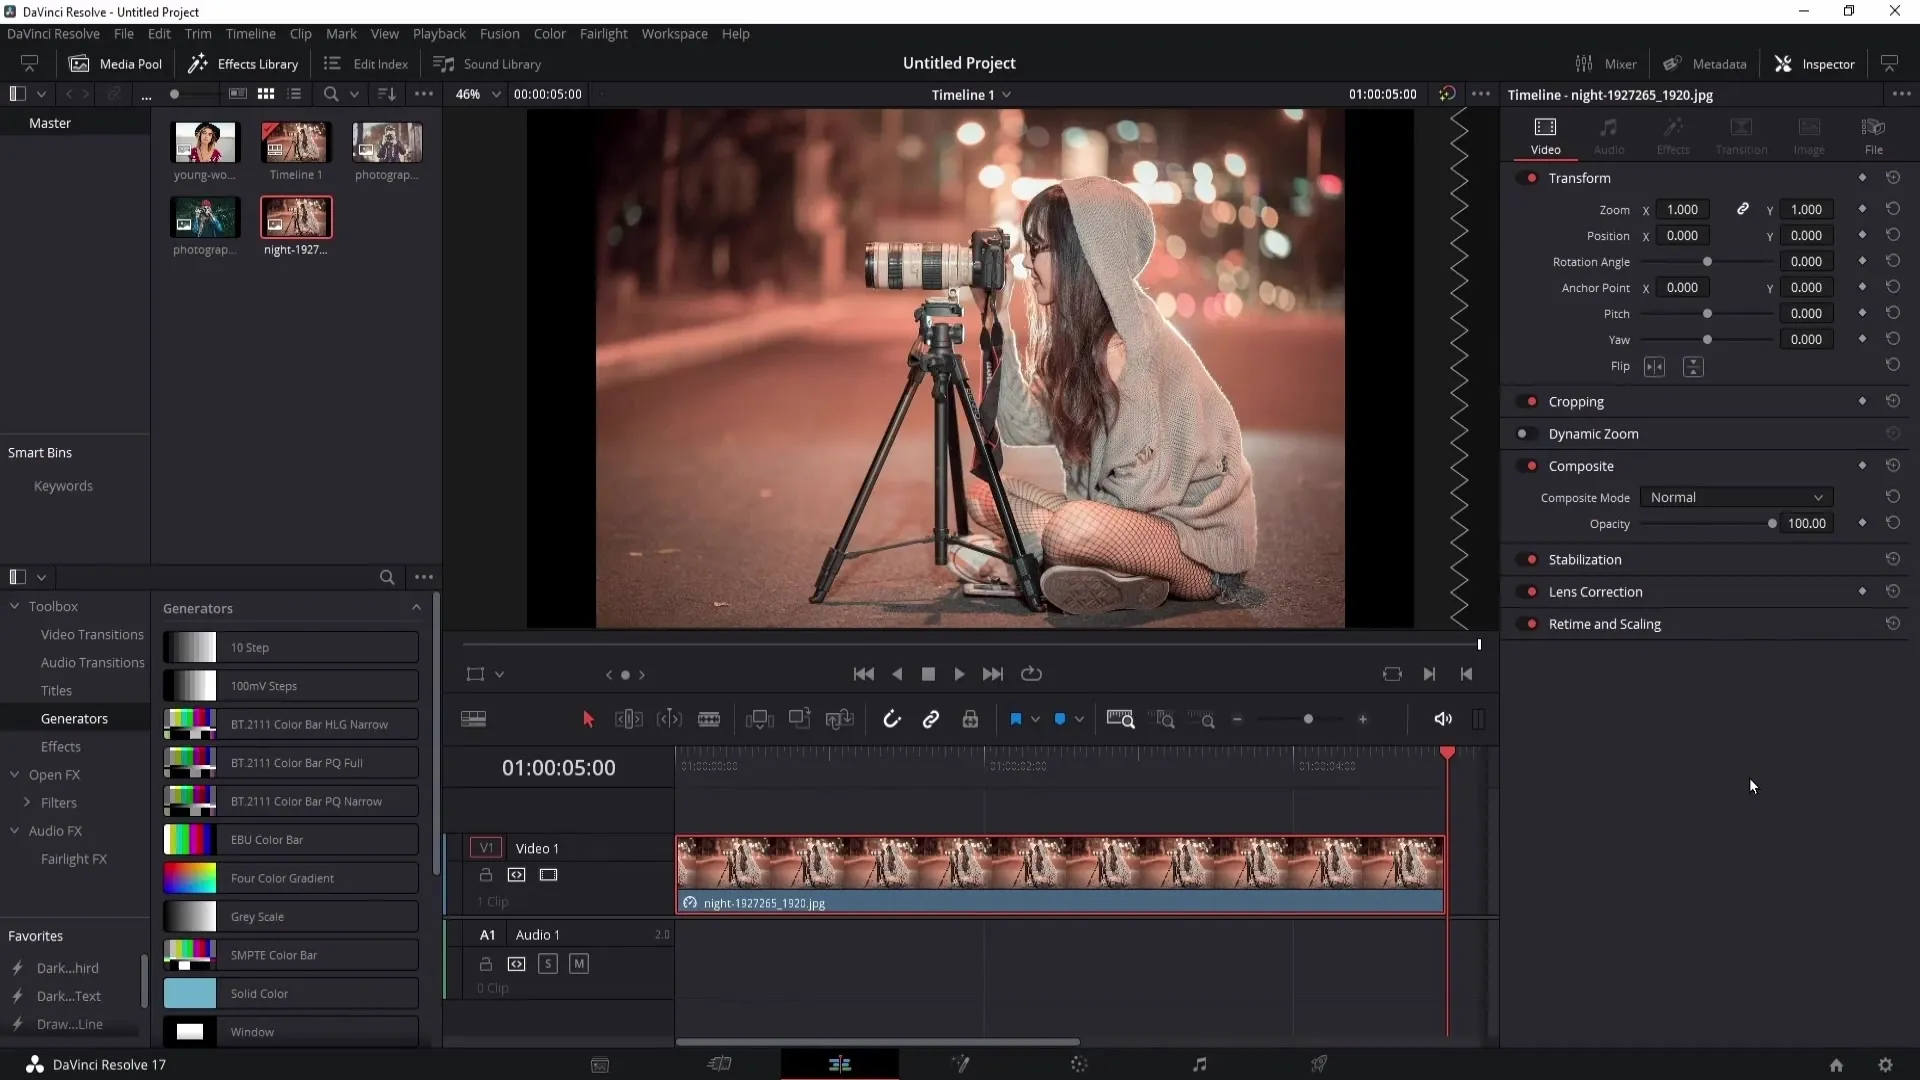
Once the download is complete, you will find the LUTs in your download folder or directly on your desktop, depending on your settings.
Step 2: Extracting LUTs
The downloaded LUTs often come in a ZIP file. Double-click the file to extract it. In Windows, a new window will open where you can see the files.
Drag the extracted folder with your LUTs to your desktop or to another location where you can easily find them.
Step 3: Opening DaVinci Resolve and Switching to the Color Grading Area
Launch DaVinci Resolve and open your project. To import the LUTs, switch to the Color Grading area. Here you will find the options for LUTs you want to add.
Step 4: Importing the LUTs
Right-click on any group in the LUT section and select "Open File Location" from the context menu. A new window will open showing you the location of your current LUTs.
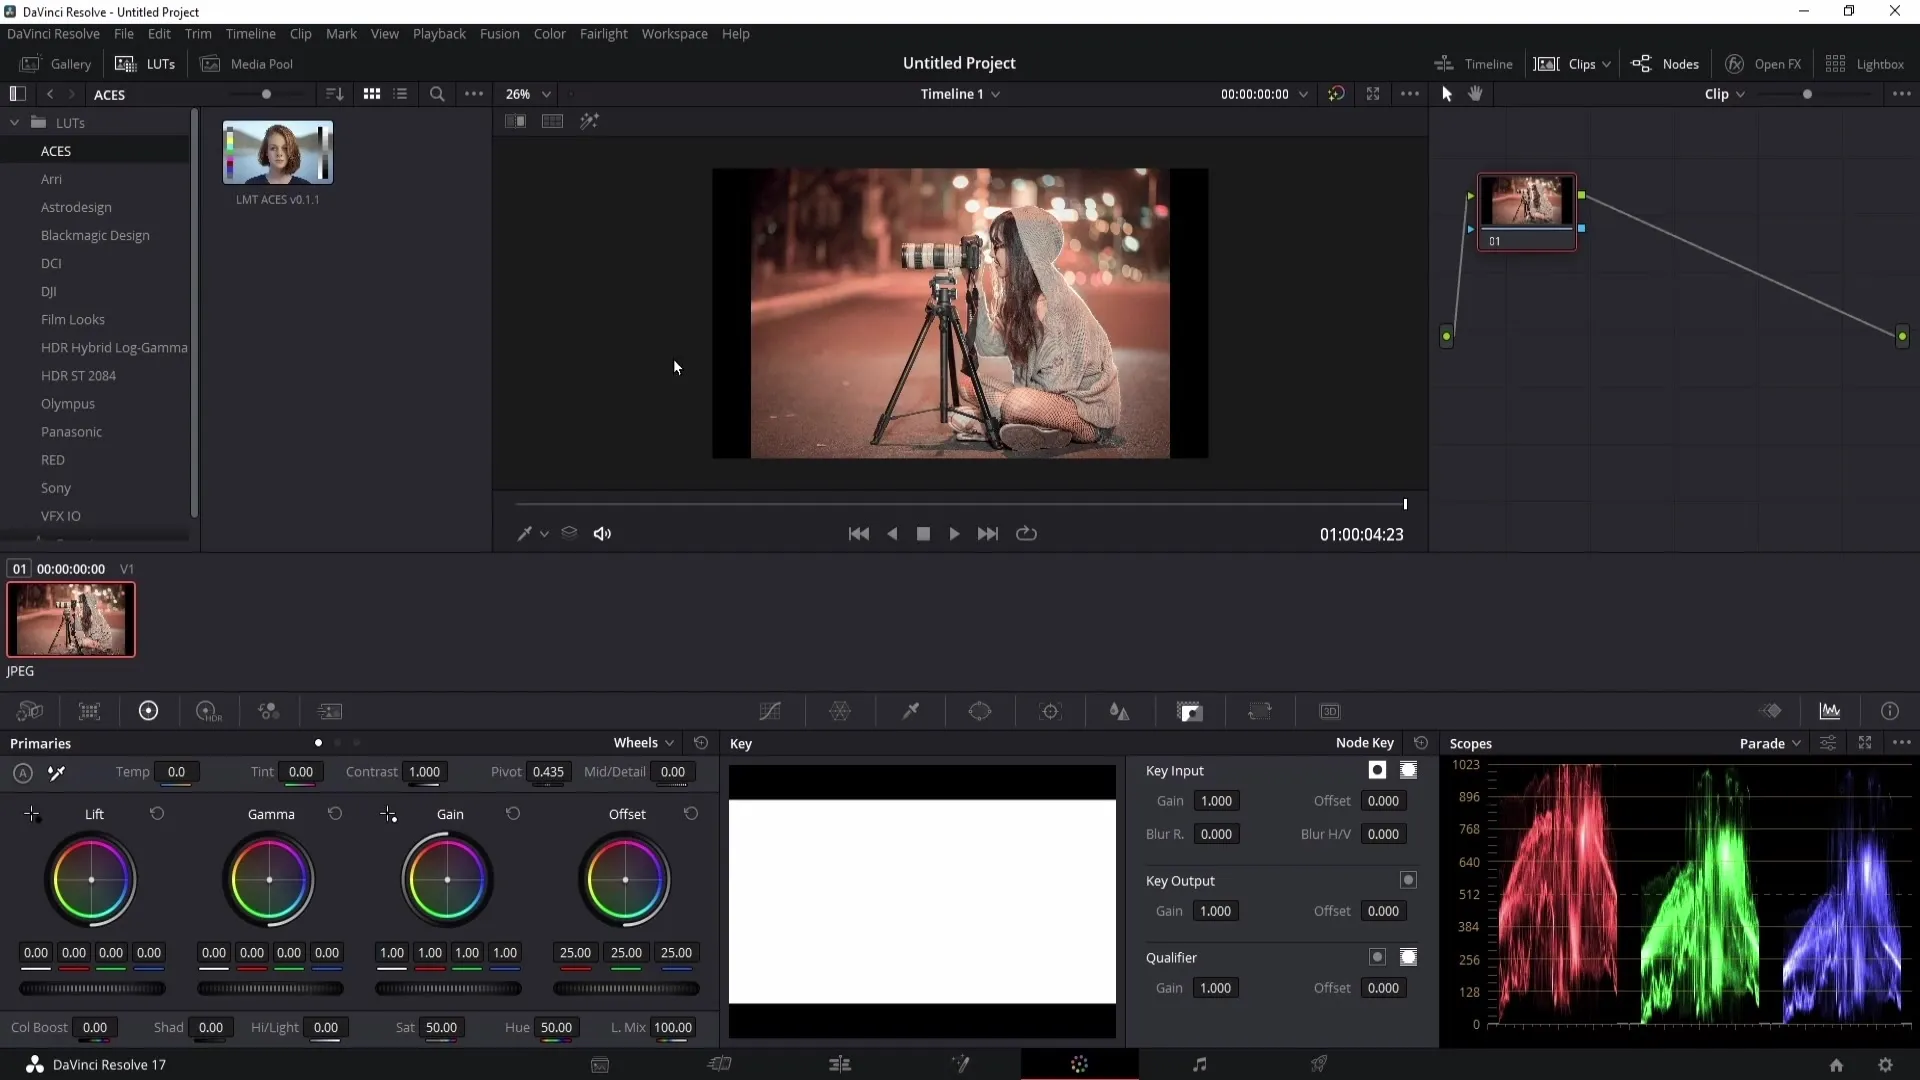
Now go back one step in the window displaying the folders. You should now see the folder for the LUTs you previously extracted. Drag this folder into the LUT window in DaVinci Resolve using drag and drop.
Wait until the import is complete. Then you can close the window and return to DaVinci Resolve.
Step 5: Displaying LUTs in the Project
To make the newly imported LUTs visible, right-click on the LUT view and choose "Refresh." You should now see the new LUTs in your list.
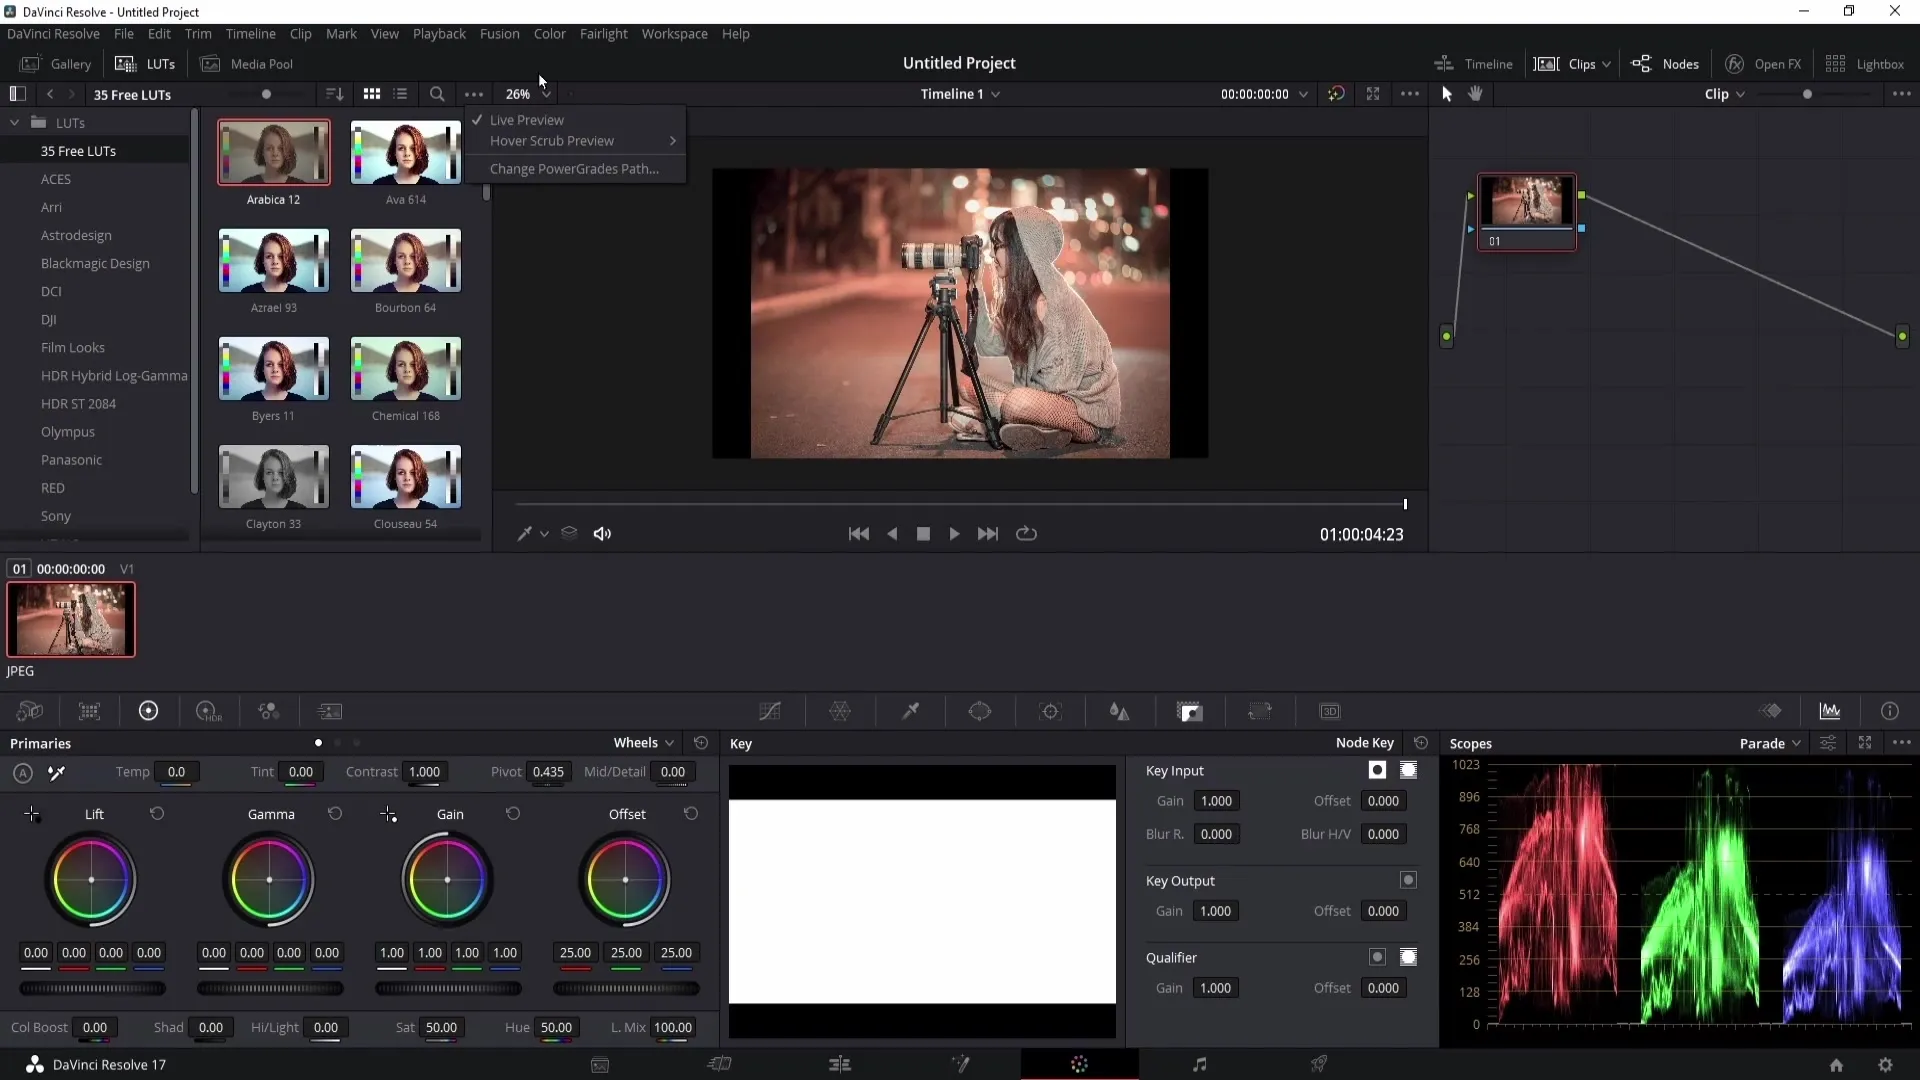
If you want to preview your LUTs, make sure that the live preview is activated. Go to the three dots in the preview settings and activate the "Live Preview" option.
Step 6: Applying LUTs
To apply a LUT, first create some new nodes in your project. You can do this using the shortcut "Alt + S." In the first node, you can adjust the contrast, in the second, transform the colors, and in the third node, add the LUT.
Select the last node and double-click on the desired LUT from your list. The effect will be applied immediately.
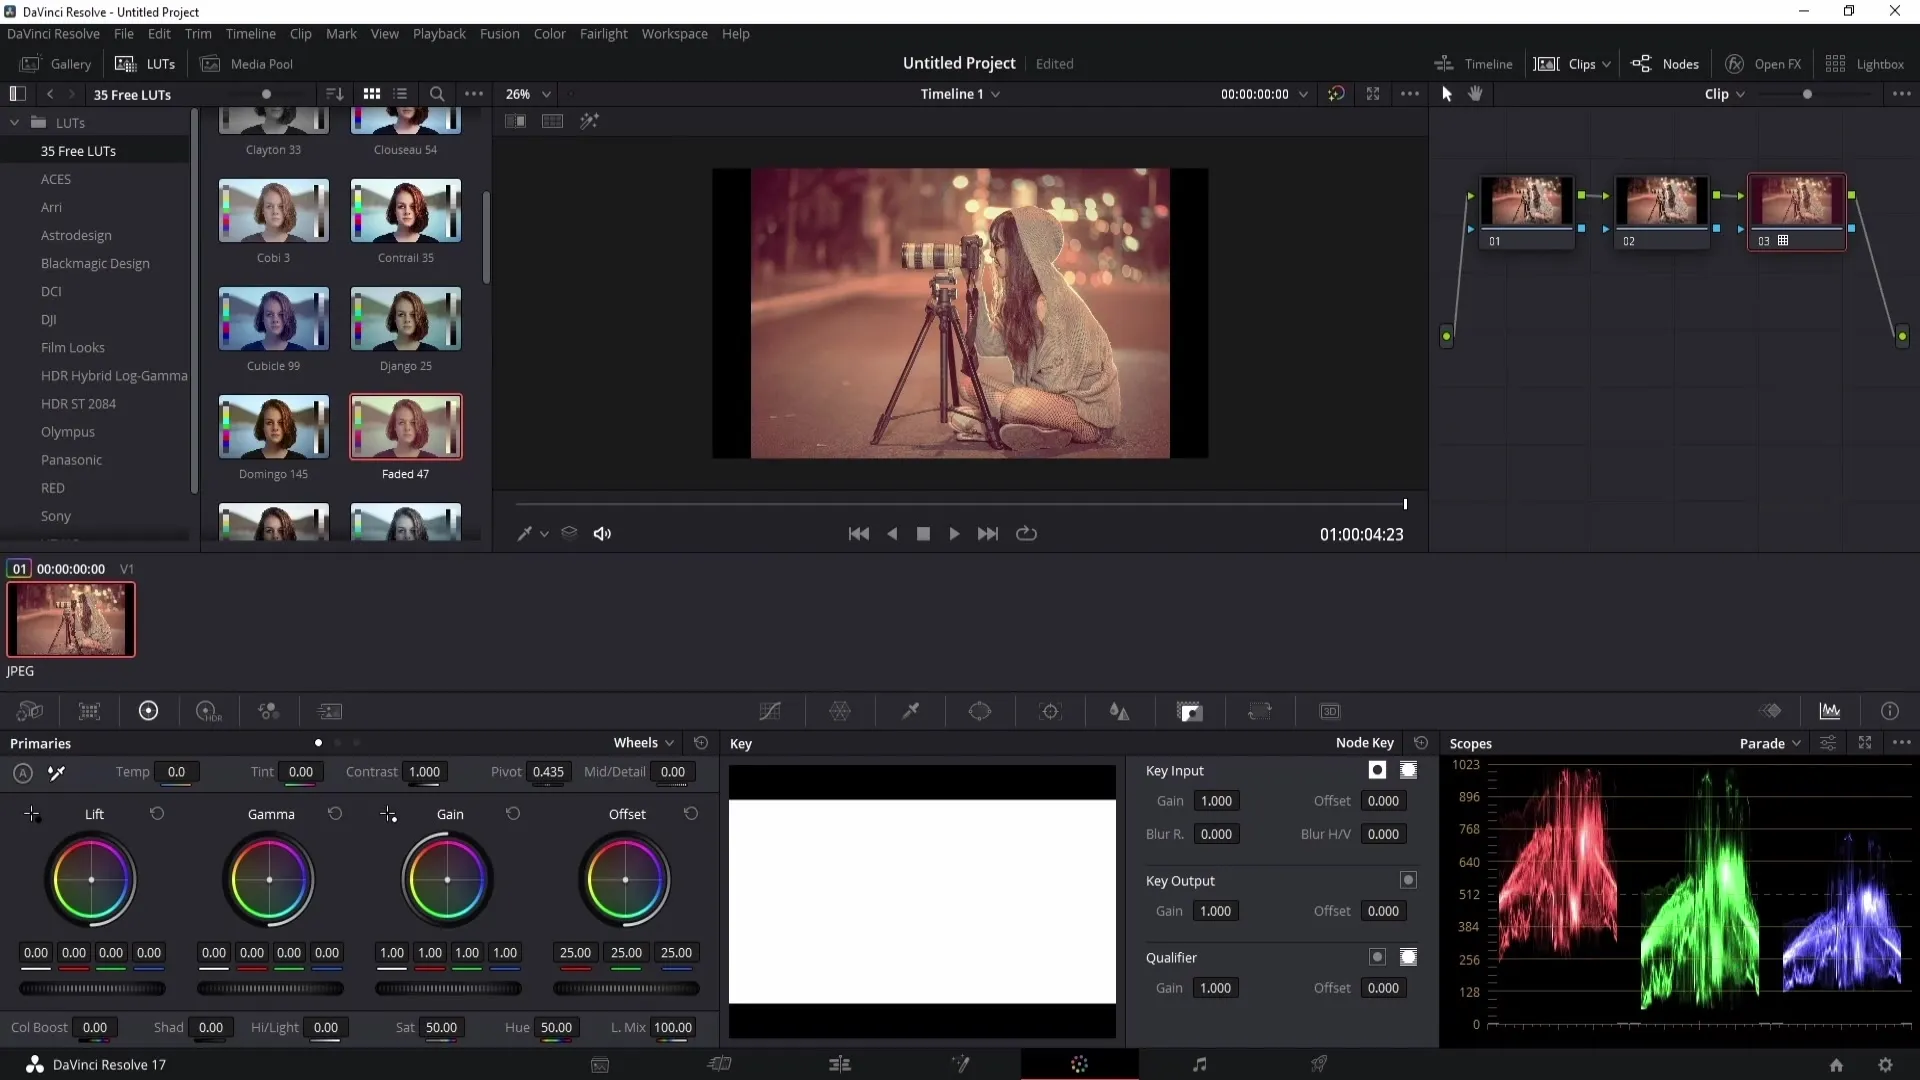
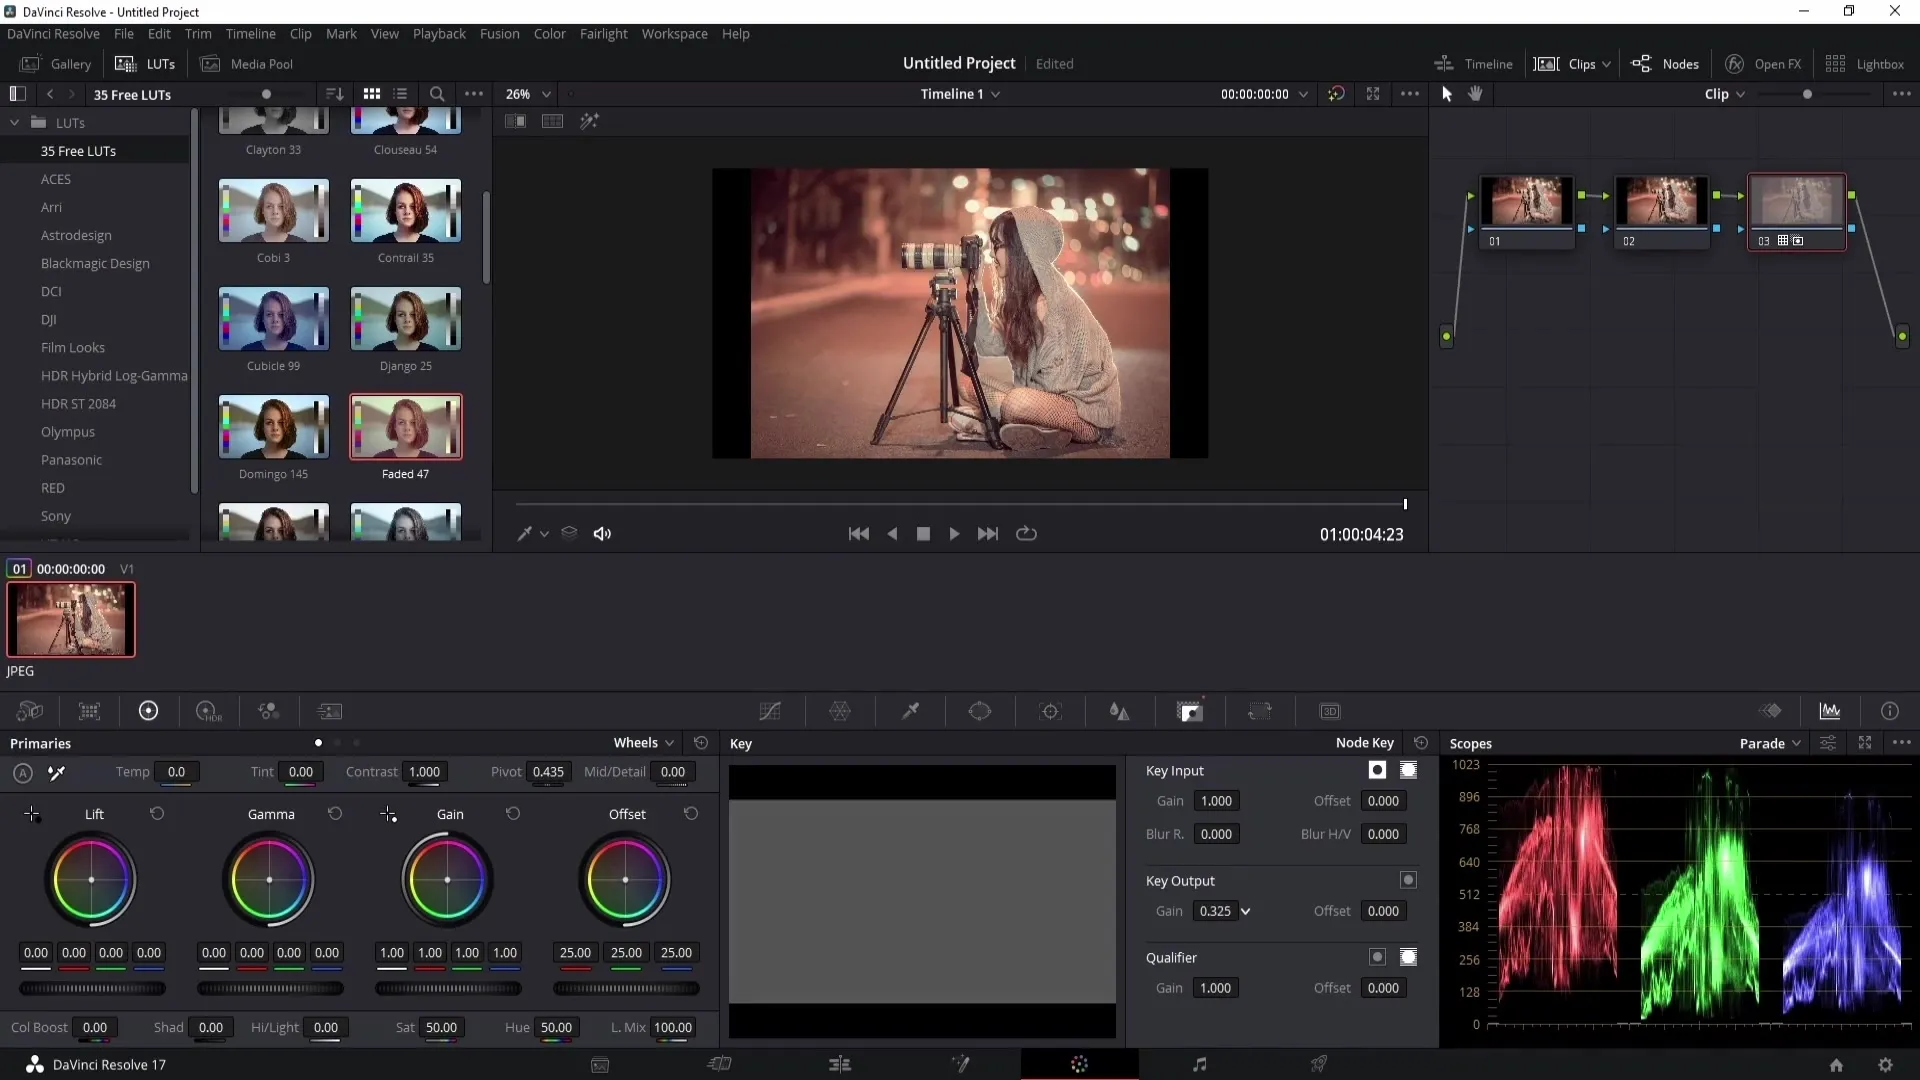
If the effect is too strong, you can adjust the intention of the LUT by regulating the Key Output, controlling how strong the effect should be.
Step 7: Saving LUTs as Favorites
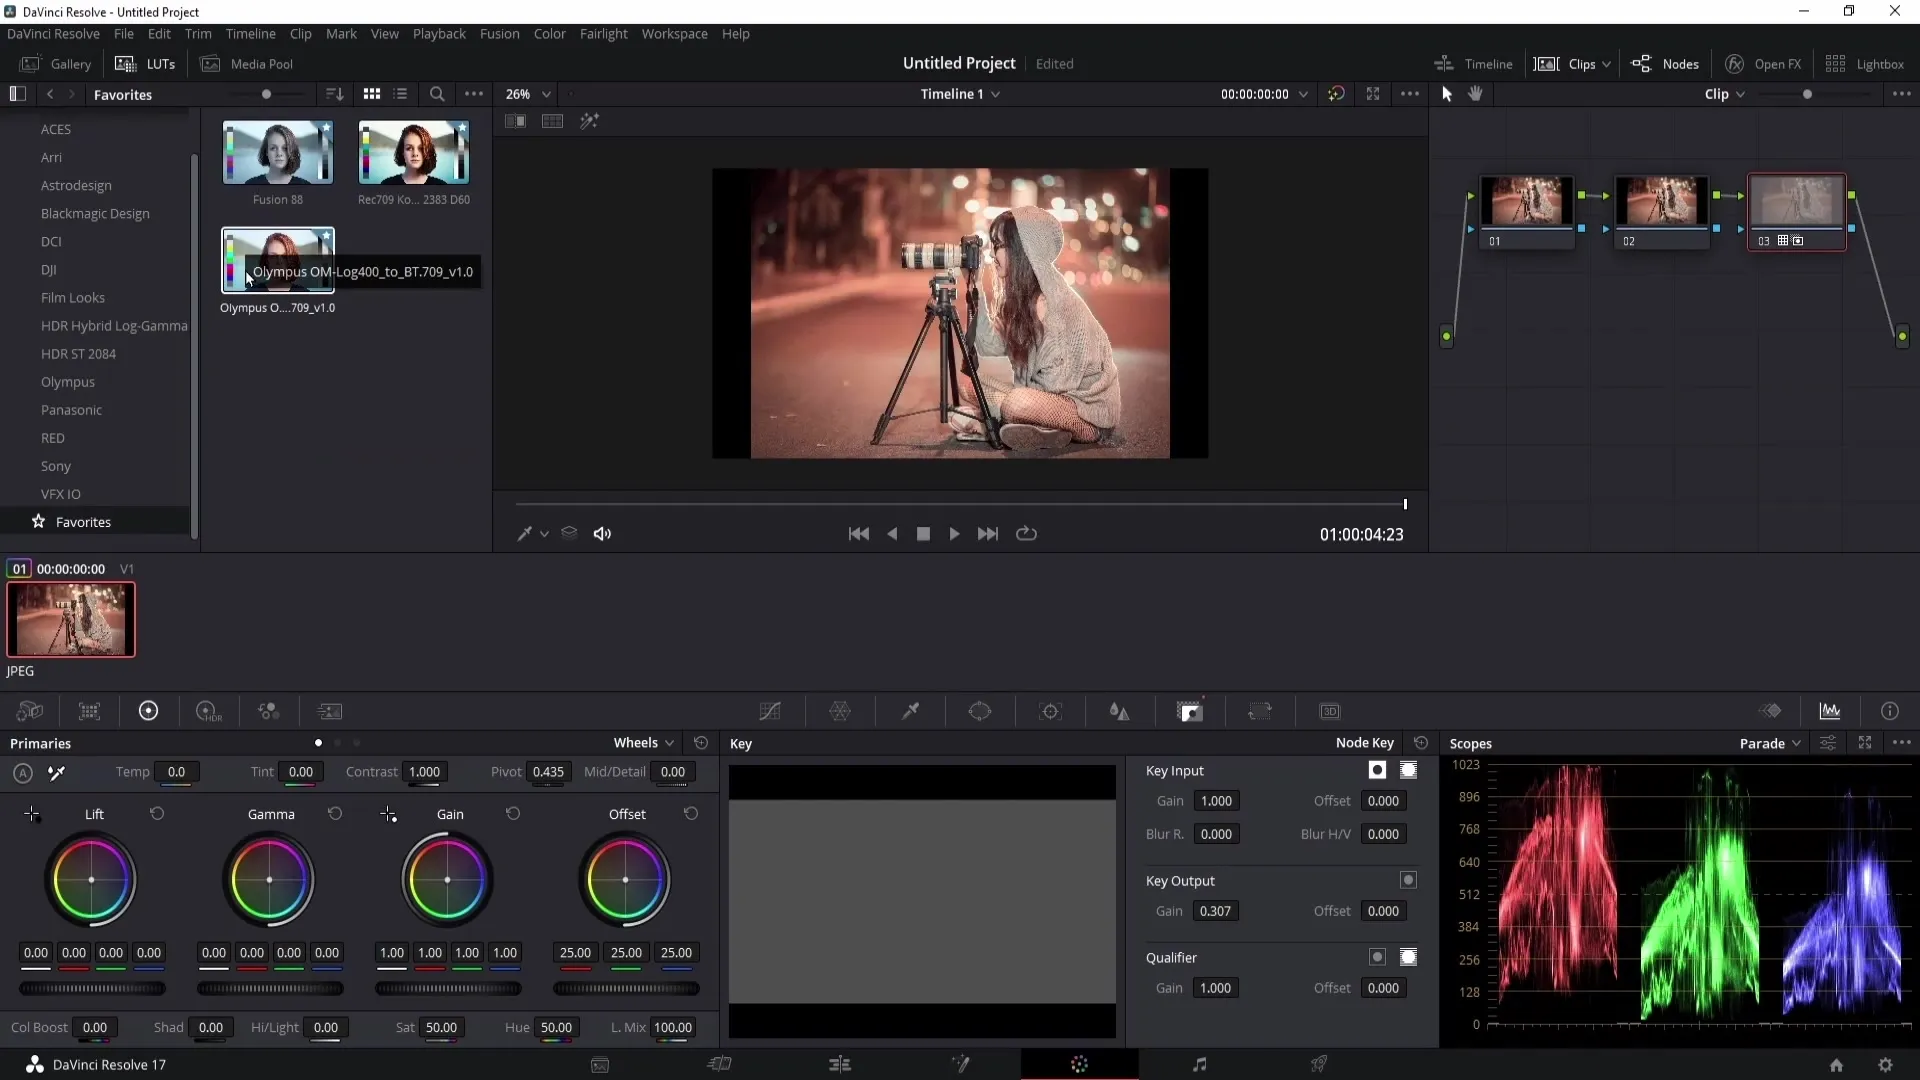
If you find a LUT that you particularly like and want to use it in other projects, you can save it as a favorite. Click on the star in the top right corner to add the LUT to your favorites list.
Now your favorite LUTs are saved in the favorites group, and you can access them again and again.
Summary
In this guide, you learned how to download, extract, import, and apply free LUTs for DaVinci Resolve. We also discussed how to save LUTs as favorites to have them ready for future projects.
Frequently Asked Questions
What are LUTs?LUTs are color tables that help to quickly and effectively change the color look of a video.
Where can I download free LUTs?There are numerous websites that offer free LUTs. A quick Google search will yield many results.
How do I import LUTs into DaVinci Resolve?Right-click on a group in the LUT section and select "Open File Location". Then drag your folder with the LUTs into it.
Can I adjust the intensity of a LUT?Yes, you can adjust the intensity of the LUT in the Key Output section.
Can I save LUTs as favorites?Yes, you can save a LUT as a favorite by clicking on the star in the top right corner.
