In this guide, I will show you how to effectively reduce wind noises in DaVinci Resolve. Integrated filters in the software allow you to minimize disturbing ambient noise without needing to install additional software. If you frequently shoot or record outdoors, wind noises are likely a familiar issue for you. This guide will help you significantly improve your audio quality.
Main Takeaways
- You can reduce wind noises in DaVinci Resolve using the integrated Vocal Channel Filter.
- It is important to adjust the frequency settings to achieve the best sound quality.
- By experimenting with the controls, you can find the optimal balance between voice output and wind noises.
Step-by-Step Guide
Accessing the Audio FX Section
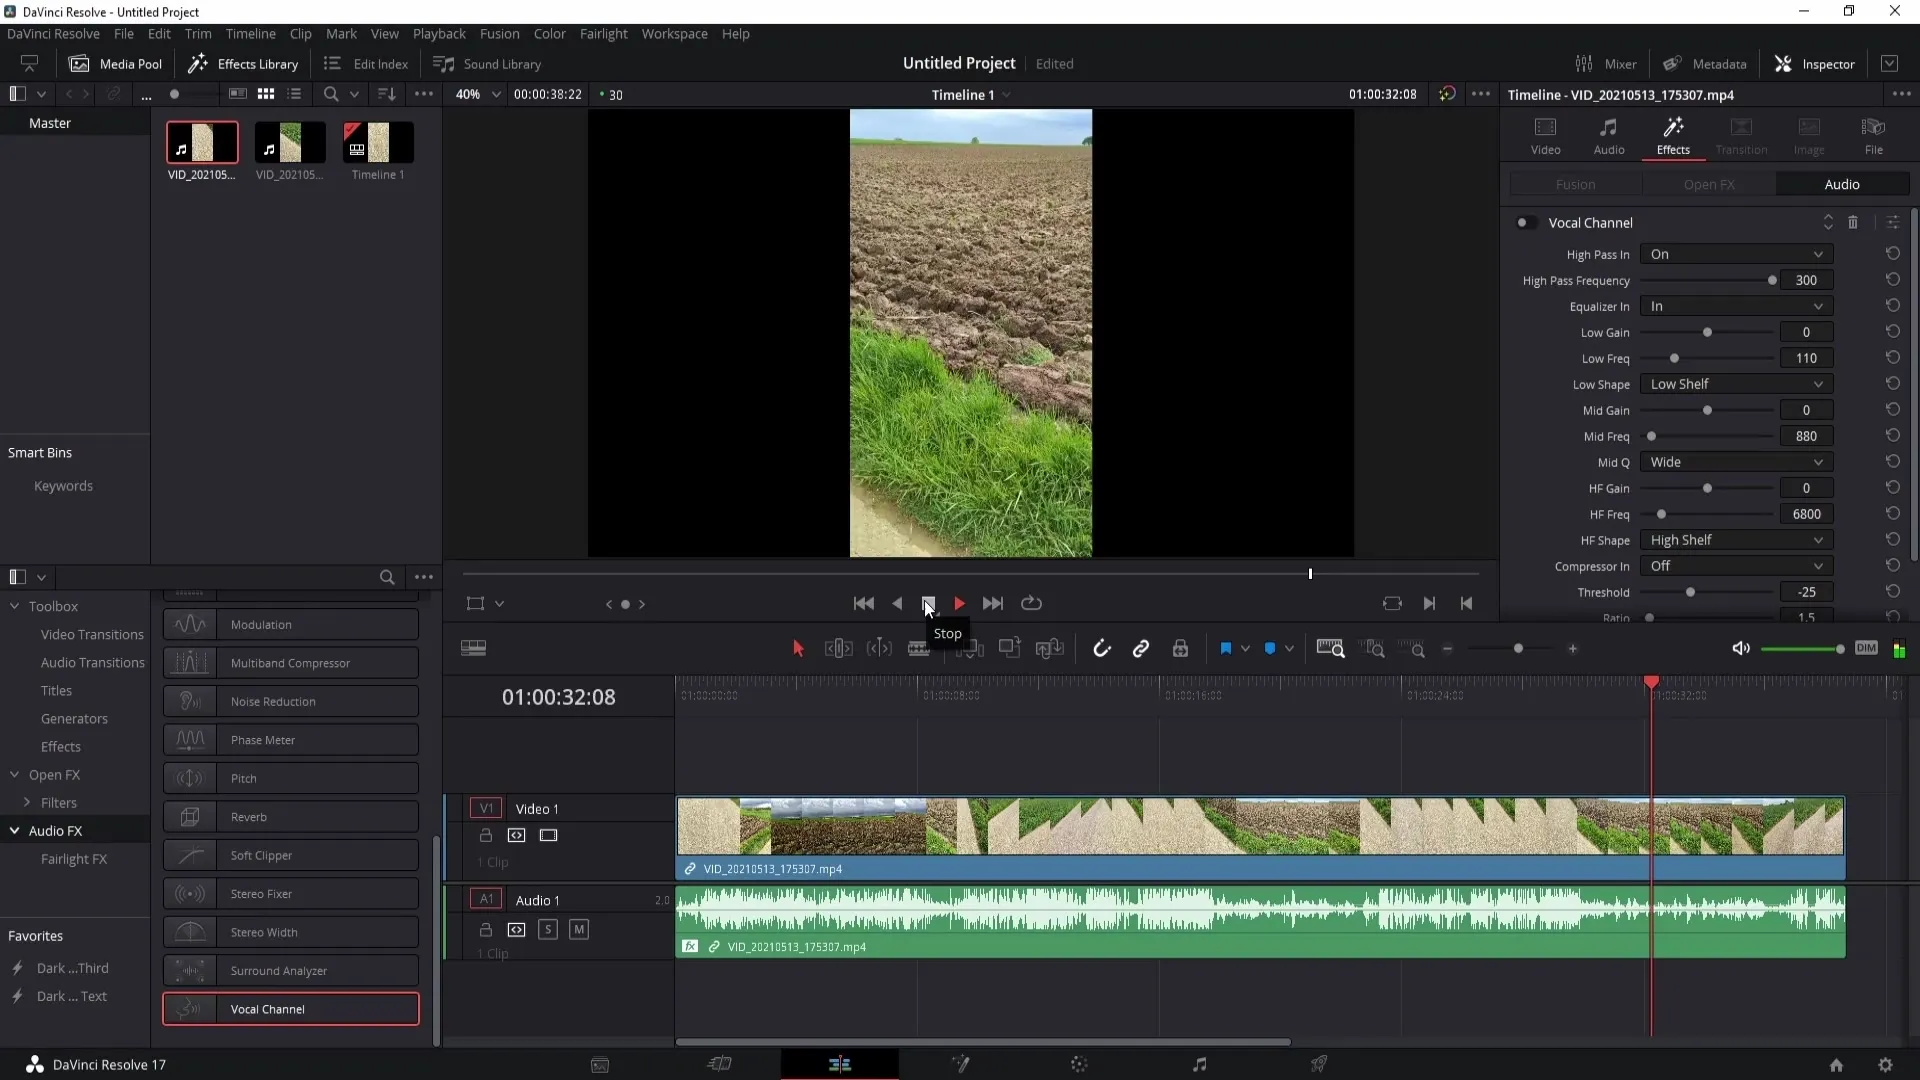
To reduce wind noises in DaVinci Resolve, you first need the appropriate audio filter. First, open DaVinci Resolve and load your project. Now go to the Audio FX section. To do this correctly, click on "Audio FX" and scroll down the list of available filters.
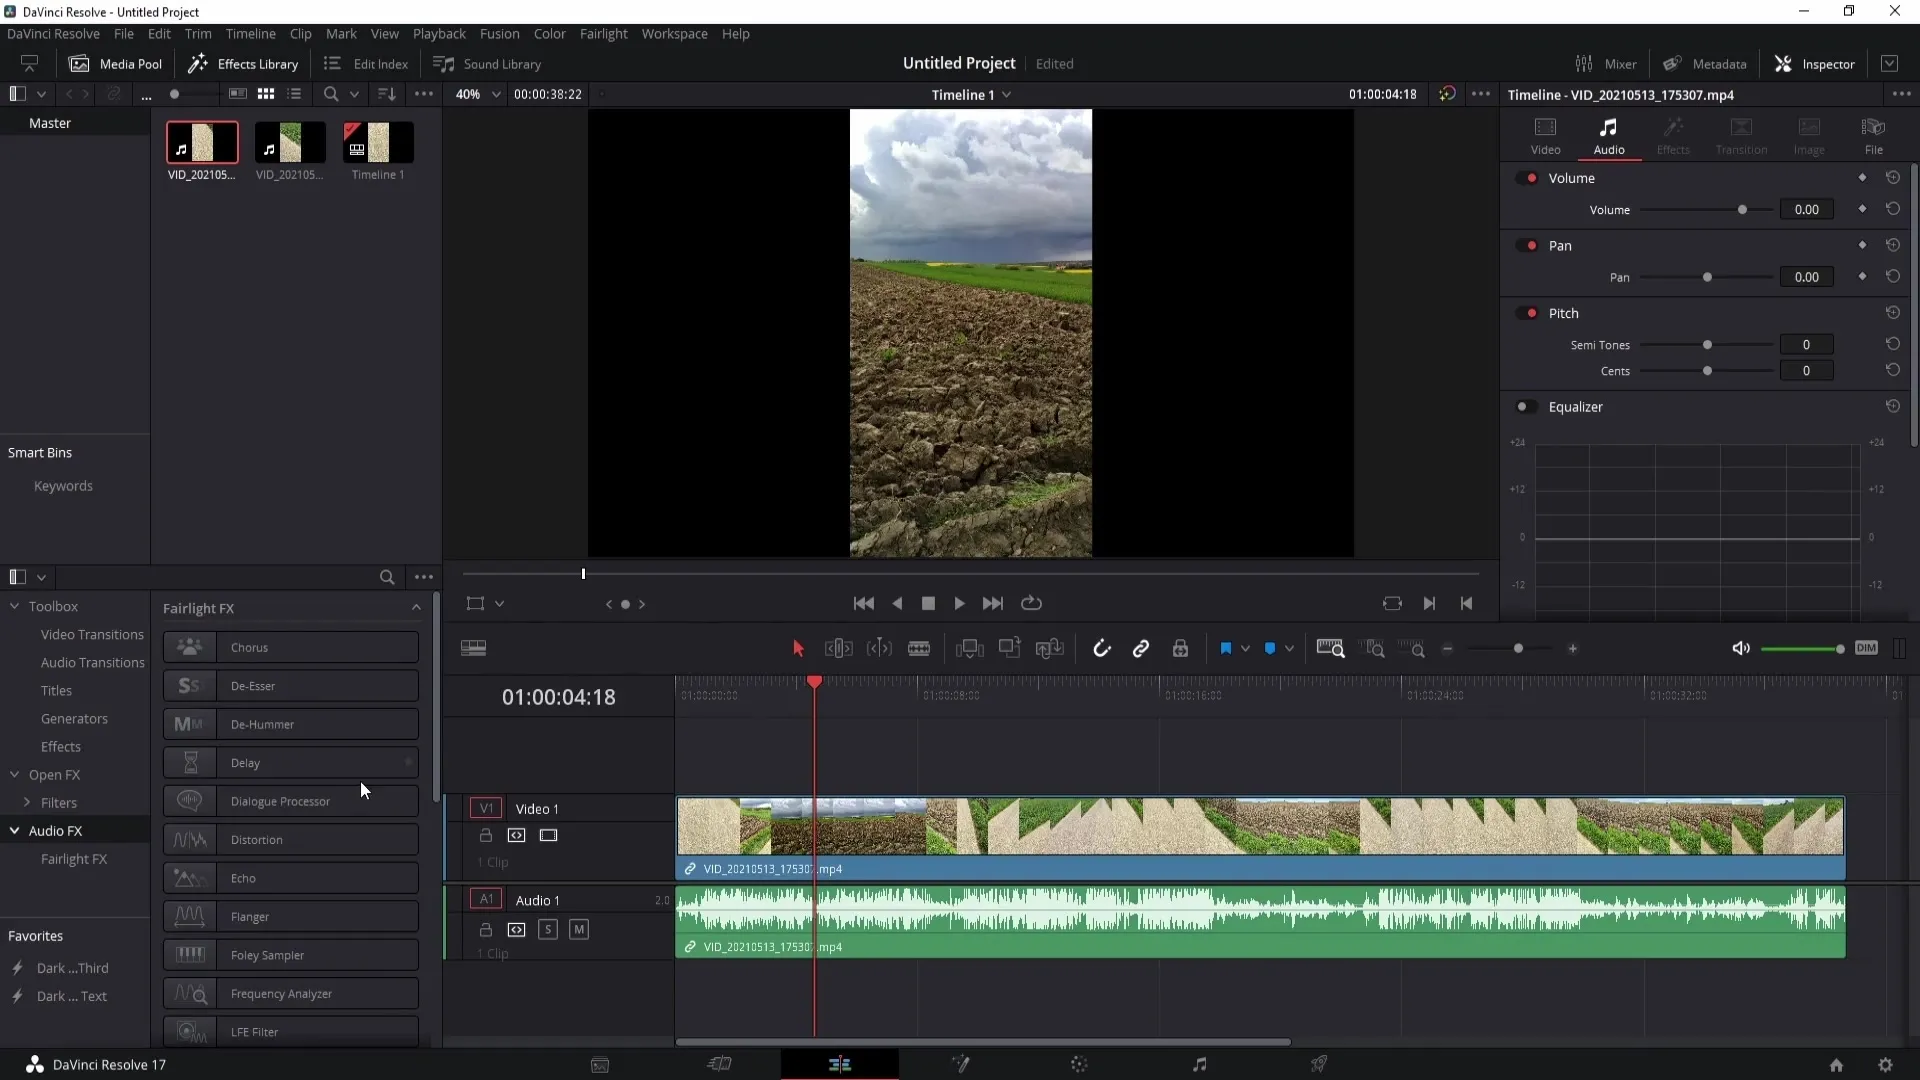
Applying the Vocal Channel Filter
There you will find the Vocal Channel Filter that you can drag into your audio track. Once you drag the filter in, a new window will appear that you can close for now, as we will adjust the settings later. Simply click on the X to close the window.
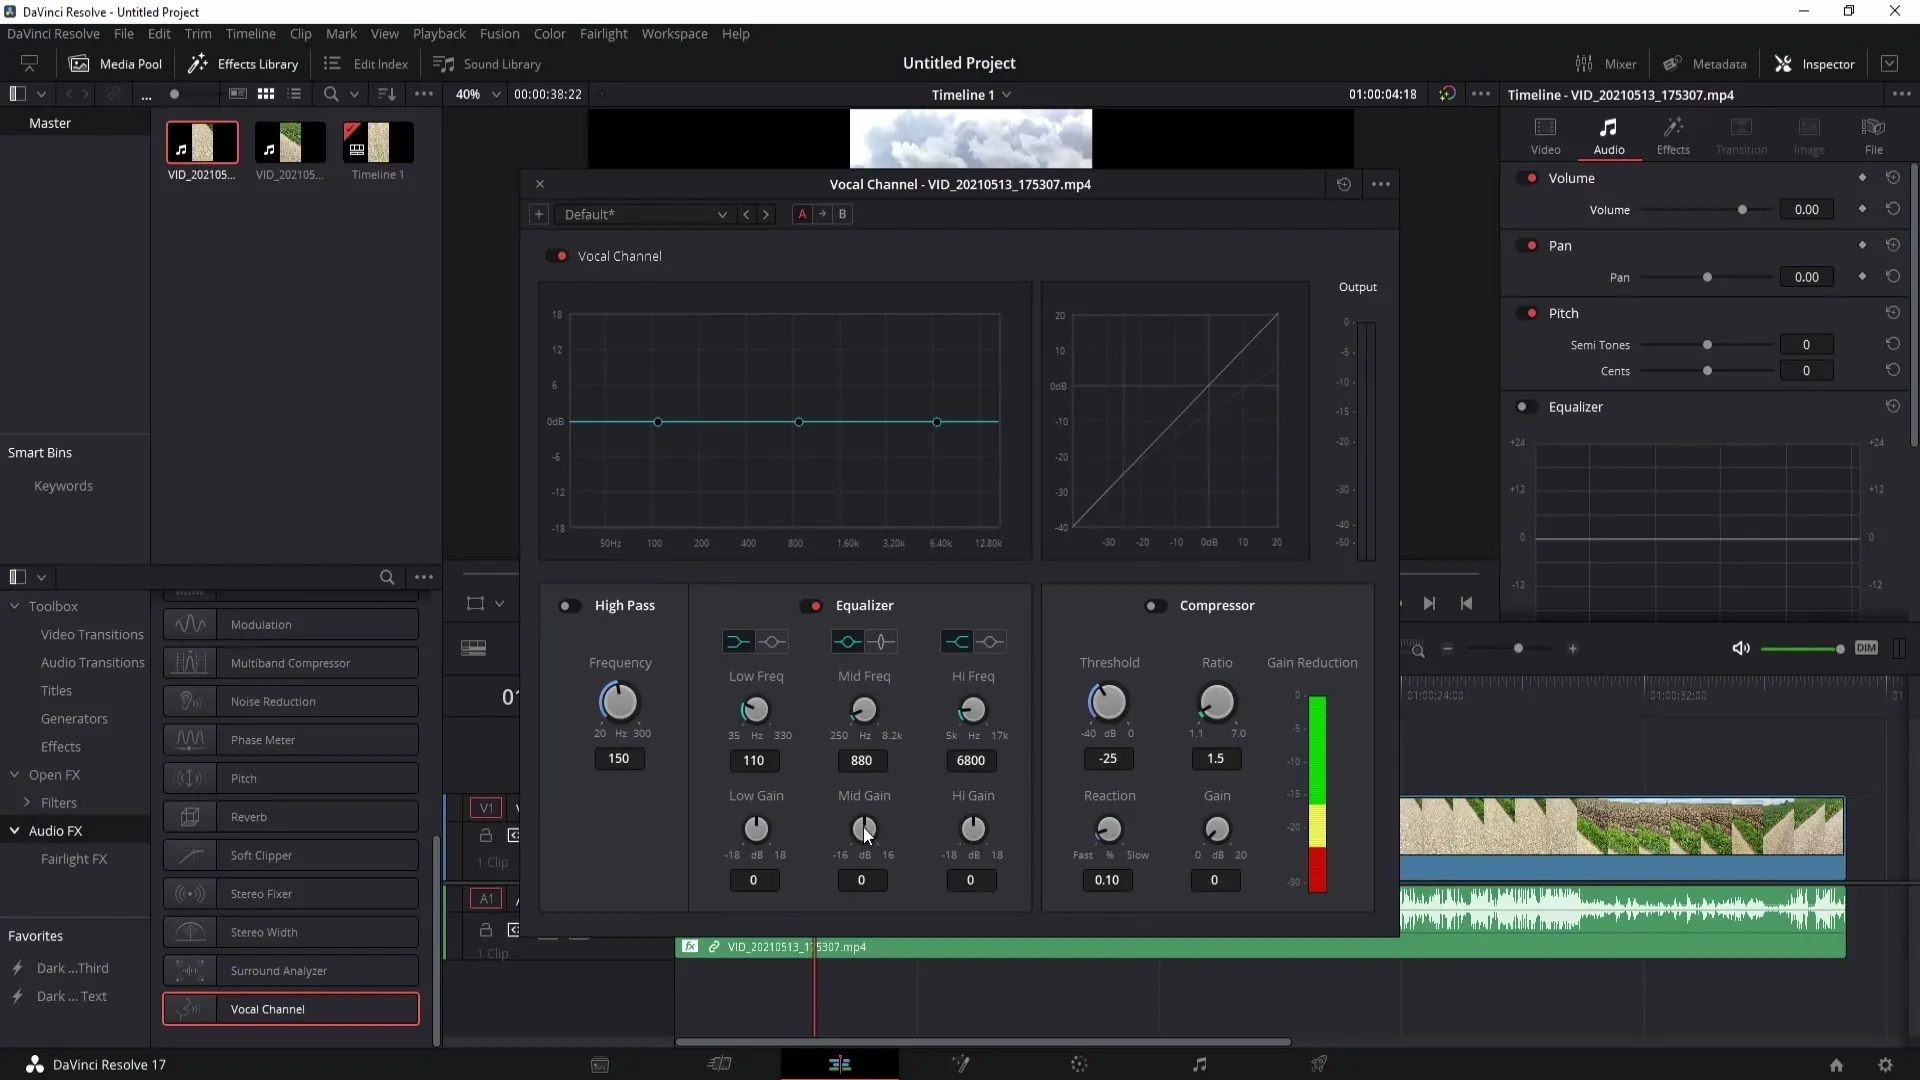
Opening Filter Settings
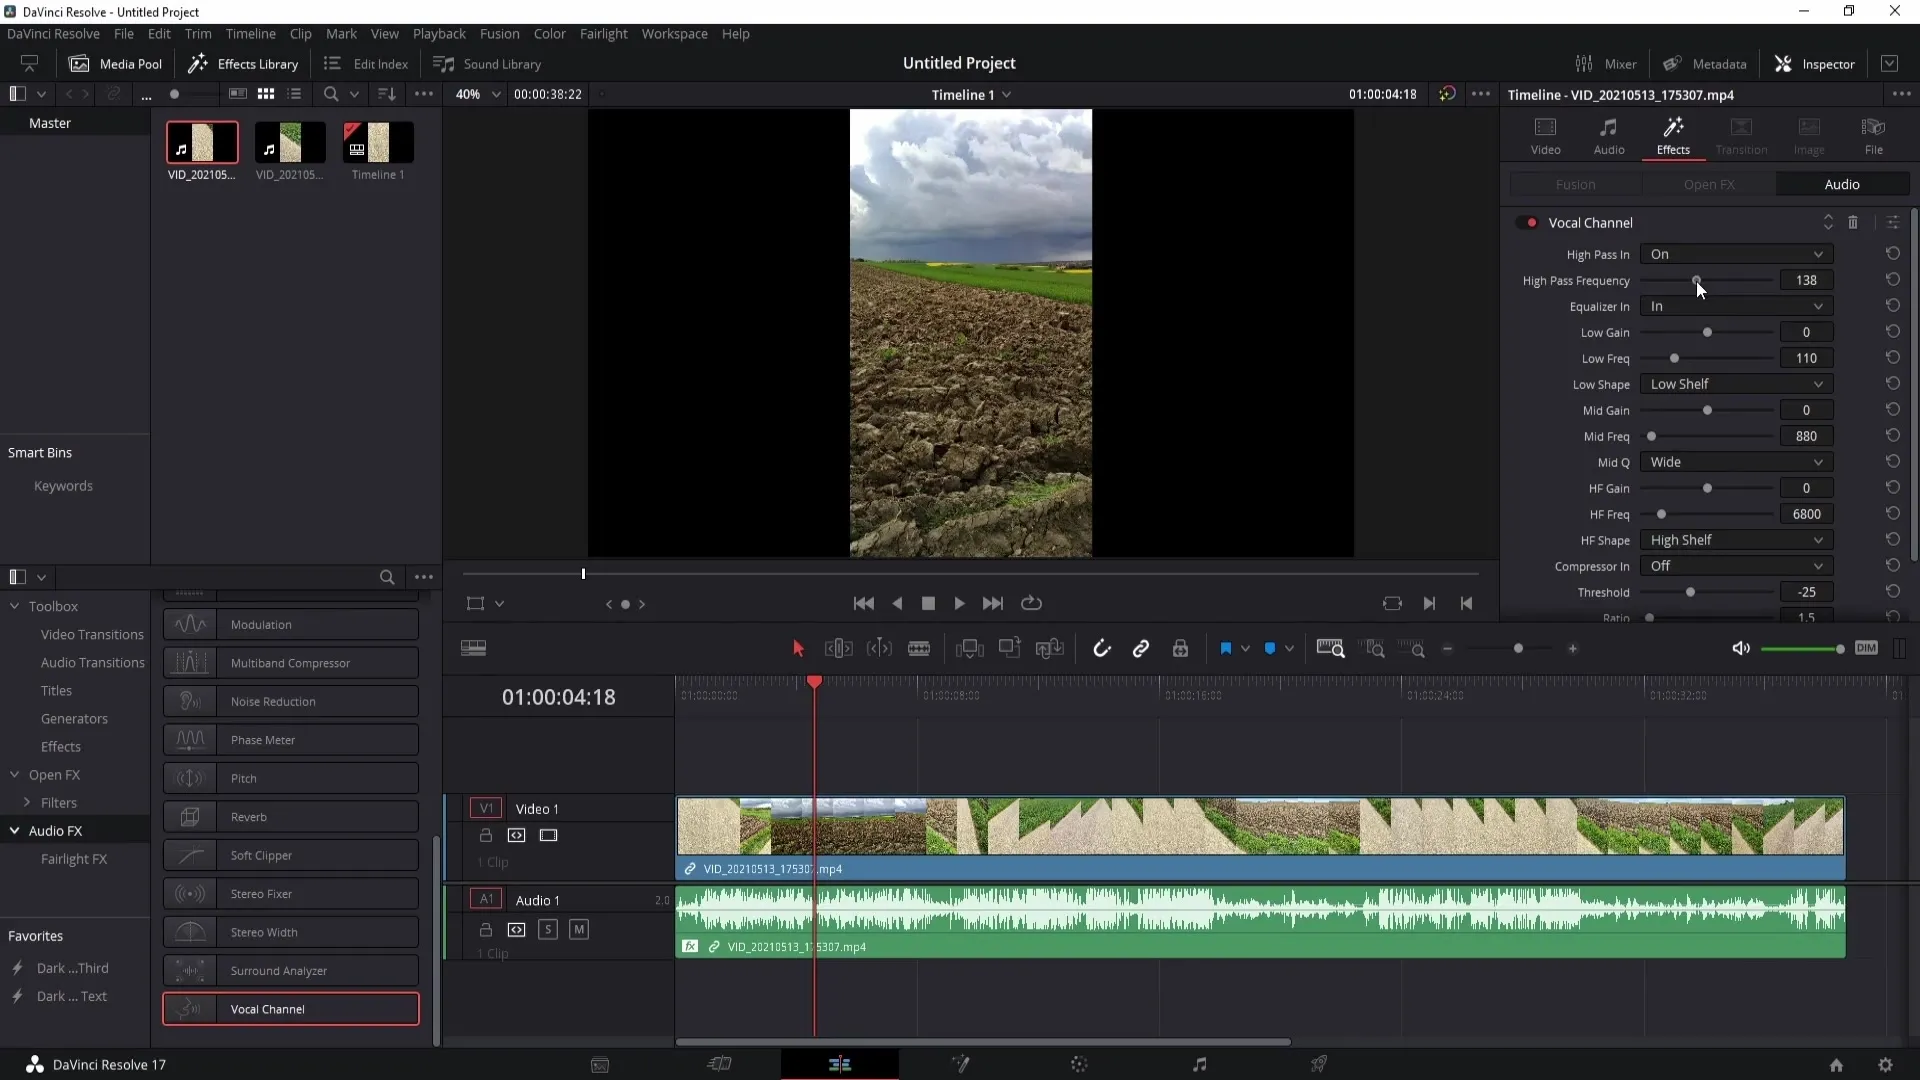
Now click on the small Effects button to open the settings for the Vocal Channel Filter. Here you can enable or disable the filter, as well as delete it if necessary. We focus on turning on the Highpass Frequency.
Adjusting the Highpass Frequency
Start by adjusting the highpass frequency. Turn the knob and listen to the changes. Start with a low frequency and increase it gradually. You will notice that the wind noises gradually decrease while your voice becomes clearer.
Audio Sample without Filter
Before moving on to the optimal settings, play your video without the Vocal Channel Filter. This will give you a sense of how strong the wind noises are. In this tutorial sequence, the video will play, and you can hear the wind noises at full strength. You will notice how clearly they mask your speech.
Adjusting the Frequencies
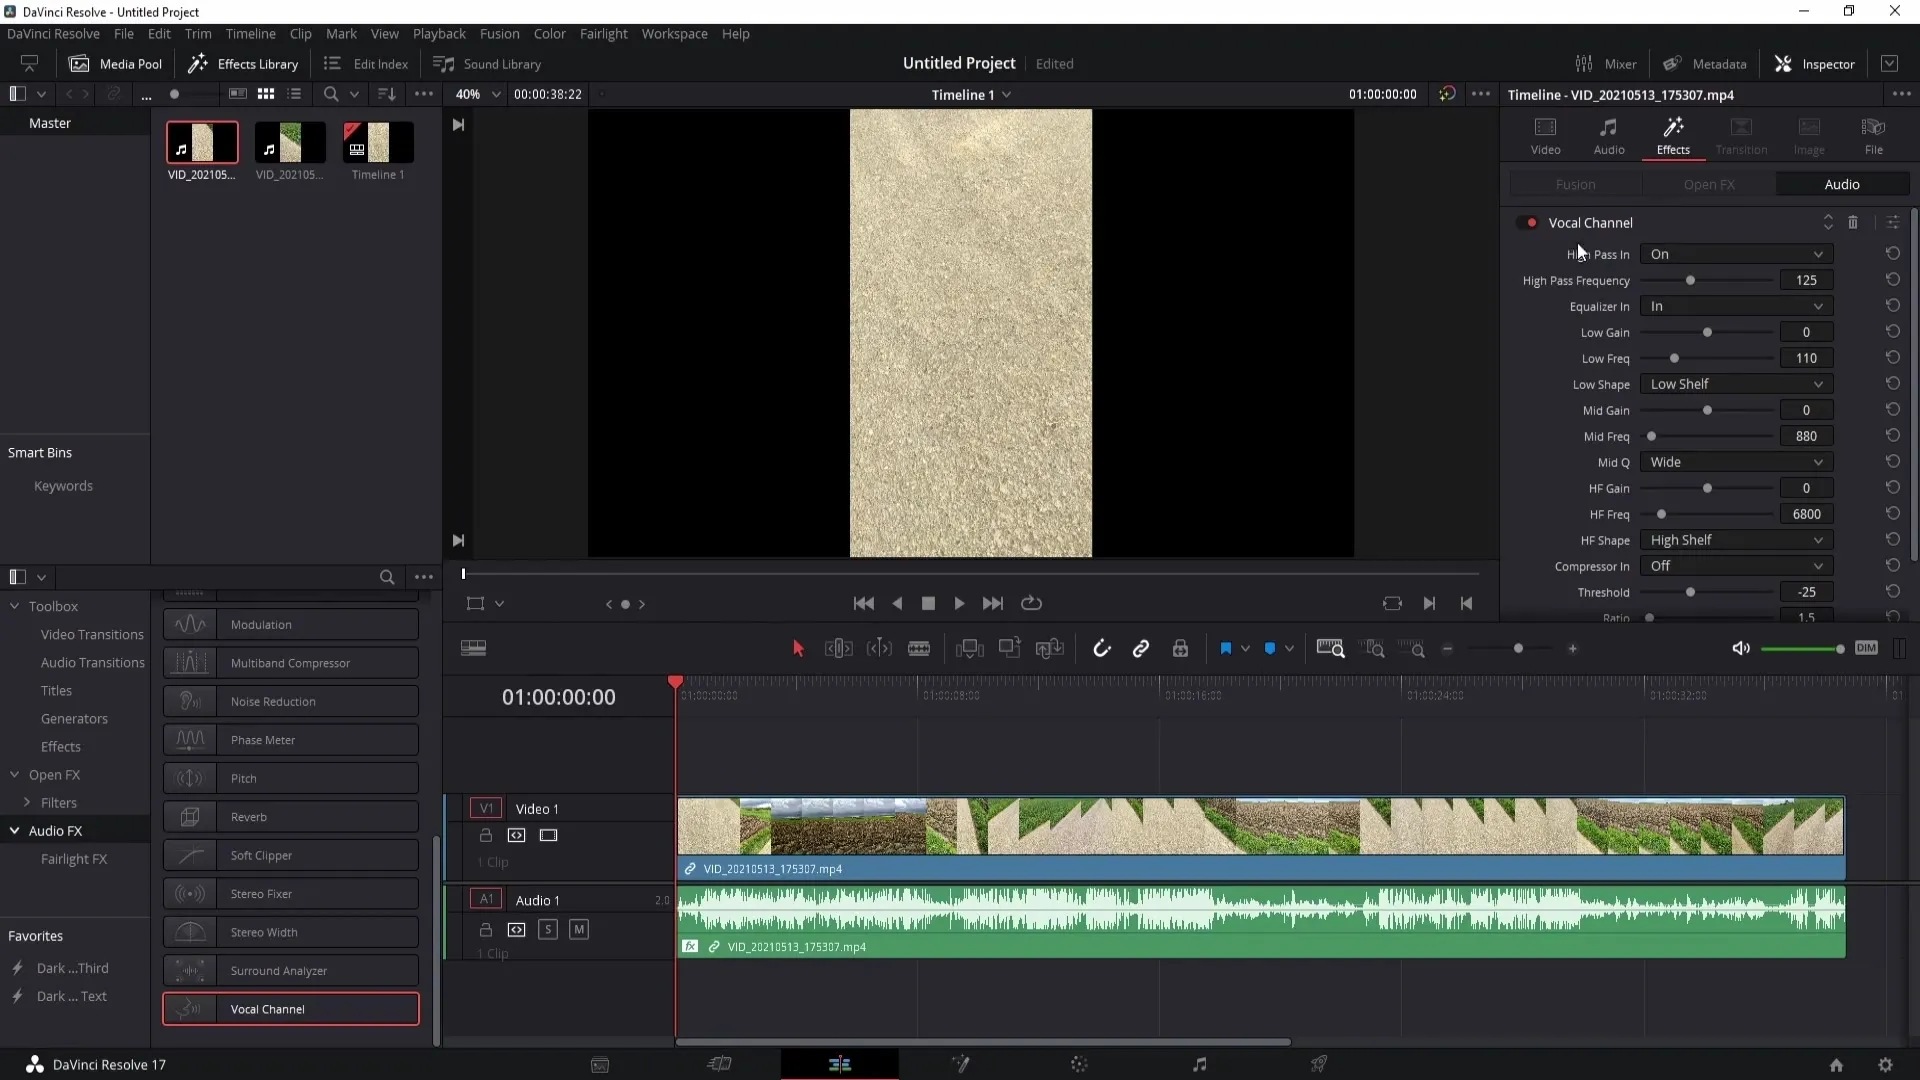
Now that you have assessed the audio quality, turn on the Vocal Channel Filter and adjust the highpass frequency. Play the video again and test how different frequency settings affect the audio. You may need to experiment to find the best setting for your specific recording.
Finding the Optimal Settings
It is important to know that the right setting depends on the intensity of the wind noises. If your wind noises are strong, you may need to set the knob to 300 Hz. Compare the result after each adjustment to ensure you find the right frequency.
Completing the Workflow
Once you have found the best settings, you can set the filter settings that least affect your voice. This will also help minimize lighter wind noises. You can listen to the saved version without the filter again to ensure your sound remains clear and understandable.
Summary
By following the steps described, you can successfully reduce wind noises in DaVinci Resolve and improve the audio quality of your projects. By using the Vocal Channel Filter and precisely adjusting the highpass frequency, you have the tools to remove disturbing ambient noises and enhance the clarity of your speech.
Frequently Asked Questions
How can I reduce wind noise in DaVinci Resolve?Use the speed filter in the Vocal Channel and adjust the highpass frequency.
Do I need to download additional software?No, the required audio filter is already integrated in DaVinci Resolve.
How can I find the best frequency setting for my recordings?Experiment with the slider while listening to the video to find the optimal setting for your specific wind noise.


