It can often happen that disturbing sounds like loud S or sh sounds, or unwanted buzzing from microphones are present in the recordings. These acoustic interference noises can significantly reduce the overall quality of your projects. In this tutorial, I will show you step by step how you can effectively reduce these unwanted noises with DaVinci Resolve. We will focus on both reducing buzzing noises and mitigating sharp S and sh sounds. You will become familiar with useful techniques and tools that will improve your audio tracks.
Main Takeaways
- DaVinci Resolve offers various tools for reducing disturbing sounds, including the De-Hummer and the De-Esser.
- It is important to adjust the right frequency settings to achieve optimal results.
- By creating and saving presets, you can efficiently reuse your settings.
Step-by-Step Guide
Step 1: Import the clip and open the effect window
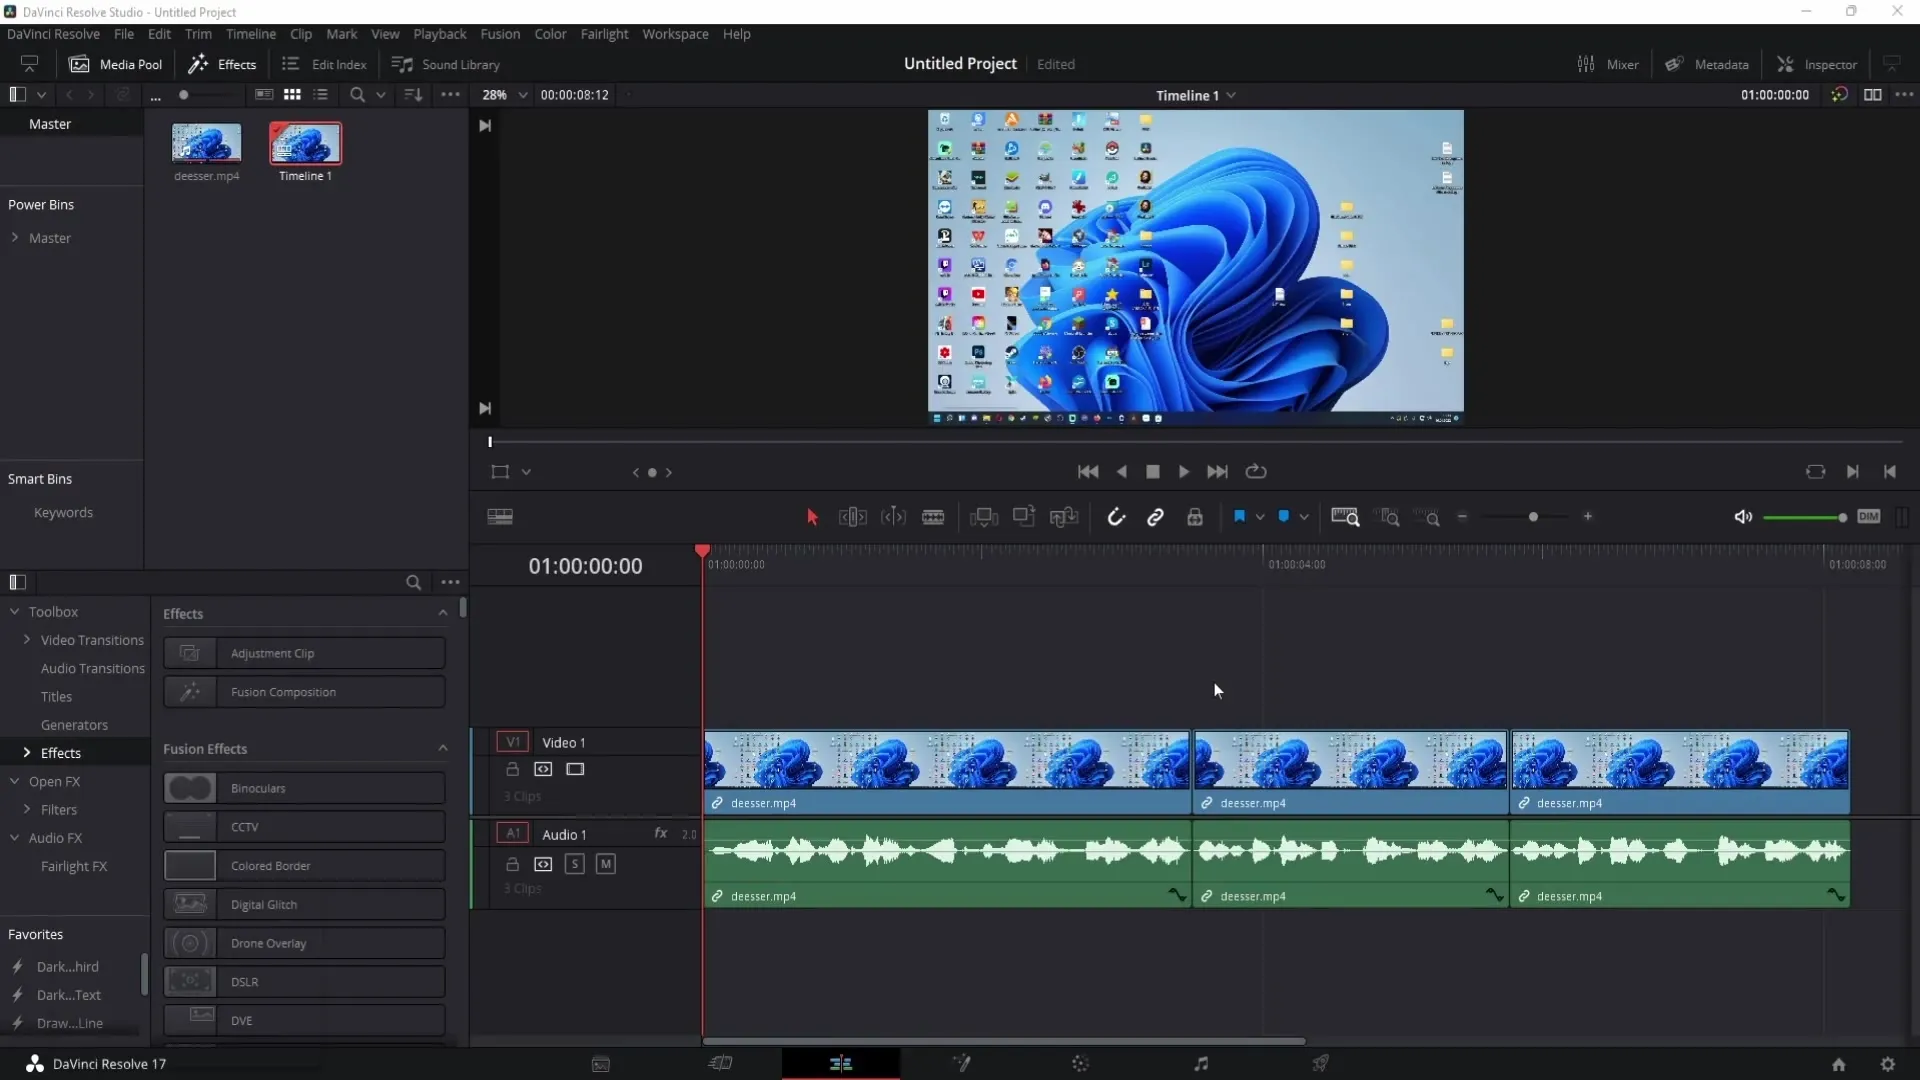
First, you need to start DaVinci Resolve and import a clip with problematic audio content. Choose a clip where you have noticed particularly loud S or sh sounds, or buzzing. Once you have the clip in the timeline area, activate the Fairlight mode to access the audio effects.
Step 2: Apply the De-Hummer
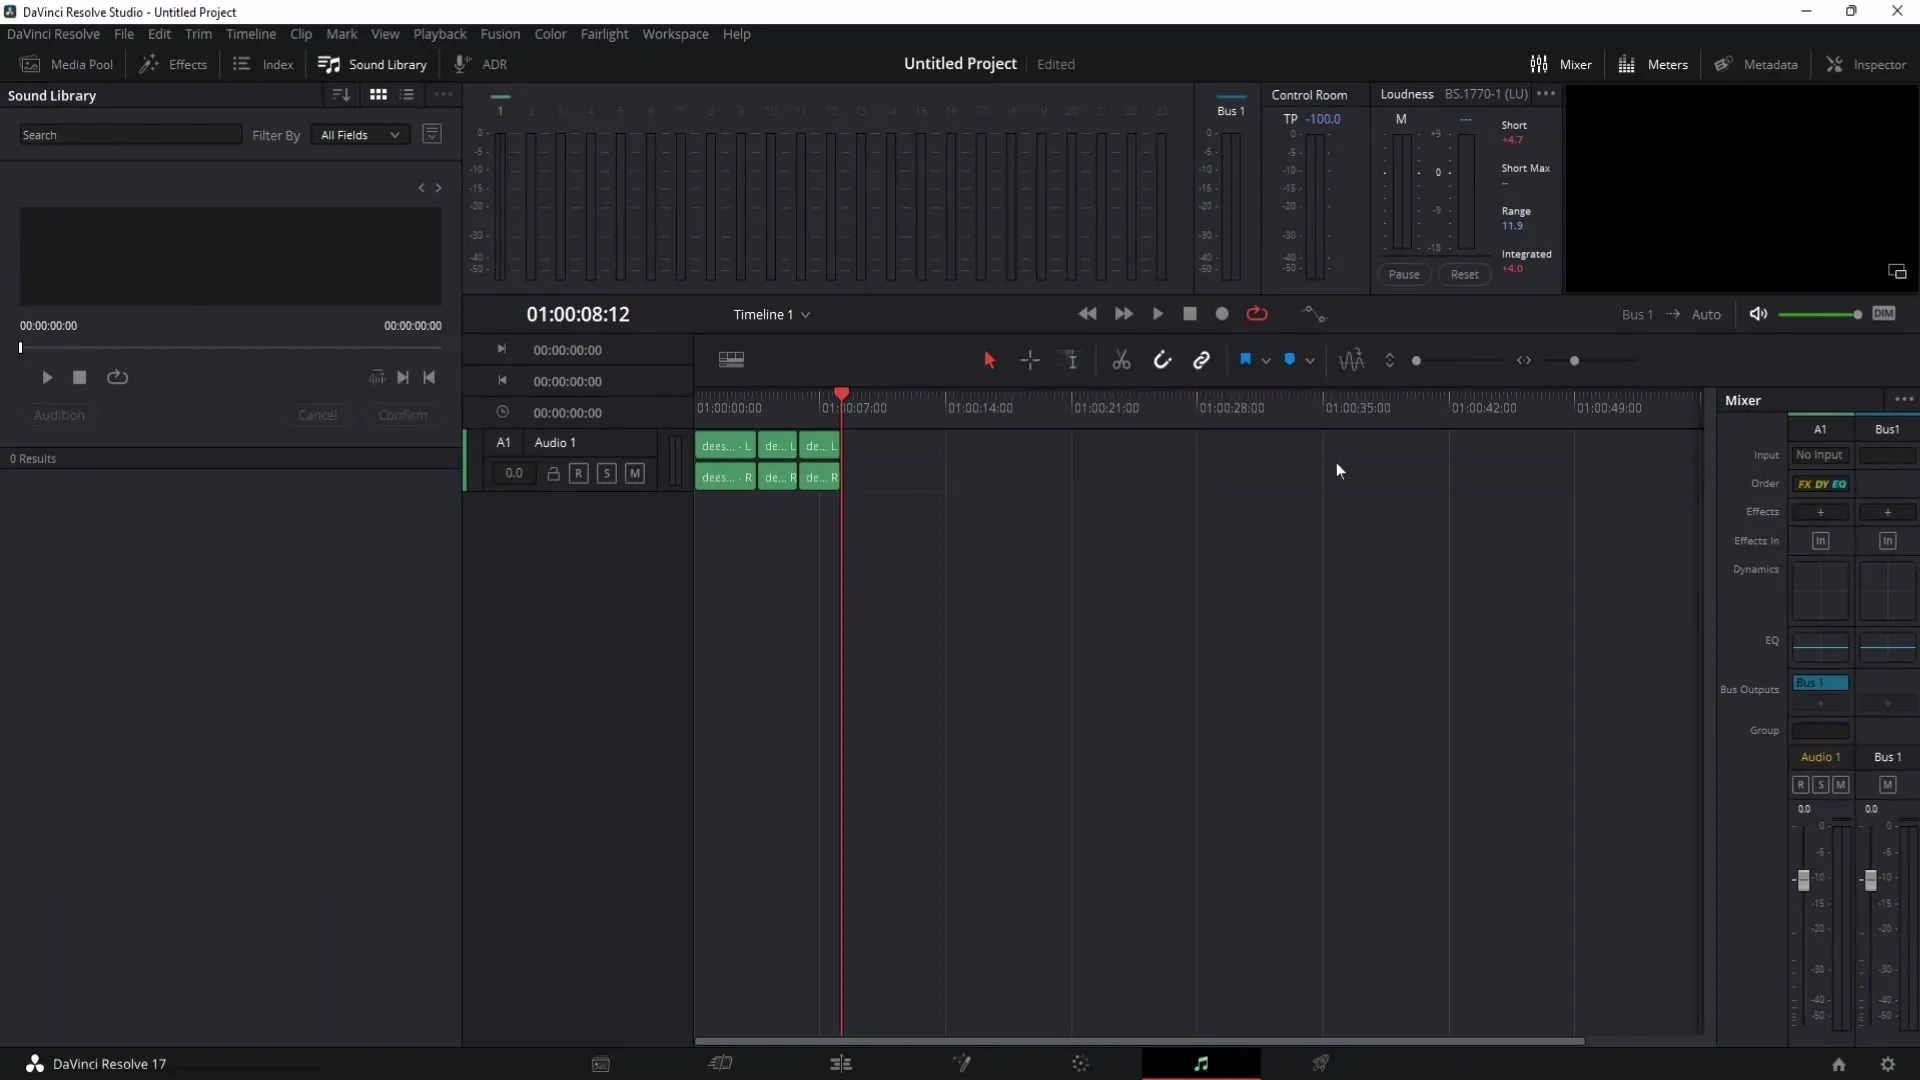
To remove buzzing, go to Fairlight mode and open the mixer view. Click on the plus symbol and search for the De-Hummer in the effect options. If you do not have the studio version of DaVinci Resolve, the De-Hummer is usually located under "Noise Reduction".
Step 3: Activate loop mode
It is important to activate the loop symbol so that you can play the clip in a continuous loop. This allows you to hear the changes you make to the audio immediately.
Step 4: Record buzzing
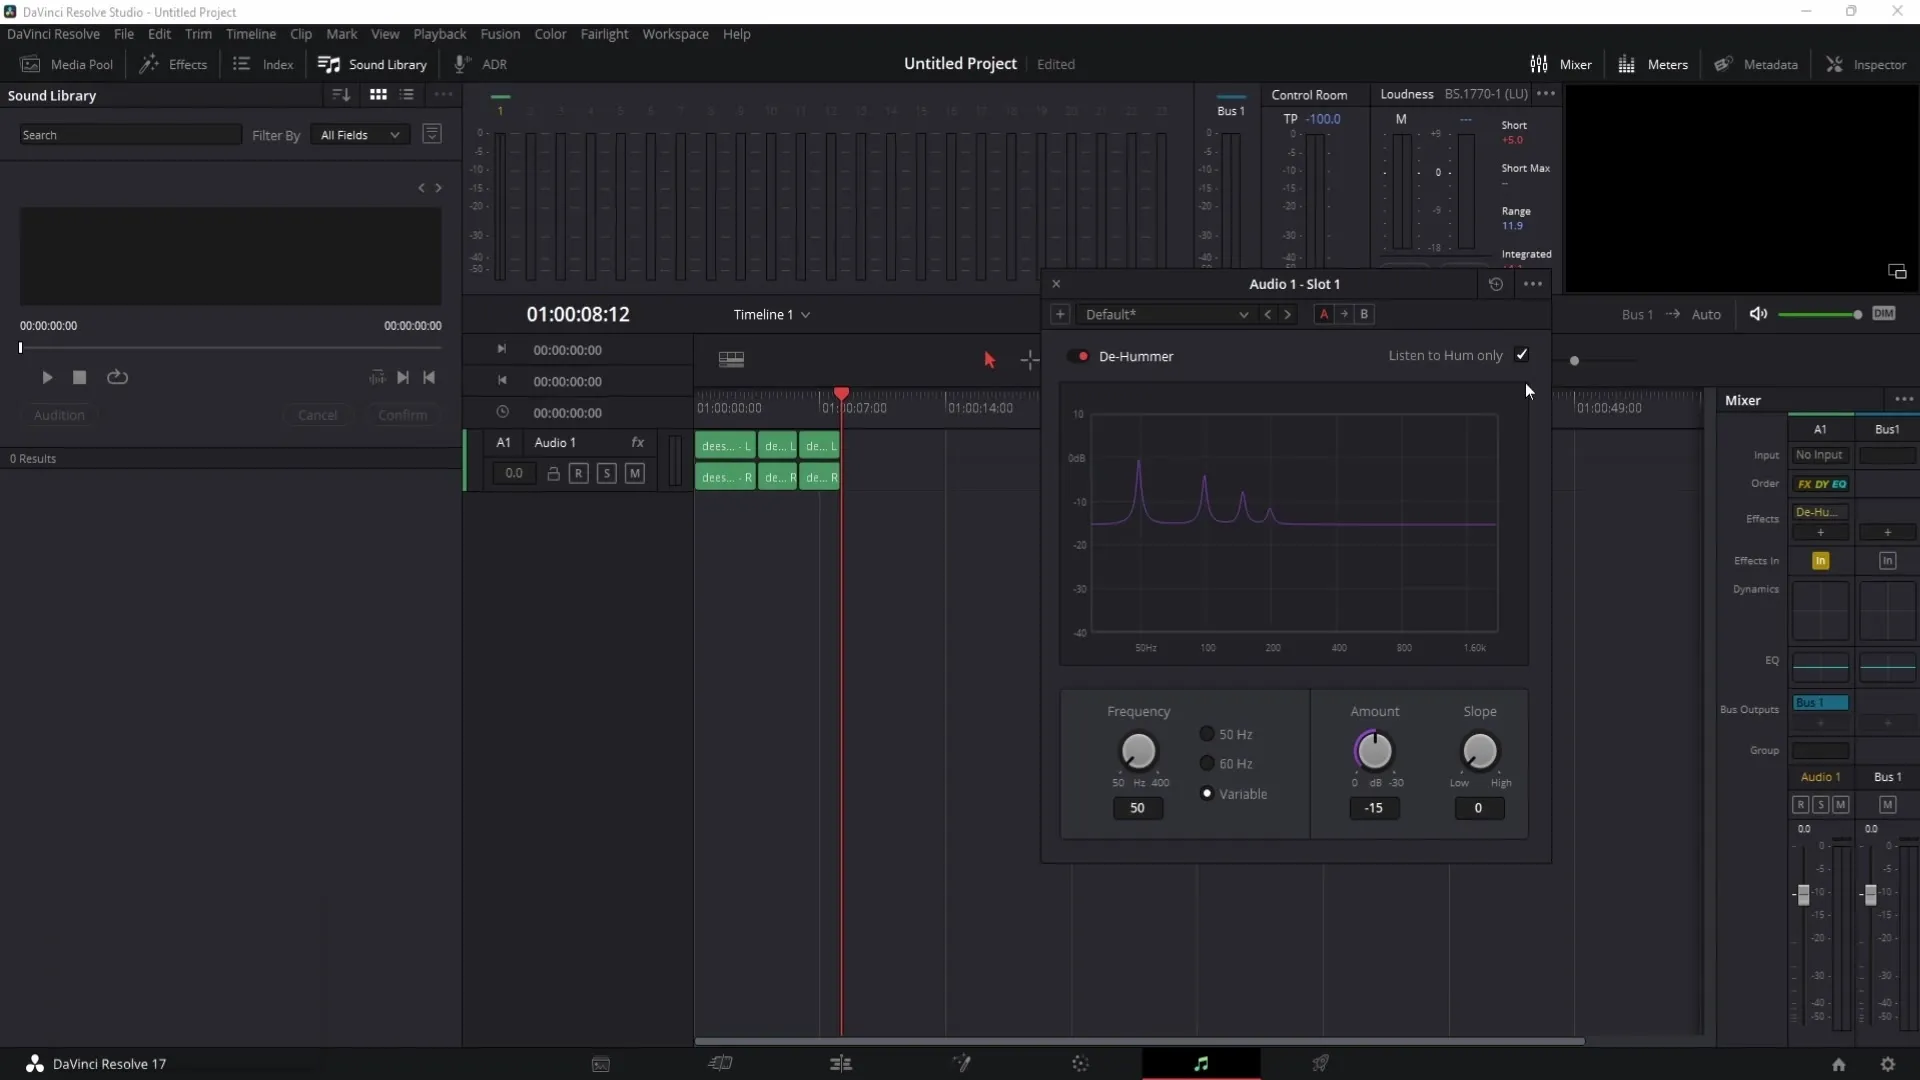
After selecting the De-Hummer, press the space bar to play the clip. Check "List to Hum Only" to isolate the buzzing for recording. This allows you to choose the right frequencies for reduction.
Step 5: Adjust frequencies
If the buzzing is not effectively removed, you can try switching between 60 Hz and 50 Hz to see which frequency works better for your audio. Once you have chosen the suitable frequency, you will be able to adjust the presets for the De-Hummer settings.
Step 6: Adjust the Amount
The "Amount" slider determines the strength of the De-Hummer effect. If you have a strong buzzing, you should move the slider into the negative range. For light buzzing, you can move the slider up into the positive range. A double click resets the slider to the default value.
Step 7: Use the Slope slider
The Slope slider allows you to further adjust the tones that should be influenced by the De-Hummer. Experiment with this slider and listen to the result during playback.
Step 8: Save the preset
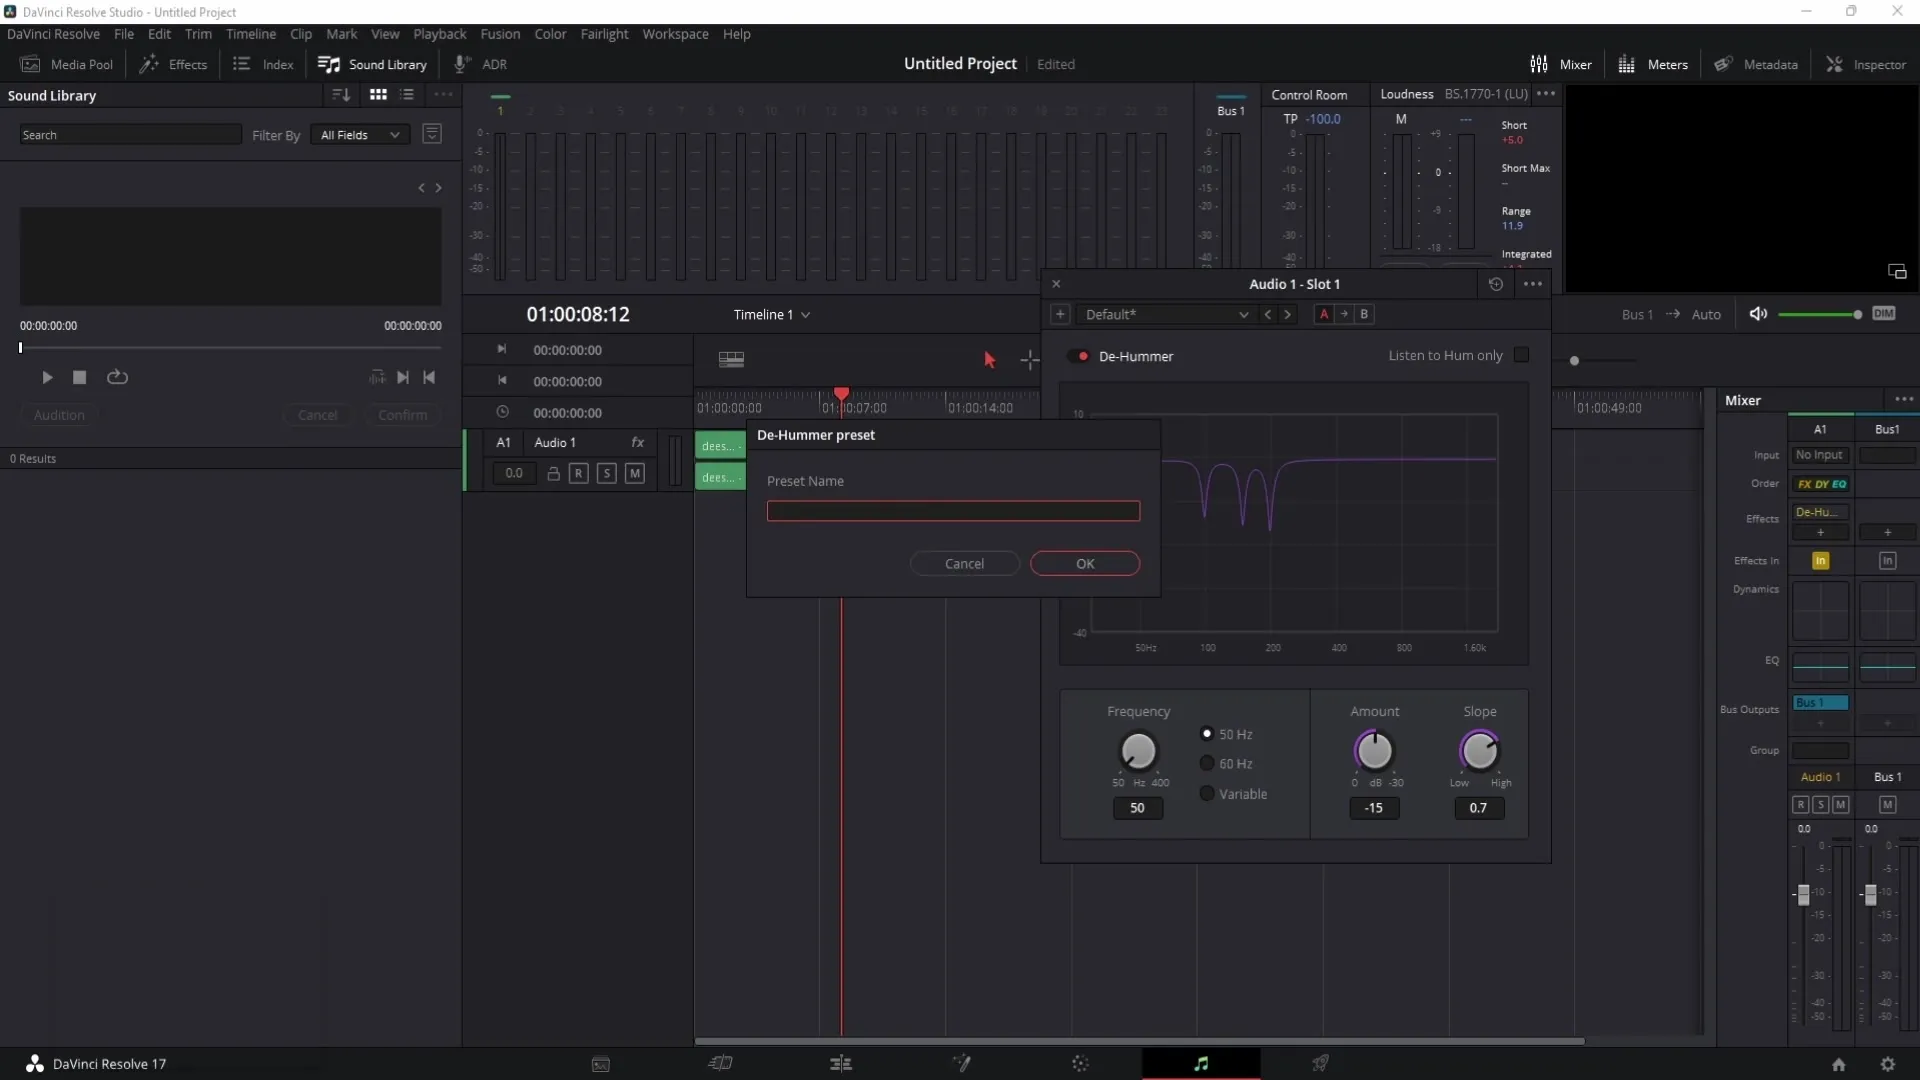
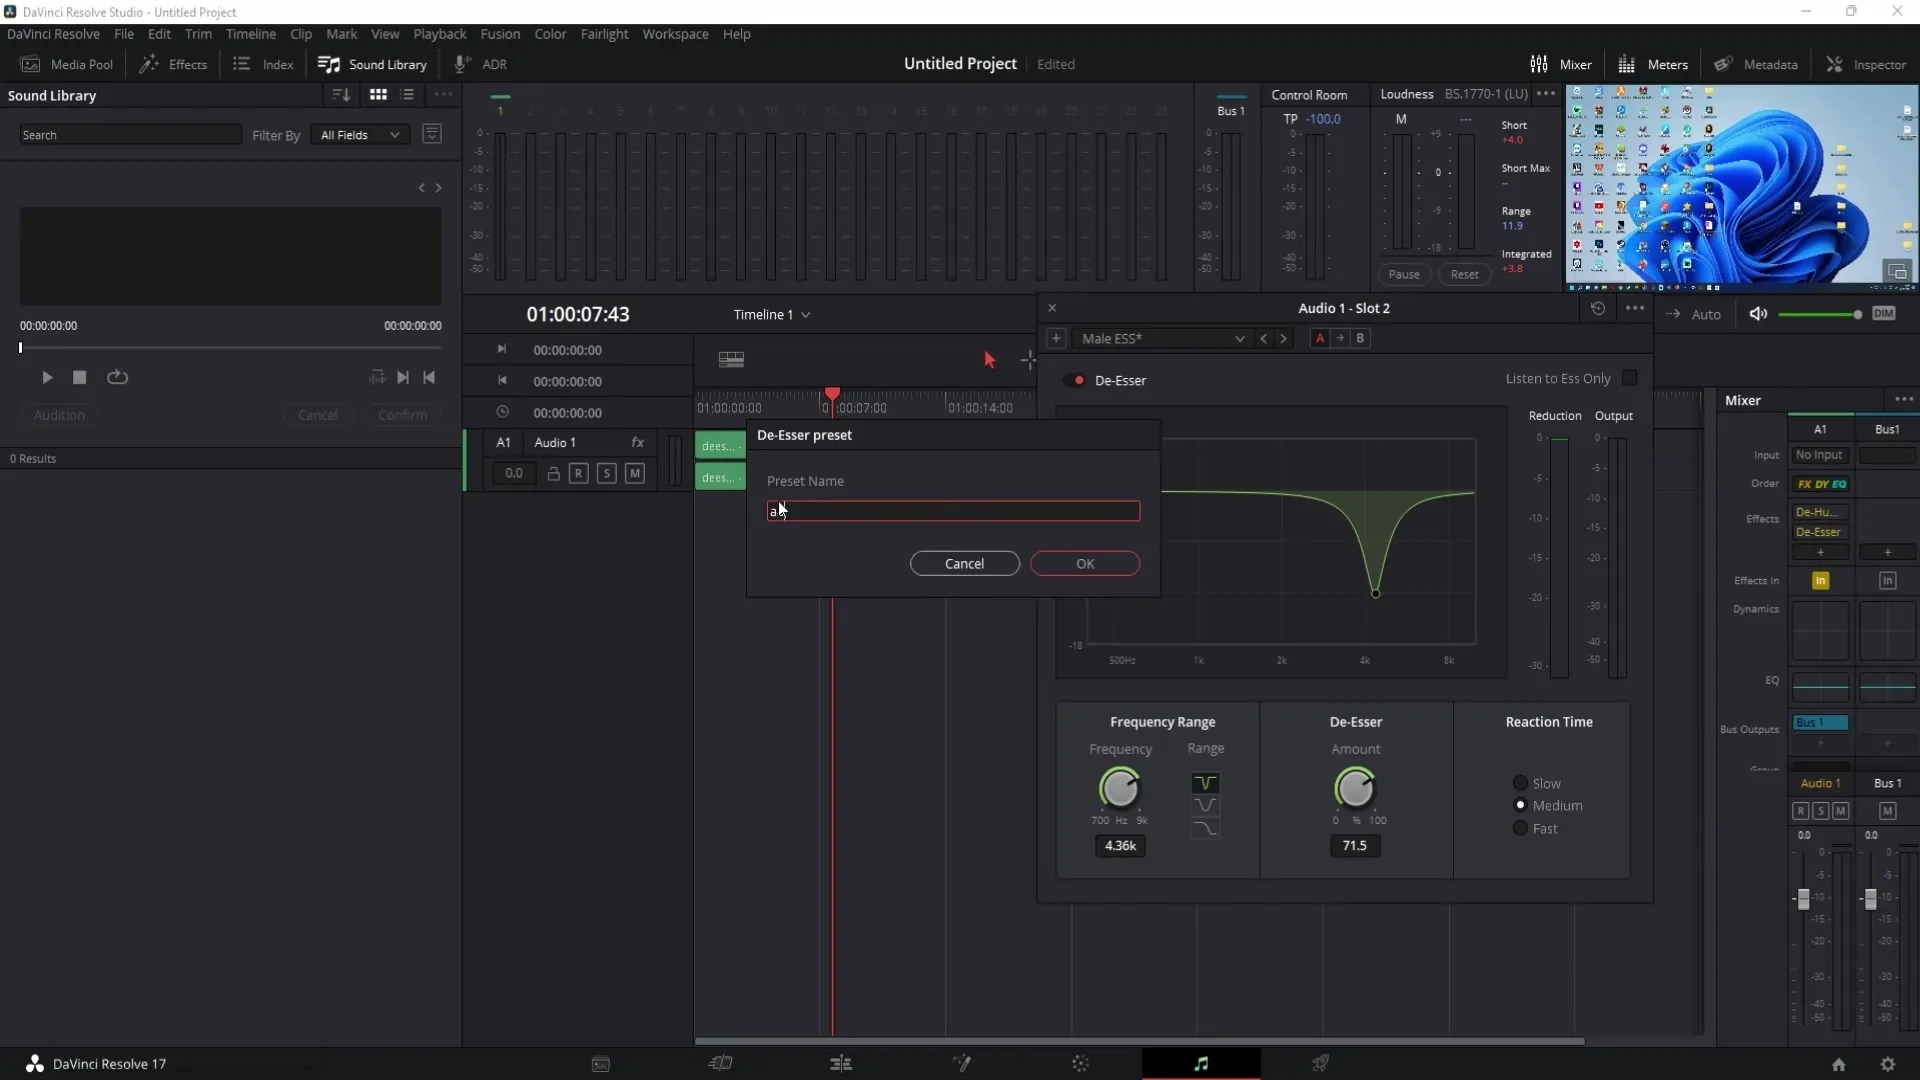
Once you are satisfied with the settings, you can save your preset so that you can quickly access it in future projects. Click on the plus symbol and give your new preset a name.
Step 9: Use the De-Esser
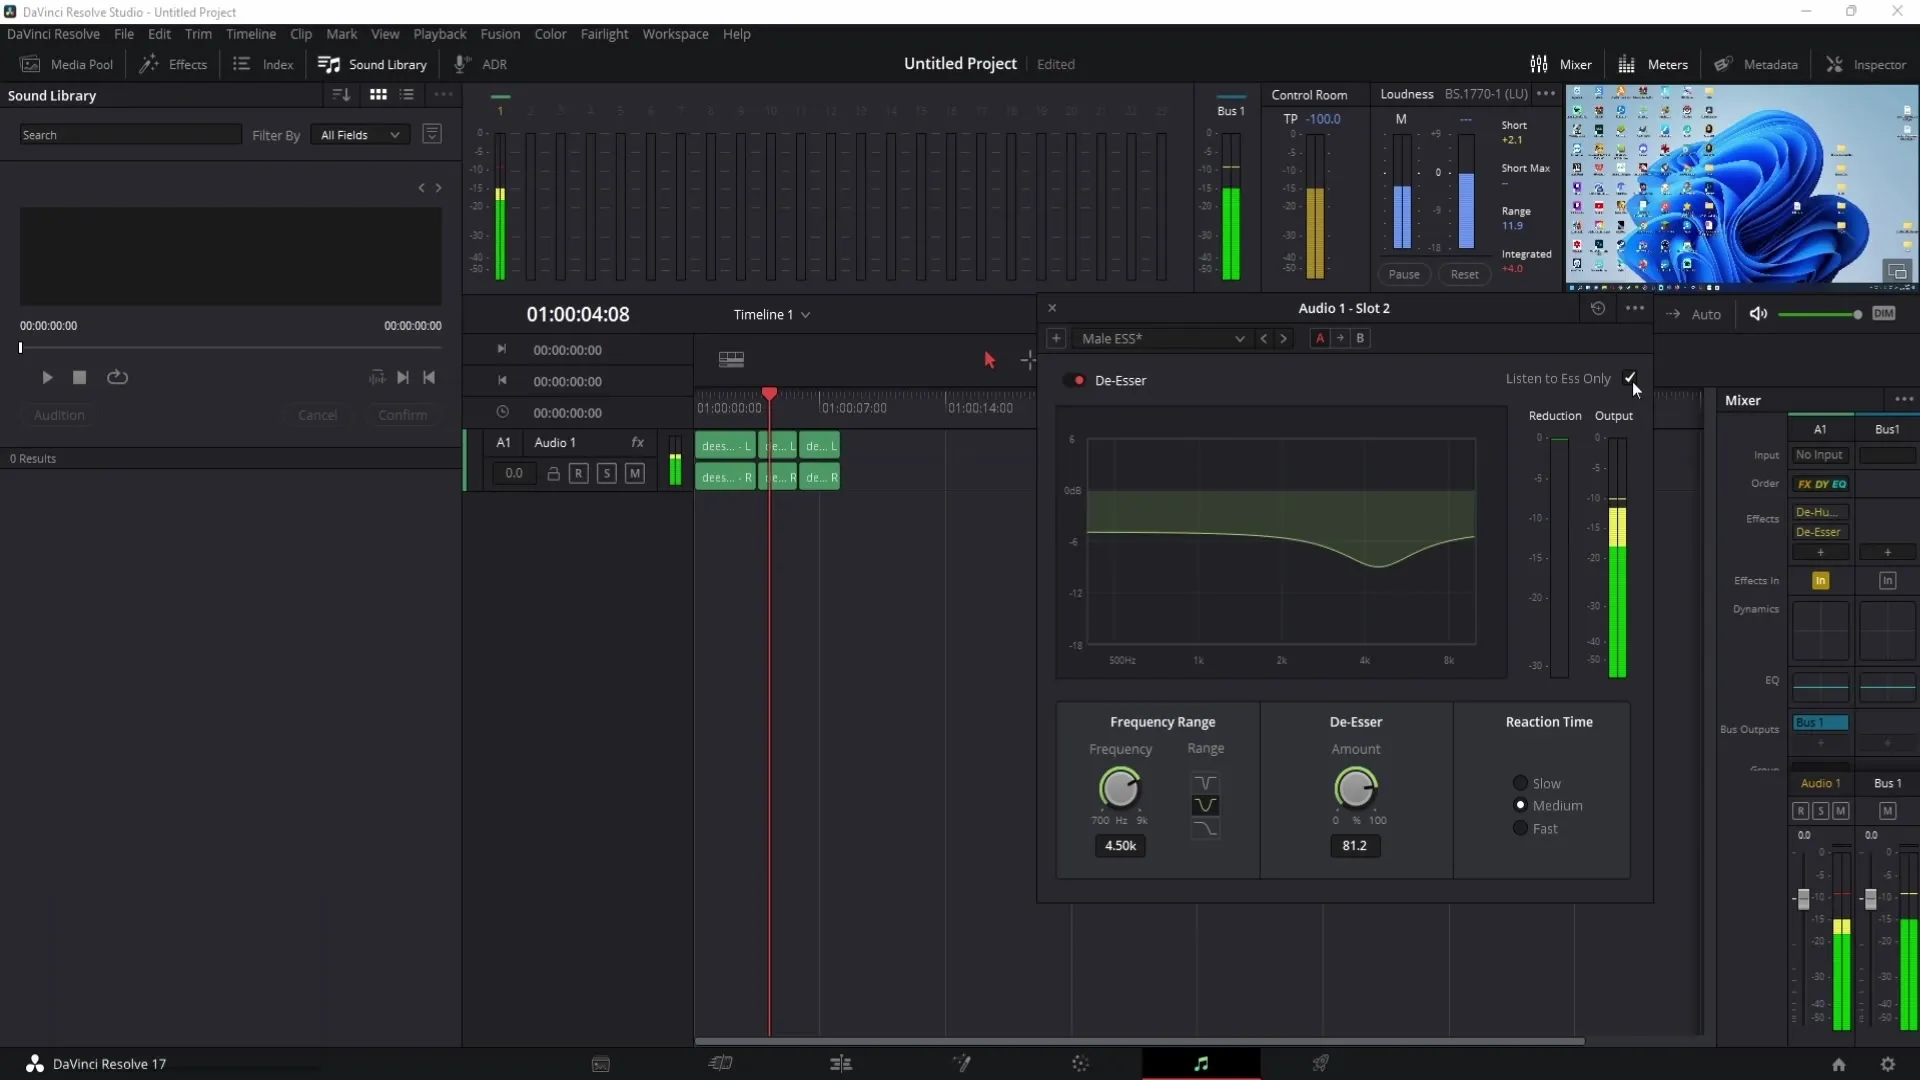
Many users not only have issues with buzzing but also with too sharp S and sh sounds. For these problems, we use the De-Esser. Select the De-Esser in the audio effects. Here you can find presets for different voice types, it is important to make the right choice according to your voice.
Step 10: Adjust the frequency
Similar to the De-Hummer, you can adjust the frequencies and play with the space bar to monitor the signal. Make sure to choose the frequencies in the correct range to dampen the S-sounds without compromising the overall audio quality.
Step 11: Set response time and make fine adjustments
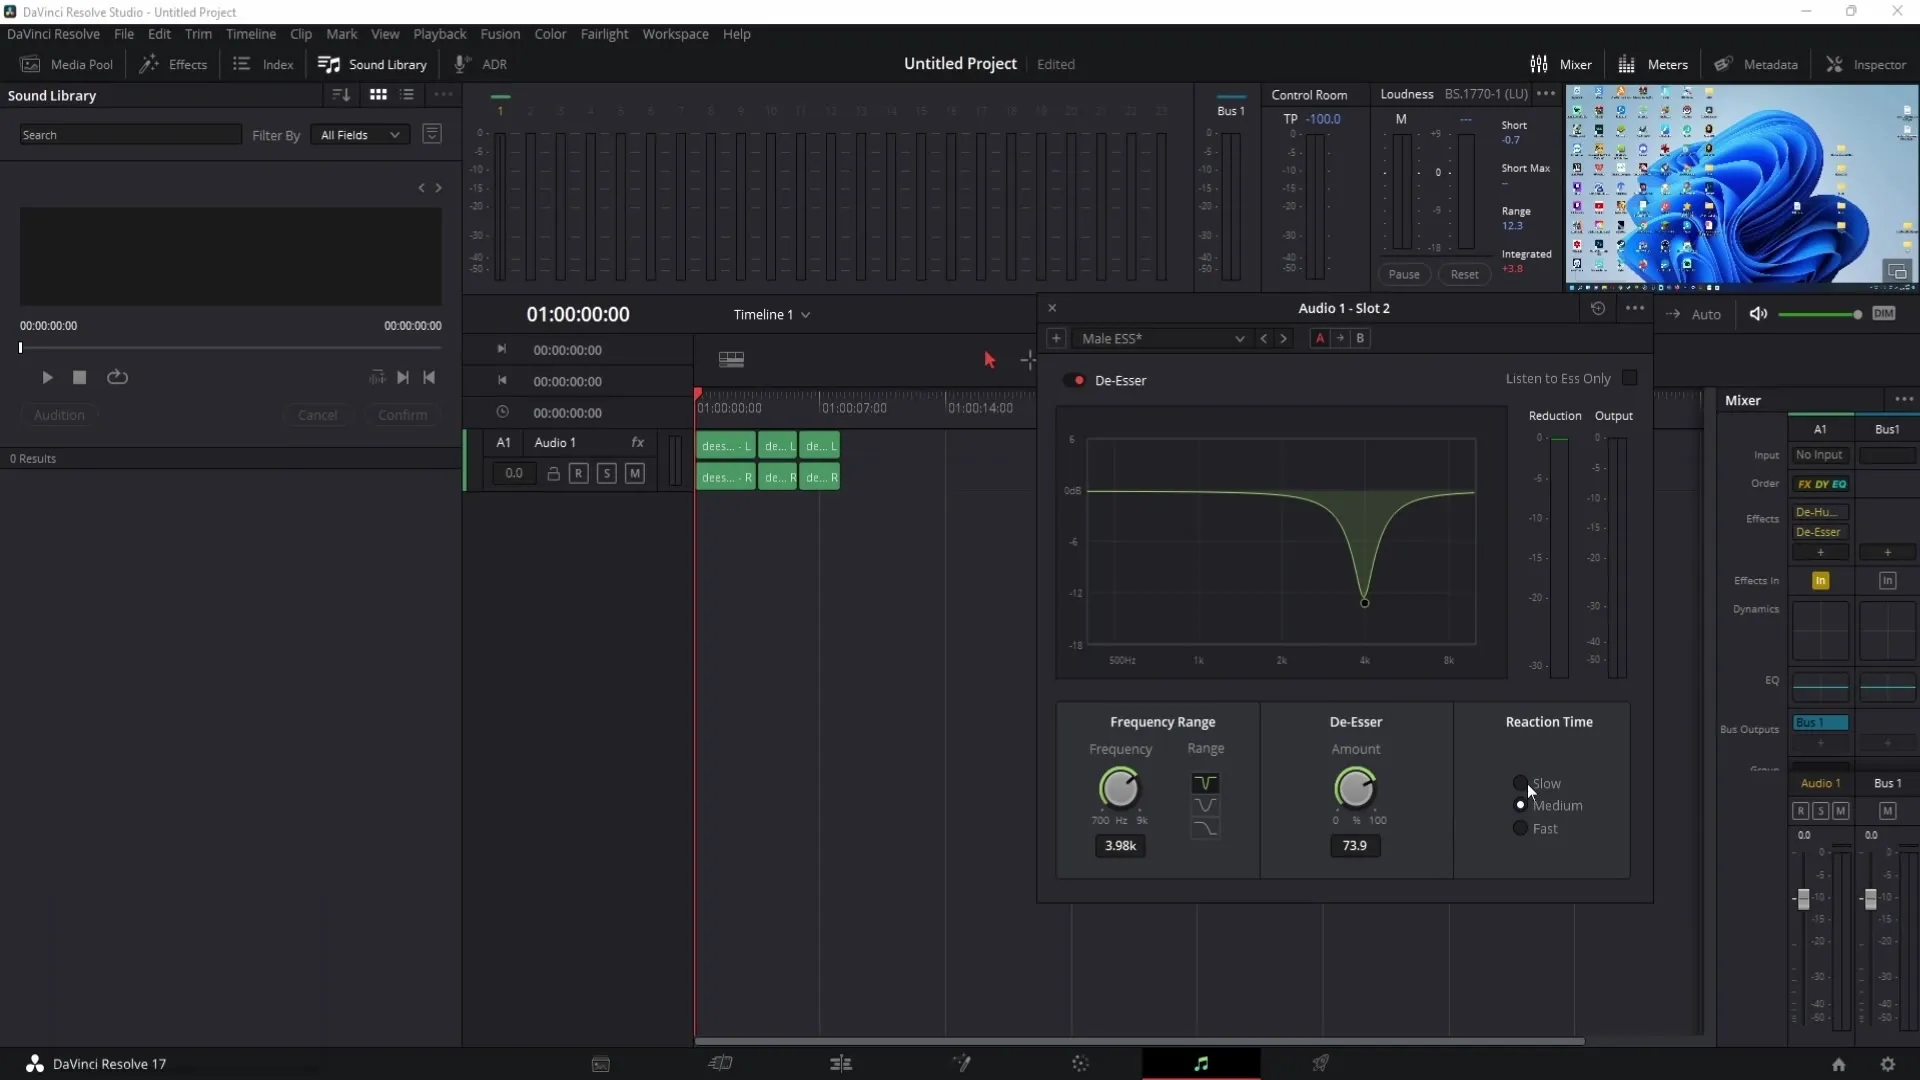
With the response time, you can determine how quickly the De-Esser responds to your desired parameters. Experiment here with the settings "Slow," "Medium," and "Fast" to find the best option for your clip.
Step 12: Check the result and save the preset
Once the values for the De-Esser have been set and you are satisfied with the result, save your preset as described earlier. This saves time and effort in future projects.
Summary
In this tutorial, you have learned how to use the De-Hummer and De-Esser tools in DaVinci Resolve to edit annoying hums as well as loud S and Sch sounds in your audio. We have highlighted the importance of the correct frequency settings and the significance of saving presets to increase efficiency.
Frequently Asked Questions
How do I activate Fairlight mode in DaVinci Resolve?The Fairlight mode can be selected from the top menu bar to access the audio tools.
Can I change my settings at any time?Yes, you can adjust the settings at any time while playing your audio.
What is the difference between De-Hummer and De-Esser?The De-Hummer removes unwanted hums, while the De-Esser is responsible for reducing sharp S and Sch sounds.
How do I save a preset in DaVinci Resolve?You can save a preset by clicking on the plus symbol in the effects view and giving your preset a name.
How do I find the best frequencies for my audio track?Listen to your audio recording and experiment with the frequencies by shifting between values to find out which one works best.


