In this tutorial, I will show you how you can link your YouTube channel with DaVinci Resolve 17 to directly upload your videos to YouTube. This saves you time and simplifies the uploading process. DaVinci Resolve is a powerful software for video editing, and once you know how the upload process works, you can quickly and easily share your work with the world.
Key Takeaways
- Link your YouTube channel with DaVinci Resolve for direct upload.
- Adjust the video and quality settings in DaVinci Resolve.
- Use the export function to quickly upload videos to YouTube.
Step-by-Step Guide
1. Check Video Settings
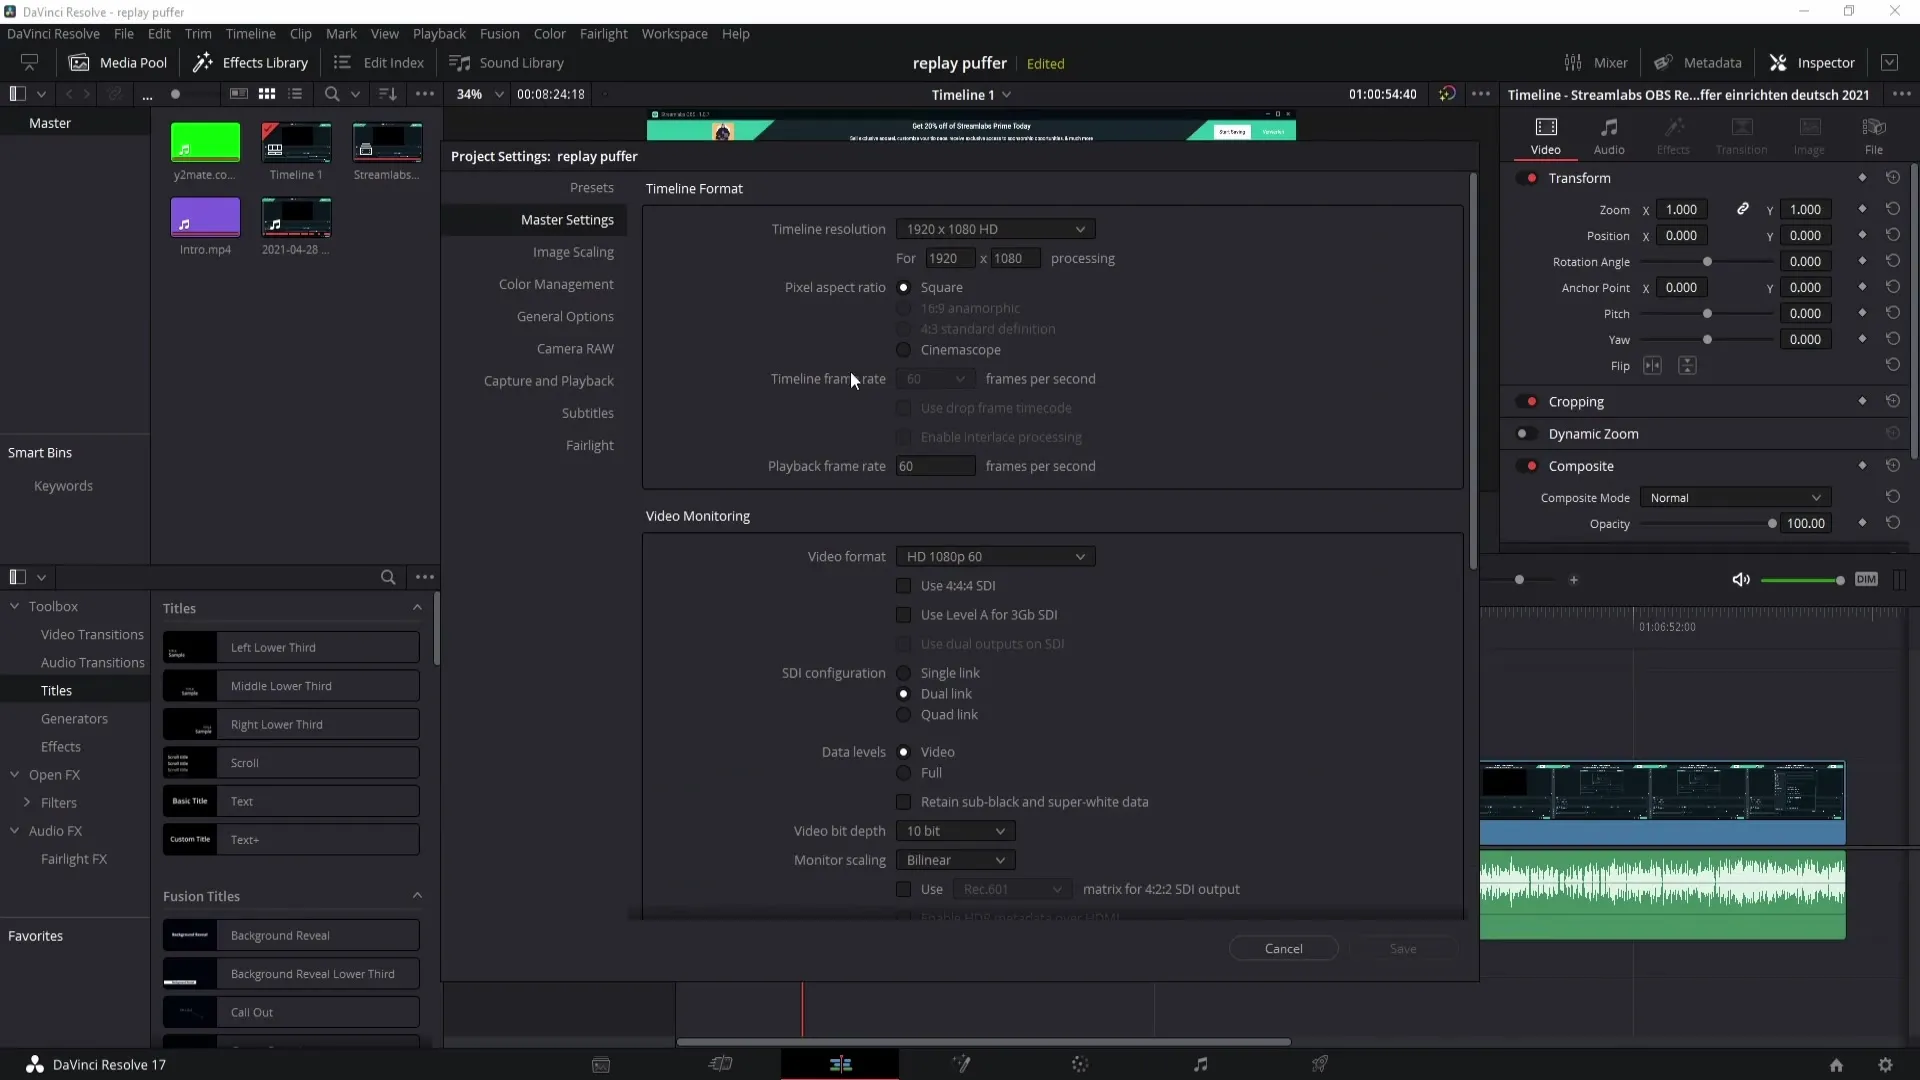
Before you start uploading, it's important to make the right video settings. Click on the gear icon in the bottom right corner. This will open the settings where you can ensure that your video is uploaded in optimal quality. I recommend a resolution of 1080p, but you can choose higher settings if you want.

2. Link YouTube Channel
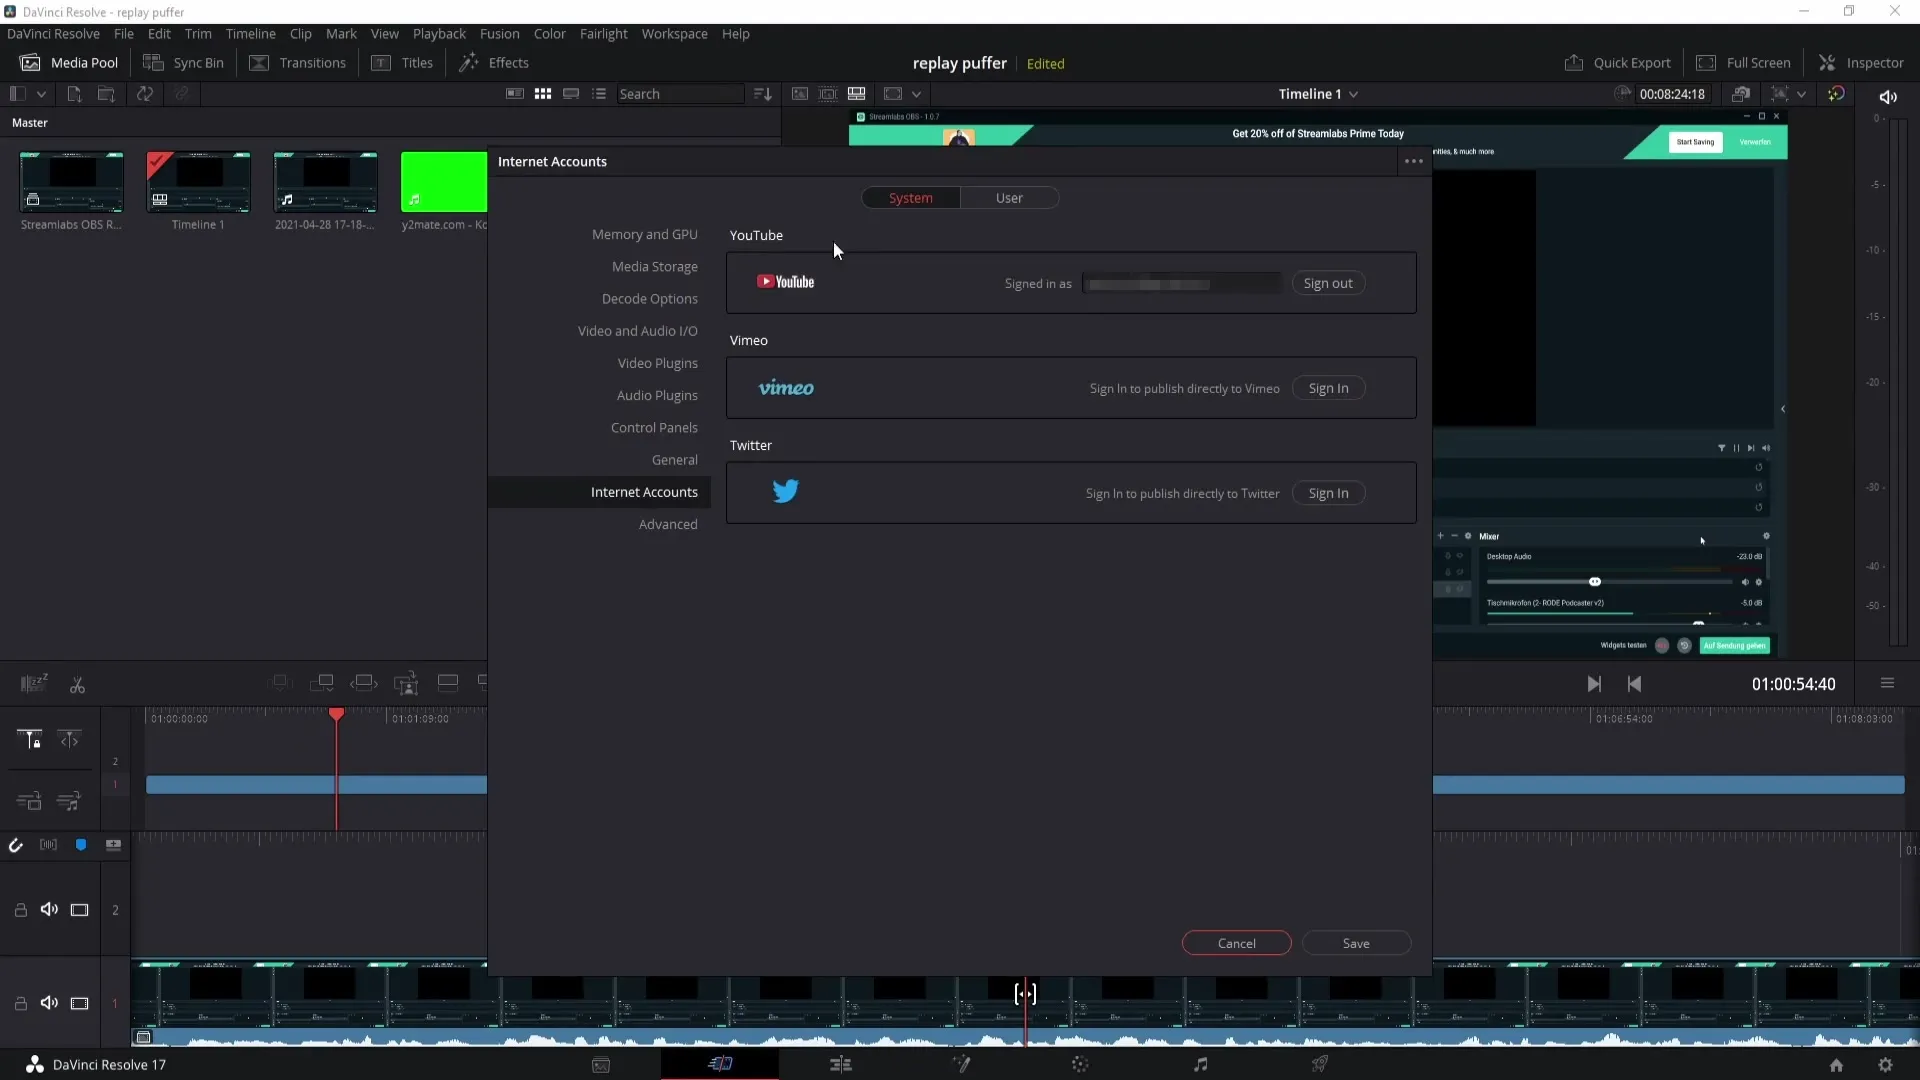
After editing your video and being ready to upload, go to the cutting section of DaVinci Resolve. Then click on "DaVinci Resolve" at the top and choose "References." Under "Internet Accounts," you have the option to link your YouTube account. Click on "Sign in" and log in with your YouTube credentials. After successful login, click on "Save" to save the connection.

3. Perform Quick Export
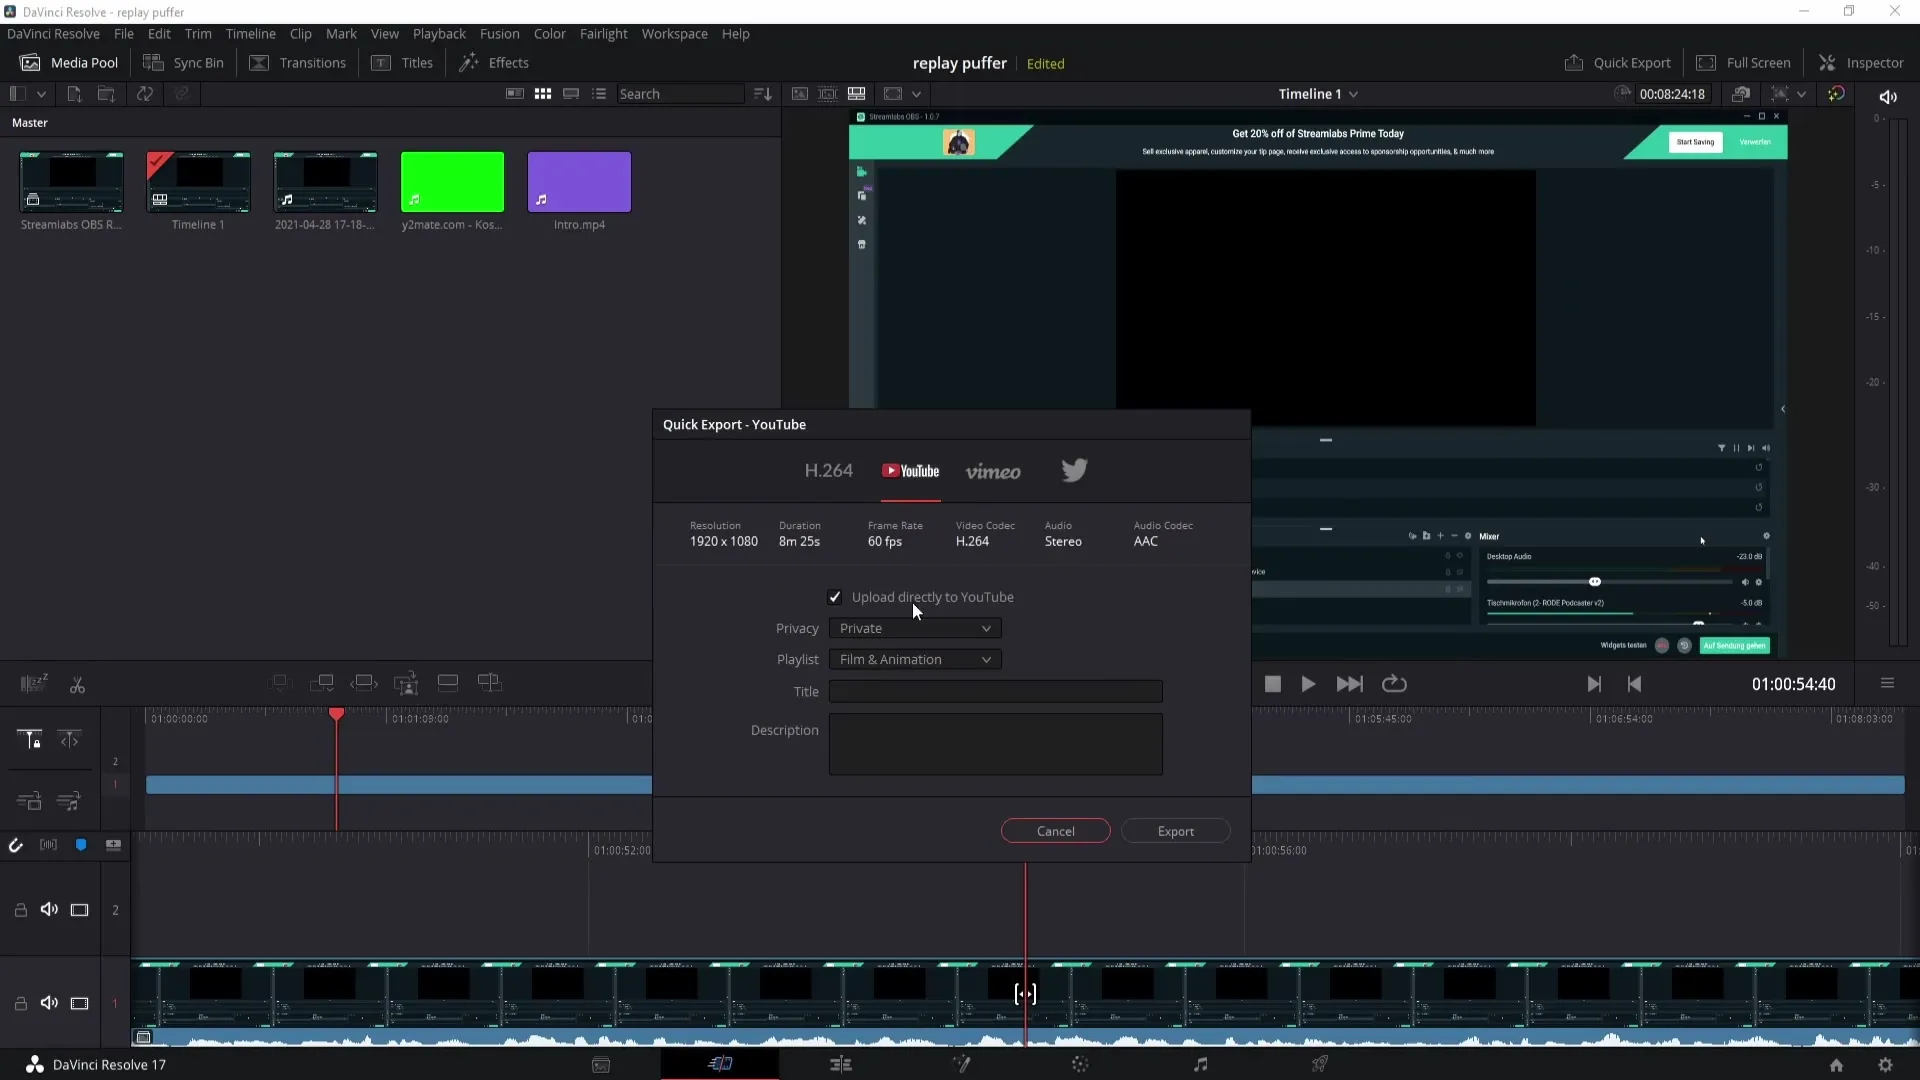
To upload the video, click on "Quick Export." Then choose "YouTube" from the options. Here you can set various settings before uploading the video. Check "Upload directly to YouTube" to activate direct upload.

4. Set Video Details
A window will open where you can provide additional details about your video. It's important to check the resolution, length, and frame rate. In the "Privacy" section, you can choose whether the video should be private or public. Select the category – in this example, "Education" – that best fits your video.
5. Add Title and Description
Give the video the title you want. You can be creative here; I simply entered "ABCD EFG." You can skip the description as you will edit it later on YouTube. However, it's advisable to think about tags and the description, as they are important for the discoverability of your video.
6. Finalize Export
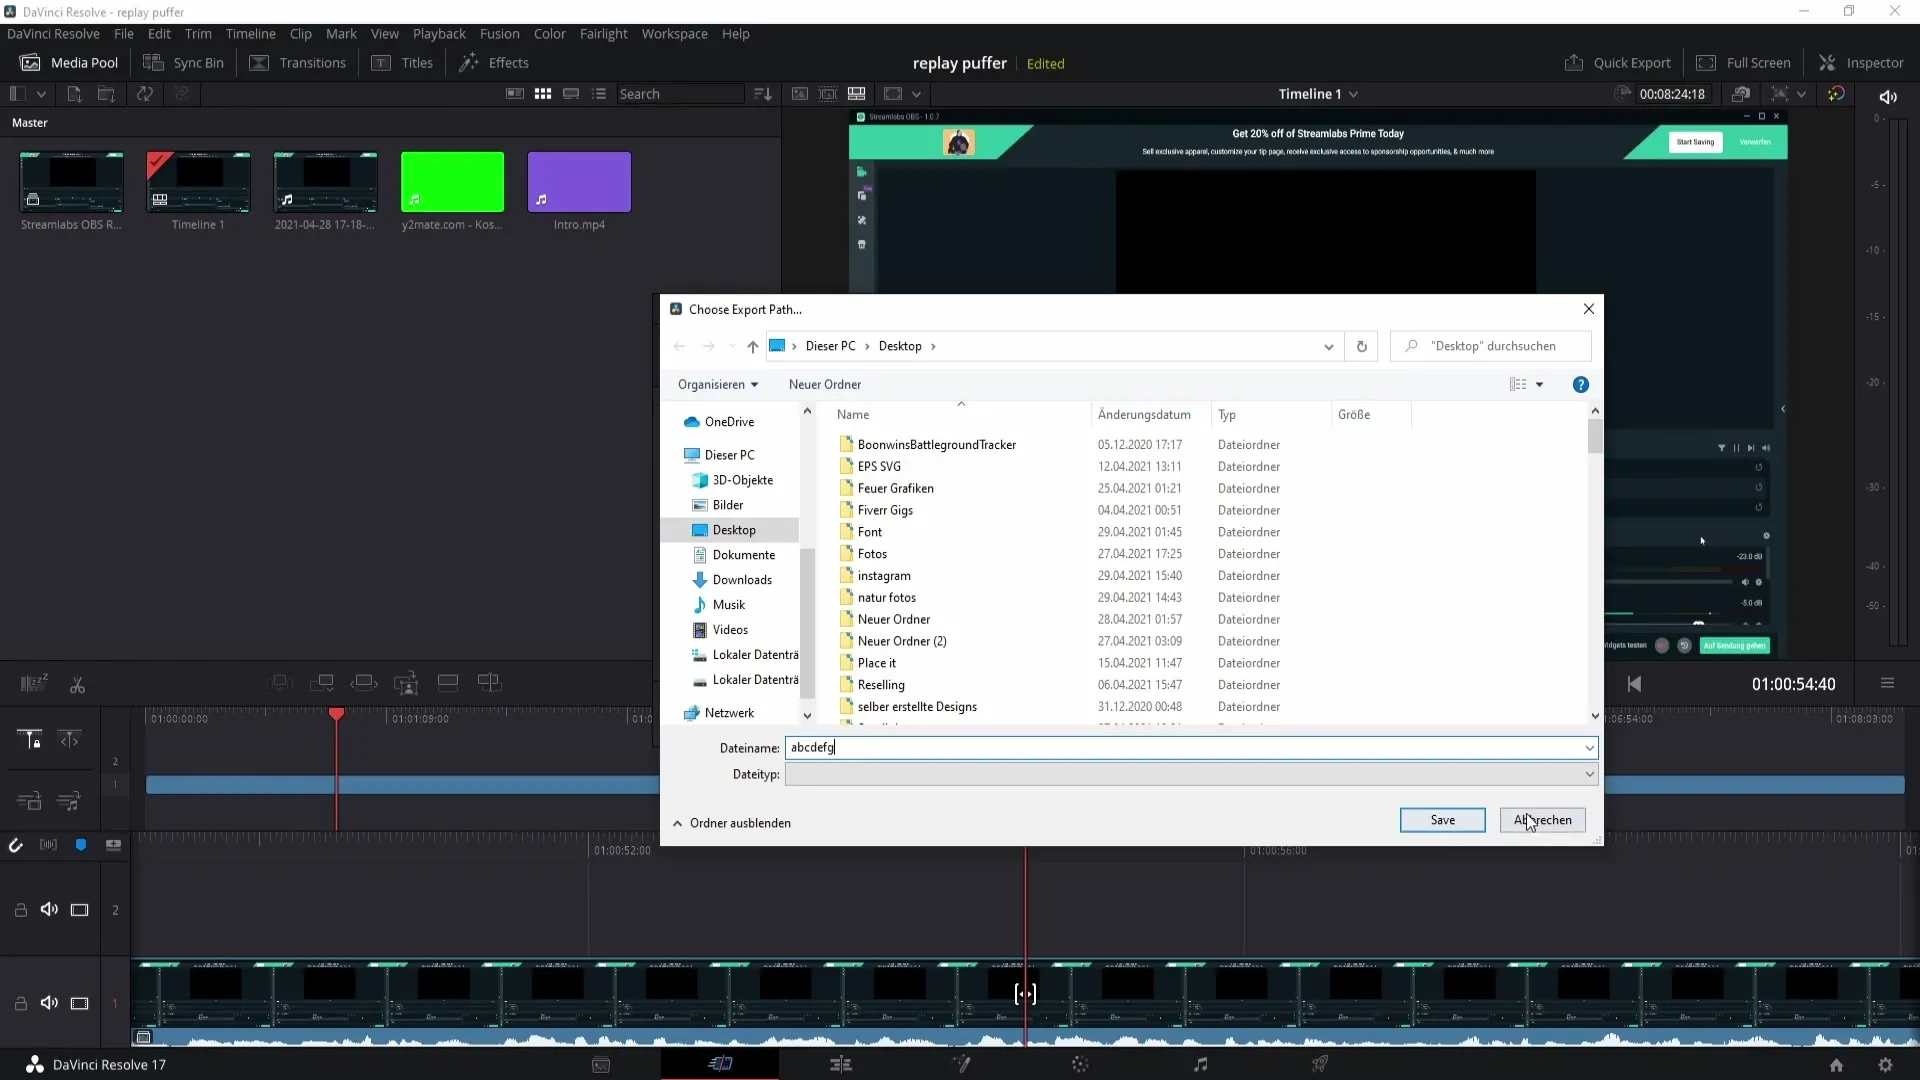
On the last page, give the export a name. I recommend copying the title of your video to save time. Paste the title into the appropriate field and then click "Export." After that, you need to click "Save." This will render the video and upload it directly to YouTube.

7. Upload Video
By clicking on "Save" now, DaVinci Resolve will start uploading your video to YouTube. That's it! Now you just have to wait for the upload to complete.
Summary
In this tutorial, we have gone through the steps to link your YouTube channel with DaVinci Resolve 17 and upload videos directly. From video settings to linking your account to completing the upload, you have all the necessary information to make this process efficient.
Frequently Asked Questions
How do I link my YouTube channel with DaVinci Resolve?Go to the "Internet Accounts" in the DaVinci Resolve settings and log in with your YouTube account.
What video quality should I choose for uploading?A resolution of 1080p is recommended, but you can also choose higher settings.
Do I need to add a description to my video?You do not need to add the description immediately, but you can edit it later on YouTube.
How can I change the category of my video?You can select the category in the export dialog before starting the upload.
How do I start exporting my video?Click on "Quick Export" and then choose "YouTube" to start the upload process.


