In this tutorial, I'll show you how to export videos in DaVinci Resolve 17. You have different options: either upload your video directly to YouTube or export it to your computer to then publish it on another platform. Below you will be guided step by step through the export process.
Main Insights
- You can upload videos directly to YouTube or save them locally.
- The correct format choice (e.g. MP4) is crucial for compatibility.
- The rendering processes are easy to perform and show you the progress.
Upload Video Directly to YouTube
To upload your video directly to YouTube, you first need to make sure you are connected with your YouTube account. Follow these steps:
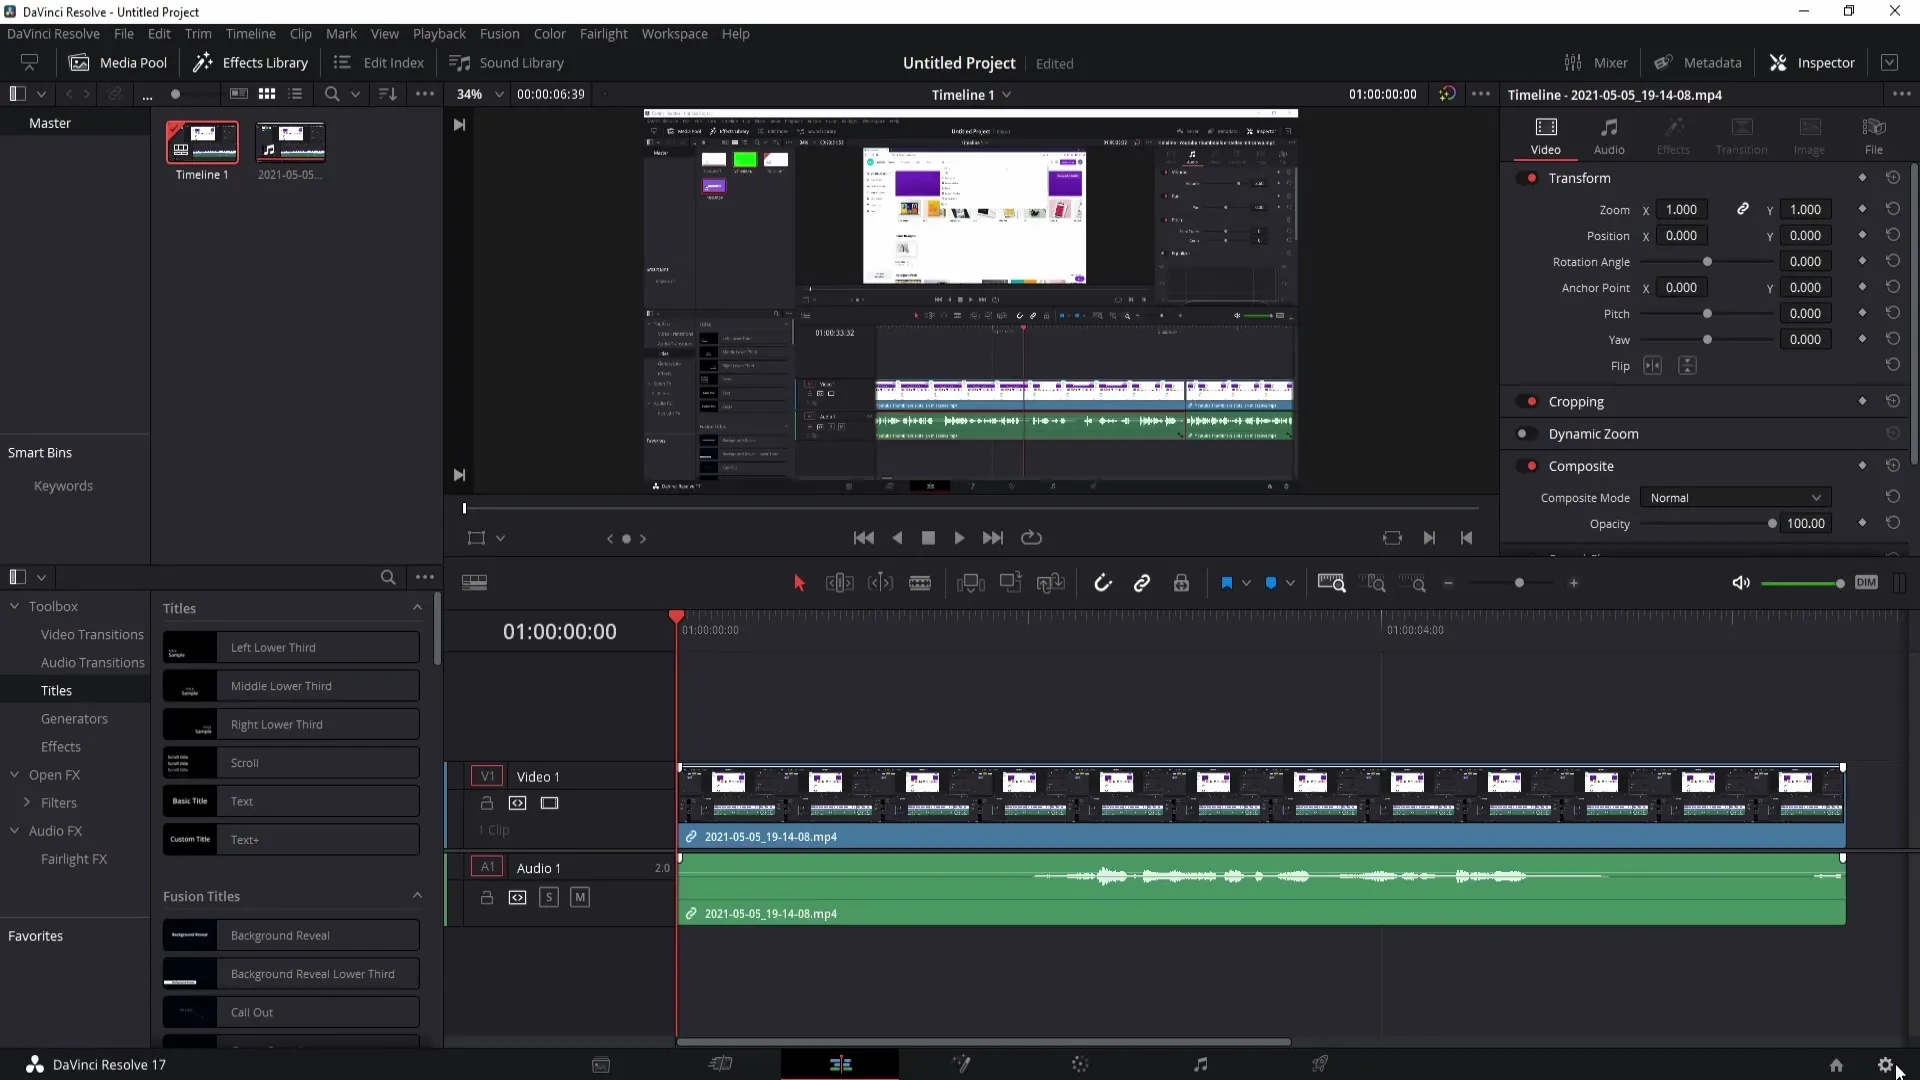
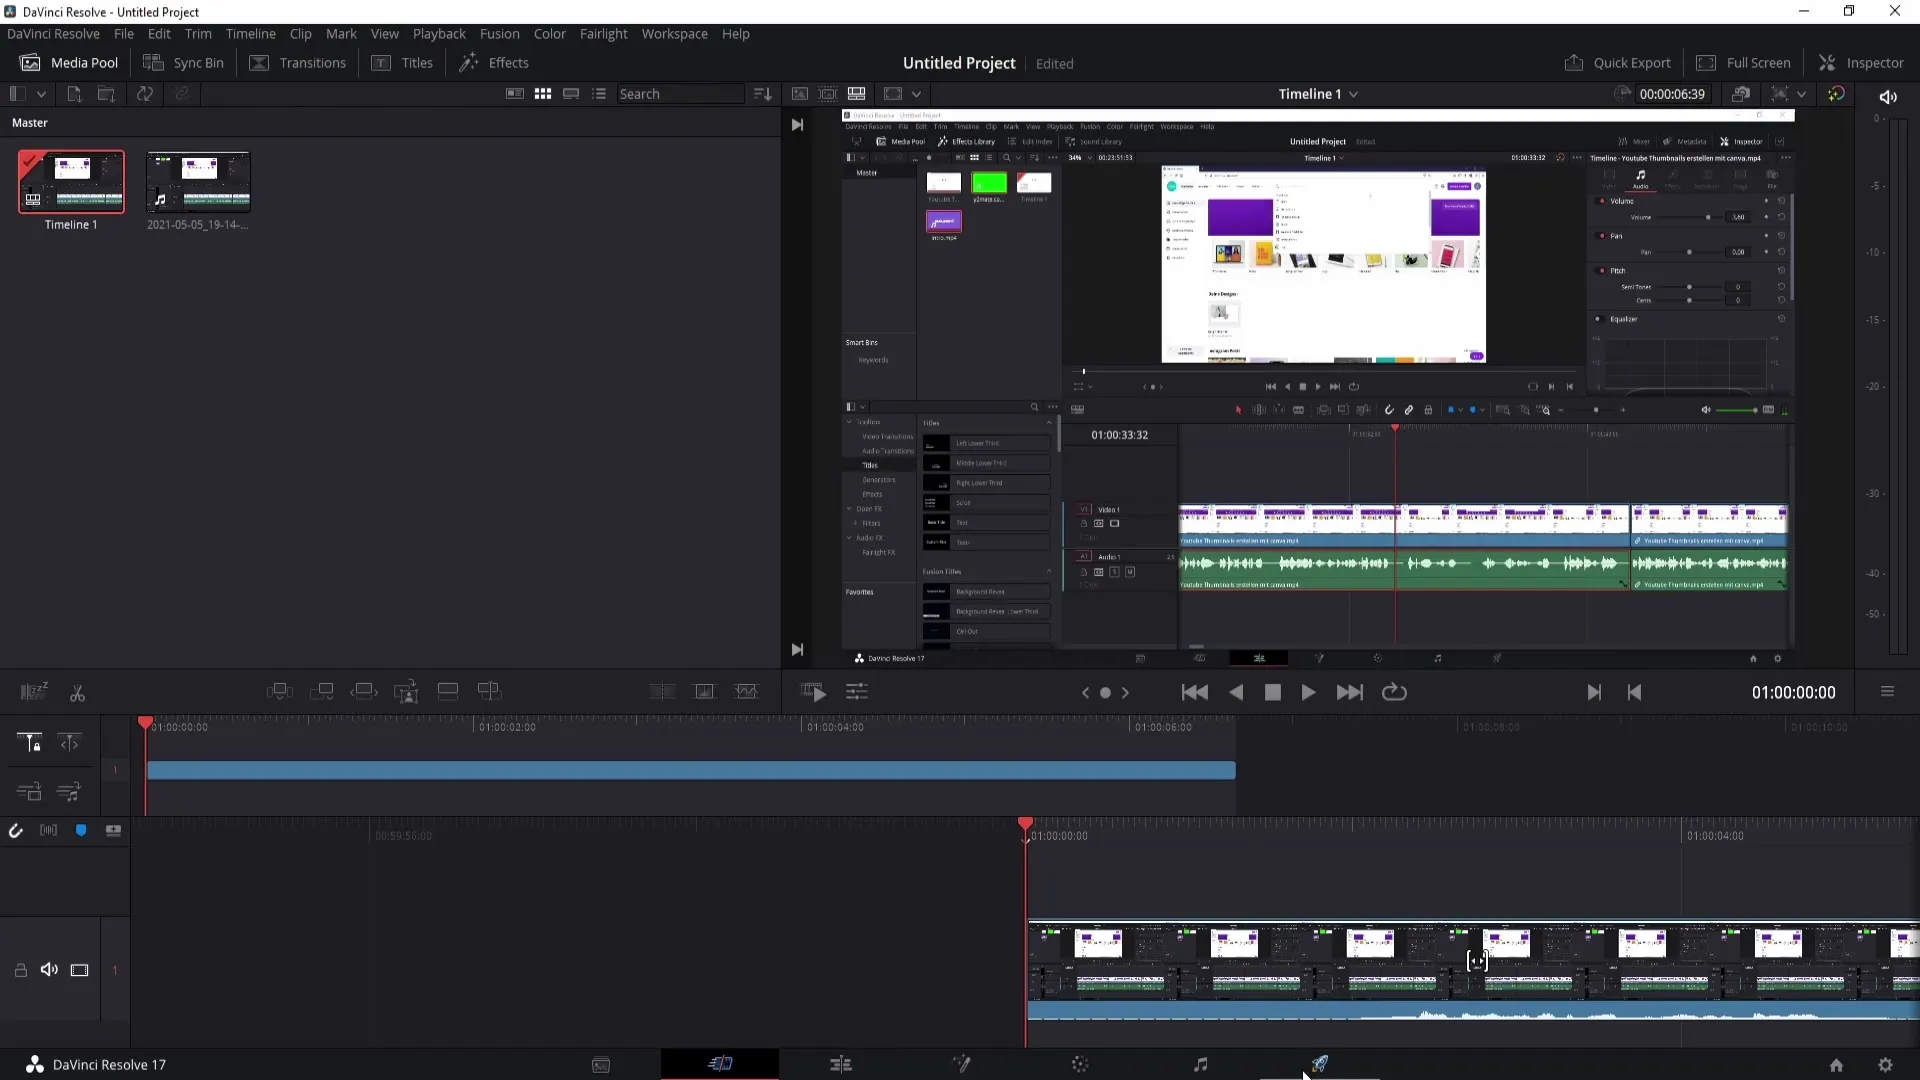
First, open DaVinci Resolve and load your project. Make sure the video you want to export is fully edited. The export process usually starts in the edit view. Now go to the settings.
Click on the gear icon at the bottom right. This gear contains all the important settings for export. Here you can specify in which format and quality your video should be exported. This is especially important if you want to adapt the video for specific platforms like TikTok or YouTube.
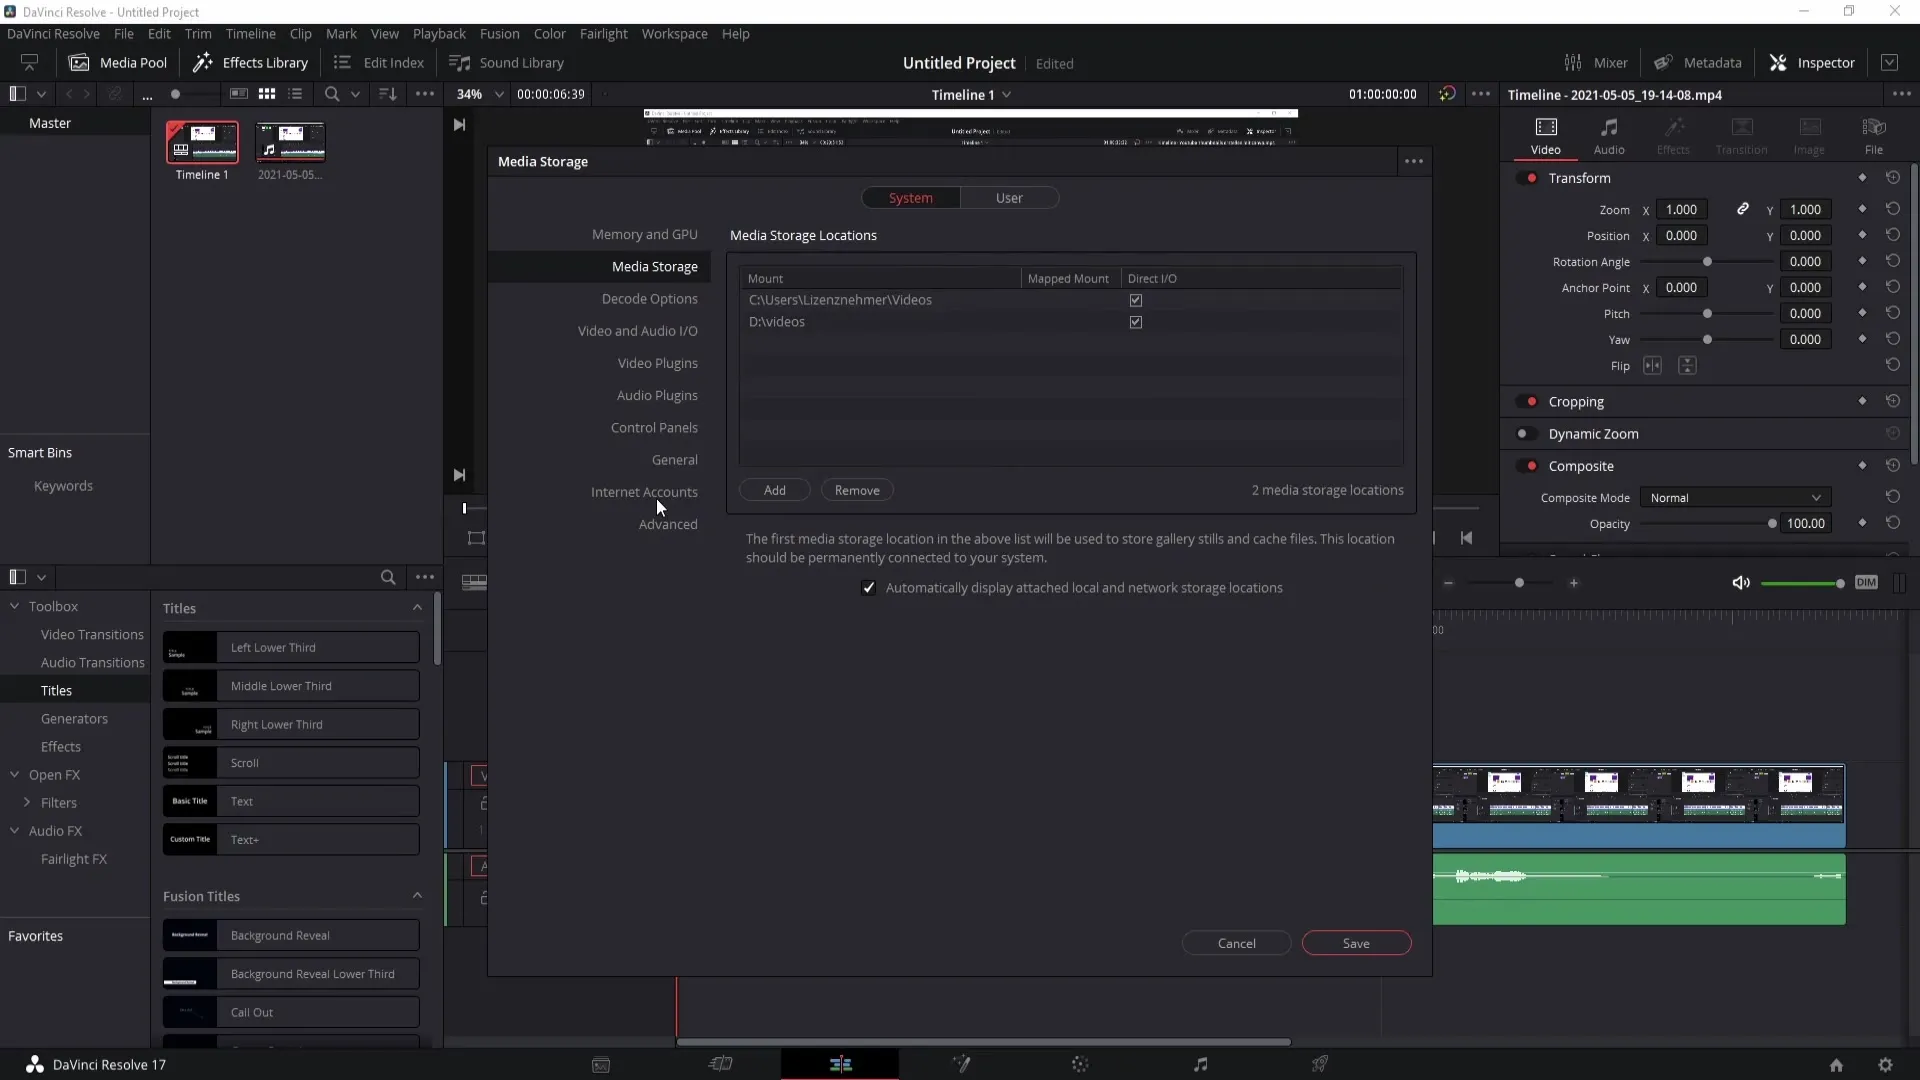
For YouTube, click on "File" in the upper left corner, then on "Internet Accounts," and select "YouTube." Here you need to log in with your credentials.
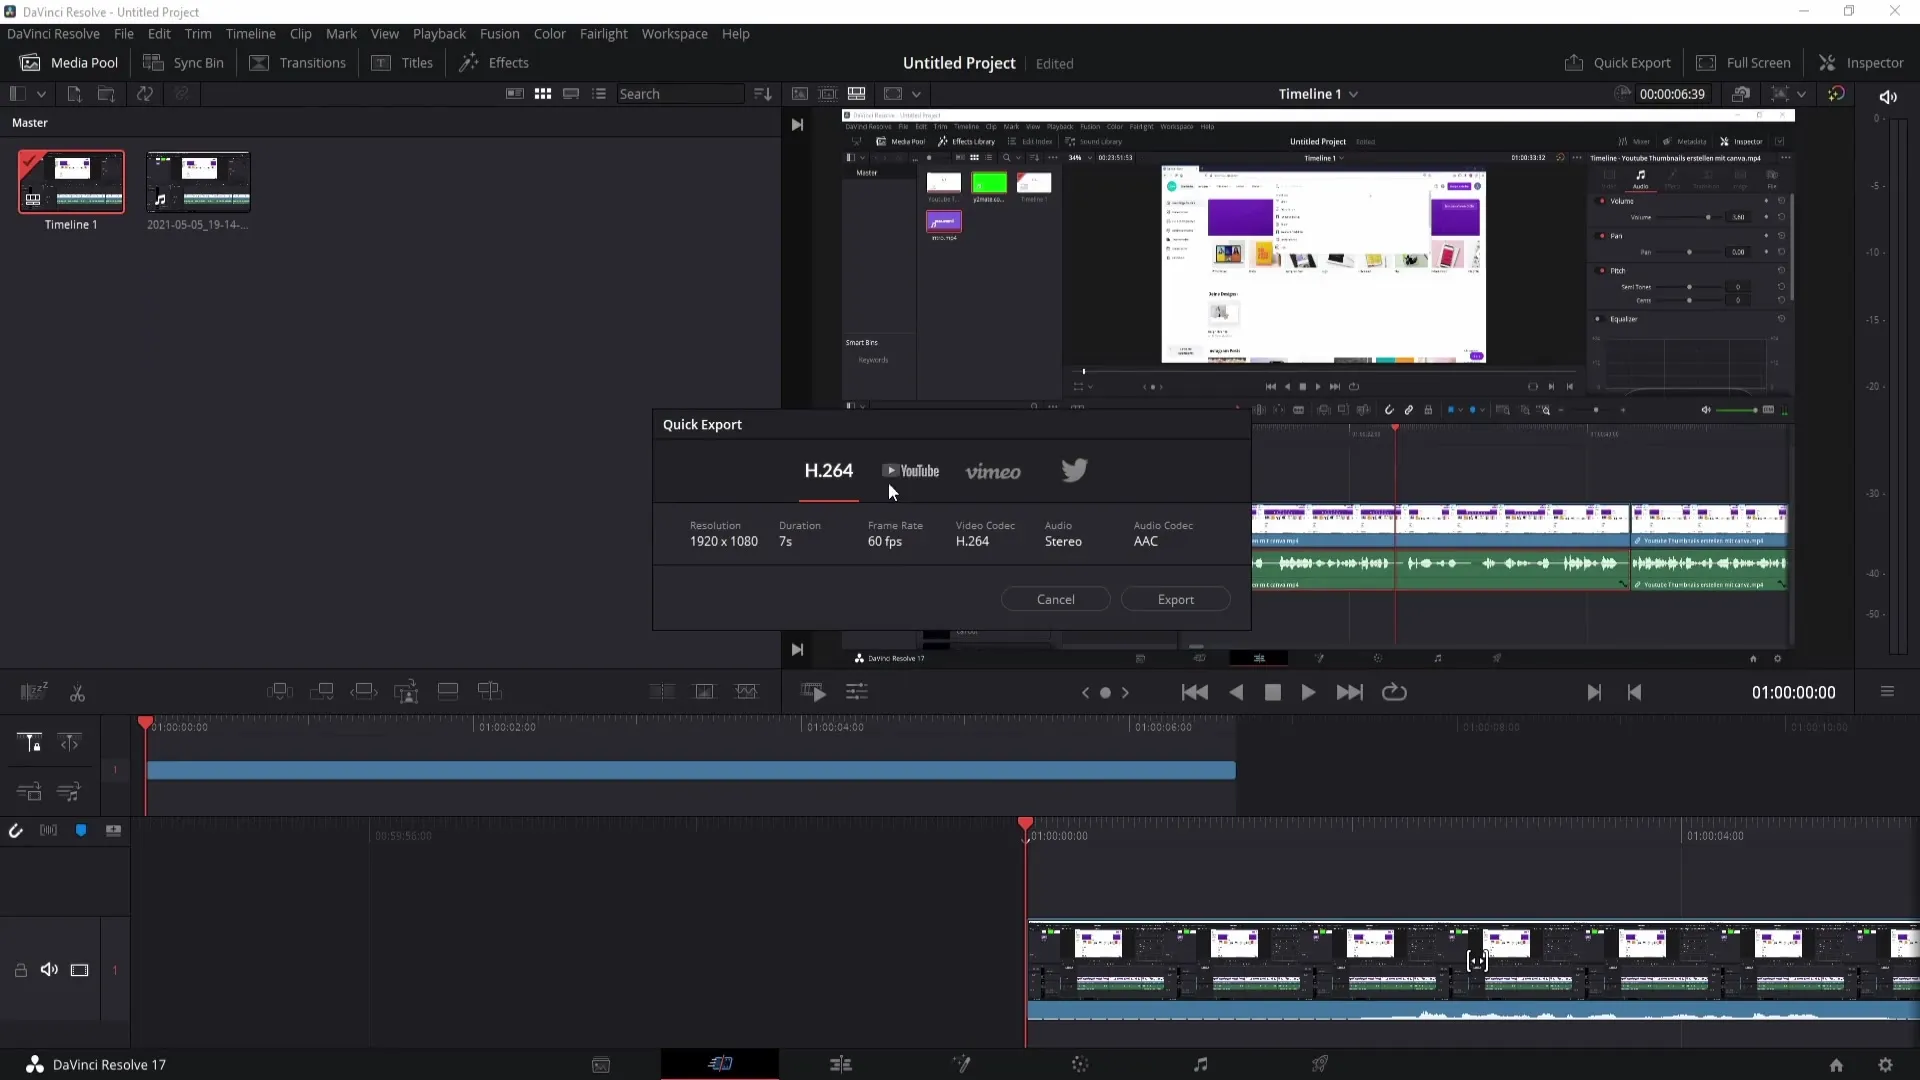
Once you are connected, switch to the Cut area and click on "Quick Export." There you will find the tab for uploading to YouTube.
Fill in the required fields such as title, description, and the visibility of the video (public or private). You don't have to fill in all fields; you can also add further details directly on YouTube once the video is uploaded.
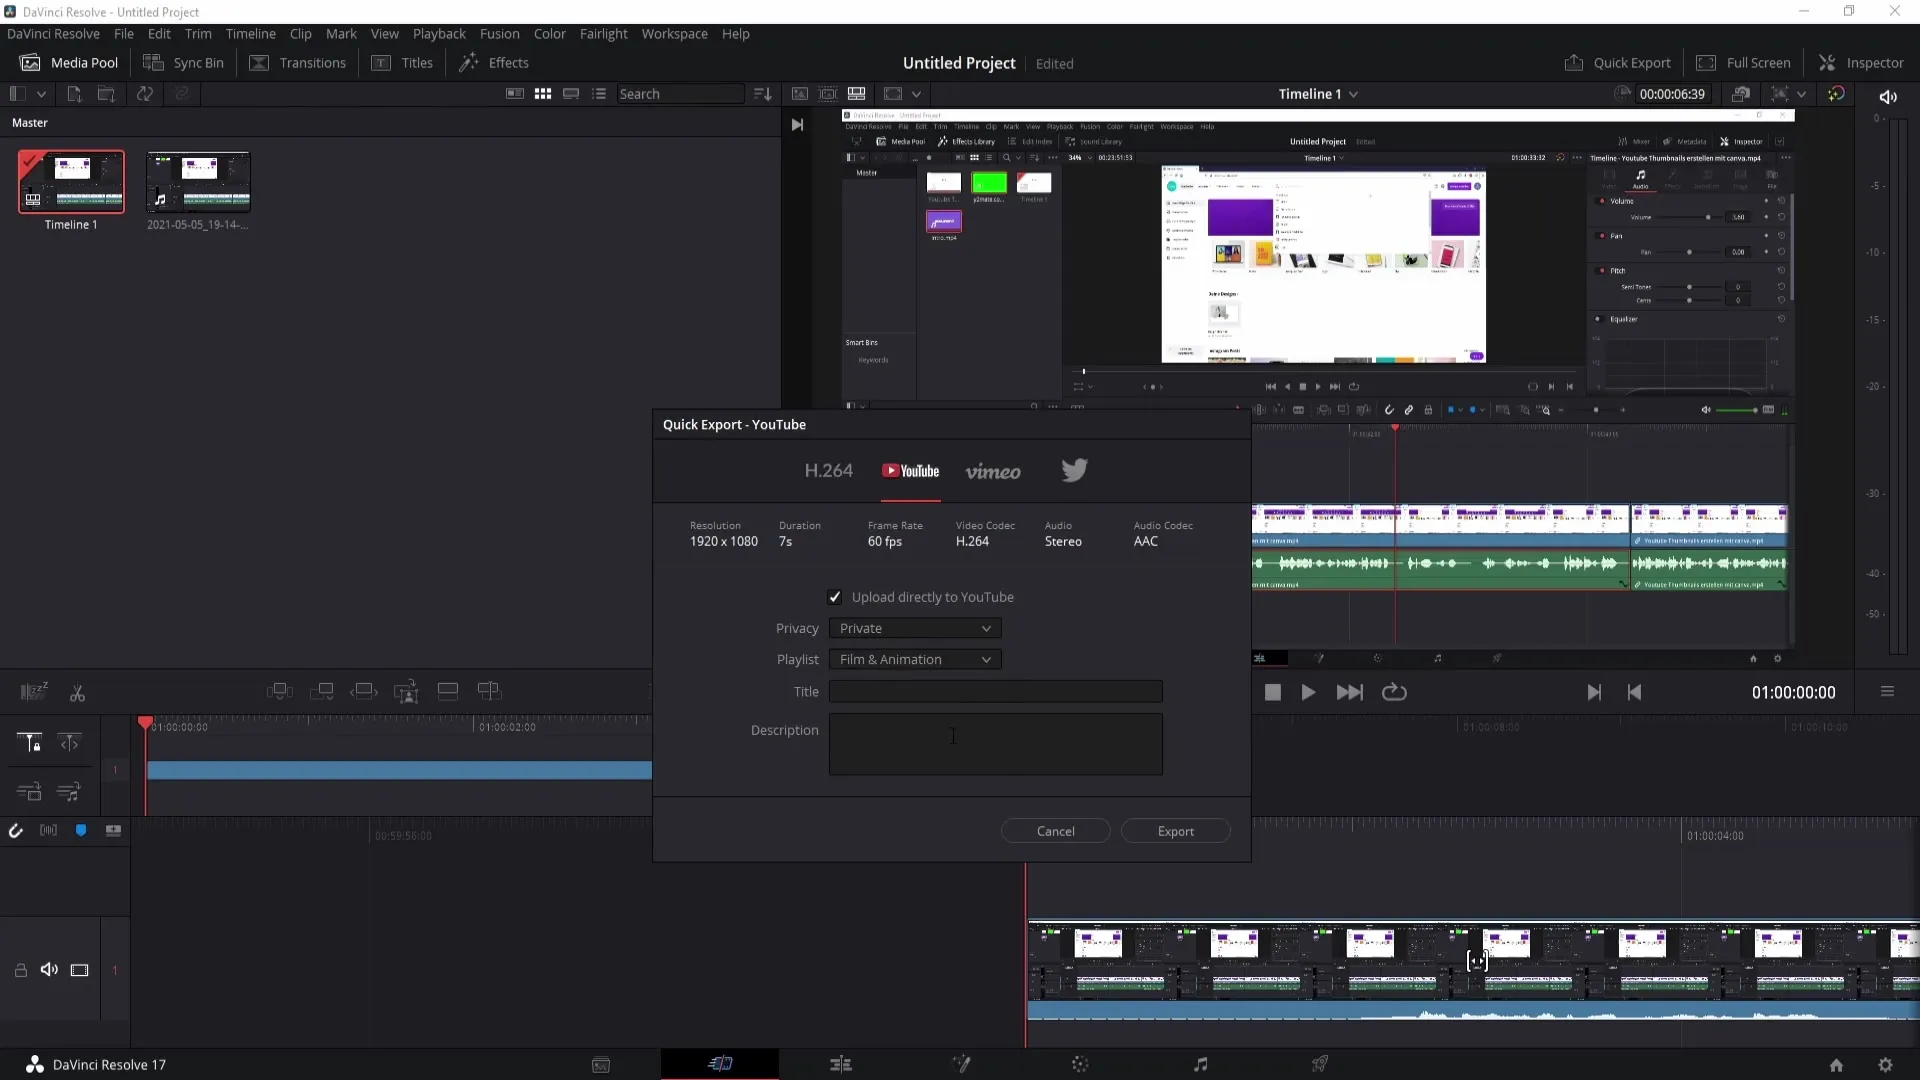
Now simply click on "Export," and DaVinci Resolve will export the video for uploading to YouTube as well as locally to your computer. This way, you have it directly on YouTube and also on your hard drive.
Export Video Locally
If you want to save your video only locally on your computer, follow these steps:
Once your video is fully edited, go to the "Deliver" tab. You can find this on the right in the program navigation. Here you can set all the details for export.
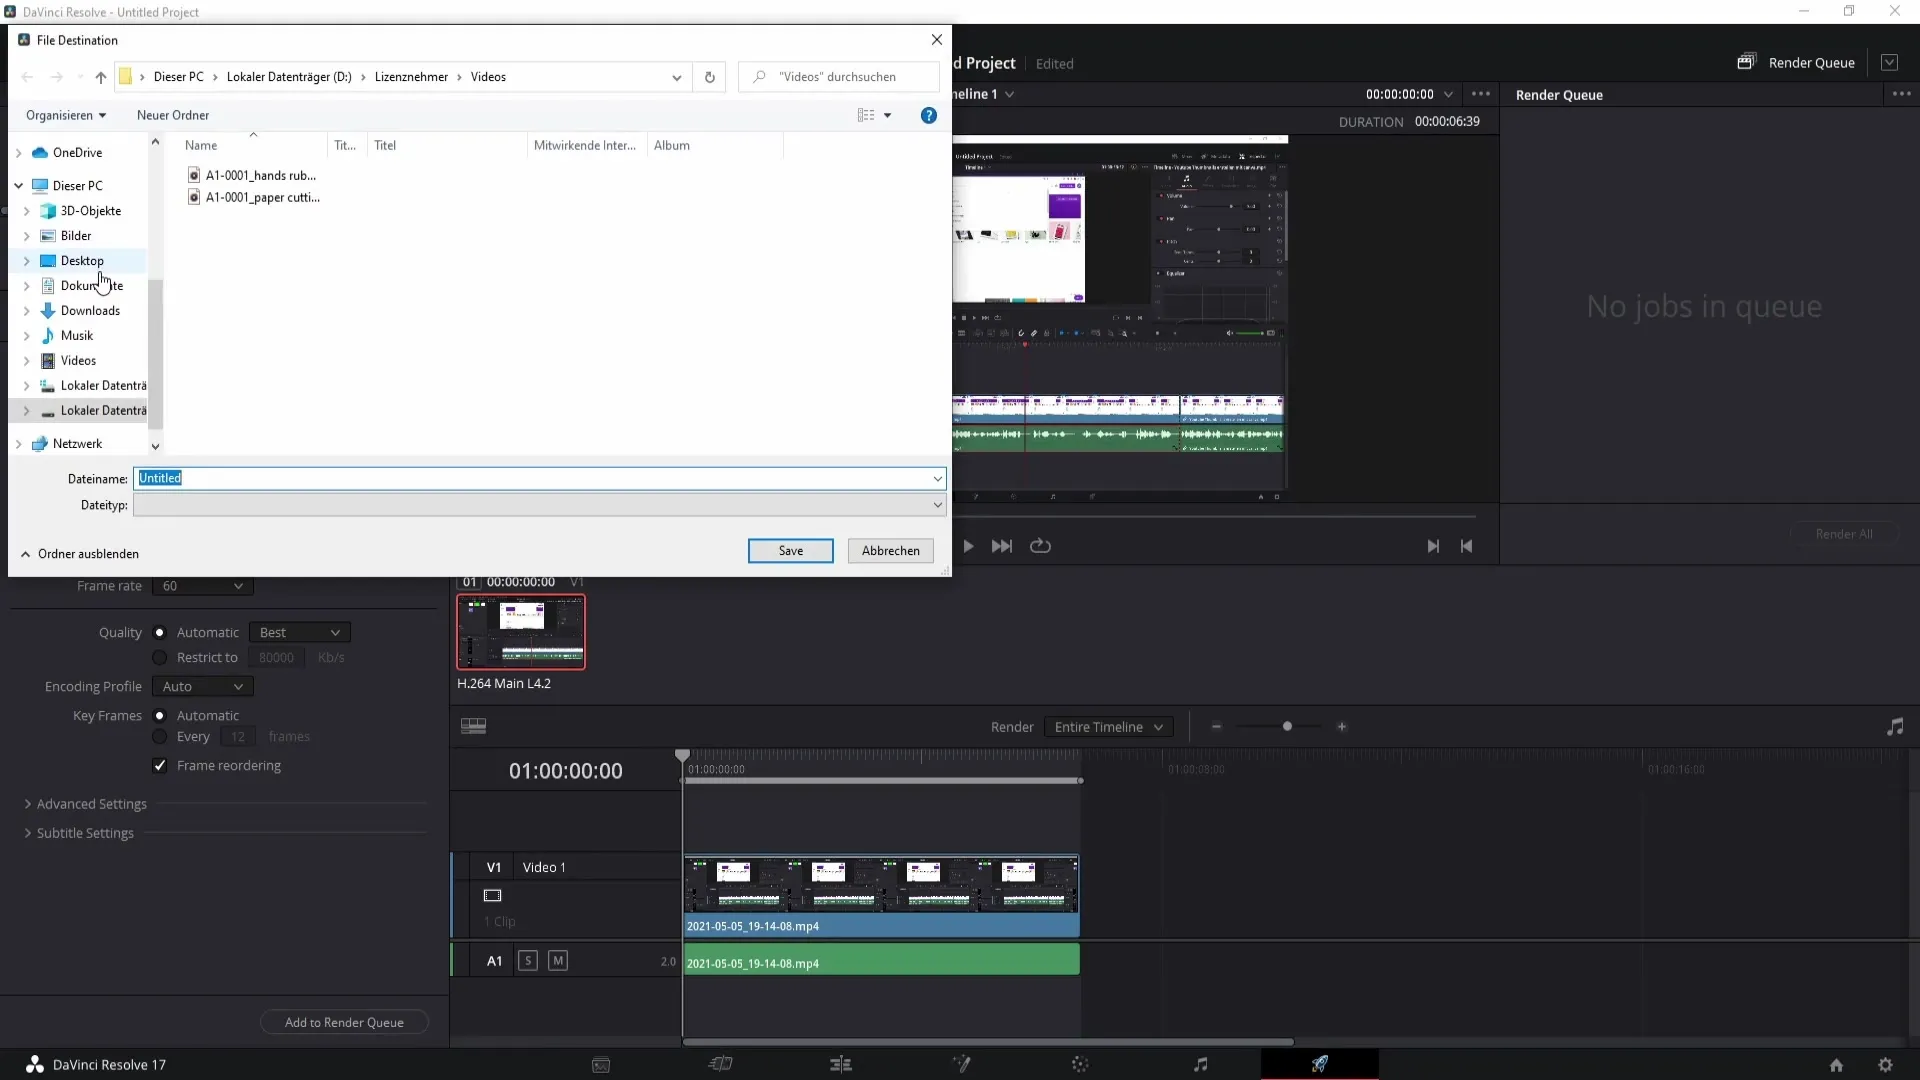
Enter a name for your video under "File Name" and choose the location by clicking on "Browse." You can save the video, for example, on your desktop.
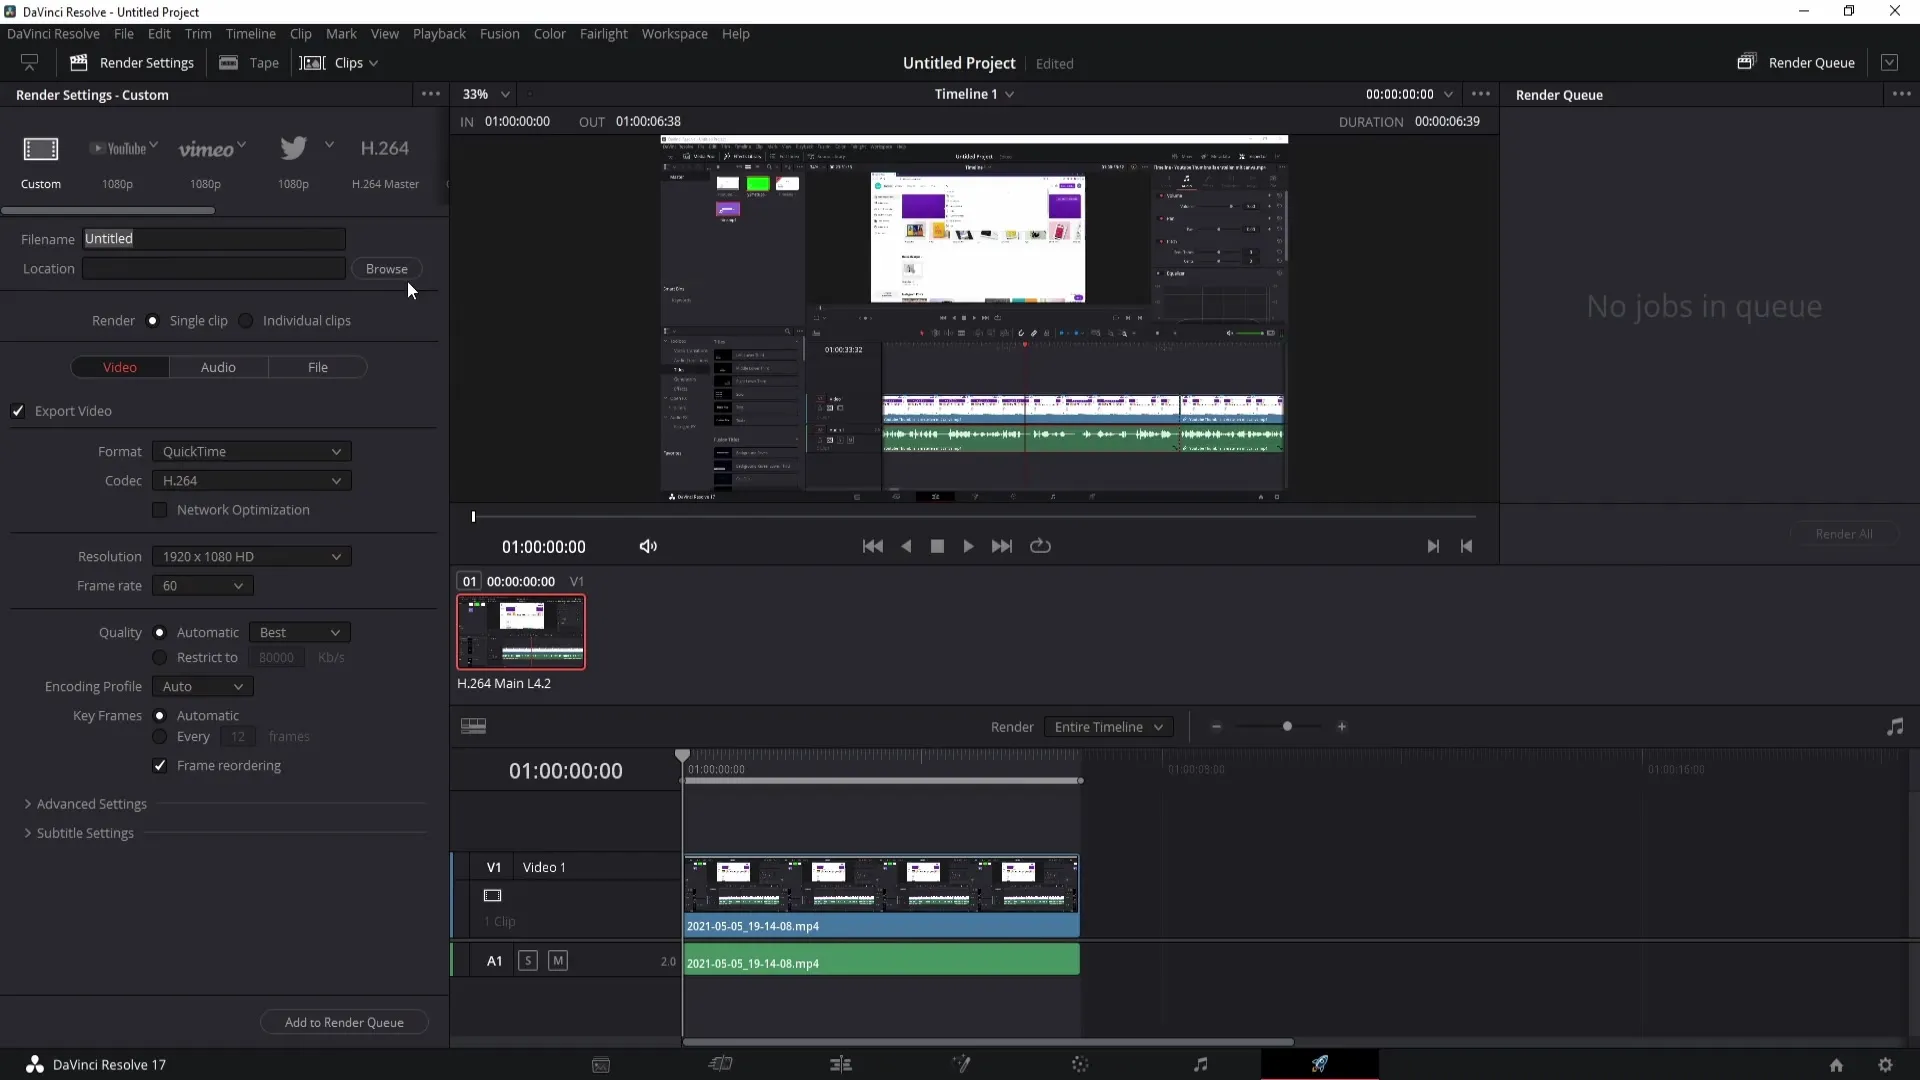
When setting the export settings, it is advisable to choose the MP4 format. MP4 is a widely used format that is suitable for most platforms. I have already experienced that some other formats are not always accepted. Therefore, I recommend using MP4 for maximum compatibility.
Choose Full HD (1920x1080) under "Resolution" to ensure the best quality for your video. You can usually leave all other settings as they are unless you have specific requirements.
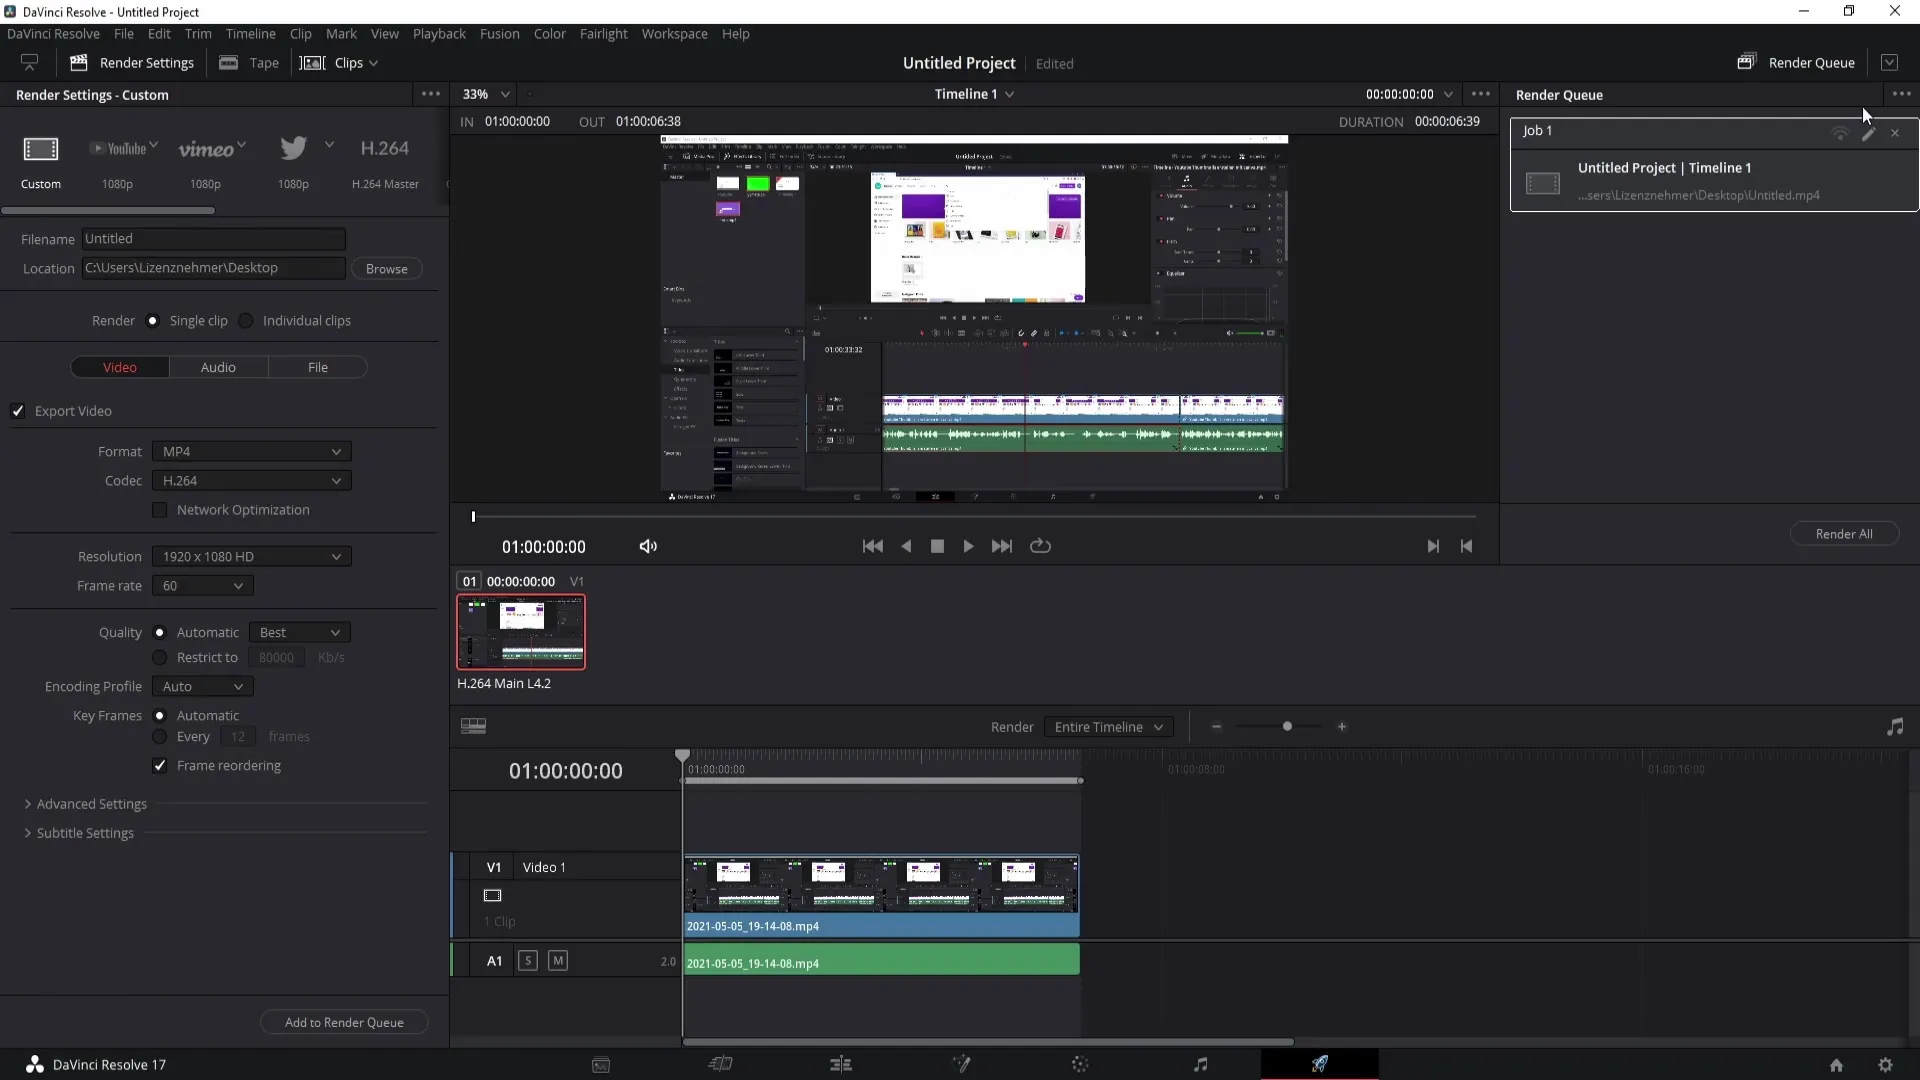
Once you have everything set, click on "Add to Render Queue." This will add your project to the queue for export.
Scrennshot_224
Finally, click on "Render All" to start the export process. DaVinci Resolve will now show you the rendering progress. It may take a while for the export to be completed – this depends on the length and settings of your video.
Summary
In this tutorial, you have learned how to export videos in DaVinci Resolve 17, either directly to YouTube or locally on your computer. You have learned the important settings necessary for a successful export. Don't forget to choose the right format to ensure your video can be played on various platforms.
Frequently Asked Questions
How can I upload my videos directly to YouTube?You first need to connect your YouTube account in DaVinci Resolve and use Quick Export.
What format should I choose for export?The MP4 format is highly recommended as it is compatible with most platforms.
How long does it take to export a video?The export time depends on the length and settings of your video. It can take some time.


