Exporting videos with a transparent background is of great importance in video production. Whether you want to create animations for presentations, vlogs, or other projects, removing a background and exporting in a format with transparency can give you a lot of creative freedom. In this guide, I will show you step by step how to remove a greenscreen and export the video with a transparent background in DaVinci Resolve. Let's dive right into the application without further ado!
Main Insights
- You can easily adjust your greenscreen setup using the Delta Keyer.
- Exporting with a transparent background requires specific codec and resolution settings.
- Proper application of these steps guarantees flawless streaming of your animations.
Step-by-Step Guide
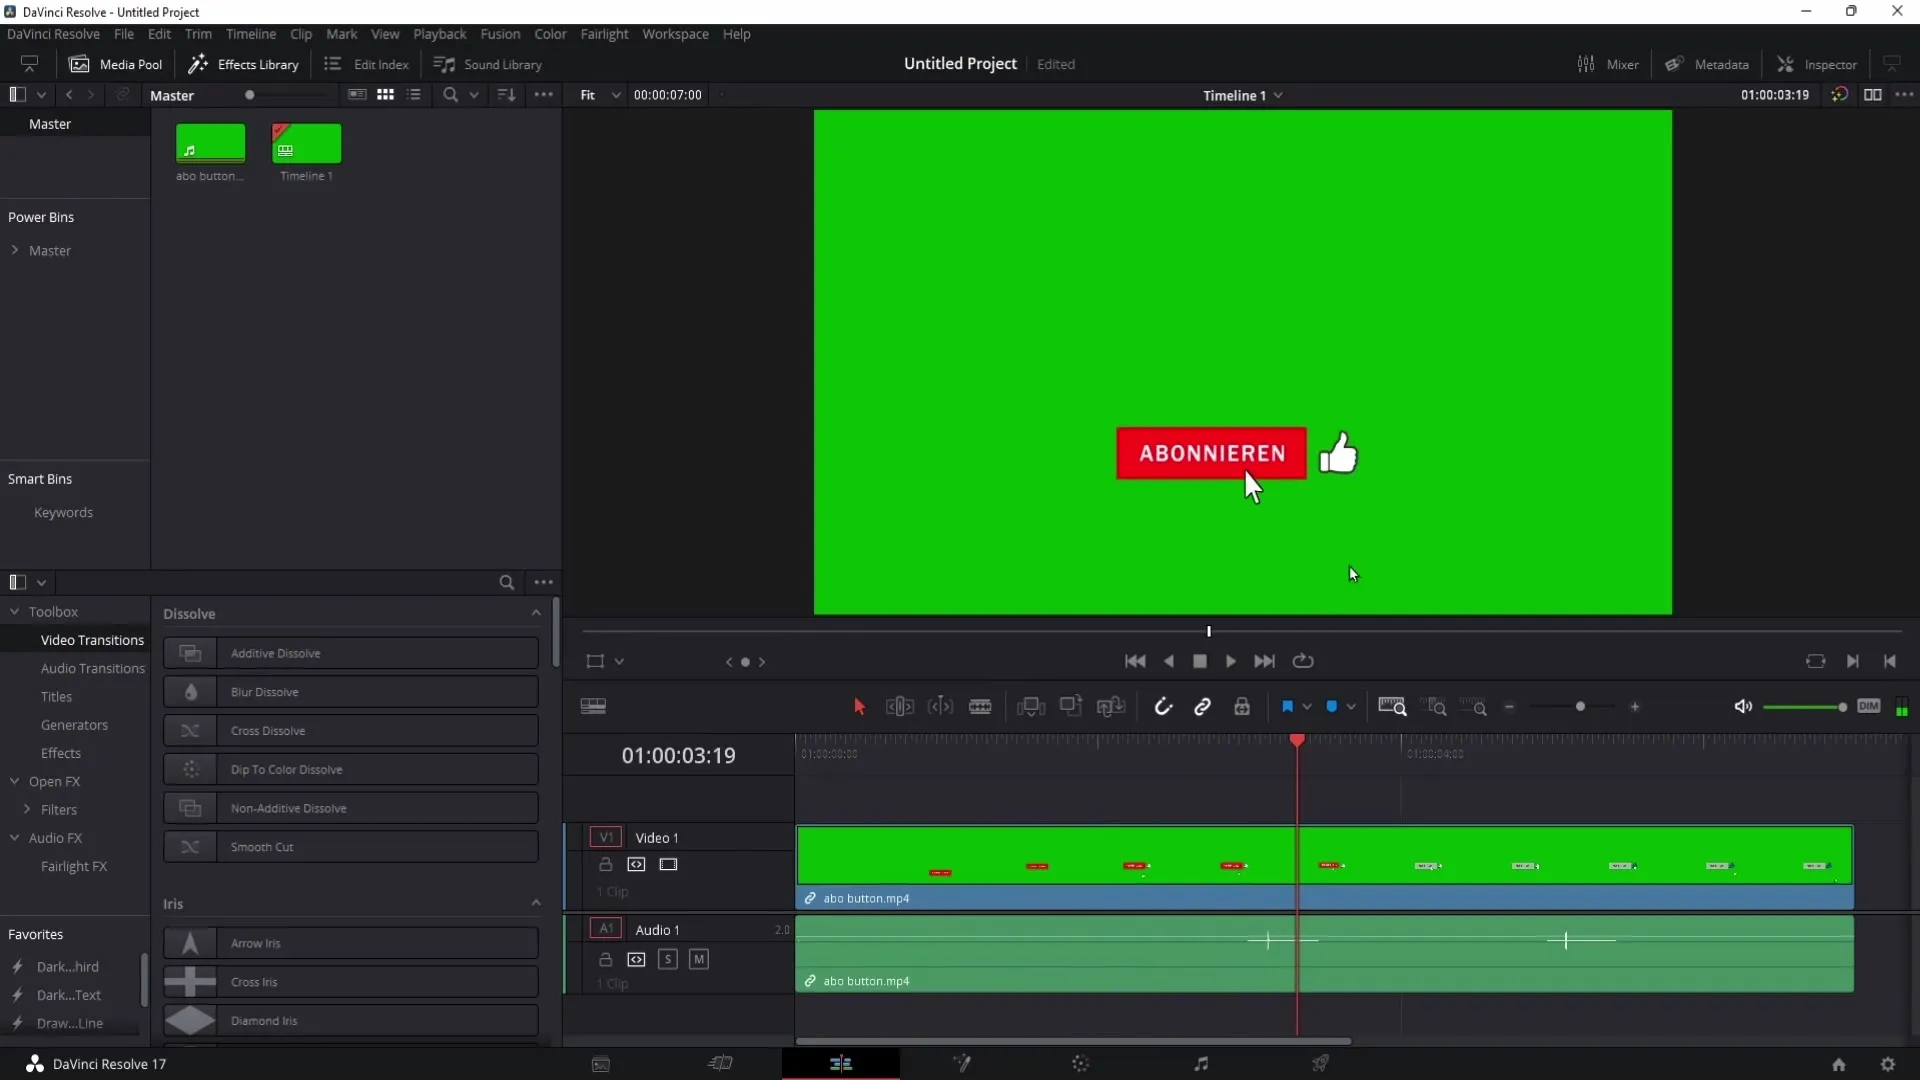
First, it is important to prepare your software and project accordingly. Make sure you have a video with a greenscreen background.
Remove Greenscreen
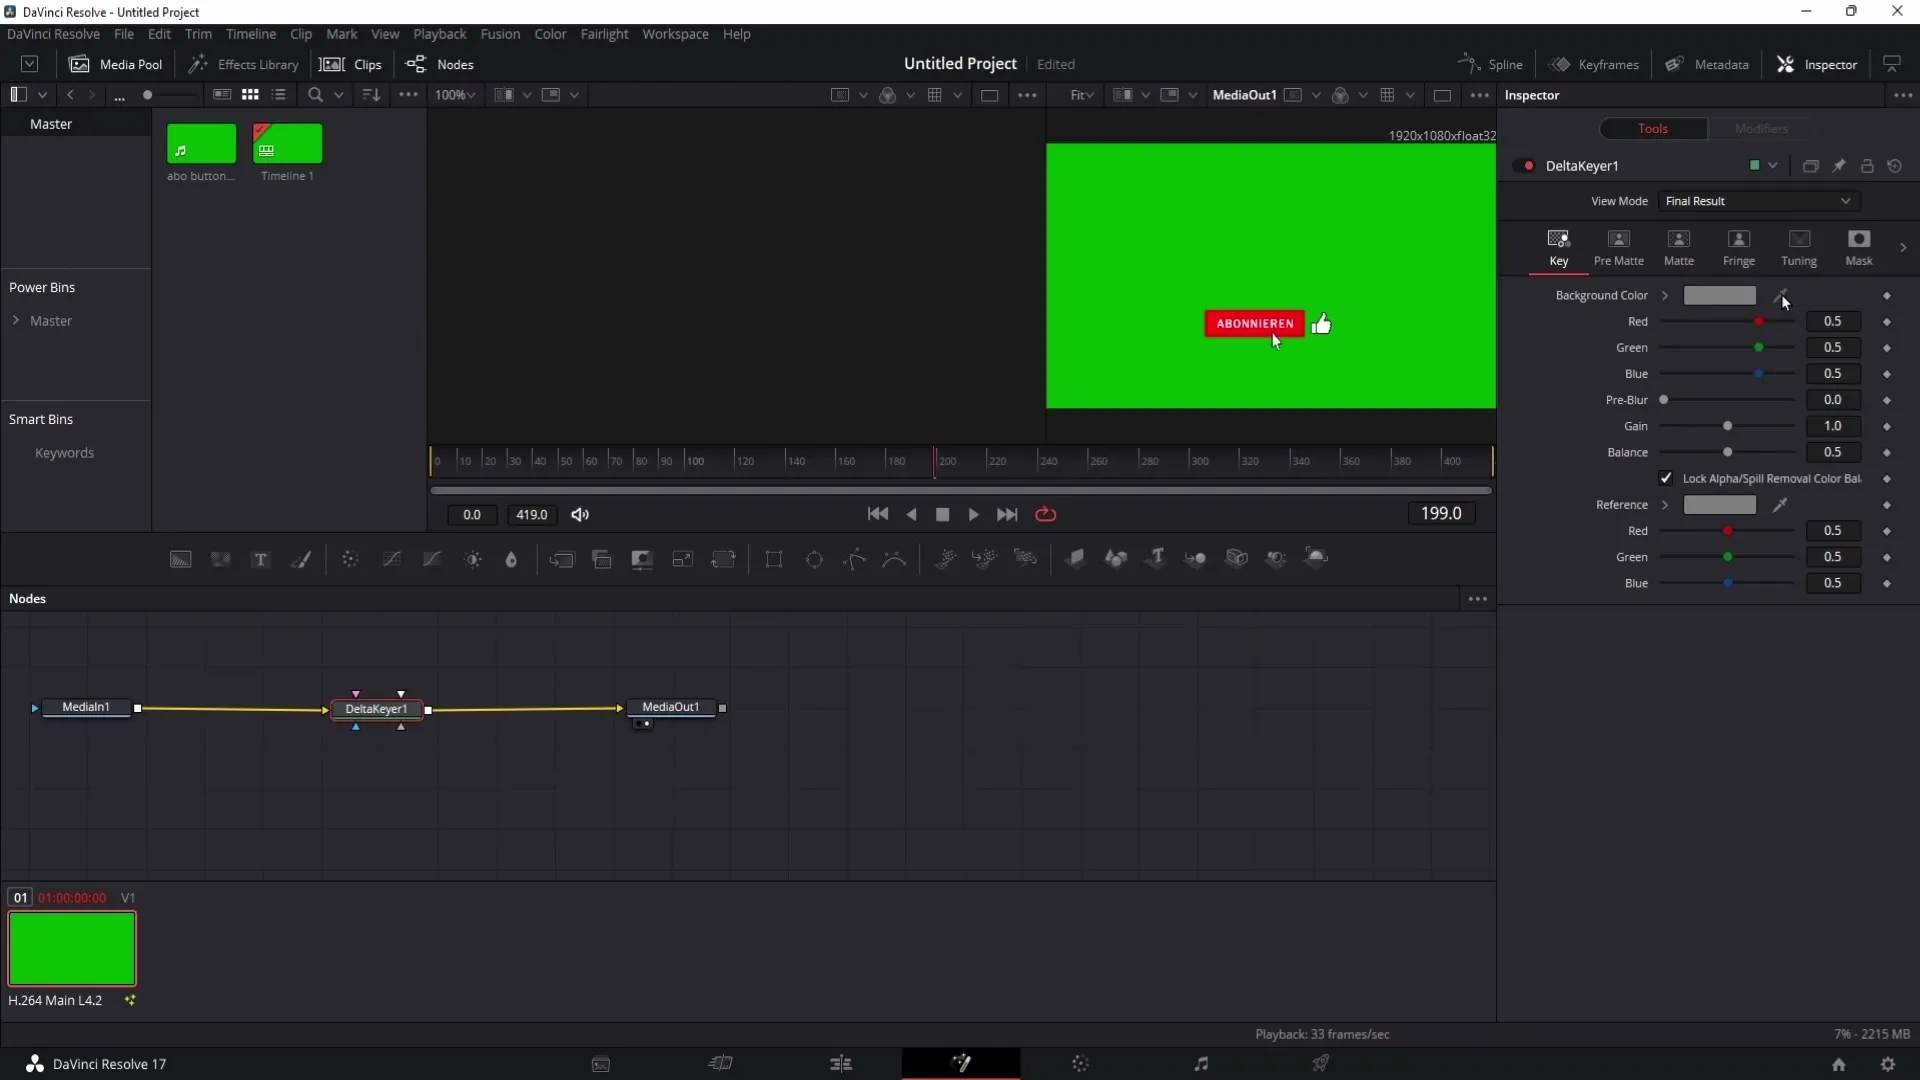
To remove the background, first go to the Fusion area. Press the control key and the space bar simultaneously to open the search field. Type "Delta." You should now see the Delta Keyer.
Double-click on the Delta Keyer to automatically add it to your project. If the keyer is not added automatically, you can manually drag it between "Media In 1" and "Media Out 1," holding the left mouse button and pressing the Shift key.
After adding the Delta Keyer, you will find the eyedropper in the Inspector. Click and drag the eyedropper to the area of your greenscreen to remove the hangar.
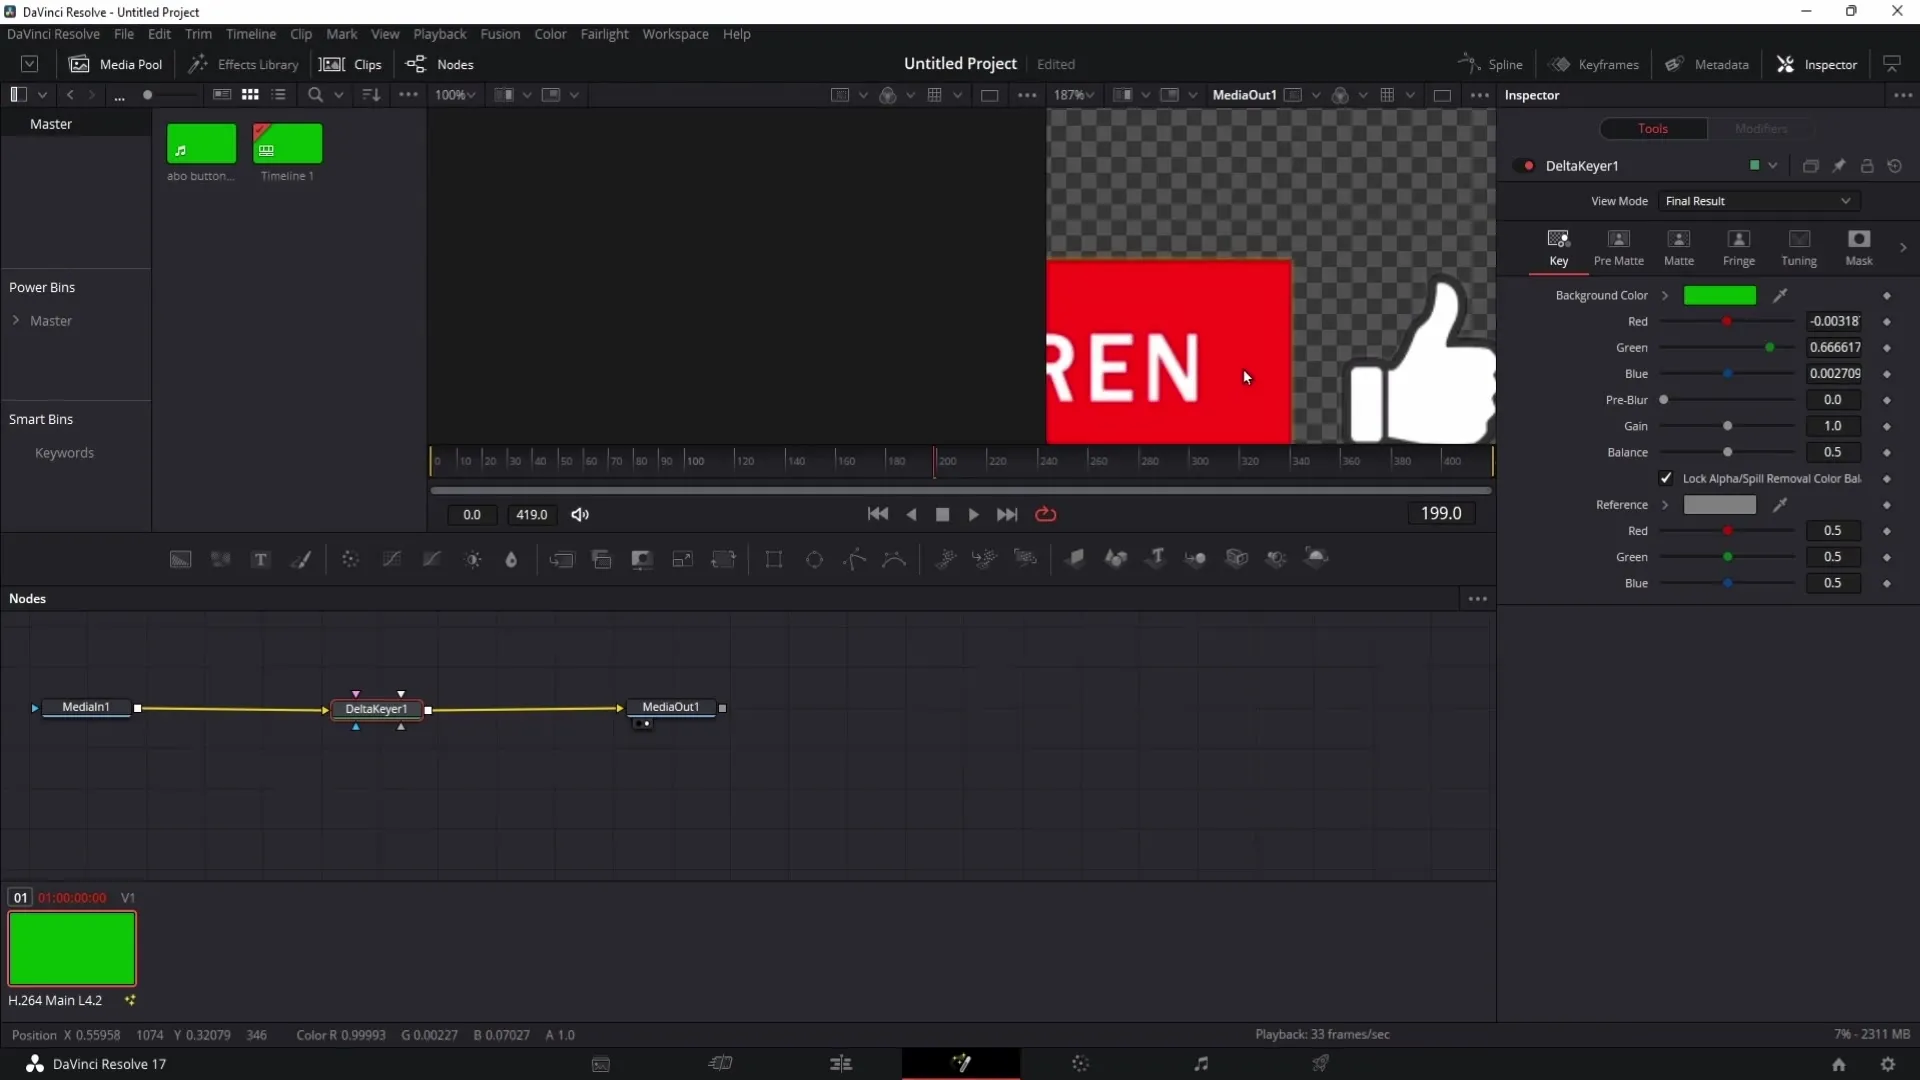
Correcting the Green Cast
After removing the greenscreen, zoom in on your image to eliminate any remaining colors. There may be a slight green cast left in your video. To remove this, you can adjust the Gain slightly or tweak the Balance until the green cast disappears.
Video Export
Now it's time to export your video with a transparent background. Go to the bottom right and click the rocket icon to open the Deliver area. Here you can make the settings for your export.
Choose "Individual Clip" instead of "Single Clip." Make sure to select a codec that supports Alpha as the format, e.g., "QuickTime."
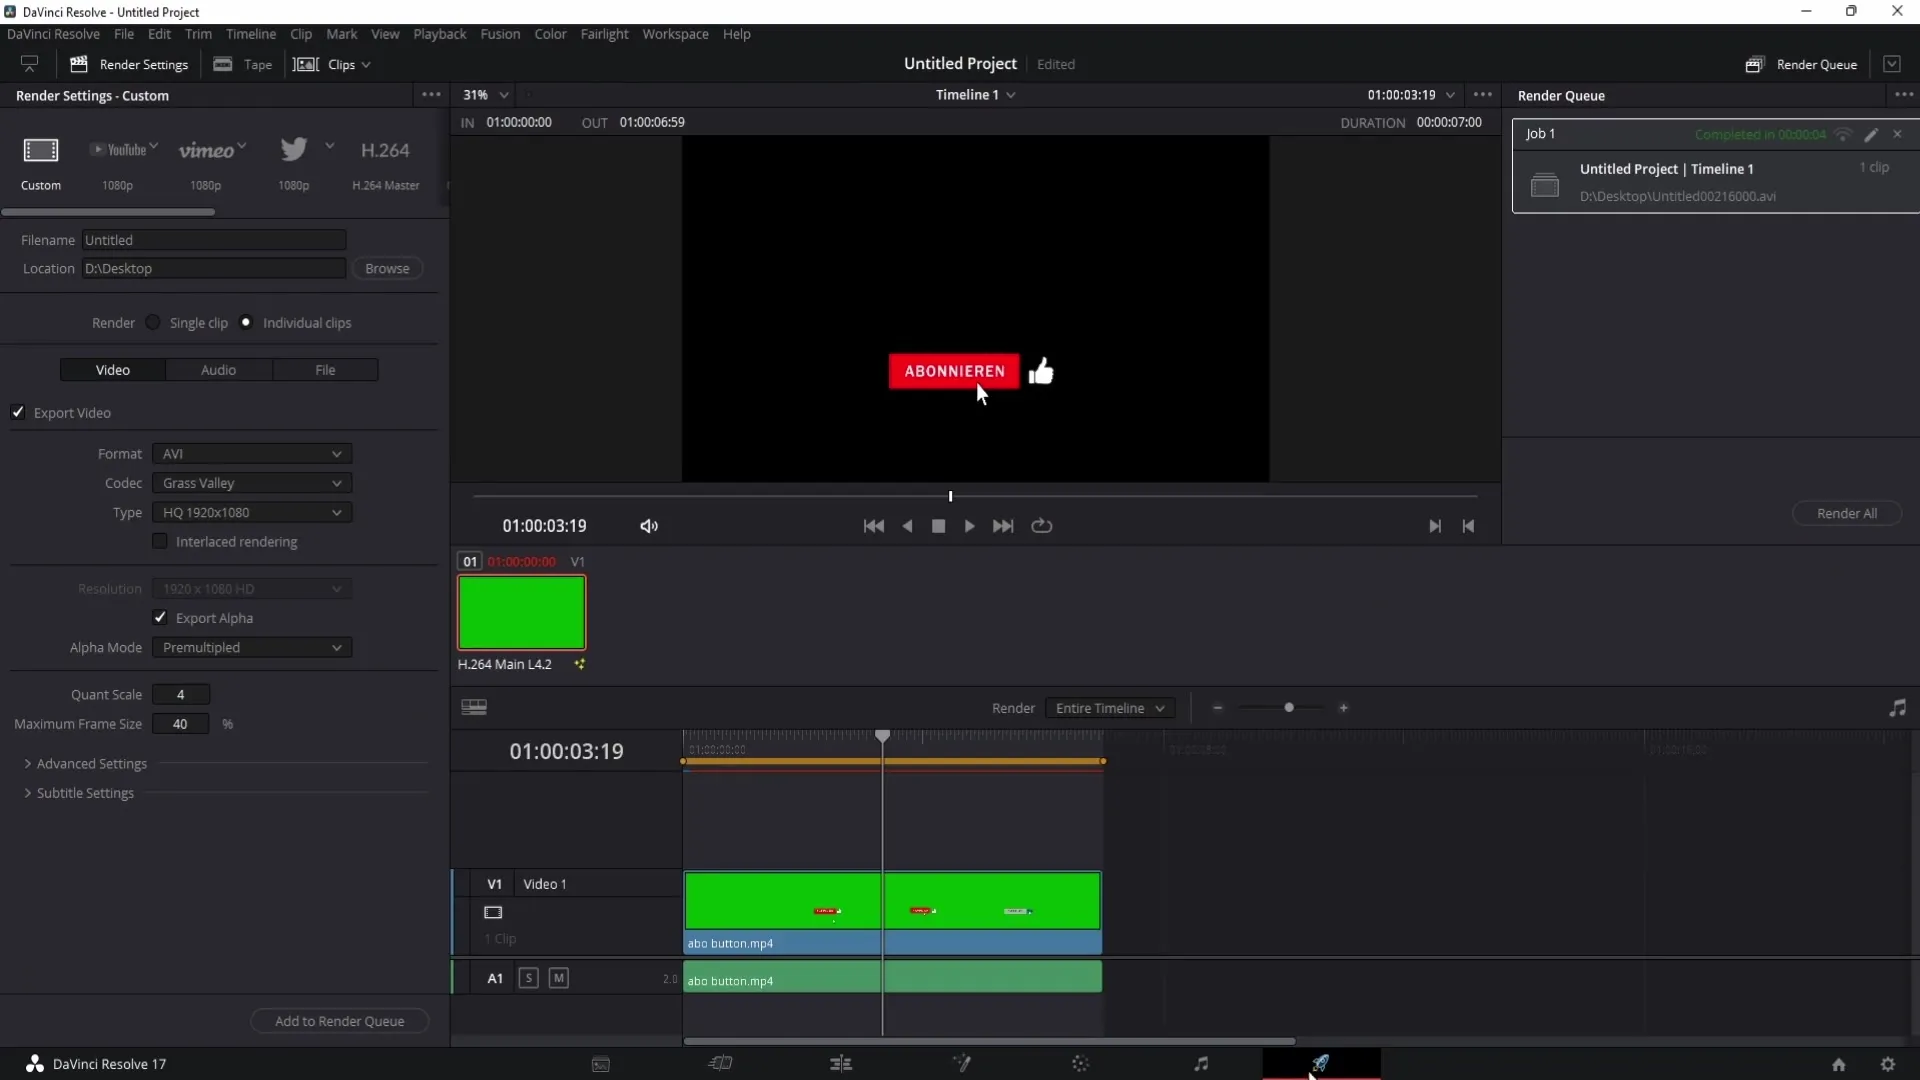
It is important to check the box for "Export Alpha" to preserve the transparent background.
Once you have made all the settings, click on "Add to Render Queue" to add your project to the queue.
Now you can click on "Render All" to start rendering the video. After rendering, your video will be saved as a file with a transparent background.
Export Verification
When double-clicking on the file, you may see an error message. However, this is not a cause for concern, as the file may simply not be playable in the standard media player. You can use the file in DaVinci Resolve to ensure everything is working correctly.
Add the animation to the Media Pool and insert it into a new timeline. Play it with a background video to check if the animation with a transparent background is playing correctly.
Summary
Exporting videos with a transparent background in DaVinci Resolve is easy when you know the steps to follow. You have learned how to remove the greenscreen, correct possible color issues, and save the video with the right export settings. With this guide, you are well prepared for your upcoming projects!
Frequently Asked Questions
How do I remove a greenscreen in DaVinci Resolve?To remove a greenscreen, use the Delta Keyer in the Fusion area to hide the background.
How do I export a video with a transparent background?When exporting, enable the "Export Alpha" option and choose a suitable format like QuickTime.
Why can't I play my exported file?The file may not be compatible with your standard media player but will work in DaVinci Resolve.
