Note : The tutorial "Wiping fire into the picture" is a text version of the accompanying video training by Marco Kolditz. The texts may therefore have a colloquial style.
Steps 1-10
Step 1
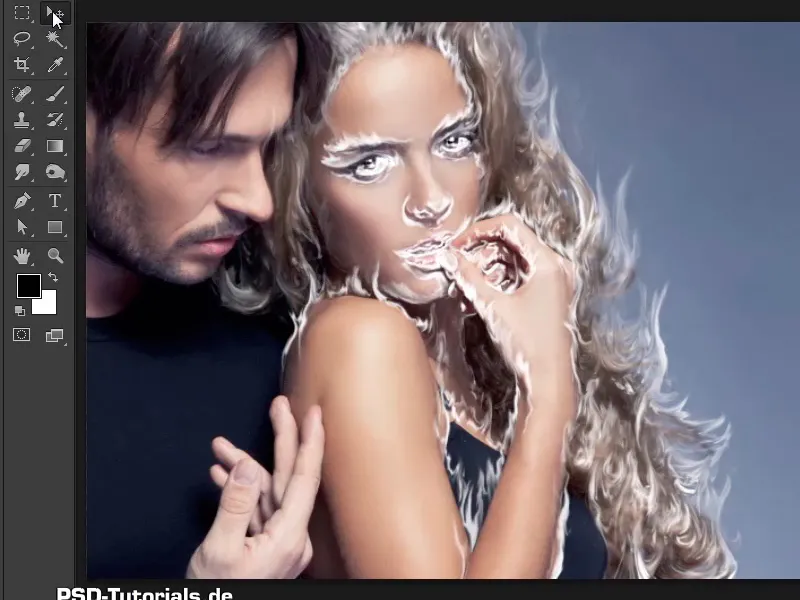
Now you come to a very exciting and illustrative part of this tutorial. You are going to paint fire or flames into the picture. To do this, select the "Rough contours" layer and make a duplicate of it to be on the safe side. In this case, hold down the Alt key and this time drag the layer under itself.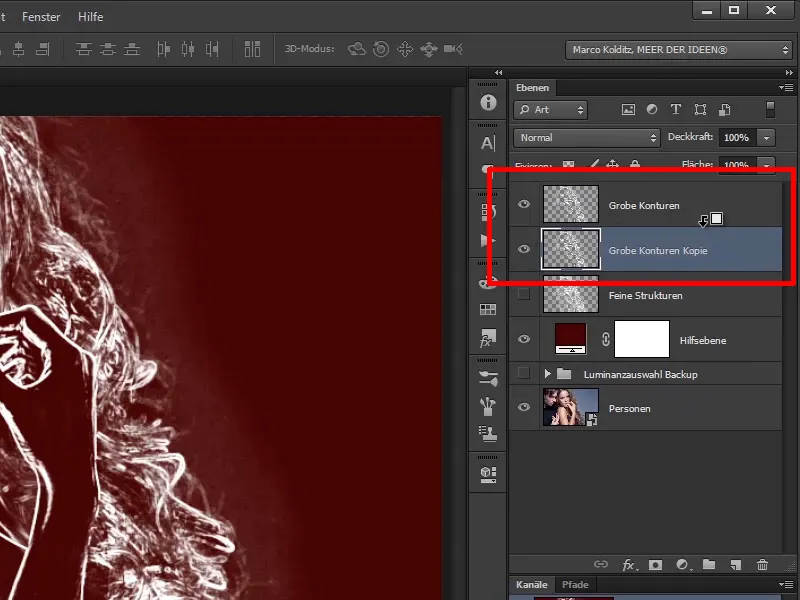
Step 2
Rename this copy of the layer to "Rough contours backup" and hide it for the time being.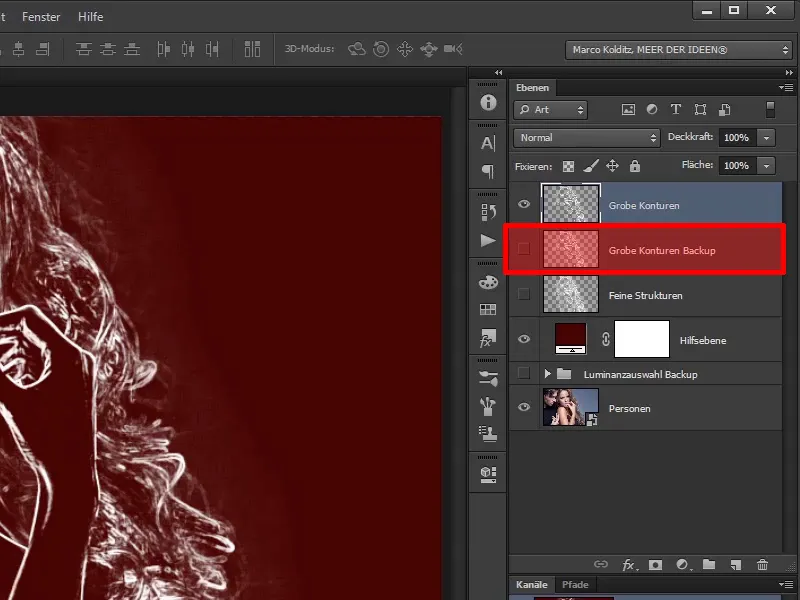
Step 3
Now you can - without having to worry that you will never be able to go back - edit this "Rough contours" layer.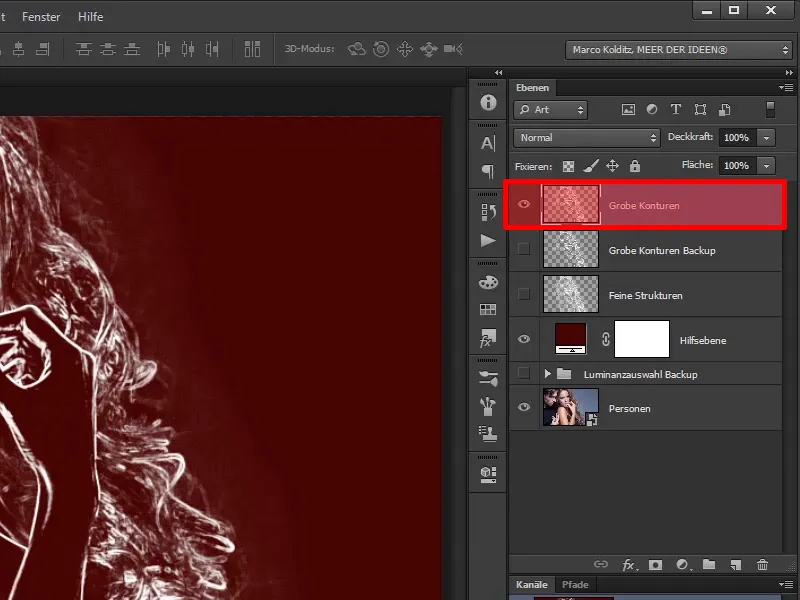
Step 4
Now you can use these contours to wipe the flames into the picture.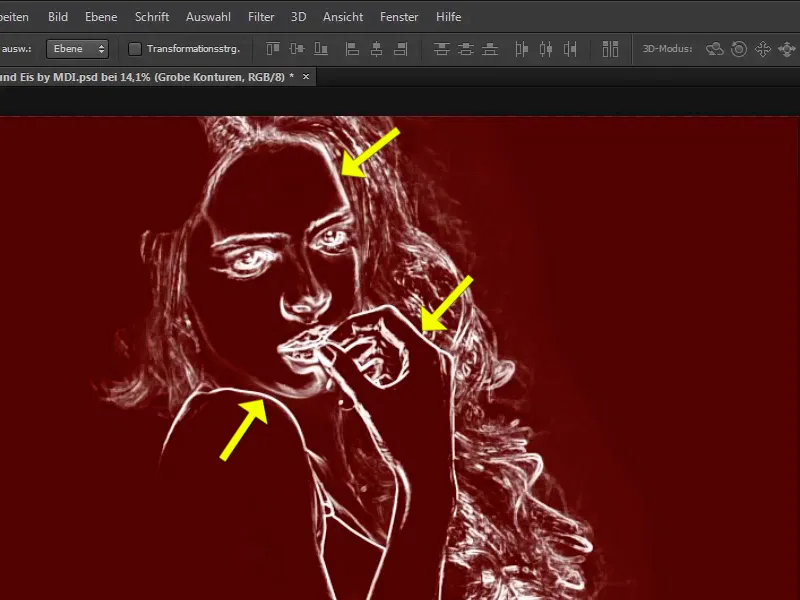
Step 5
To do this, select the smudge finger in the tools.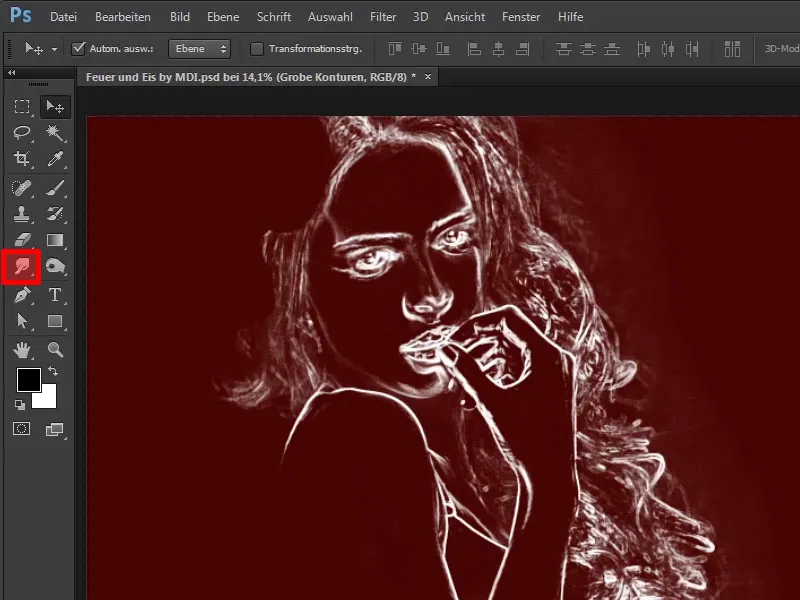
Step 6
You may see the blur tool or the sharpen tool appear. So? Hold the mouse down again and select the wipe finger tool.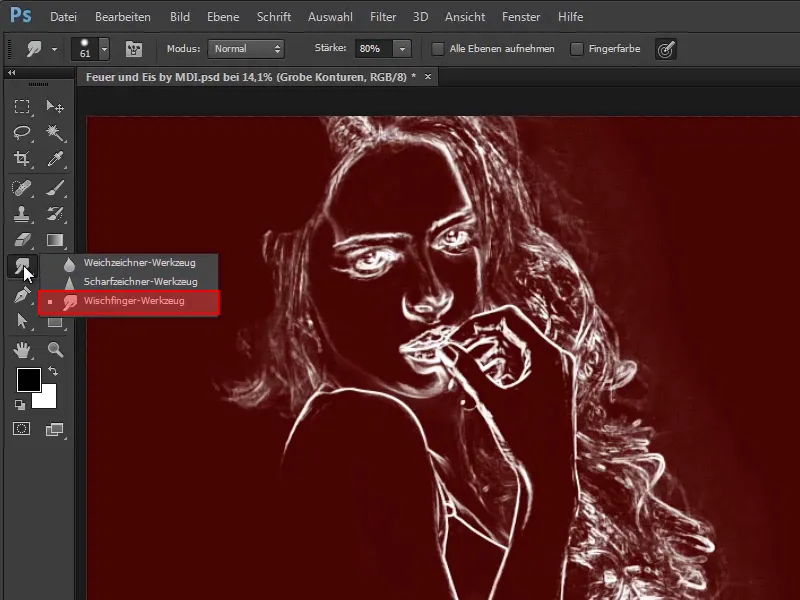
Step 7
Set the mode to Normal and the strength to 80%. The two options Pick up all layers and Finger color are deactivated.
- Mode: Normal
- Strength: 80%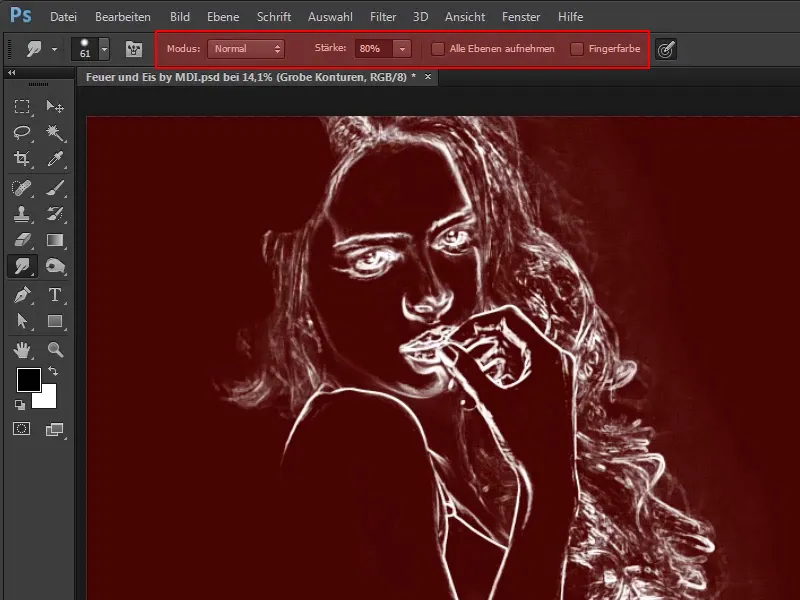
Step 8
This last option is only for the pen. This means that if it is active, it depends on how hard you press on the tablet with the pen, and the brush tip will simply become smaller or larger accordingly. If you are working with the mouse, you can ignore this completely, but if you are using a pen, Marco recommends activating it.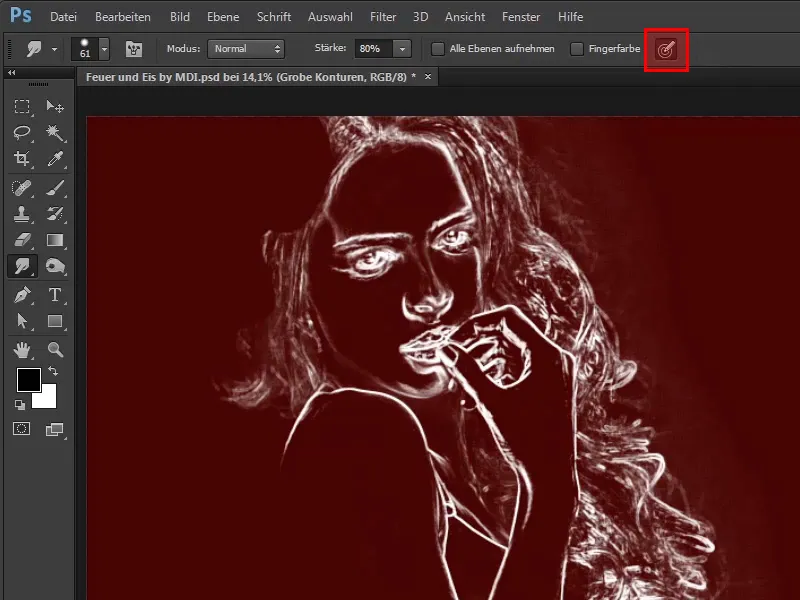
Step 9
Now select the swipe finger and zoom in a little on the image.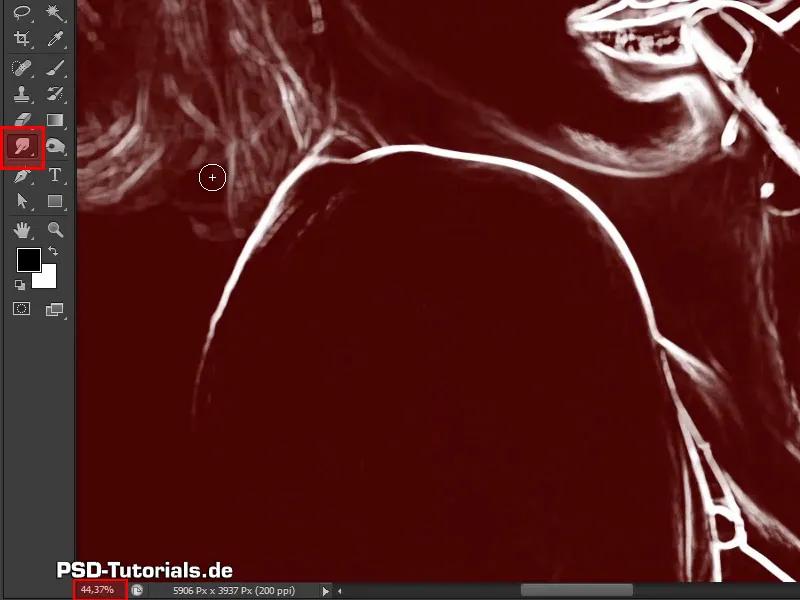
Step 10
Now comes the little magic trick: you will draw along the shoulder using sinuous movements. Of course, you also need to know roughly what fire looks like, how the flames might move, and you can then simply make slightly more curved lines accordingly. You should generally make sure that they don't look too neat.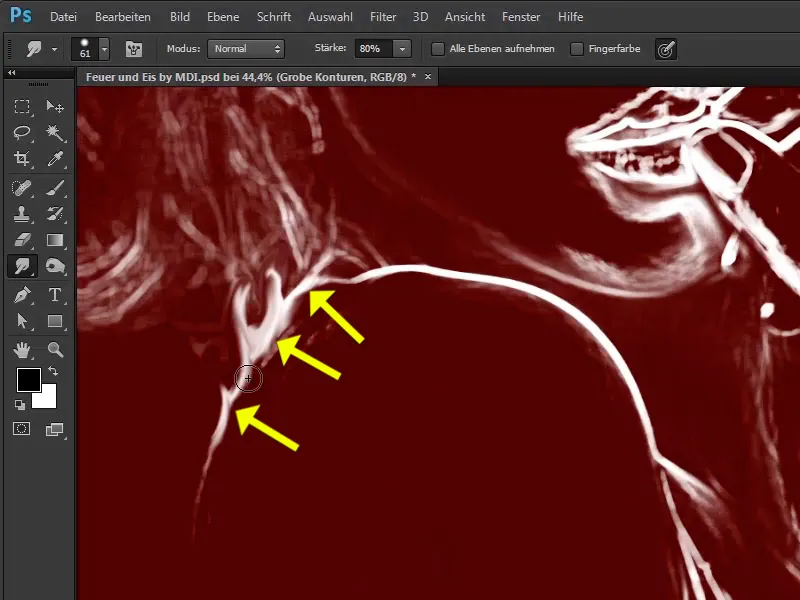
Continue with steps 11-20
Step 11
It is also possible, for example, to paint the fire in the same way every time.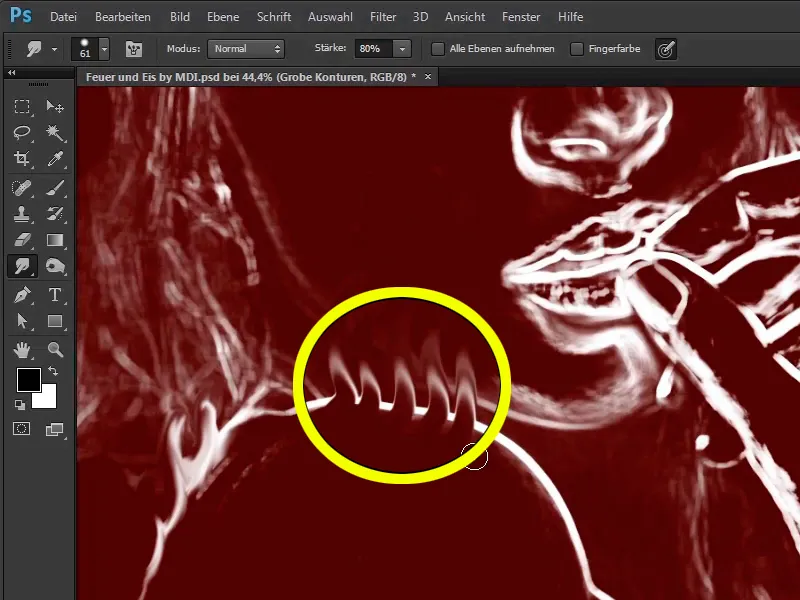
Step 12
Of course, this looks totally stupid. That's why you should work almost randomly, but not too roughly. Of course, that doesn't look good either: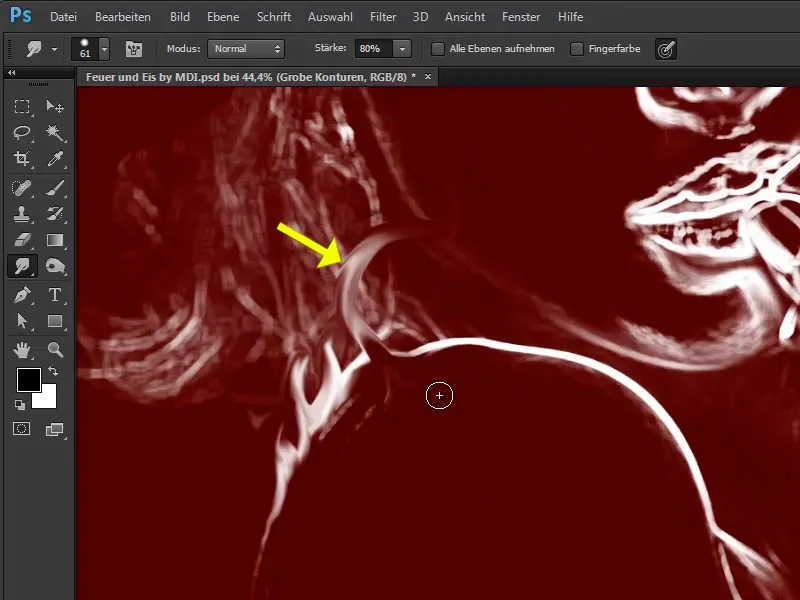
Step 13
This means that you should proceed carefully here and rather go back one step (Ctrl+Z) and start again from the beginning. This way you can create a nice fire. In other words, use your wiping finger to wipe these contour lines upwards a little, as fire is known to grow upwards.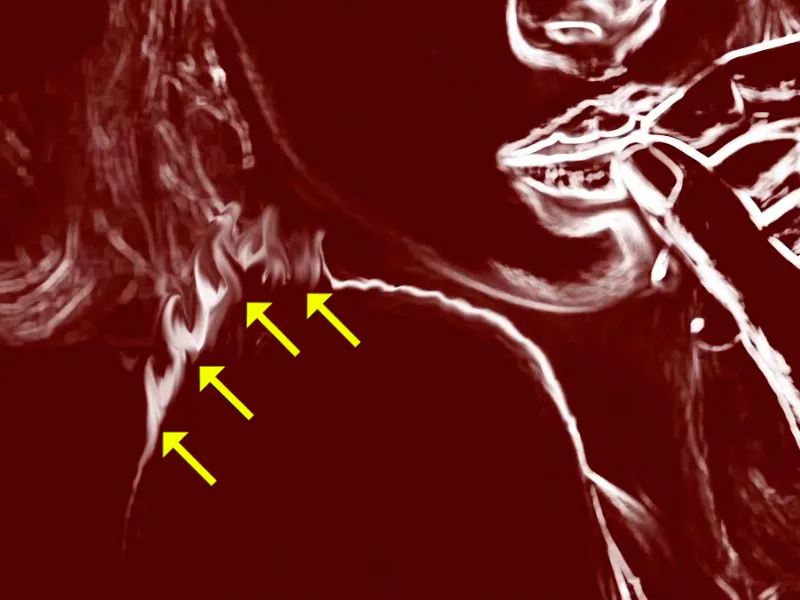
Step 14
And again - very important - this is one of the most important steps in this entire tutorial. You should really take your time with this. So don't just roughly smudge any flames, but really make sure that it looks realistic.
Be careful with the chin, because if you draw it over like this, the flame will move across the chin.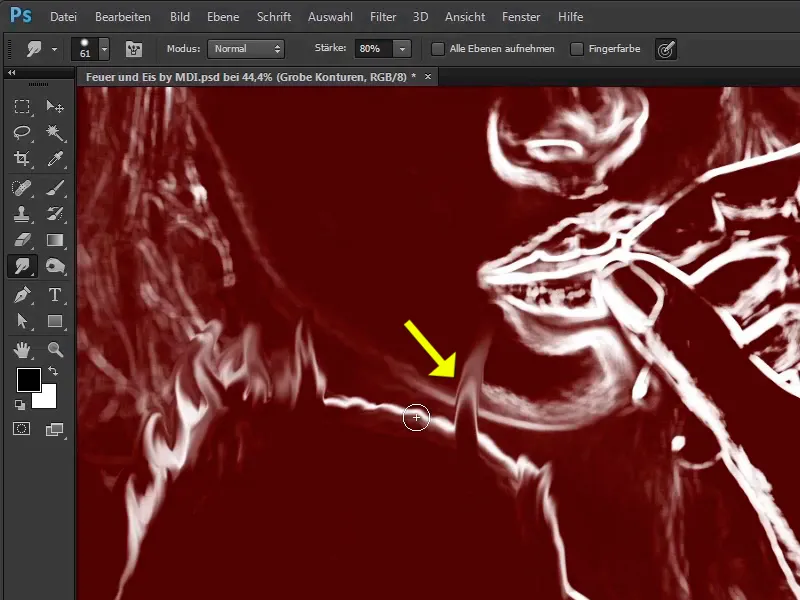
Step 15
Here, the flame could caress the chin a little so that it comes around the corner a little. It looks quite good like this.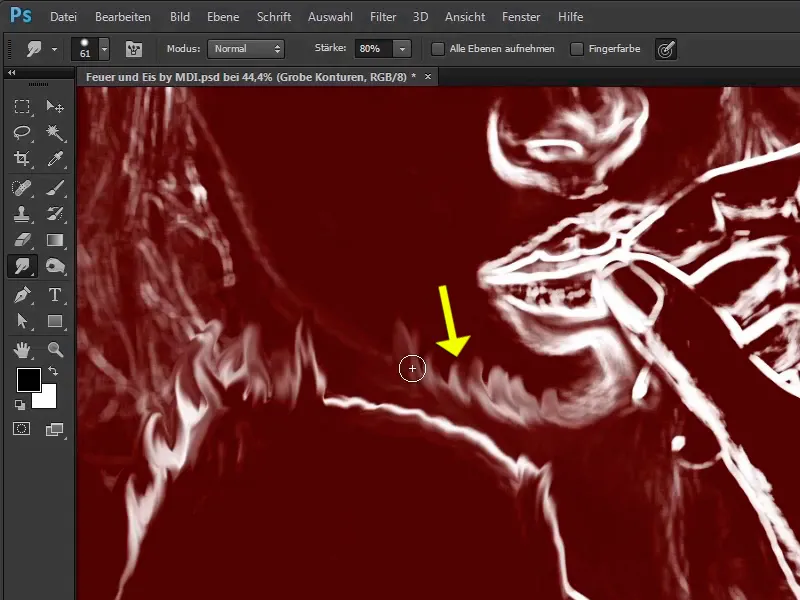
Step 16
Break up this contour a little here. You could also do it as if it were already moving around the chin here.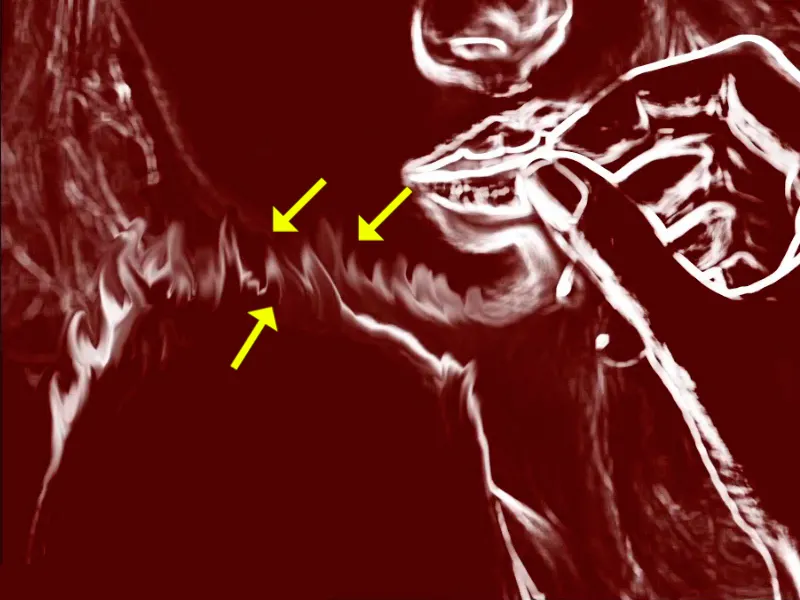
Step 17
You could now also make the brush a little larger.
- Size: 77 Px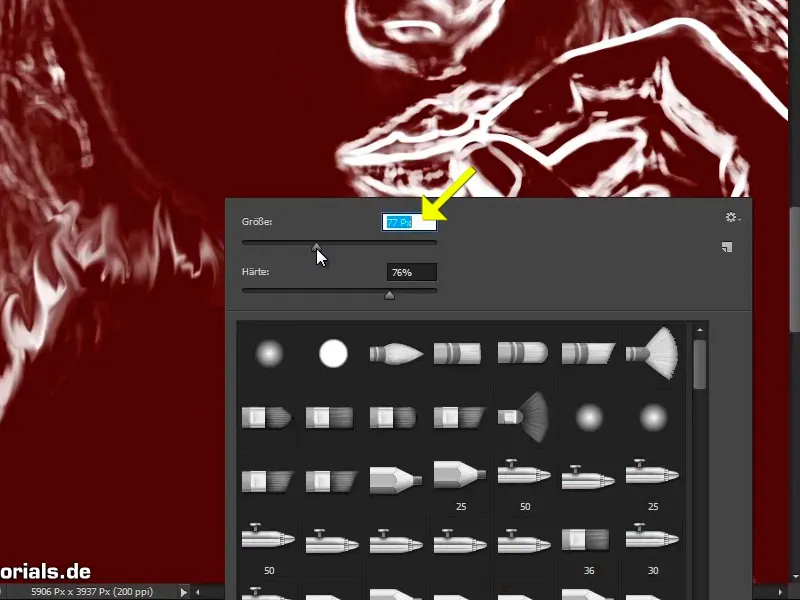
Step 18
But don't make it too big, because then it will make even strong computers sweat at some point, it will take ages for a line like this to appear.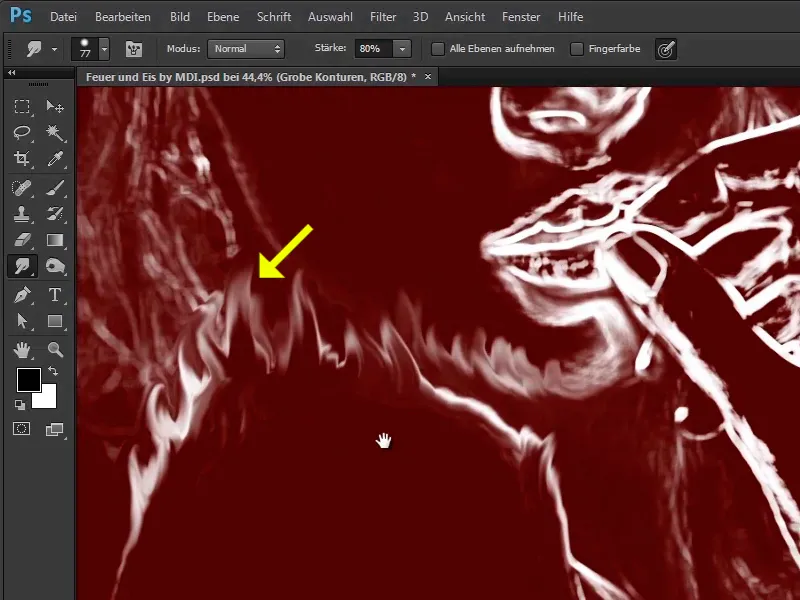
Step 19
As I said, Marco really took his time with his finished picture, of course he can't do that with this tutorial, but he just wants to show you how it works in general, how to simply wipe fire into the picture.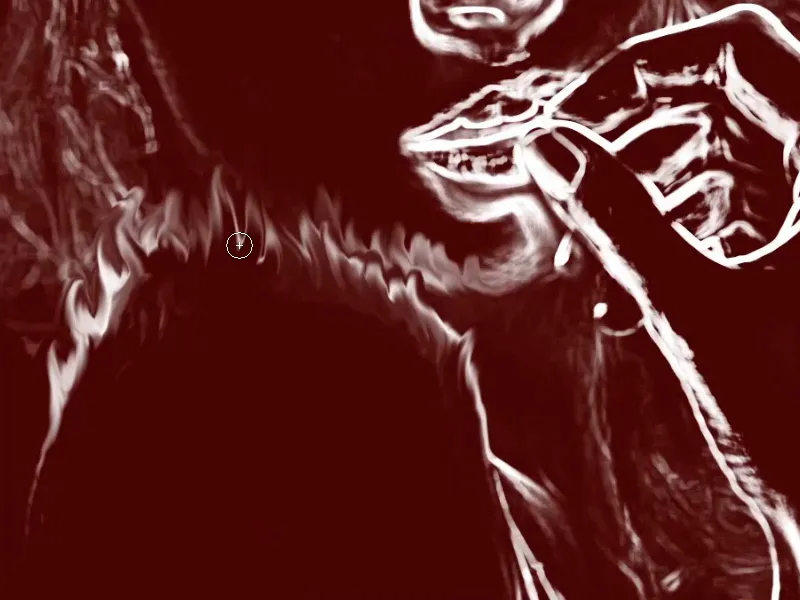
Step 20
The same with the hand. Especially with this finger, where the flame flickers upwards.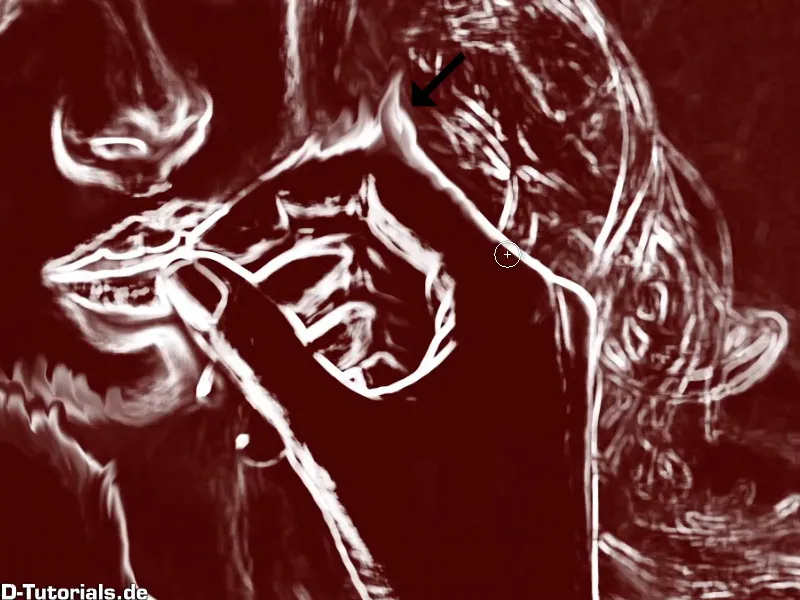
Steps 21 to 30 follow
Step 21
In general, simply break up these hard contours a little here too by painting meandering lines. Also on the inside of the fingers so that the fire flickers from the inside out.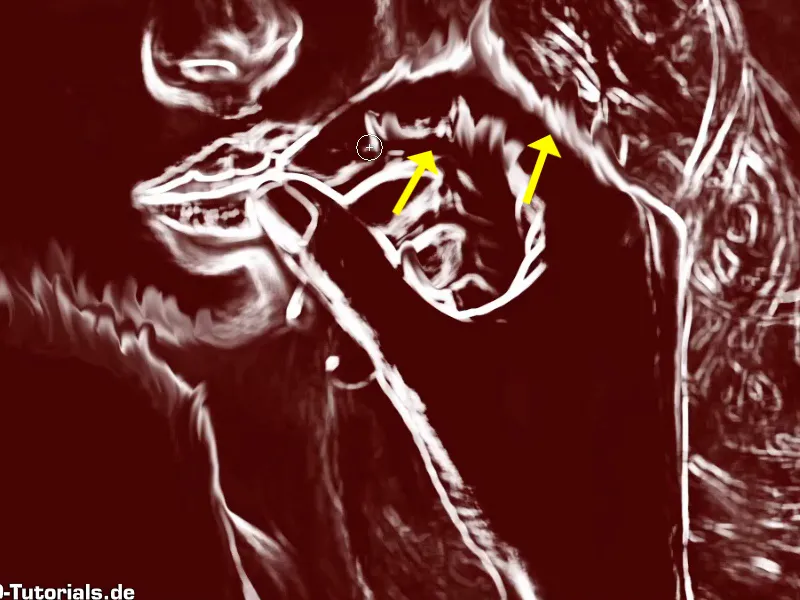
Step 22
And with the nose, a little fire can even come out here - a fiery woman.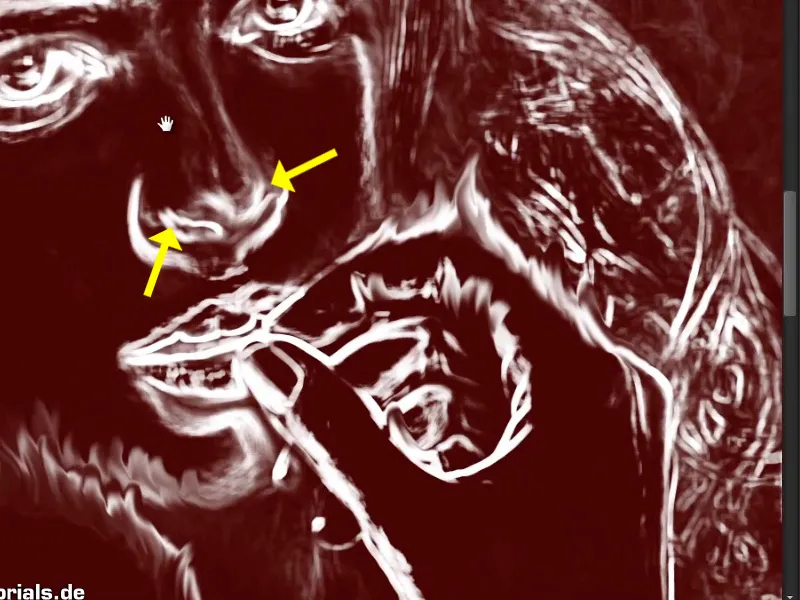
Step 23
Another great thing is that you can use the fire as a kind of make-up. In other words, you could also use it artistically along the eyebrows, as if the brows are burning a little. Of course, this can look really beautiful, but again, take your time and try it out. No master has yet fallen from the sky. If it doesn't work the first time, just do it again. Those who persevere the longest usually get the best results. If it doesn't work the first time and you throw the pencil in the corner straight away, then image editing is probably just not for you.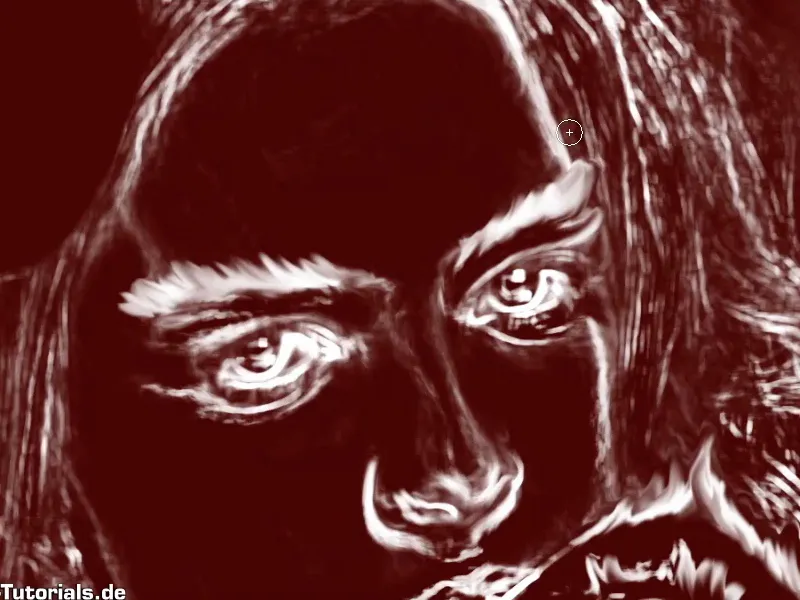
Step 24
You can now edit the entire image in the same way. And go around the corners a bit with these hairs too.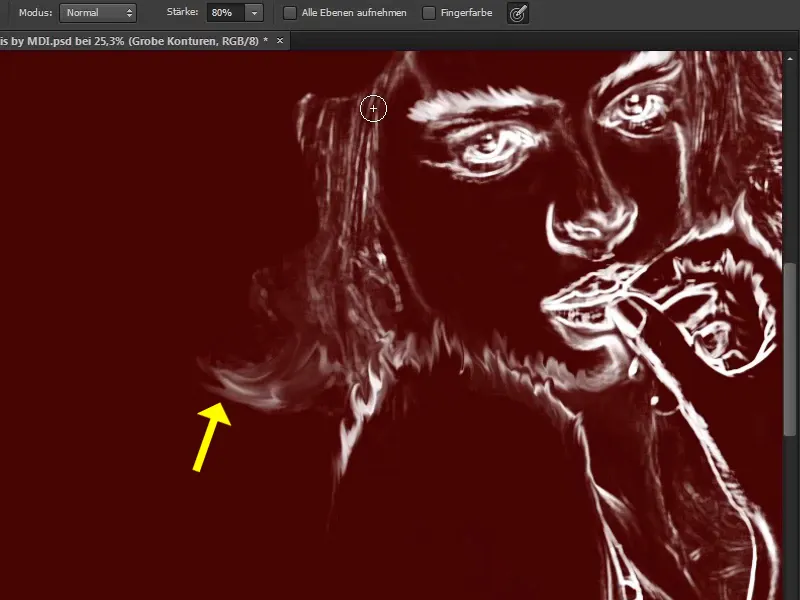
Step 25
You can of course also create fire at the top of the hairline.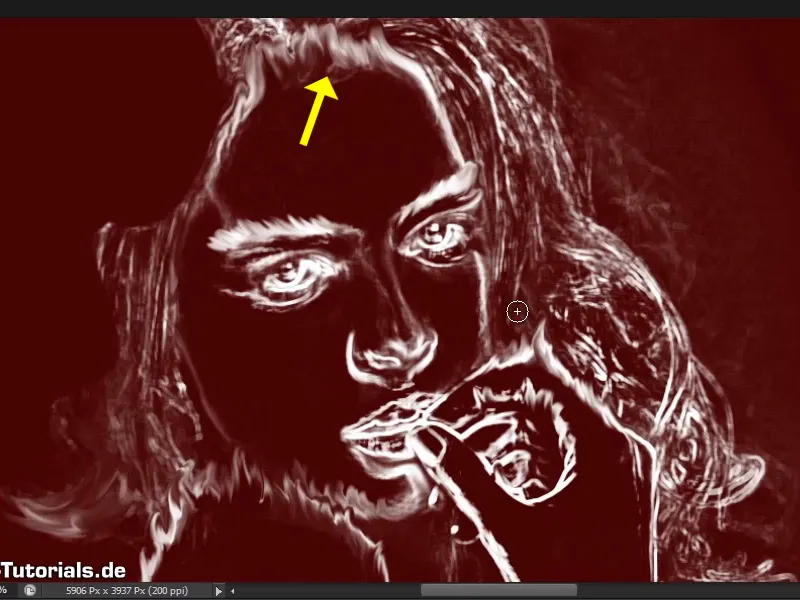
Step 26
Marco takes a short break at this point in the video training and in no time at all you can see his finished image, at least with regard to these contours, which he has turned into flames.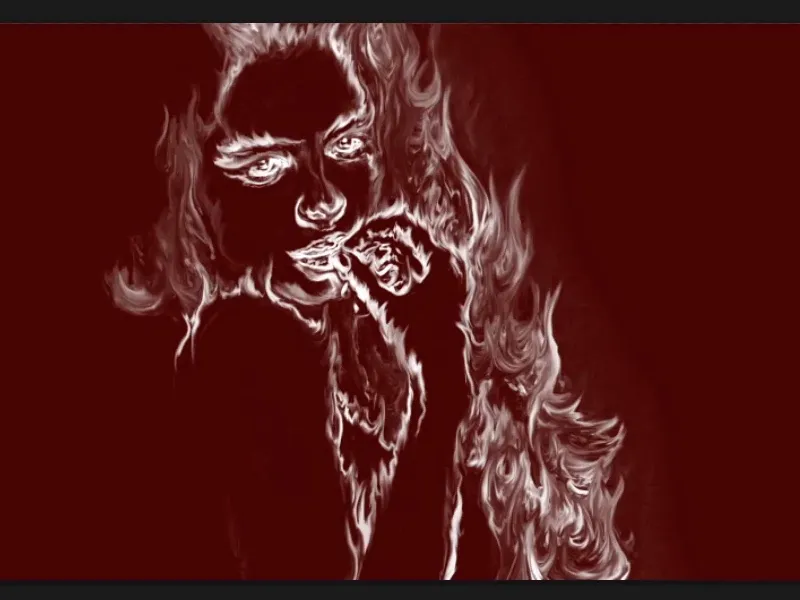
Step 27
And as you can see, if you zoom into the picture, our flames are actually flickering really well.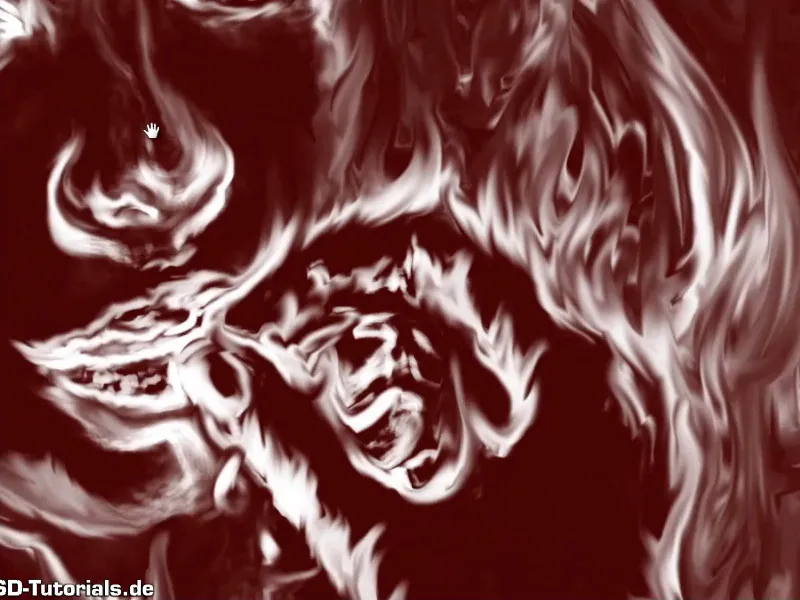
Step 28
Now you're going to tweak it a bit and adjust the colors. First of all, you no longer need the auxiliary layer. Drag it into the trash.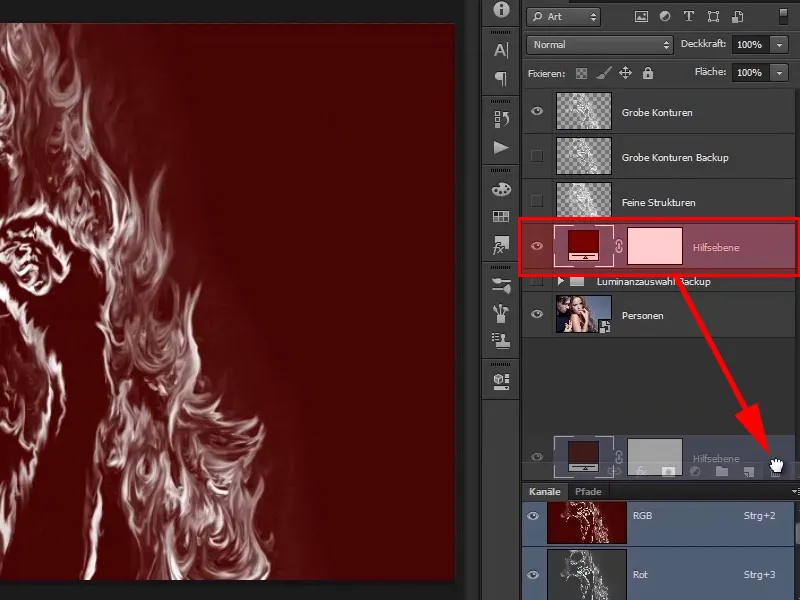
Step 29
Now you can see how these layers and contours affect your original image.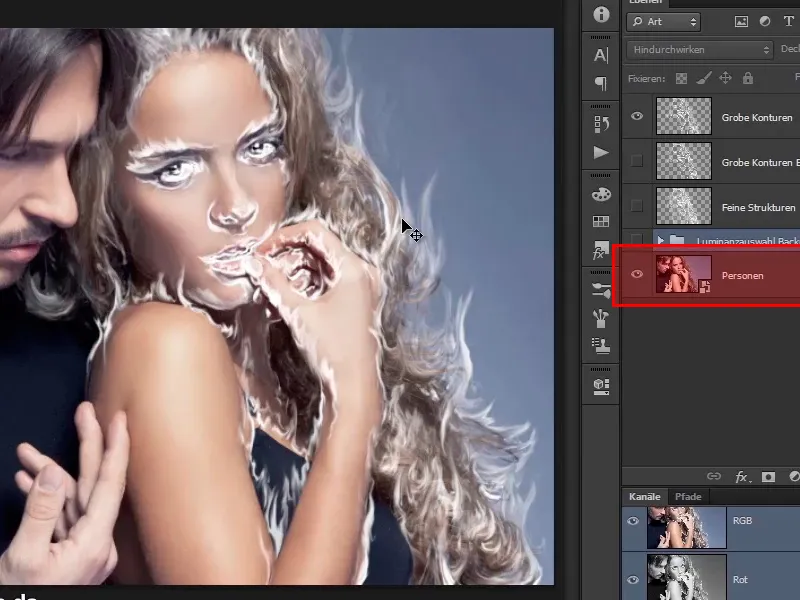
Step 30
Of course, the picture doesn't look perfect yet because the flames are white. But this will change over time.
The first thing you should do now is to soften the woman's original hair, as it is still too clear and shimmers through too much. To do this, click on your original layer and duplicate it.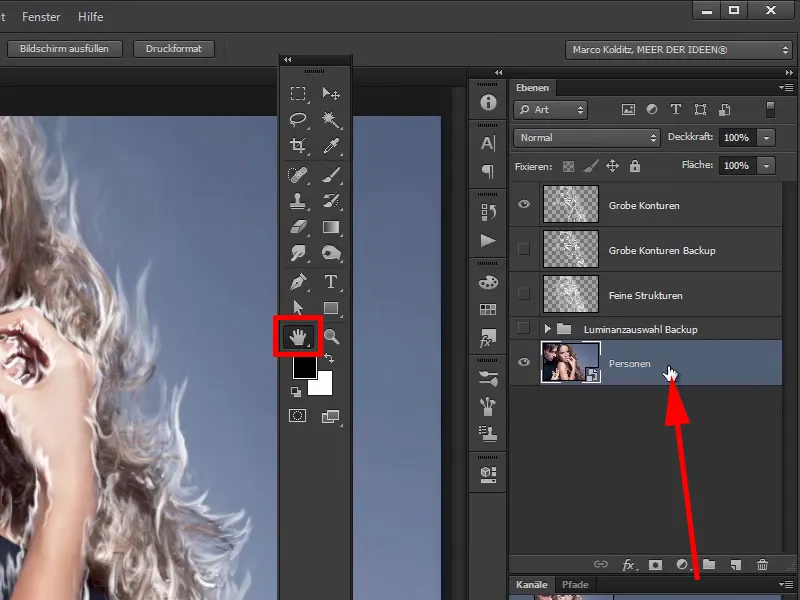
Simply continue with steps 31-40
Step 31
Do this by holding down the Alt key and dragging the layer over itself. For the sake of order, name it "Blur hair" so that you can find everything again later.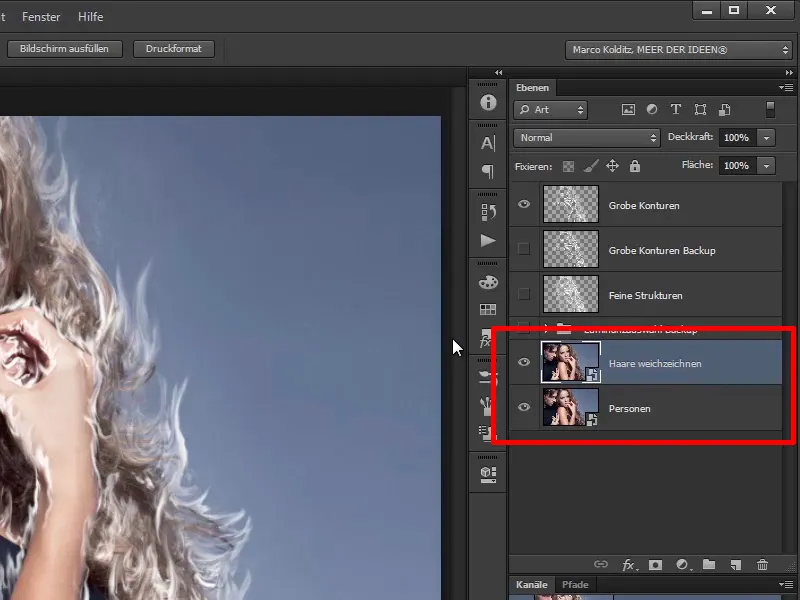
Step 32
Then apply what is probably the most frequently used filter in Photoshop, the Gaussian Blur filter.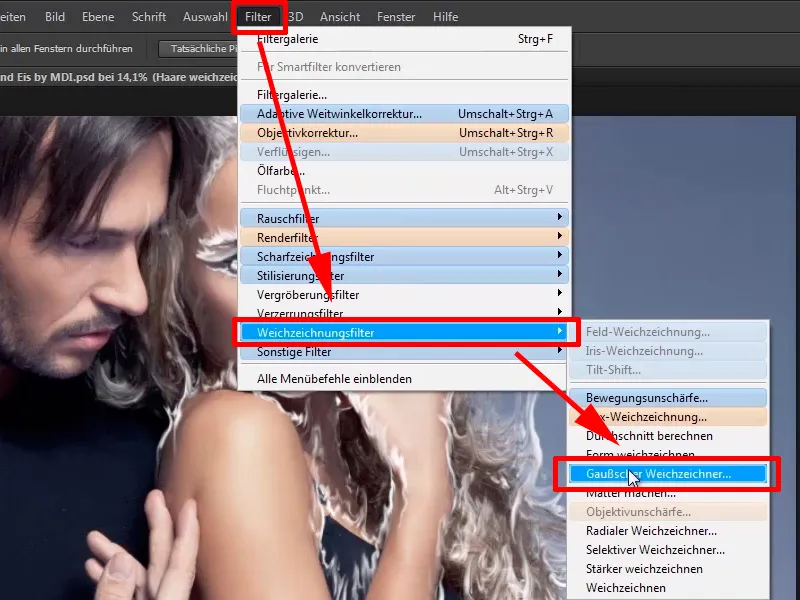
Step 33
In this window, select a value of 9 pixels. If you move the value too far to the right, the original hair will become too soft.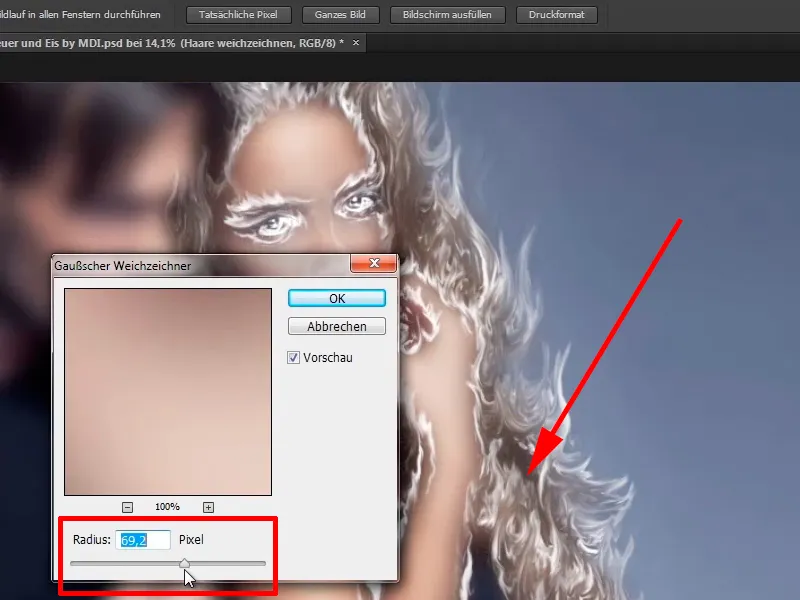
Step 34
If you move the value too far to the left, 3.7 pixels, the effect will be too small. Therefore, select a value of 9 p ixels and confirm with OK.
- Radius: 9 pixels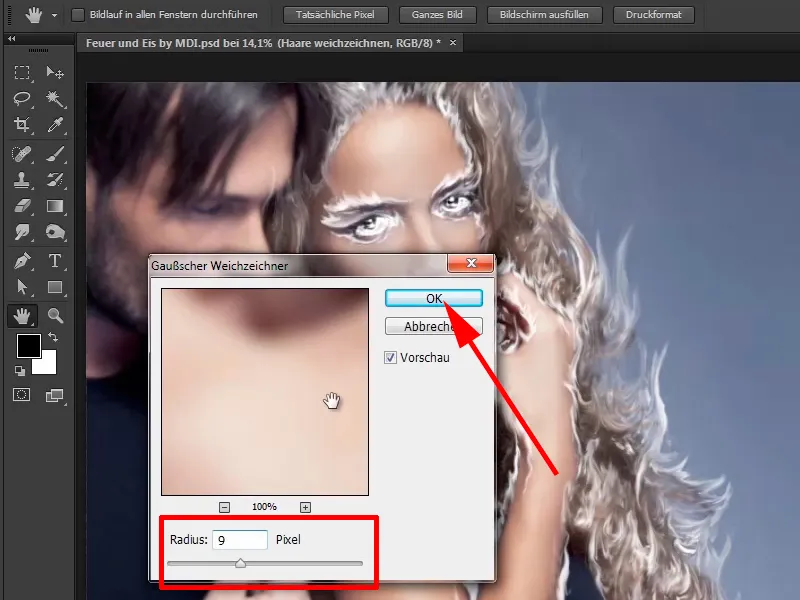
Step 35
If you don't like the value now, you can adjust it at any time by double-clicking on the Gaussian blur filter thanks to the smart object.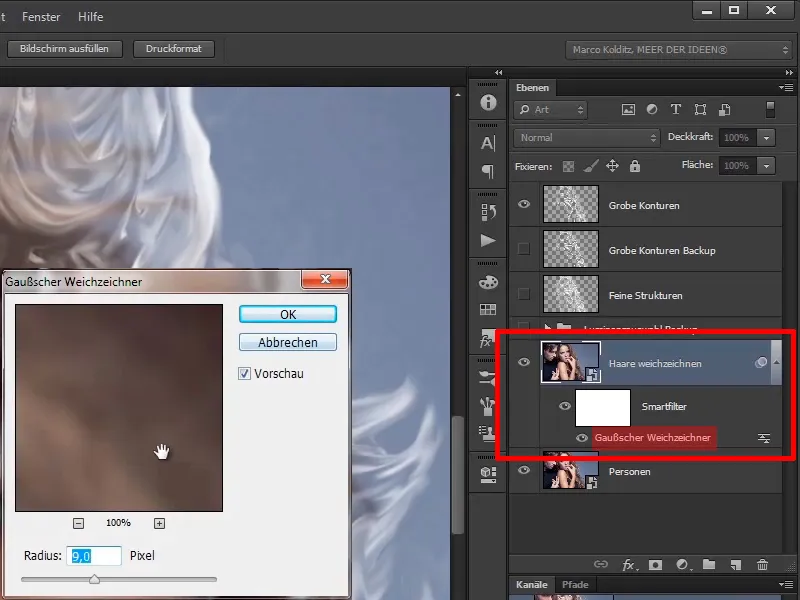
Step 36
With a value of 9 pixels, the hair is no longer as clear, but still clearly recognizable. To ensure that the blur really only affects the hair, select the "Blur hair" layer and create a mask (2) using the small icon (1).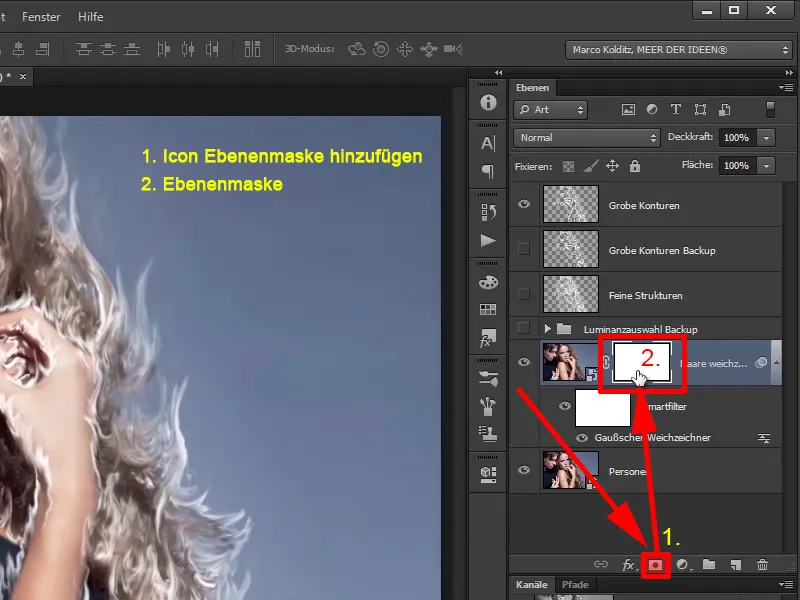
Step 37
You have now created a white mask and if you paint on it with black, you can mask out other areas in the image. These are then no longer affected by the blurring. To do this, select a brush with a black foreground color.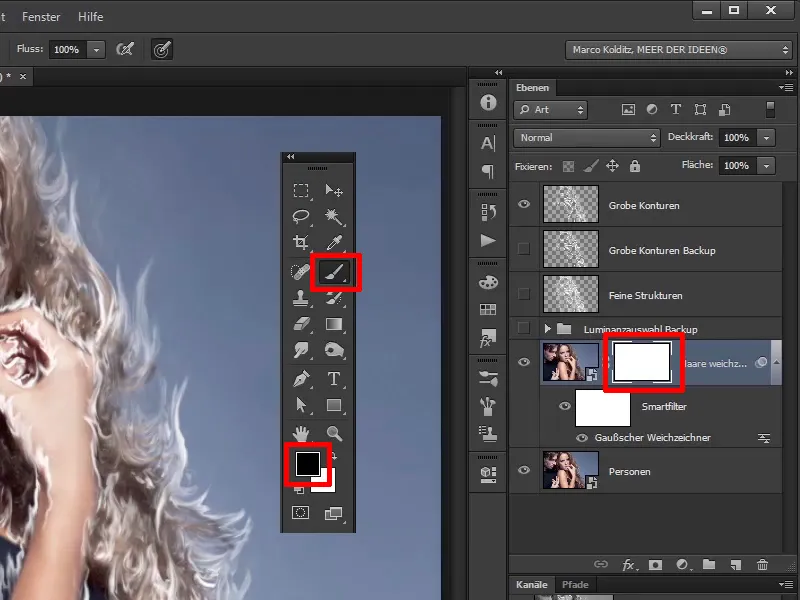
Step 38
If you have defined white as the foreground color, press the X key. This allows you to switch between the foreground and background color. Alternatively, you can also change the color using the arrow symbol.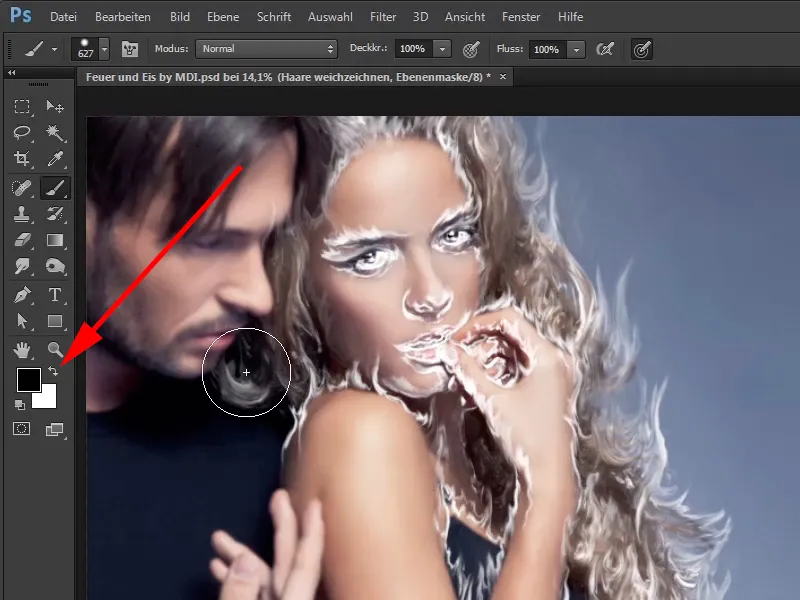
Step 39
In this case, you need a completely black brush and can adjust the size, opacity and hardness again.
- Opacity : 100%
- Size: 308 Px
- Hardness: 81%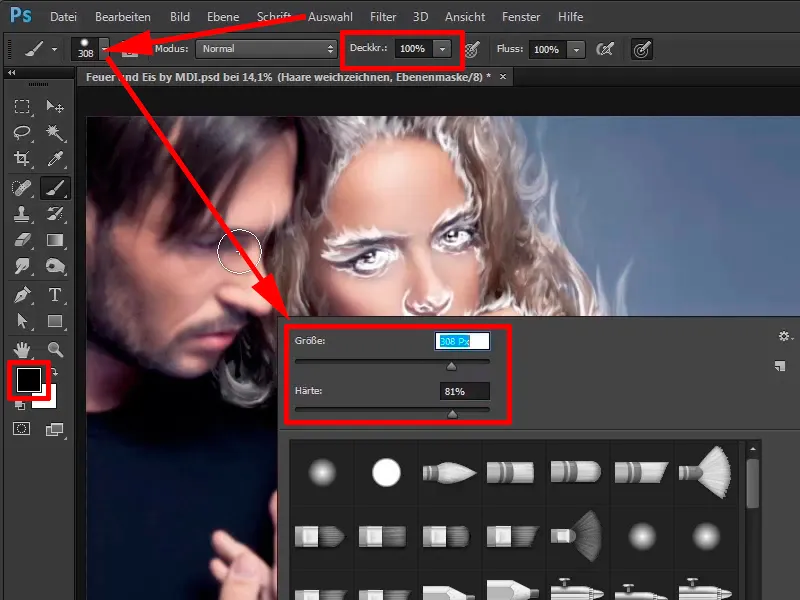
Step 40
With full opacity, simply paint over the areas that don't affect the woman's hair and remove the soft focus. This doesn't have to be too precise, but of course the man should be in focus. But in the transition areas, it is not 100% important how you draw along the contours.
Here, for example, you deliberately draw over the woman's hair.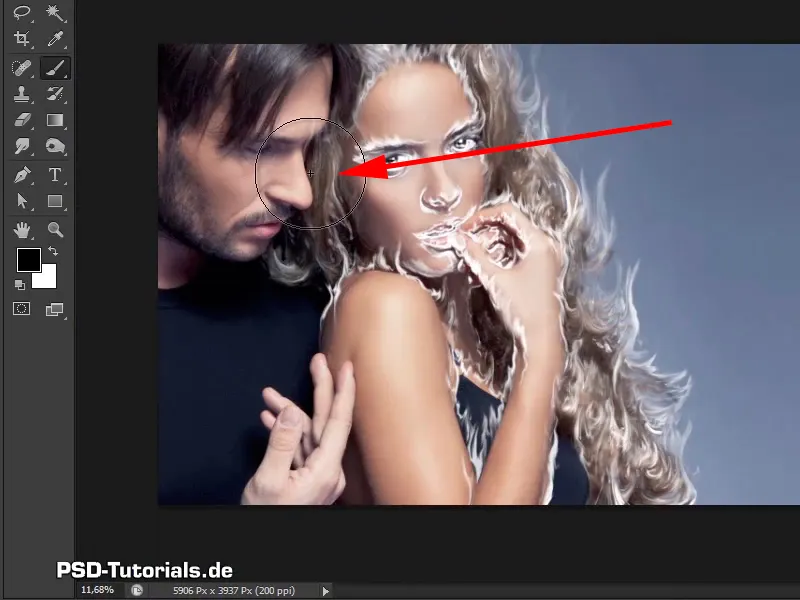
The last steps
Step 41
Now use the X key to switch back to the white foreground color and reduce the blur a little.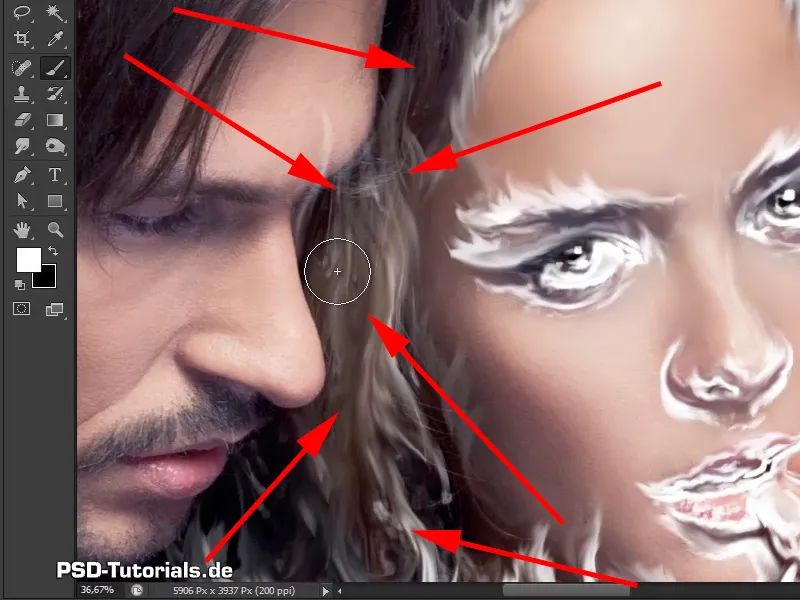
Step 42
You can be a little more precise on the man's nose, as you don't want it to be too soft. There's a bit of a shimmer in this area because the man's nose is still a little affected. But that doesn't matter, because you won't be able to see it later in the picture, as everything here will be full of flames.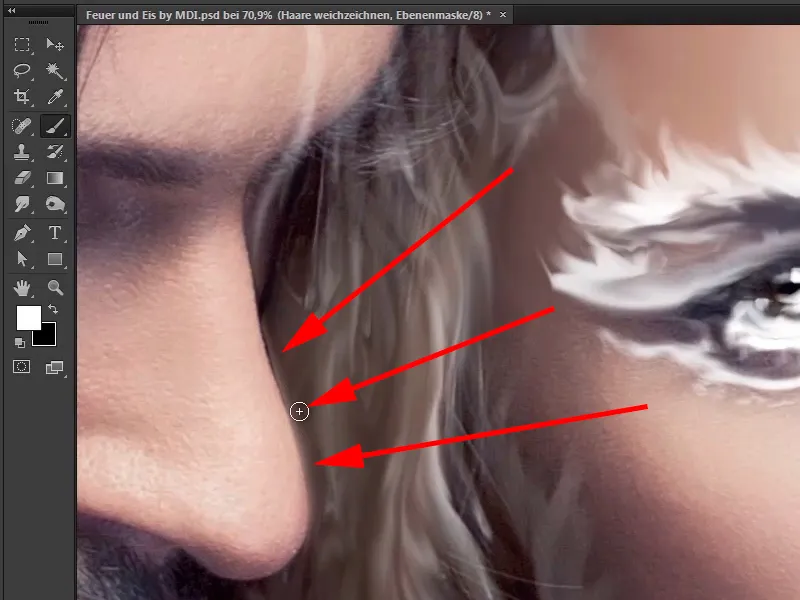
Step 43
This means changing the foreground and background color every now and then with the X button and then repeatedly painting the blur into or out of the picture.
The skin on the woman's face should, of course, be completely excluded from the blur. This means that you paint here again with a black foreground color. The shoulders, arms and décolleté should also be painted in.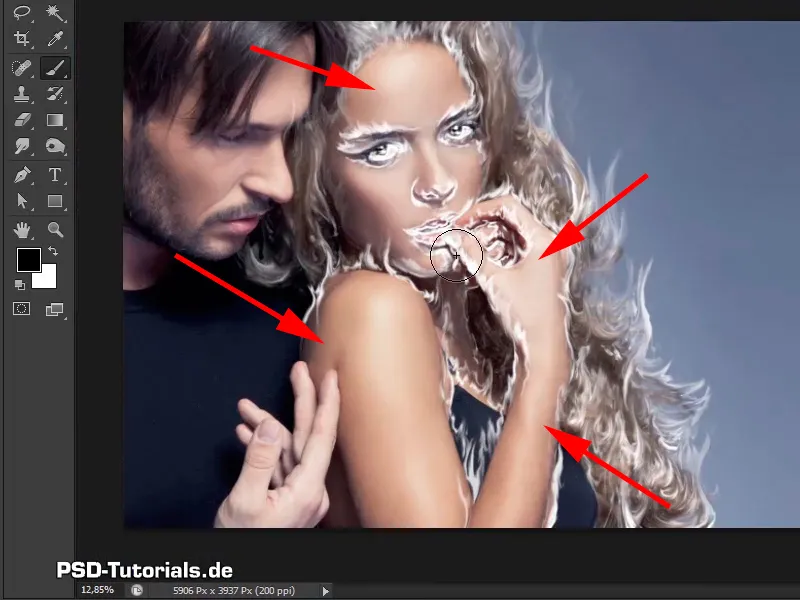
Step 44
Now you only have the hair, which is blurred. By the way, if you now click on the mask with the Alt key, you can also see what you have now masked.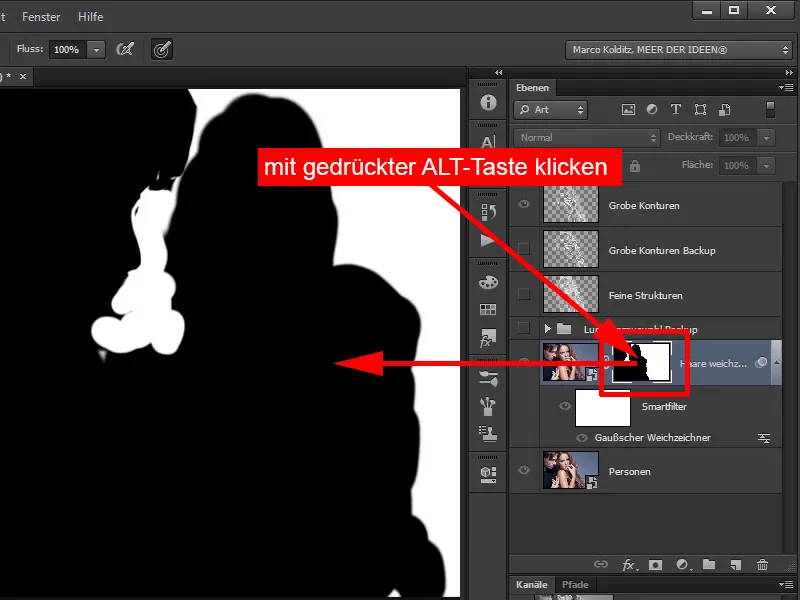
Step 45
This allows you to spot areas where you may have forgotten something.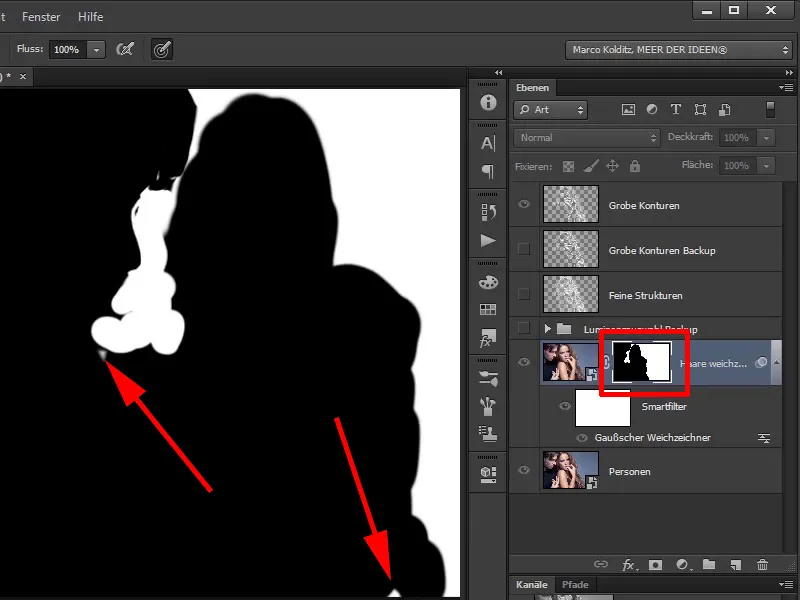
Step 46
You can switch back and forth until it fits.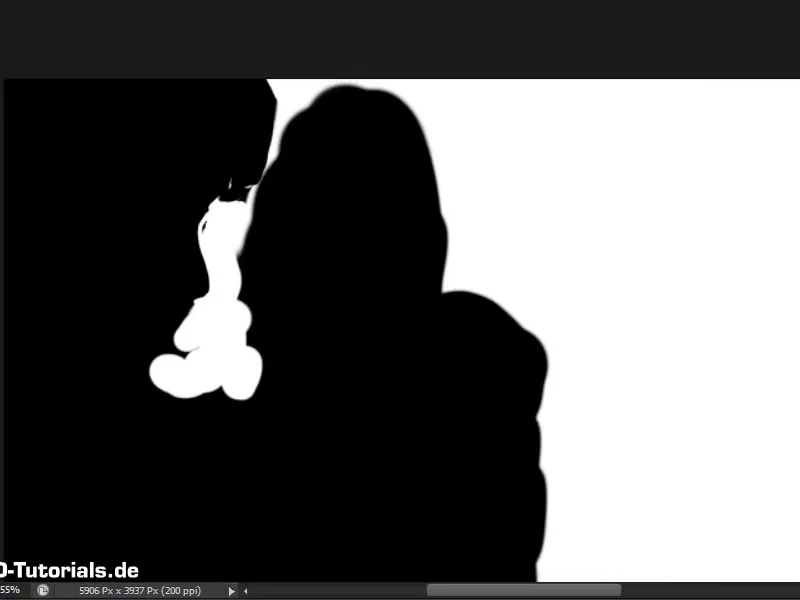
Step 47
Now you have softened the hair and it looks really good.