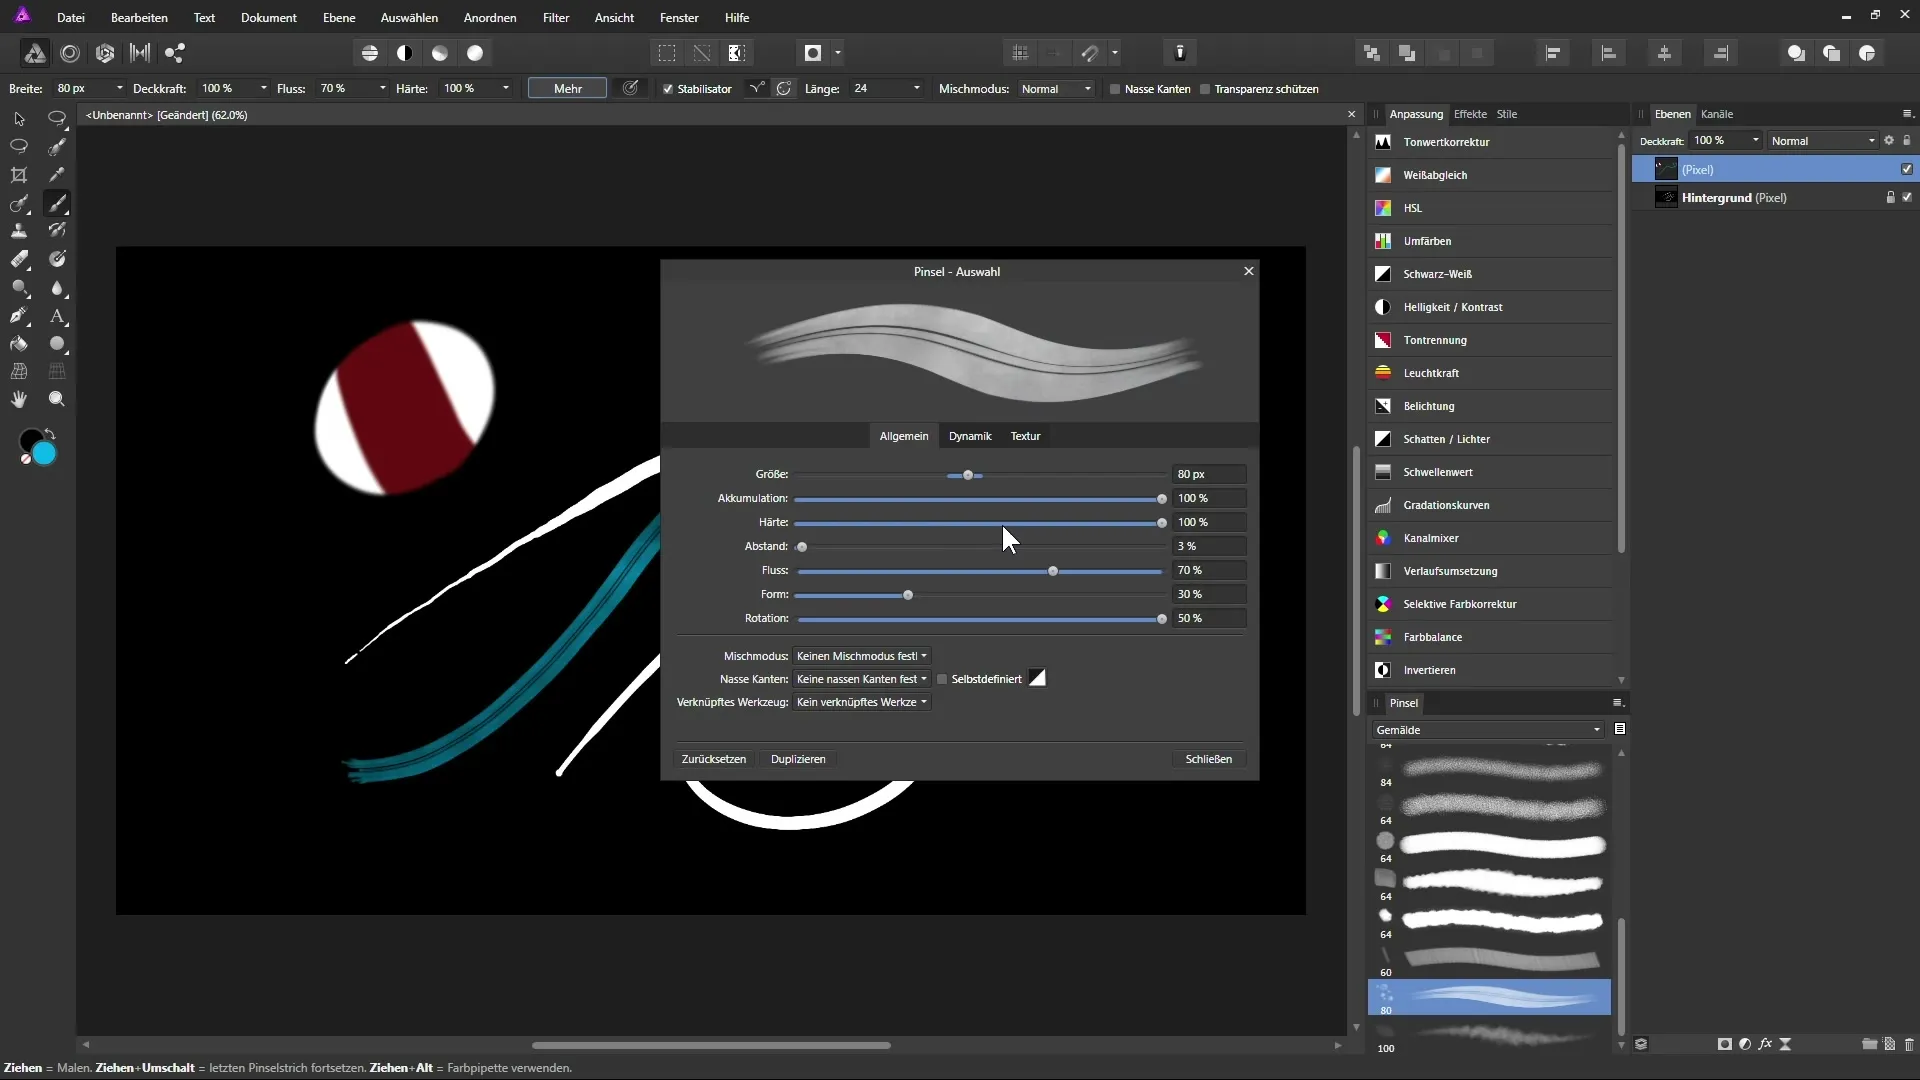
The brush tool in Affinity Photo is one of the most powerful features that allows you to express your creativity. Whether you are creating digital artworks, retouching images, or editing masks – having a good command of the brush tool can help you take your projects to the next level. In this tutorial, you will learn step by step how to make the best use of the brush tool.
Key insights
- Adjusting the brush width and hardness is crucial for precise work.
- The flow and opacity of the brush allow for different painting techniques.
- Graphic tablets greatly enhance the usability of the brush tool.
- The ability to import brushes expands your creative options.
Step-by-step guide
1. Activate the brush tool
To activate the brush tool, look for the corresponding icon in the toolbar or press the shortcut key "B". The icon displays a brush and gives you immediate access to all functions of the painting tool.
2. Color selection and brush options
Select white as your first color and open the context bar. Here, you can adjust the brush width by either moving the slider or editing the input directly.
3. Adjusting the brush width
A quick way to change the brush width is to hold the ALT key while dragging with the mouse. This allows you to easily and directly adjust the width and hardness of the brush. Experiment with a width of about 30 pixels to get a feel for the effect.
4. Opacity and flow
The opacity of the brush is crucial for the effect you want to achieve. For example, set the opacity to 40% and draw over the document. You will notice that the color is applied only faintly – ideal for gentle transitions. The flow, on the other hand, allows you to apply color continuously without lifting the mouse.
5. Using with graphic tablets
If you are using a graphic tablet, you can activate pressure sensitivity. This adjusts the stroke thickness based on how hard you press on the tablet. Enable this feature and observe how the brush strokes vary with different pressures.
6. Activate stabilization
Use the stabilizer for smooth brush strokes. Activate it in the settings and experiment with the rope length. A longer rope length results in a smoother brush stroke, while a shorter one offers more control over corners and curves.
7. Use blending modes
You can directly set the blending mode for the brush tool. This allows you to change how the colors interact with each other. However, keep in mind that it is often better to work on a separate layer. This gives you more flexibility.
8. Protect transparency
If you are working on a new, transparent layer, enable the "Protect Transparency" feature. This ensures that no colors are applied to the transparent areas. This is particularly useful if you want to leave certain spots untouched.
9. Use different brush tips
Affinity Photo offers you a variety of brush tips. Go to "View" and select "Studio" to choose the brushes. Here you can also enable brush import to unleash your artistic possibilities.
10. Customize and experiment with brushes
Each brush has specific settings that you can customize according to your preferences. Try out different brushes from various categories such as "Painting" to find the desired style.

Summary – Brush Tool in Affinity Photo: The Basics
The brush tool in Affinity Photo offers many different ways to bring your creative ideas to life. From basic adjustments like width and opacity to advanced features like pressure sensitivity and blending modes – correctly applying these functions can make a difference in your creative process. Take the opportunity to experiment with different brush tips and find your individual style.
Frequently asked questions
How do I activate the brush tool in Affinity Photo?Press the icon in the toolbar or use the shortcut key "B".
Can I work effectively with a graphic tablet?Yes, graphic tablets offer more control and flexibility when using the brush tool.
What does the stabilizer do in the brush tool?It smooths the brush strokes to create more even lines.
How can I quickly change the brush width?Hold down the ALT key and drag with the mouse.
What does the "Protect Transparency" feature do?It prevents you from applying colors to transparent areas.

