The cloning tool in Affinity Photo is a powerful tool that allows you to clone areas from an image and paste them elsewhere. It gives you the ability to efficiently copy and place elements, as opposed to repair tools that often allow for more subtle adjustments. In this guide, I will show you how to use the cloning tool to achieve great results in your projects.
Main insights
- The cloning tool transfers content one-to-one without mixing with the background.
- You can define clone sources and make positional adjustments like rotation and scaling.
- Global sources allow you to use clone sources in other documents as well.
Step-by-step guide
Activate cloning tool
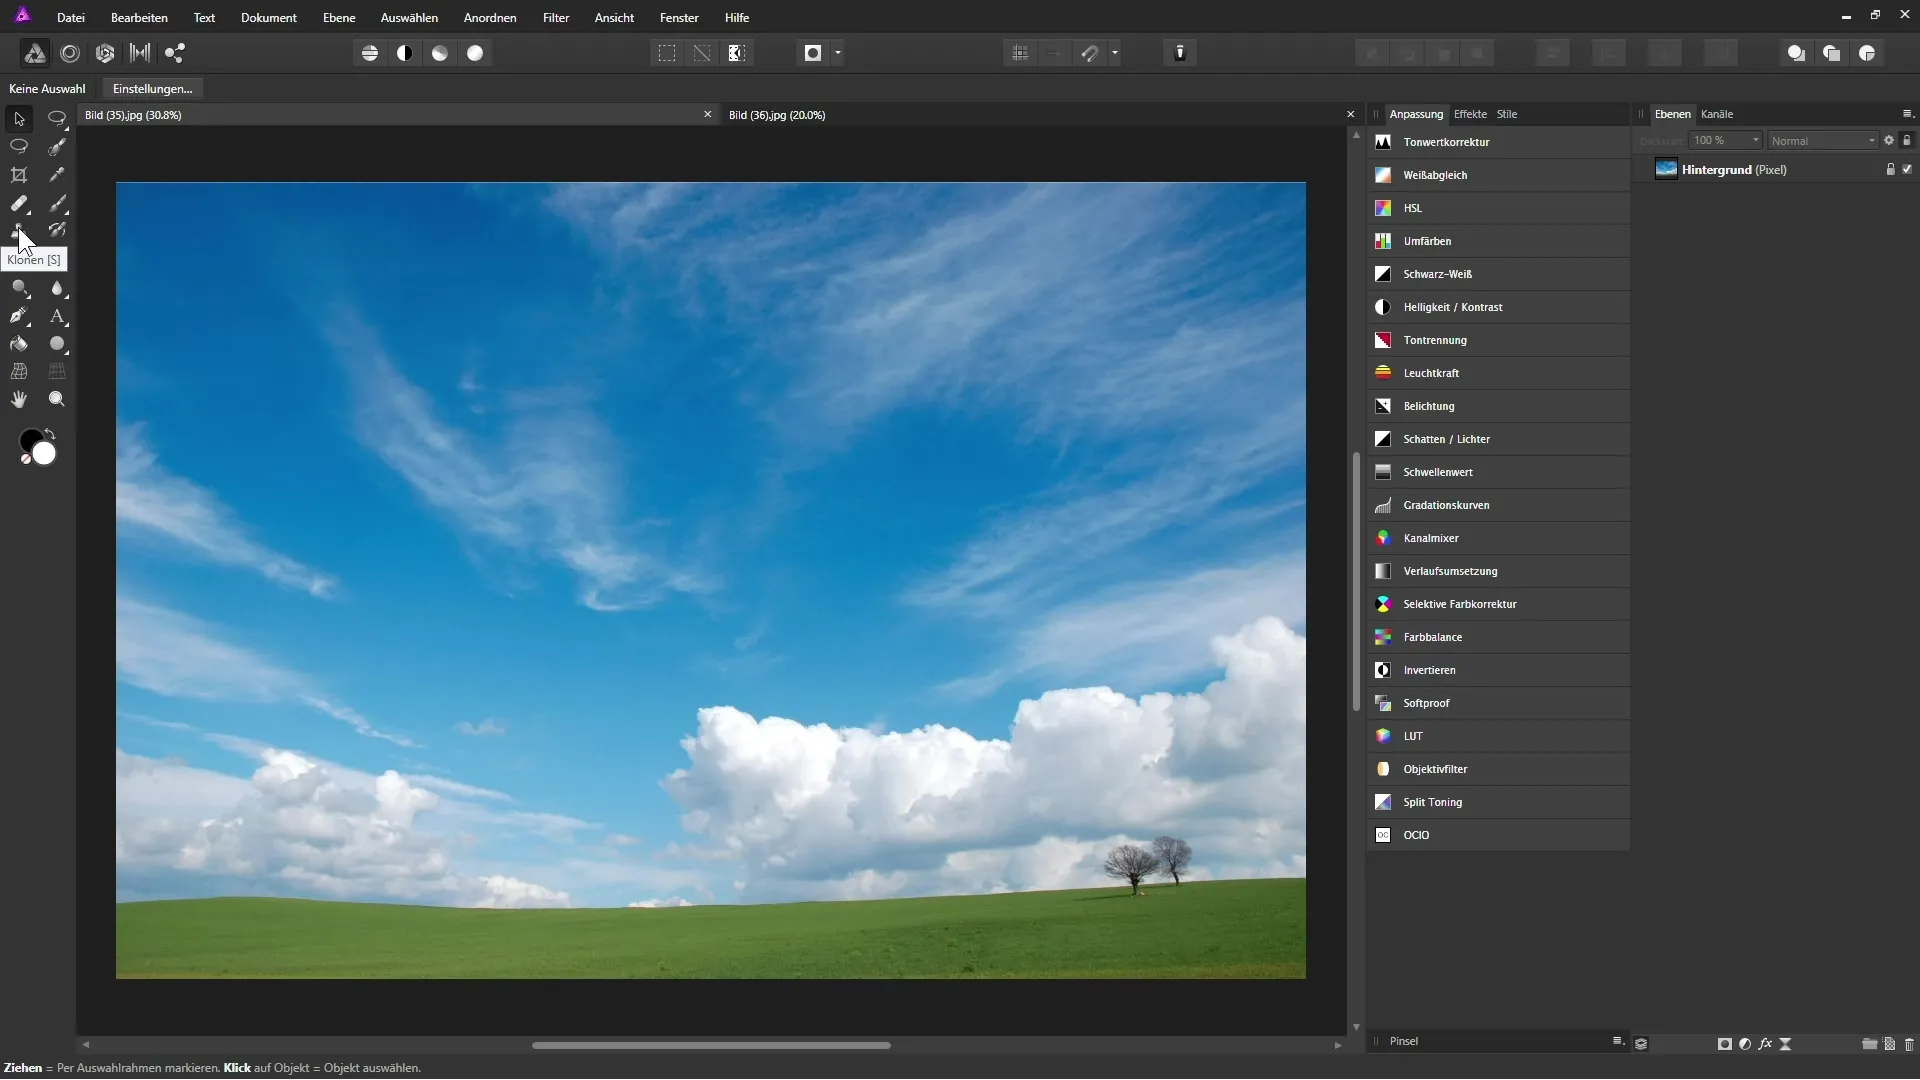
First, you need to activate the cloning tool. You can find it in the toolbar, represented by a specific icon. You can also quickly select the tool using the keyboard shortcut "S".

Adjust tool settings
After activating the cloning tool, you will see various features in the context bar. These include the adjustment of brush width, opacity, flow, and hardness. Adjust these settings to your needs.
Define clone source
To define a clone source, hold down the ALT key. The mouse pointer will change to a crosshair. Click at the point you want to copy from. In our example, we want to clone an area of trees.
Clone to the desired location
Now you can move the mouse to the location where you want to paste the content. Hold down the left mouse button and drag to paint over the area. Consider the alignment aspects to ensure a natural insertion.
Select layer
Make sure you have the correct layer selected in the layers palette. By default, the "Current Layer" is set, which means you need to ensure the background layer is selected. Otherwise, you will not be able to clone.
Align clone source
If you enable the "Align" option, the clone source moves relative to your brush stroke. This means the small cross that represents the source remains consistent while you paint. Disable this option if you want more freedom when painting.
Use rotation and scaling
You can also adjust the rotation and scaling of your clone source. Select the appropriate values in the preview to change the source accordingly. For example, you might rotate the source by 45 degrees to adjust its position.
Add global sources
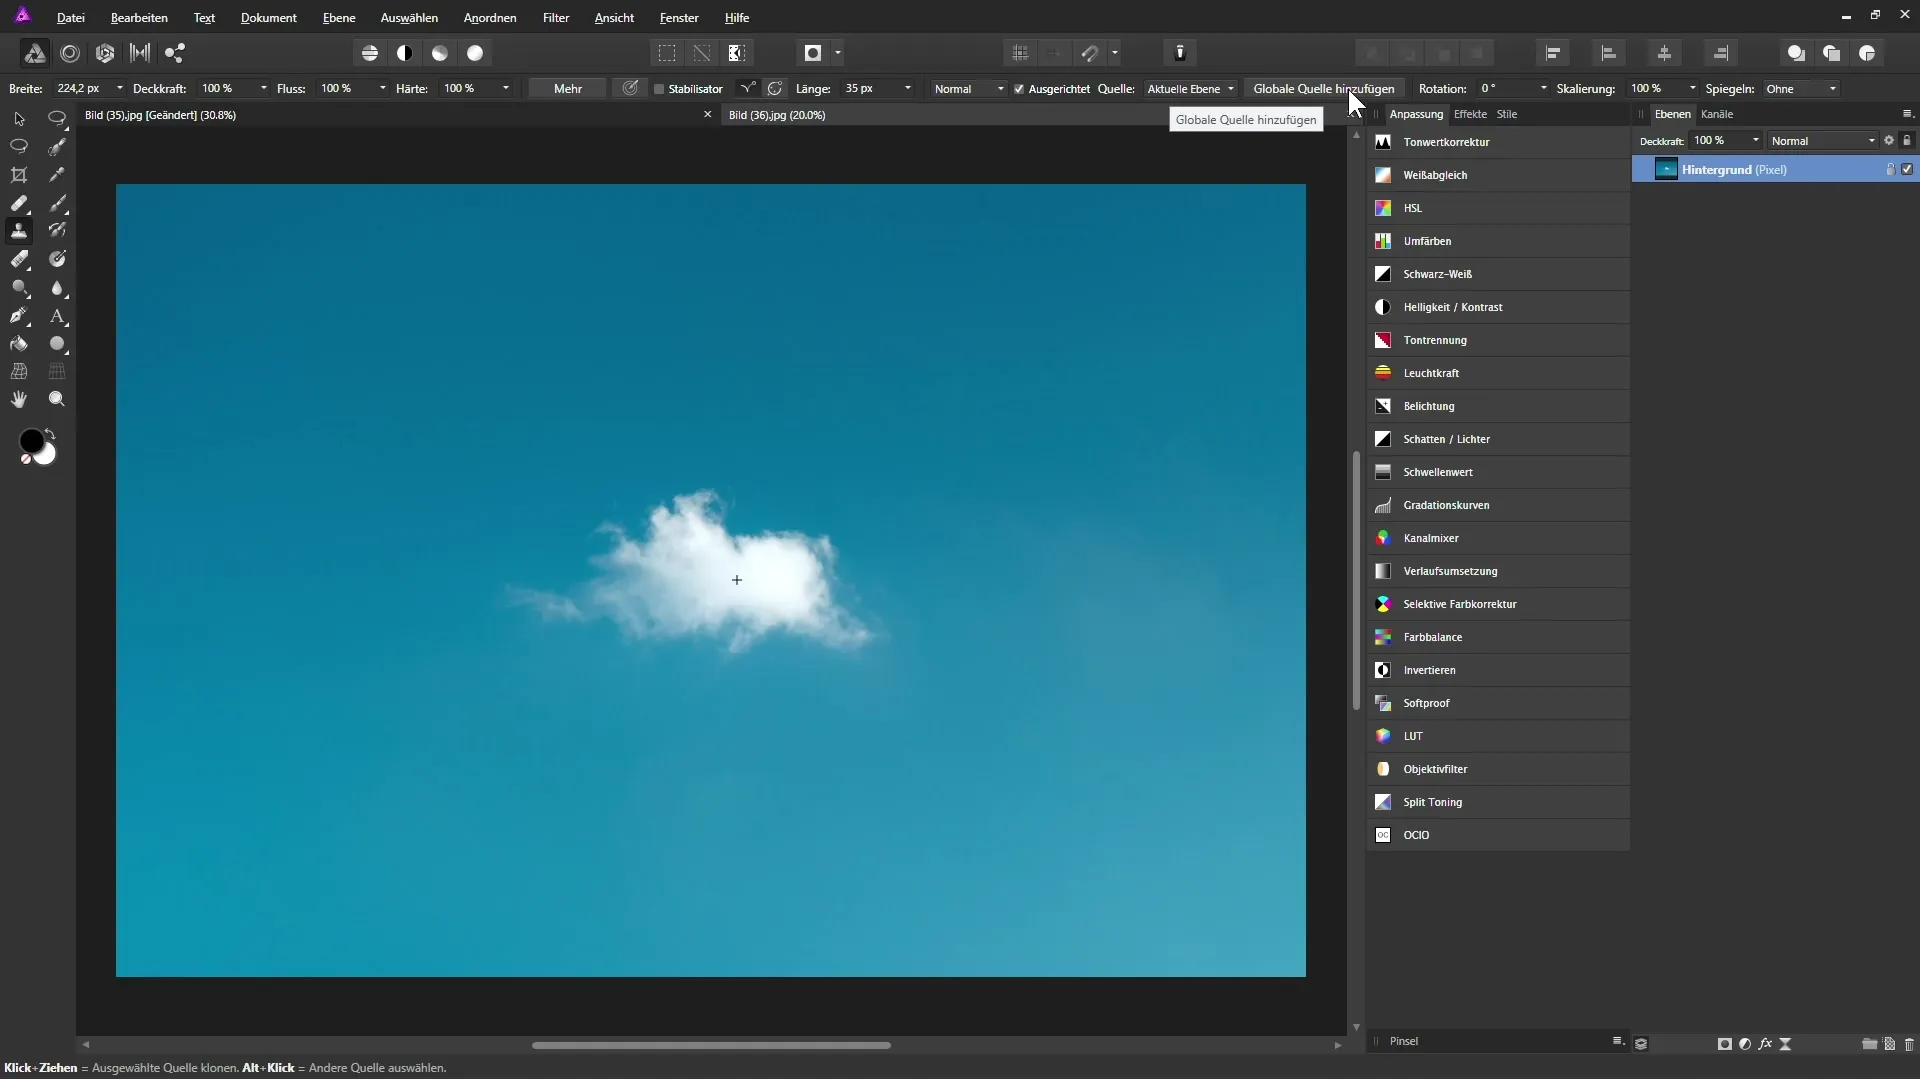
To add a global source, you must first set a clone source. Then click "Add Global Source." A dialog box will open, allowing you to save different sources and switch between them.

Using global sources
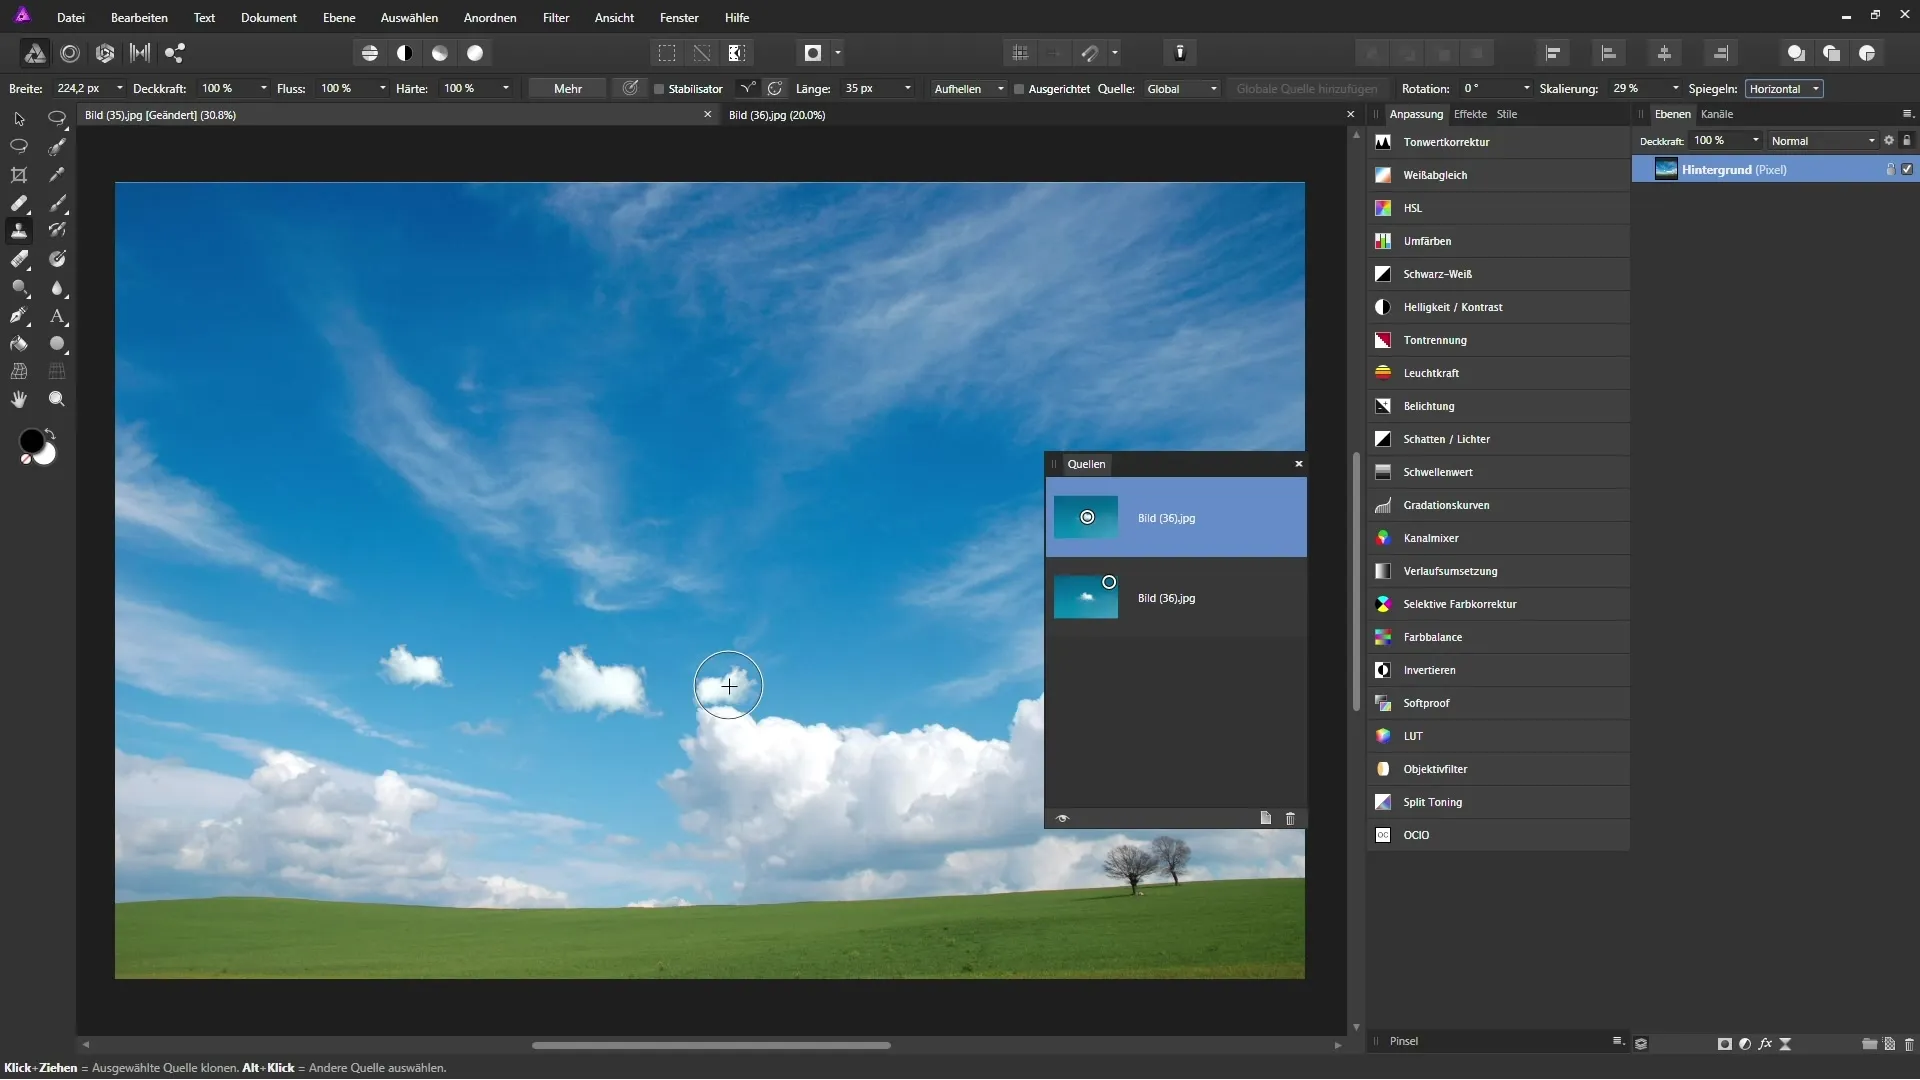
With global sources, you can use clone areas in different documents. Set the source in one image and then switch to another document to place the same source there. This allows for effective use of recurring elements.
Mirroring clone sources
Mirroring clone sources can also be useful. You can choose between horizontal and vertical mirroring to create variations of the clone source. This expands your options for content manipulation.

Summary – Cloning Tool in Affinity Photo: Basics and Application
The cloning tool in Affinity Photo offers you effective ways to copy content from an image and use it in other places. By understanding the various functions such as rotation, scaling, and global sources, you can significantly improve your edits.
Frequently Asked Questions
How do I activate the cloning tool in Affinity Photo?You can activate the cloning tool in the toolbar or using the keyboard shortcut "S".
What does “global source” mean in the cloning tool?A global source allows you to store and use clone areas between different documents.
How can I adjust the rotation and scaling of the clone source?Use the appropriate controls in the context bar to change the rotation and scaling of your clone source.
What happens if I enable the "Align" option?If the "Align" option is enabled, the clone source moves while painting relative to your brush stroke and remains consistent.


