The Blur-Tool in Affinity Photo is a powerful tool that allows you to change certain areas of your images in a harmonious and creative way. It works similarly to smudging paint with a finger on a canvas and helps you create the impression that your image has been drawn or painted. In this tutorial, you will learn step by step how to effectively use the Blur tool to achieve impressive results.
Main Insights
- The Blur tool simulates the effect of wet colors being moved.
- By choosing the direction of the smear, you can achieve various stylistic effects.
- The tool strength and flow can be adjusted to control the degree of blurring.
- You can also use the tool to refine layer masks and cutouts.
Step-by-Step Guide
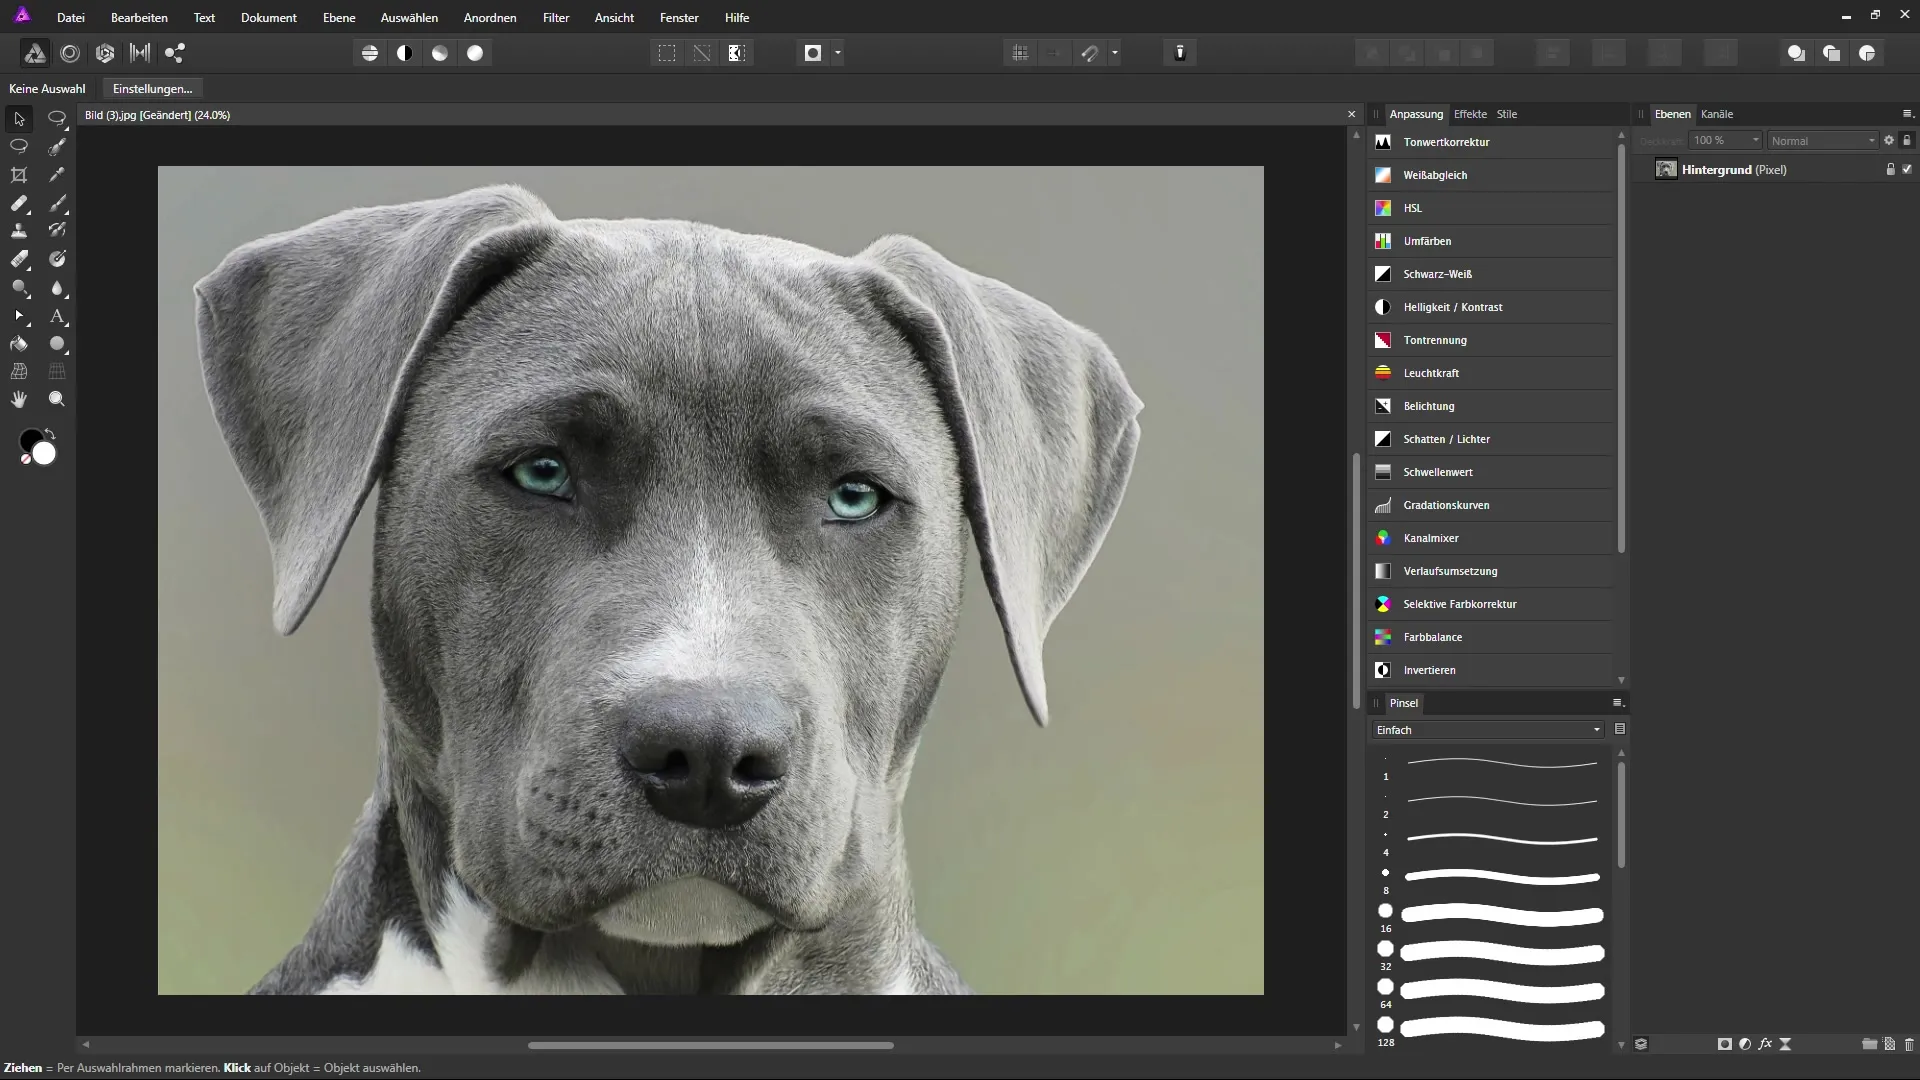
First, open an image you want to work with. To work non-destructively, create a copy of the background layer. Press the keyboard shortcut Control + J to create the copy. You can then rename this copy, for example to “Copy”.

Once you have created the copy, you need to select the Blur Tool. In most versions of Affinity Photo, this tool is hidden in the group with other painting tools like the Smudge Tool. Click on the painting tool and hold the mouse button down to open the context menu where you will find the Blur Tool.
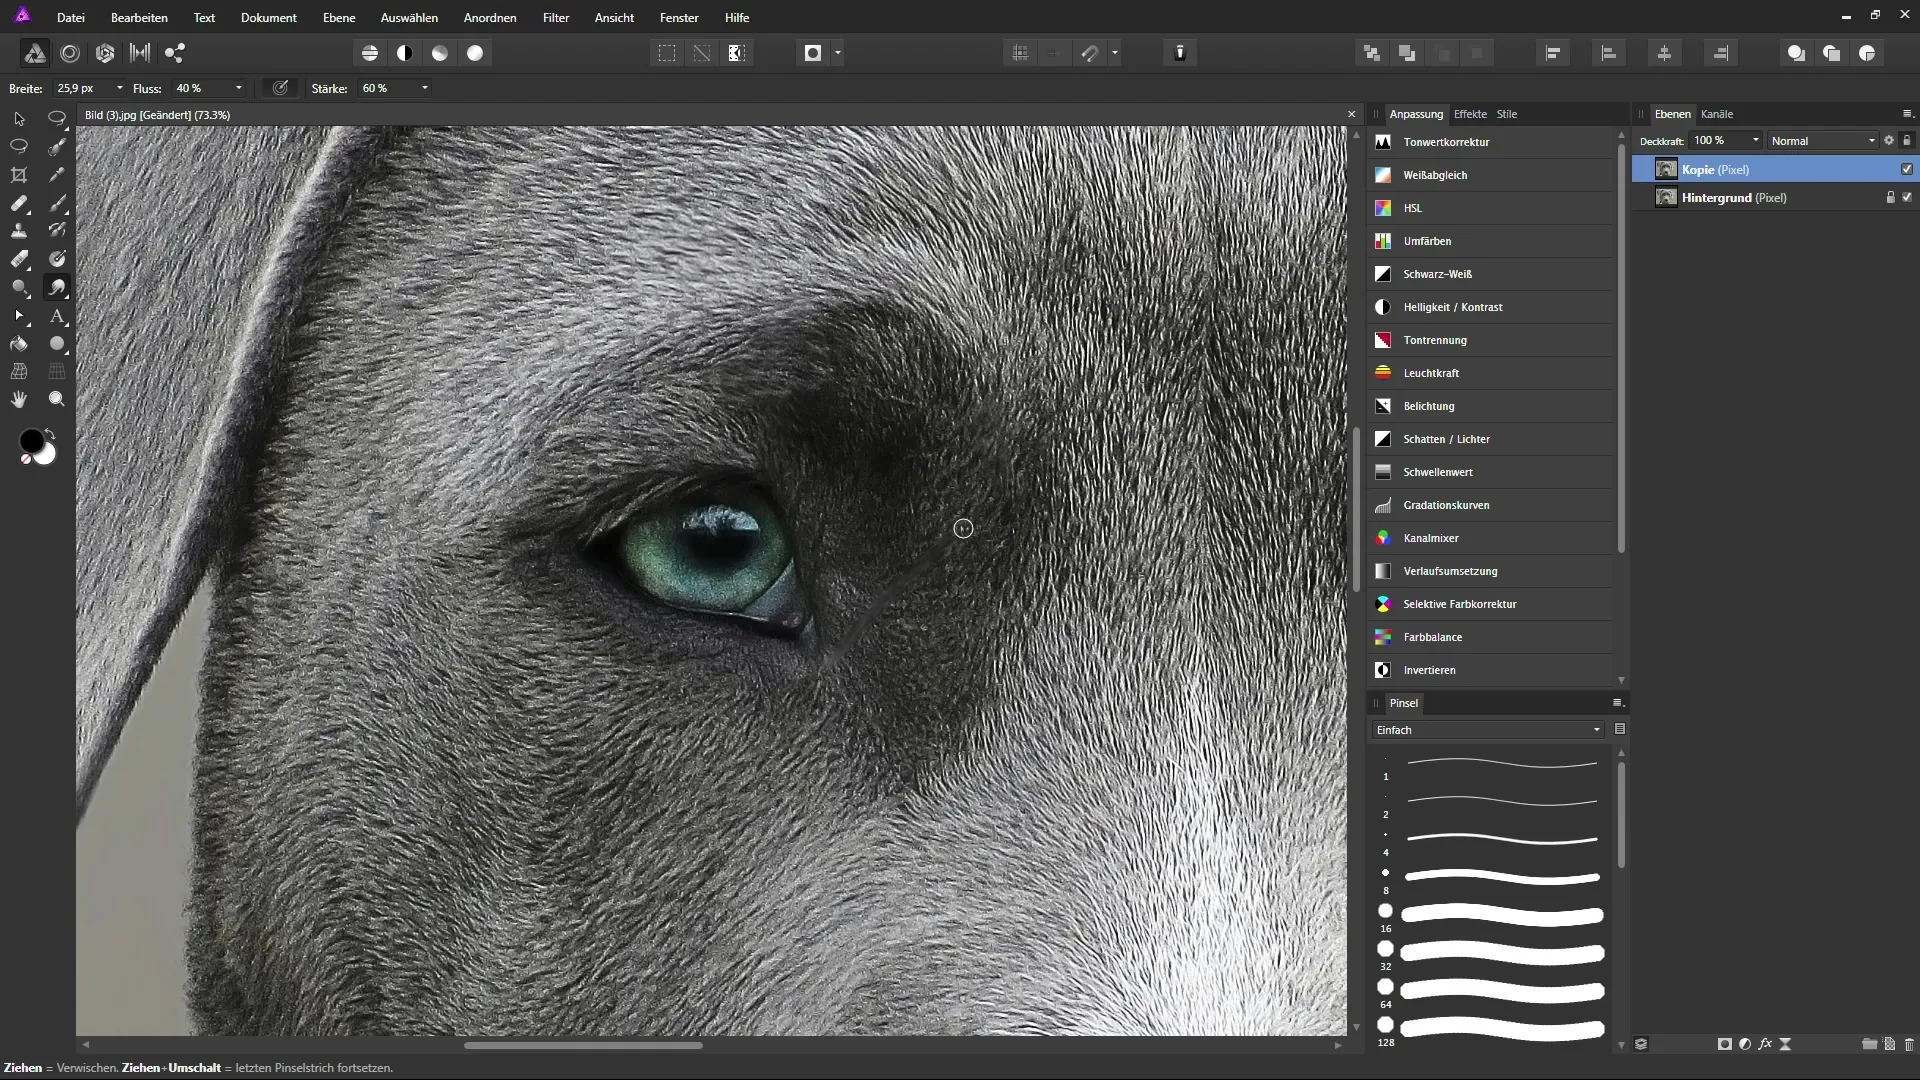
After selecting the tool, take a close look at the options in the context bar. Here you can adjust the width of the tool, the flow, and the strength. The flow determines how quickly the blur effect works, while the strength regulates the effect itself. For a soft, painterly effect, you might choose a flow of 40% and a strength of 60%.
Now you can start blurring. Zoom into your image area, for example to an eye, and begin to blur the pixels. Pay attention to the direction you are smudging to achieve realistic results. For instance, if you pull the pixels upwards, a new visual impression is created.

If you are not satisfied with the result, you can always undo the changes as you are working on a copy. This gives you the opportunity to experiment with different styles without affecting the original file.
Be cautious when working on more precise areas, such as the iris of an eye. Smudge along the contours of the object to preserve the details. Experiment with different smudging directions and observe how the image changes. The process can feel almost meditative – enjoy perfecting the details.
To complete your artistic presentation, also blur the reflections in the image to harmonize the overall impression. These techniques make your image more interesting and give it a painterly feel.
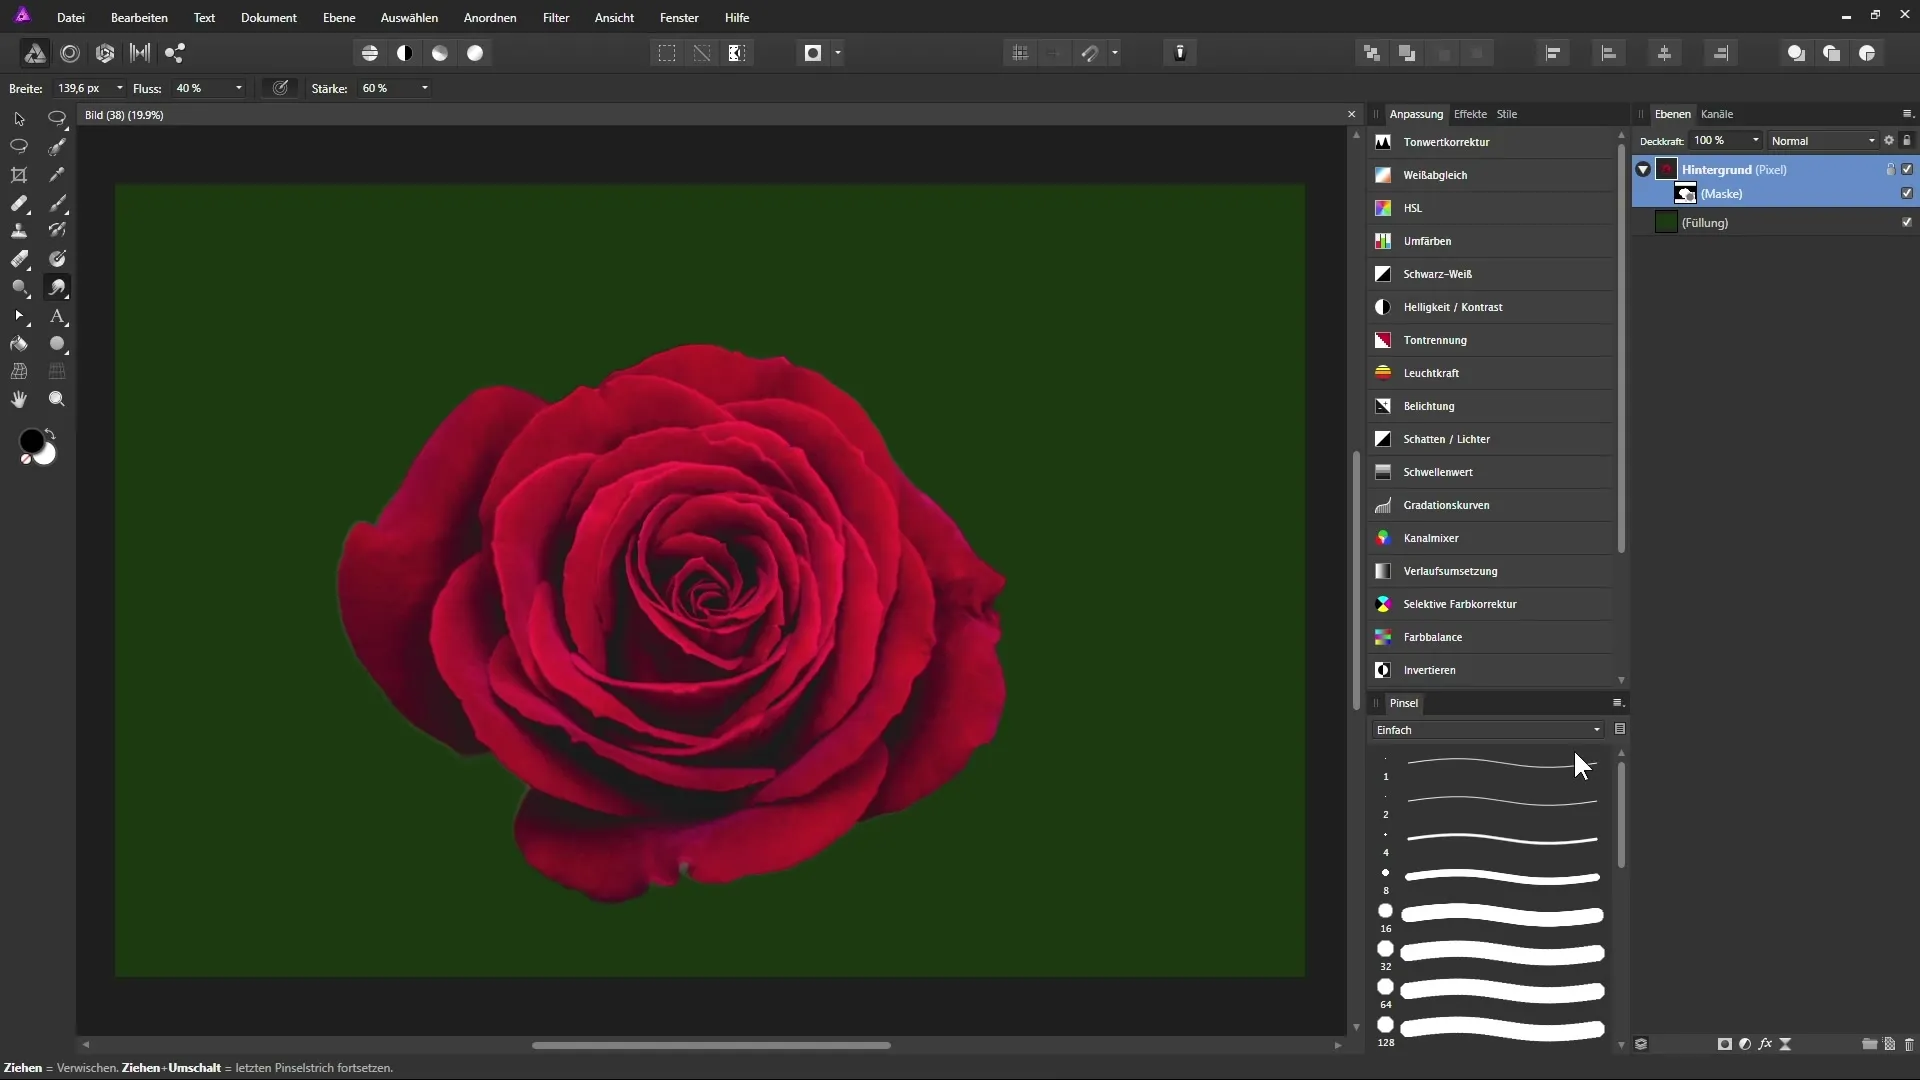
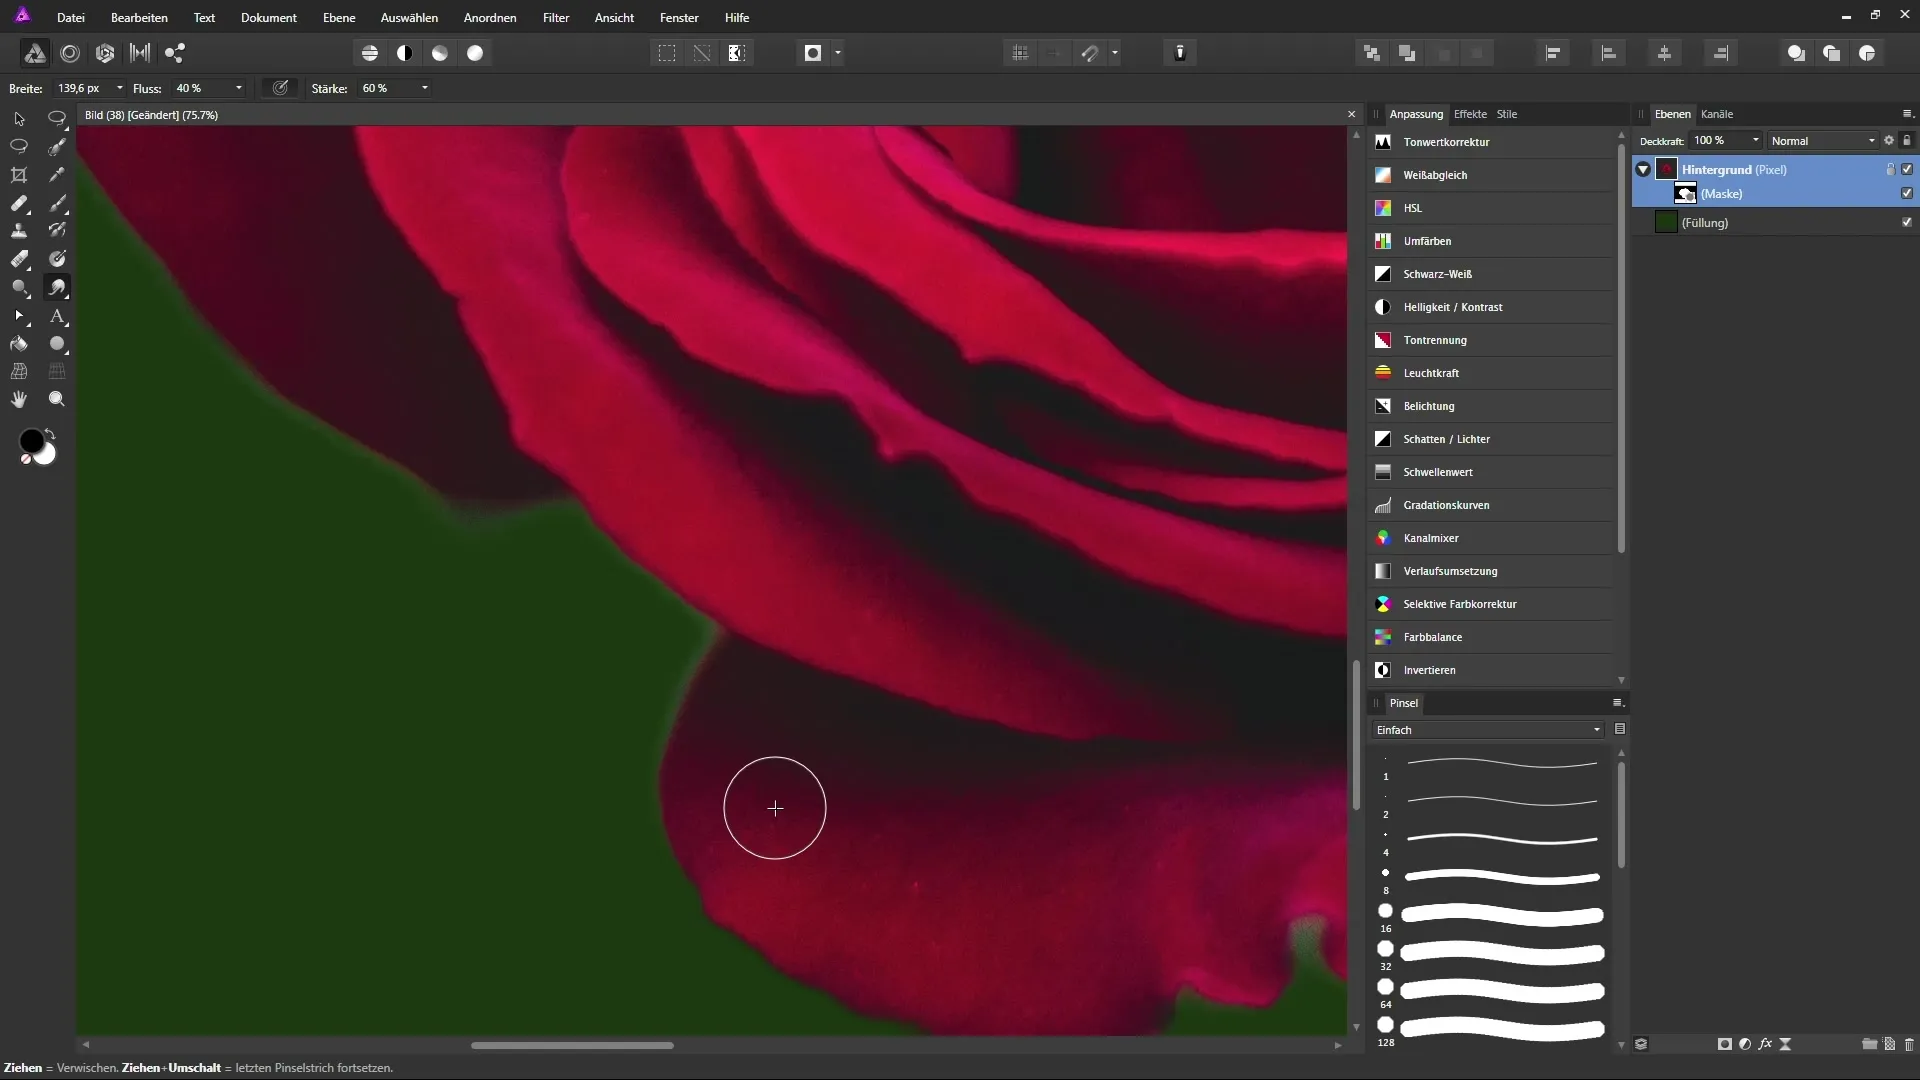
In addition to creating painterly effects, you can also use the Blur Tool for optimizing masks. For example, if you have a cutout that doesn't seem quite clean at the edges, you can adjust these areas with the Blur Tool to create a harmonious overall look.

To do this, click on the mask in your layers panel and start gently refining the edges with the Blur Tool. This minimizes visible transitions and creates a more natural connection between the cut-out object and the background.

You can also work directly on the image layer itself without a mask to achieve the desired effects. Push the pixels in the desired direction and fill in lighter areas with it. This way you maintain creative control over the image.
By applying these techniques, you will not only achieve a more individual result, but also incorporate the signature of your creative vision into the image.
Summary – Working Creatively with the Blur Tool in Affinity Photo
In this guide, you have learned how to efficiently use the Blur Tool in Affinity Photo to create impressive visual effects. From creating a copy of your background layer to adjusting important settings and applying techniques to make your images more creative – the Blur Tool gives you the freedom to transform your image in a whole new way.
Frequently Asked Questions
What is the Blur Tool in Affinity Photo?It is a tool that allows you to move pixels in an image in a specific direction, thereby creating painterly effects.
How do I create a copy of the background layer?Press the keyboard shortcut Control + J to quickly create a copy of the selected layer.
How can I adjust the strength of the blur effect?In the context bar, you can adjust the strength of the tool to regulate the blur effect.
Where can I find the Blur Tool?The tool can be found in the group with the painting tools; hold down the mouse button to select it.
Can I use the Blur Tool for masking purposes as well?Yes, it is excellent for gently blurring edges in masks and creating a more harmonious cutout.


