If you are working with Affinity Photo and want to integrate text into your graphics, the program provides effective tools for this purpose. In the following tutorial, you will learn how to optimally use the text tool to create and edit text. Whether you just want to put a short quote on an image or design a complex paragraph, Affinity Photo has the right features for that.
Key Insights
- The text tool allows for creating and adjusting text in Affinity Photo.
- You can customize text and fonts individually, including size, style, and color.
- There are options for creating graphic text and paragraphs.
- Styles help in quickly applying text formatting.
Step-by-Step Guide
Select Text Tool
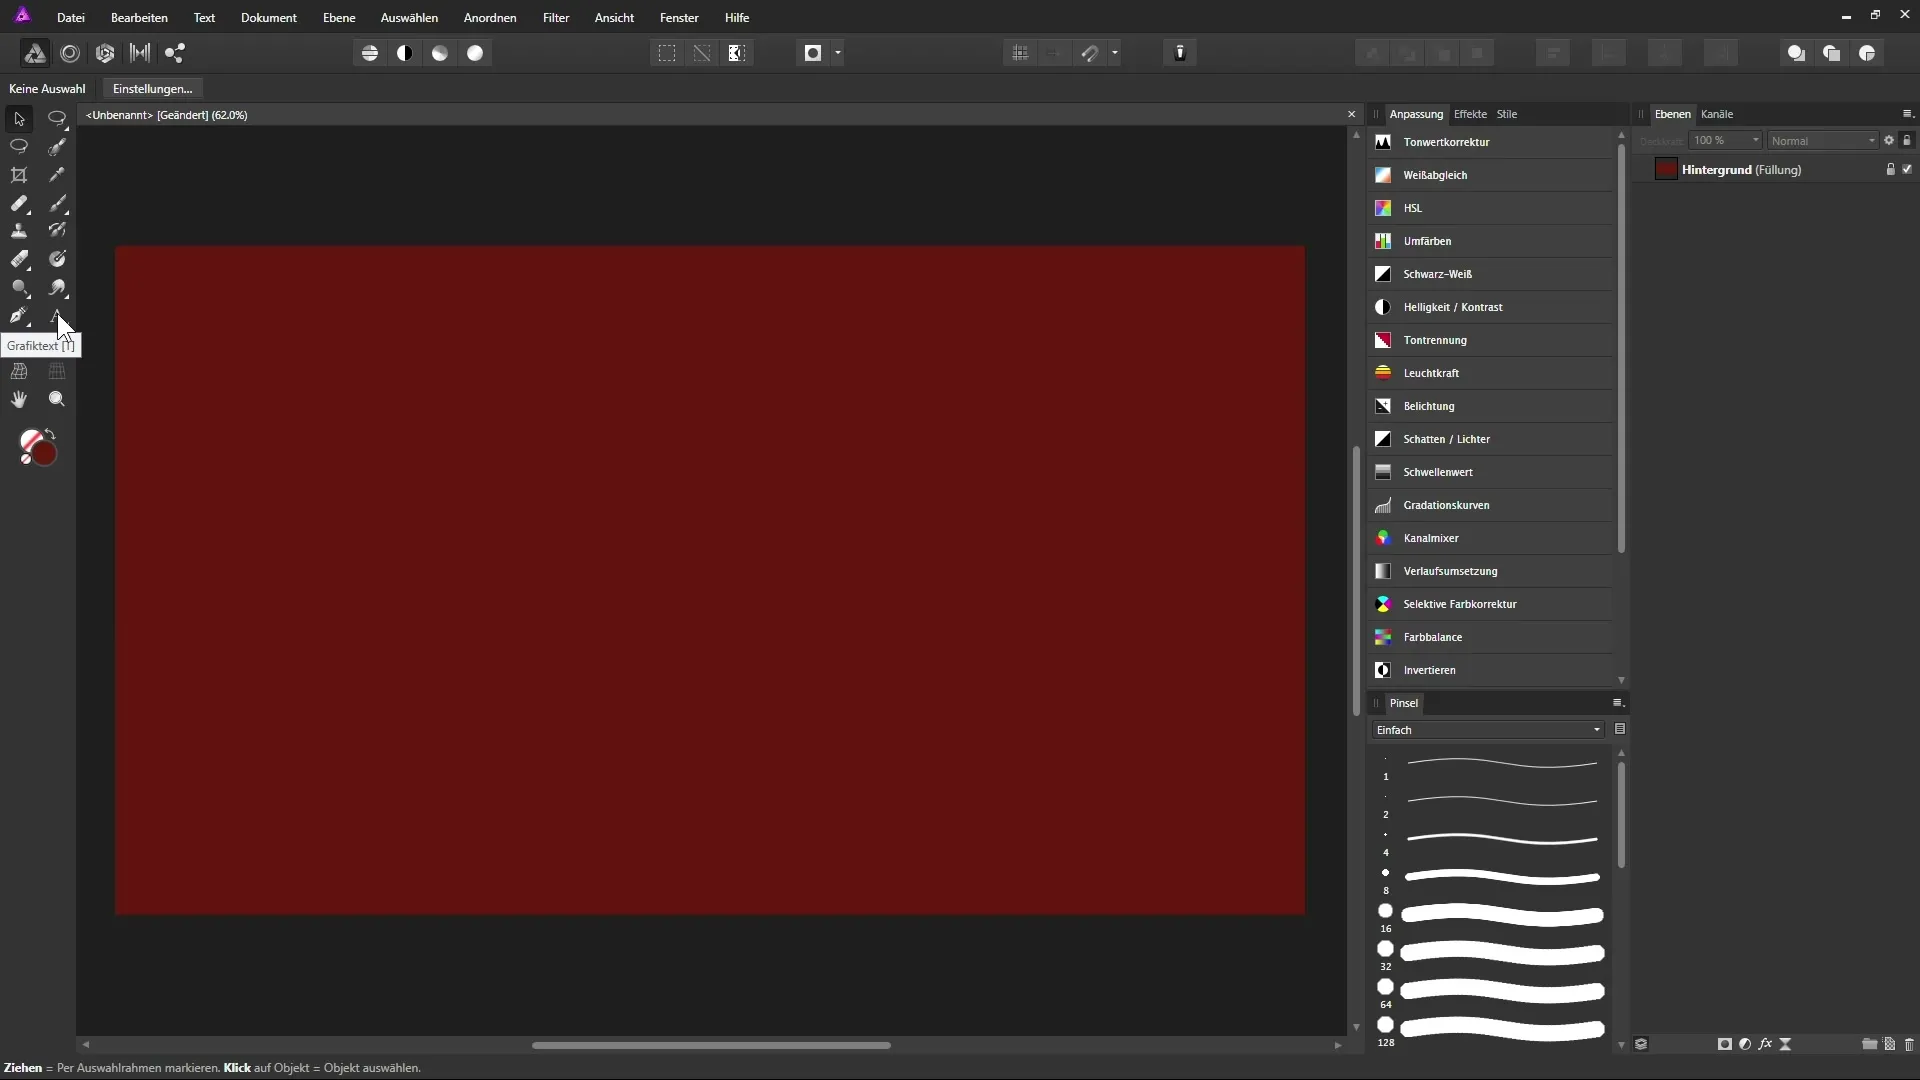
To create a text object, select the text tool from the toolbar. The icon for this is easy to find, and alternatively, you can also activate it using the shortcut “T”. When you click on this tool, the context bar at the top of the program will become visible, where you can find various options to customize your text.

Create Text
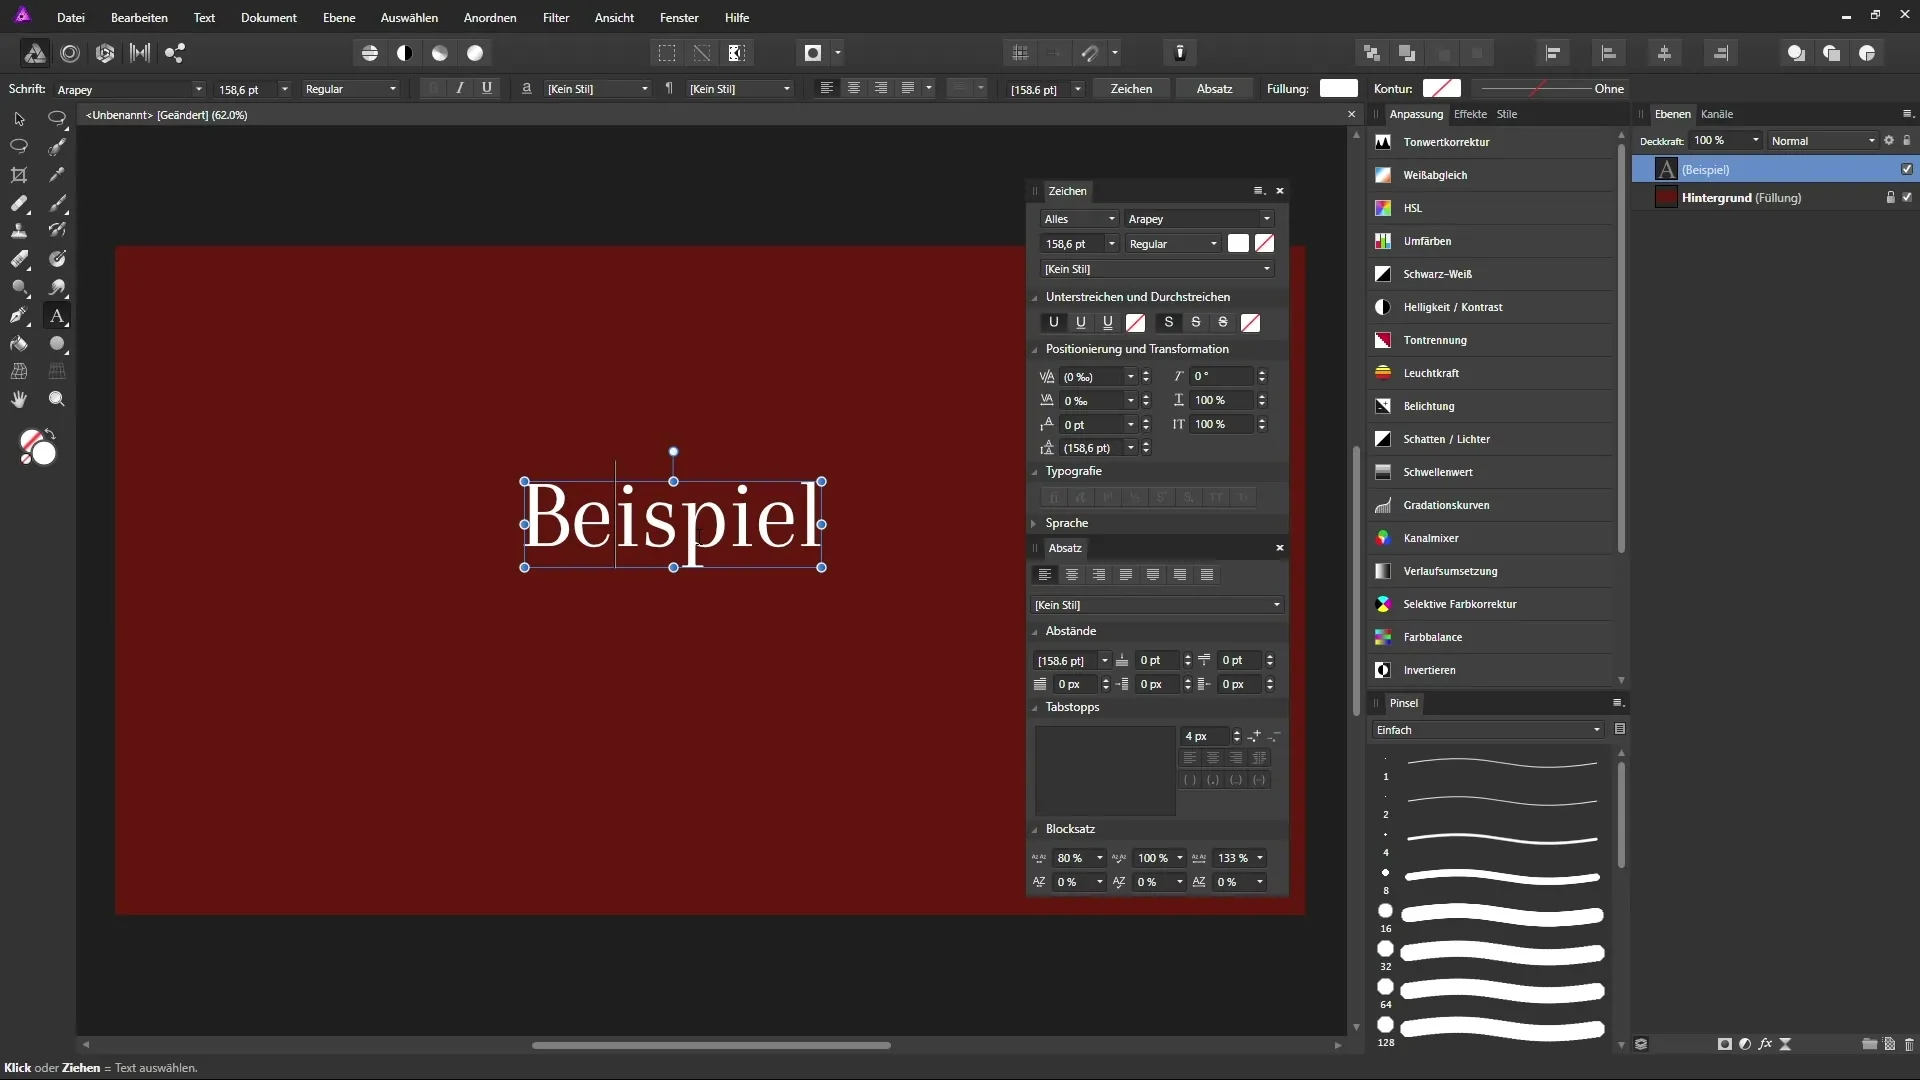
Now click with the text tool at the position in the document where you want to place the text. A new text box will be created. You can start typing immediately; for example, insert a sample text. Once you do this, the text box will be displayed in the Arial font and in size 100 points.
Adjust Font Size and Style
The text is surrounded by a transformation frame that allows you to adjust the size of the text. Use the corner handles by clicking and dragging to make the text larger or smaller. The font size will be automatically updated in the context bar. You also have the option to rotate the text using the top handle while holding down the Shift key to rotate in 15° increments.
Change Font
If you want to change the font, select the text layer in the layer list and go to the menu of the various fonts. The fonts are clearly listed: on the left, you see the names of the fonts, and on the right, a preview. When you hover over a font, you will immediately see a preview of the selected text, which helps you choose the right font.
Adjust Font Style and Format
Besides the font, you can also adjust other properties like the font size and font style (bold, italic, underlined, etc.). Furthermore, you have the option to format the text as left-aligned, centered, or right-aligned. Remember to also change the fill color of the font to achieve the desired visual effect.
Advanced Text Creation with Character and Paragraph Tools
Affinity Photo offers special panels for character and paragraph design. To use these, activate the Character and Paragraph panel via View > Studio. These panels offer a variety of features to specifically design your text element. Here you can fine-tune both the font and the positioning and transformations of the text.
Adjust Spacing Between Letters
An interesting feature is the ability to adjust the spacing between two letters. Hold down the ALT key and use the arrow keys to move the letters closer together or further apart. This allows you to design the text precisely and according to your aesthetic preferences.

Create Frame Text
If you want to create a flowing text, there is a special option for frame text in the toolbar. Click on the icon and drag a frame where you can position the text. After you have drawn the frame, you can copy text into it and format it as you like.
Formatting and Paragraph Design
You can format your text in the frame text panel, including adjusting the text alignment or inserting spaces between paragraphs. Here, too, it is advisable to create multiple paragraphs, which you can do by pressing “Enter” twice. Use the paragraph palette to make changes like creating an indent for the first line or controlling the spacing between paragraphs.
Using Text Styles
If you often work with texts, it is advisable to use styles. These allow you to save formatting you have already applied and apply it with a click. Use the character and paragraph styles menu to create your own styles and apply them to new texts, which can save you a lot of time.
Post-Adjustments
A special feature of Affinity Photo is that you can adjust your texts at any time without having to recreate the text layers. Just click on the graphic text or frame text and double-click on it to edit it. The program automatically switches to the text tool, allowing you to make adjustments seamlessly.
Summary – Effectively Using the Text Tool in Affinity Photo
The text tool in Affinity Photo offers you a variety of possibilities for designing text in your projects. Whether you need simple text boxes or complex paragraphs, the features are clear and easily accessible. By applying styles, you can efficiently handle repetitive tasks and implement your designs faster.
Frequently Asked Questions
What options do I have with the text tool?The text tool allows for creating and adjusting text, including font, size, and color.
How can I change the spacing between letters?Hold down the ALT key and use the arrow keys to adjust the spacing between the letters.
What is the benefit of text styles in Affinity Photo?Text styles make it easier to apply predefined formatting to texts and save time.


