Editing images is easier and more effective than ever, especially thanks to the new AI features in Adobe Photoshop. With these tools, you can effortlessly remove objects and people from your images or even add new elements. In this tutorial, I will show you how to make the most of these tools to achieve impressive results. Whether you are a beginner or an experienced user, the following steps will help you optimize your photos effortlessly.
Main Key Points
- The new Removal Tool in Photoshop allows for the targeted removal of unwanted objects from images.
- With Generative Fill, you can not only remove objects but also replace them with new ones that fit perfectly into the overall image.
- A non-destructive workflow is recommended so you can always revert to the original images if needed.
- The AI tools offer fast and impressive results, but may sometimes produce unexpected error messages in the beta version.
Step-by-Step Guide
Step 1: Using the Removal Tool
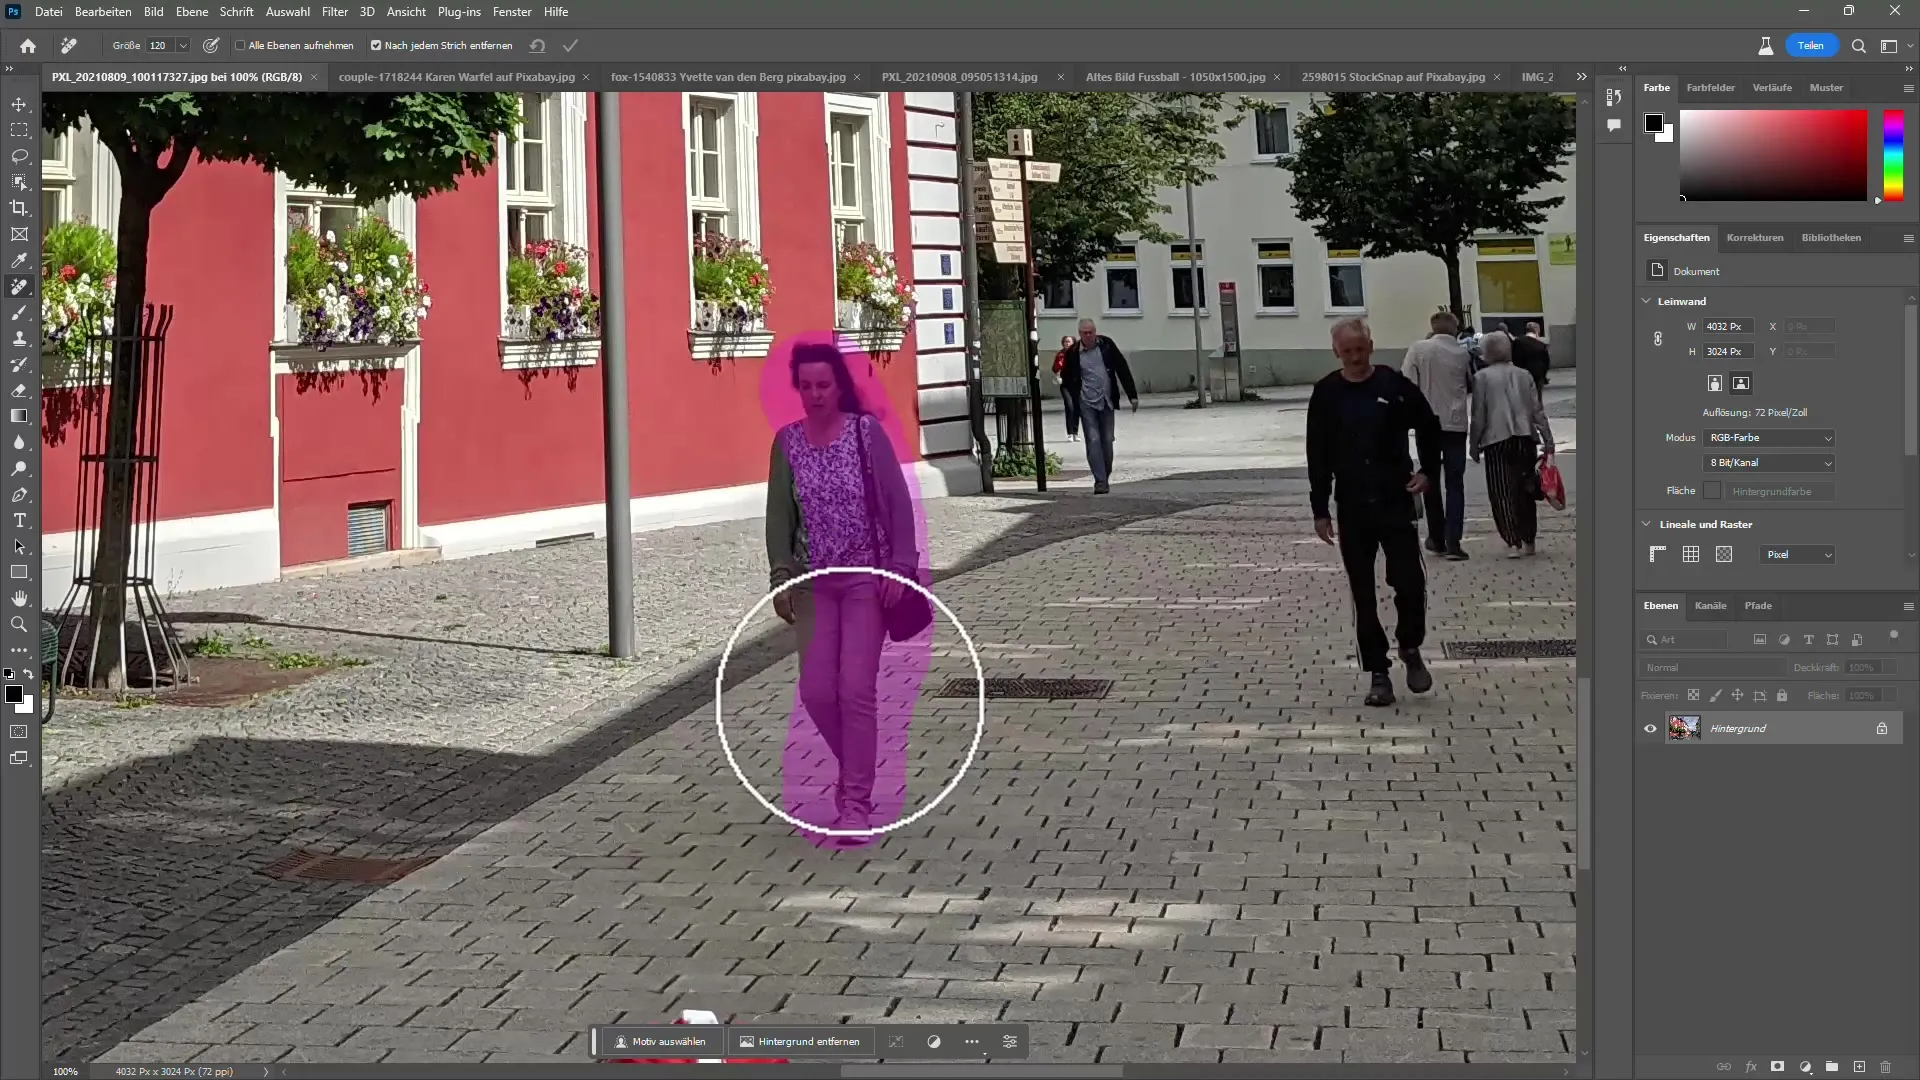
Open your desired image in Photoshop. In this example, I will use an image that contains many passersby whom I want to remove. Click on the Removal Tool in the toolbar. You can adjust the brush size at the top of the bar. I recommend first roughly setting the brush size to make the work easier.
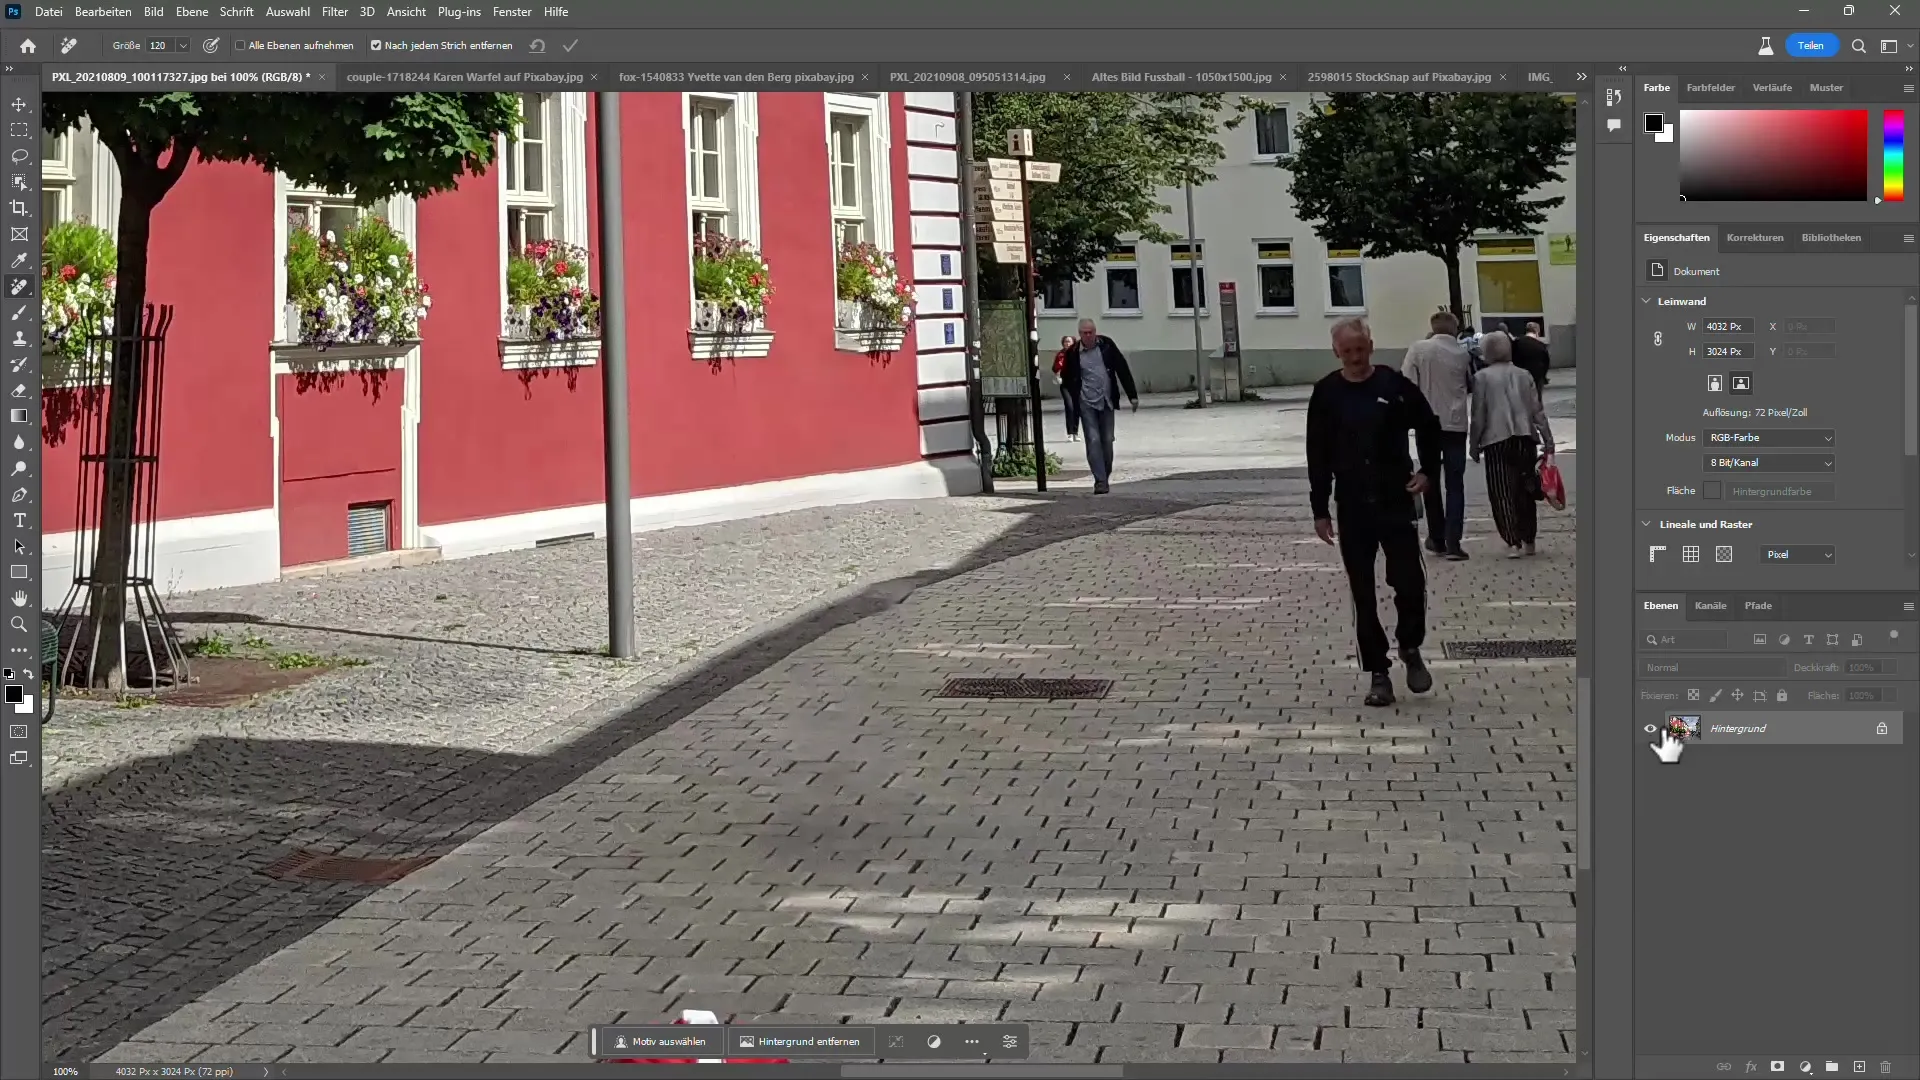
To remove a person, press and hold the left mouse button and drag over the object you want to remove. Immediately you will see the result: the person will be removed.
Step 2: Non-Destructive Editing
To ensure you are not permanently altering your image, you can use the Include All Layers option. This will create a new layer where the changes are made. This way, you can always restore the original images if necessary.
Select a new layer before proceeding with object removal.
Step 3: Generative Fill
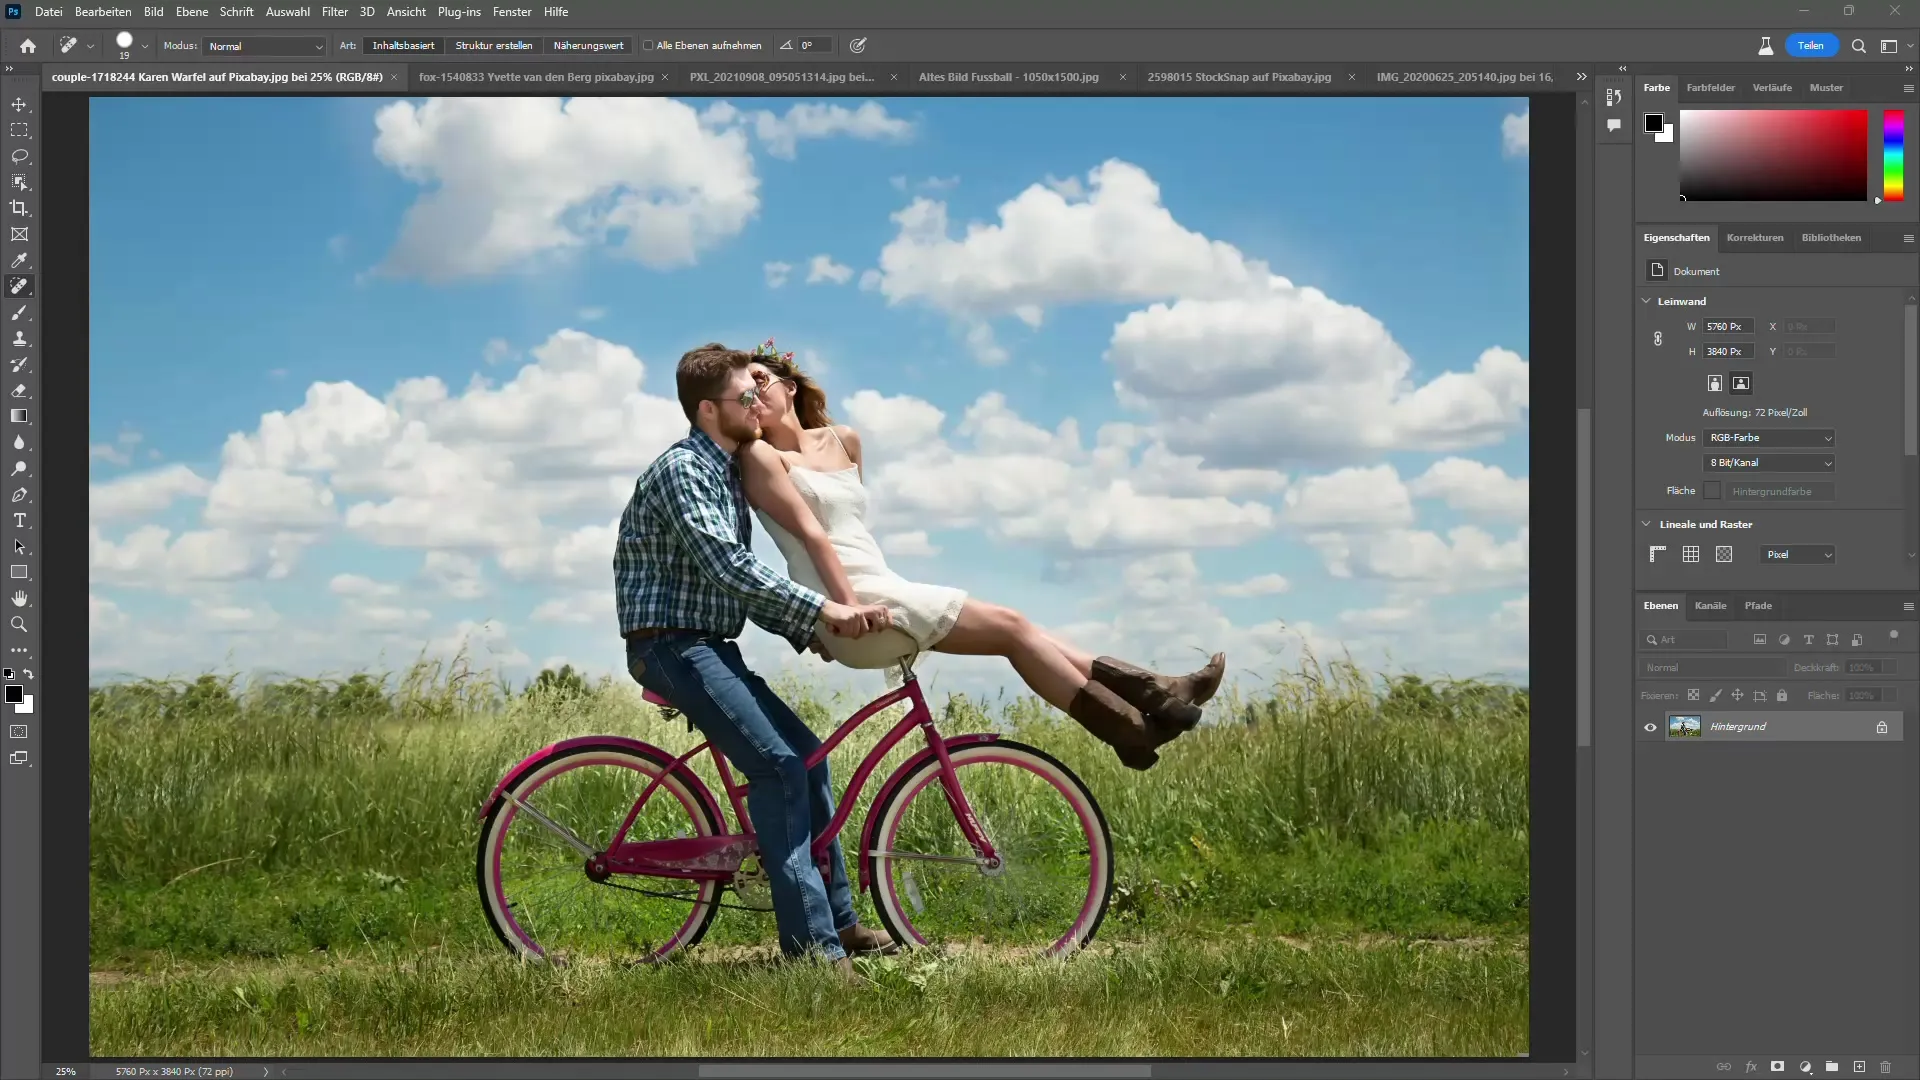
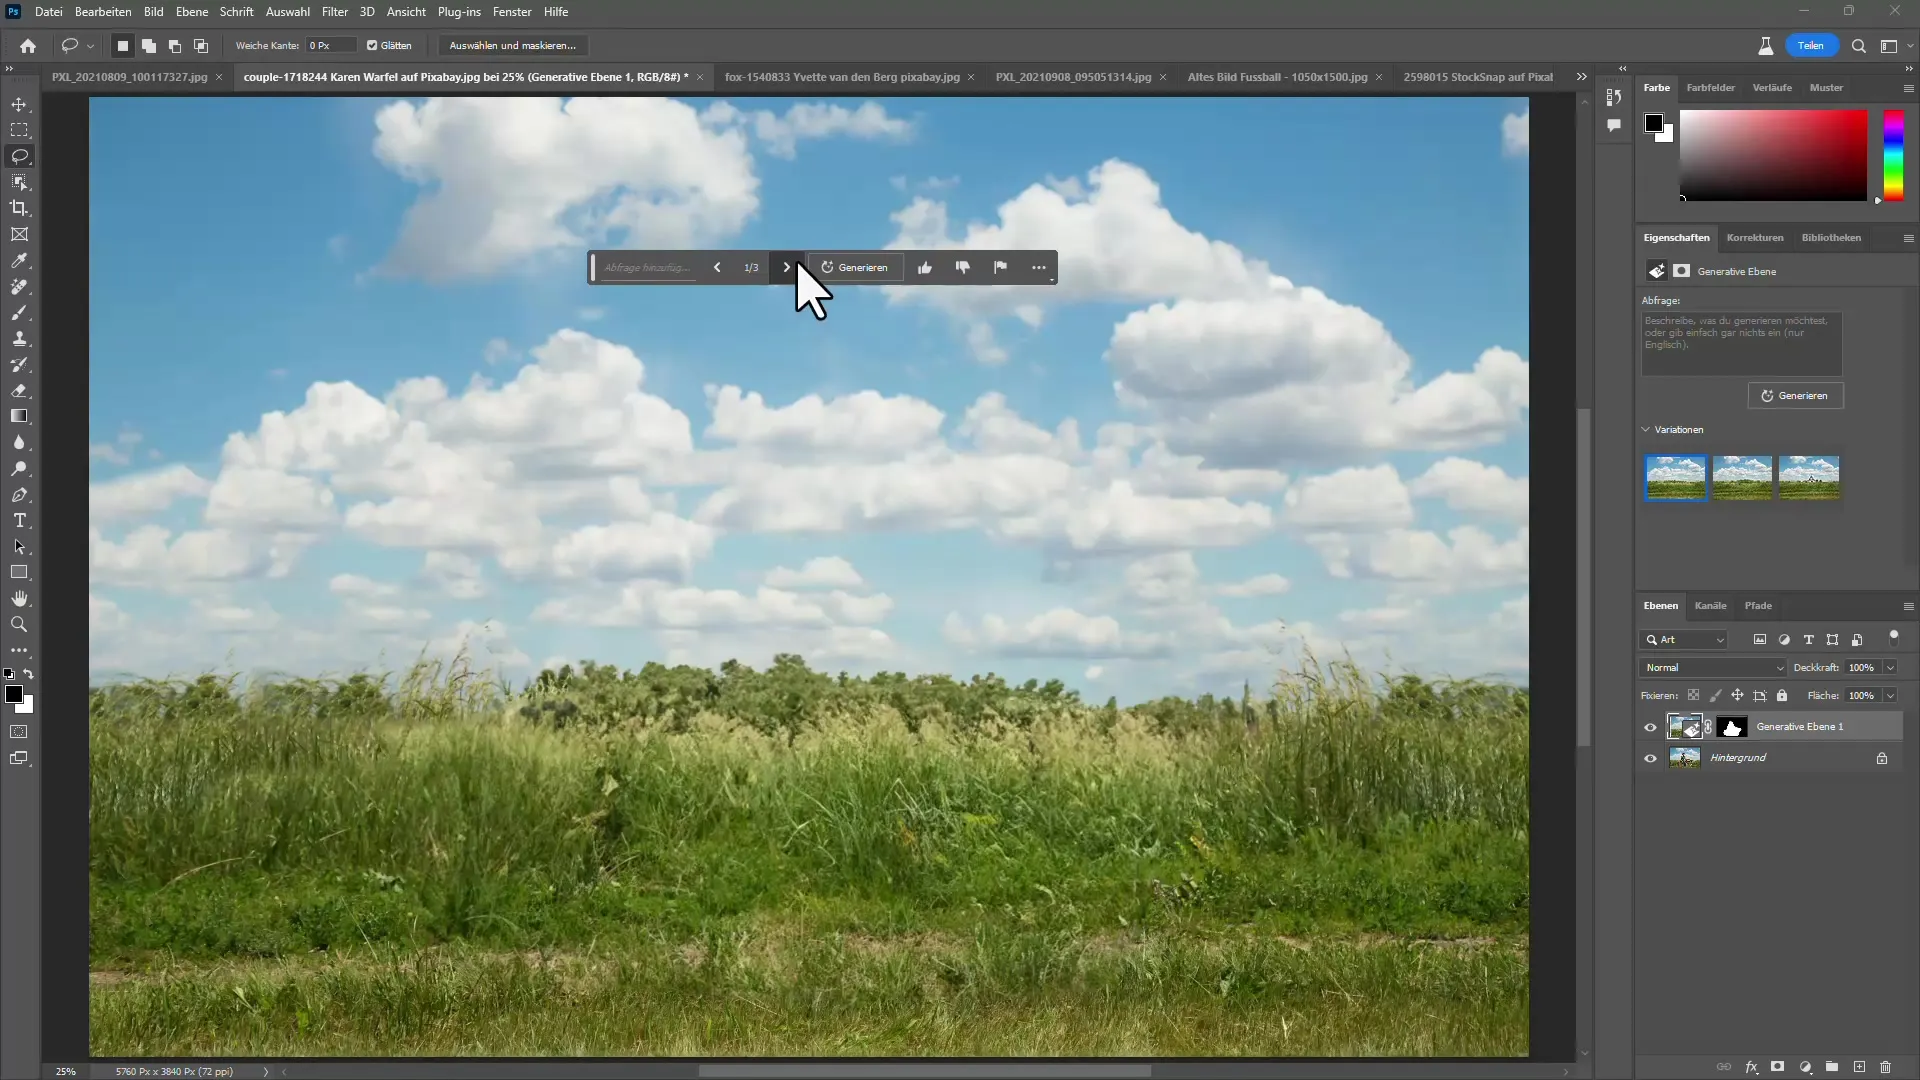
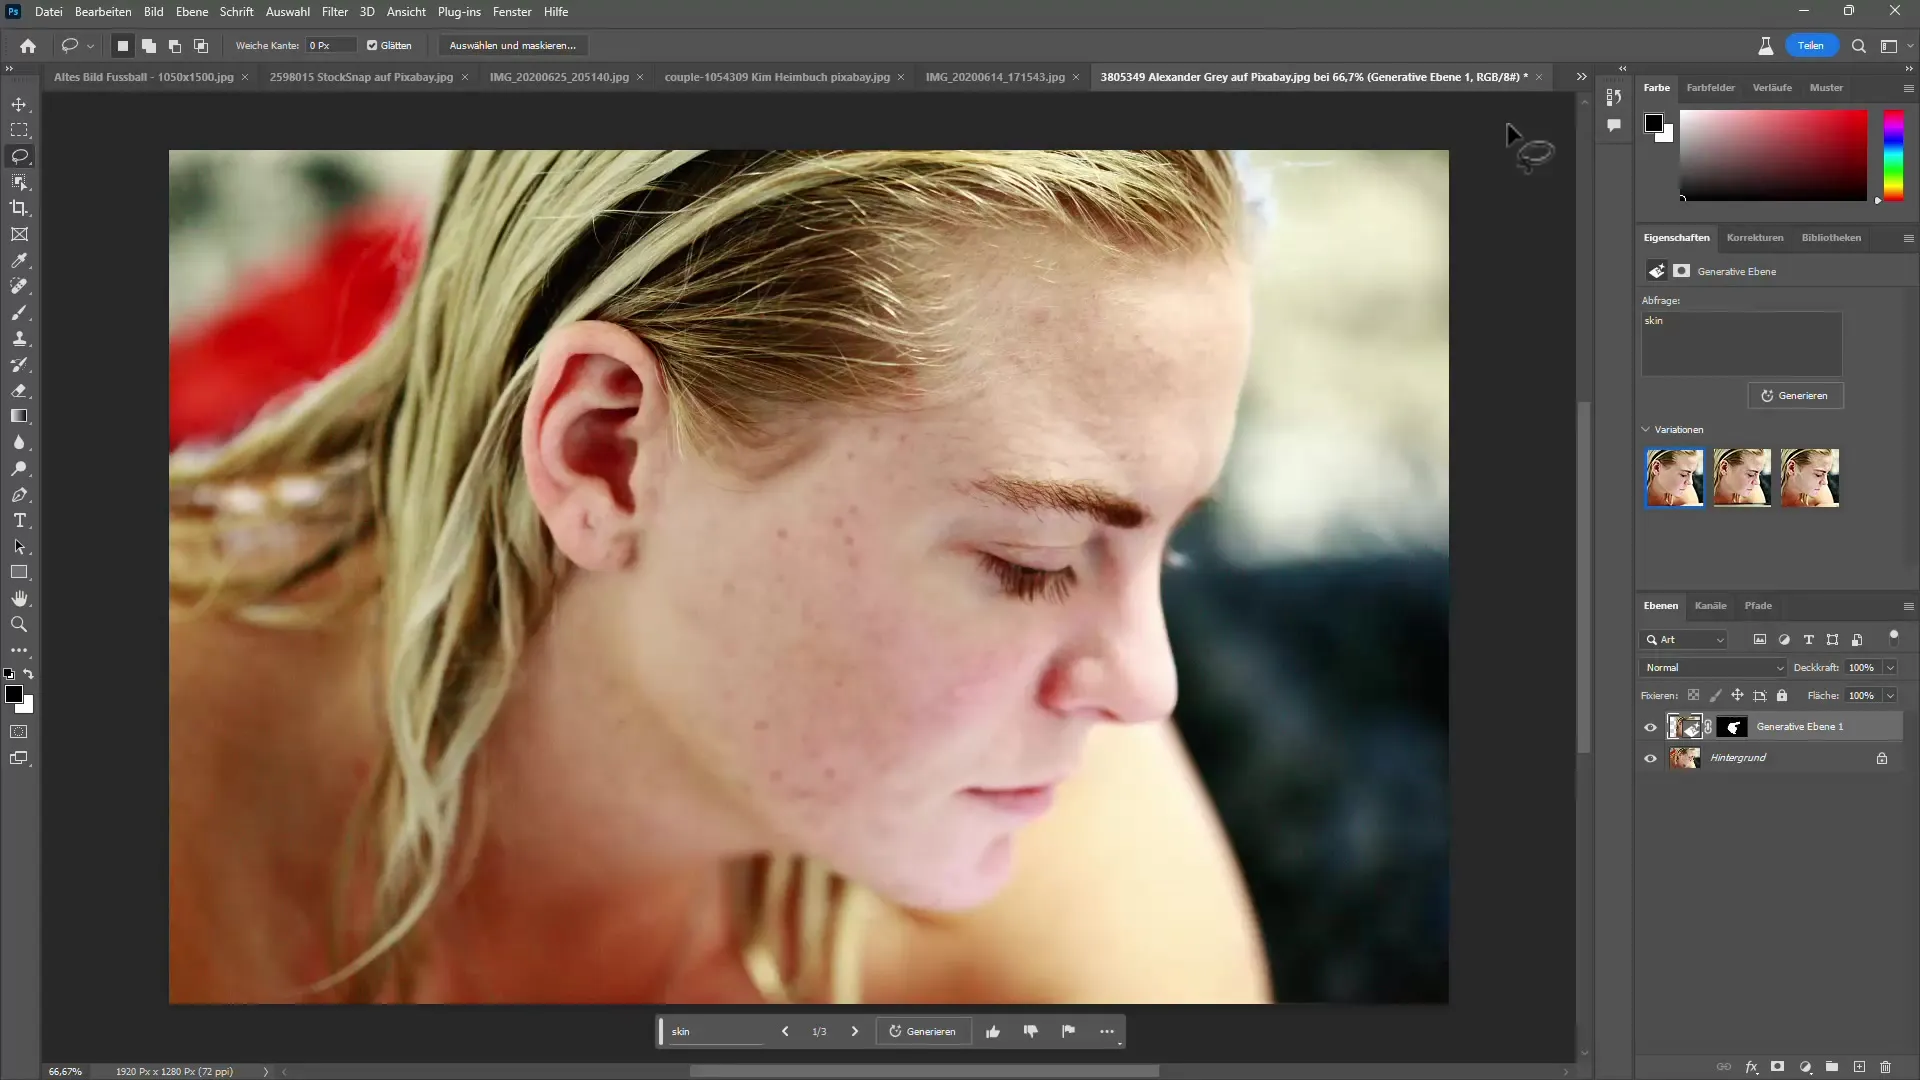
Now, let me show you the latest tool in Photoshop - Generative Fill. Select the Lasso tool and mark the object you want to remove. Go to the bottom taskbar and click on the generative fill command. Currently, you may have to enter terms in English, but in the near future, German terms should also be supported. If you want to remove the object, simply click Generate.
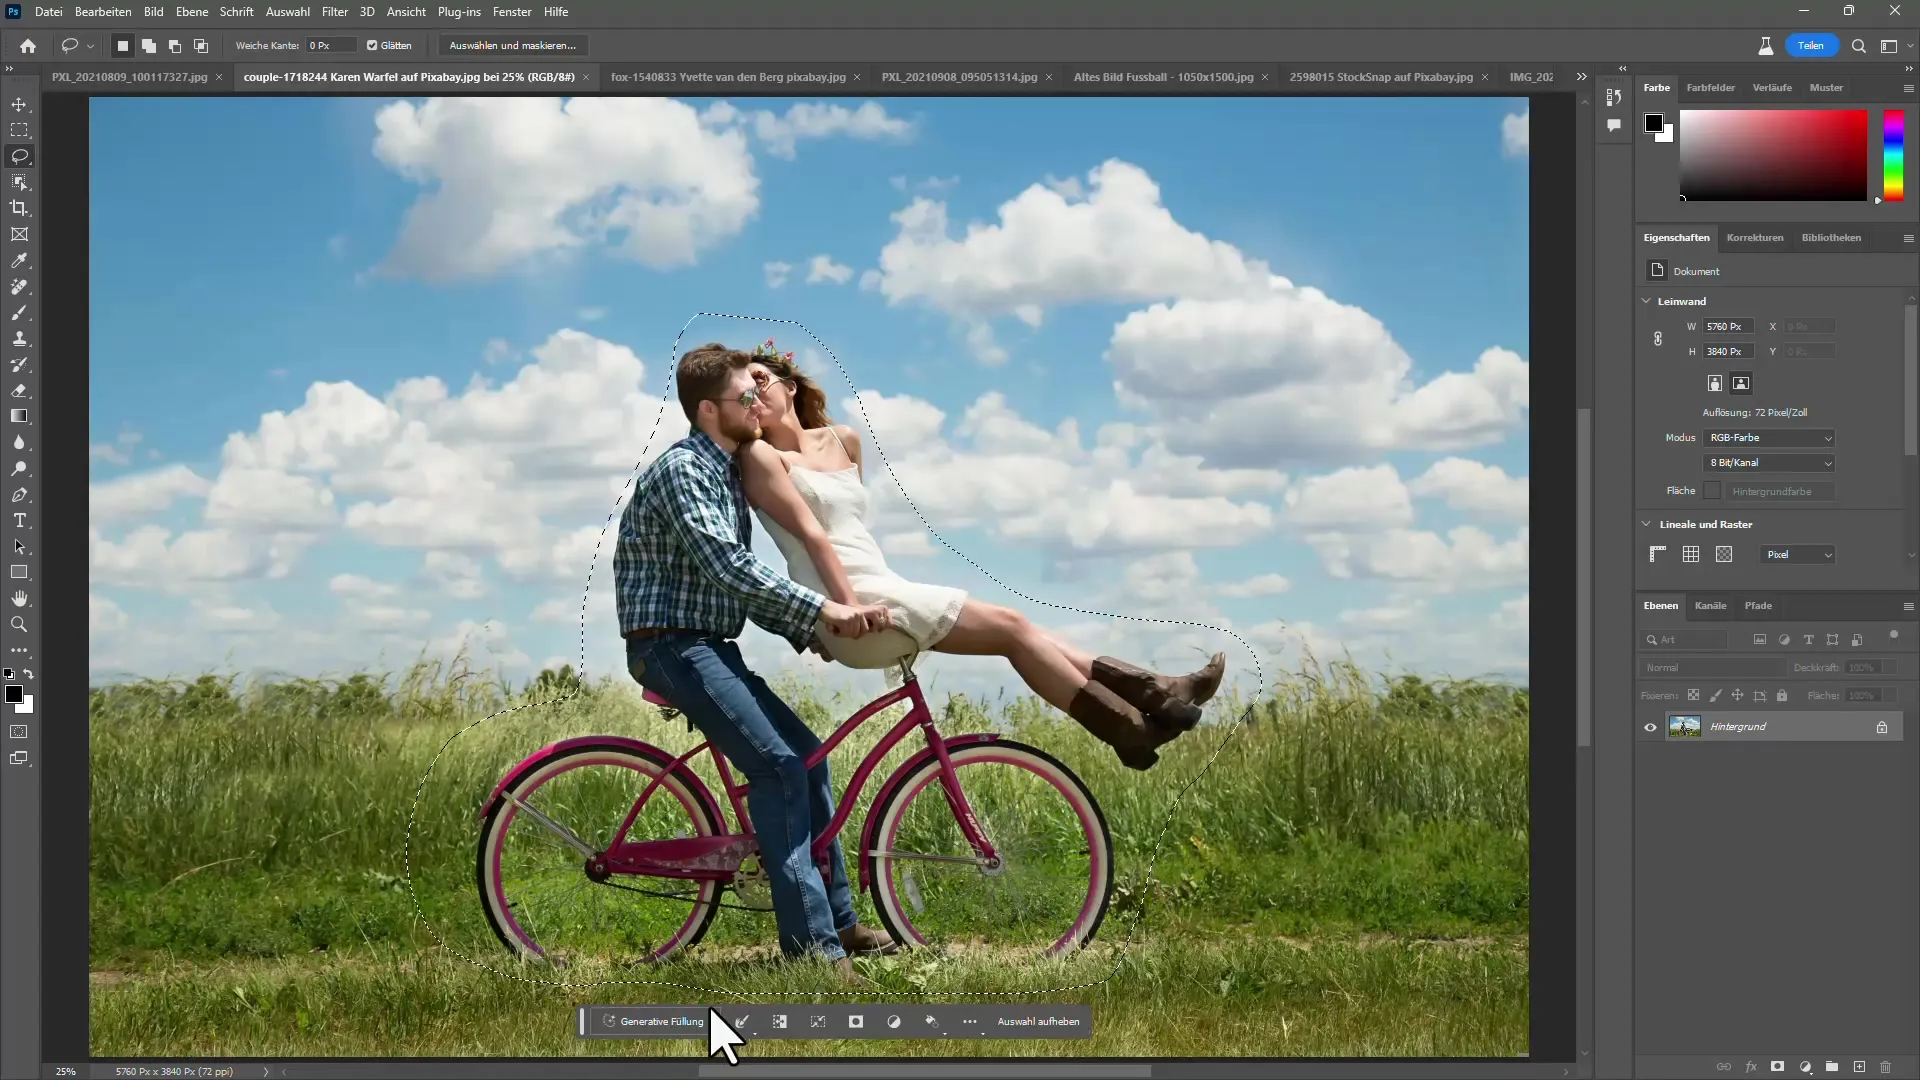
Step 4: Replace an Object
If you want to add a new object instead of removal, you can simply enter the desired term in English. For example, "tree" for a tree or "car" for a car. The system will then provide you with several suggestions. You can quickly see which result best fits the image.
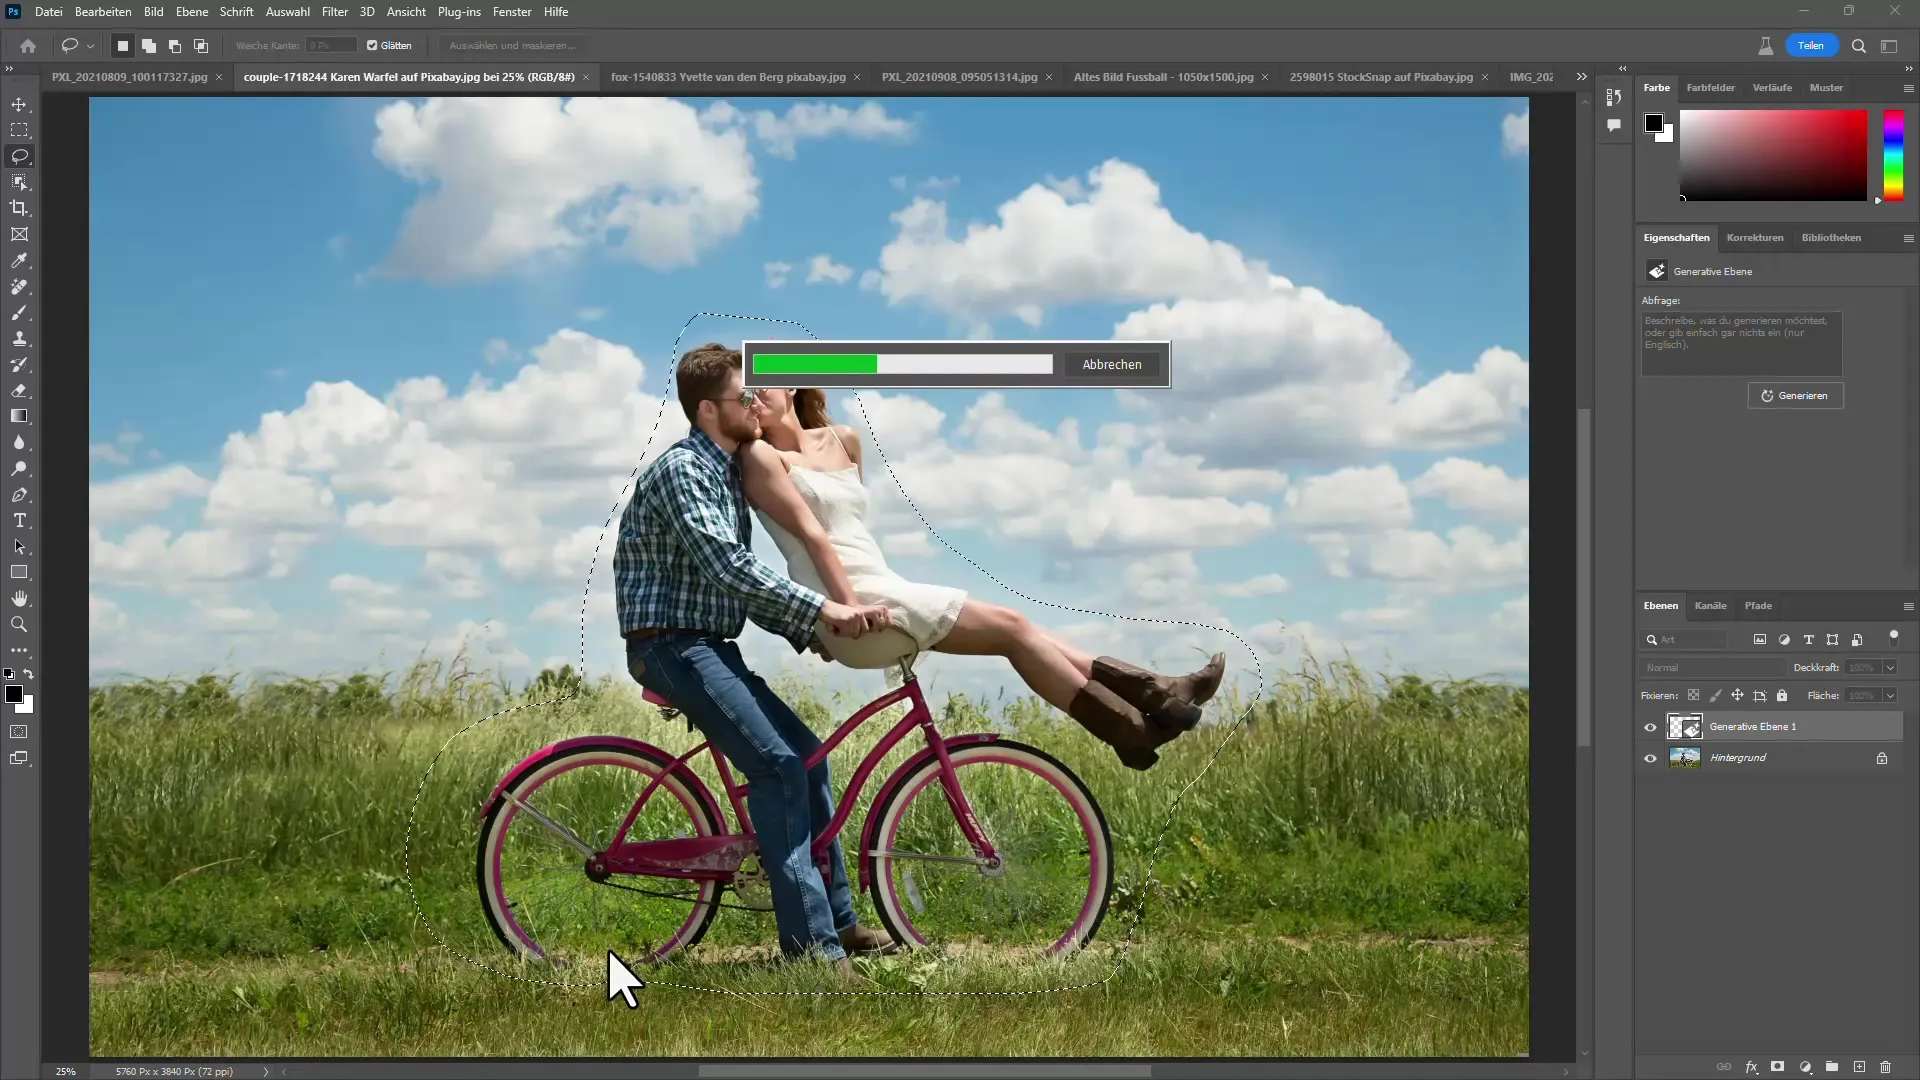
Step 5: Selecting Results
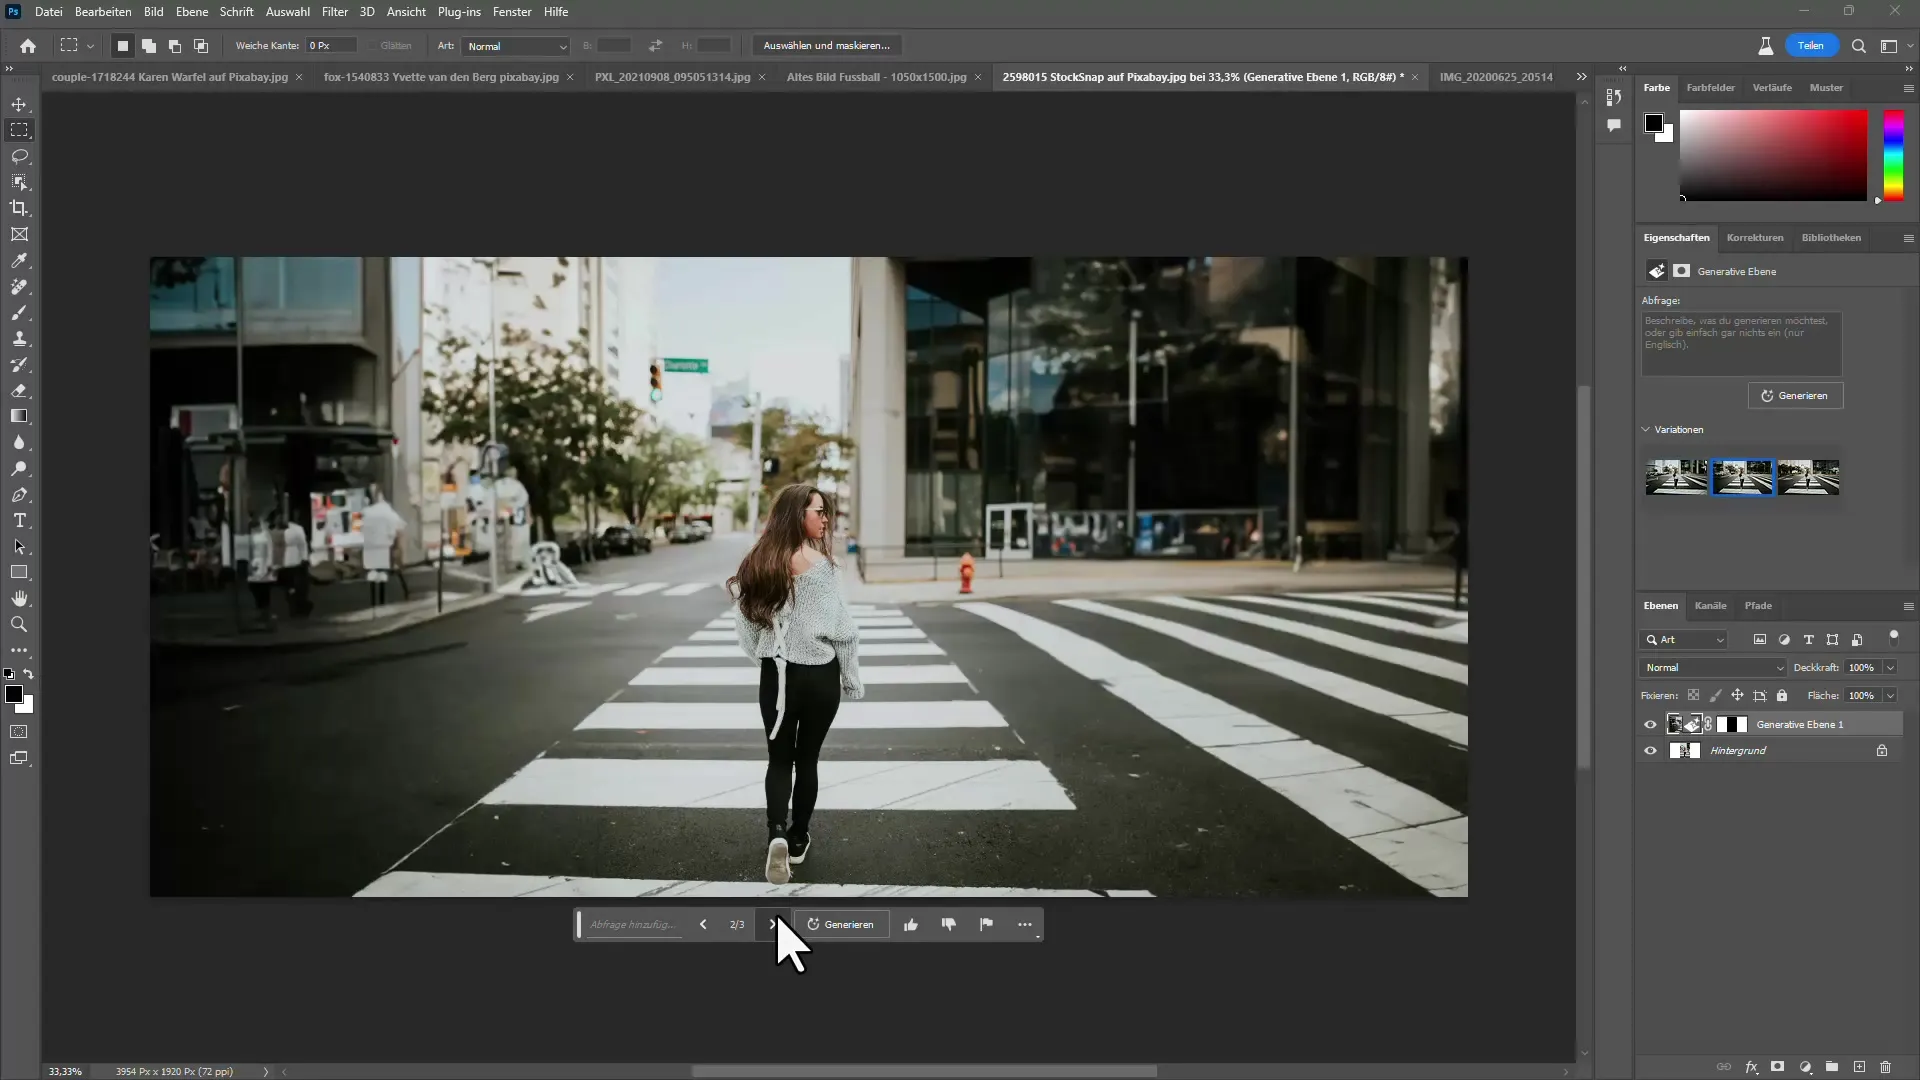
In the next selection, you will see various proposals offered by the AI. Click on the suggestions to choose the best one. This happens quickly and you can immediately see the result. The generative fill is impressive and the resulting images often look very realistic.
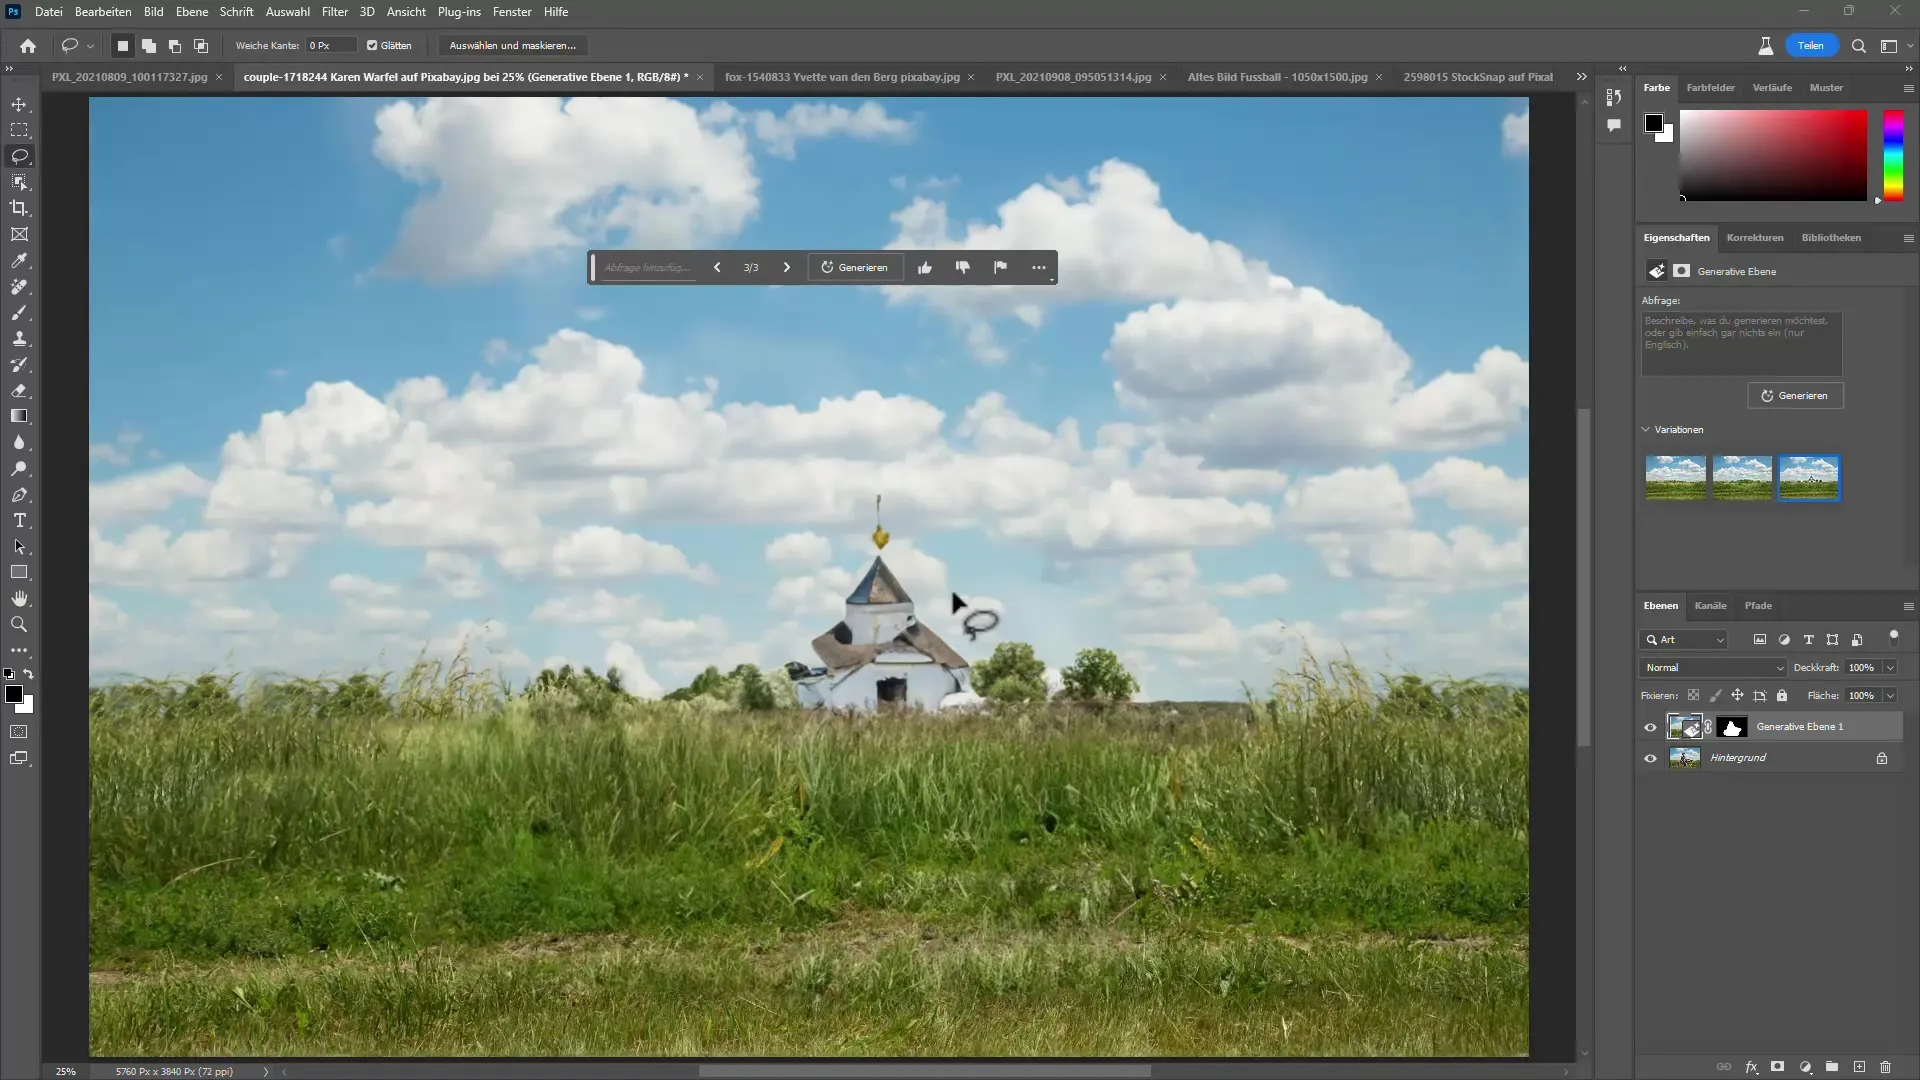
Step 6: Expand an Image
If you want to make an image wider, you can also use the Alt key to stretch the image on both sides. Then you can use the generative fill tool again to expand the surroundings accordingly by entering terms like "forest" or "sky".
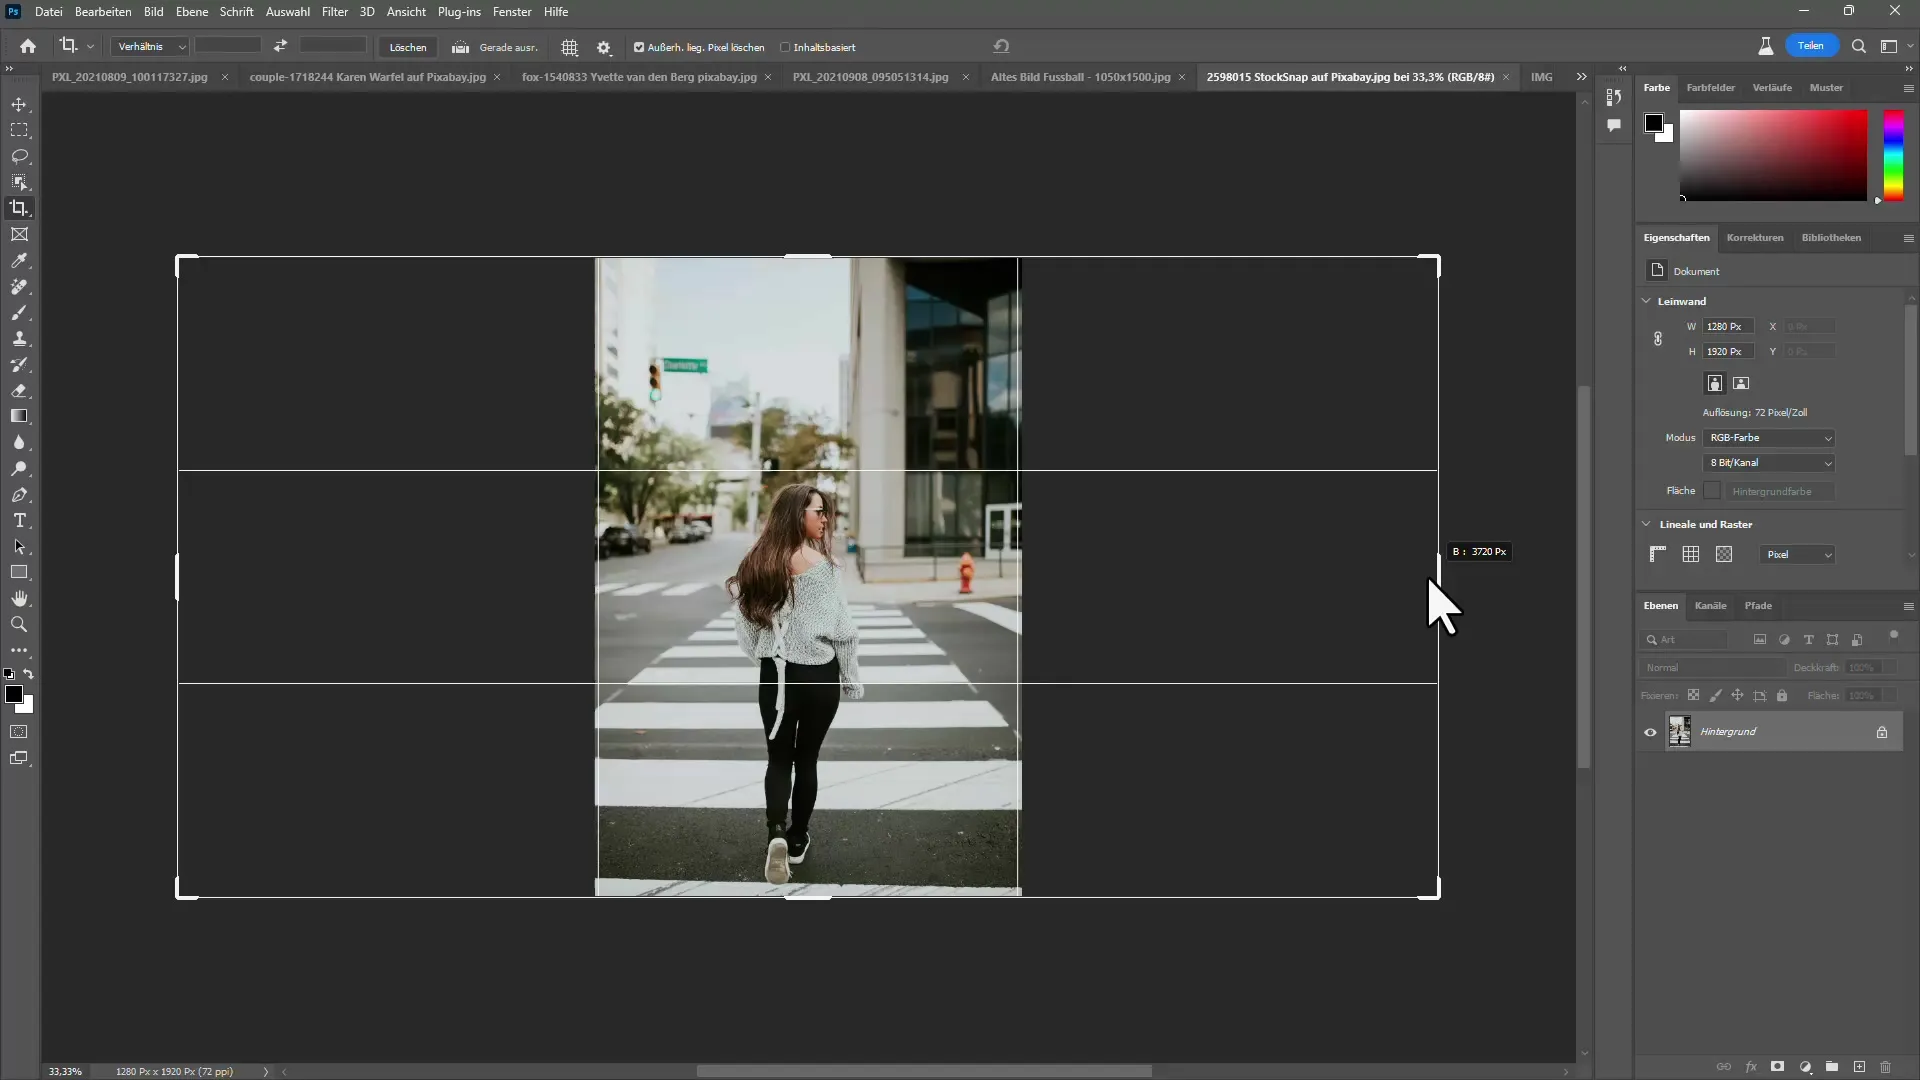
It is important that the merged image also matches the original one.
Step 7: Export and Save
Once you are satisfied with the editing, you should save your work. Save the image as a PSD file to ensure future access to all layers and suggestions. This way, you can make adjustments anytime without starting over.
Summary
In this tutorial, you have learned how to effectively use the newer AI tools in Photoshop for image editing. From using the Remove tool to utilizing generative filling and efficient layer management - these features are revolutionizing the way you edit images. With a little practice, you will be able to achieve impressive results that elevate your creative projects to the next level.
Frequently Asked Questions
Which Photoshop version do I need for the new AI features?The new tools are available in the beta version of Photoshop.
Can I undo my changes?Yes, simply use the undo function or work non-destructively.
How well does the generative filling work?It delivers impressive results, often indistinguishable from real images.
Can I save the edits?Yes, save your file as a PSD to access it later on.
Are the new features stable?Since it is a beta version, occasional error messages may appear, but these are normal.


