With the capabilities of Affinity Photo, you can achieve impressive depth of field effects that add more dimension to your photography. Whether you are editing landscapes or portraits, the right use of depth of field can be crucial in directing focus to the essentials.
Key insights
- Use live filters to simulate a realistic depth of field effect.
- Use the elliptical or tilt-shift option, depending on the image content.
- Use masks to make targeted sharpness corrections.
Step-by-step guide
Preparing the image and selecting the filter
First, open the image you want to edit in Affinity Photo. In the layers palette, you will see your image as a background layer. To simulate the depth of field, click on the background layer, followed by clicking the live filter icon. Then select the depth of field filter.
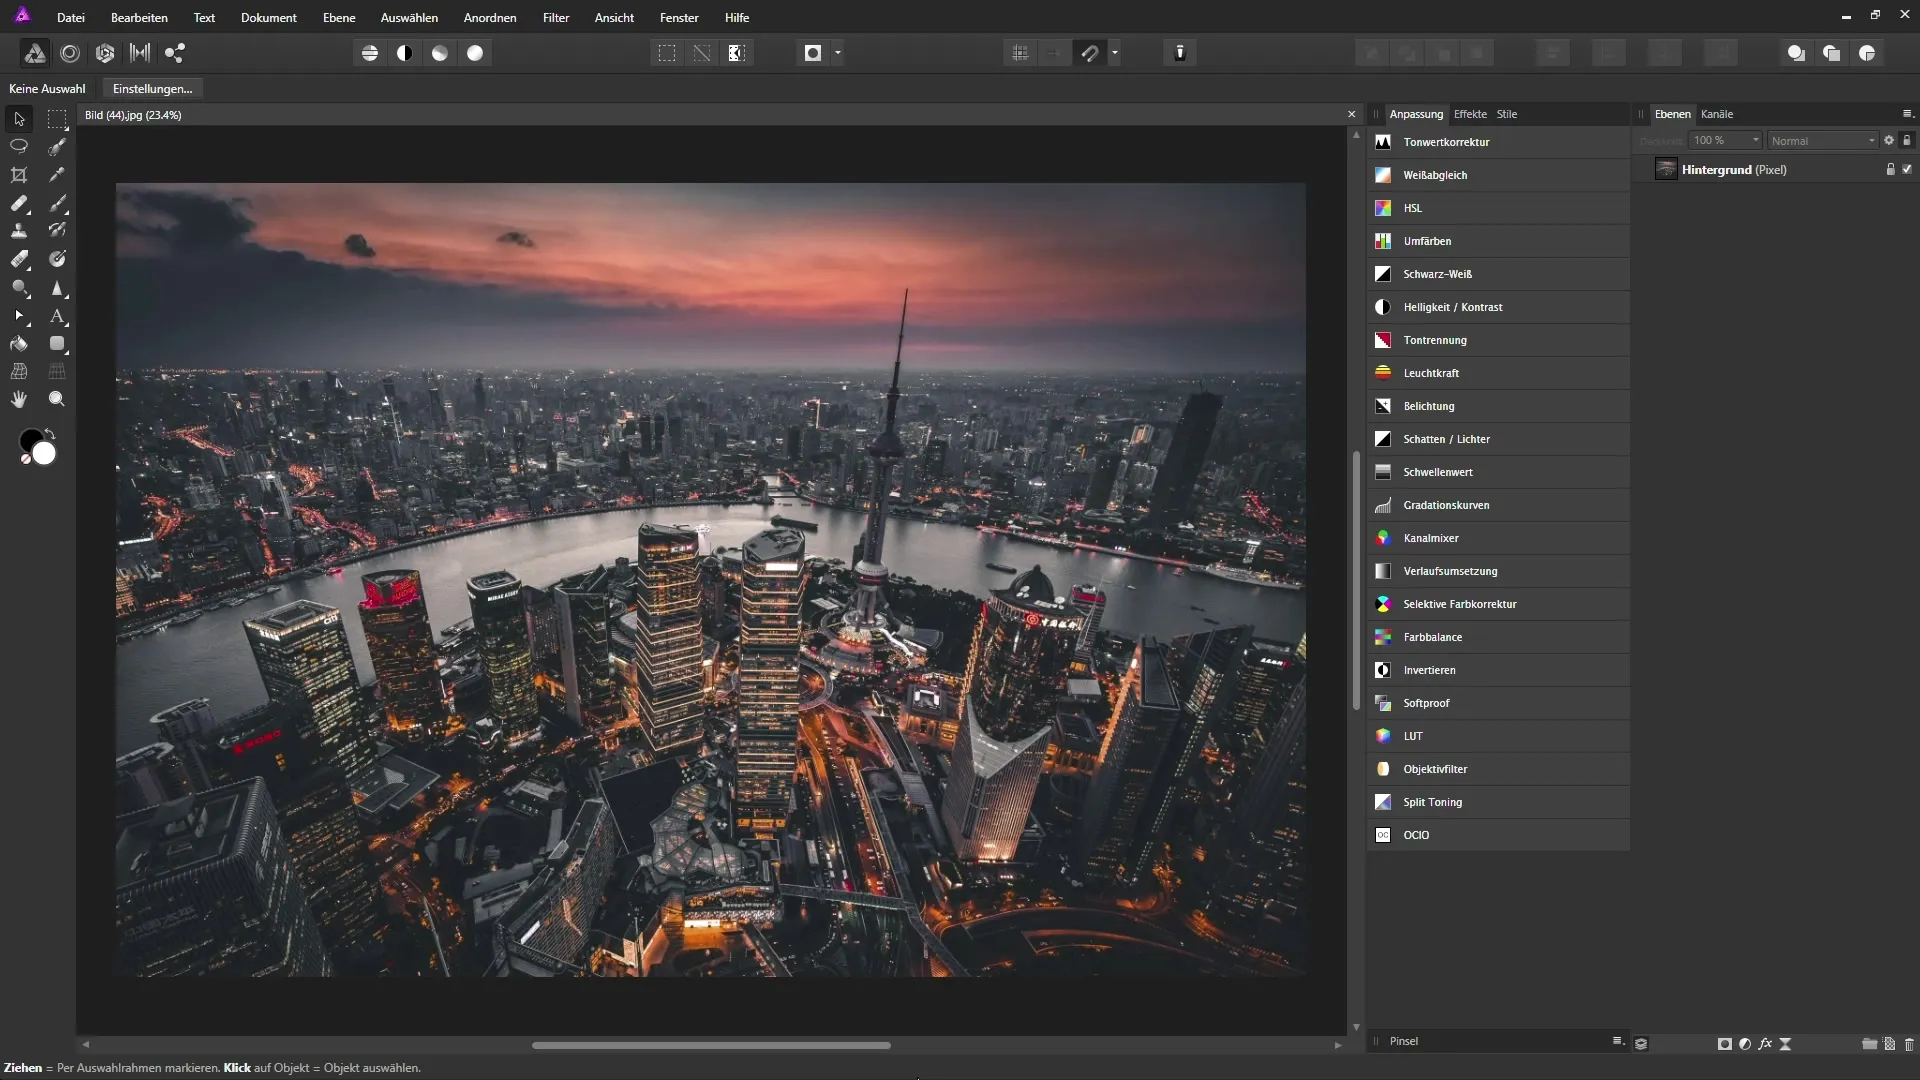
Setting the filter mode
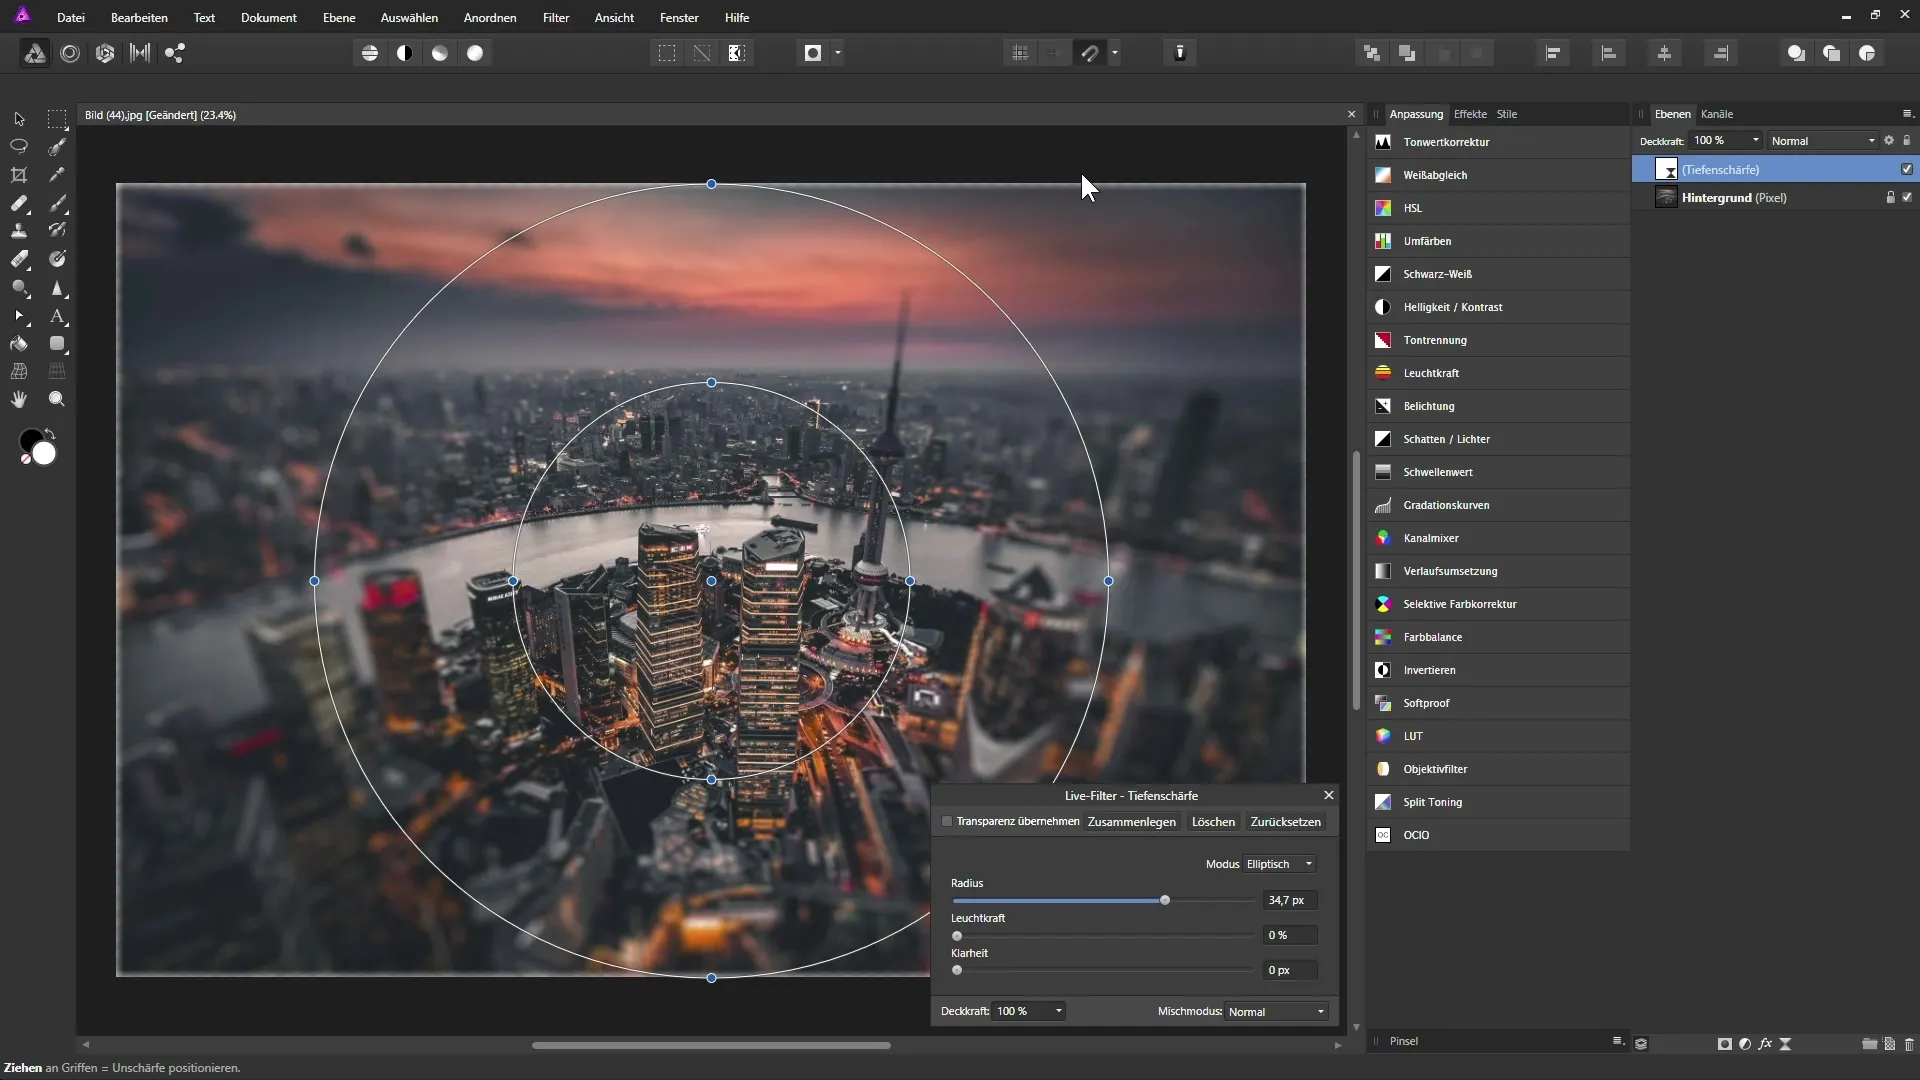
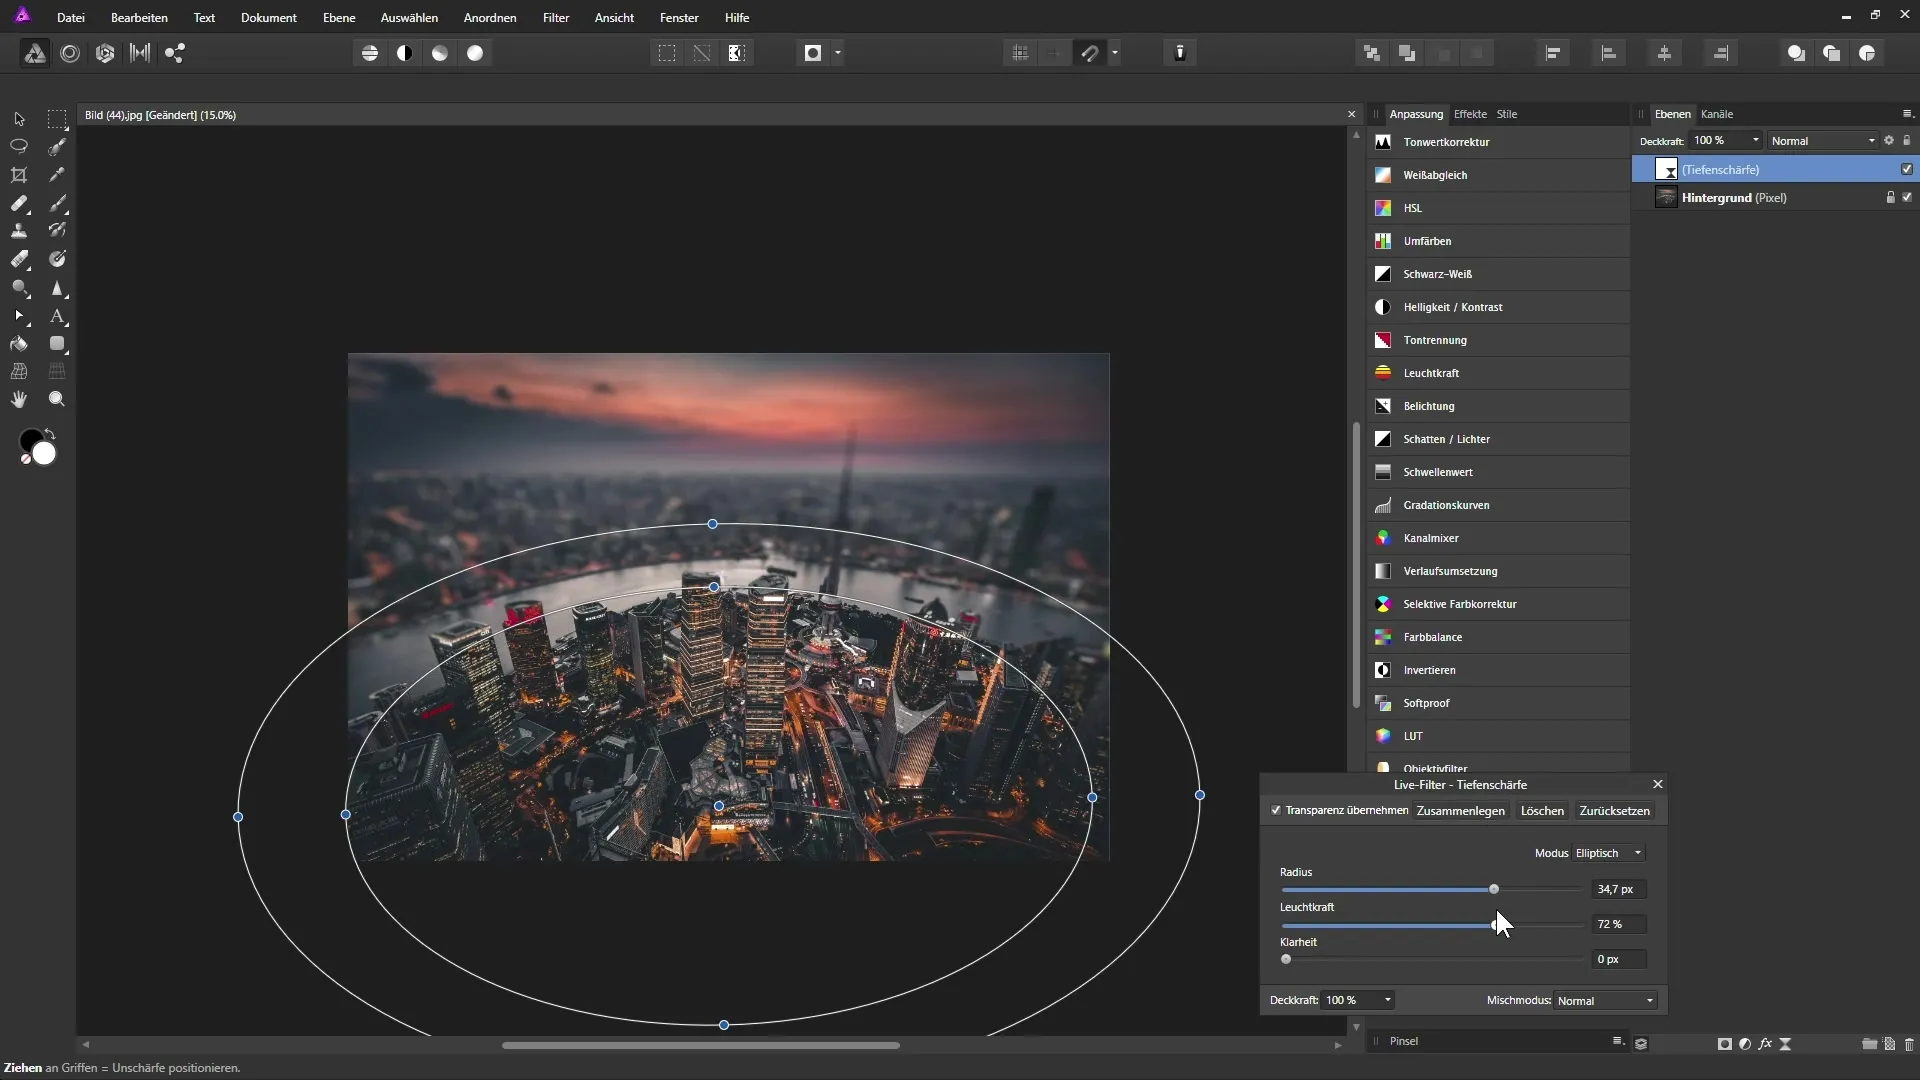
In the dialog that now appears, you will see two circles over your image. The mode is set to elliptical by default, but you also have the option to switch to tilt-shift. When choosing the mode, keep in mind that elliptical depth of field is often used for portraits and tilt-shift for urban landscapes. Here, select elliptical to activate the blur and increase the radius accordingly.
Adjusting the sharpness gradients
You should now observe how the blurred areas of the image appear. The sharpness gradient should be clearly visible, with the sharp area in the center and blurred regions around the edge. Ensure that the edges of your image are also blurred to create a natural transition. If you see transparency, it may be necessary to disable the "Apply transparency" option to keep the edges sharp.
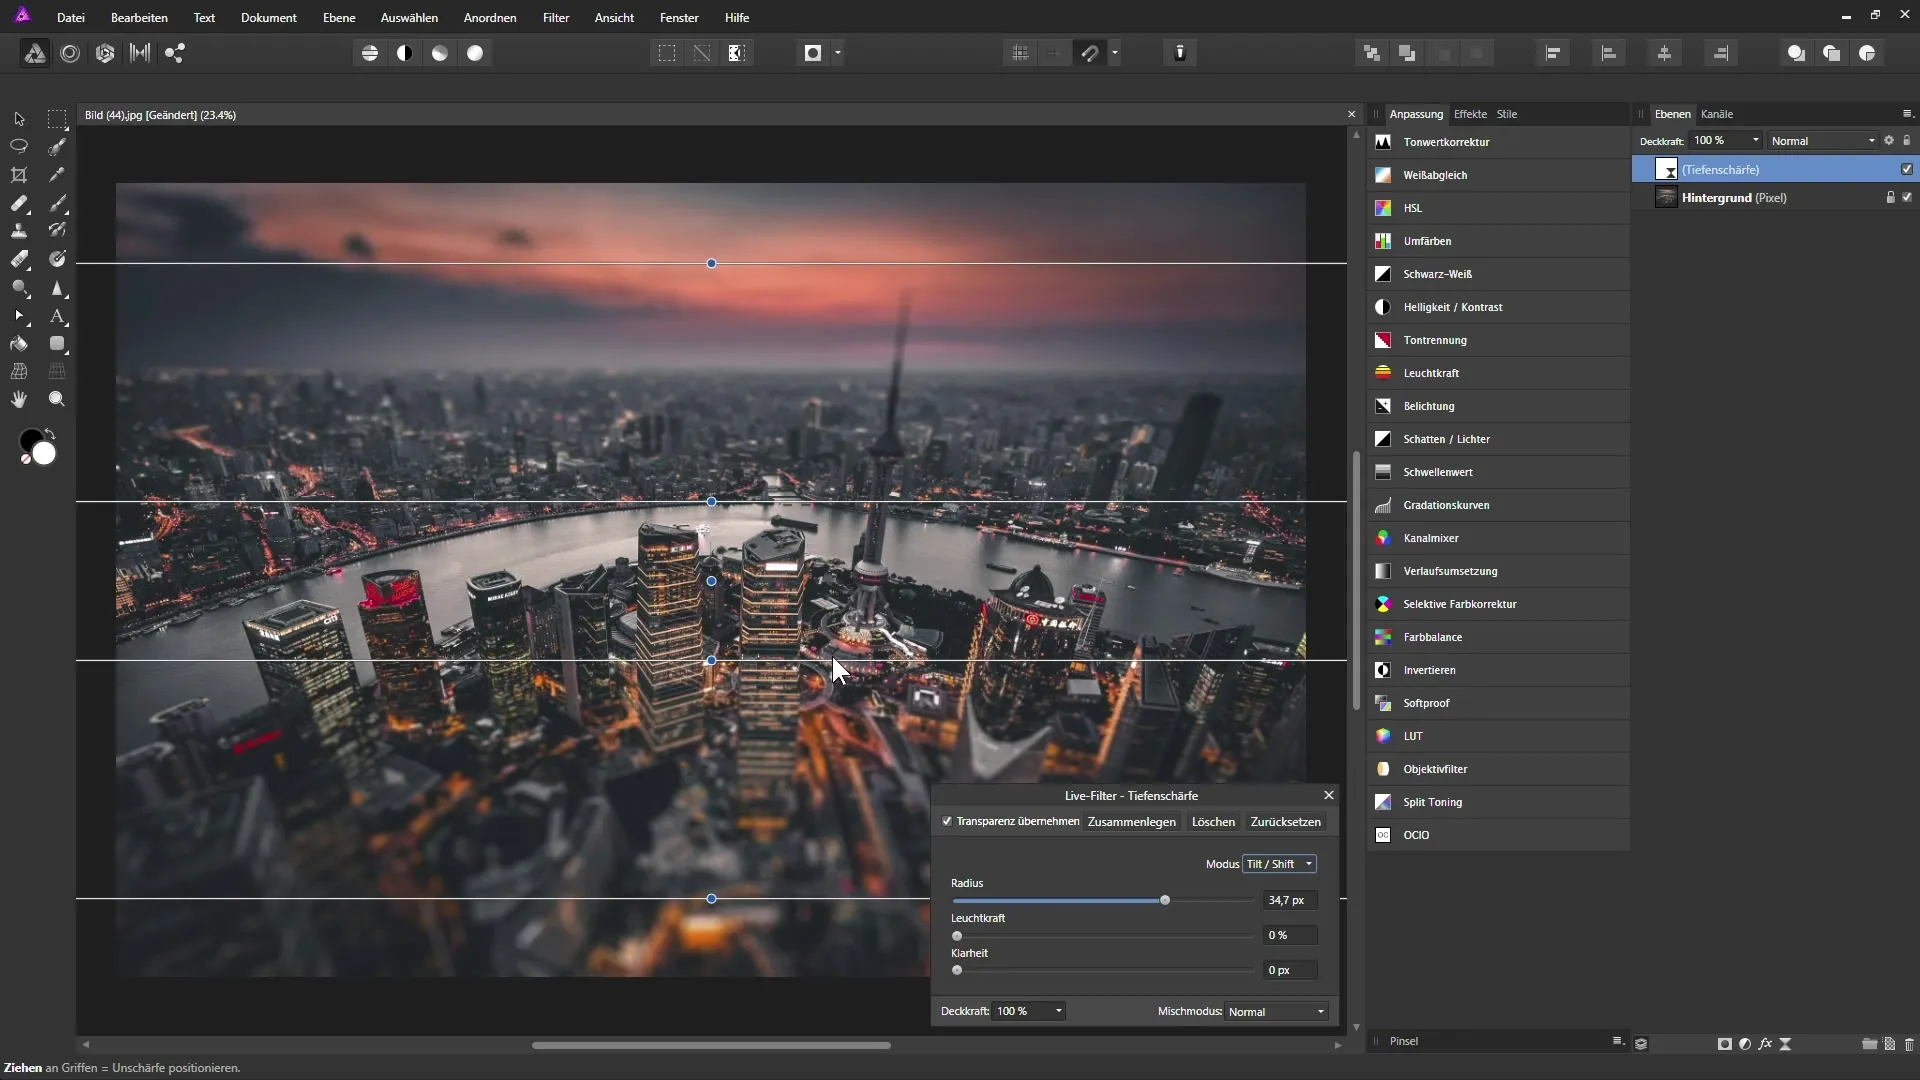
Switching between elliptical and tilt-shift mode
To achieve the best results, you can switch between the two modes at any time. Note that in both modes, the options for mobile adjustment of sharpness remain. Now you should use the elliptical mode to focus sharpness and shape the transition to the blurred outer areas.
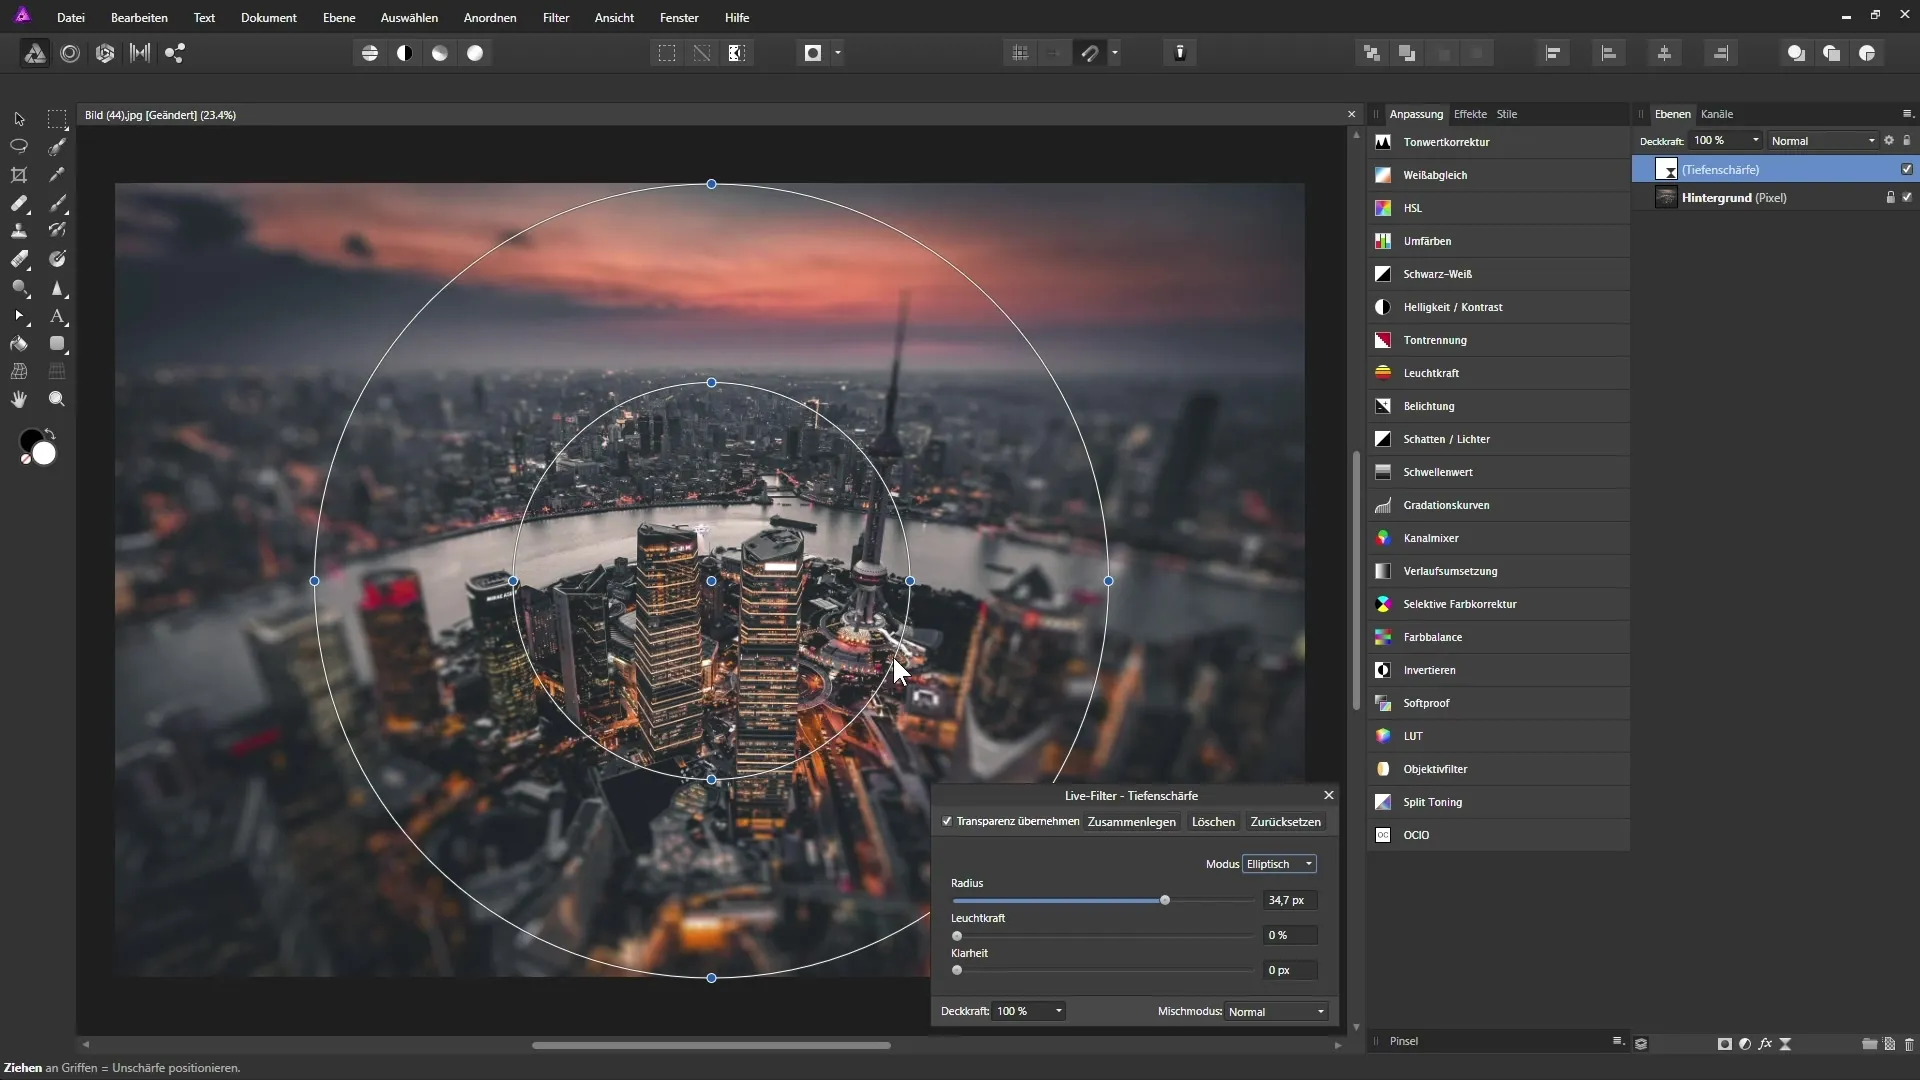
Focusing the scene
Now you will concentrate on positioning the sharpness exactly where you need it – in the lower part of the image, while the rest of the background remains blurred. You can do this by clicking and adjusting the side handles of the filter. Pull the lower handles down to shape the ellipse and adjust the size of the ellipse accordingly.
Making image adjustments
To achieve a harmonious overall image, you can adjust the colors in the image through the brightness and also increase the clarity. This ensures that your image appears clearer and more vibrant.
Using masks for correction
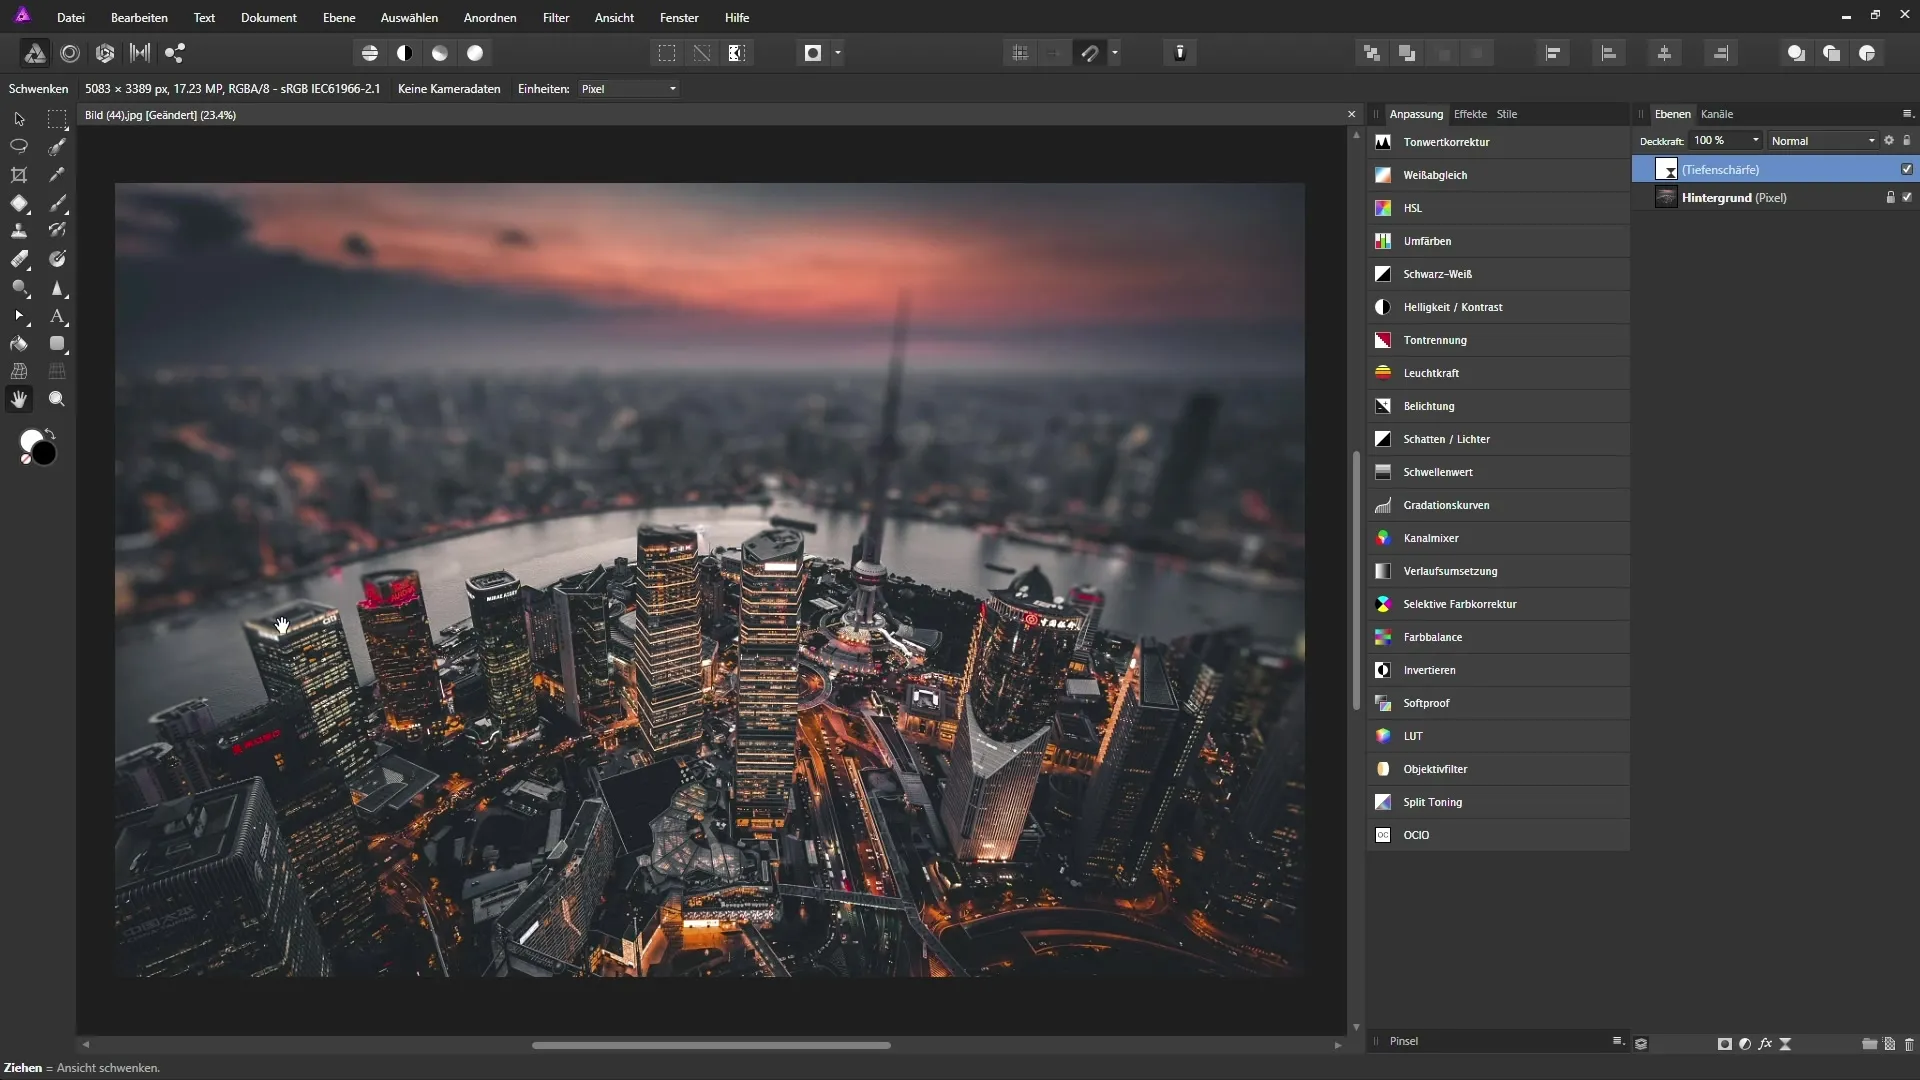
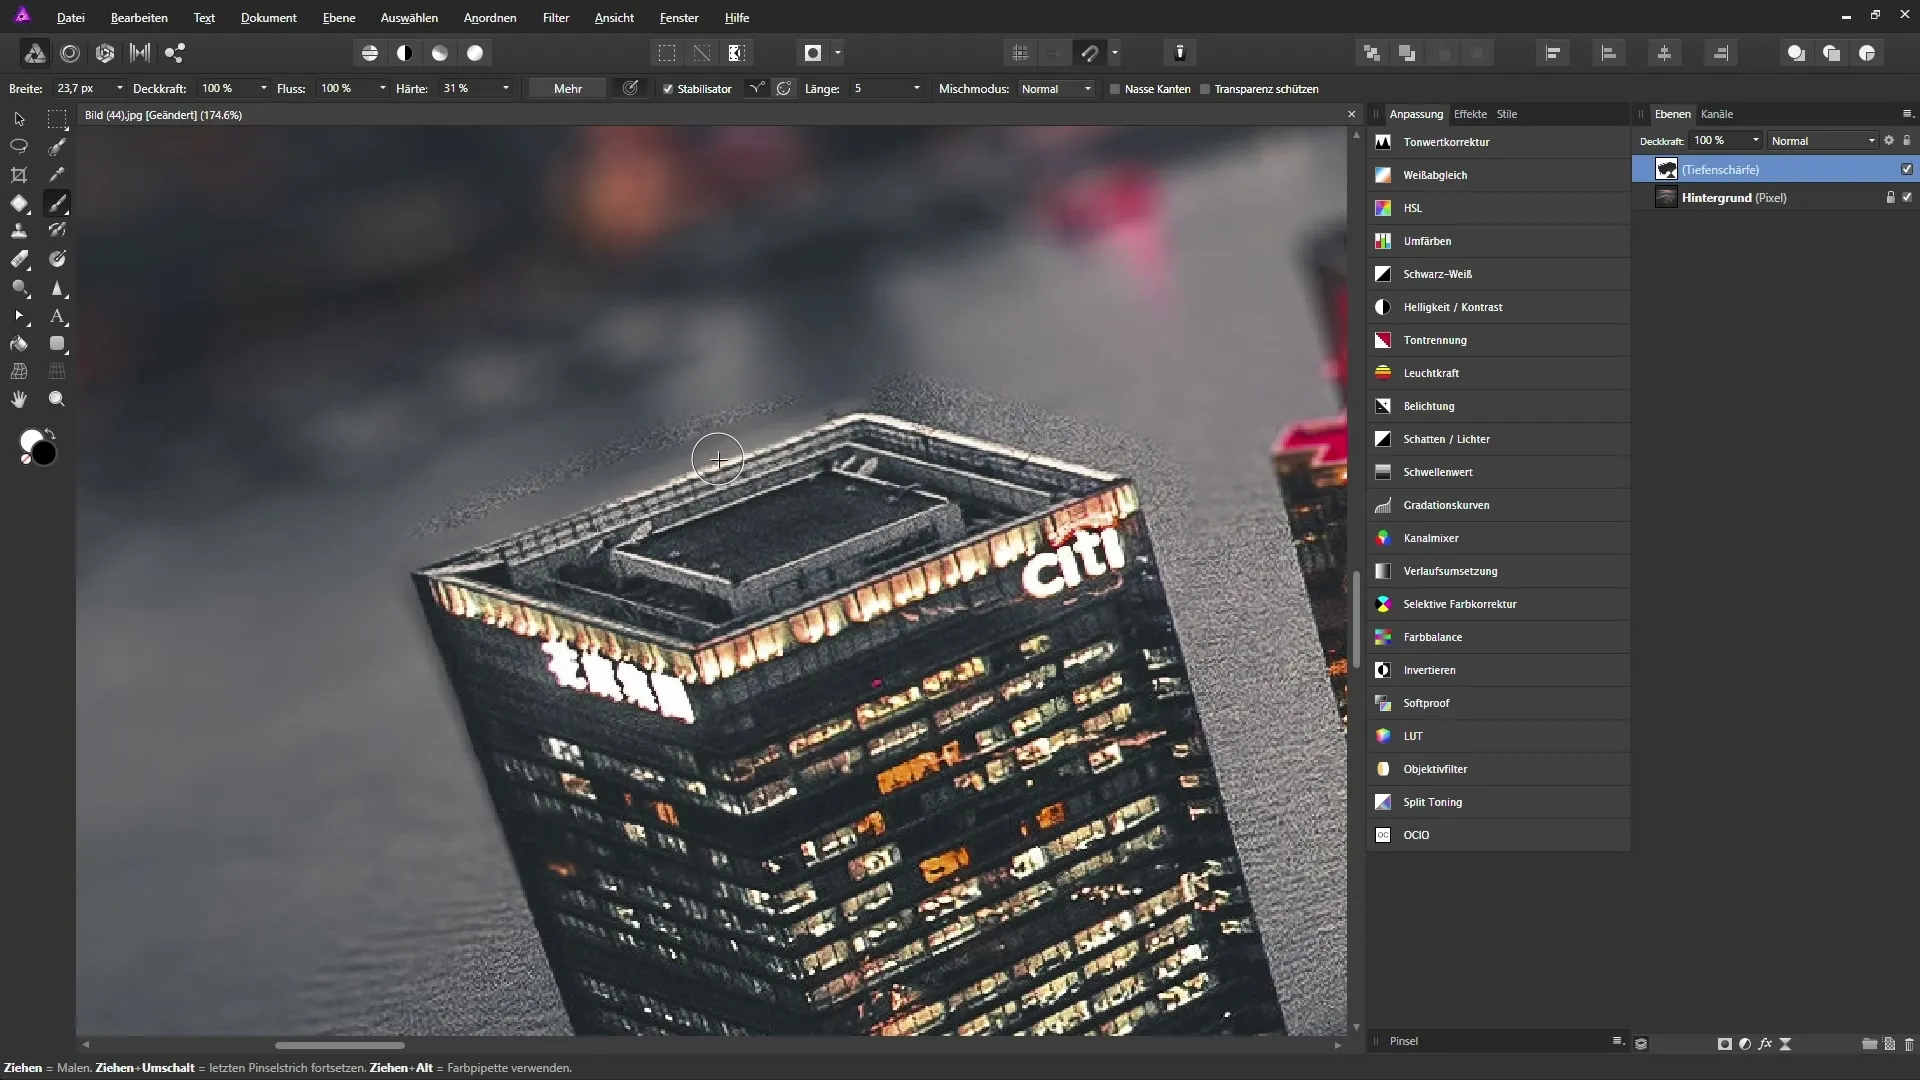
If some areas, such as the upper parts of the buildings, appear blurred and this is not desirable, you can retrieve them with a white mask. Paint with a black brush on the mask and adjust the opacity and hardness as needed to ensure the desired sharp areas.
Refining the details
If you are struggling with converging color tones and shaded areas, it makes sense to edit these spots more closely. The more time you take in post-processing, the more details you will be able to uncover.
Reviewing and adjusting the overall result
Now you should take a look at the entire image to evaluate the effect of your adjustments. Check if all important areas are sharp enough and whether your sharpness gradient looks pleasant. With a double-click on the live filter, you can return and make adjustments at any time.
Summary
Frequently Asked Questions
How can I adjust the height of the sharpness in the image?You can use the handles of the live filter to control the edges of the sharp area.
Do I need to work with masks to correct the sharpness?Working with masks is recommended to specifically sharpen certain areas.
Can I adjust the settings later at any time?Yes, you can double-click on the live filter at any time to make adjustments.
How can I ensure that the edges of my image are not blurred?Disable the transparency option to keep the edges sharp.
What can I do if I see color gradients in the blurred areas?These can be adjusted with various techniques, but that requires time and additional editing.


