With the help of Overlays, you can create visually impressive effects in Affinity Photo. This technique allows you to layer textures, light rays, or other elements over your images to create interesting atmospheres. In this guide, I will show you step by step how to successfully use Overlays in your Photoshop projects to apply. By the end, you will be able to give your image editing more depth and character.
Key Insights
- Overlays help you create moods and textures in your images.
- The use of blending modes affects how overlays interact with your original image.
- Adjustment layers allow you to fine-tune colors and brightness.
Step-by-Step Guide
Step 1: Select Image and Overlay
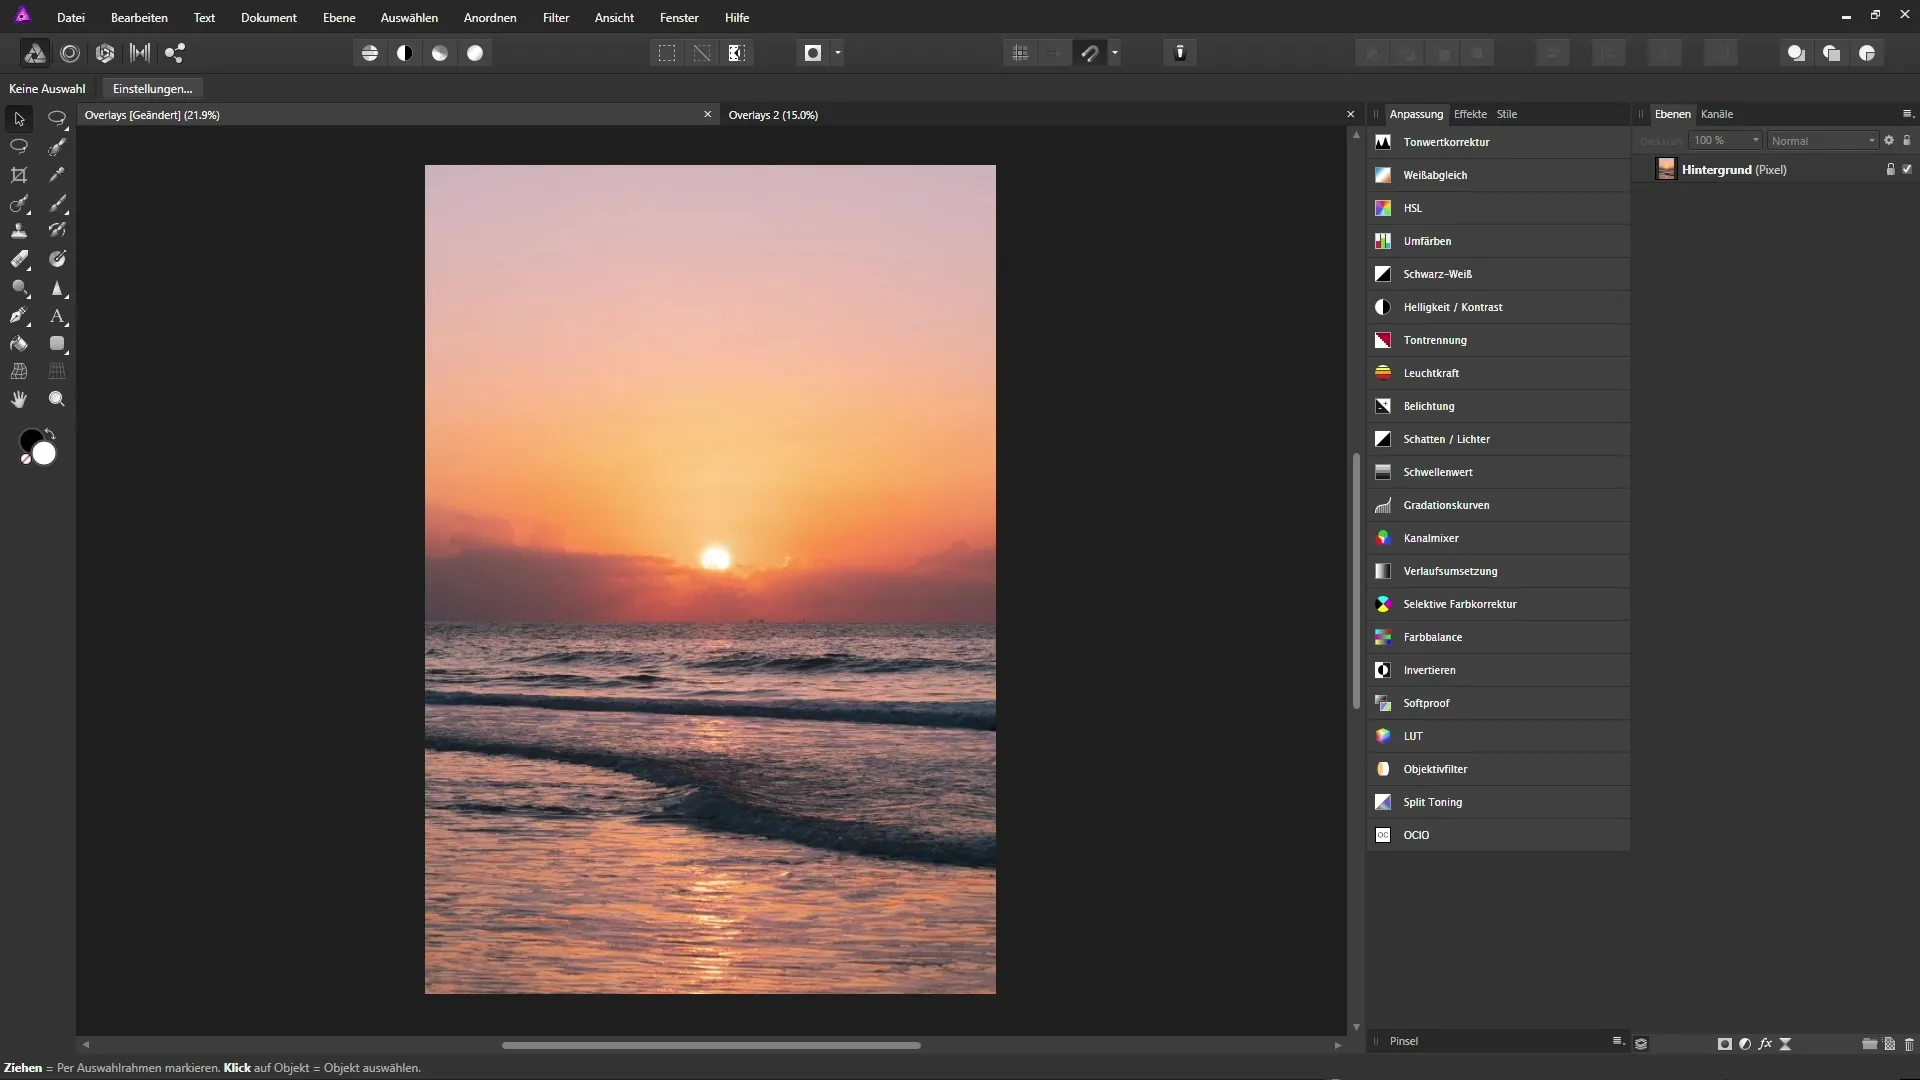
To use Overlays in Affinity Photo, you first need a photo and the overlay itself. Start by opening your desired image in Affinity Photo. Open the image you want to use as an overlay and drag it into your project using drag-and-drop.
Step 2: Position and Adjust Overlay
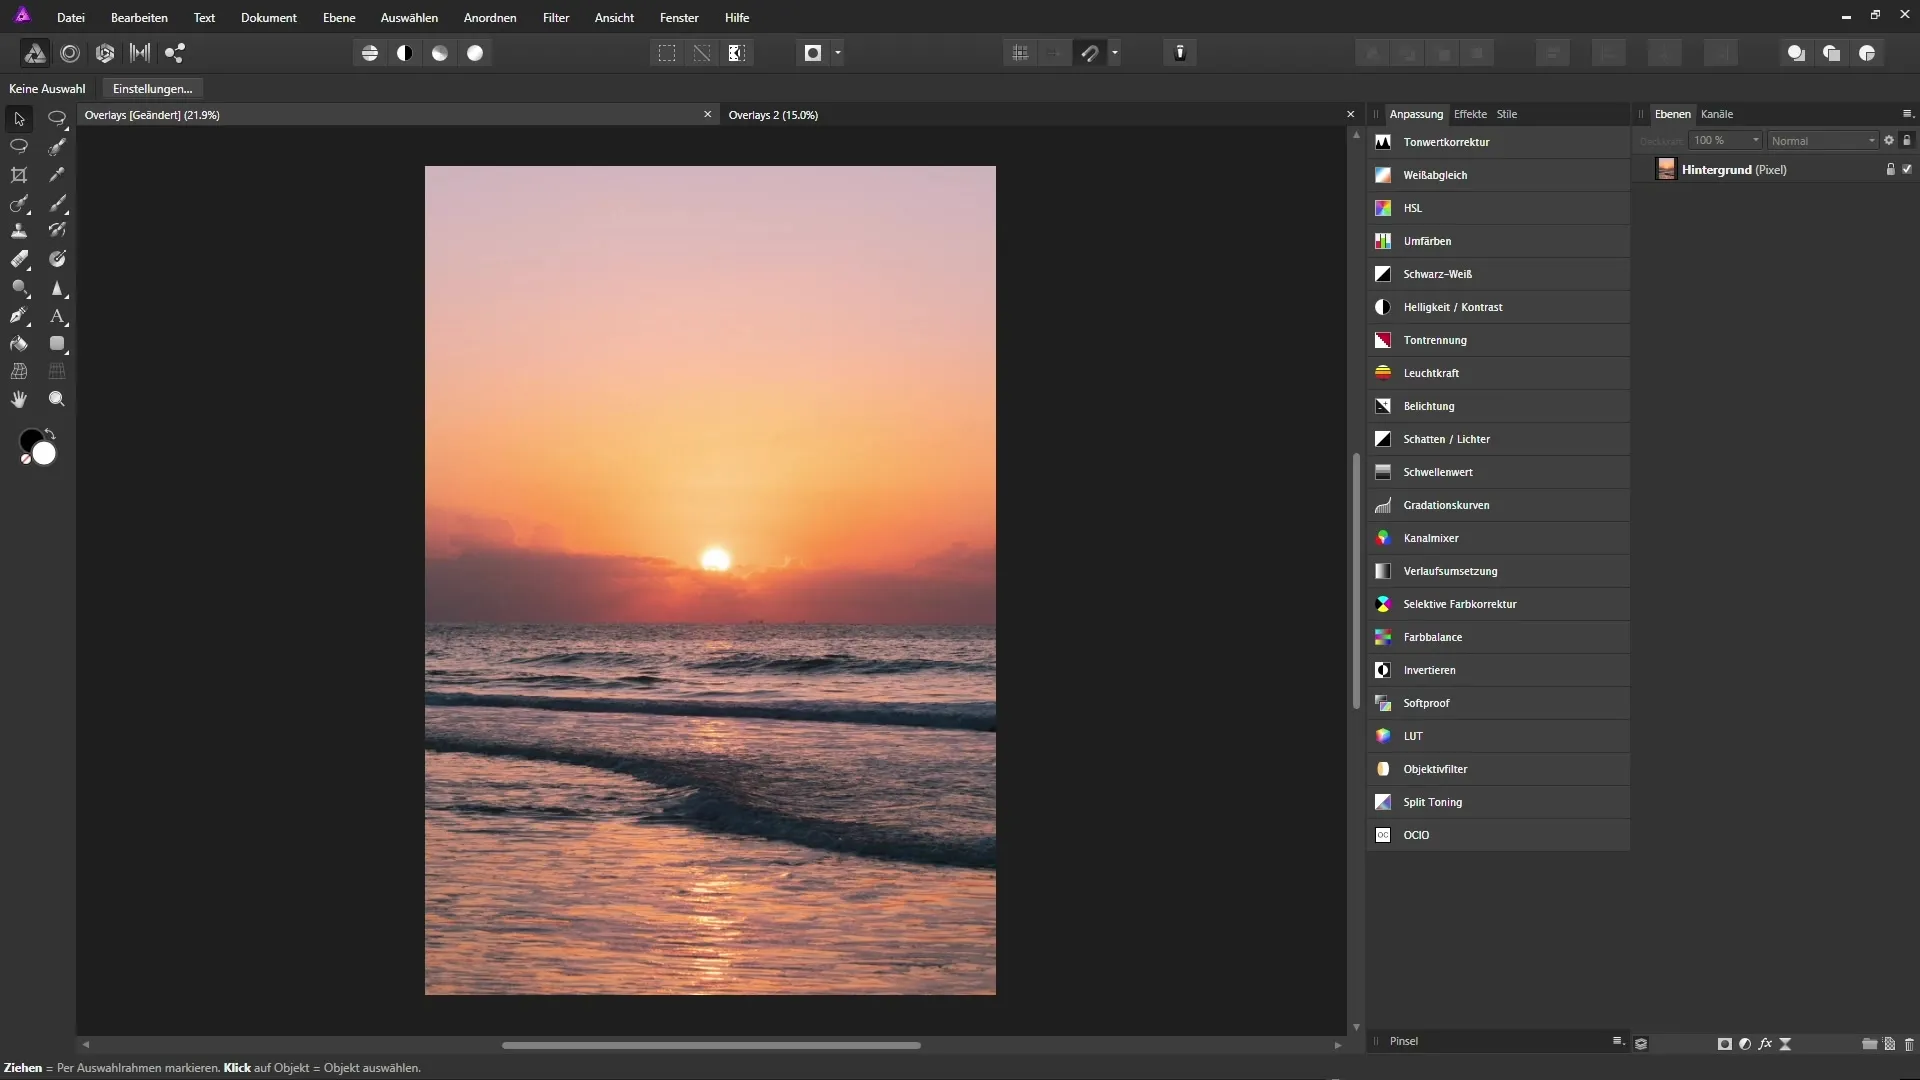
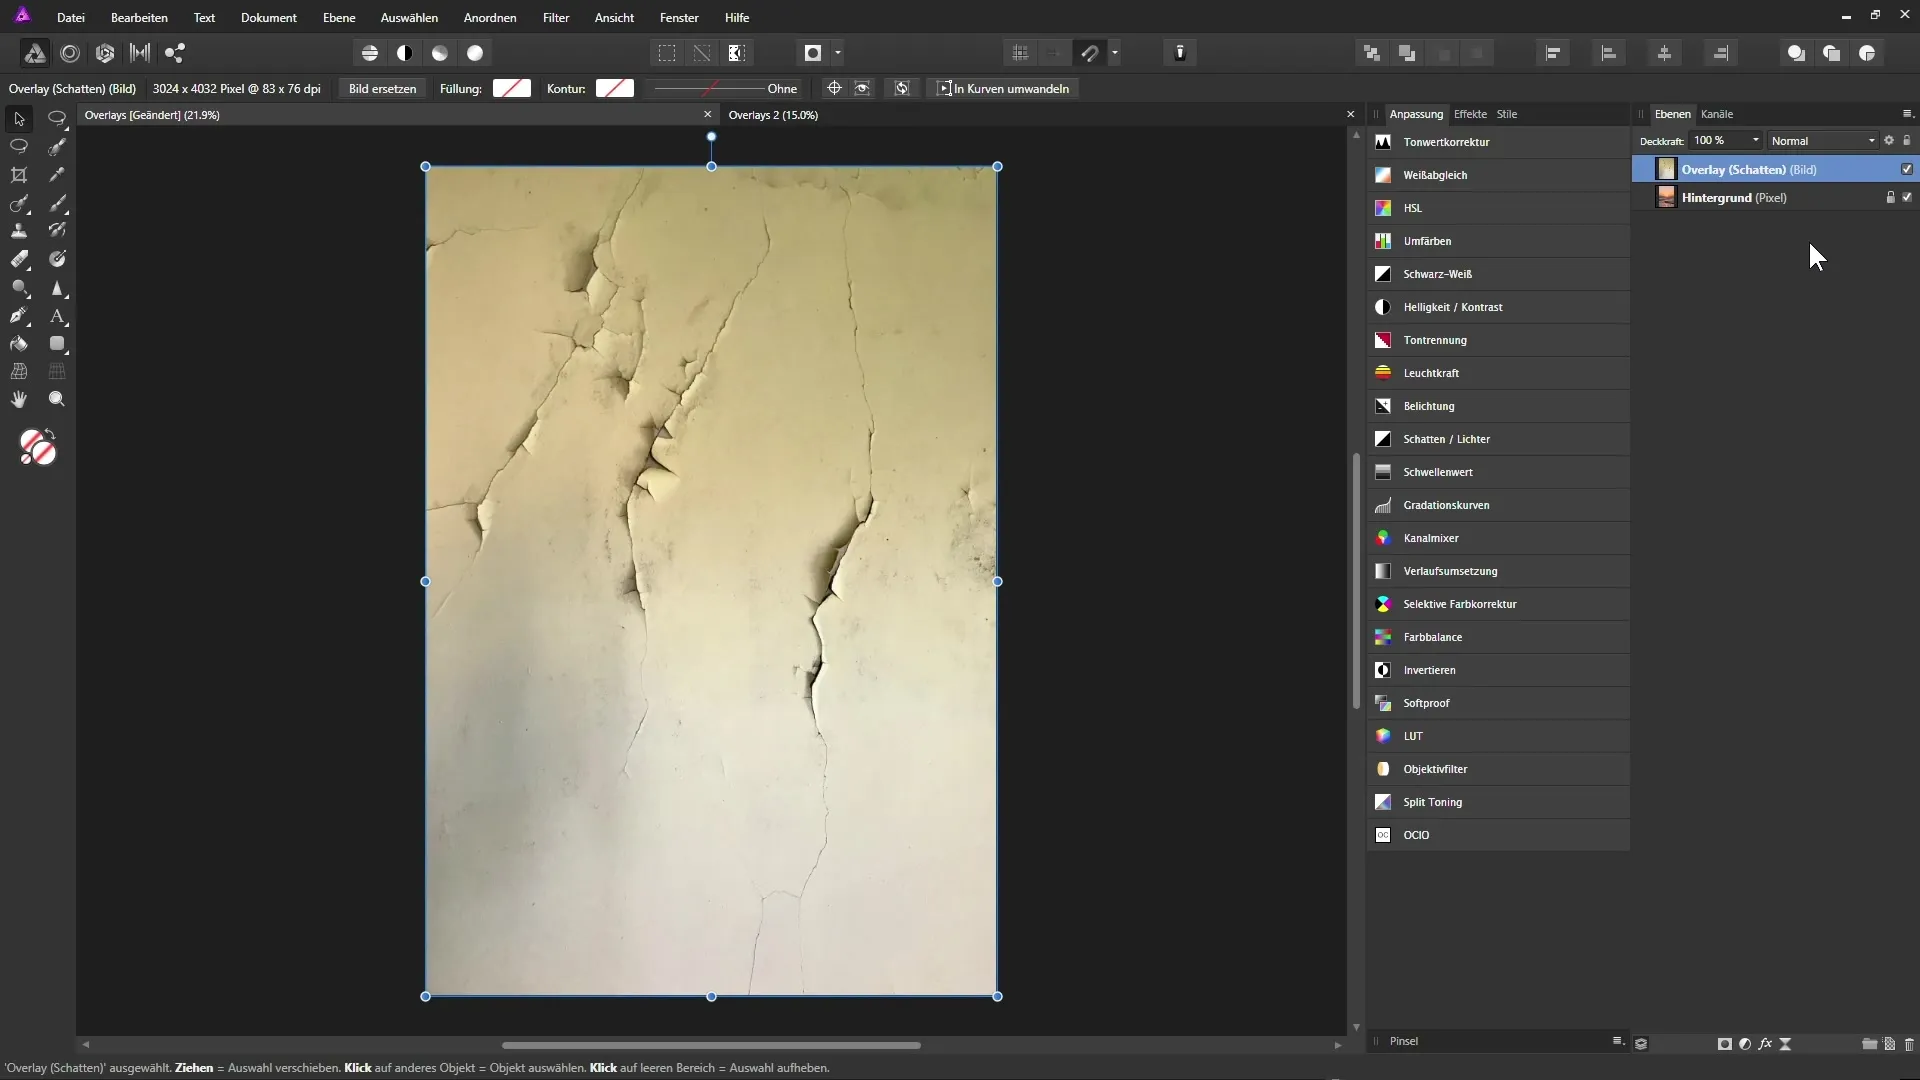
Once the overlay image is loaded, it will appear as a new layer above the original image in the layers palette. Resize the overlay to optimally utilize the corresponding image information. Hold down the Shift key while dragging the corners of the overlay to scale it proportionally.
Step 3: Rename Layers
It makes sense to name your layers well to ensure clarity. Rename your overlay layers according to their function, for example, "Overlay Shadows" and "Overlay Lights". You can do this by right-clicking on the layer and selecting "Rename".
Step 4: Apply Shadow Layer
Activate the shadow layer and switch to the blending modes in the layers palette. Choose a darkening blending mode like "Multiply" to transfer the dark areas of the overlay onto the background image. Be sure to adjust the opacity for a balanced result.
Step 5: Reduce Color Intensity Using Adjustment Layers
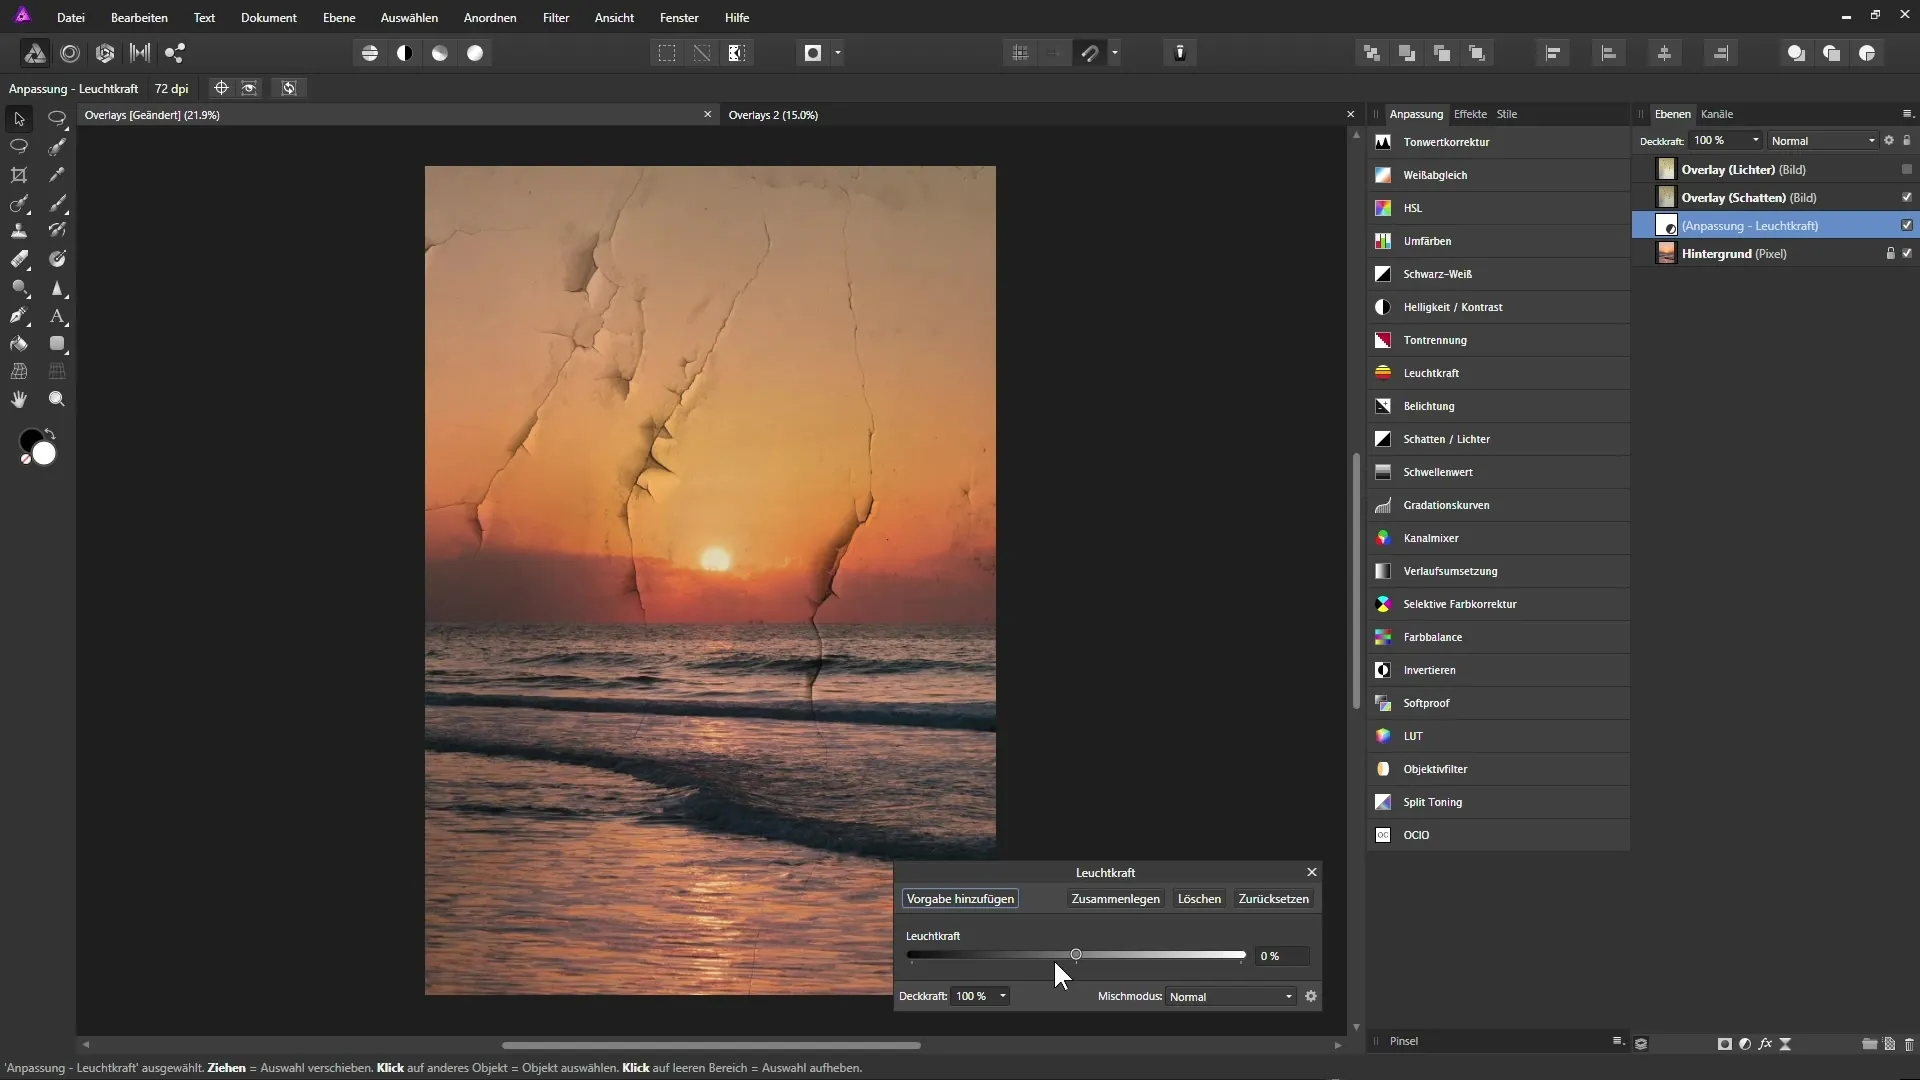
If the colors of your original image appear too intense, add an adjustment layer for "Vibrance". Decrease the saturation to soften the colors of your image. This adjustment layer should be placed above the background layer to take effect.
Step 6: Transfer Lights to the Image
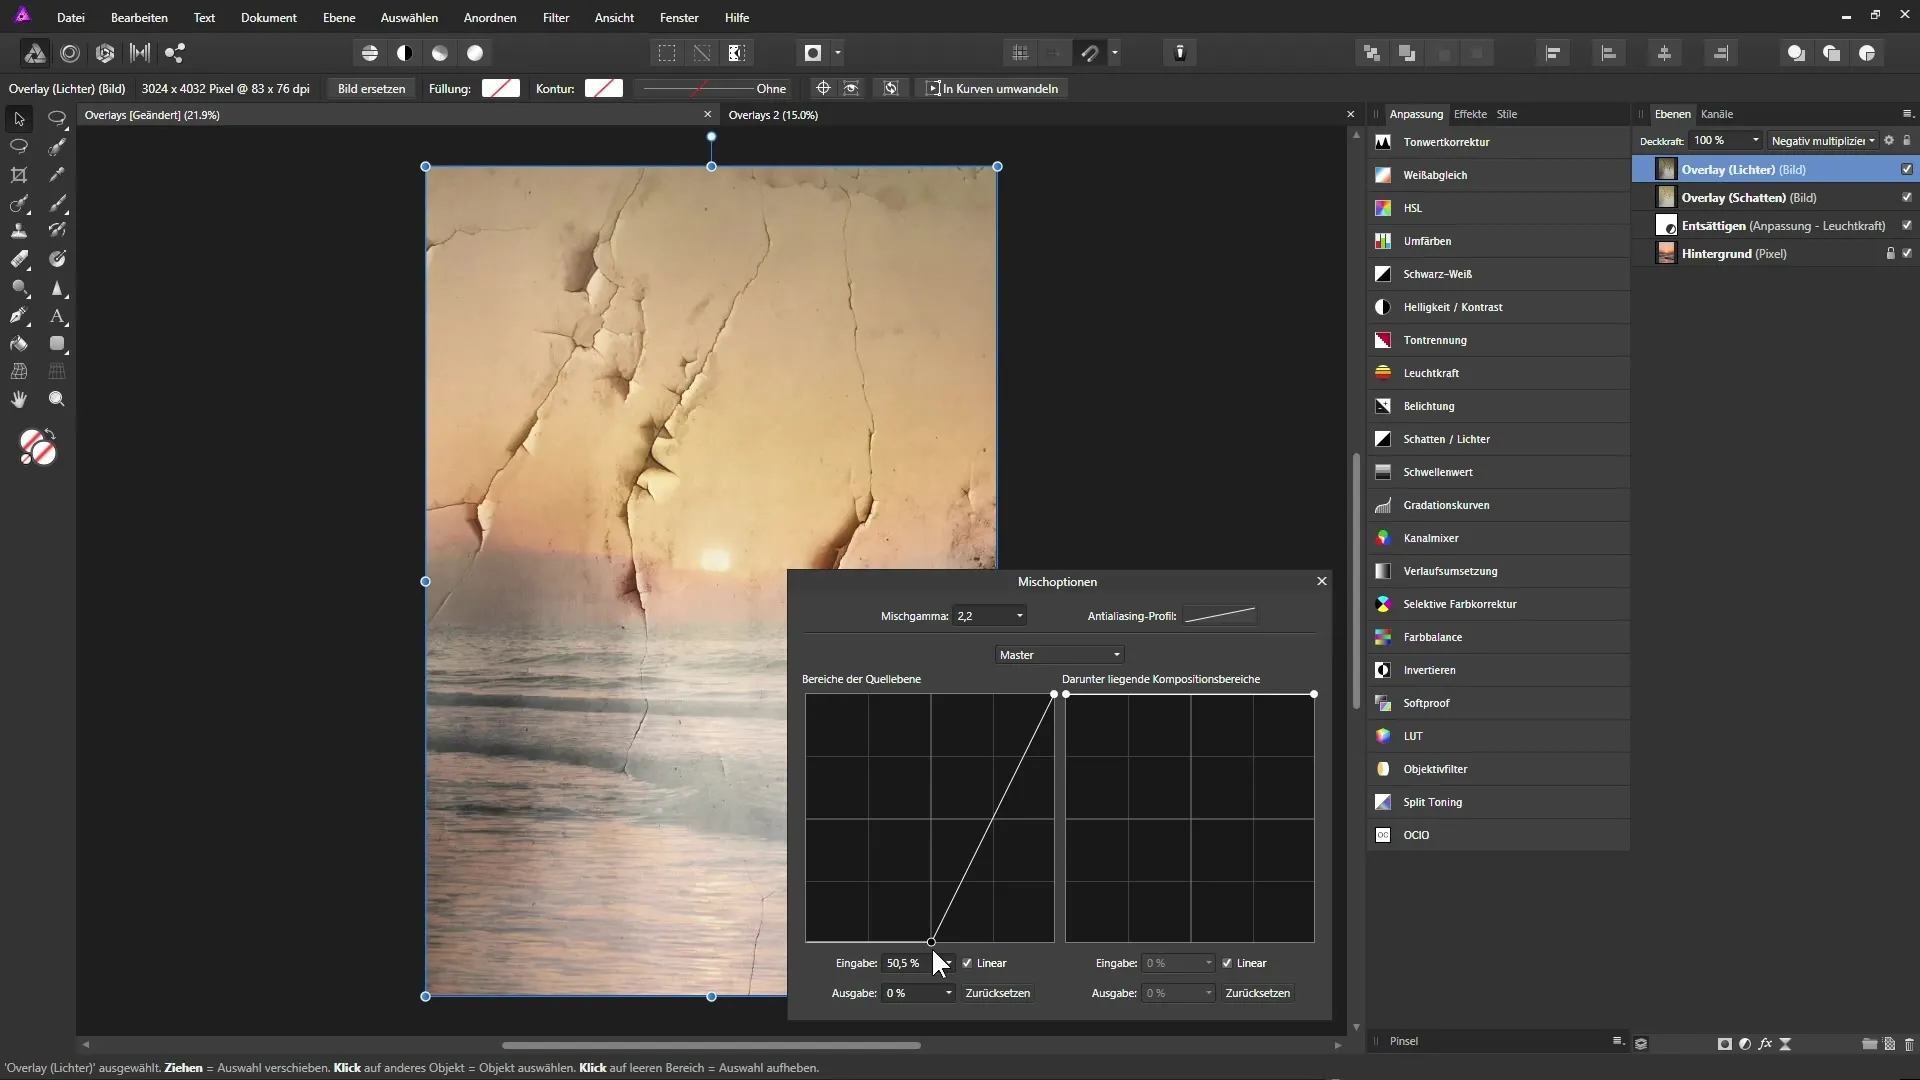
Now turn to the light layer. Activate it and select the blending mode "Negative Multiply" to transfer the bright areas to your image. Here, you can also open the blending options to specifically hide darker pixels.
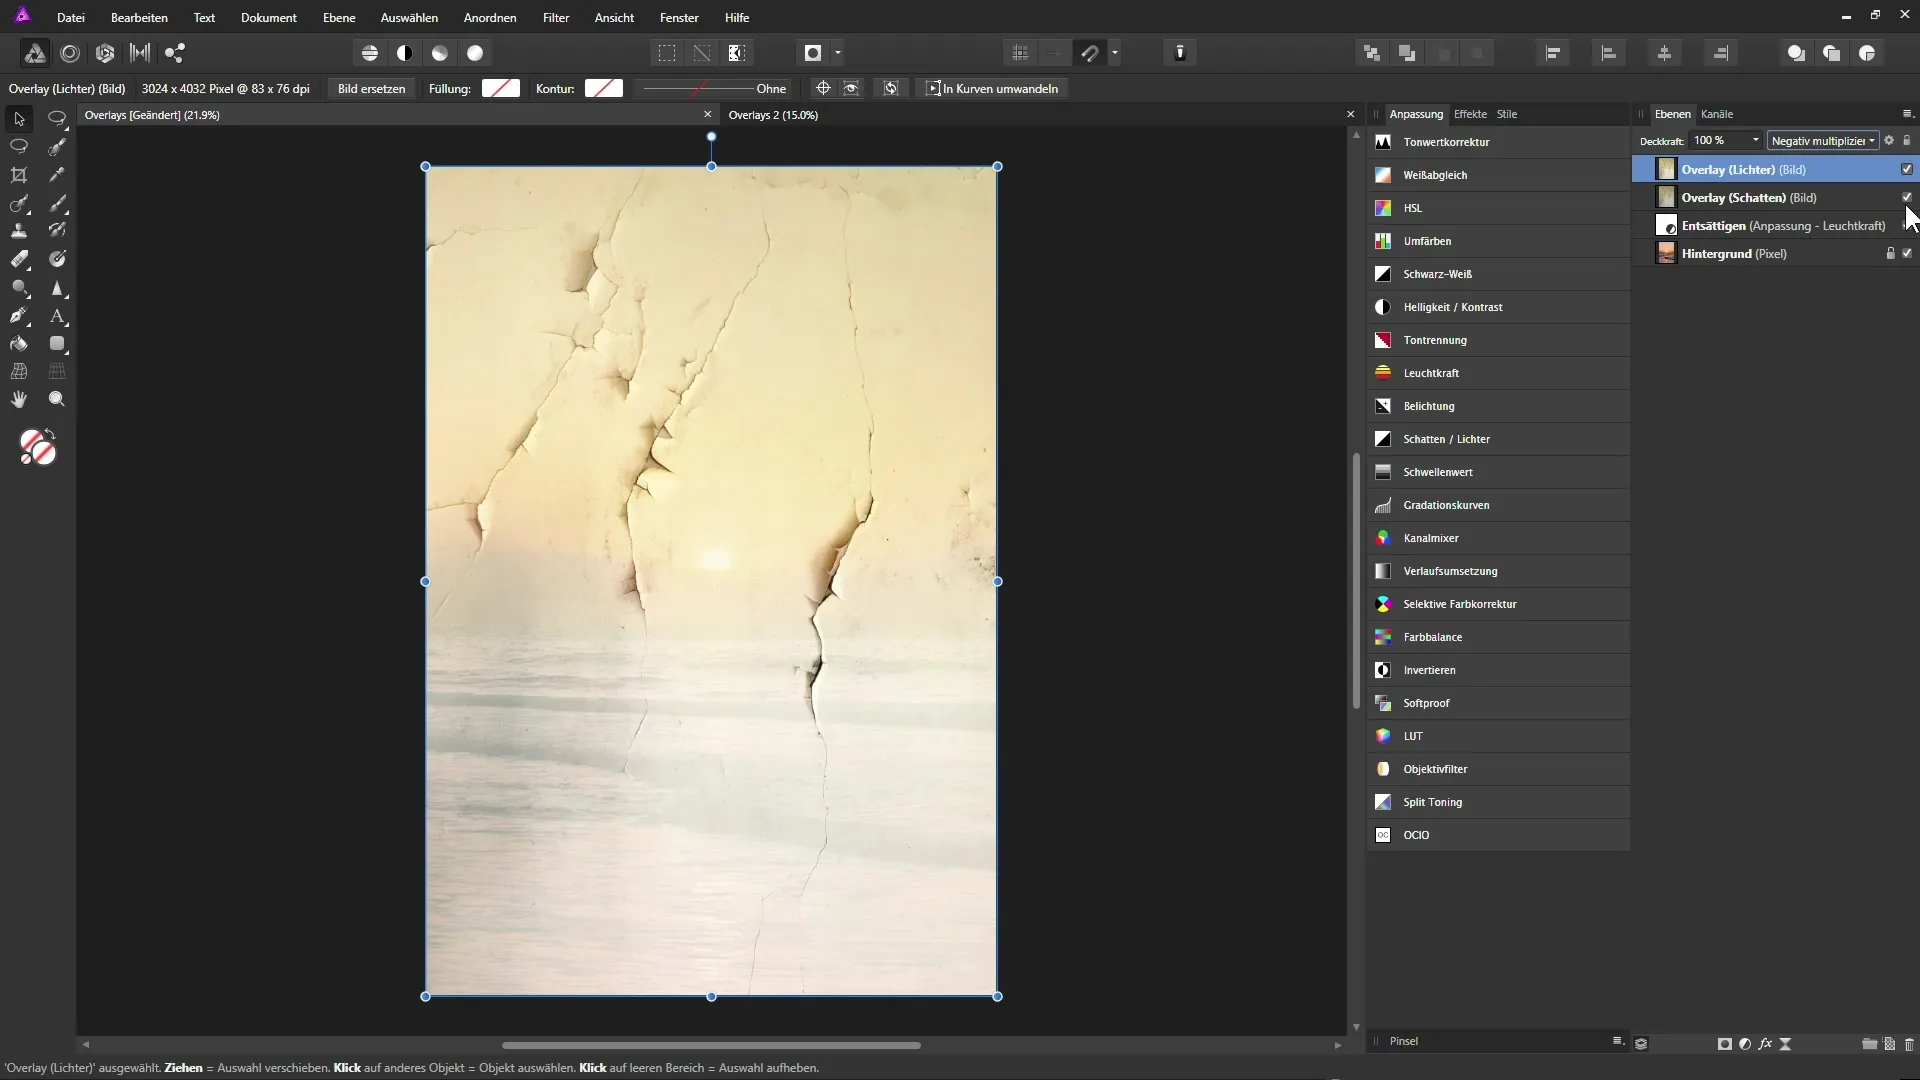
Step 7: Fine-tune the Lights
To refine the final result, you can adjust the light layer in its blending options. You have the option to play with the sliders to retain exactly the desired brightness ranges. Regularly check the result to ensure it aligns with your visual goal.
Step 8: Use Fill Layer to Brighten
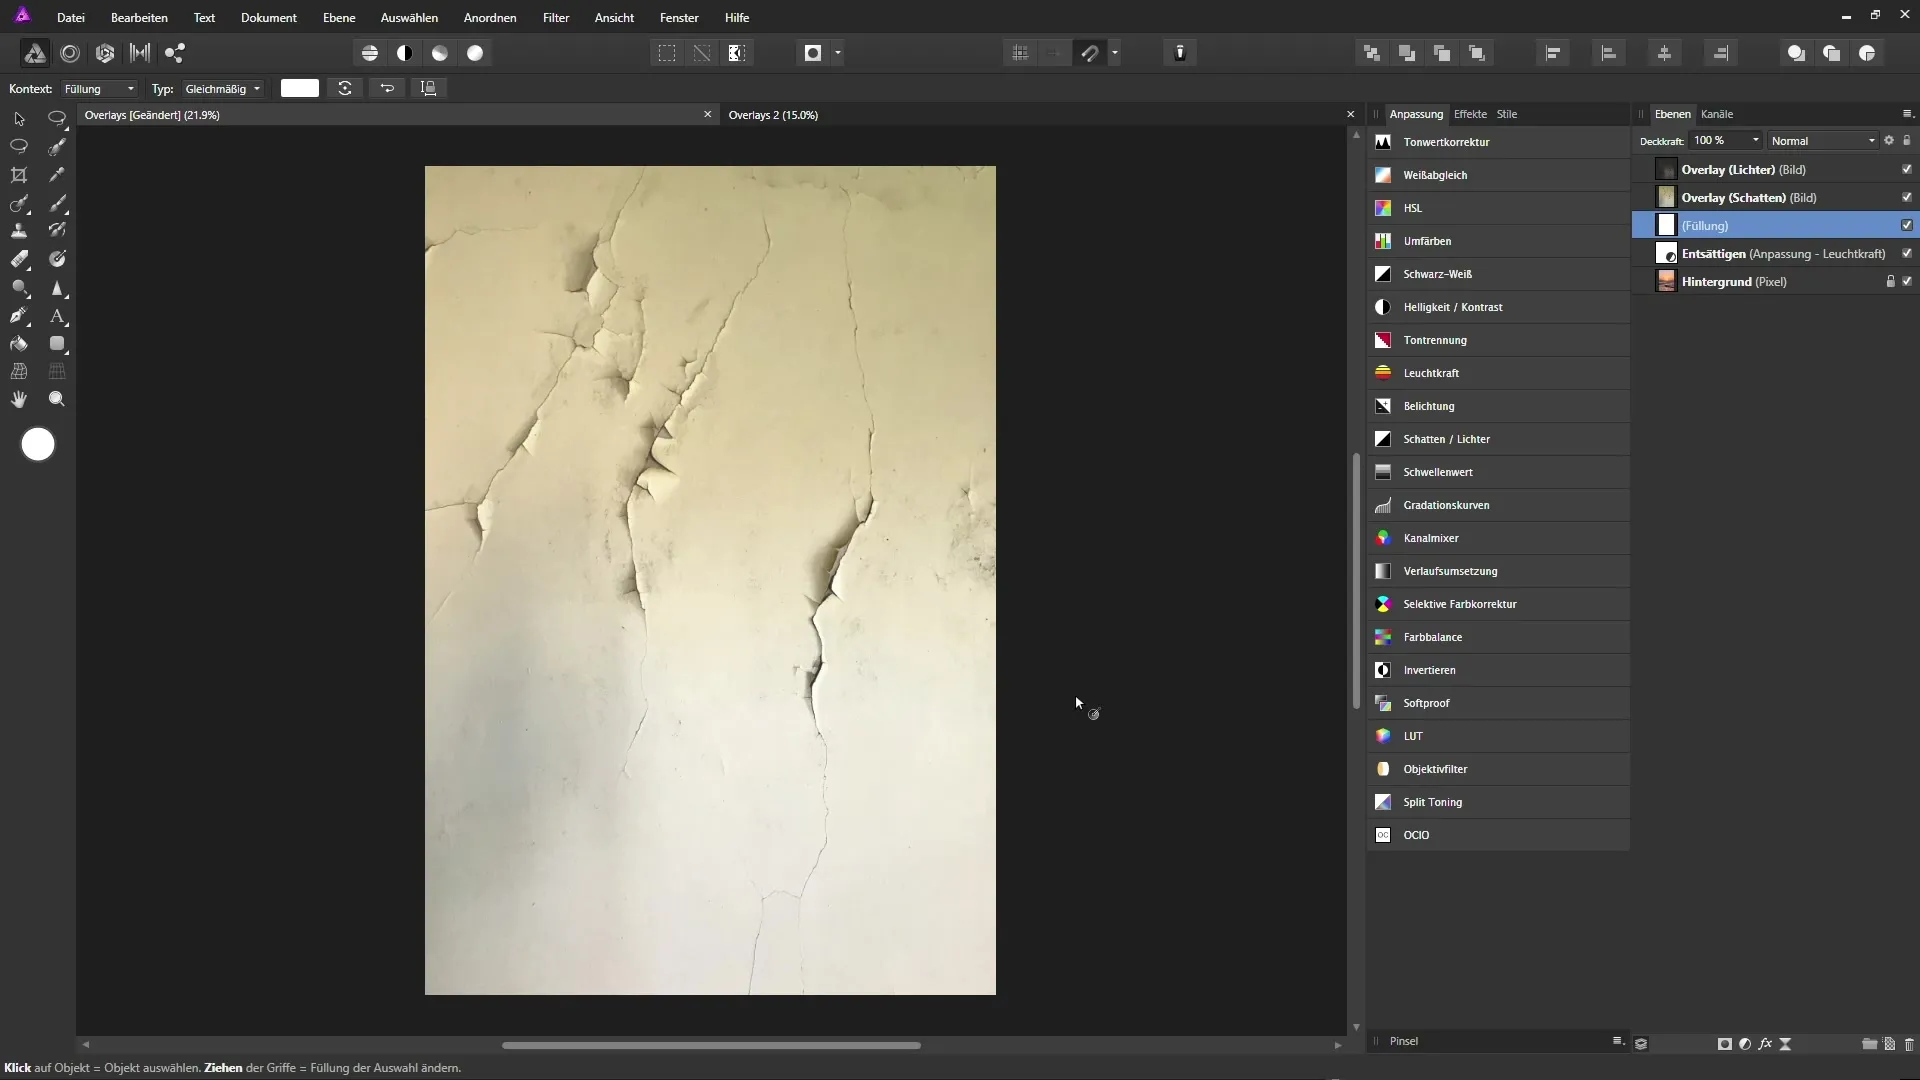
Add a new fill layer below the shadow and light layers. Fill this layer with white color and create a black mask to select only specific areas of the image. Paint with a white brush on the mask to reveal the bright areas.
Step 9: Finalizing the Details
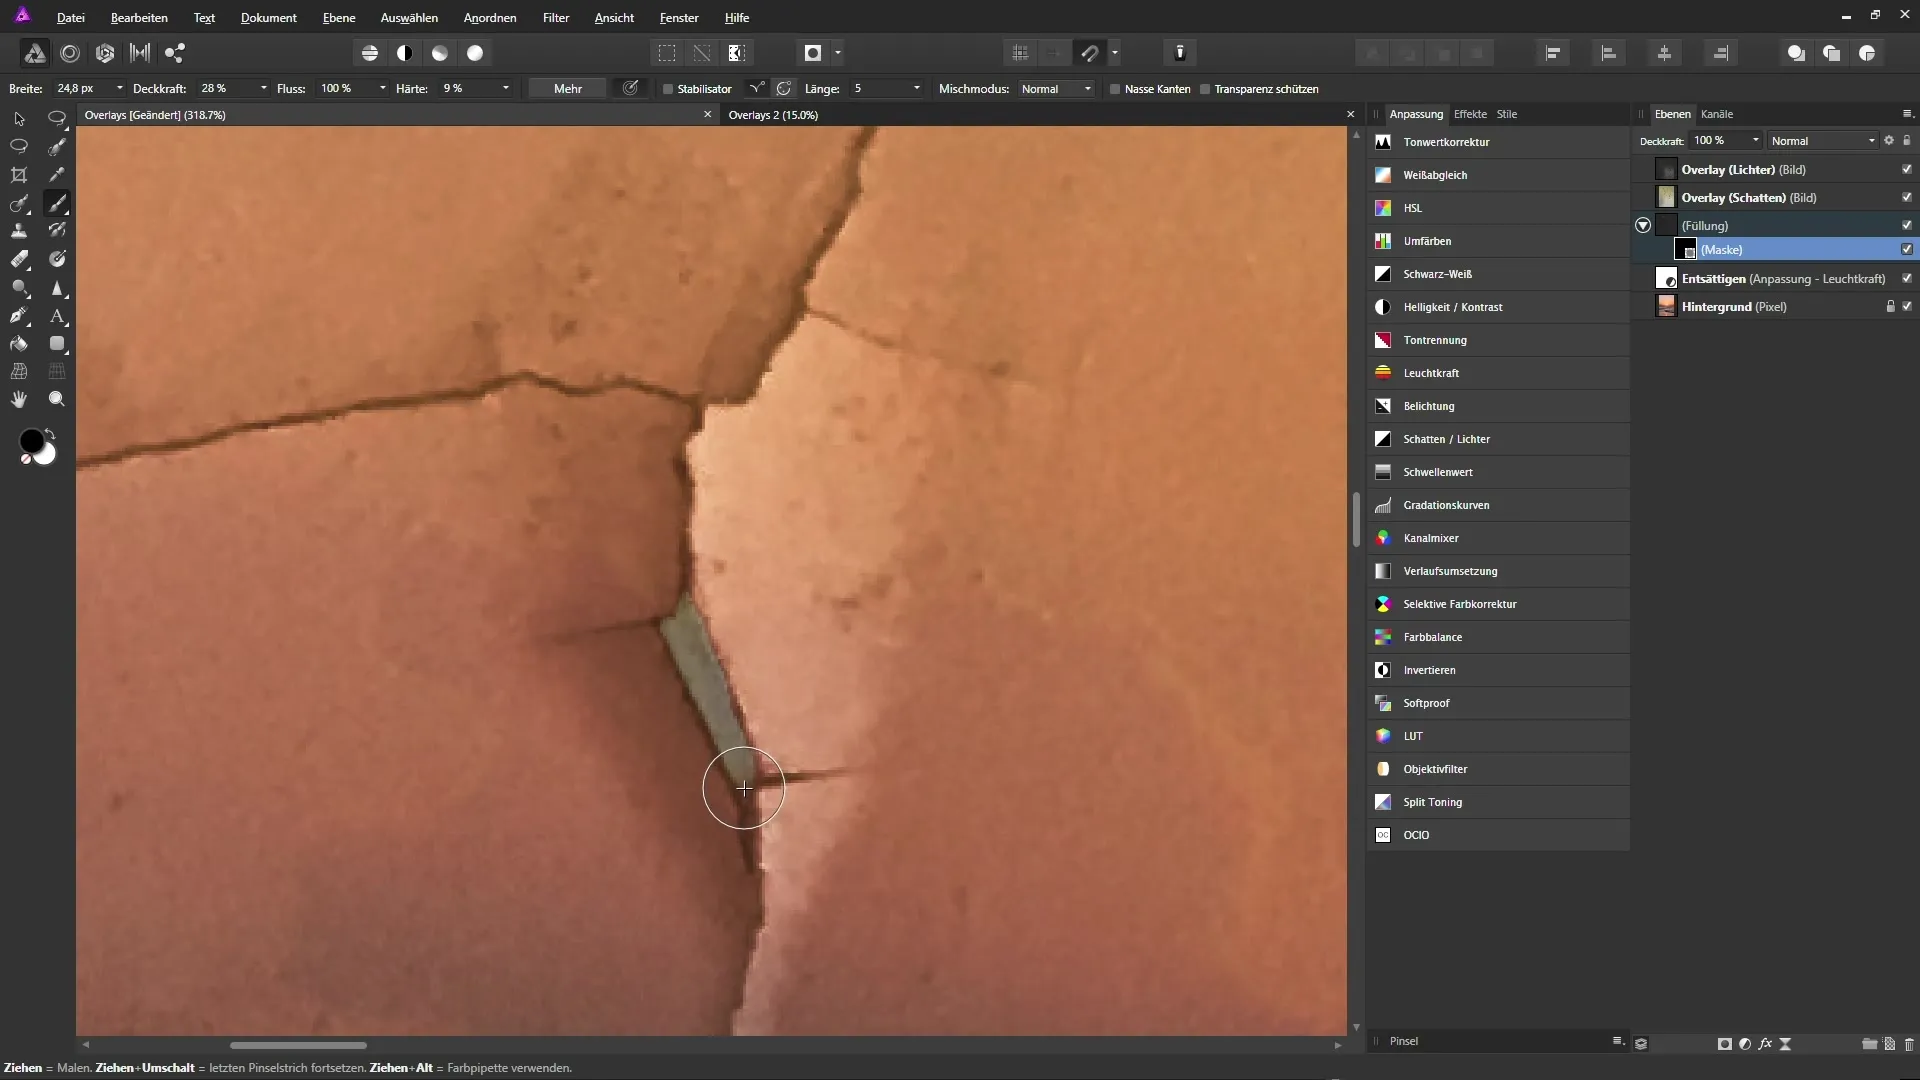
Regularly switch between black and white while editing the mask. Make sure to create soft transitions so that the effects blend well and the image looks realistic.
Step 10: Check the Result
Finally, you can merge all layers and toggle between your original image and the edited image. This way, you will have a clear comparison and can assess the results.
Summary – Overlays in Affinity Photo: Achieve Stunning Effects
In this guide, you learned how to create impressive visual effects using Overlays in Affinity Photo. By making targeted adjustments to the blending modes and color intensity, you can influence the mood of your image and develop an artistic narrative.
Frequently Asked Questions
What are Overlays in Affinity Photo?Overlays are additional images or textures that are placed over the main image to create special effects.
How do I add an Overlay in Affinity Photo?Drag and drop the overlay image into your project and adjust it accordingly.
What are blending modes?Blending modes determine how two or more layers interact with each other and affect how colors and brightness are displayed.
How can I reduce color intensity?Use an adjustment layer for vibrance to decrease saturation and soften the colors.
Why should I rename layers?Renaming layers ensures clarity and makes editing easier, especially in complex projects.


