Affinity Photo is a versatile and powerful image editing program that provides you with numerous tools and functions to professionally edit your photos. In this guide, you will learn about the basic aspects of Affinity Photo that will help you realize your creative vision. I will show you the steps for operating and using the most important functionalities so that you can start with your own project right away.
Key Insights
- You will learn how to open, create, and save documents in Affinity Photo.
- Understanding layers and their efficient use is essential for your work.
- It will be explained how to apply the various tools of Affinity Photo step by step.
- Adjustment layers allow you to make individual edits to your photos.
- At the end of the guide, you will learn how to combine the functions you have learned in various ways.
Step-by-Step Guide to Using Affinity Photo
Opening, Creating, and Saving Documents The first step when working with Affinity Photo is to open or create a document. You can create a new document by going to "File" and selecting "New." Then, you can set the desired dimensions and resolution. If you already have an image that you want to edit, you can import it via "File" and "Open." To save your edits, go back to "File" and click on "Save" or "Save As" to secure different versions of your project.
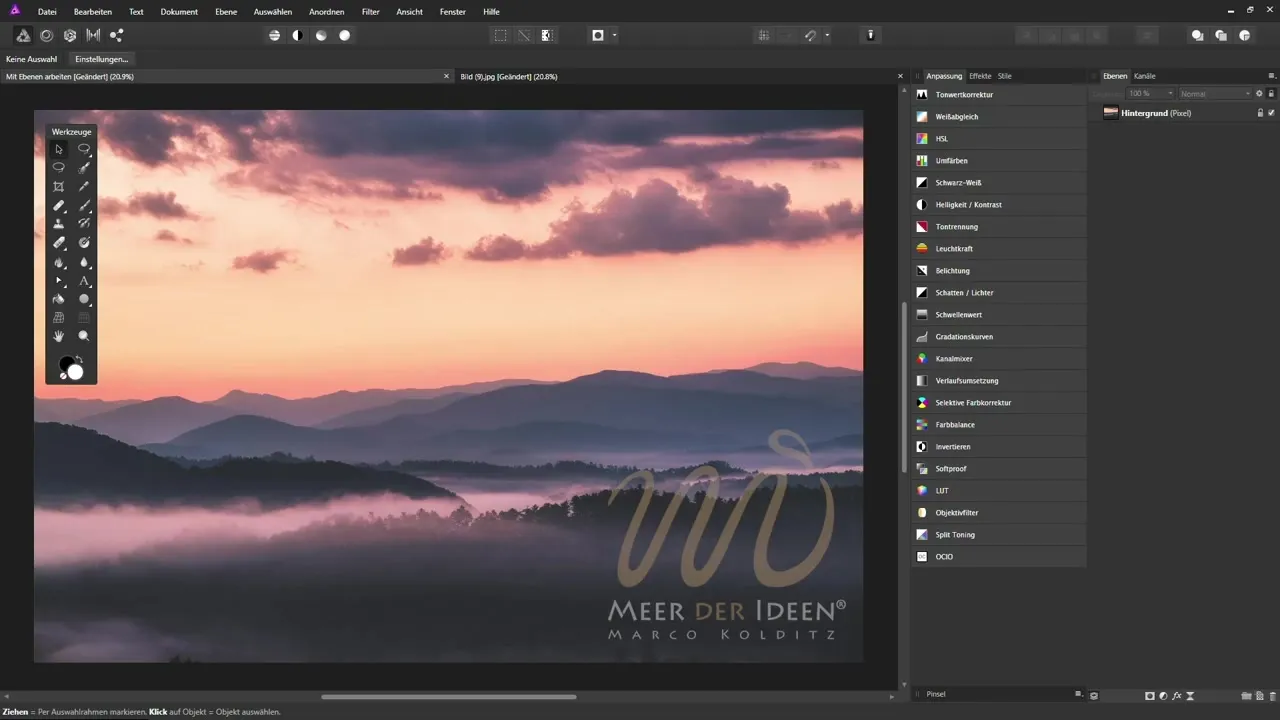
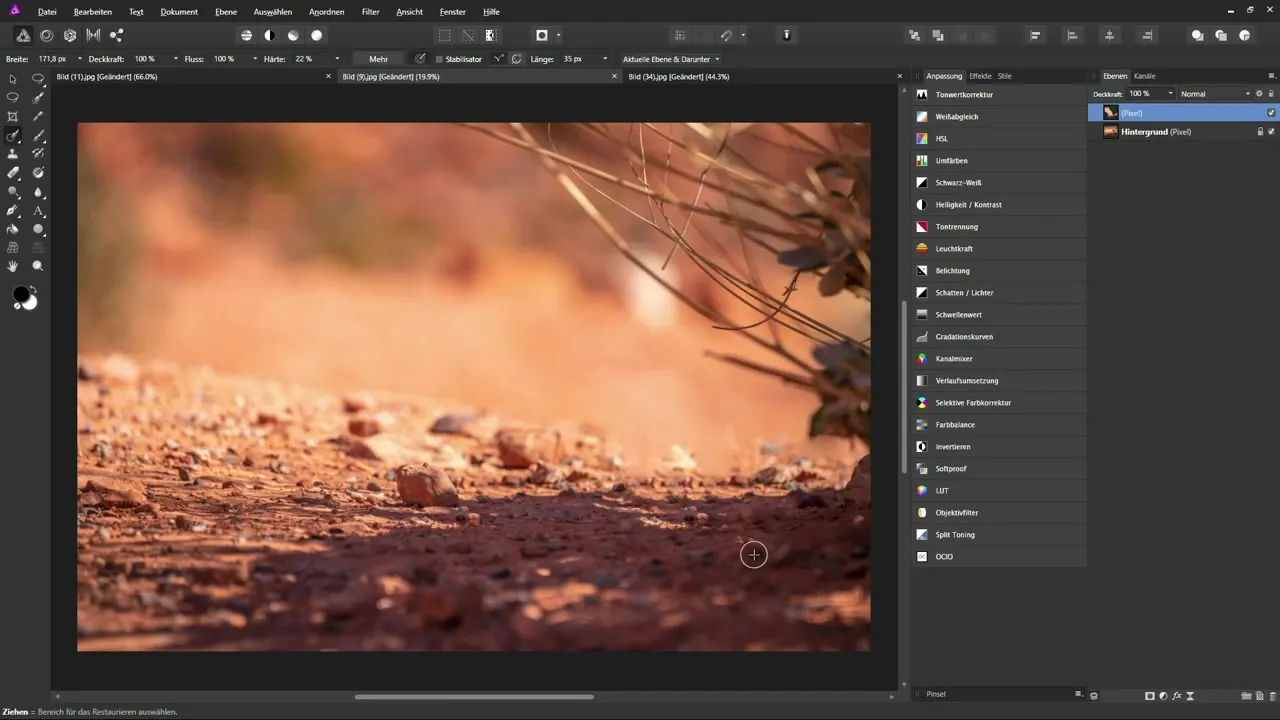
Layers – The Basis of Your Work Layers are a central concept in Affinity Photo that allows you to edit different elements of your work in isolation. You can add a new layer by clicking the "New Layer" icon in the Layers panel. There are different types of layers such as raster layers or adjustment layers that offer you different functions. Be sure to name and organize your layers well to make your work efficient.
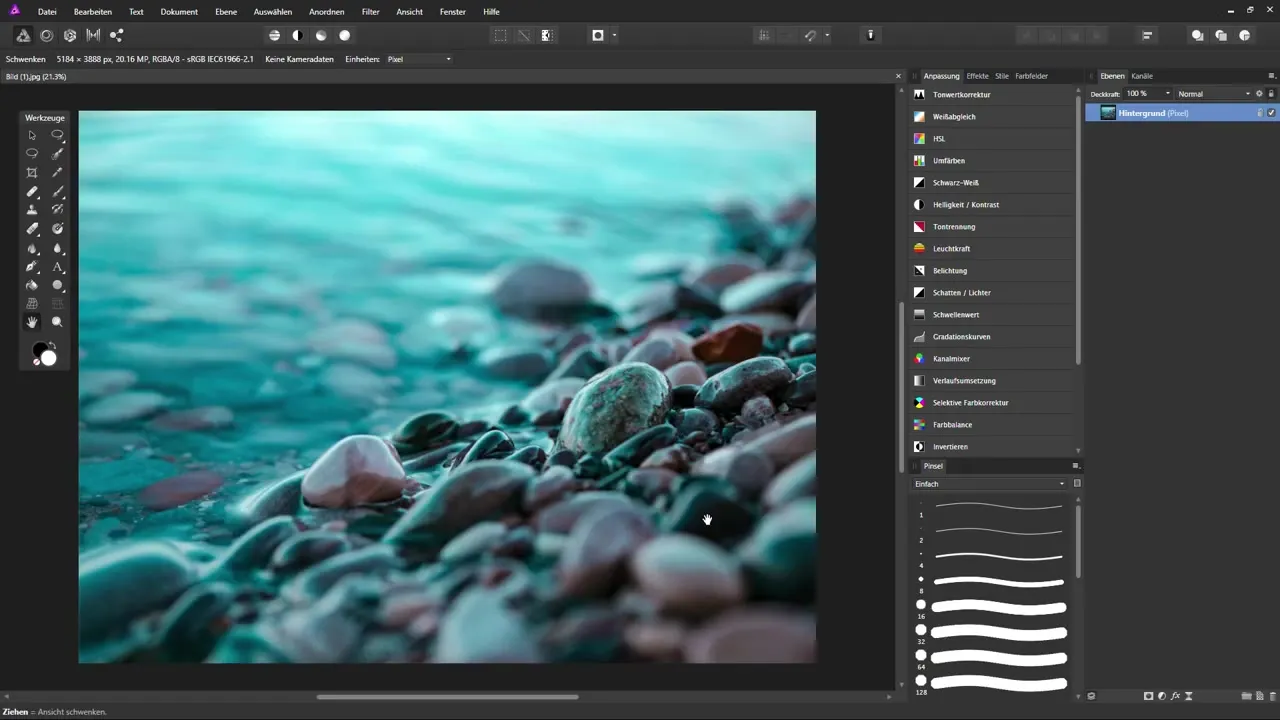
Using Tools Intentionally Affinity Photo offers a variety of tools that assist you in editing your images. Welcome to the tools pane, where you will find various options such as brushes, text tools, or selection tools. To select a tool, simply click on the corresponding icon. If you want to ensure that you have the desired settings, check the top menu bar, which is context-dependent and provides you with specific options for the selected tool.
Simple and Complex Adjustments with Adjustment Layers Adjustment layers are an excellent method to make changes to your photos without altering the original image. For example, you can work with a "Brightness/Contrast" setting. Select the adjustment layer from the "Layer" menu and adjust the sliders until the image meets your expectations. This flexibility allows you to make changes anytime without compromising the original quality of your work.
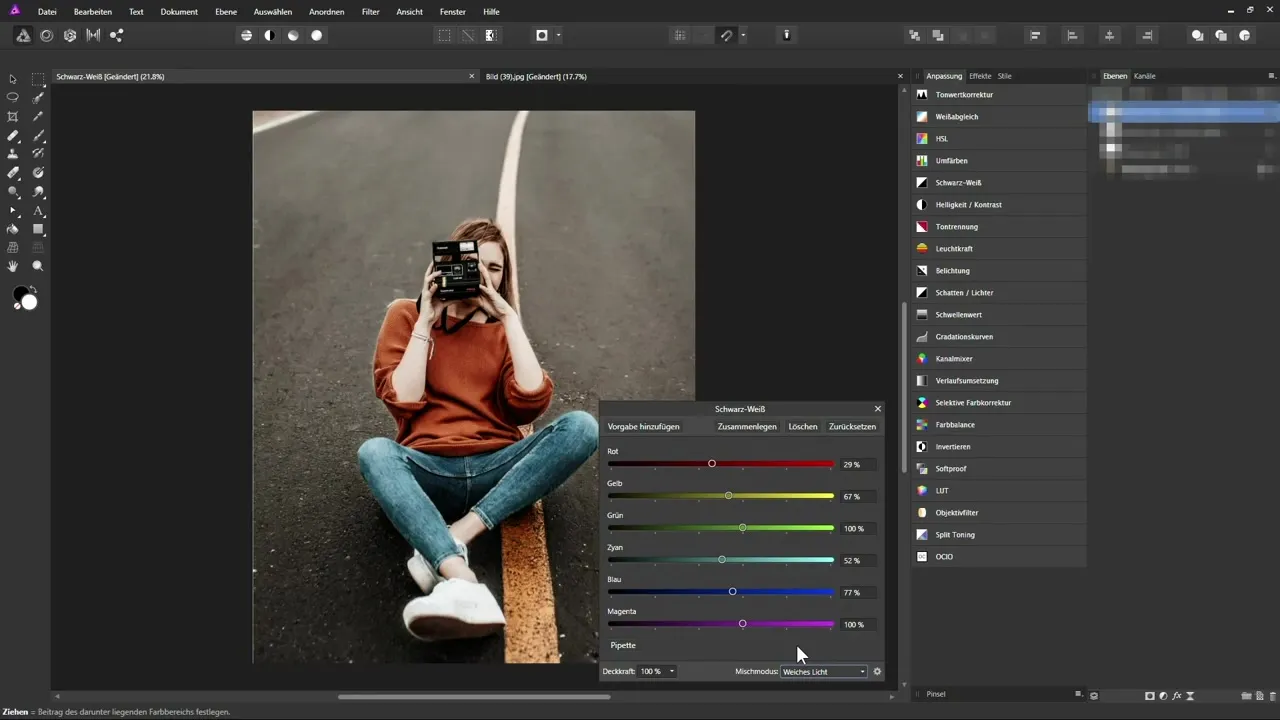
Practical Part – Combining Functions In the last part of the course, it’s about bringing together what you have learned. You will see how to edit an image by cleverly combining various tools and adjustment layers. Start with basic adjustments like exposure and contrast, then add a color correction to optimize the image. By experimenting with different layers, you can achieve impressive effects.
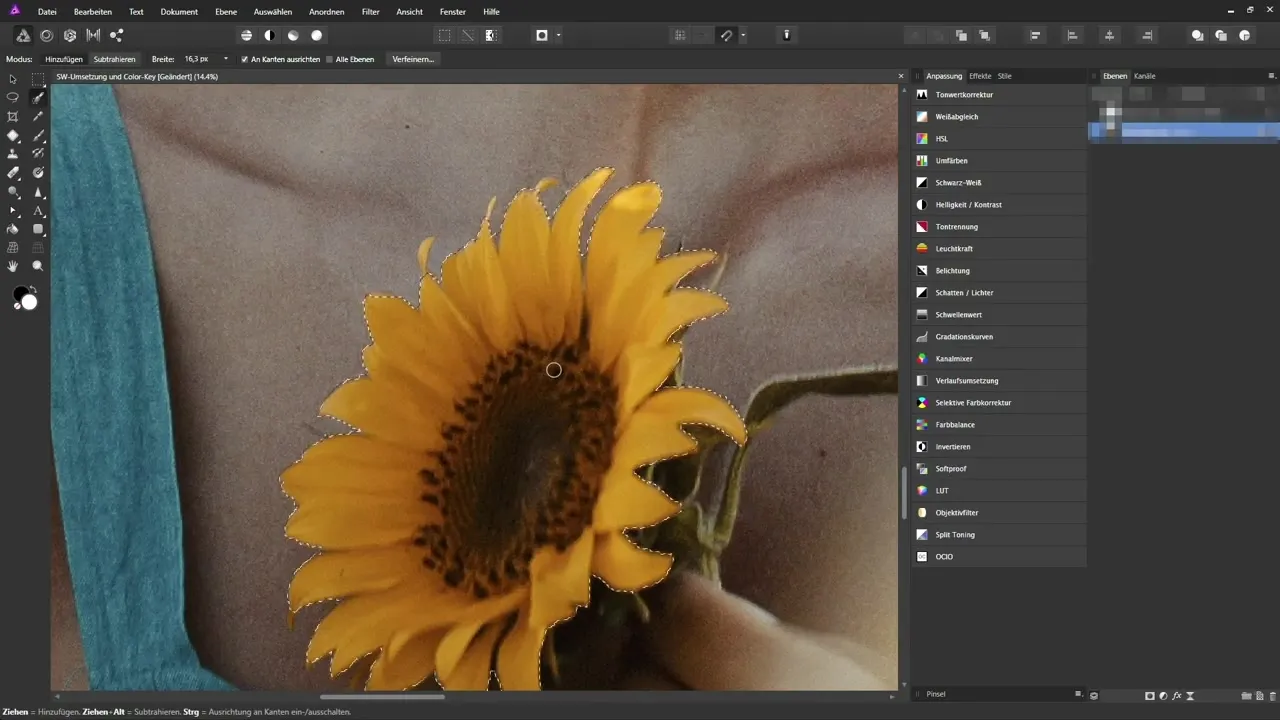
Summary – Understanding and Applying the Basics of Affinity Photo
In this guide, you have learned the basic functions and tools of Affinity Photo. You are now able to create and save documents, use layers effectively, and edit your photos individually. Don’t forget to use the various adjustment layers to gain maximum control over your image editing. Good luck with your creative projects!
Frequently Asked Questions
How do I open a document in Affinity Photo?You open a document by clicking on "File" and then "Open" in the menu.
How do I add a new layer?You can add a new layer by clicking on the "New Layer" icon in the Layers panel.
What are adjustment layers?Adjustment layers allow you to make changes to an image without changing the original.
Can I customize tools in Affinity Photo?Yes, each tool can be customized through the top menu bar depending on your specific needs.
How do I save my project?To save your project, go to "File" and click on "Save" or "Save As" for a new version.


