Affinity Photo 2.0 brings a range of exciting new features, even if the number of new functions remains relatively manageable. In this guide, I will show you the most interesting features and give you a step-by-step insight into how you can use them effectively. The new possibilities will help you optimize your photo editing and achieve creative results.
Key findings
- Redesigned user interface with new icons
- Grid distortion tool as a live filter
- Improved masking options
- Hue range mask for precise color corrections
- Easier editing of RAW files
Step-by-step guide
The new features of Affinity Photo 2.0 play an important role in photo editing. The following explains how to effectively utilize these new tools.
1. The redesigned user interface
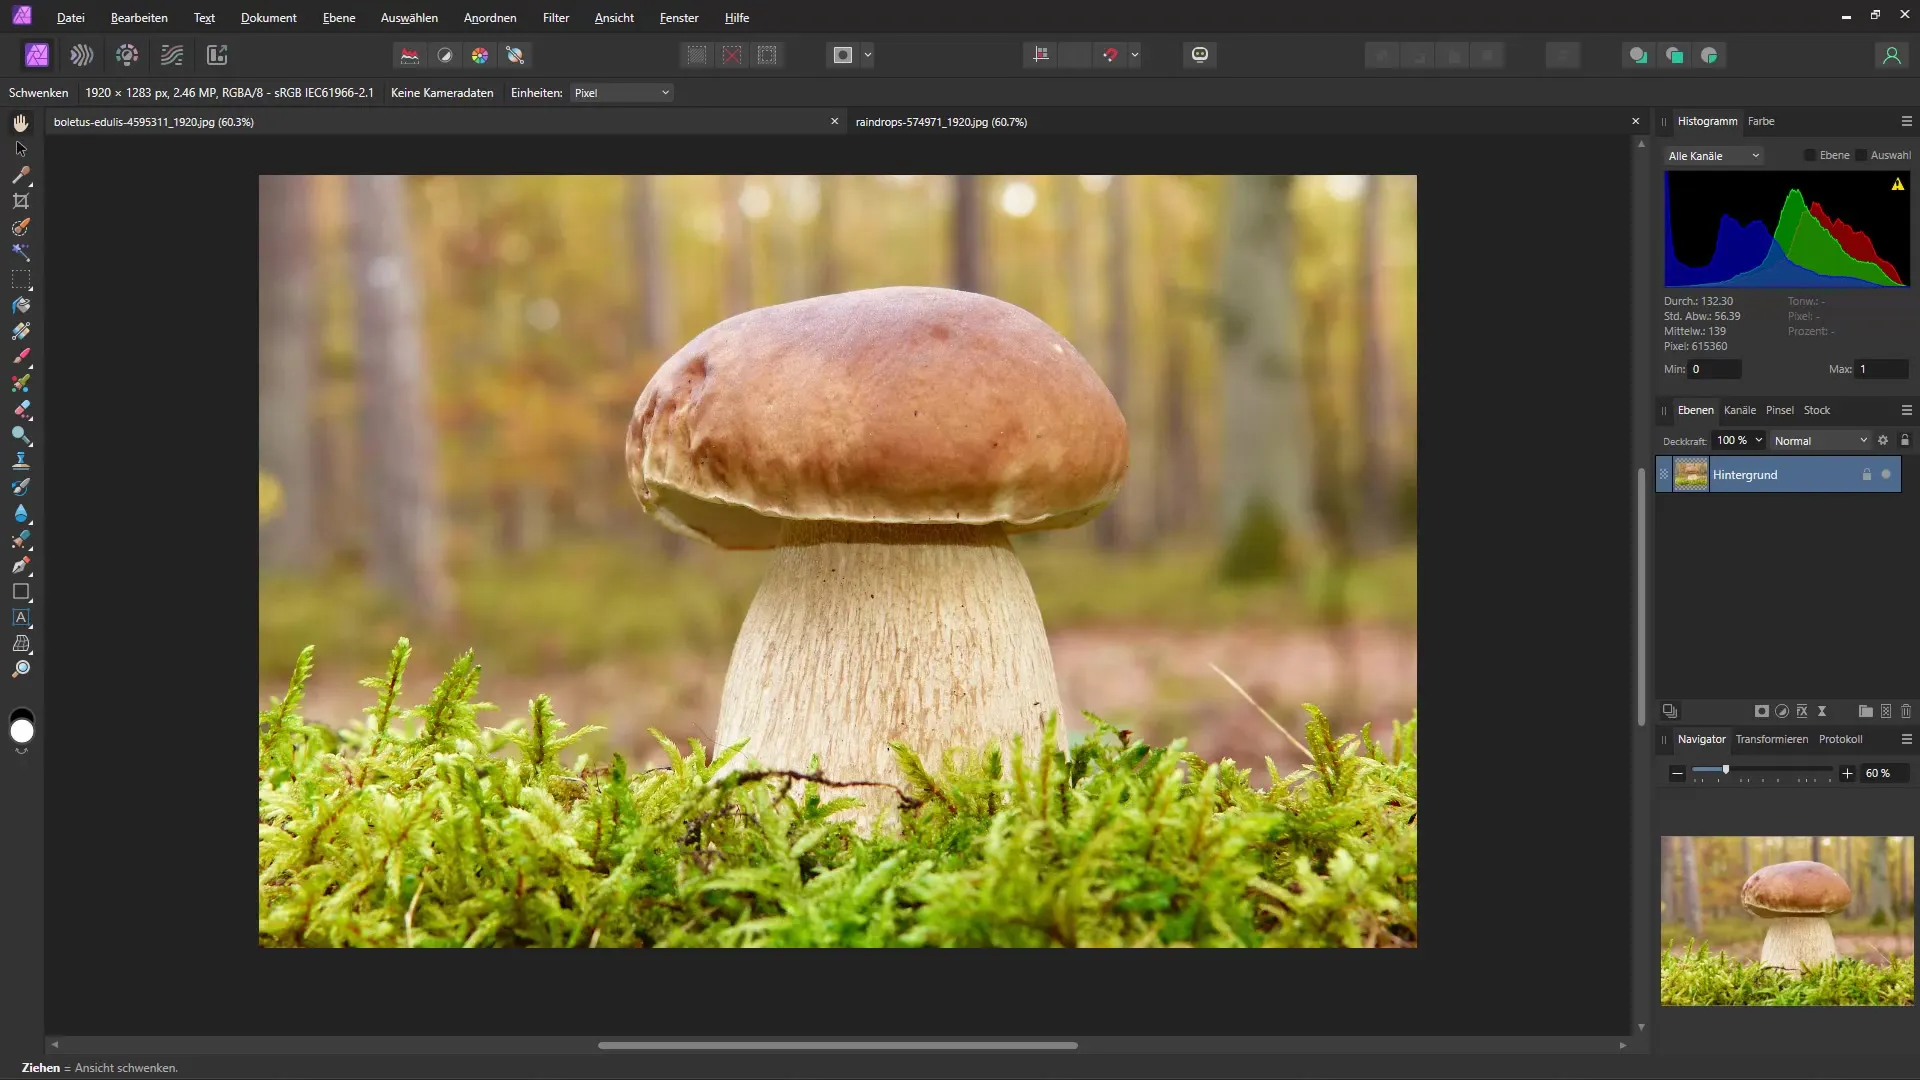
When you open Affinity Photo 2.0, you will immediately notice the revamped user interface. All icons have been redesigned to provide you with a more enjoyable experience. A comparison with the previous version shows that the basic elements have remained similar, but there have been several improvements in the arrangement and appearance.
2. New menu for file creation
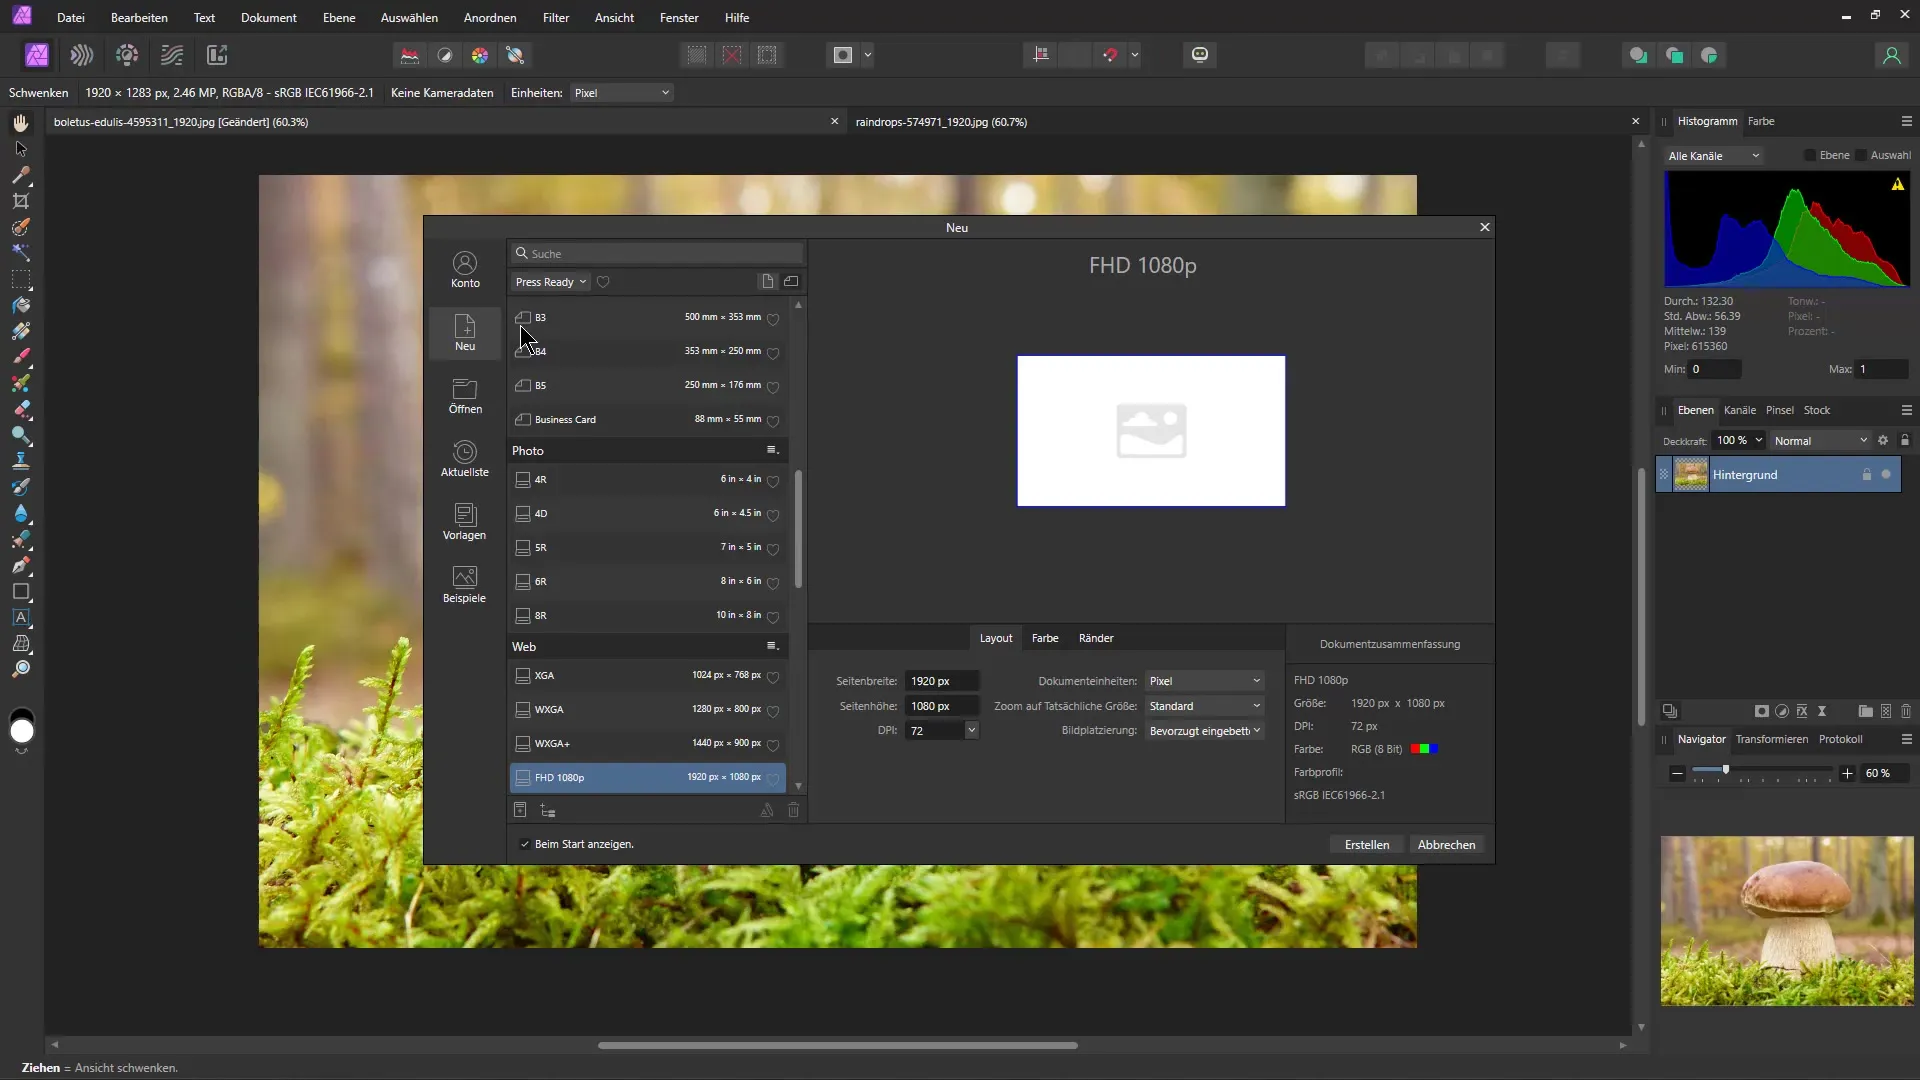
A clear area of the new version is the menu for creating new files. Now you can directly access templates and manage your account. The clarity has noticeably improved, making navigation through your projects more intuitive.
3. Using the grid distortion tool
One of the most exciting new features is the grid distortion tool. This tool allows you to distort images non-destructively. You can make adjustments at any time without affecting the original data. Click on the grid distortion icon and use the points to creatively manipulate your image.
4. Masking options
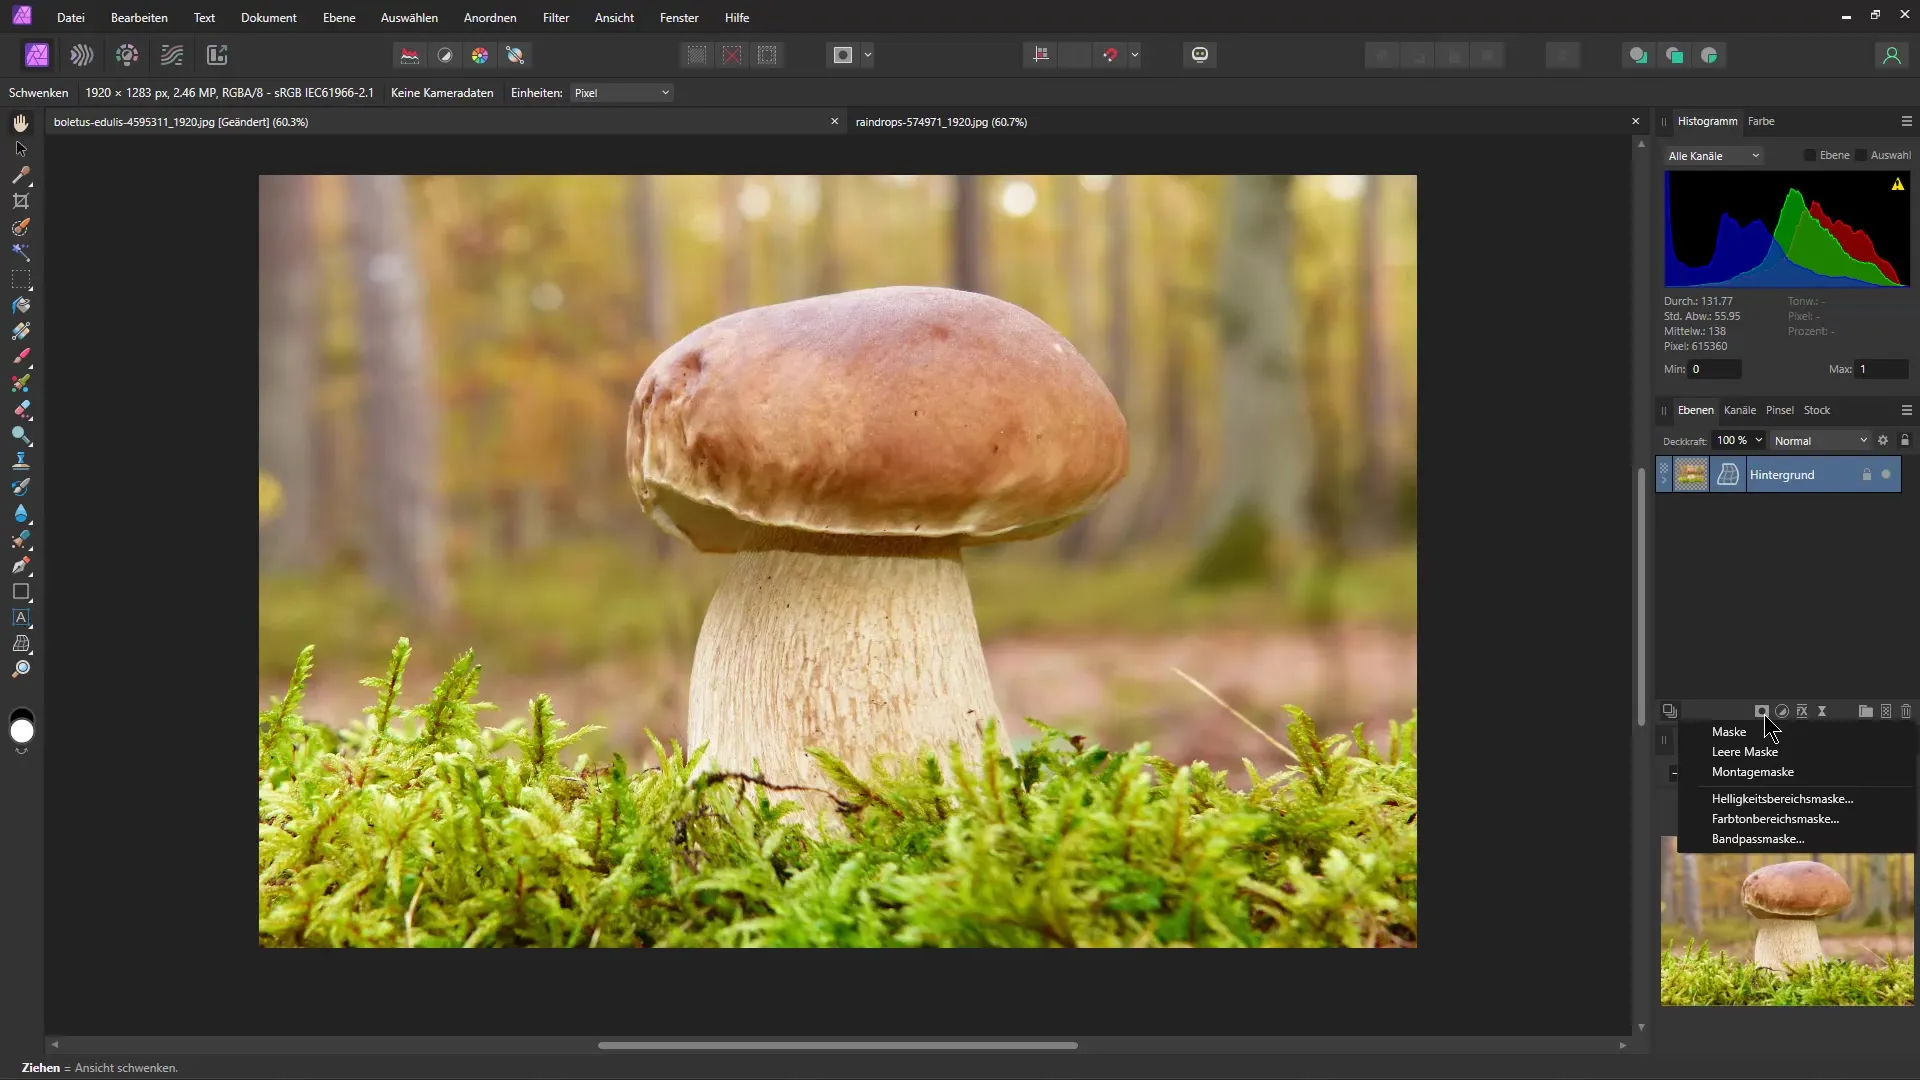
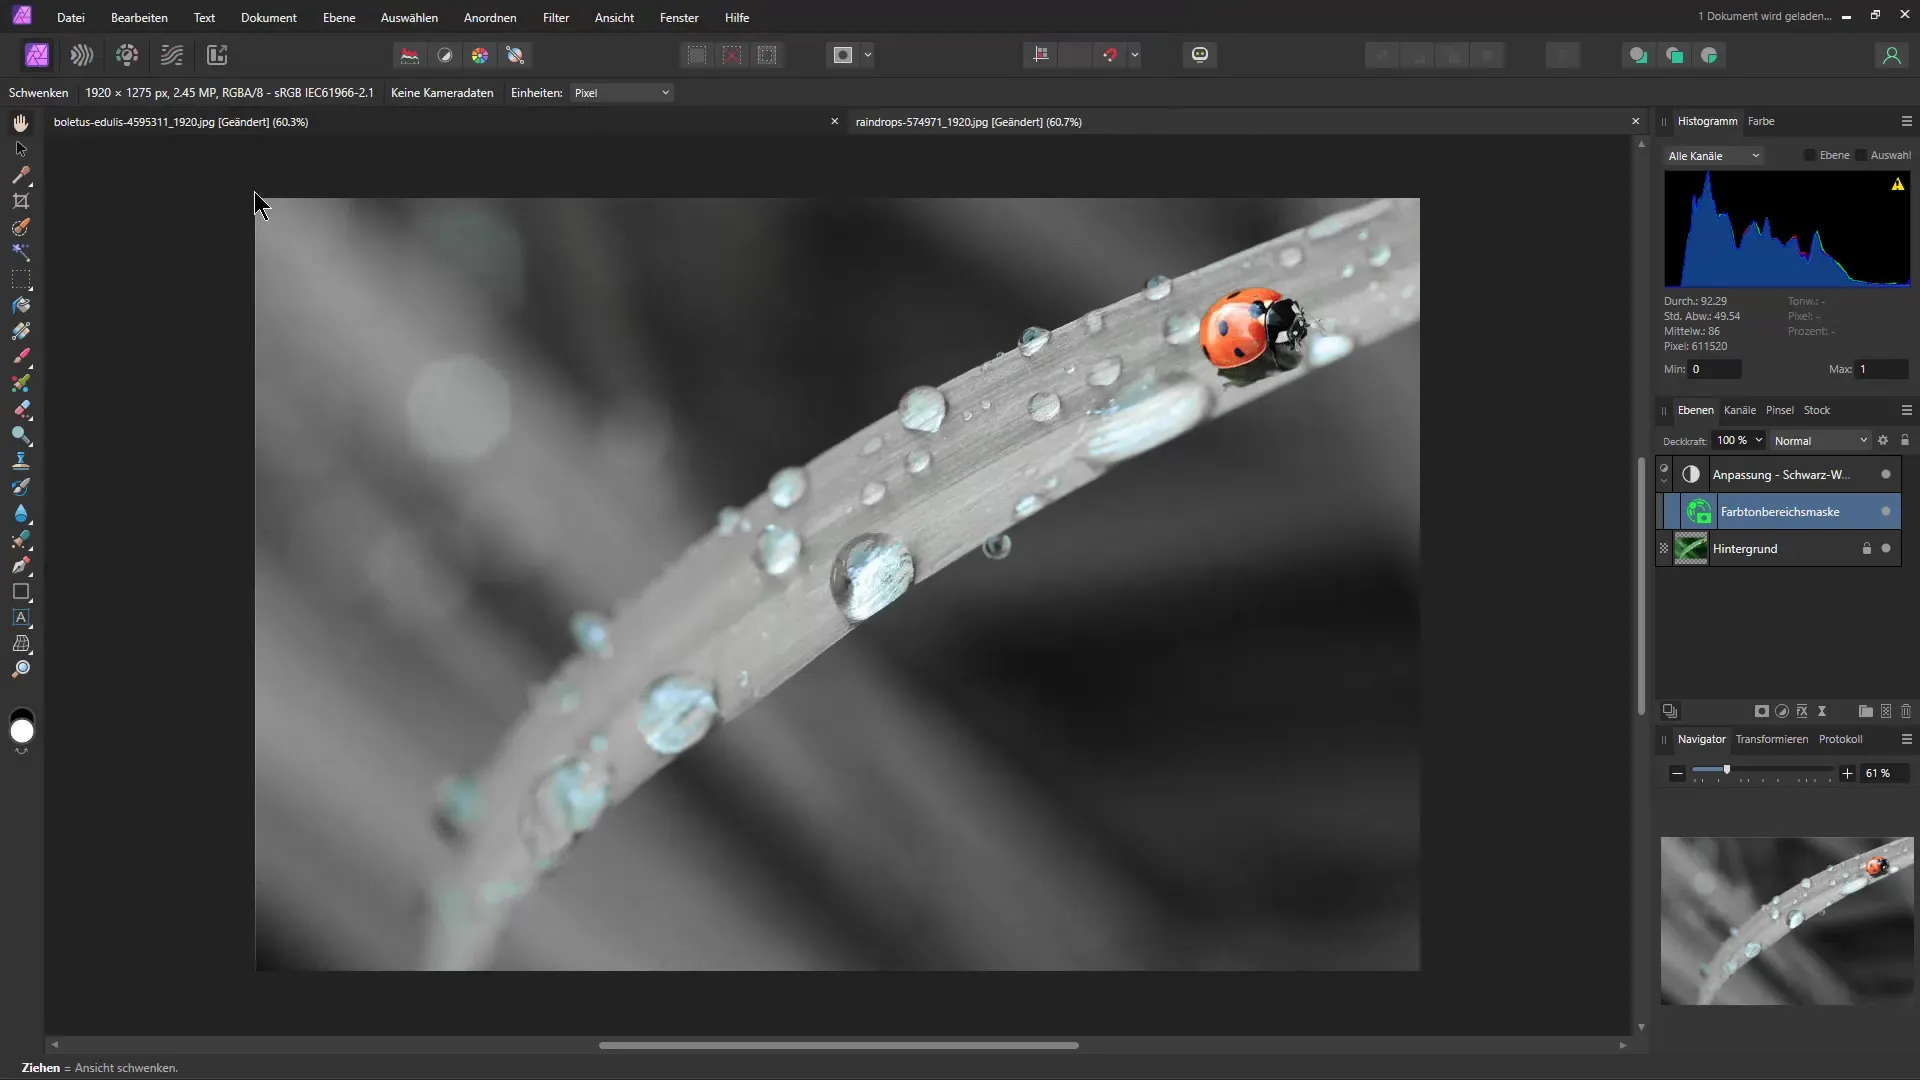
Masking has been significantly improved in Affinity Photo 2.0. You can add not only a simple mask but also use complex masking options. Especially the montage mask and hue range mask open up new creative possibilities for designing your images.
5. Hue range mask for precise adjustments
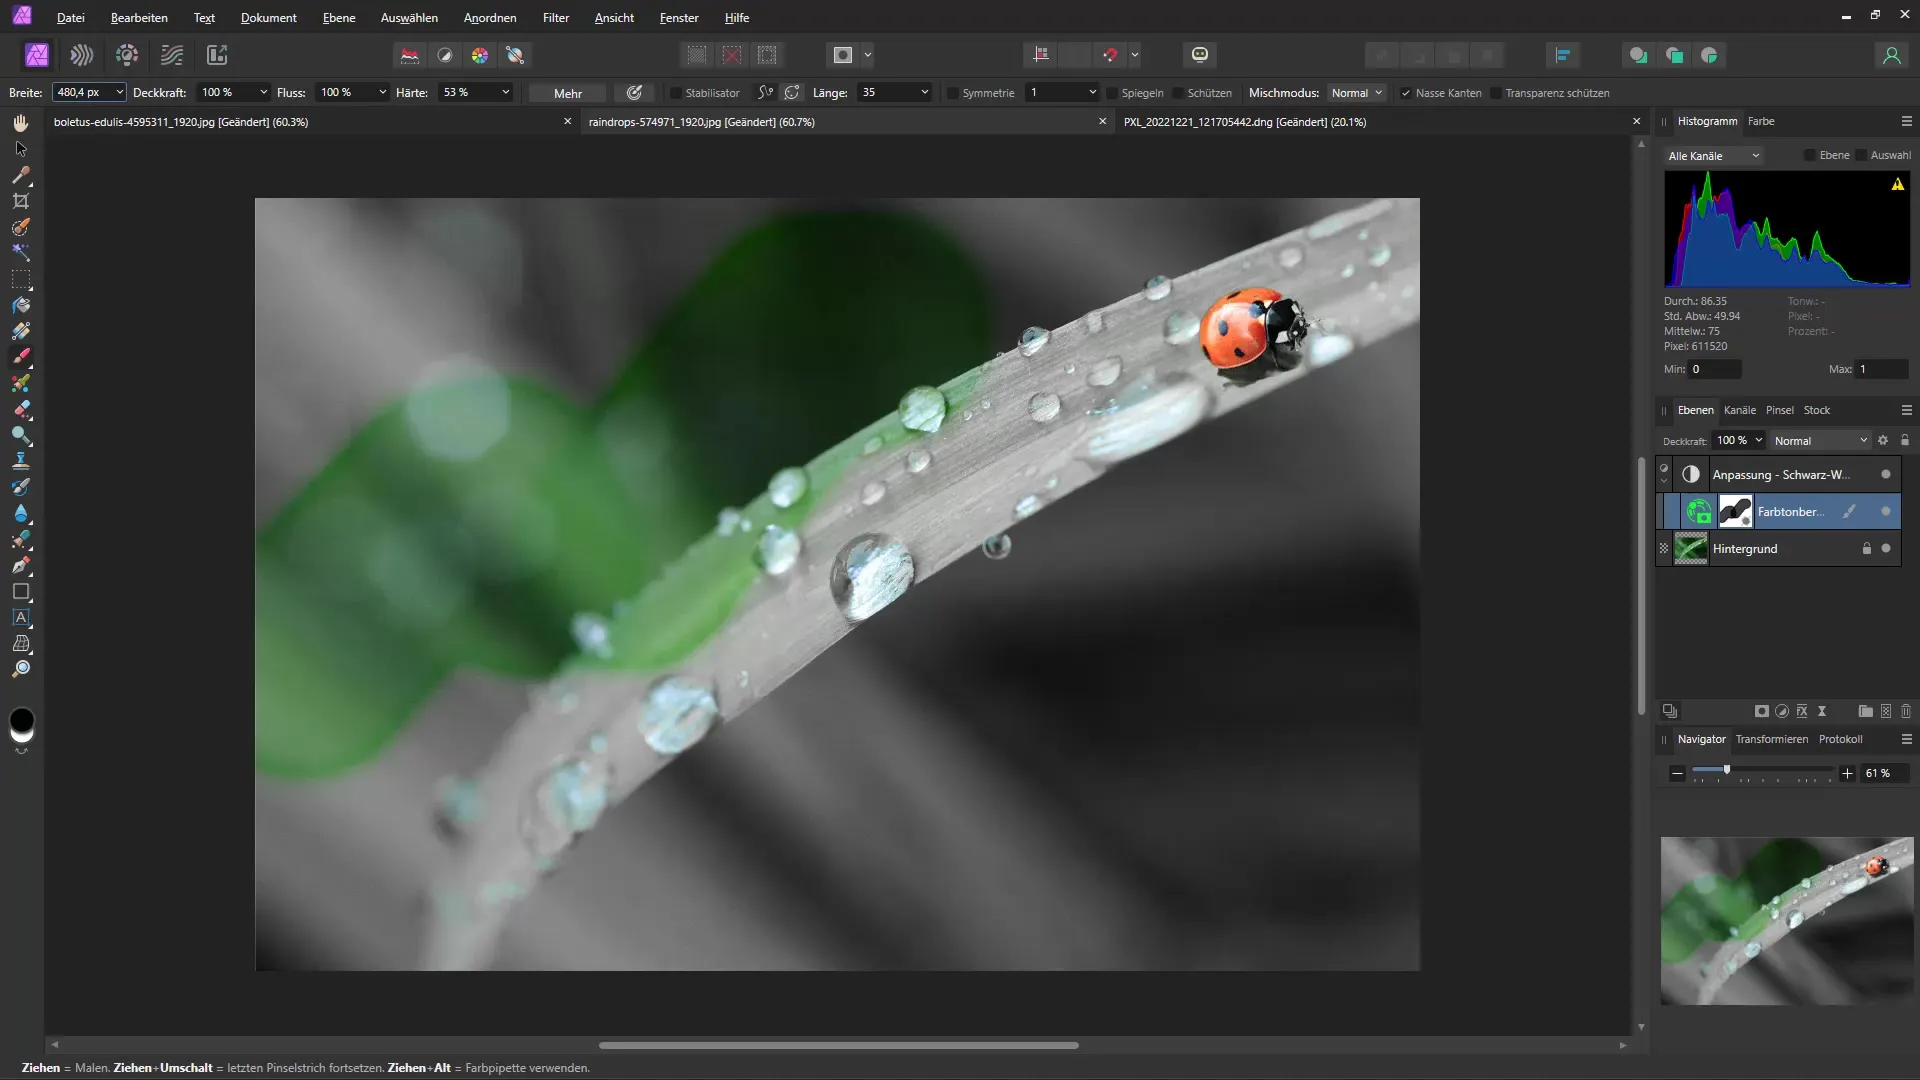
The hue range mask is a brand new feature that allows you to selectively choose and edit certain colors. This is especially useful when you want to change the color of an object while leaving the rest of the image unchanged. Simply drag the mouse over the color you want to edit and adjust the parameters.
6. Working with RAW files in the Develop Persona
When you open a RAW file, you will be directed to the Develop Persona, where you can make extensive adjustments to exposure, brightness, and other attributes. New is the ability to save all these adjustments temporarily and change them at any time. This way, you maintain full control over your photo editing.
7. Practical brush optimizations
Another practical tip concerns brush editing: You can adjust the brush size and hardness directly on the brush tool. Hold down the "Ctrl" and "Alt" keys while clicking the left mouse button to interactively adjust the brush parameters. A preview of the changes is displayed immediately, making work significantly easier.
8. More new features and updates
Finally, there are smaller features that you can discover in the software. These also include optical improvements in the brush engine and more live masks. To explore all the new features, you should consult the official manufacturer’s site, where all changes are listed in detail.
Summary – Latest features in Affinity Photo 2.0
Affinity Photo 2.0 has received some valuable features that can elevate your photo editing to the next level. With the optimized user interface, new masking options, and efficient working with RAW files and brushes, you have a versatile range of tools at your disposal.
Frequently Asked Questions
What are the new main features in Affinity Photo 2.0?The new main features include a redesigned user interface, grid distortion tool, improved masking options, and effective hue range and RAW file editing.
How can I use the grid distortion?You can select the grid distortion tool and drag the points in the image to make non-destructive adjustments.
Where can I find the new masking tools?The new masking tools can be found in the layers panel, where you can choose between different mask formats.
How does the hue range mask work?With the hue range mask, you can selectively choose and adjust colors in the image by simply dragging over the desired color.
Can I still edit RAW files non-destructively?Yes, in the Develop Persona, you can make all adjustments and change them at any time without affecting the original image.

