Procreate is a powerful app on the iPad that offers you a variety of options to bring your creative ideas to life. Understanding the canvas and how to handle it is crucial for designing your drawings and illustrations optimally. In this Tutorial, I will show you how to work with the canvas in Procreate to work efficiently. It's important that you find the right size and orientation of your workspace to get the best out of your digital artworks.
Key Insights
- You can easily adjust the size and orientation of the canvas.
- The timer function is easy to use: zooming, rotating, and resetting.
- Important settings like pixel count and layers are crucial for your workflow.
- There are clear options for cropping and adjusting the canvas.
Step-by-Step Guide
To make optimal use of the canvas functions in Procreate, follow these steps:
Step 1: Create a New Canvas or Import an Image
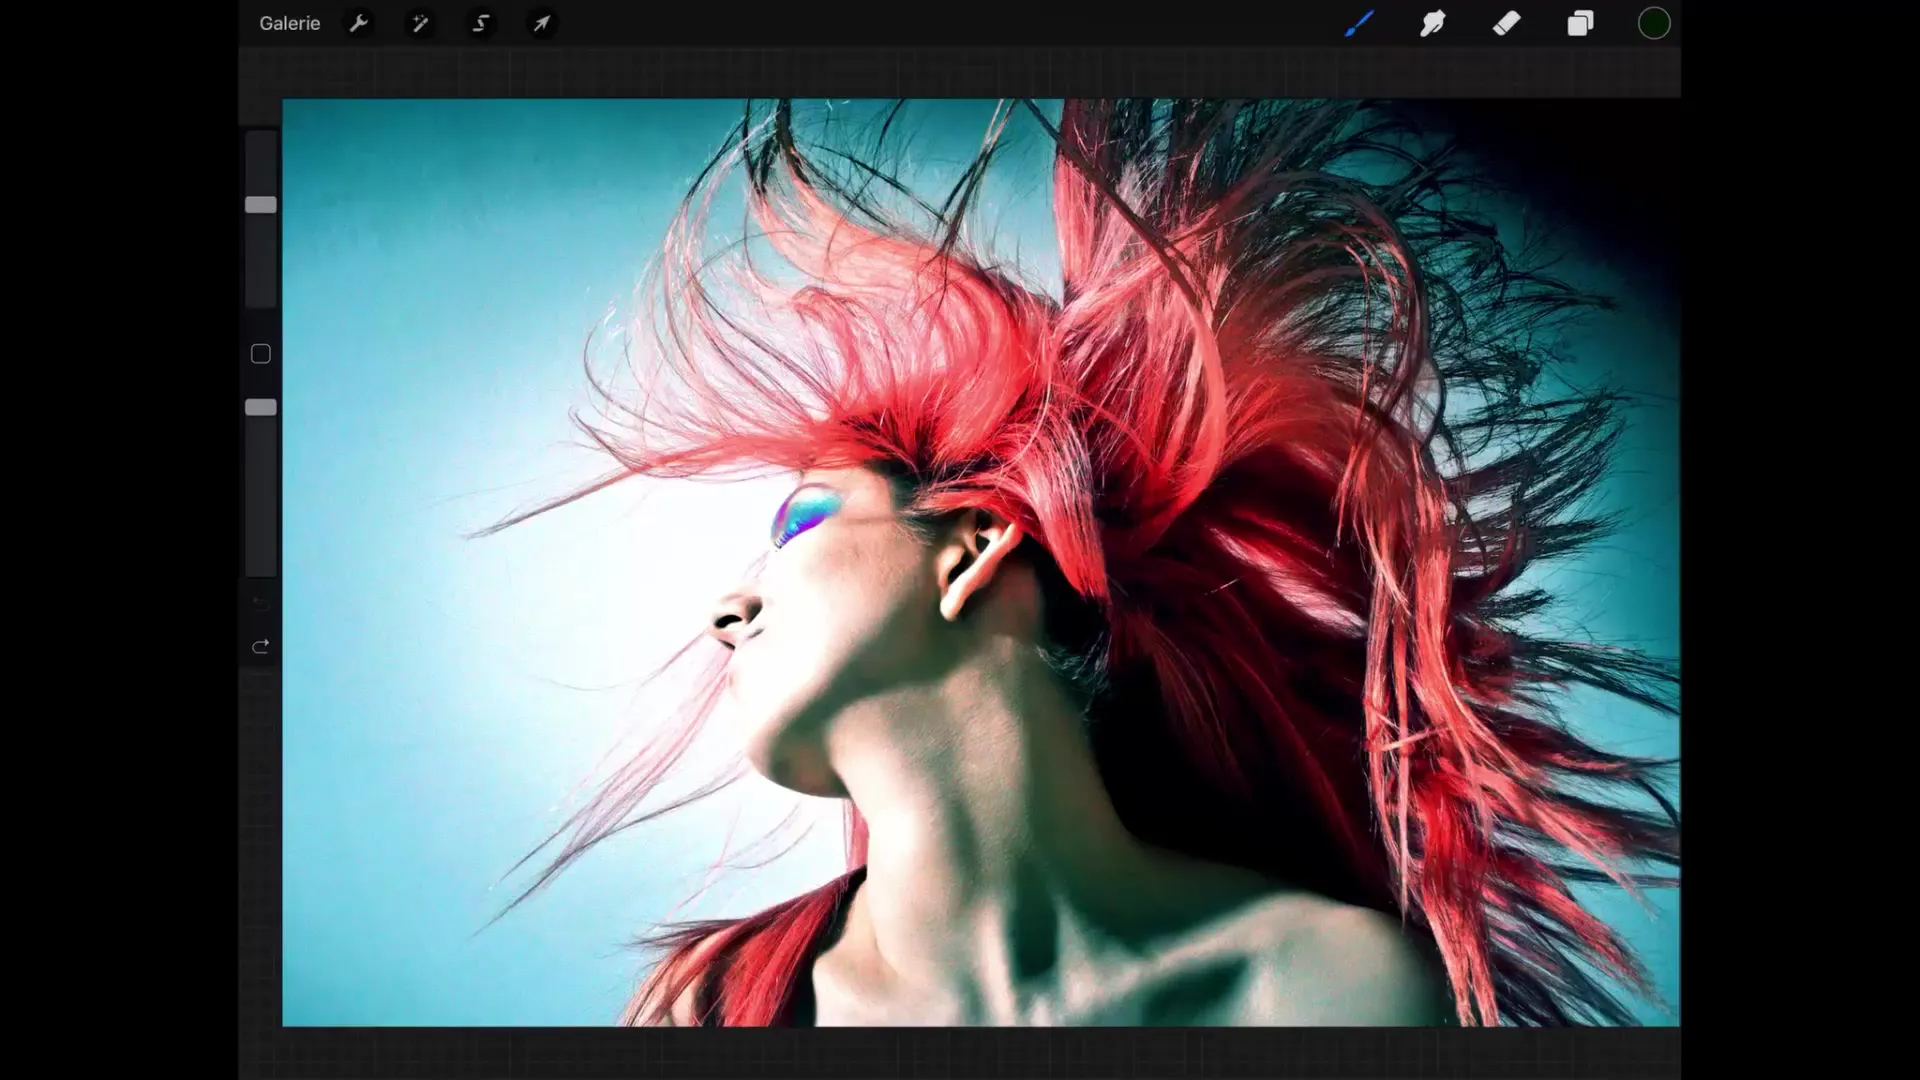
When you open Procreate, you can either create a new canvas or import an existing image. When creating a new canvas or importing a photo, the image is displayed to fill the entire workspace as much as possible.
Step 2: Zooming and Rotating the Canvas
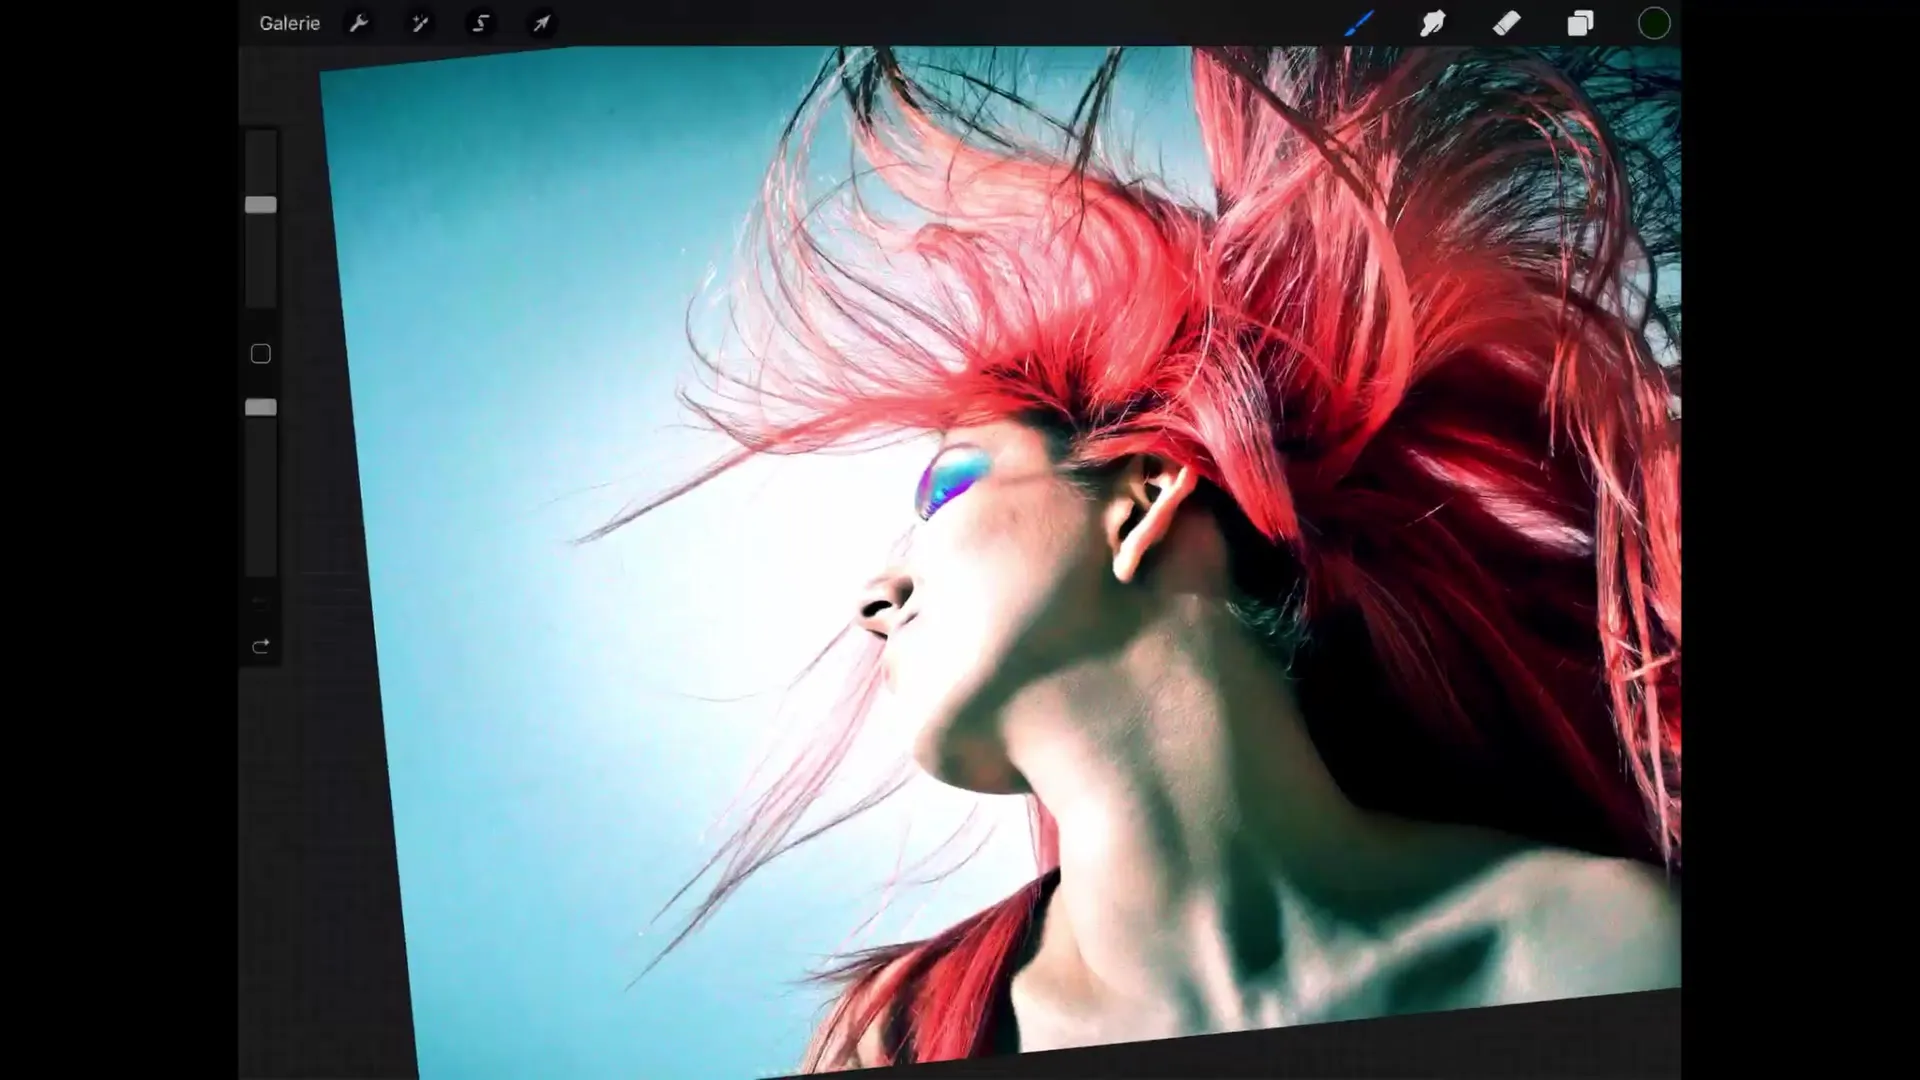
While working, it will often be necessary to zoom in on specific areas to make more precise changes. To zoom, tap the canvas with two fingers and spread them apart. To rotate the canvas, again use two fingers and make a rotating motion. This process is intuitive and behaves similarly to other apps.
Step 3: Return to Original View
If you want to restore the image to its original size and orientation, you can also do this with two fingers. Tap on the workspace and pinch your fingers together to restore the standard view.
Step 4: Adjust Canvas Size
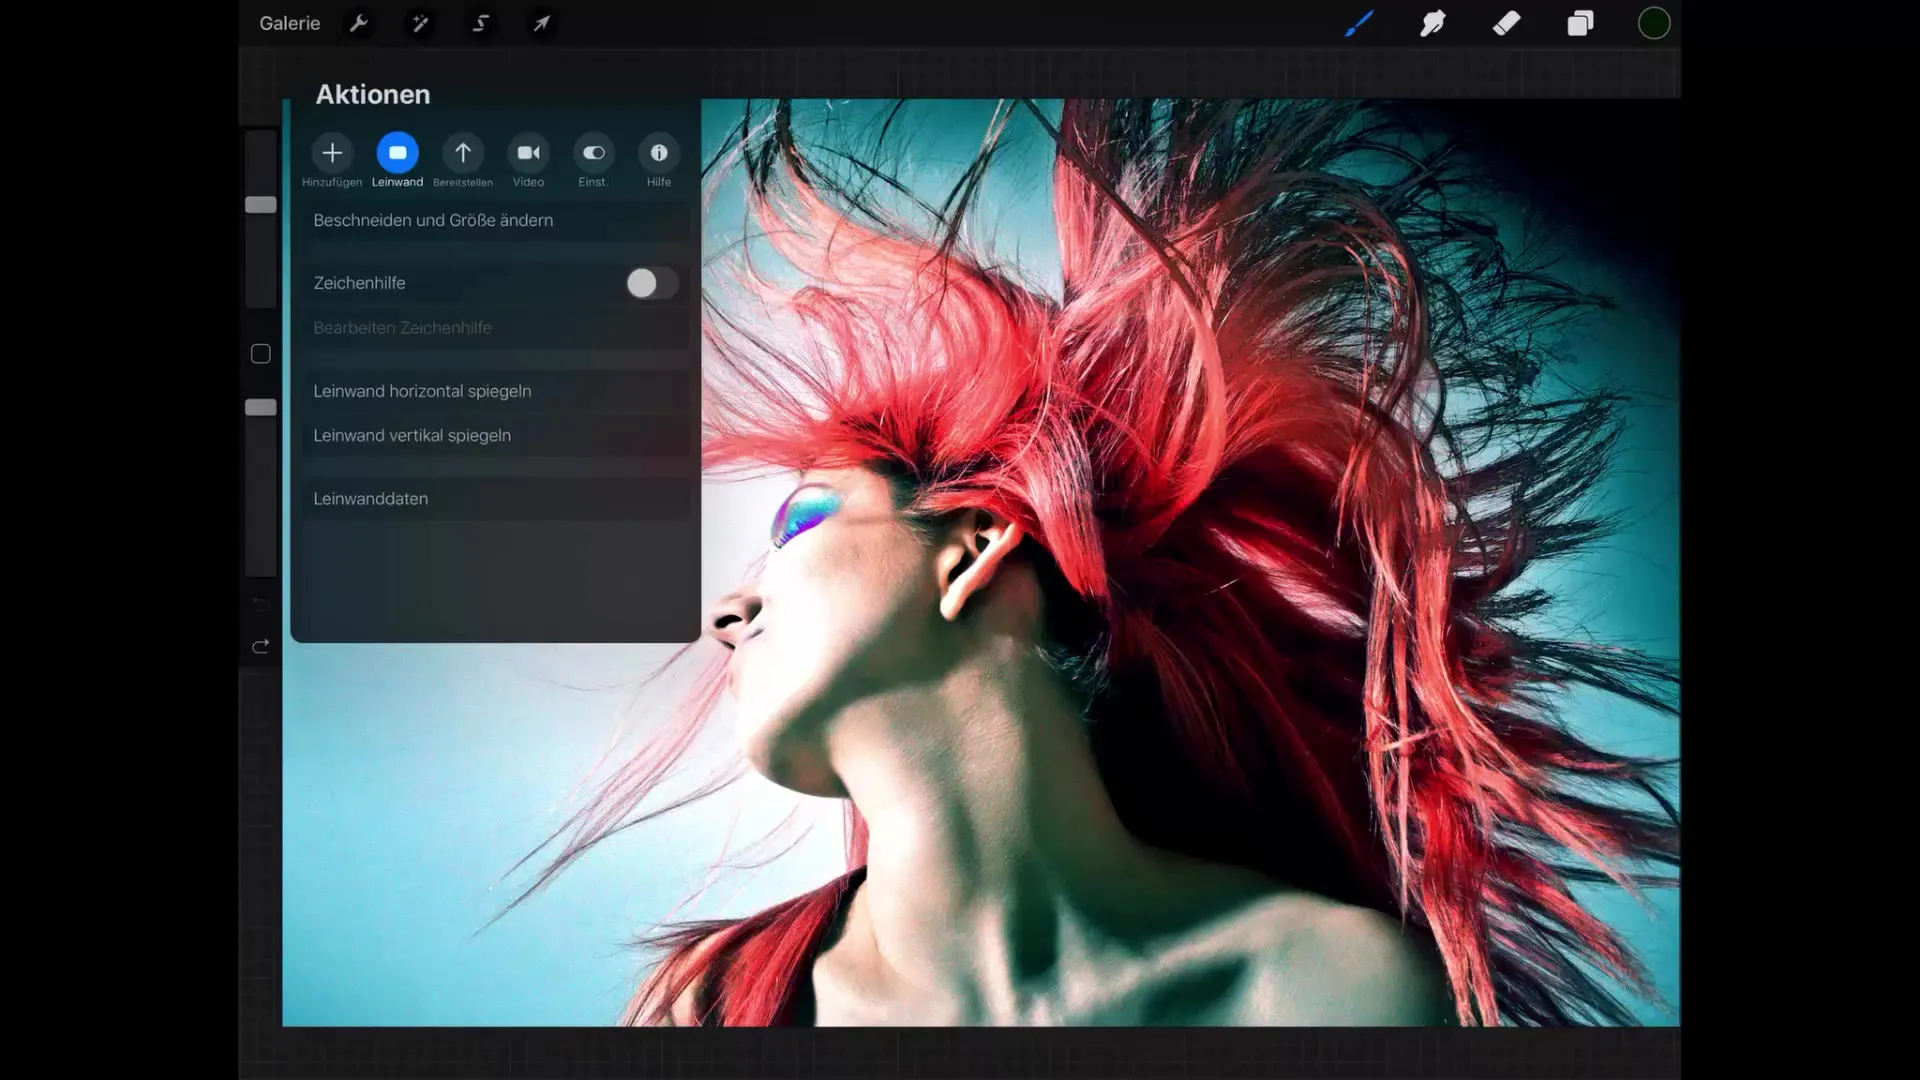
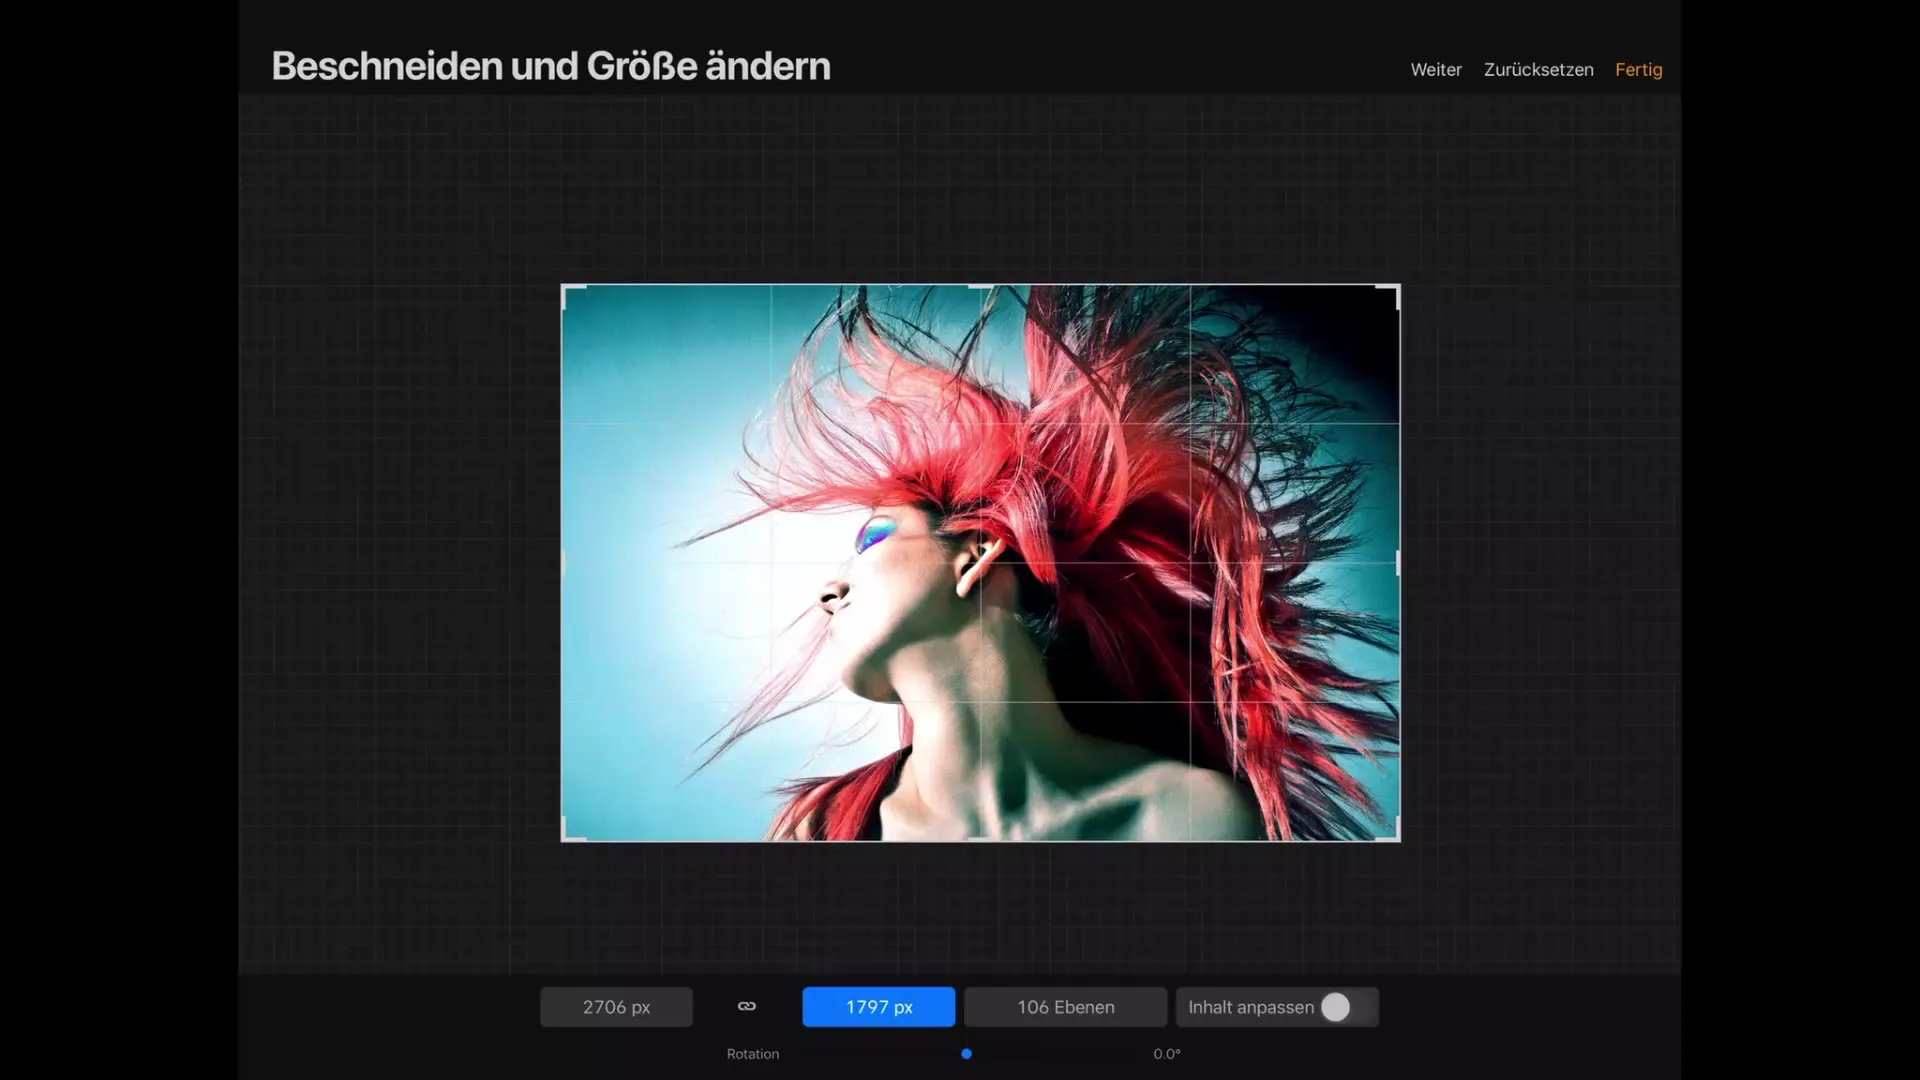
It may happen that the canvas size you chose is not ideal for your project. In this case, you can tap the wrench icon and select the option "Crop and Resize" under "Canvas". Here, you can view the exact pixel specifications of the current size.
Step 5: Adjust Pixel Size
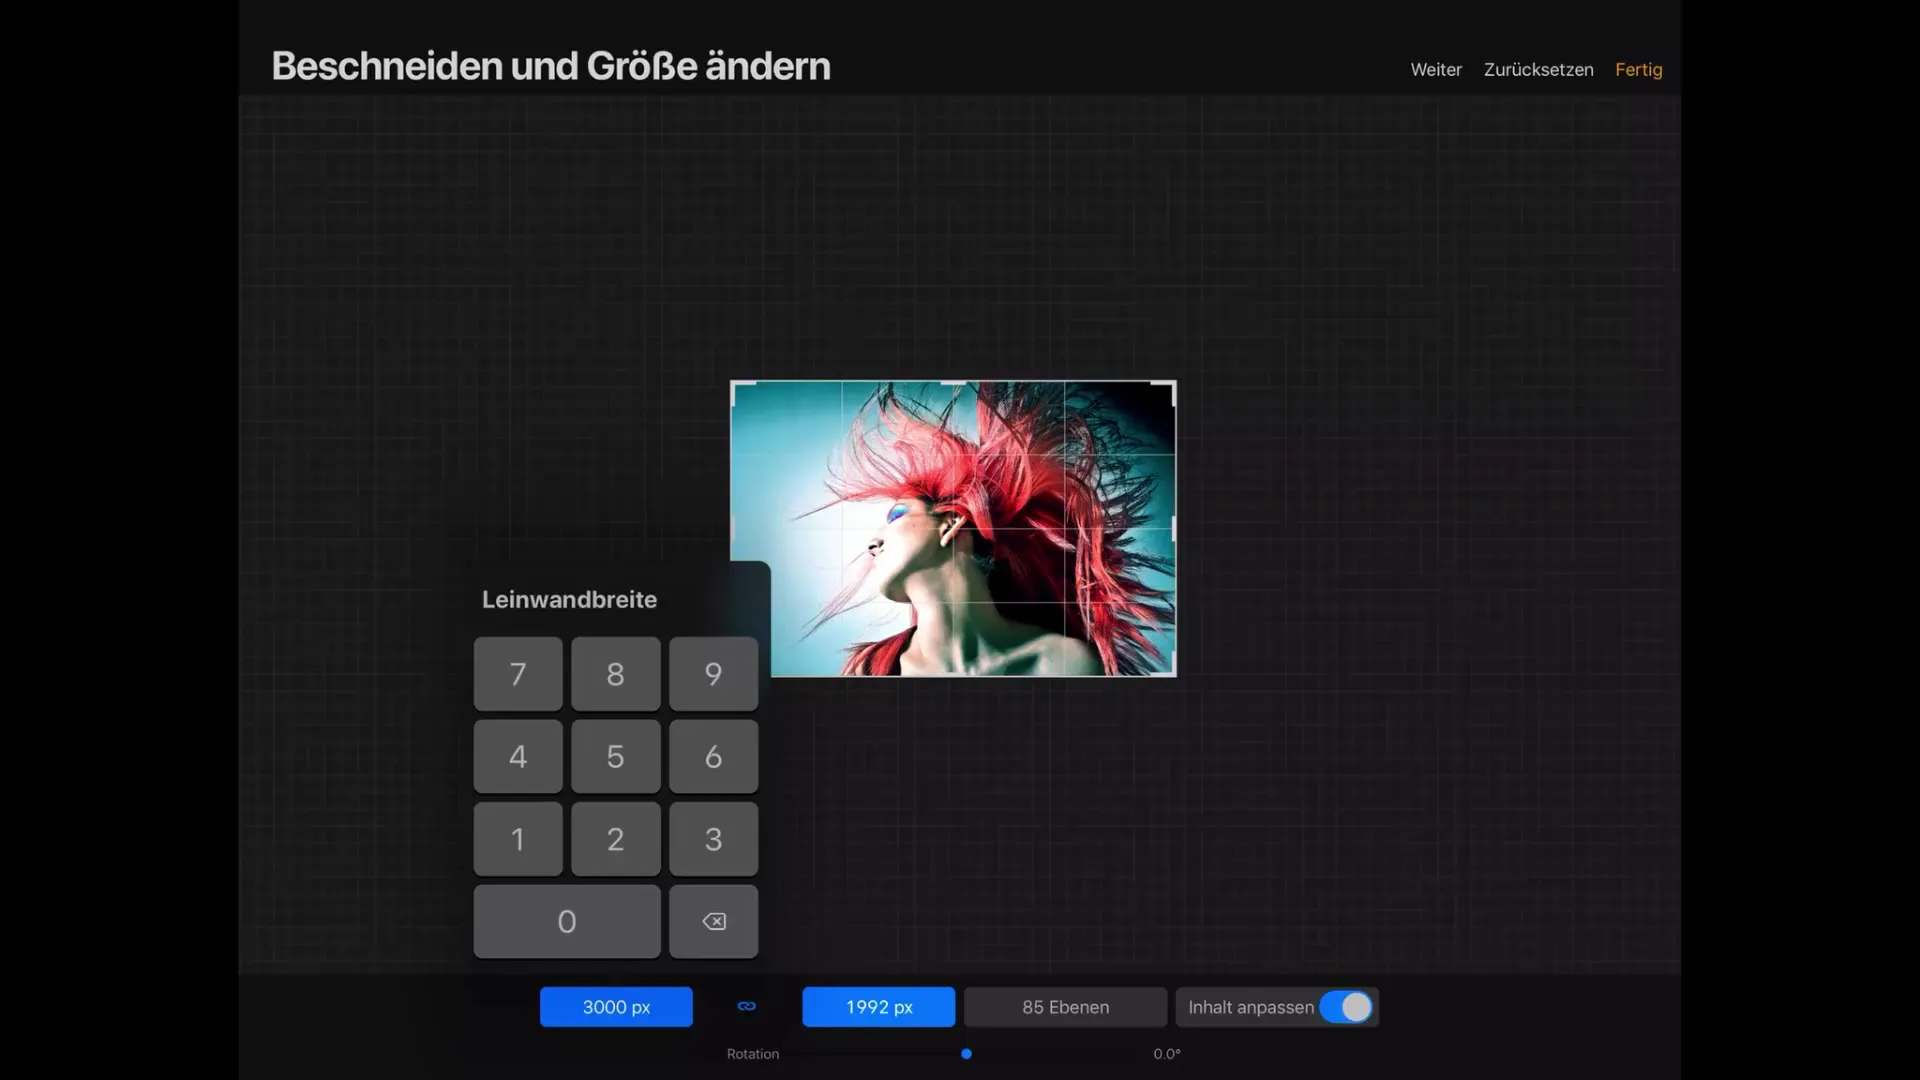
Below you will see the exact pixel specifications. For example, if you want to change the width of your image from 2706 pixels to 3000 pixels, enter this value. Note that the number of available layers will also change.
Step 6: Adjust Content or Not
When adjusting the canvas sizes, it's important to decide whether you want to adjust the content as well. If you check the box for "Adjust Content", the image will be scaled proportionally as you change the canvas.
Step 7: Move Canvas as Desired
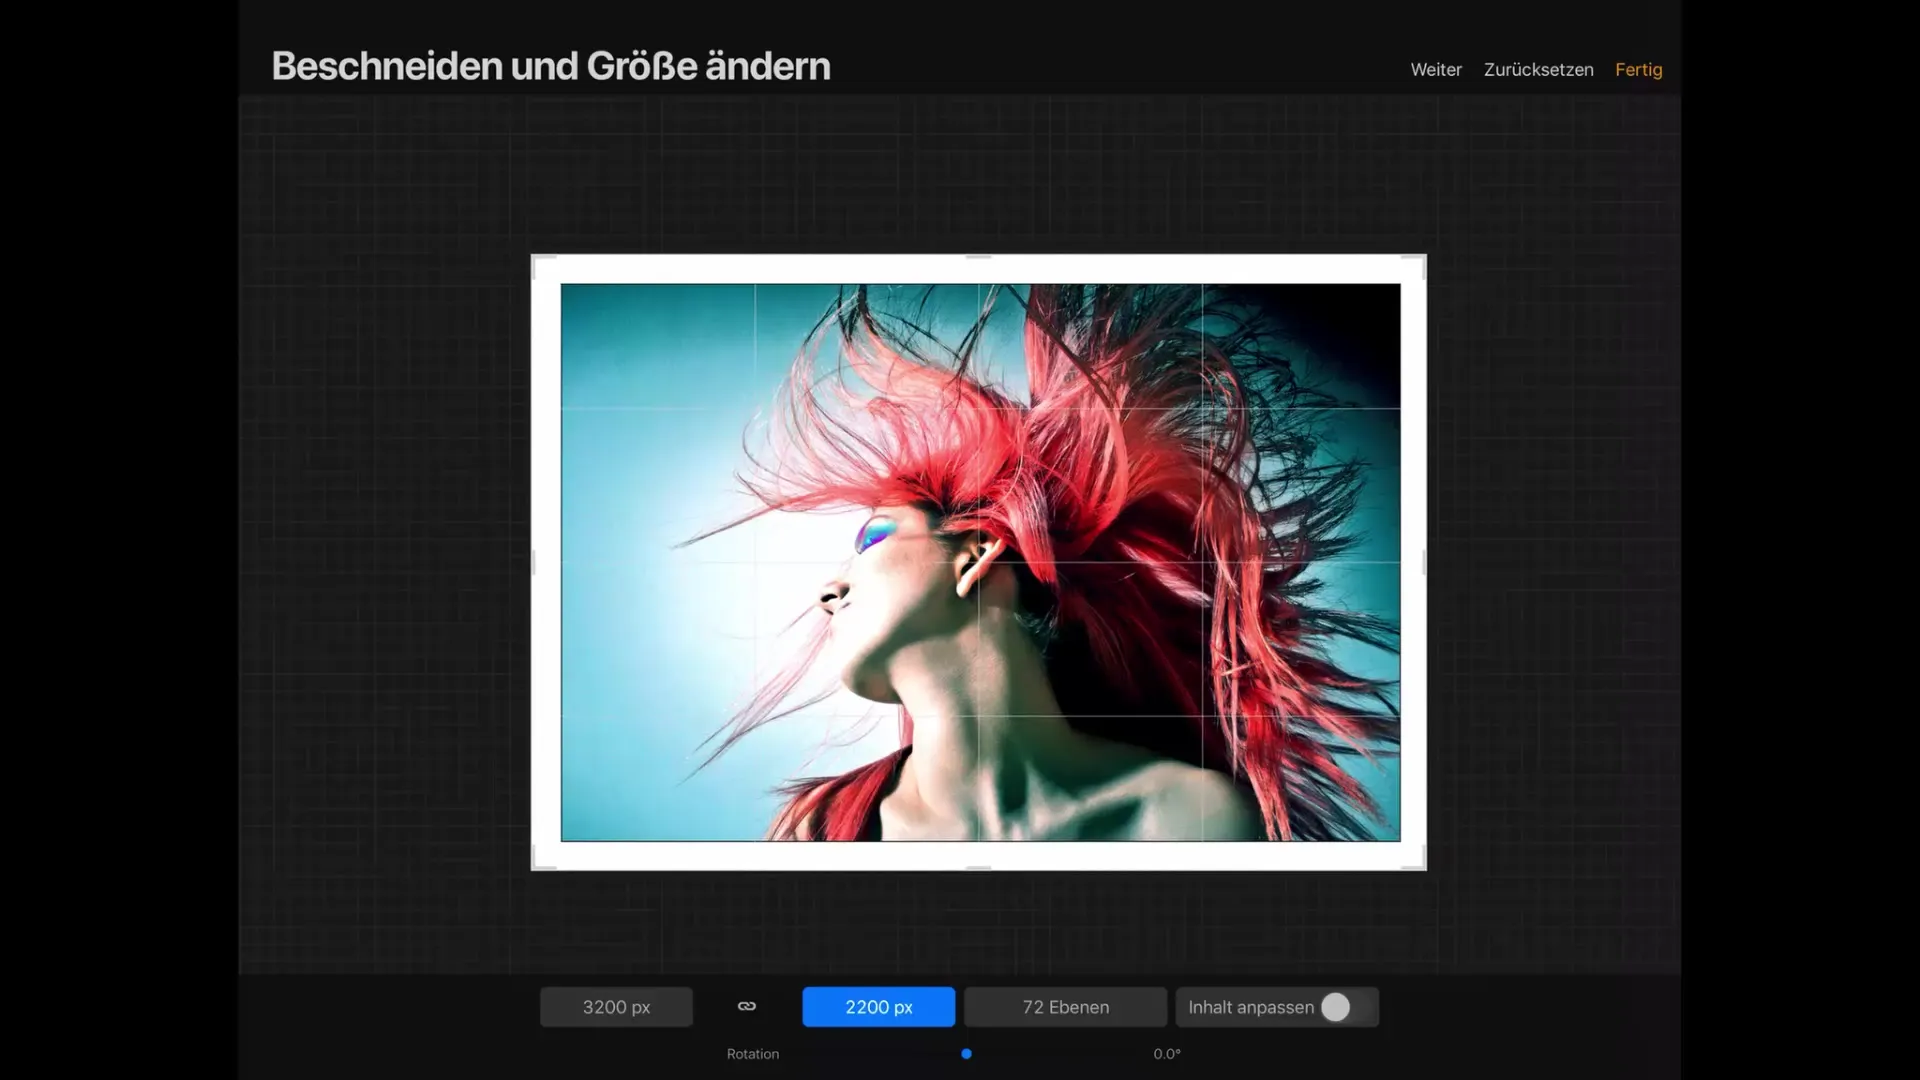
If the checkbox for "Adjust Content" is not checked, the size of the canvas is changed without altering the image. If you enlarge the canvas to meet your needs, you can easily move the image with your finger to better center it.
Step 8: Adjust Rotation
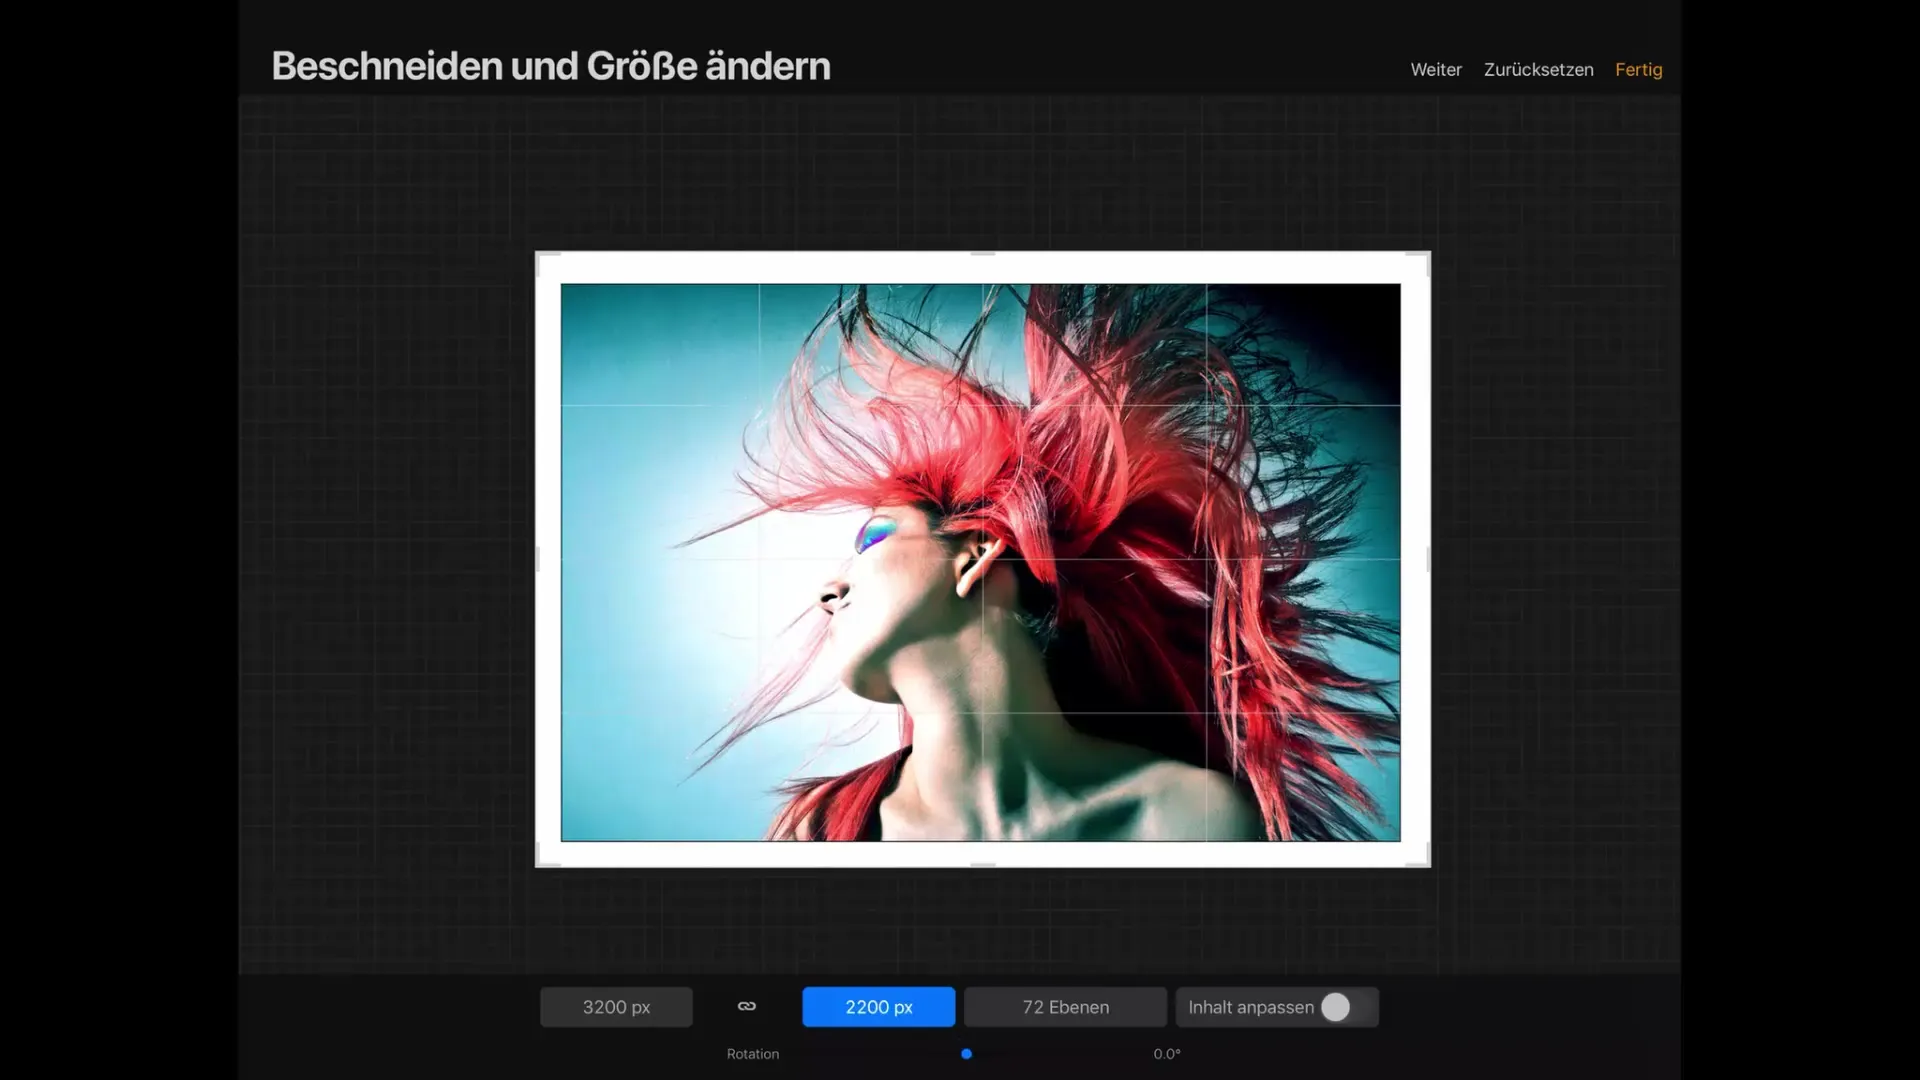
Procreate also offers the option to rotate the image. By using the slider in the settings, you can adjust the orientation of the canvas to optimally display your work.
Step 9: Complete the Adjustment
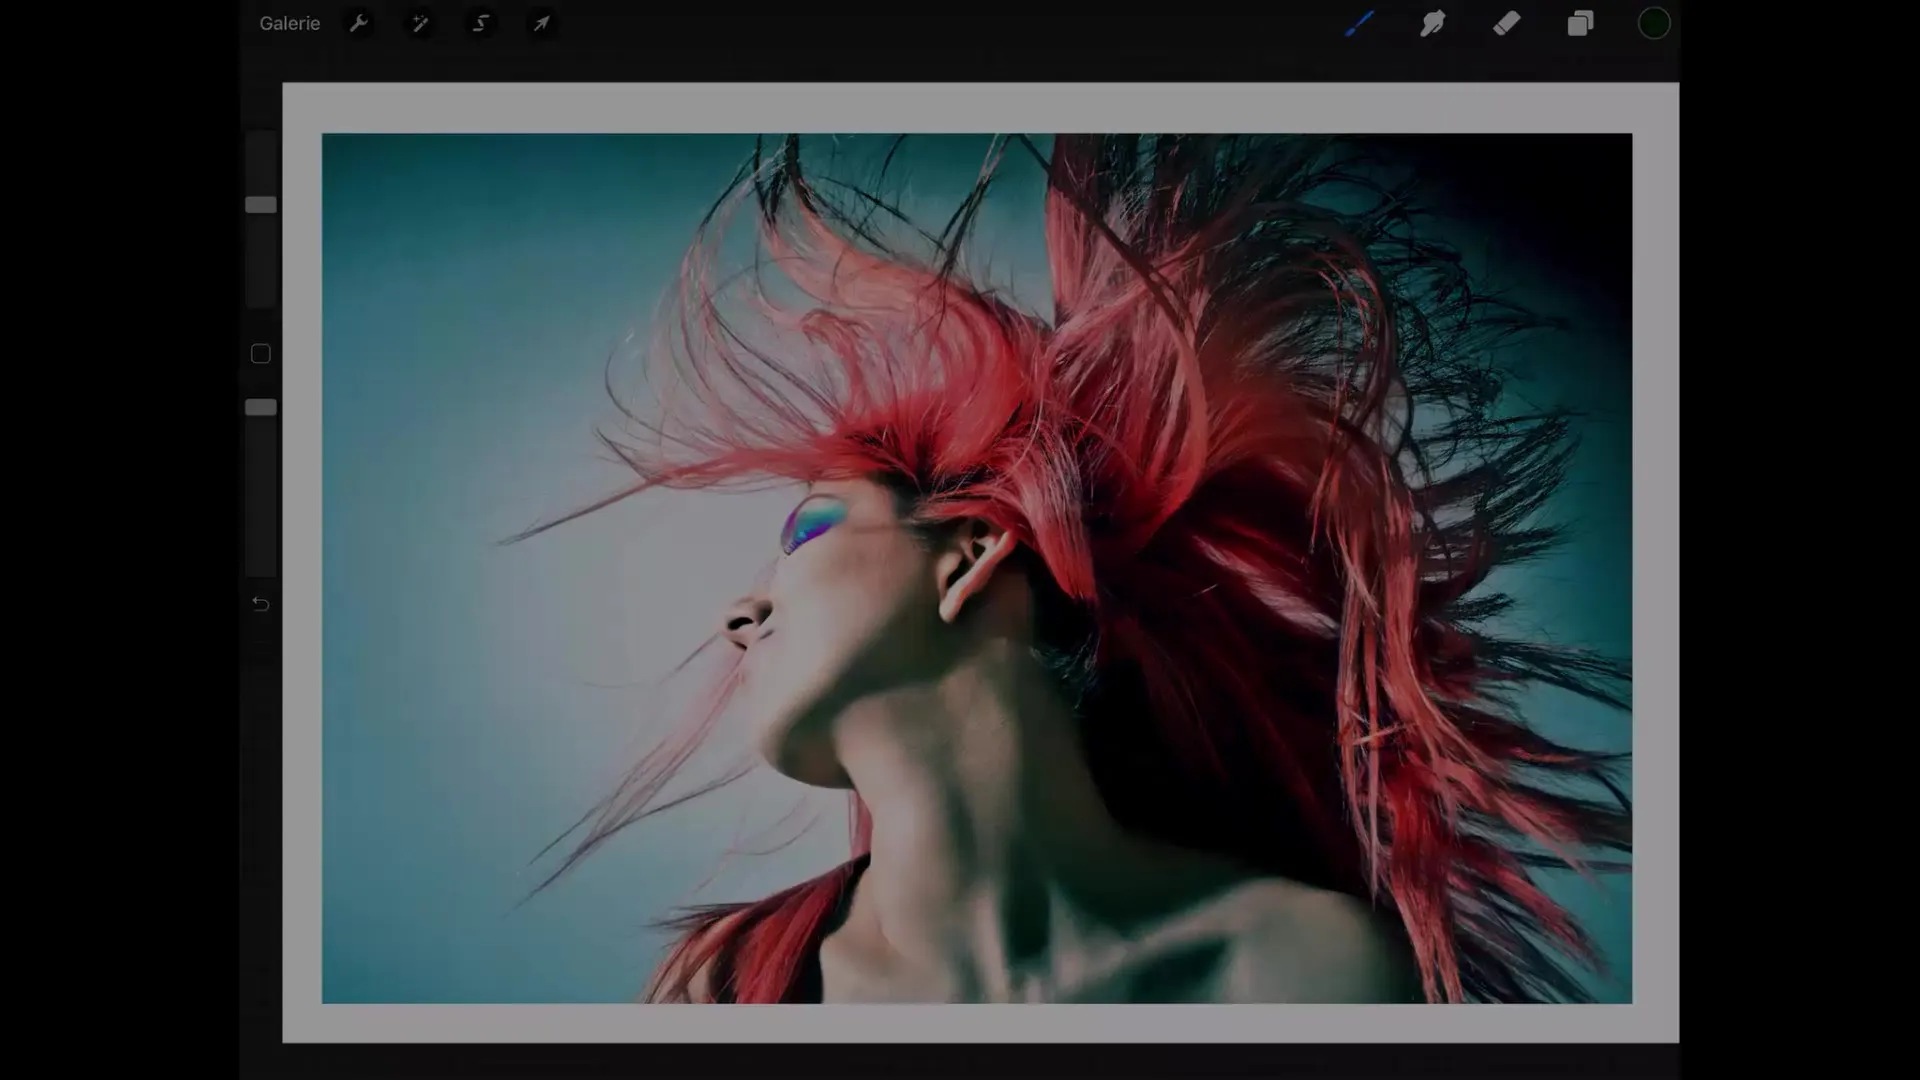
Once you are satisfied with the adjustments, you should tap "Done". At this moment, the new canvas size will be applied.
Summary – Procreate: Working Optimally with the Canvas
In this tutorial, you have learned the various ways to work with the canvas in Procreate. You now know how to adjust the canvas size, how to zoom and rotate, and how to ensure your image is well-centered. The steps presented here are crucial for an effective workflow and enable you to implement your creative projects optimally.
Frequently Asked Questions
How do you zoom in Procreate?Tap the canvas with two fingers and spread the fingers apart.
How do you rotate the canvas?Tap the workspace with two fingers and make a rotating motion.
What happens when I change the canvas size?The image size will be adjusted proportionally if the "Adjust Content" option is enabled.
Why is the number of layers important?The number of layers depends on the pixel size of the canvas; a larger value can reduce the number of active layers.
How can I restore the canvas to its original size?Tap on the canvas with two fingers and pinch them together to restore the default view.
