The application of Procreate on the iPad opens up fascinating possibilities in digital art. A central element that can help you is the reference layer. It not only supports you in drawing outlines but also significantly facilitates coloring and shading. In this tutorial, you will learn how to efficiently use the reference layer to enhance your illustrations and optimize your creative process.
Key insights
- The reference layer allows precise coloring and shading without affecting the outlines.
- It is important to correctly activate and deactivate the reference layer after use.
- With the reference layer, you can efficiently apply different colors without affecting the outlines.
Step-by-step guide
Step 1: Getting to know the Color Drop Tool
Before you can work with the reference layer, you should understand the basic function of the Color Drop Tool. With this tool, you drag the selected color into a specific area, and it gets automatically filled. This method is extremely time-saving; however, it can be a challenge to change the color choice later if you drag directly into the area of the Color Drop.

Step 2: Introduction to the reference layer
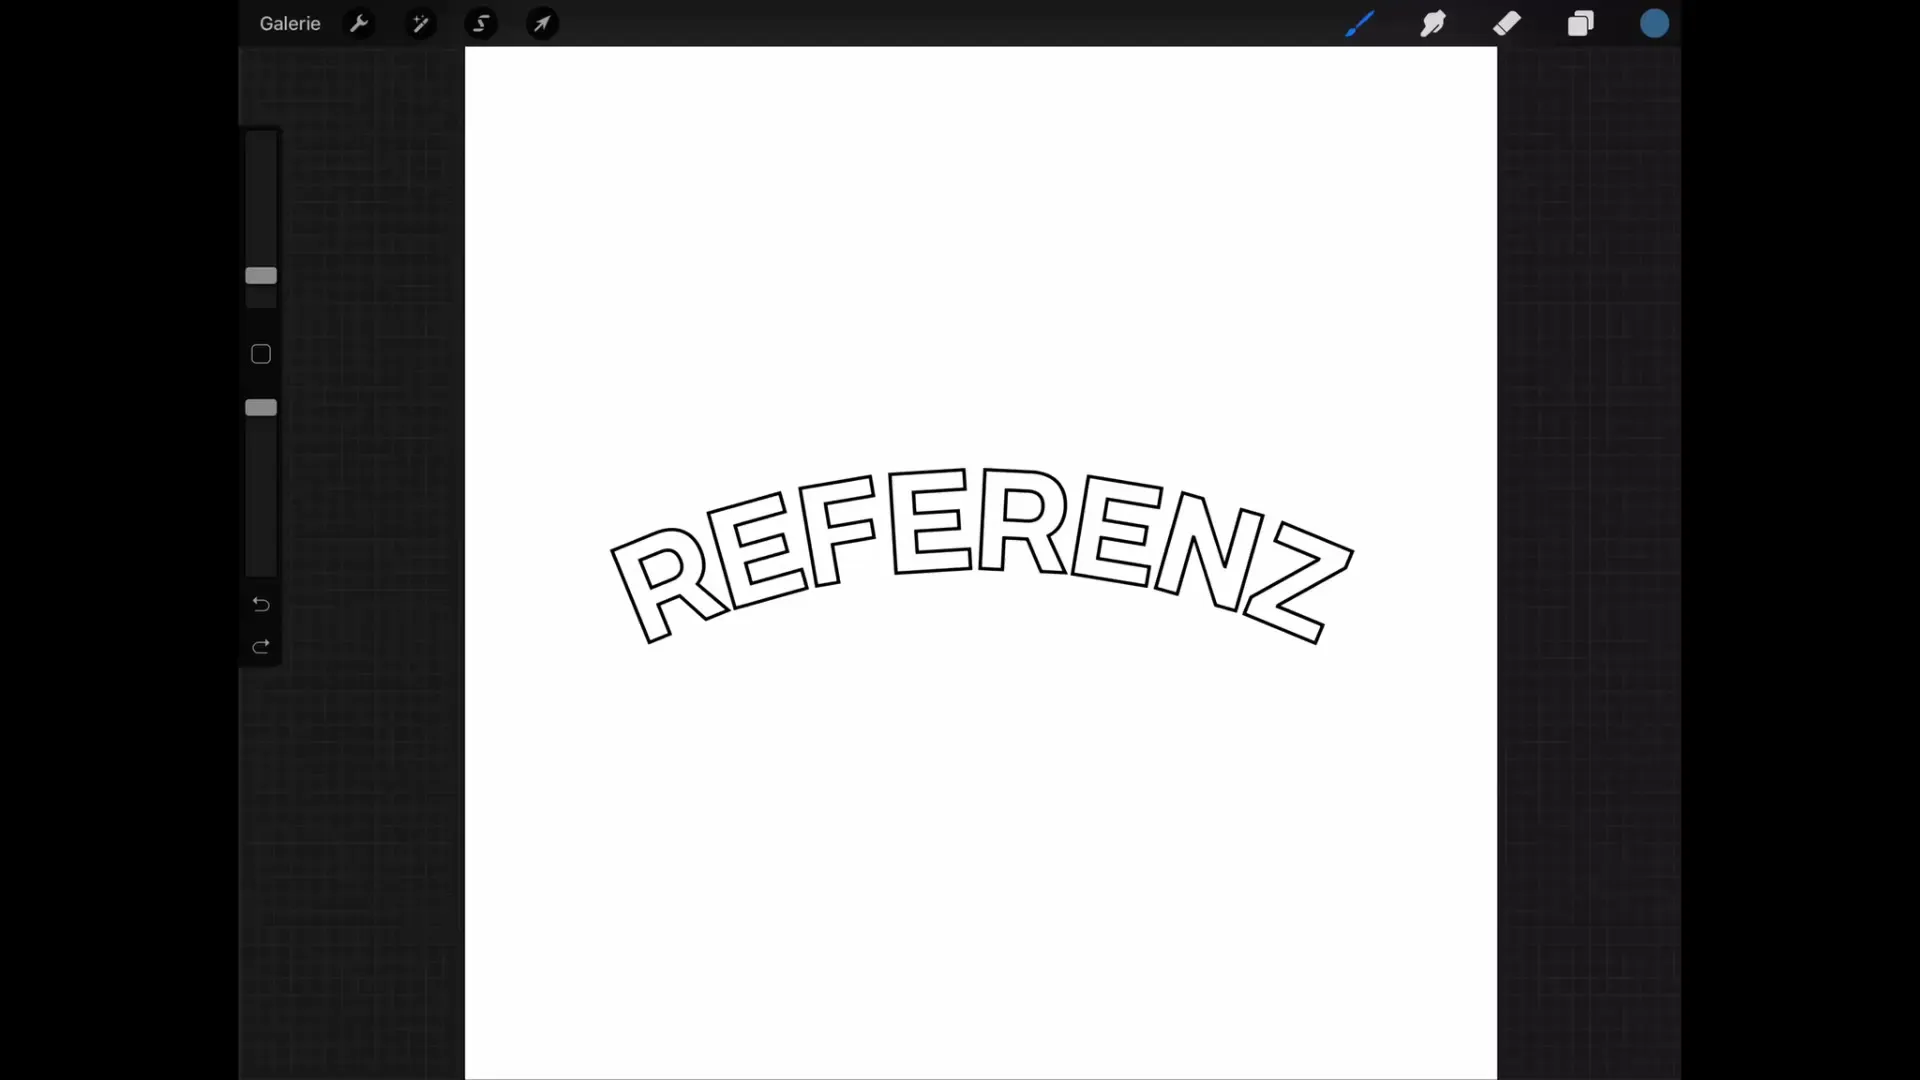
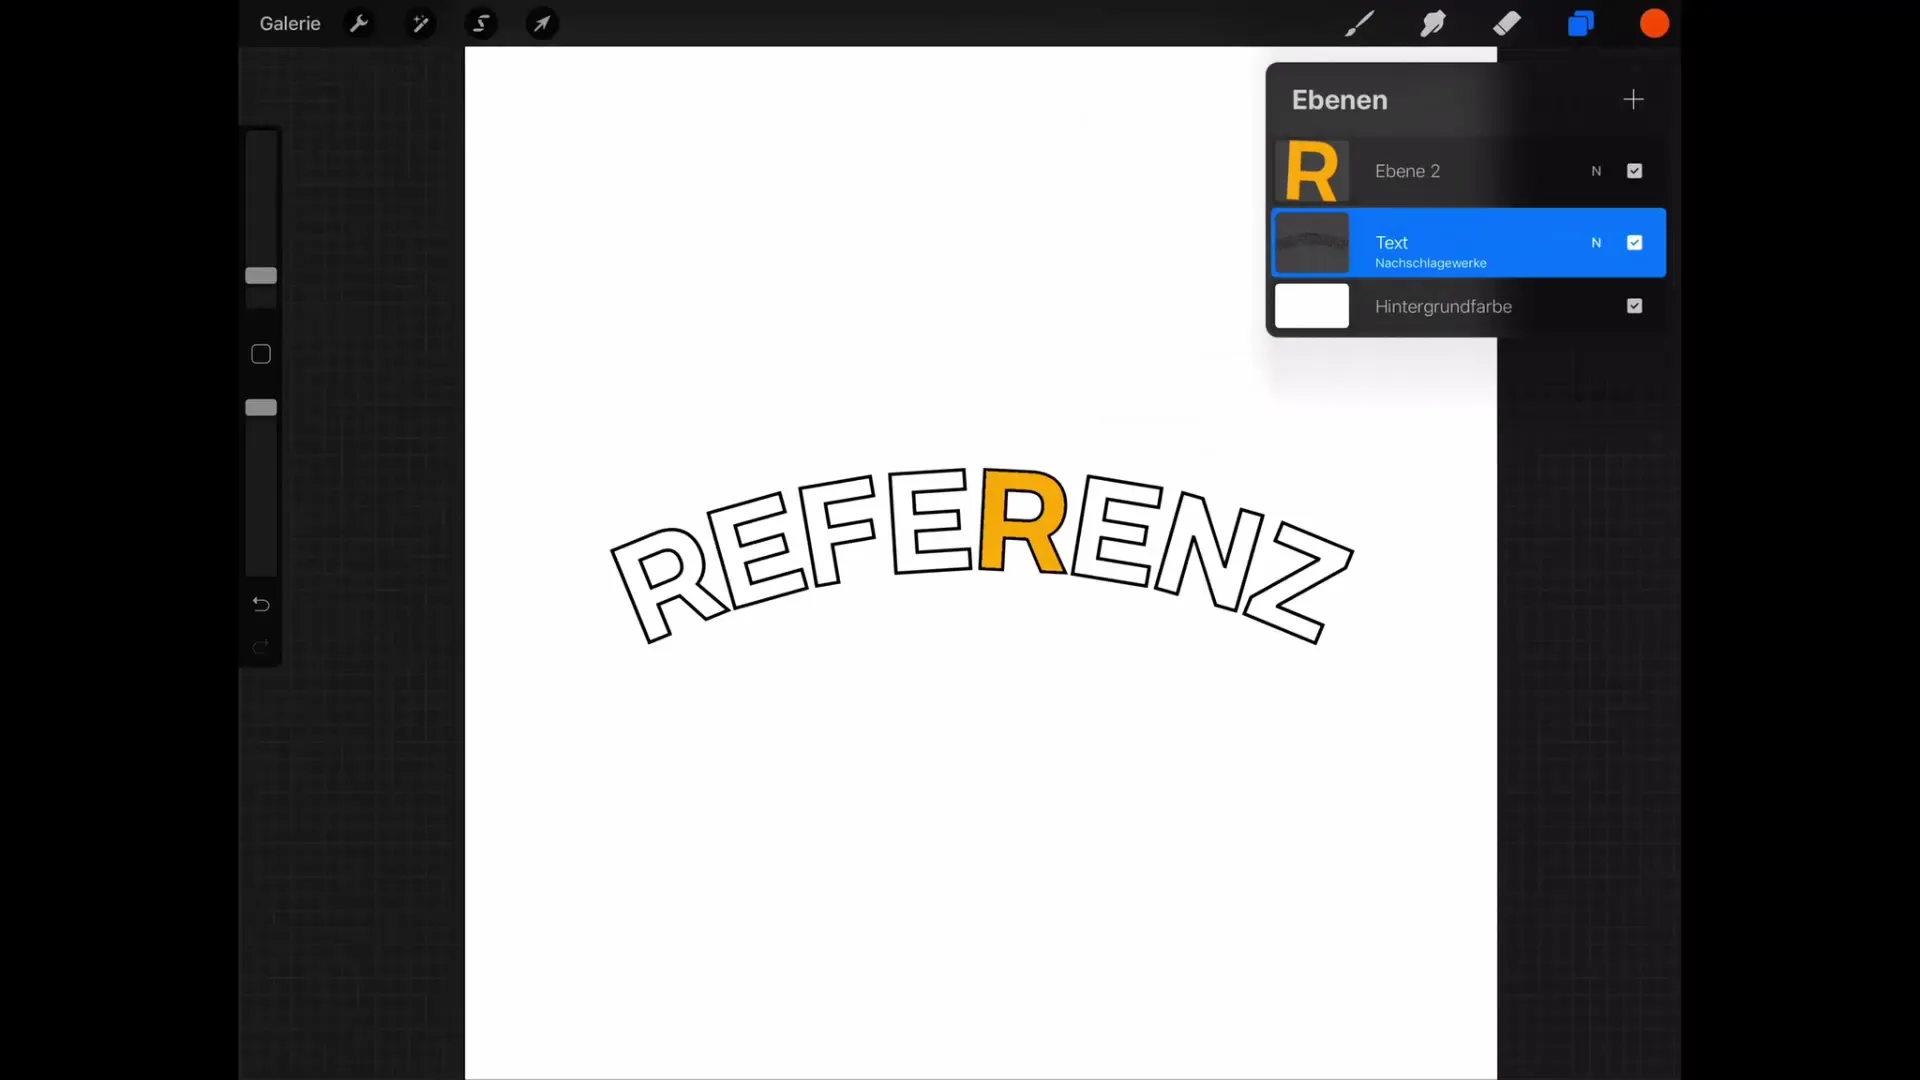
If you want to draw a surface with the reference layer, you first select the layer that contains the outlines or the areas to color. This is done by tapping on this layer and selecting the menu item for the reference layer, which may be displayed as "Reference Materials" – a mistranslation that will hopefully be fixed in future versions. Make sure to correctly activate the reference layer for optimal results.

Step 3: Working with layers
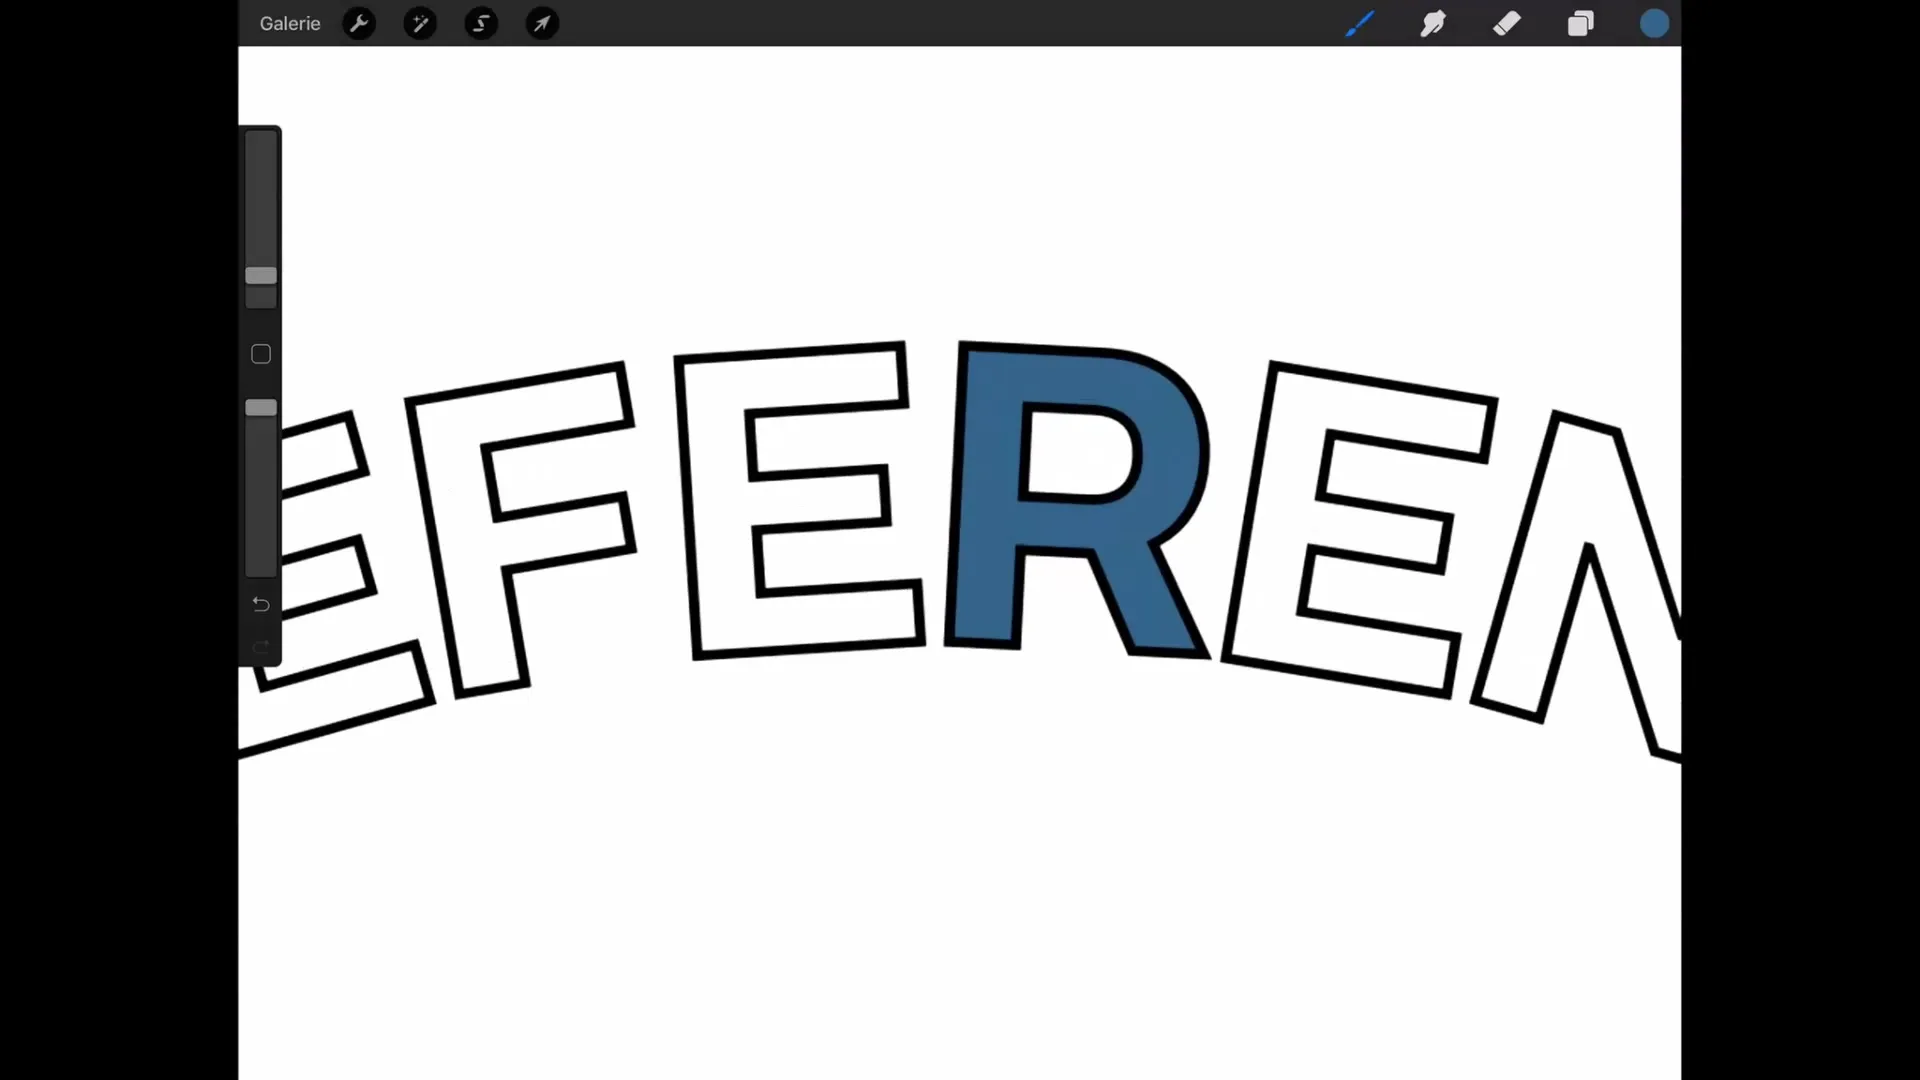
Once you have defined the reference layer, you can create a new layer for coloring. In this new layer, you now drag the color while Procreate considers the outlines from the reference layer. This way, only the area inside the outlines will be filled, giving you much more precise control.
Step 4: Shading and color changes
To optimize shading, you can activate Alpha Lock. This allows you to shade the colored areas without affecting the outlines on another layer. Note that you must keep the reference layer active to make the most of this feature.

Step 5: Finalizing and reviewing the reference layer
After you have edited your illustrations with different colors and shading, it is important not to forget the reference layer and to turn it off after you finish. Otherwise, confusion may arise when you later use the Color Drop Tool and wonder why certain areas are not being filled. Regularly check the layers menu to keep an eye on all active reference layers.
Summary – Procreate Tutorial: Using the reference layer for effective digital drawing
The reference layer is a valuable tool in Procreate that can help you create your digital illustrations more accurately and appealingly. By correctly setting the reference layer and regularly checking your work areas, you can greatly simplify the creative process.
Frequently Asked Questions
How do I activate the reference layer in Procreate?Tap on the layer with the outlines and select the corresponding menu item, which may be displayed as "Reference Materials."
Can I turn off the reference layer again?Yes, you can deactivate the reference layer at any time in the layers menu to normally fill other areas.
Why does the Color Drop Tool sometimes not work?This may be because another layer is still defined as the reference layer. Check the layers menu and turn off the reference layer if necessary.
How does Alpha Lock affect shading?With Alpha Lock, you can shade without affecting the outlines on the reference layer, allowing for precise results.


