With Procreate, you have a powerful tool at hand that allows you to create creative digital drawings on your iPad. One of the most exciting features available to you for your illustrations is the "Recolor" tool. With this tool, you can specifically adjust certain colors in your artwork and give them a new look. Whether you want to change the color of an entire area or just add small accents, this tool provides you with the flexibility you need as an artist.
Main insights
- The "Recolor" tool allows selection and adjustment of specific color areas.
- The accuracy of the selection depends on the set threshold.
- Using this tool greatly simplifies color correction in illustrations.
Step-by-Step Guide
To effectively use the "Recolor" tool in Procreate, follow these steps:
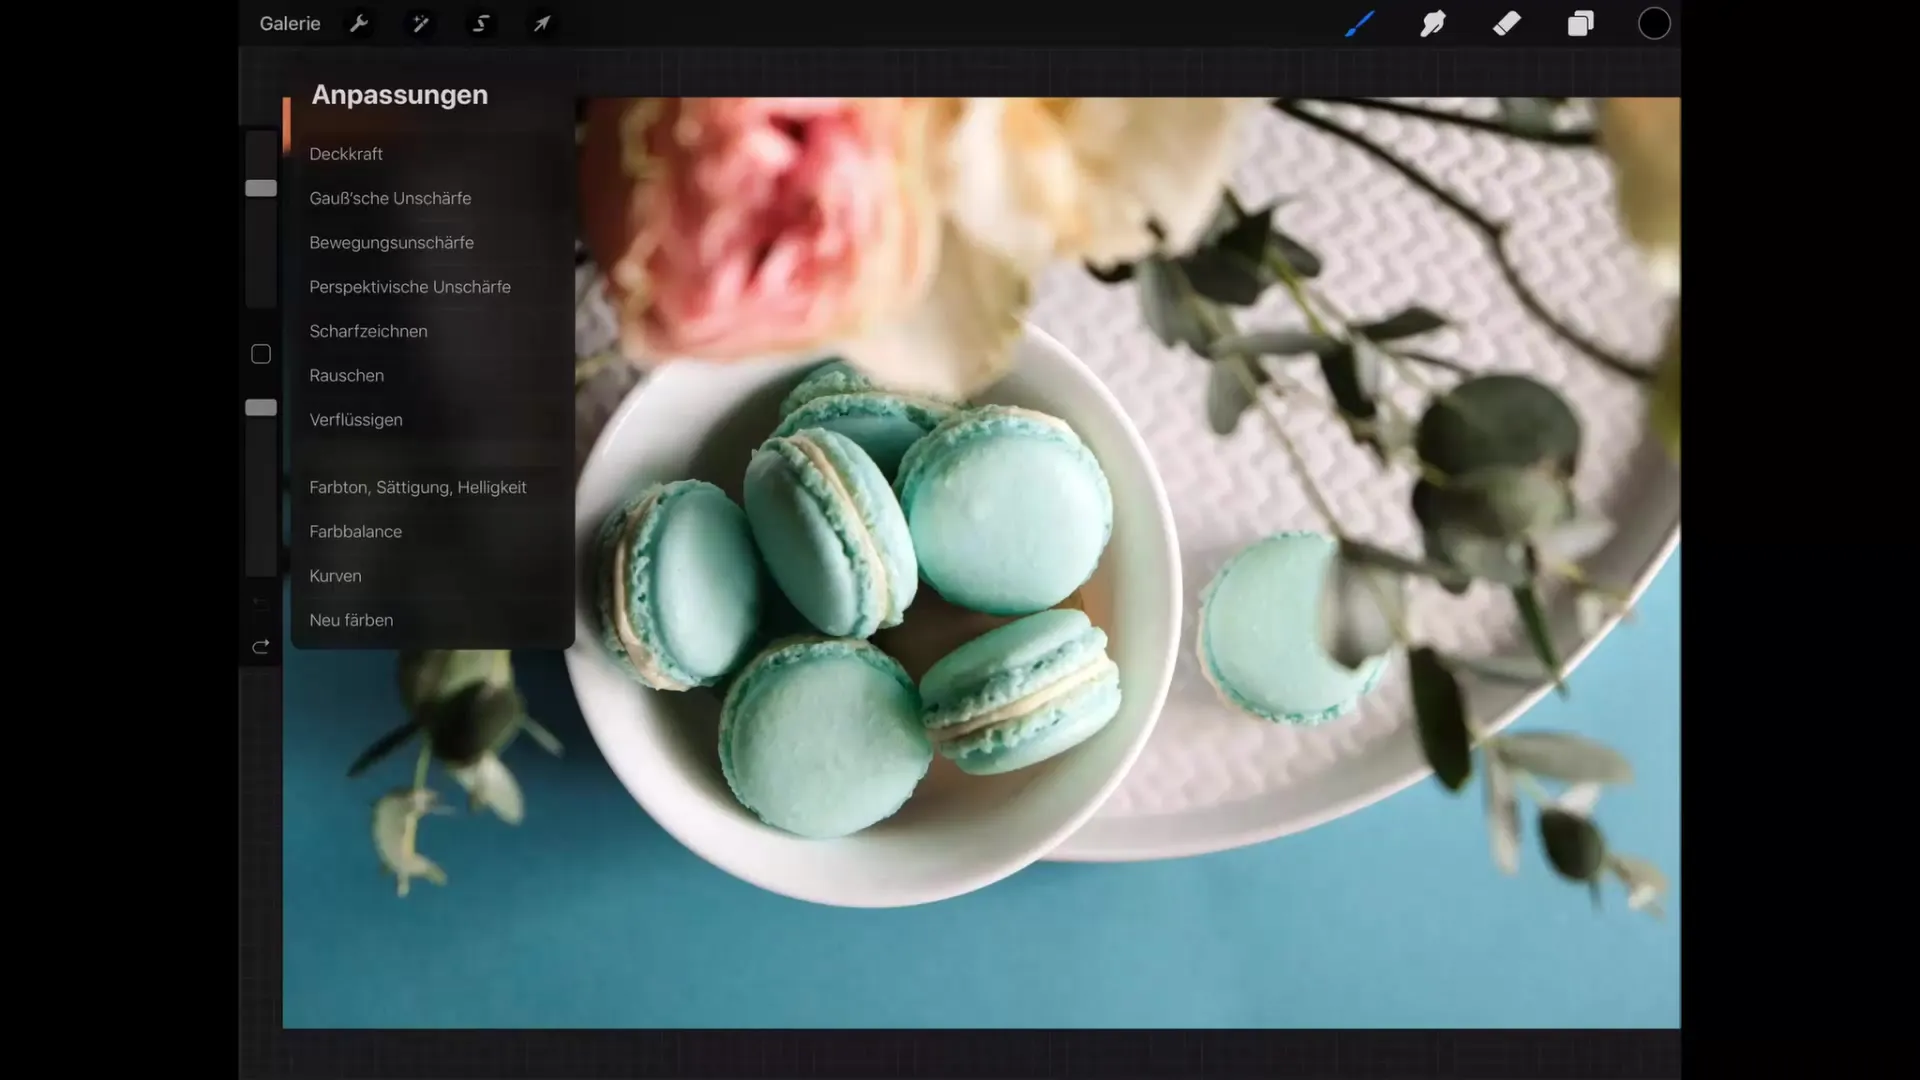
Step 1: Select the Tool
Open your Procreate project and select the magic wand tool located at the top right of the menu bar. You will find several options for color correction there. Click on the last option called "Recolor."
Step 2: Color Selection with the Crosshair
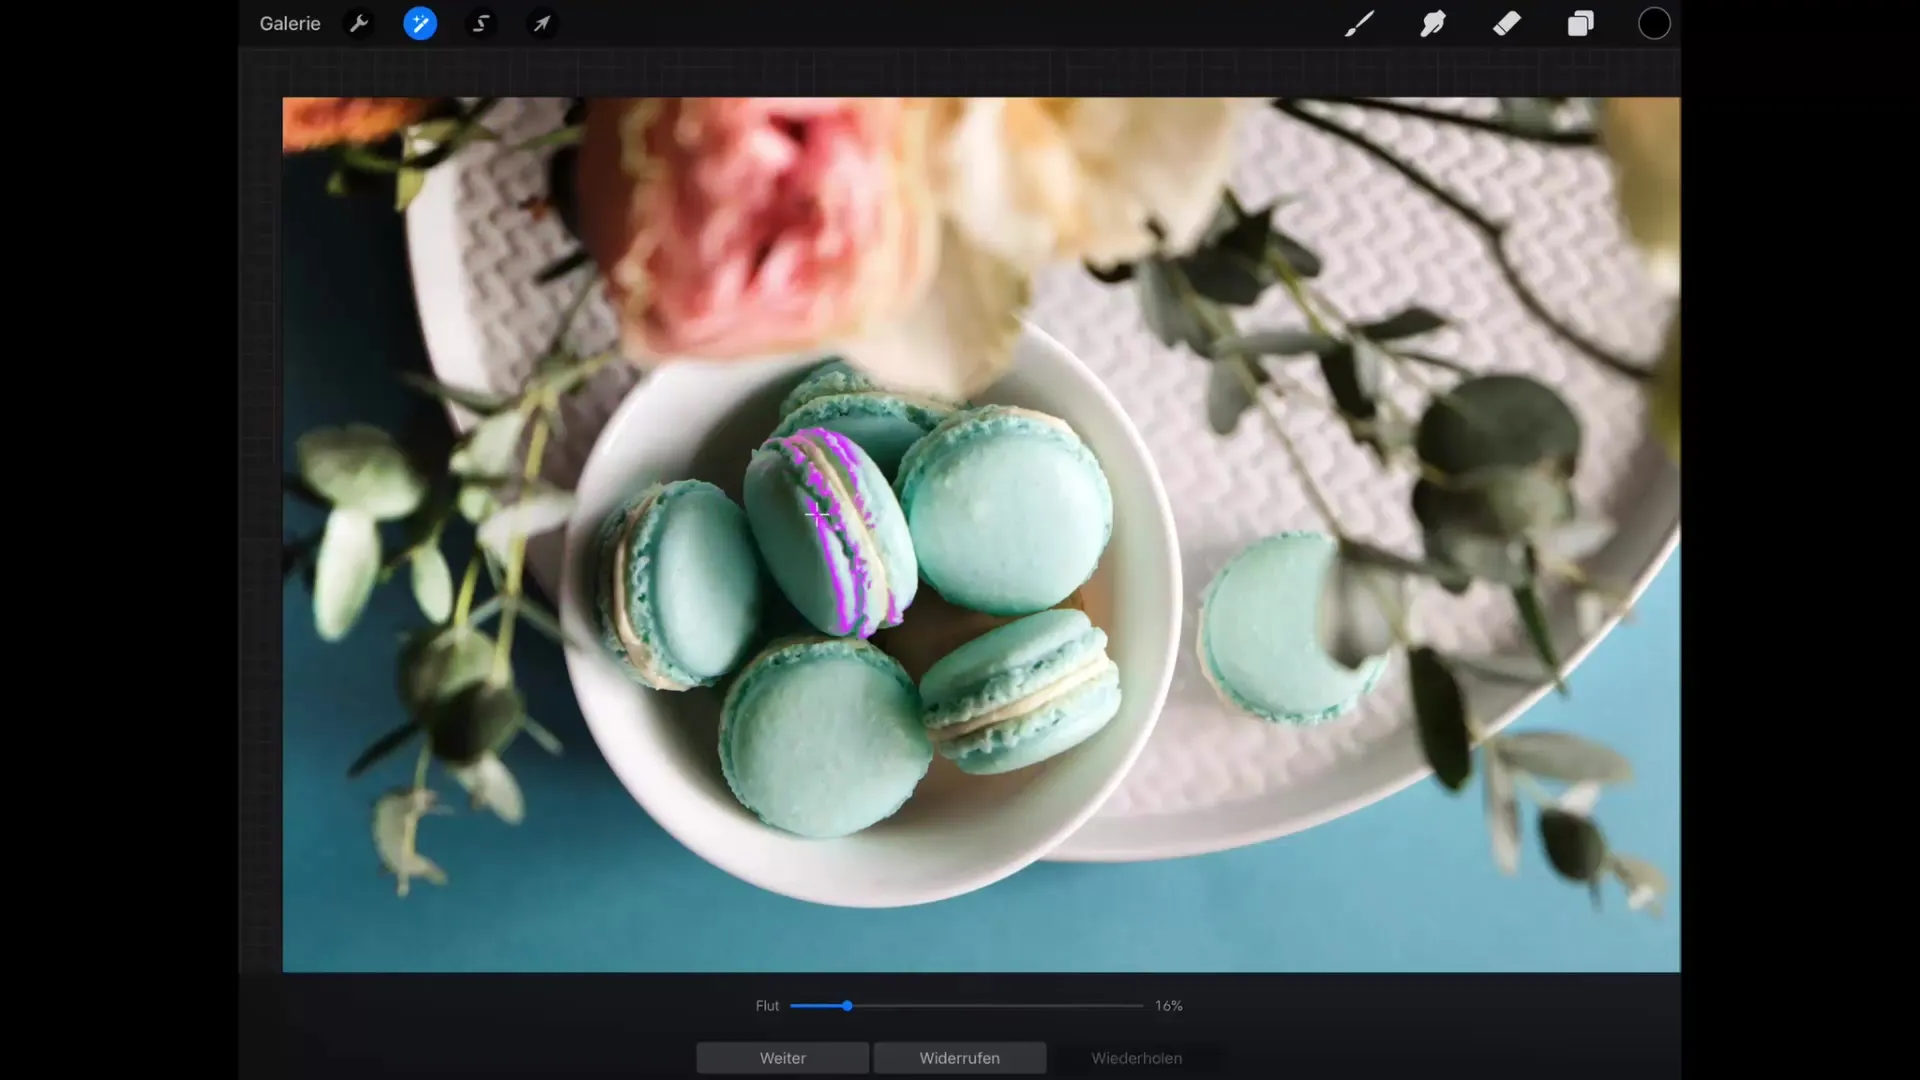
Once you tap "Recolor," a small crosshair will appear. This crosshair allows you to select a specific color area in your illustration. Move the crosshair over the color you want to adjust.
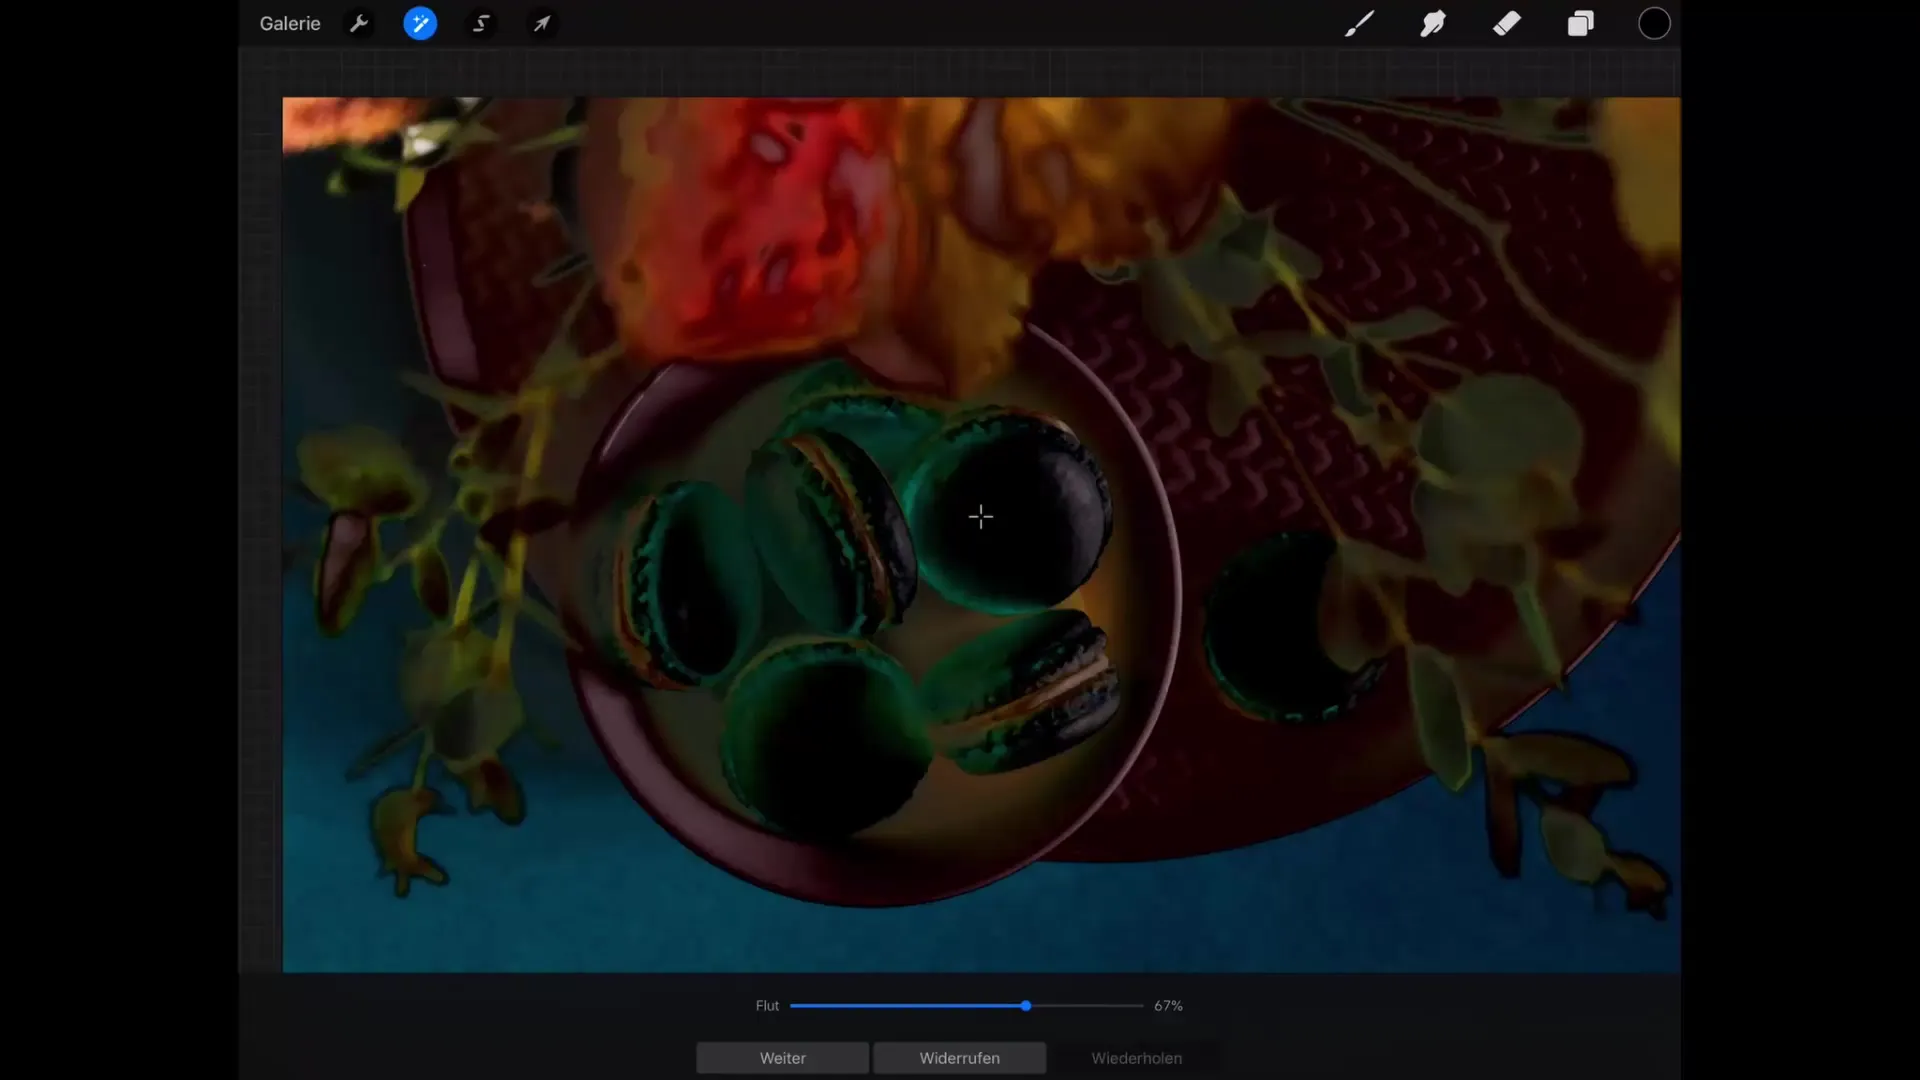
Step 3: Determine the New Color
Now you can set the new color you want to apply. In the top right of the menu, you will see the color picker. Choose the color you want to transform the current color area into. This color will replace all areas that match the selected color.
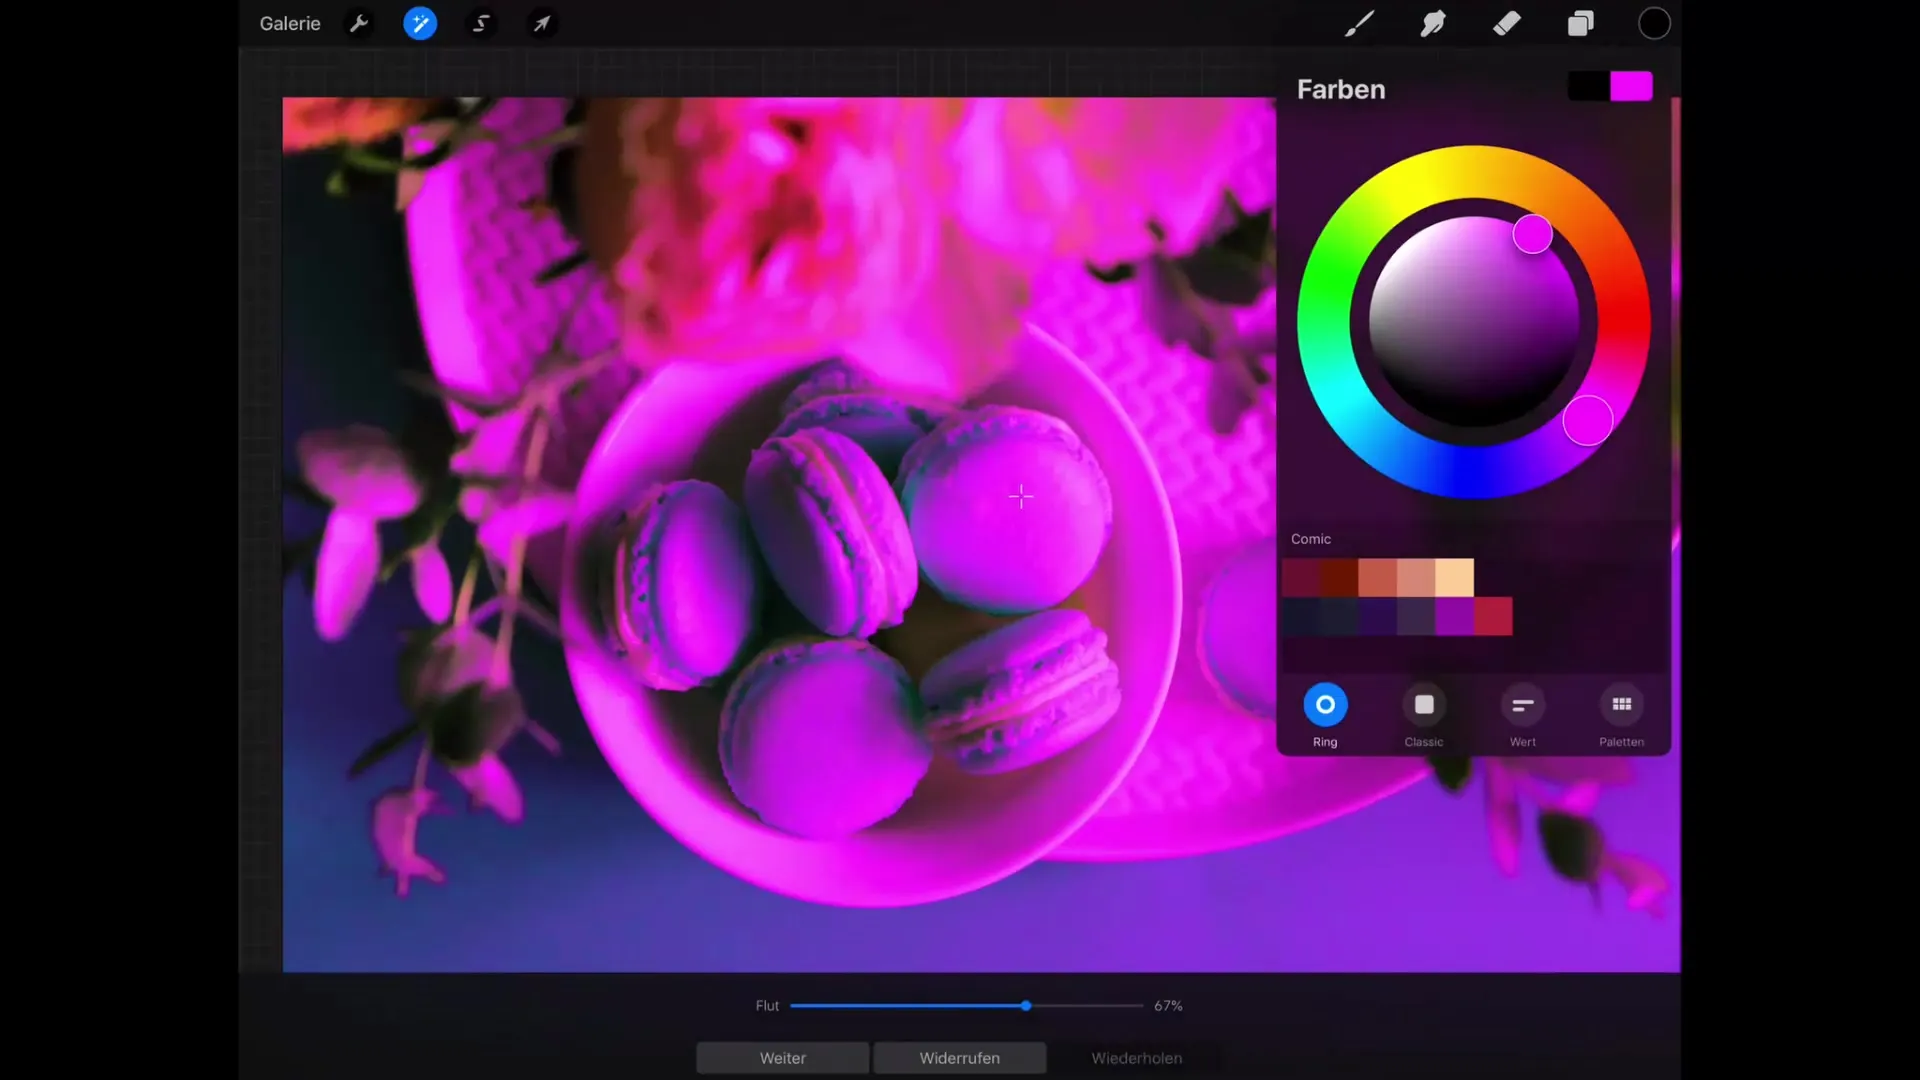
Step 4: Adjust the Threshold
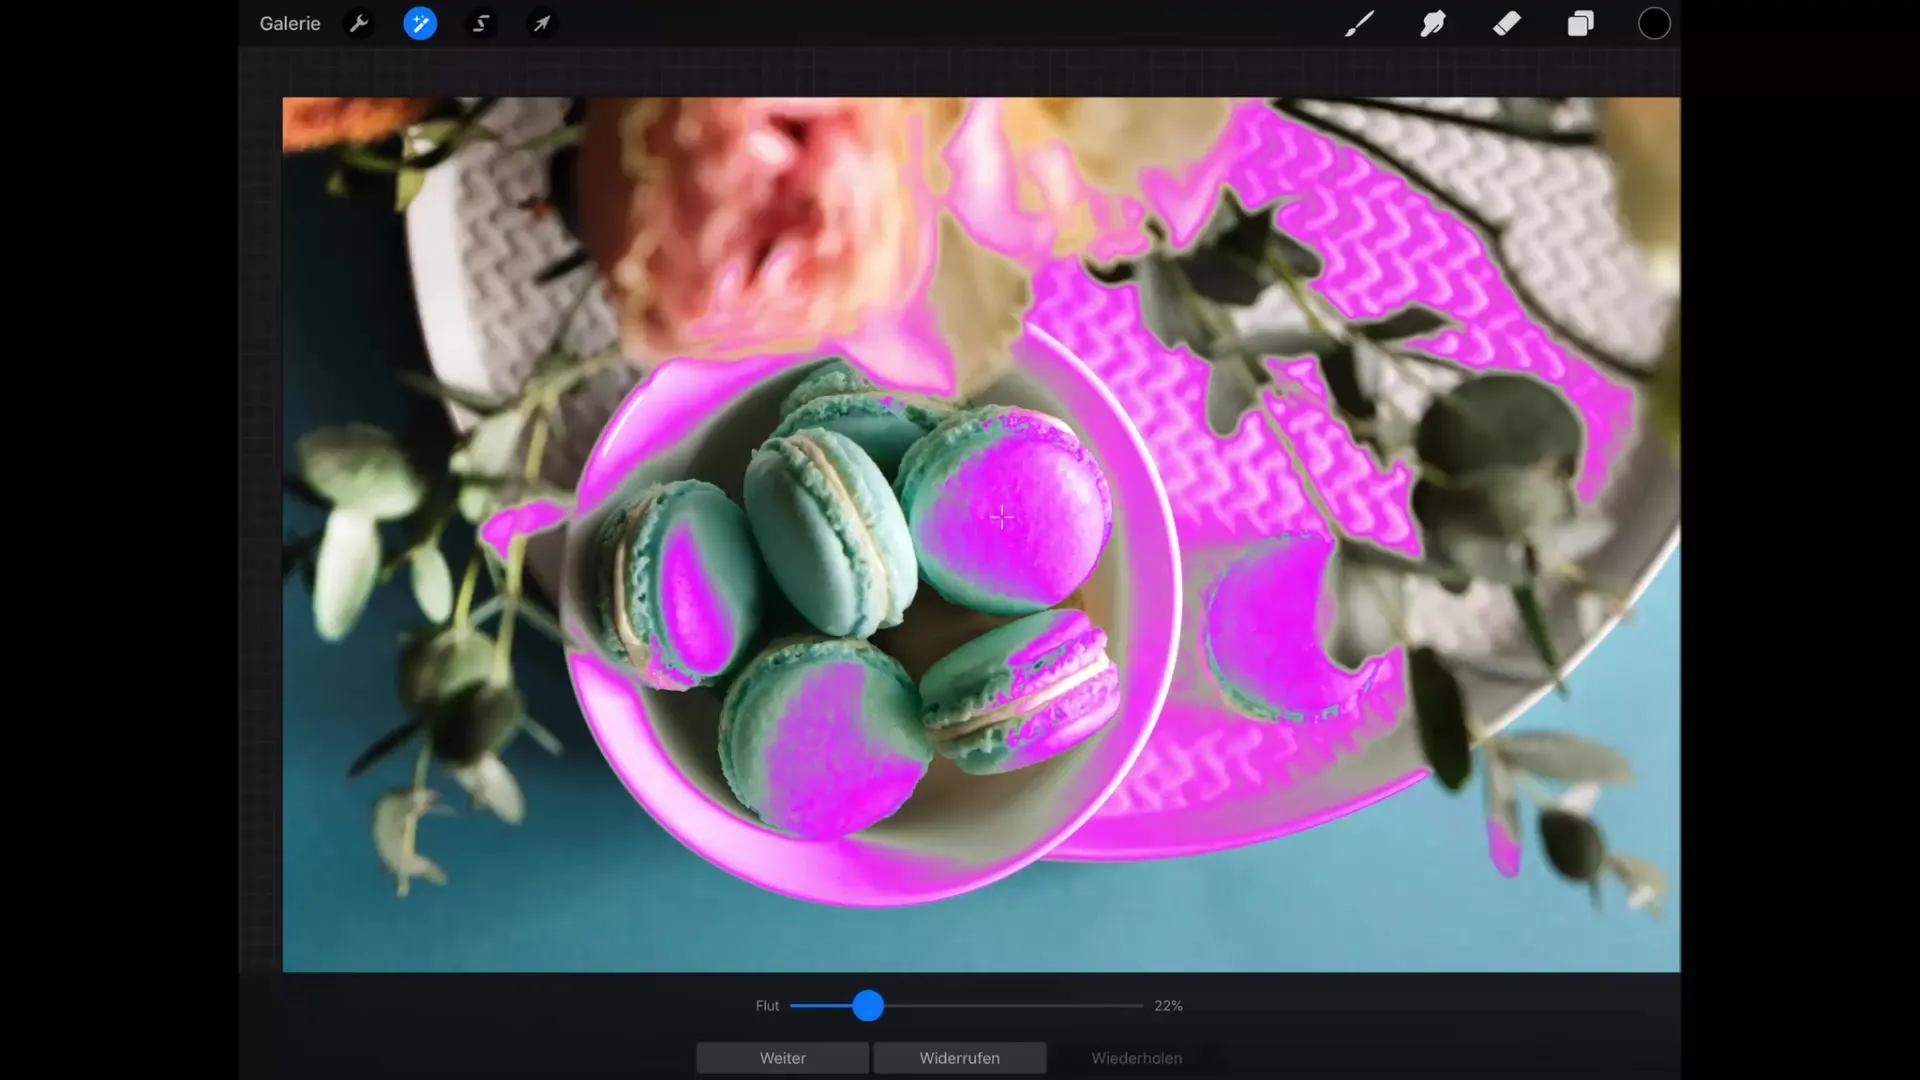
An important feature of the "Recolor" tool is the threshold. This defines how accurately the selected color must match to qualify for recoloring. If you set the threshold all the way down, the color must exactly match the color your crosshair is pointing to. However, you can also increase the threshold to select similar color areas.
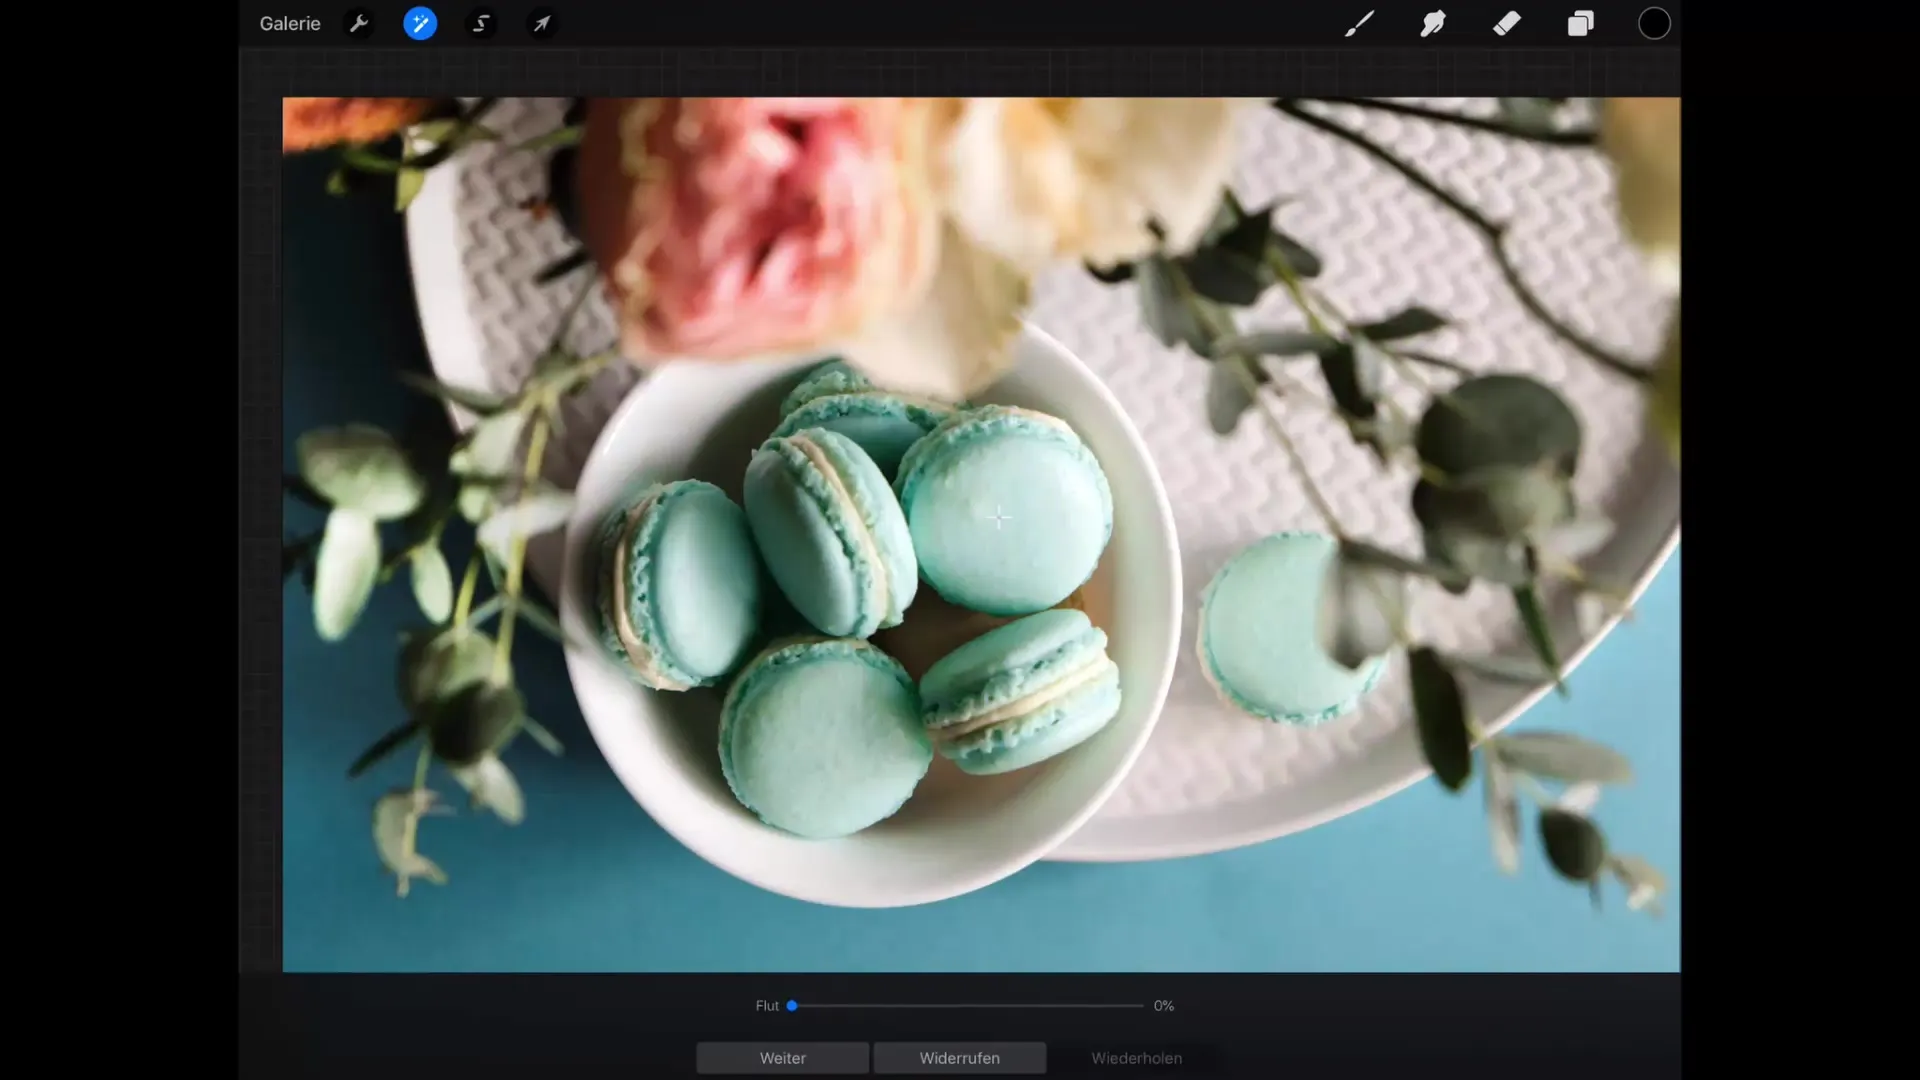
Step 5: Check the Selection
Observe how your selection changes as you adjust the threshold. You will notice that neighboring objects that contain similar colors are also included in the selection. This is particularly useful when you want to recolor well-defined areas that are not too far apart.
Step 6: Apply Color
After you have set the color and the threshold, it is time to perform the recoloring. If everything is set correctly, click "Color," and the selected color areas will be recolored. This function is particularly effective for illustrations, as you can quickly make large color changes.
Summary – Recoloring in Procreate: A Comprehensive Guide
These steps give you a clear overview of how to effectively use the "Recolor" tool in Procreate. With intuitive color selection and threshold adjustment, color correction for your illustrations is significantly simplified.
Frequently Asked Questions
What is the "Recolor" tool in Procreate?The "Recolor" tool allows you to quickly and easily replace certain color areas in your drawing with other colors.
How does the crosshair work?The crosshair helps you select exactly the color you want to change by clicking directly on the desired color area in your illustration.
What does the threshold affect in the "Recolor" tool?The threshold determines how precise the color must be that is to be recolored. A low threshold requires an exact match, while a higher threshold encompasses similar shades.
Can I also change adjacent colors?Yes, by increasing the threshold, you can include adjacent and similar colors in the selection.
How can I select the new colors?You can select the new color in the top right of the color picker area, and this color will then be applied for recoloring.
