When editing images in Corel PaintShop Pro, working with layers is crucial for the effectiveness of your creative process. Layers allow you to edit different elements of your design independently. In this guide, we will discuss the different types of layers, their functions, and optimal usage in your projects. Let's find out together how you can use your layers efficiently.
Key Insights
- Corel PaintShop Pro offers various layer types: raster layers, vector layers, and media elements.
- You can rename layers, adjust their blending modes and opacity to achieve different effects.
- A good organization of your layers is essential, especially for extensive projects.
Step-by-Step Guide
1. Open a new document
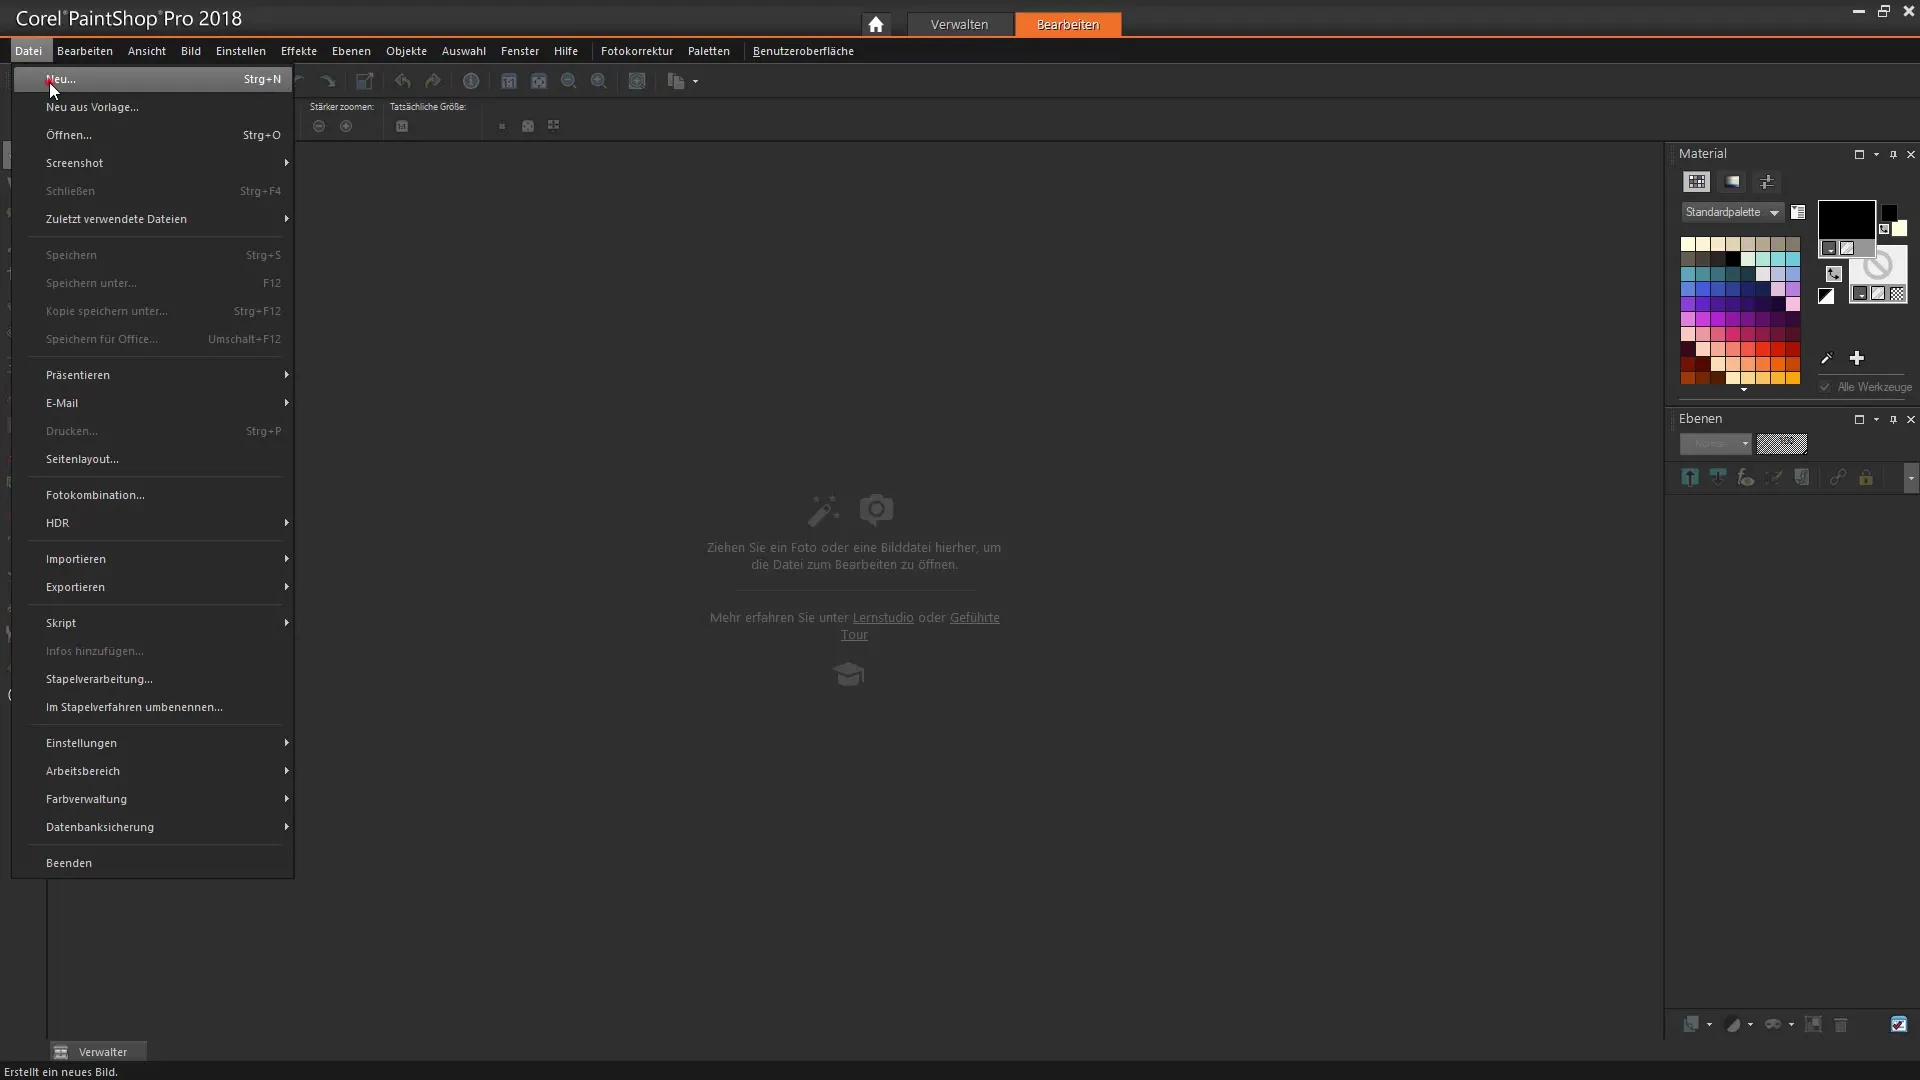
To start your project, first open a new document. Click on File > New. Here you can choose from various presets for your new document.
2. Selecting a background
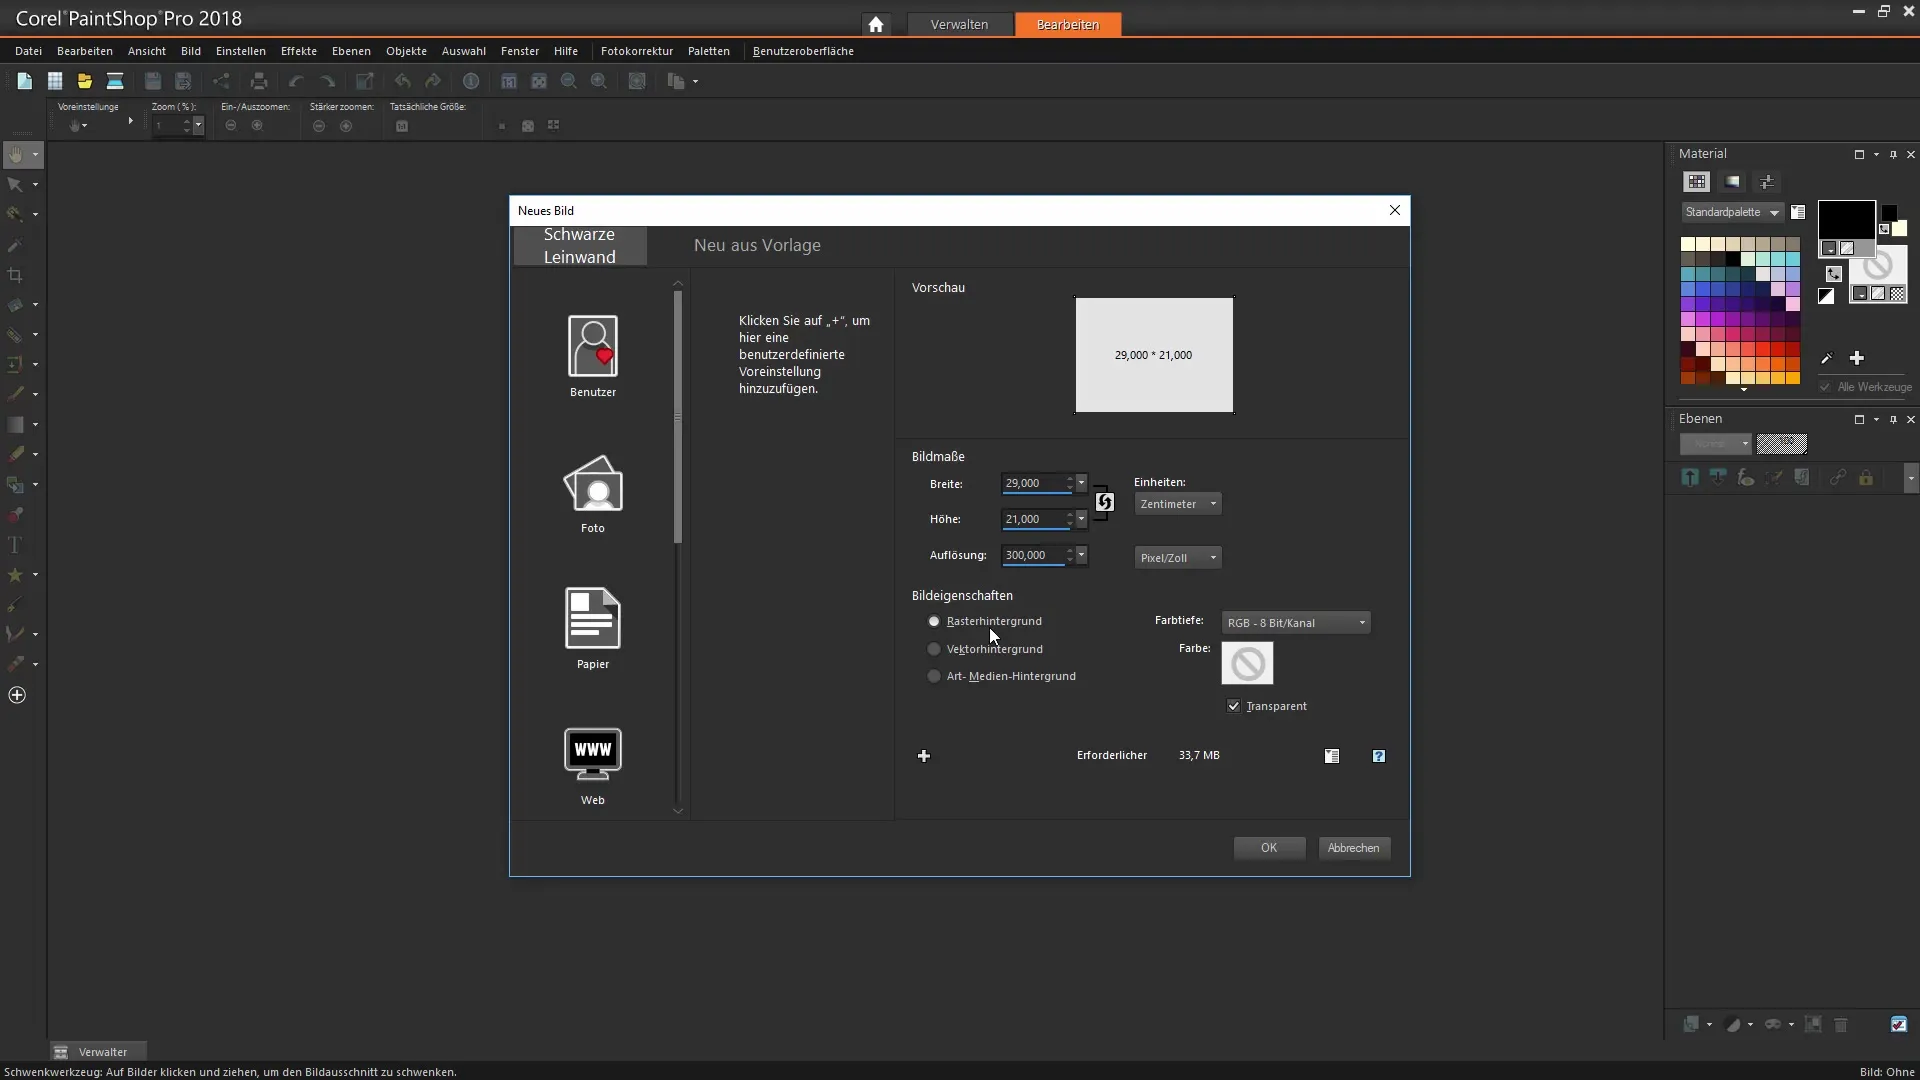
In the next step, PaintShop Pro provides you with three types of backgrounds: raster background, vector background, and media background. Depending on your requirements, you can select the appropriate background type. When working with photos, the raster background is usually the best choice.
3. Creating a new raster layer
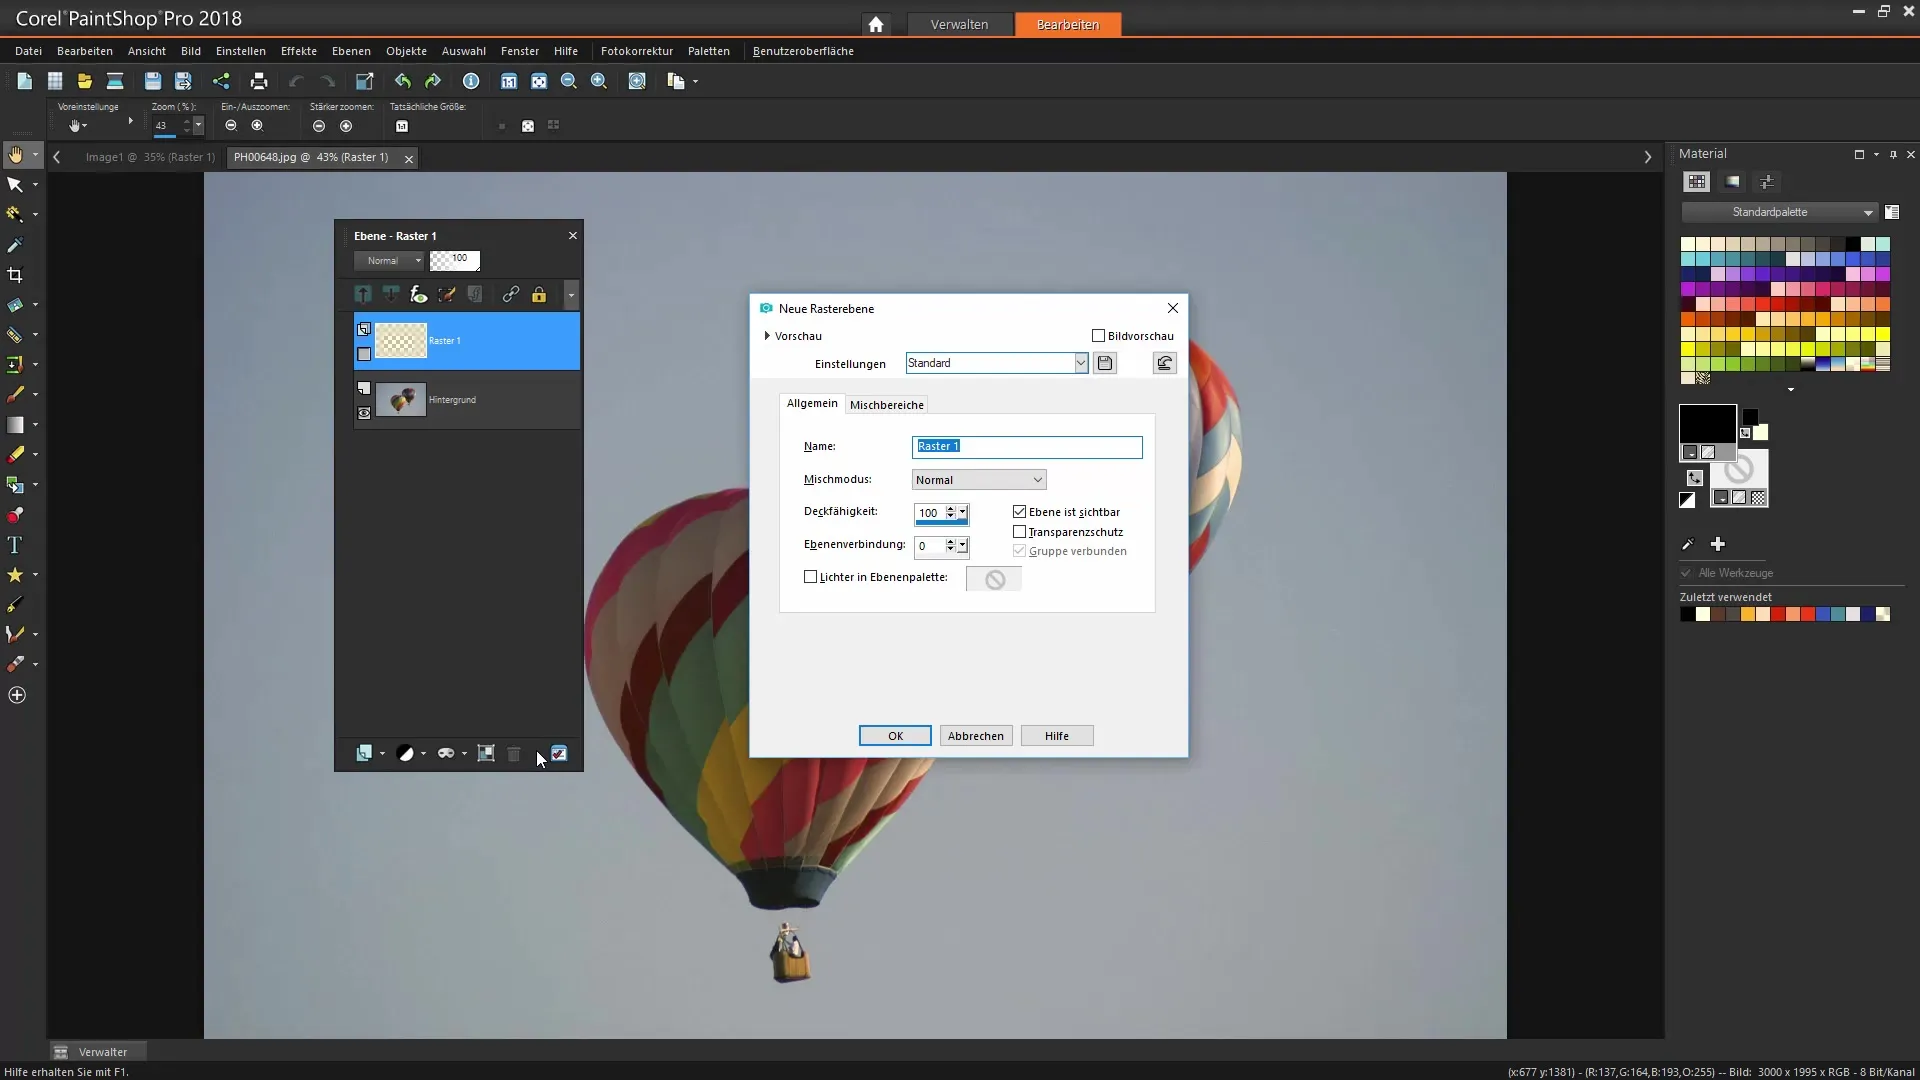
Now click the button to create new layers to create a new raster layer. You can assign the desired name to the new layer and set the blending modes to determine how this layer interacts with the one below it.
4. Adjusting blending modes
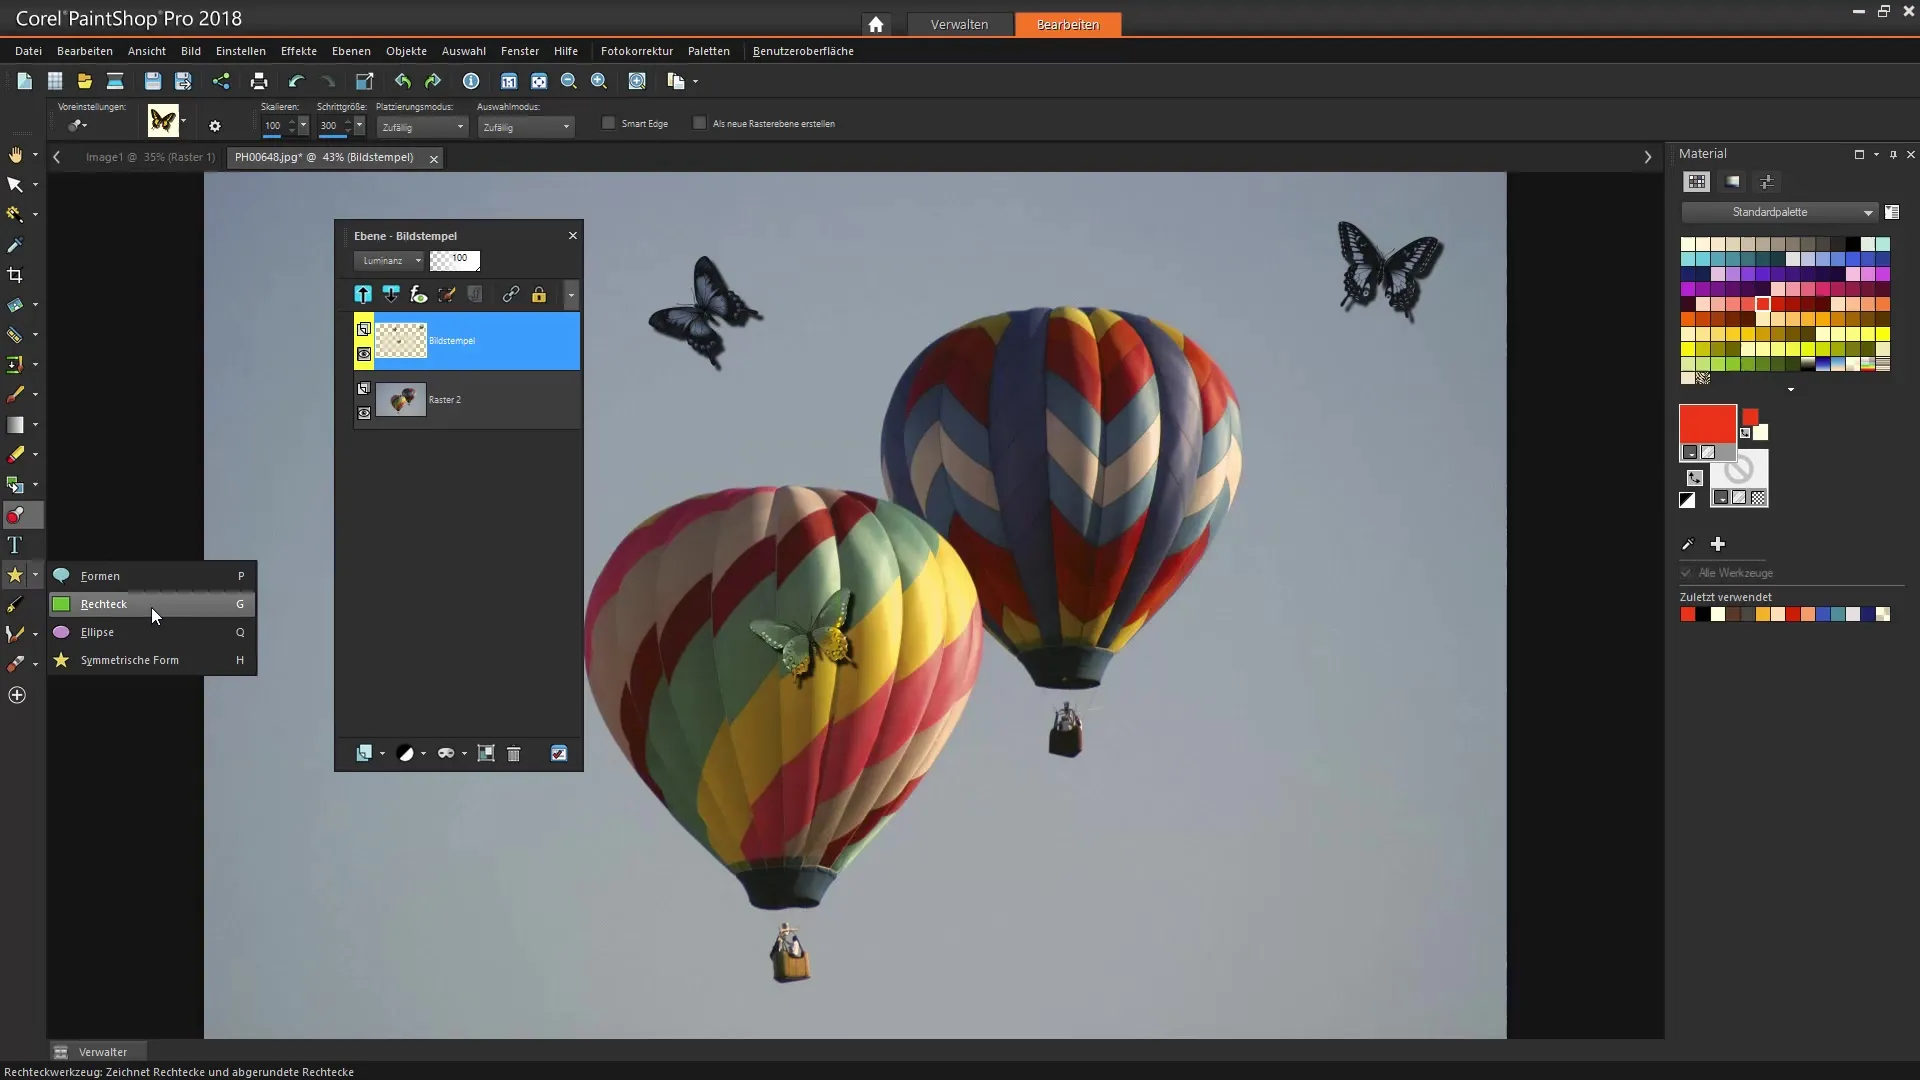
The blending modes are crucial for defining how the colors of the current layer affect the underlying layer. You can switch between various effects such as normal, luminance, multiply, and overlay, depending on the desired visual outcome.
5. Varying opacity
Another way to influence the effect of your layers is by adjusting the opacity. Drag the slider to increase or decrease the opacity of the current layer – for example, to create a transparent effect.
6. Working with vector layers
If you're working with shapes, it makes sense to create a vector layer. With the vector tools, you can draw objects that can either be closed or open, and flexibly adjust their properties such as color and outlines.
7. Adding text
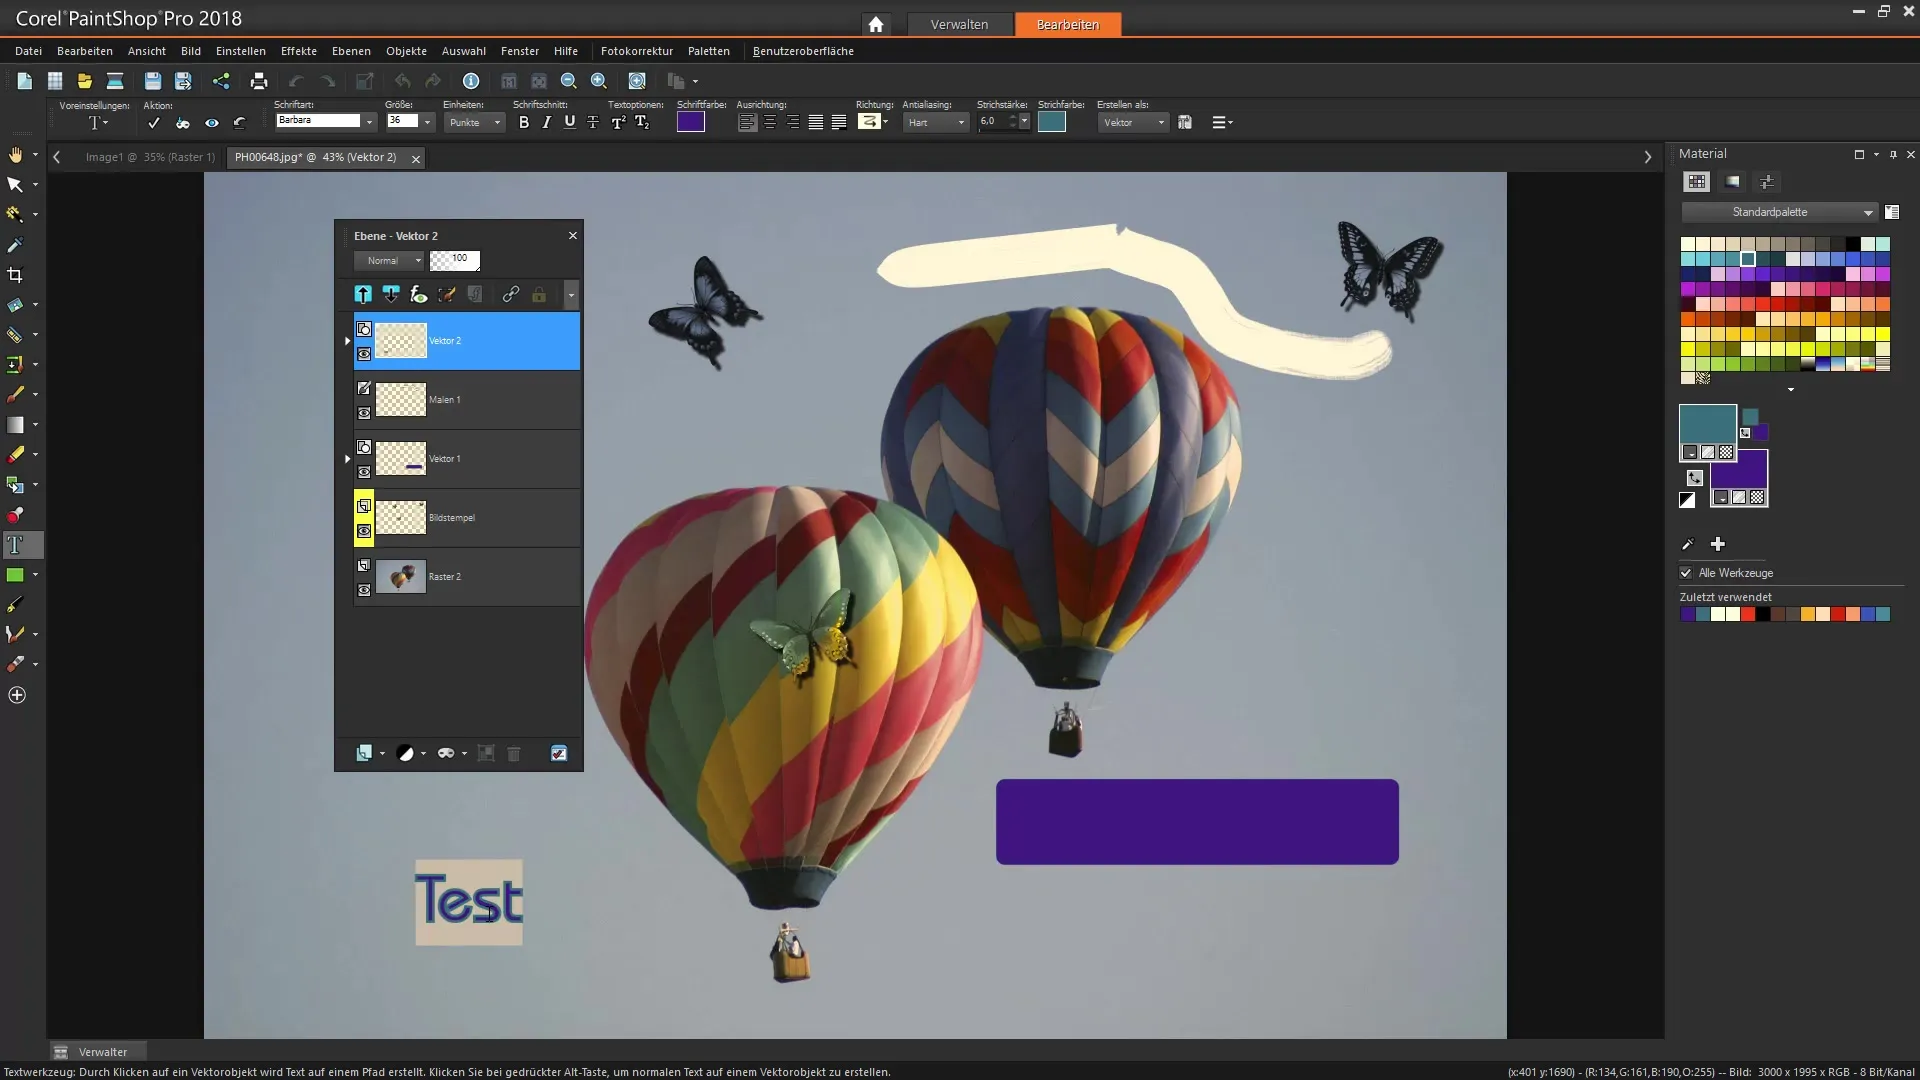
Corel PaintShop Pro also allows you to create text as vectors. Simply click in your document and start typing. You can later scale the text or adjust the color and style without losing quality.
8. Grouping layers
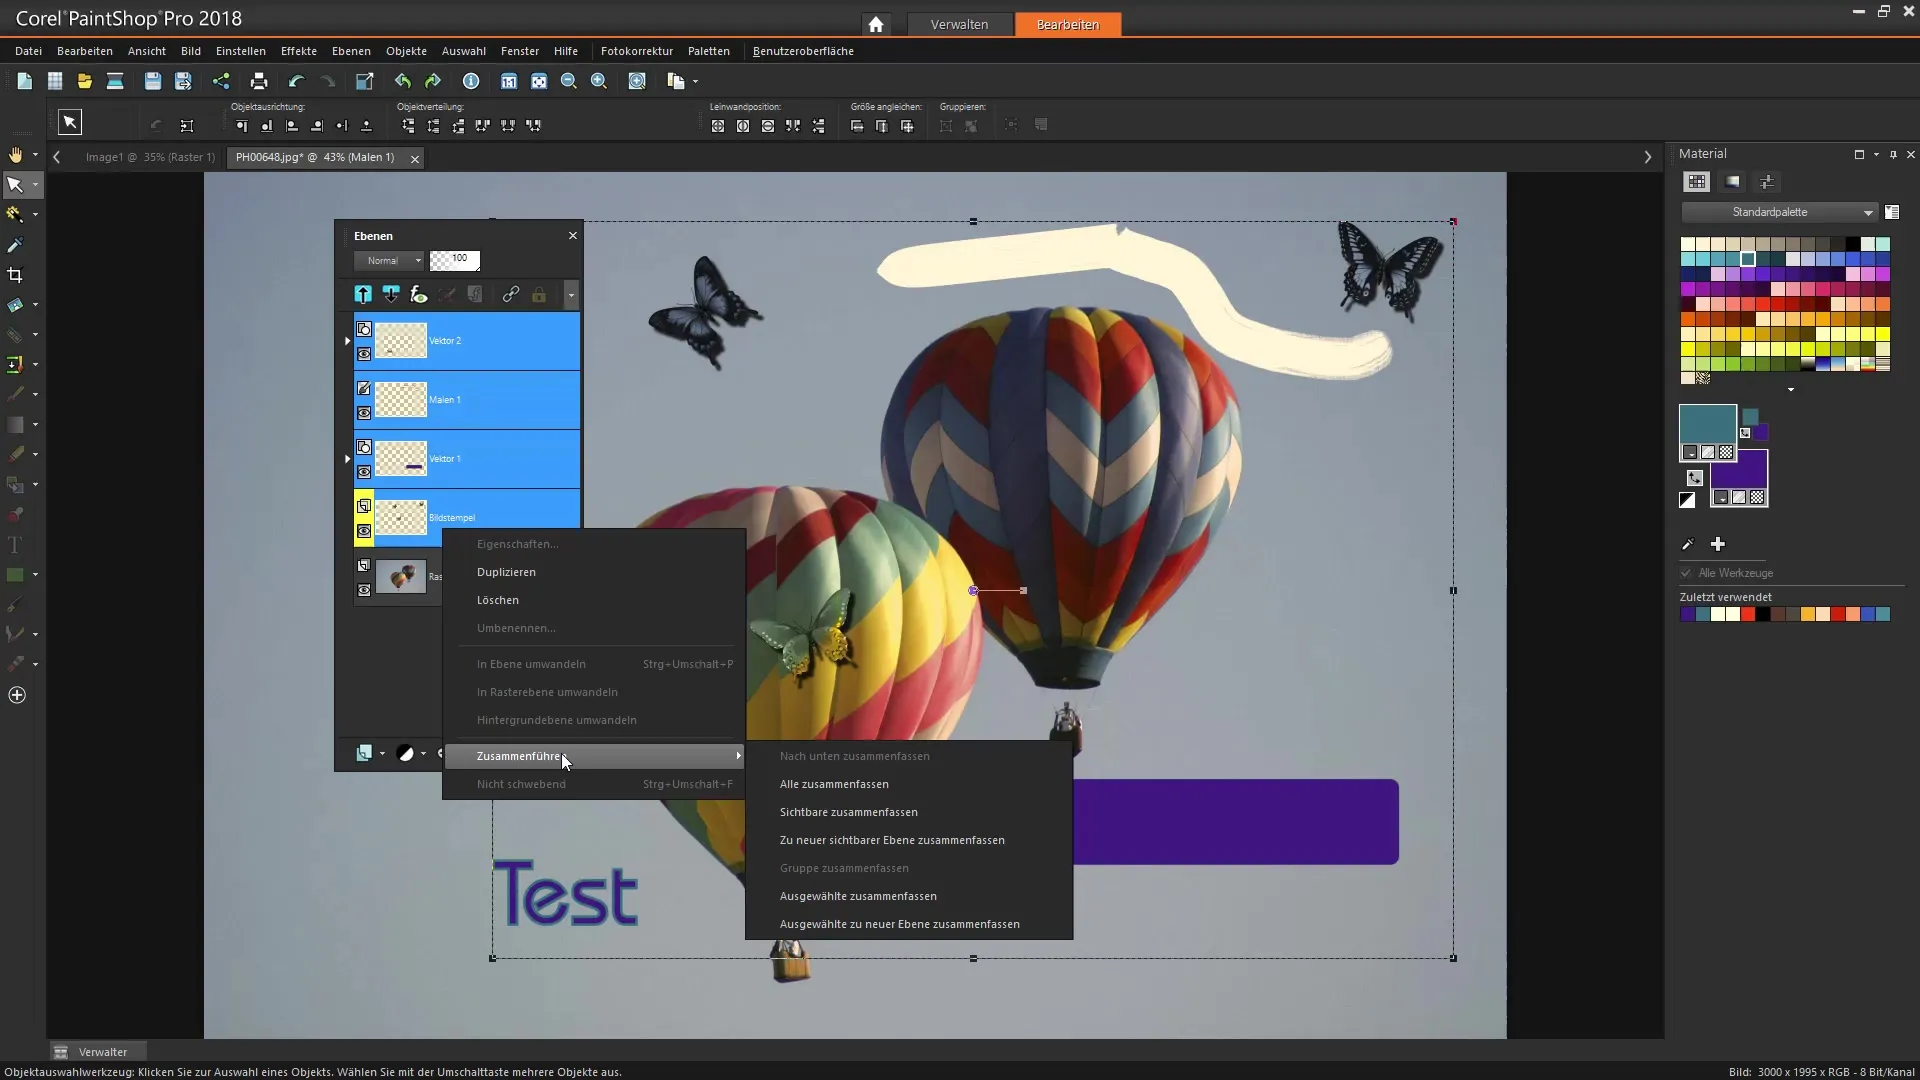
In extensive projects, it is often helpful to group layers. Select multiple layers, right-click, and choose "Create Group". This way, you can keep track of your projects.
9. Using masks
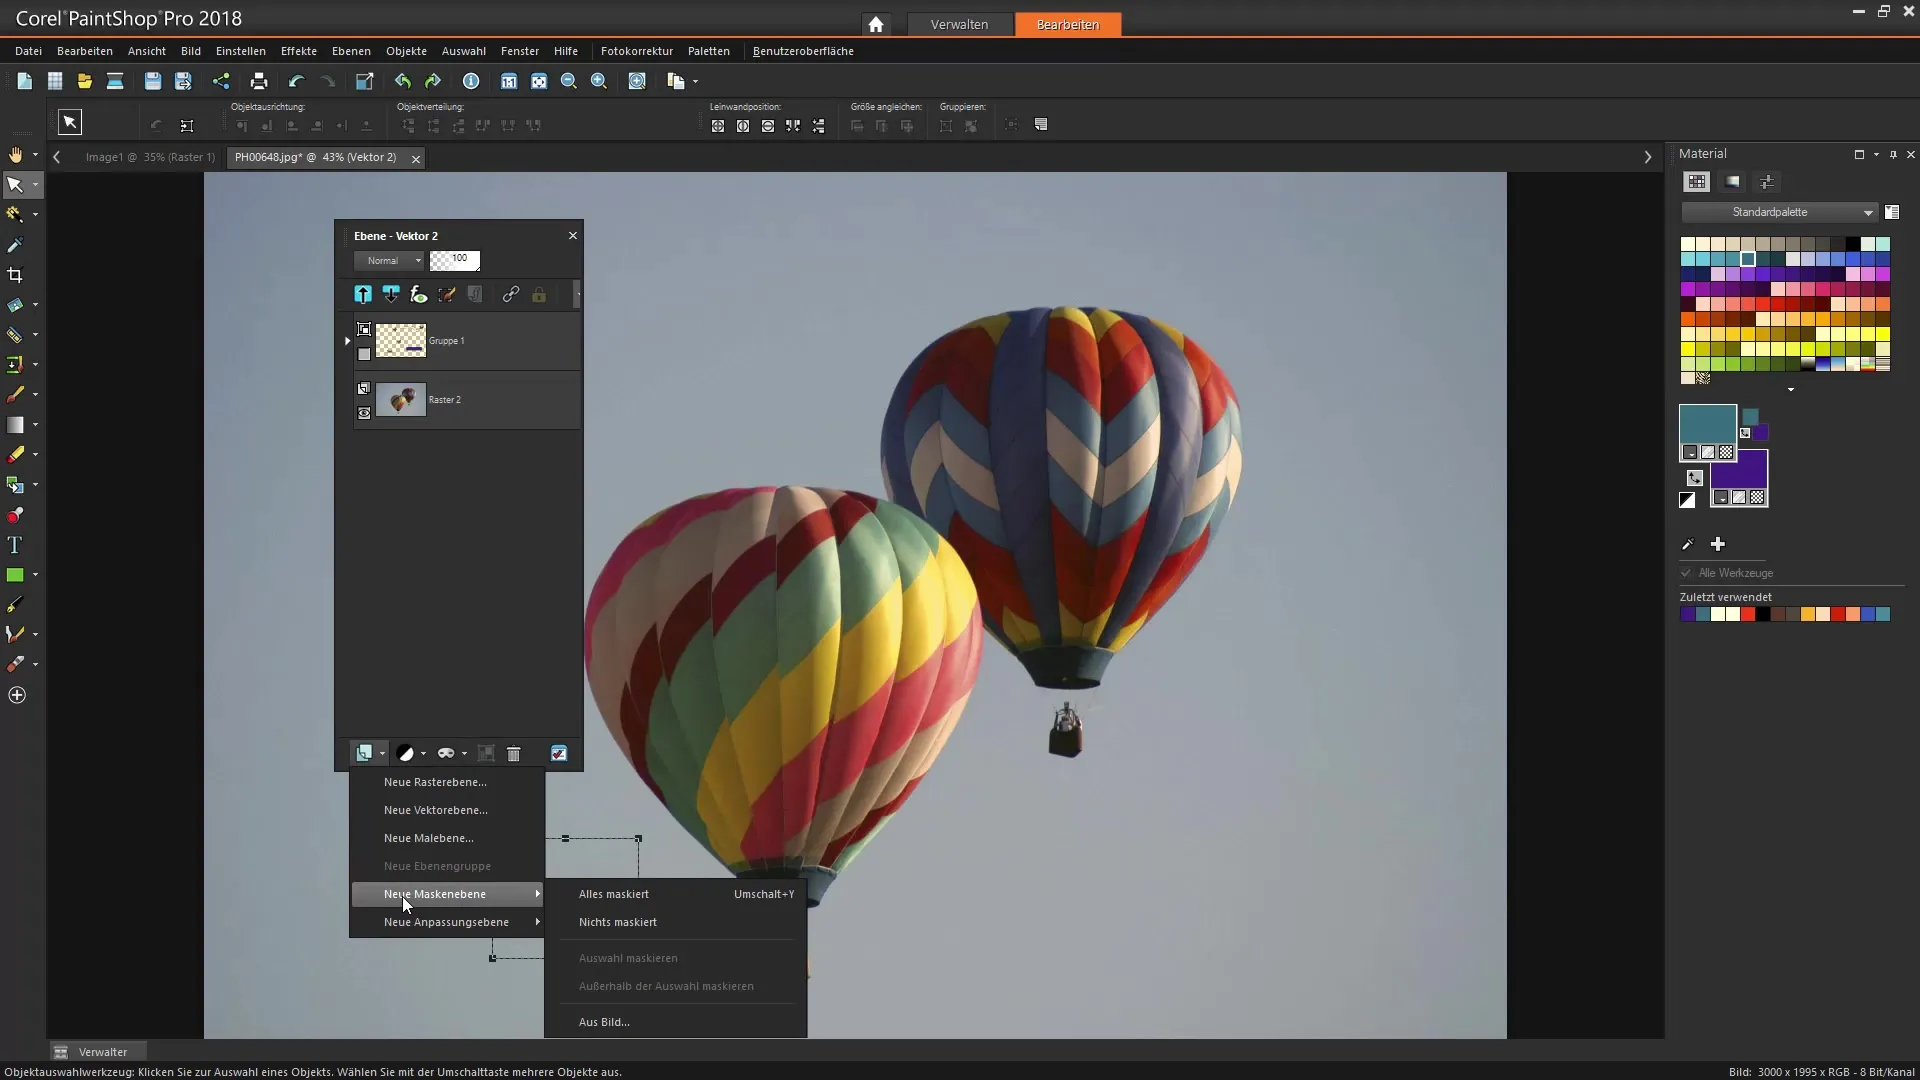
With masks, you can hide or reveal certain parts of your layers without altering the original layer. Select the appropriate layer and click on the mask icon in the layers palette.
10. Reviewing workflows
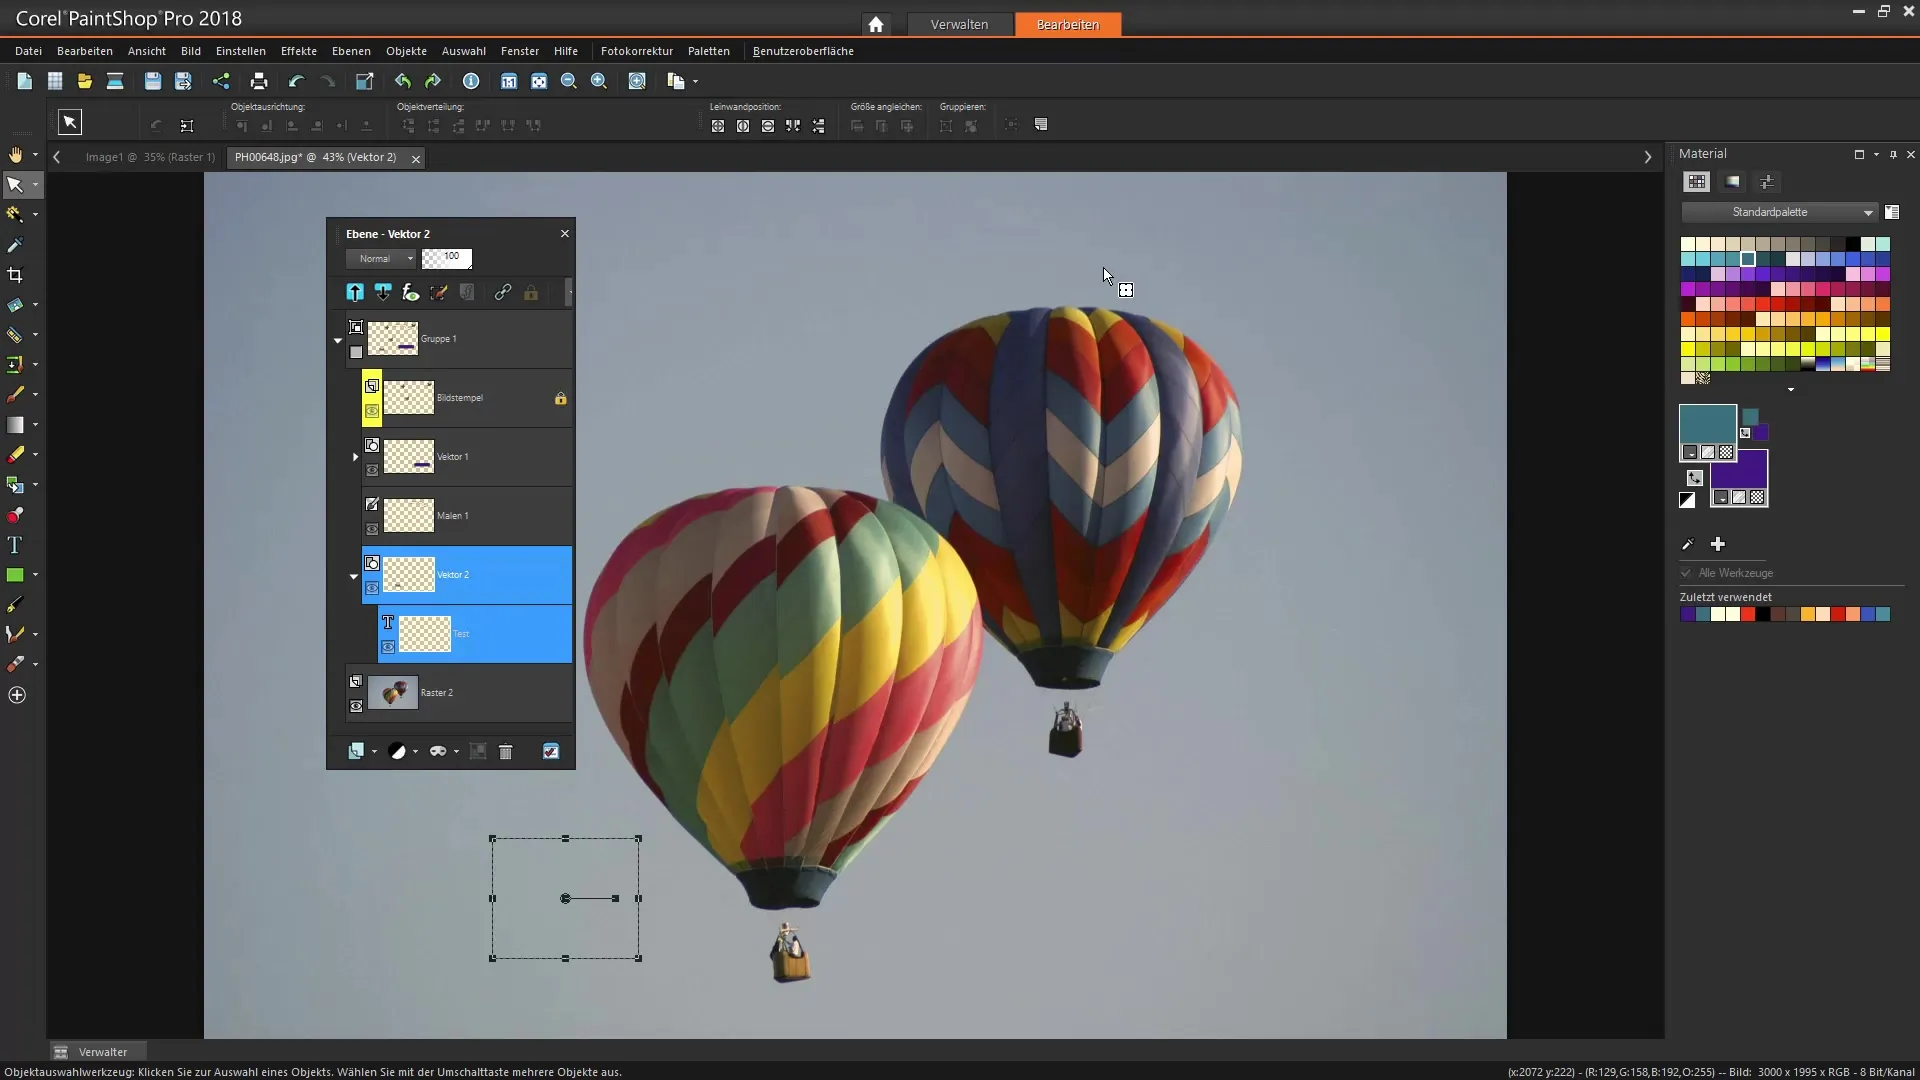
Finally, review your workflow by controlling the visibility of the different layers. This way, you can ensure that everything is arranged correctly and achieves the desired effect.
Summary – Working with Layers in Corel PaintShop Pro
Properly handling layers is crucial for your creative process in Corel PaintShop Pro. From selecting the background to adjusting blending modes and opacity to grouping layers – all of this contributes to the effectiveness of your designs. With the steps described here, you can work purposefully and organize your projects.
Frequently Asked Questions
How many layers can be used in Corel PaintShop Pro?Corel PaintShop Pro supports up to 500 layers in a project.
Can I edit text in PaintShop Pro as a vector?Yes, text is created as a vector layer and can be scaled without losing quality.
How can I organize layers?You can group layers and assign colors to them to structure them clearly in the layers palette.
Are masks easy to use?Yes, masks allow you to hide or reveal parts of your layer without changing the original image.

