Learn how to create great portraits with natural light sources. Window light gives you the opportunity to significantly influence the mood and atmosphere of your images. In this guide, you will be taken step by step through the most important aspects of portrait photography using window light. You will be able to assess lighting conditions, make the right camera settings, and create interesting portraits enhanced by the lighting.
Main insights
- Use window light to create an interesting lighting mood.
- Consider the direction and intensity of the light.
- Experiment with camera settings to achieve the best result.
- Find the right position for you and your model to capture interesting perspectives.
- Move your model for dynamic shots and more options.
- Edit your photos efficiently with suitable software.
Step-by-step guide
1. Find the right lighting situation
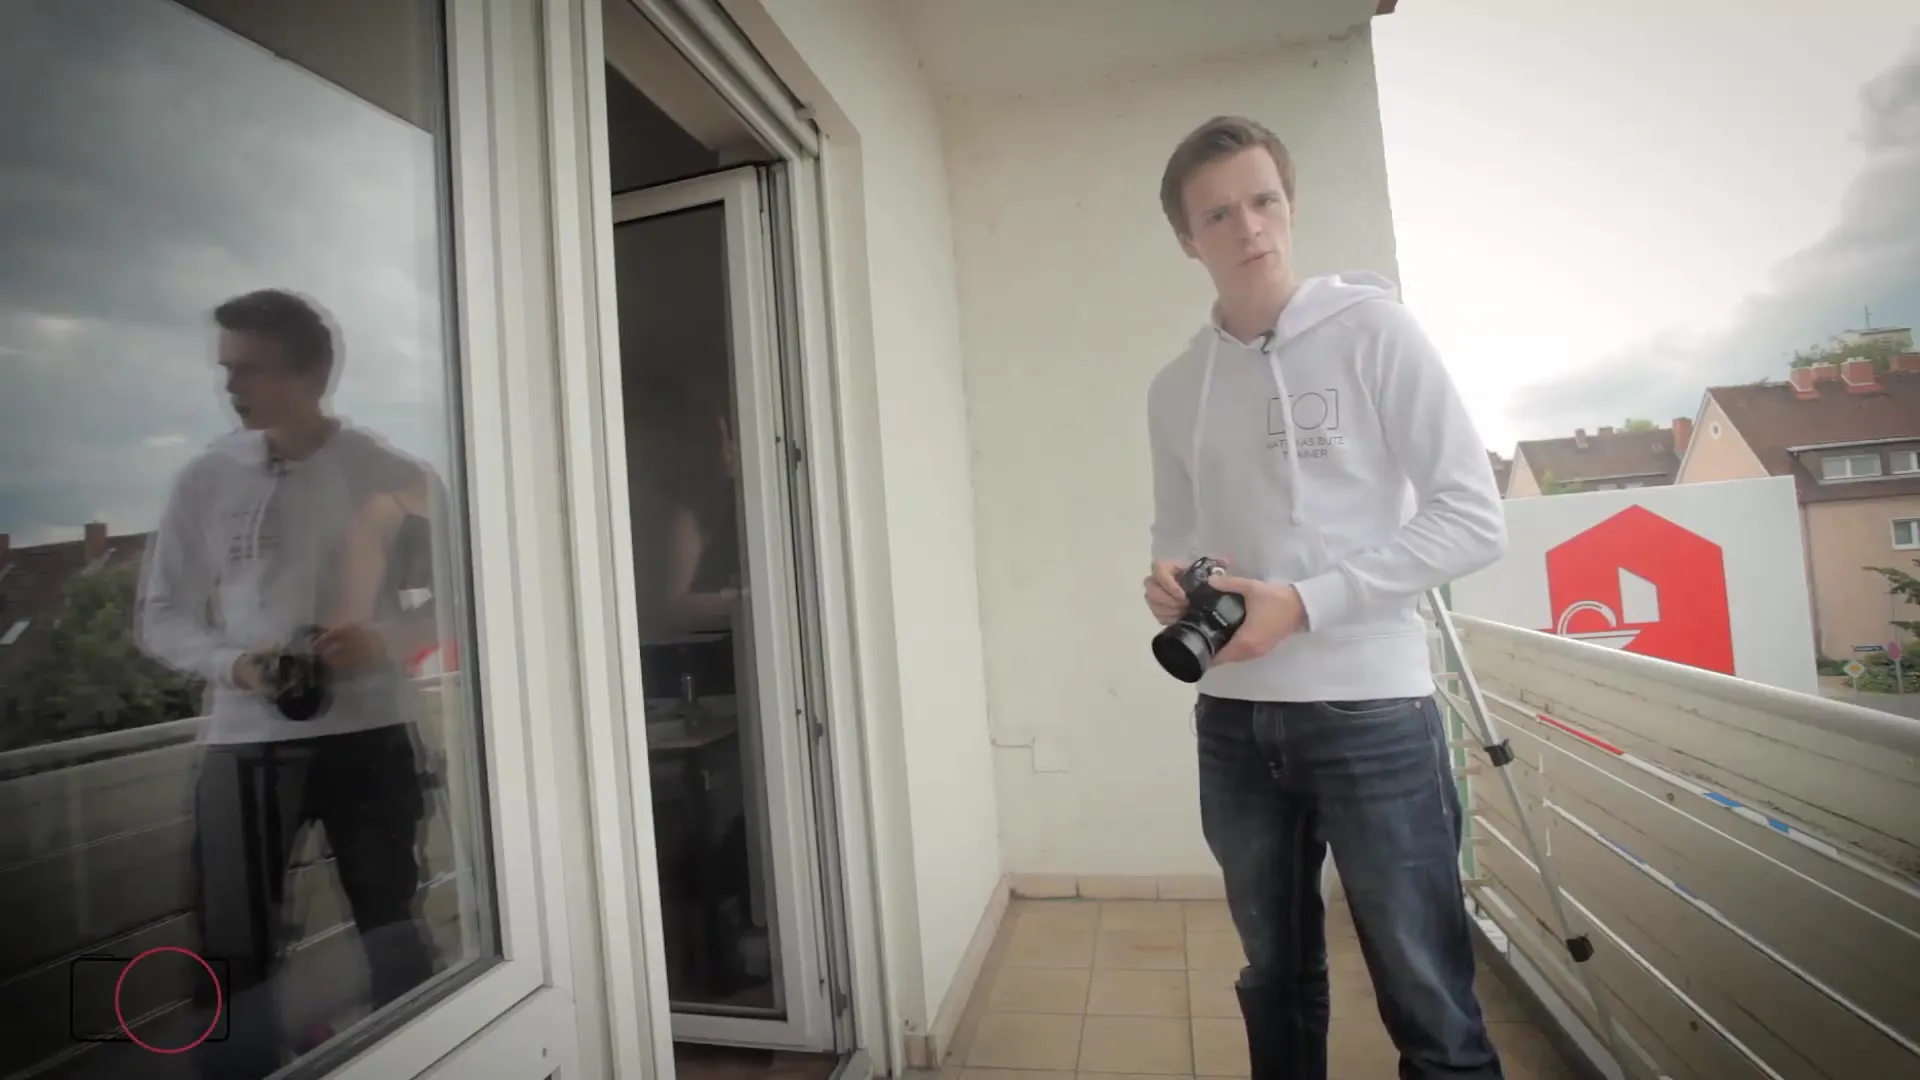
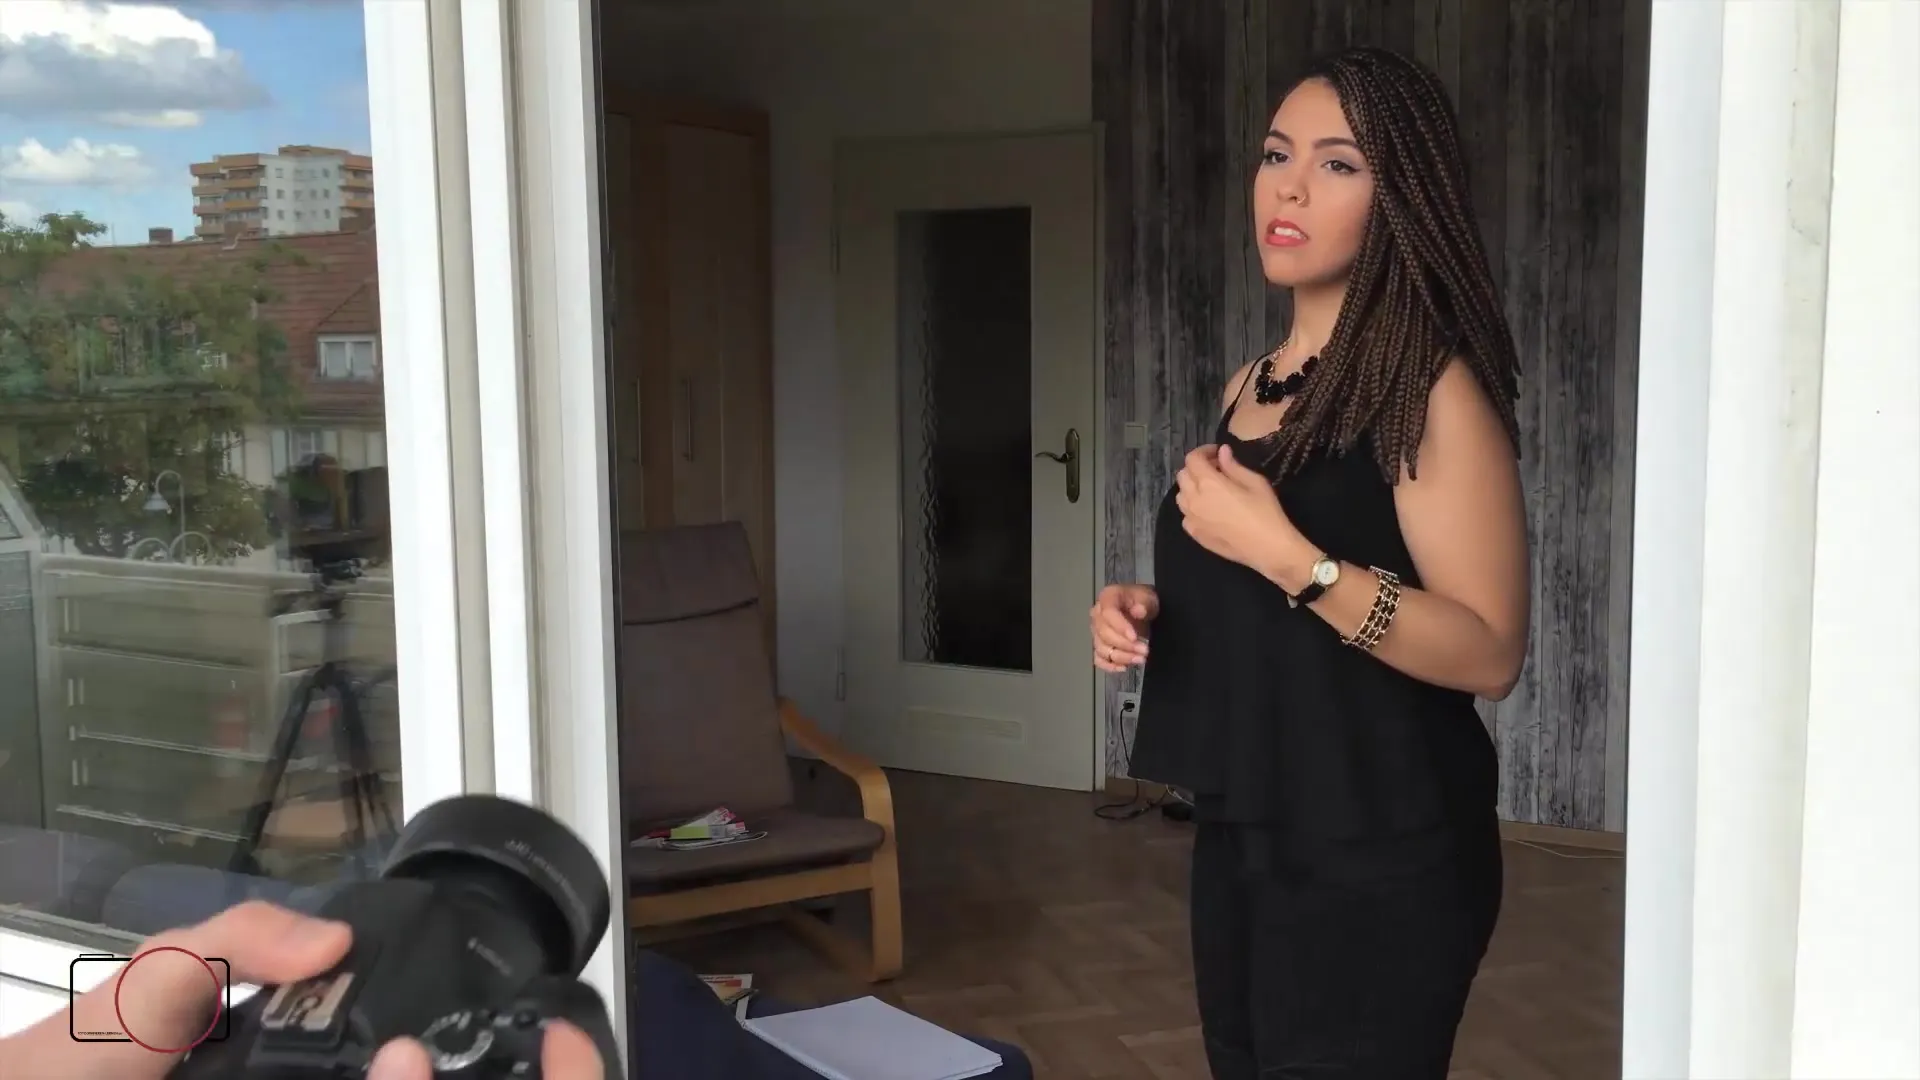
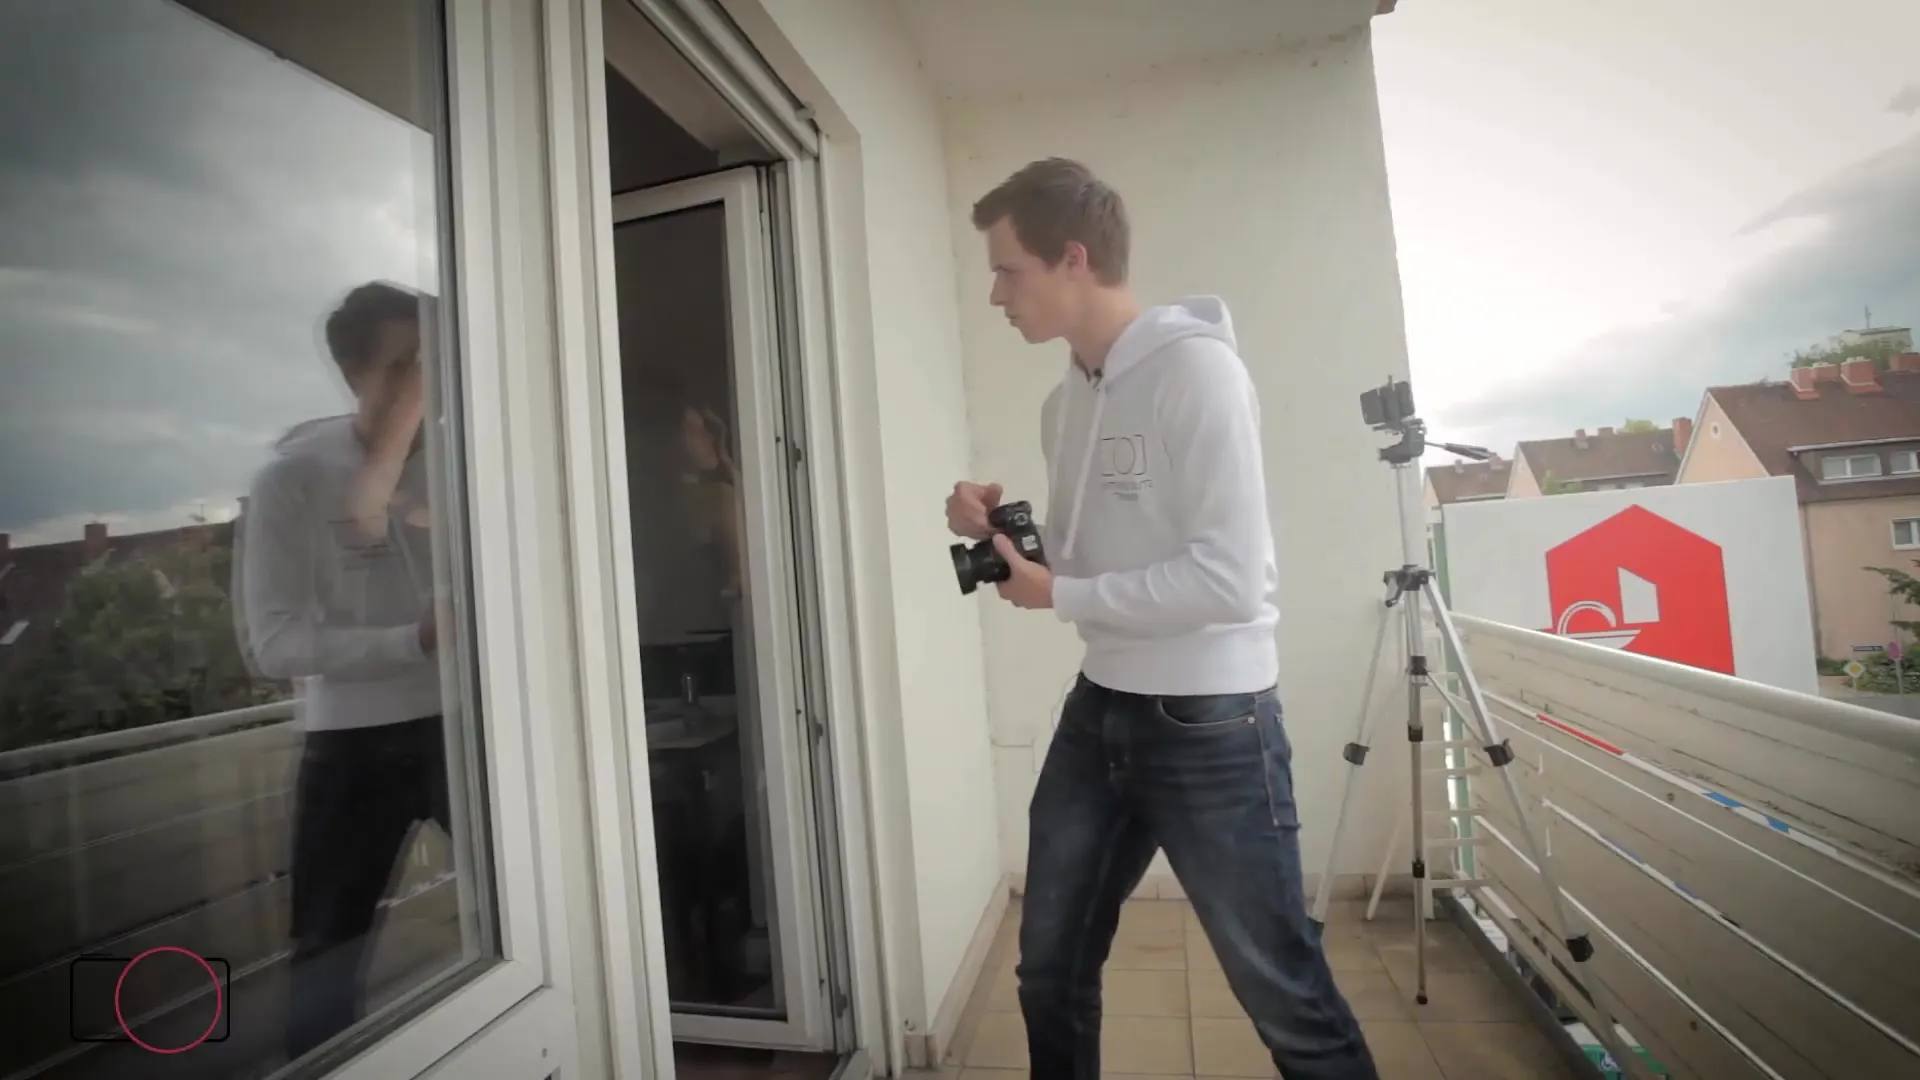
Window light is ideal for portrait shots as it provides even and soft illumination. Make sure the light comes only from one direction, and that no additional light is coming from other windows or lamps. This darkens the background, enhancing the focus on the model. Ensure that your subject is not standing directly in the light but is slightly offset, so it is well illuminated.
2. Set up your camera
Use the AV mode (Aperture Value) to set the aperture to 1.8. This allows you to blur the background and focus on your model. You don't need to worry about other settings, as the mode automatically adjusts the exposure.
3. Exposure adjustment
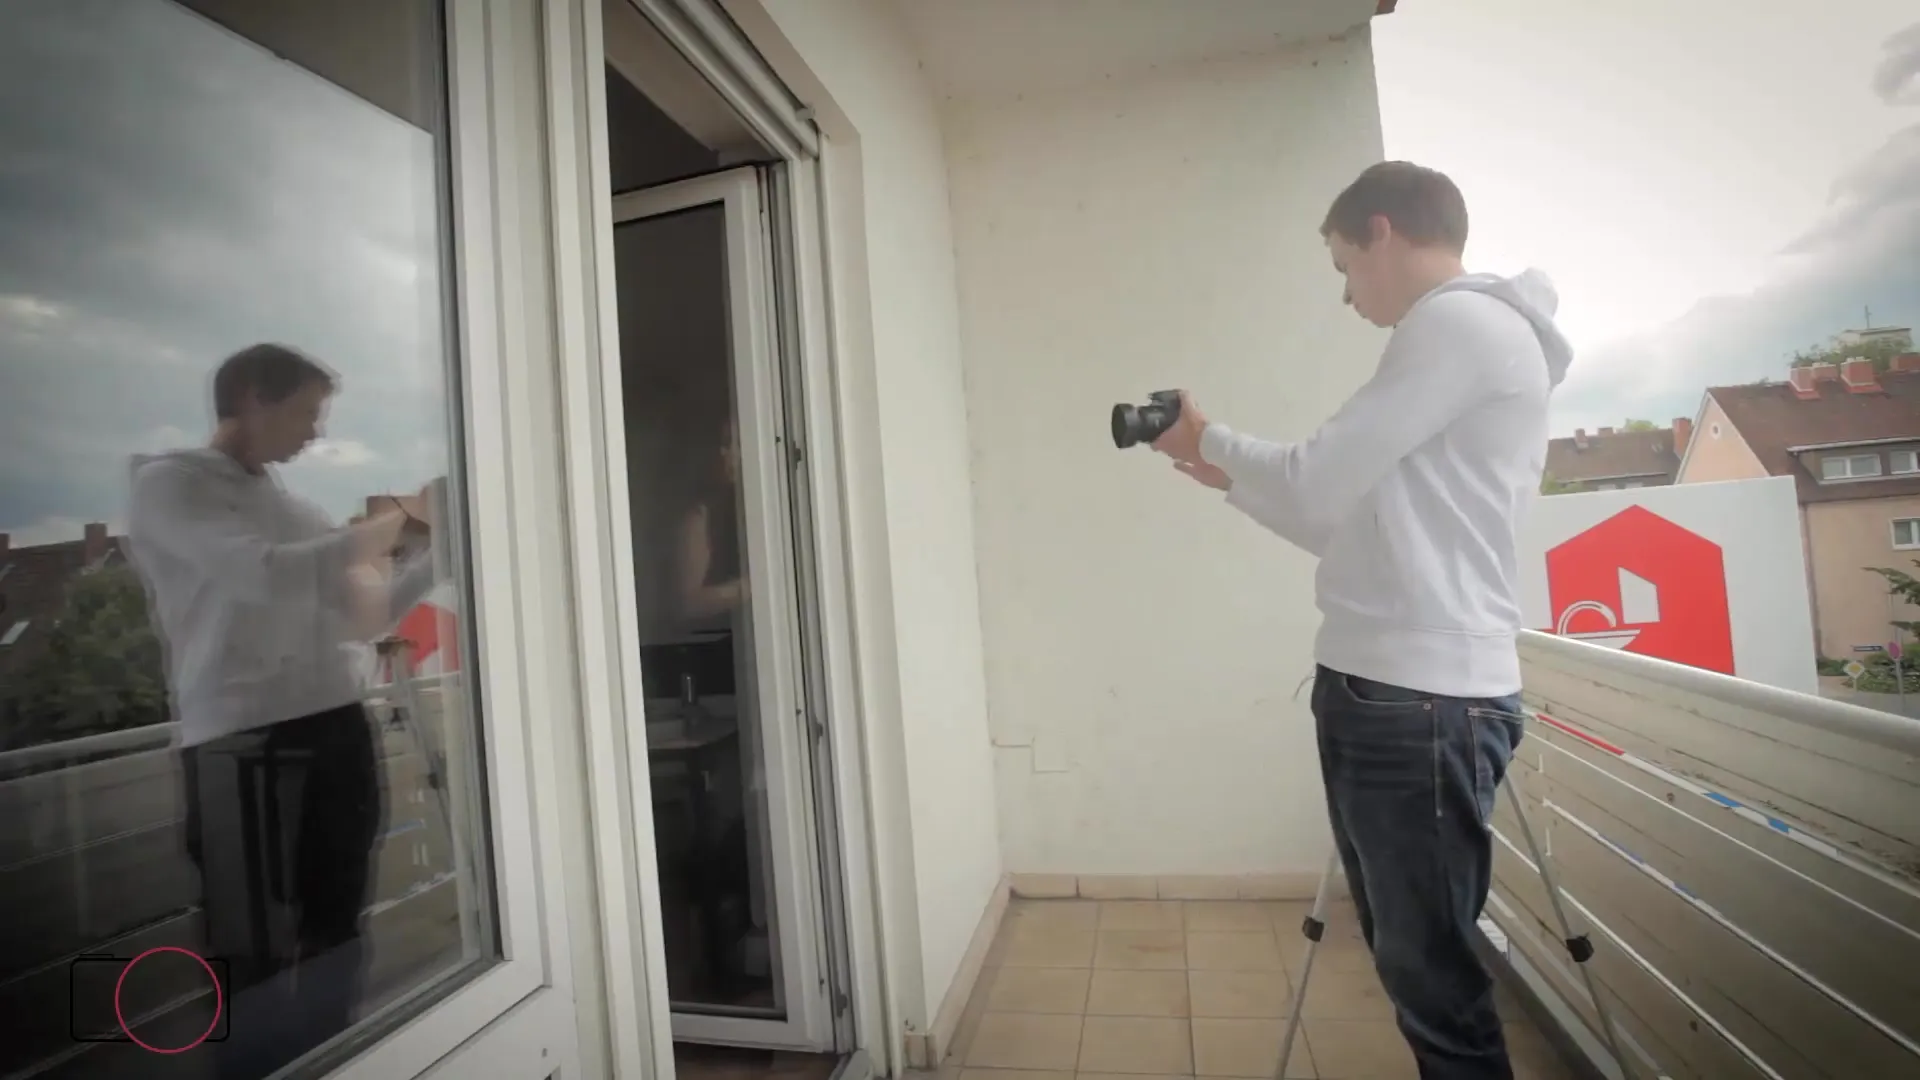
First, take a test shot. Ensure that your model's face is well exposed. If the background is too bright, you can adjust the exposure compensation. In this case, you should experiment with the exposure until you find the right balance between foreground and background. This adjustment will help you find balance and achieve the best results.
4. Position the model correctly
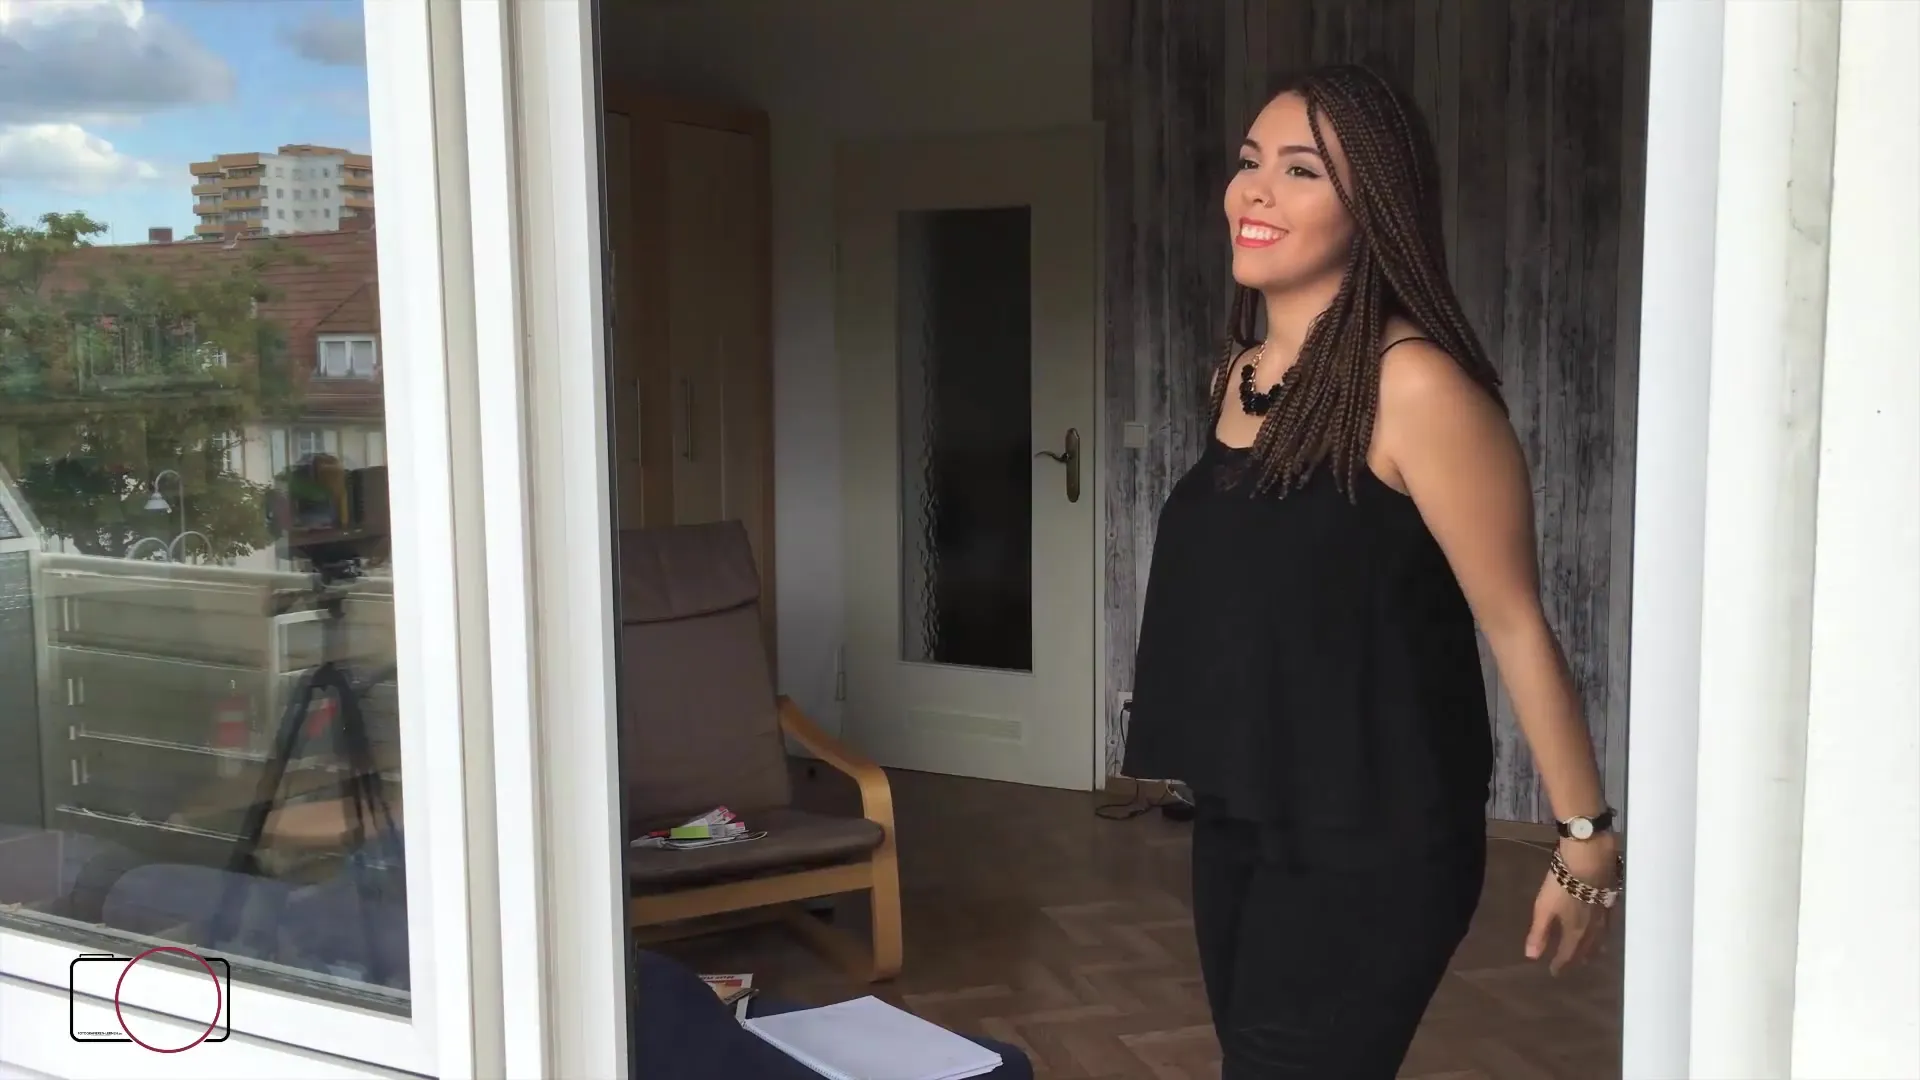
Once the exposure is right, give your model instructions to move naturally. A dynamic pose can create differences in expression and make the overall image more lively. Try to constantly switch perspectives to gain more options.
5. Experiment with different distances
Play with the distance to the model. The closer you are, the more intimate the portrait appears. Make sure that the arms are not cropped and choose a composition that looks optimal. For larger models, it may be more effective to shoot from a higher angle.
6. Select the best shots
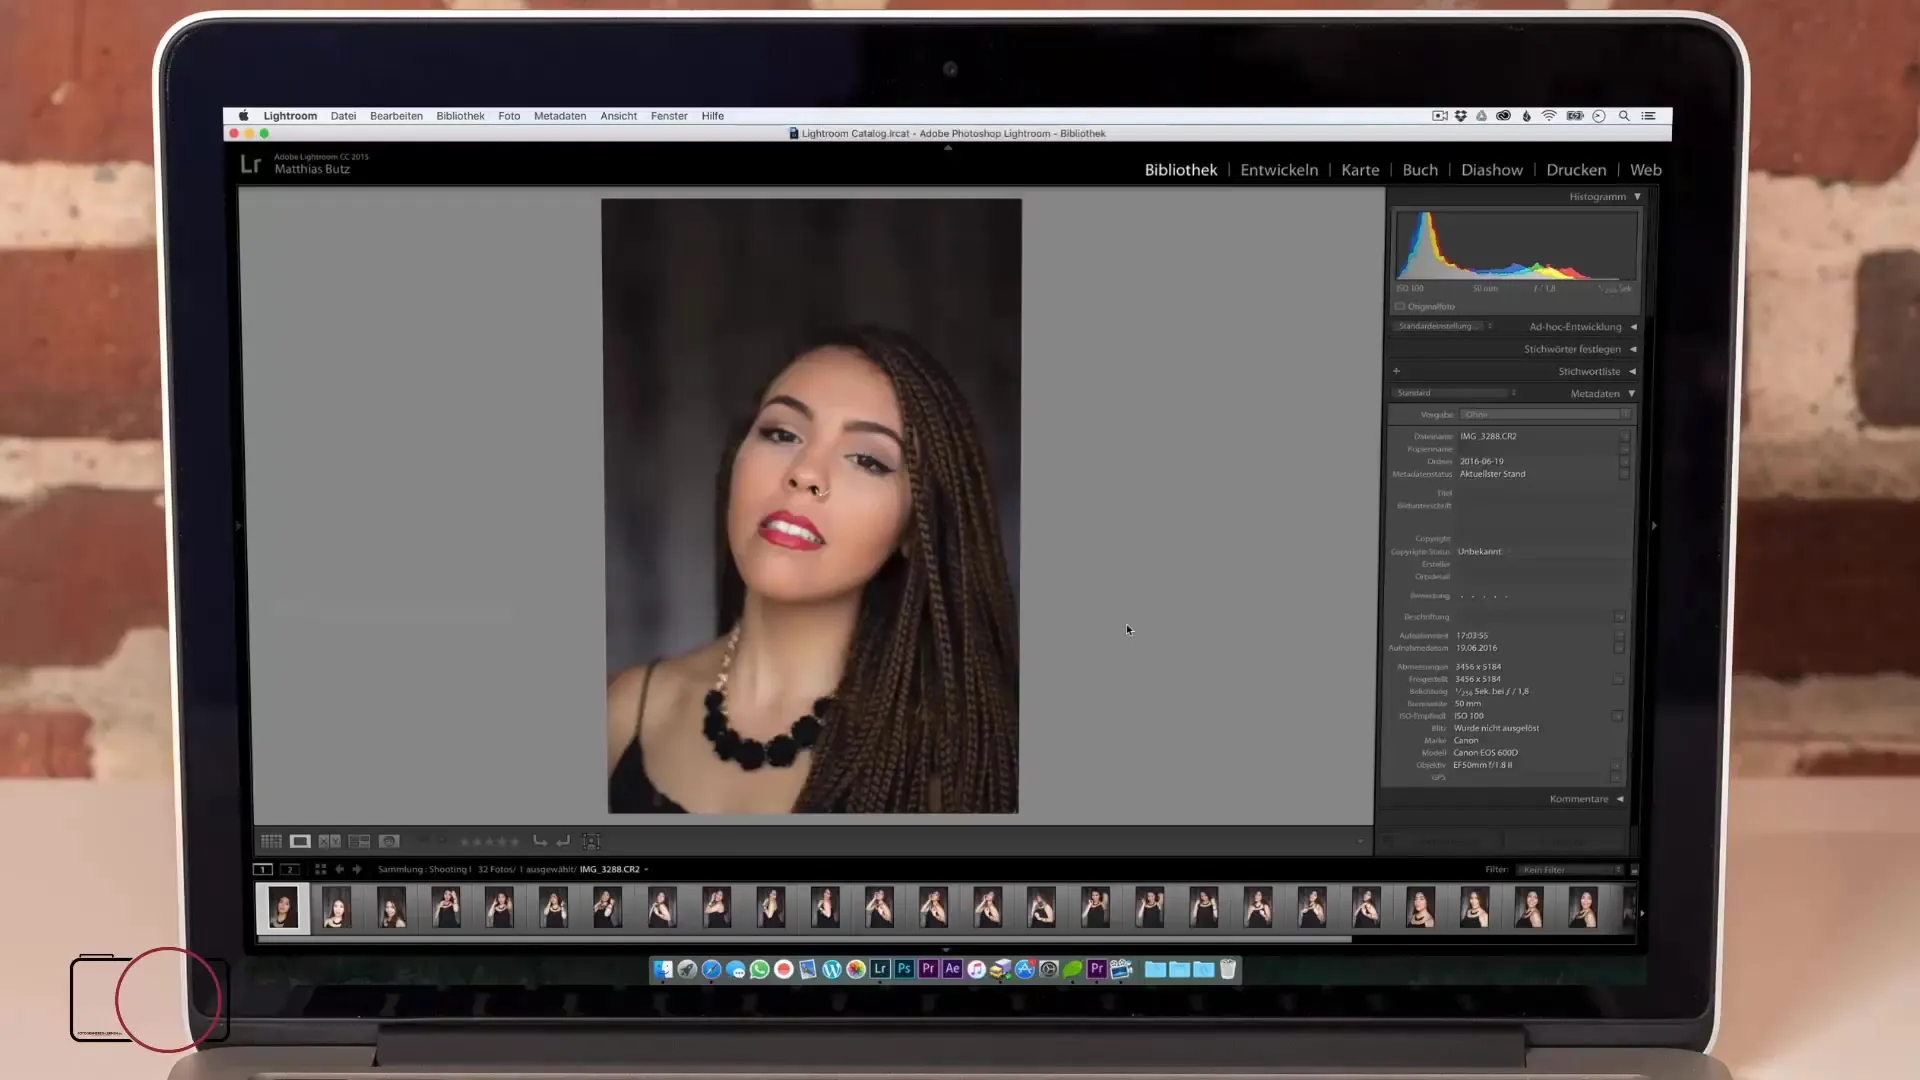
After the shoot, it's time to review the shots and select the best images. Pay attention to the expression, exposure, and composition. With image editing software, you can perfectly enhance the selected photos, allowing them to stand out.
7. Image editing
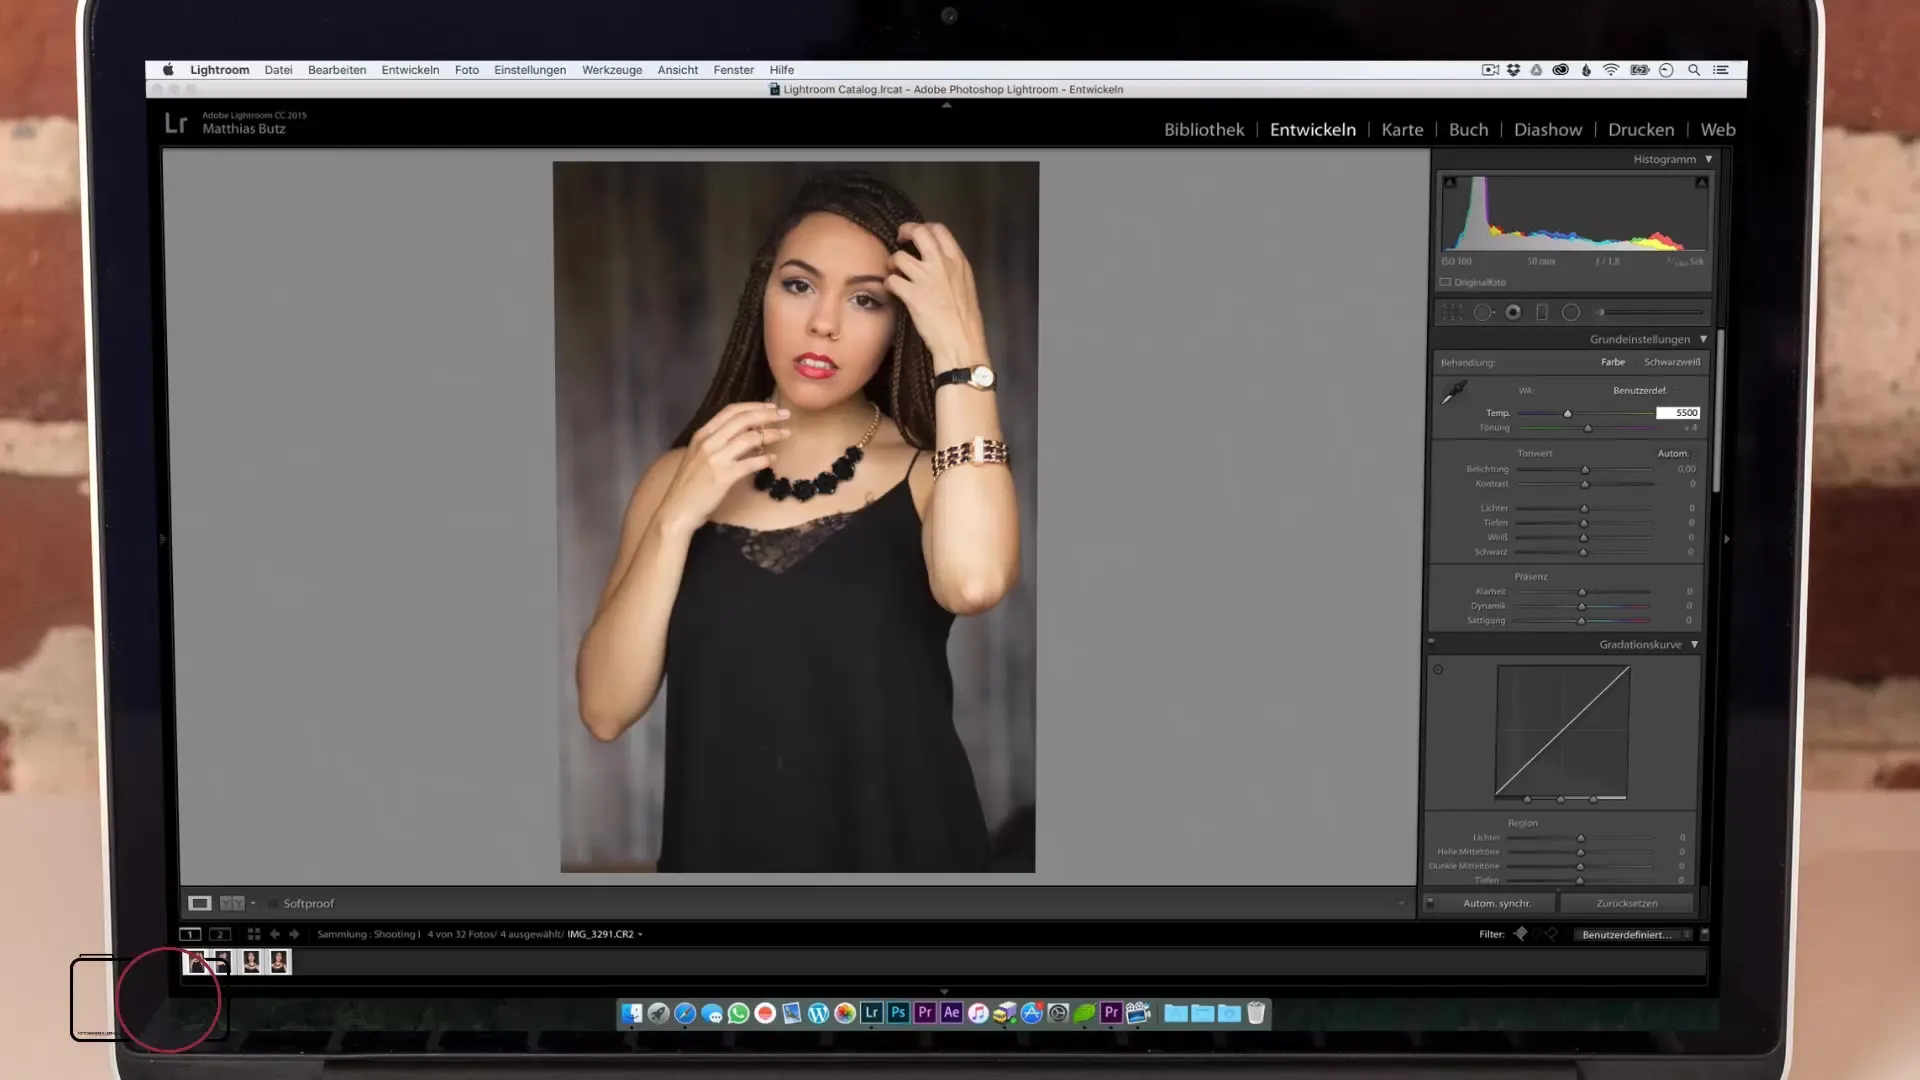
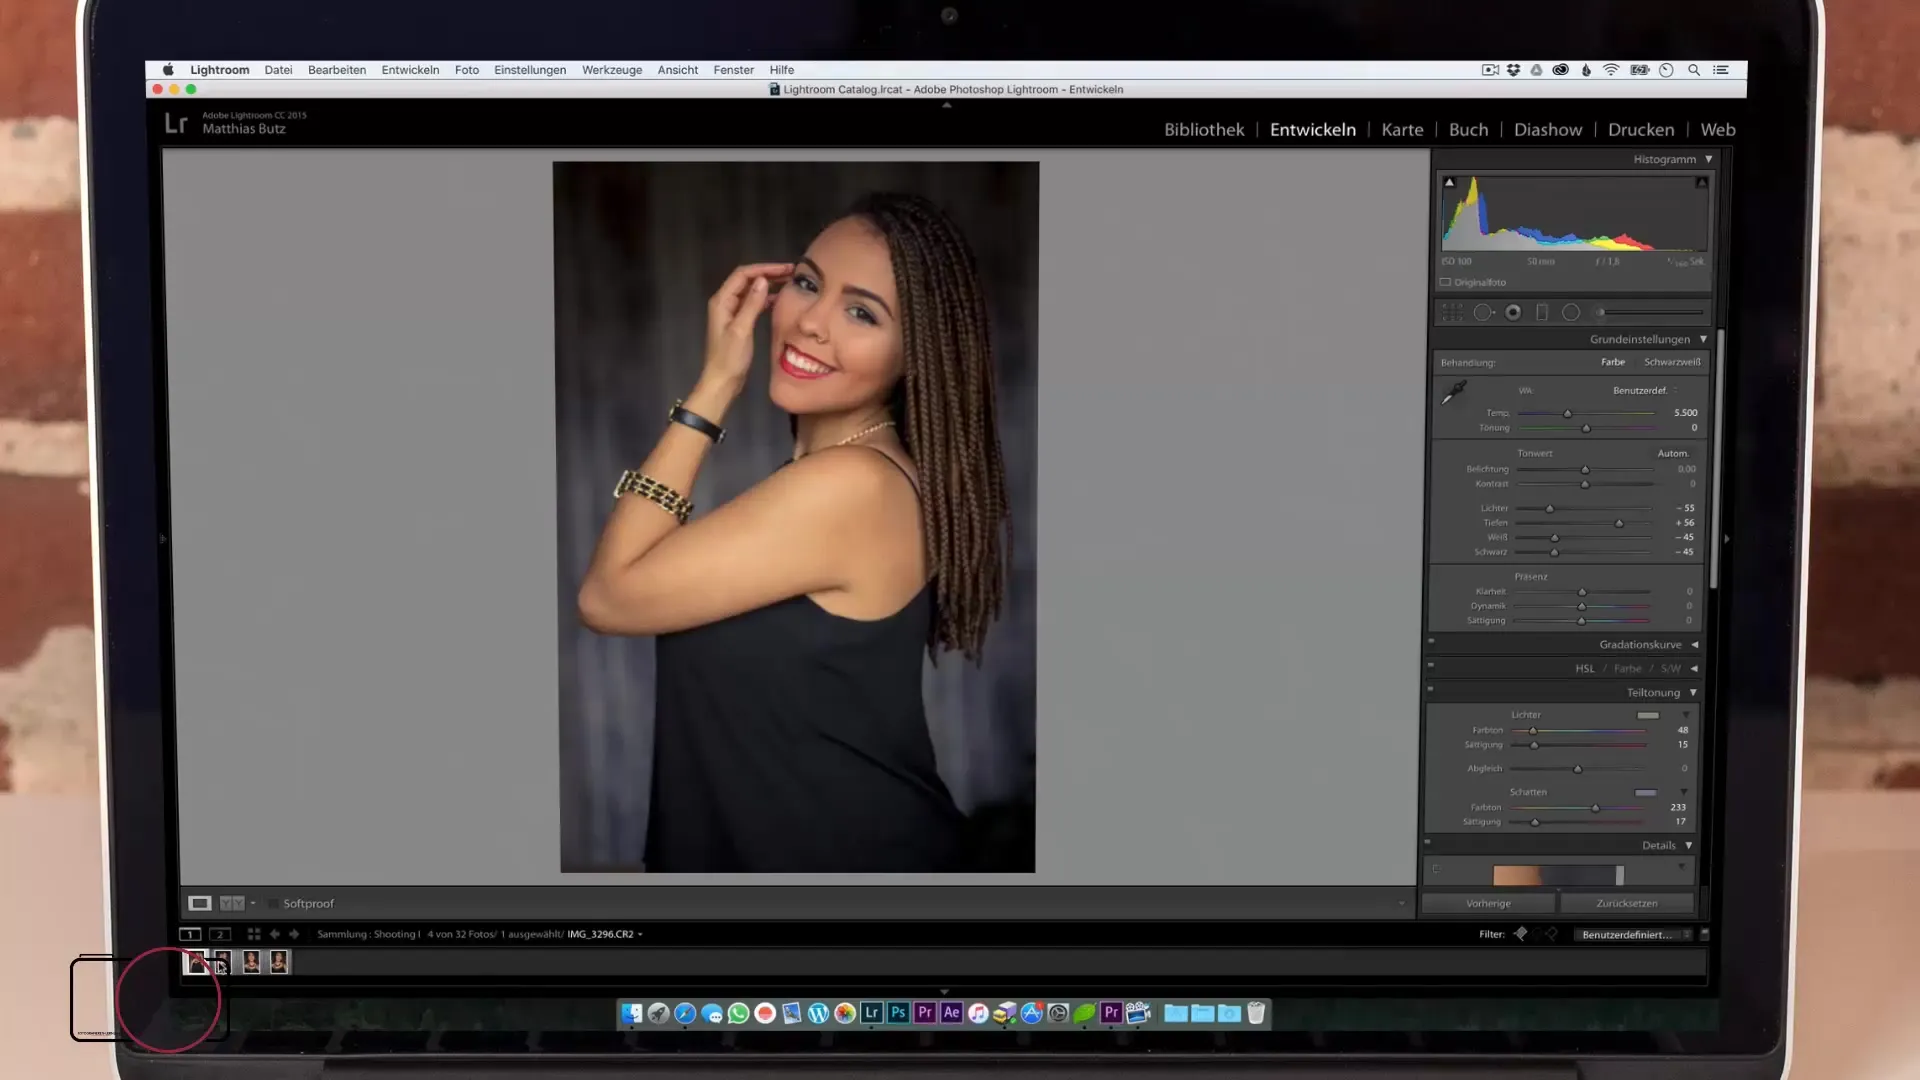
Import the images into your preferred software. Start with basic adjustments like white balance. Ensure that the color temperature is pleasant and the skin tones are well represented. The ideal white balance can also be adjusted if you shot in RAW.
8. Fine-tuning in editing
Proceed step by step in your editing. Strengthen the highlights and shadows to improve the contrast in your image. Use the sharpening function in your software to highlight the details of the model. Avoid exaggerations, as this can distort the natural tones and textures.
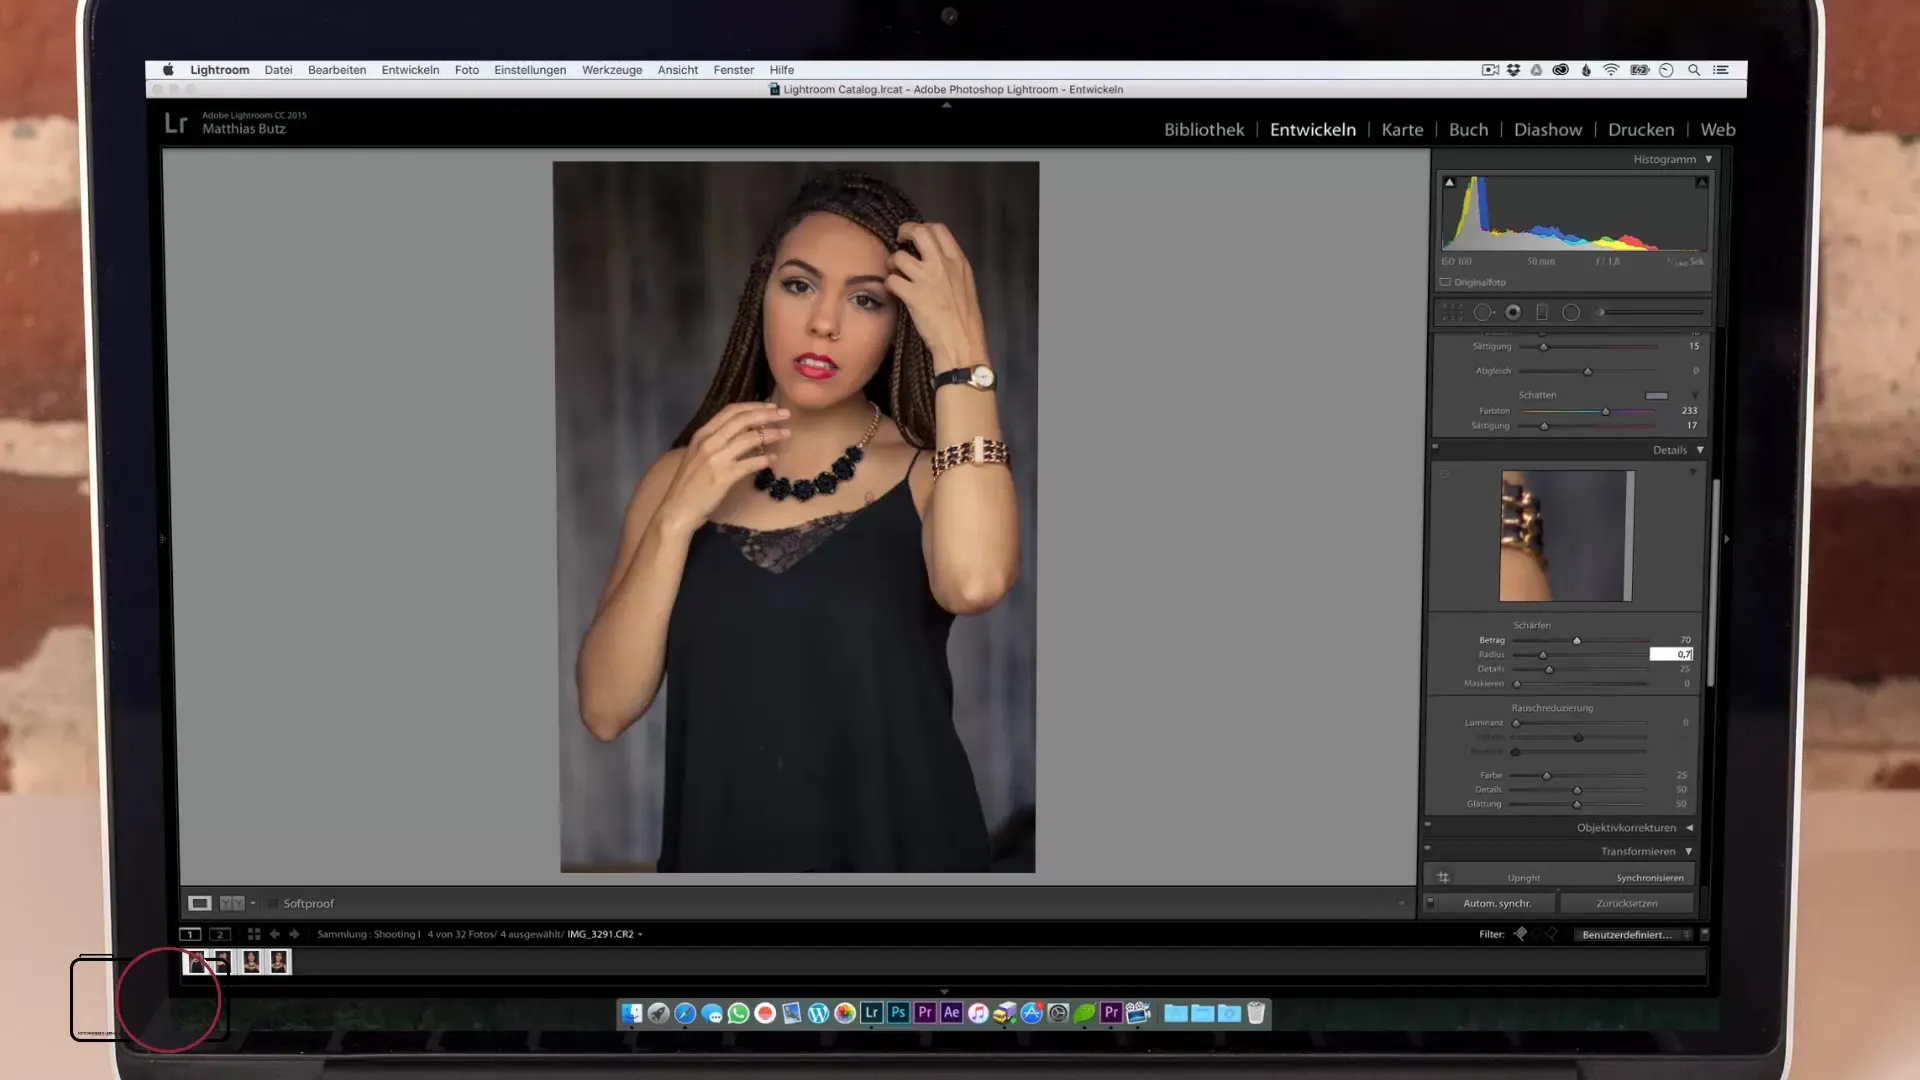
9. Use vignettes and other effects
A vignette can help direct the focus on the subject. Adjust this carefully so that it remains subtle and supports the overall composition. You can also experiment with color adjustments to give the image a unique look.
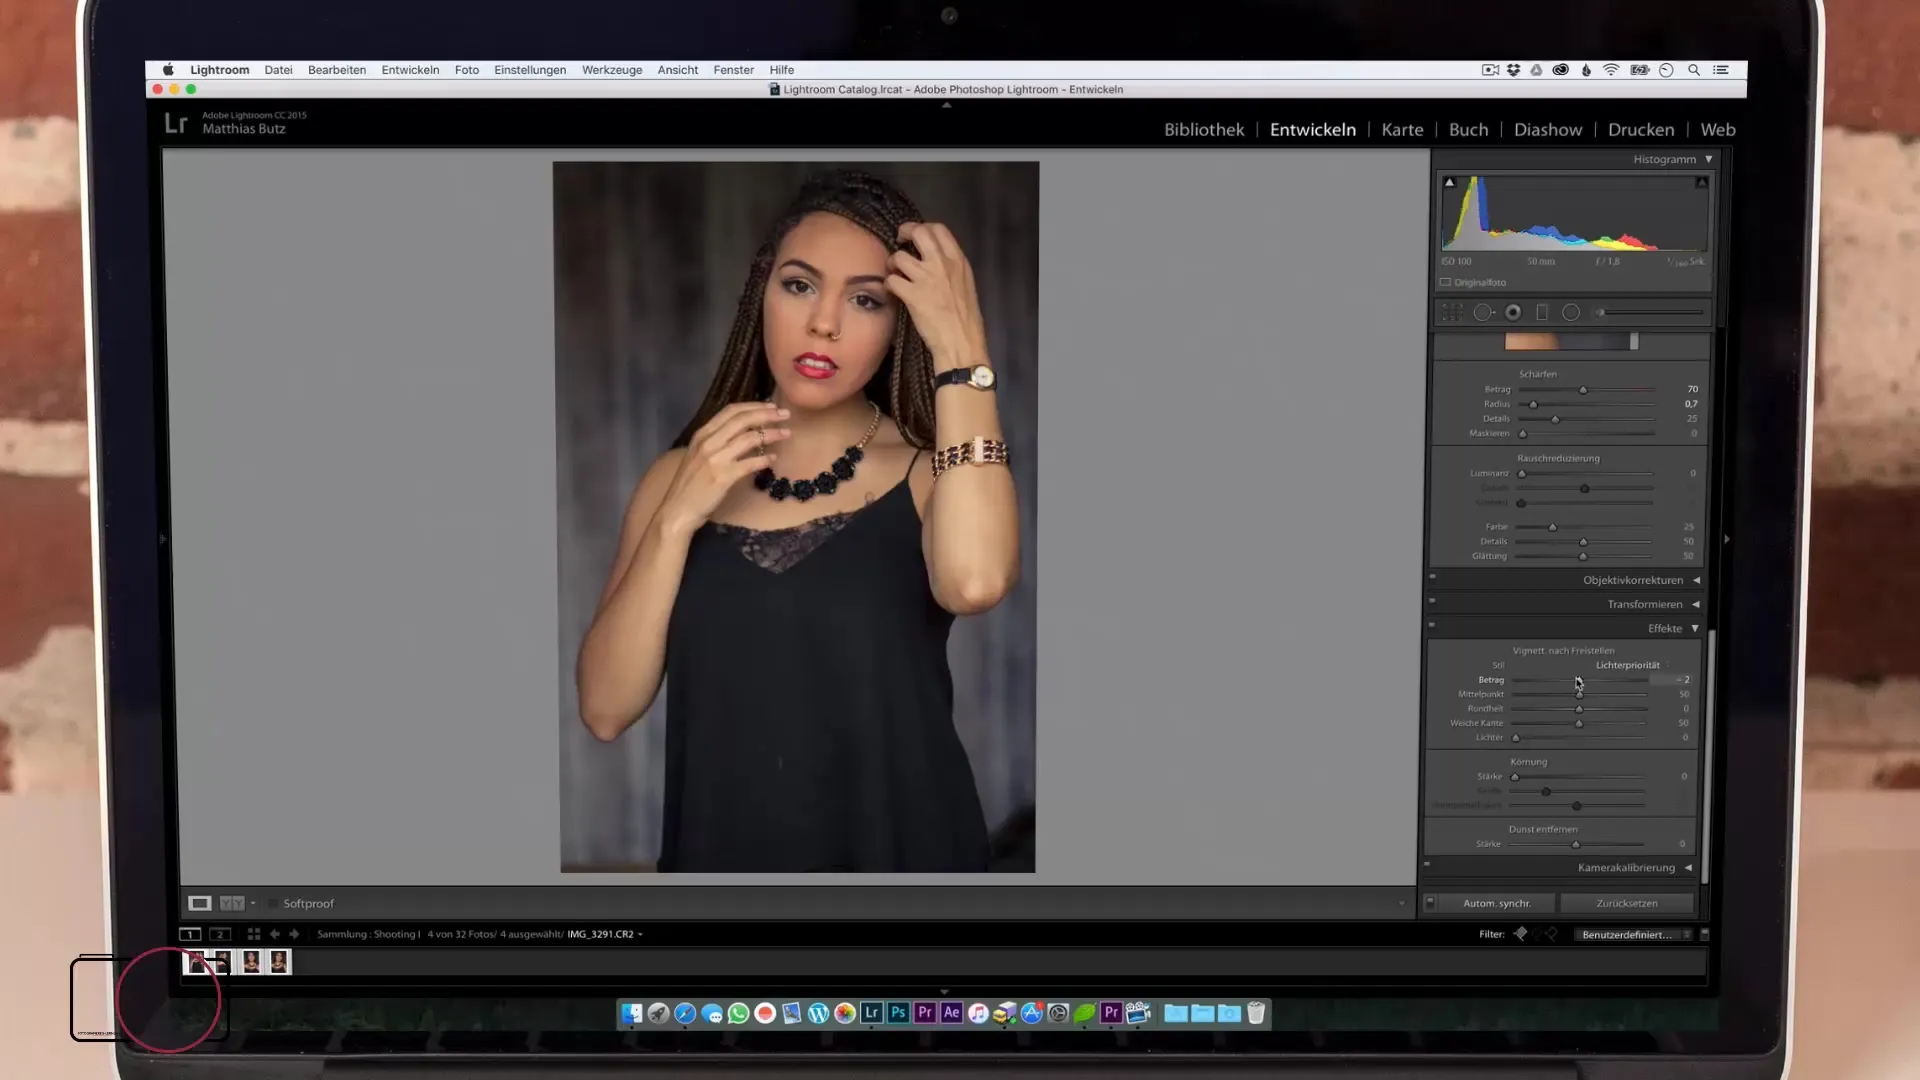
10. Export your images
Once the editing is complete, export your images in a suitable format. Ensure that the image quality is maintained and that the file size is appropriate for the intended medium. The final result should be ready for presentation or further use.
Summary - Portrait Photography: Effectively Use Window Light
You have now gone through all the basic steps to create portraits with window light. From the right lighting situation to camera settings to image editing—each phase is crucial to achieving the best possible result. Use your newly acquired knowledge and apply it in practice to create impressive portraits.
