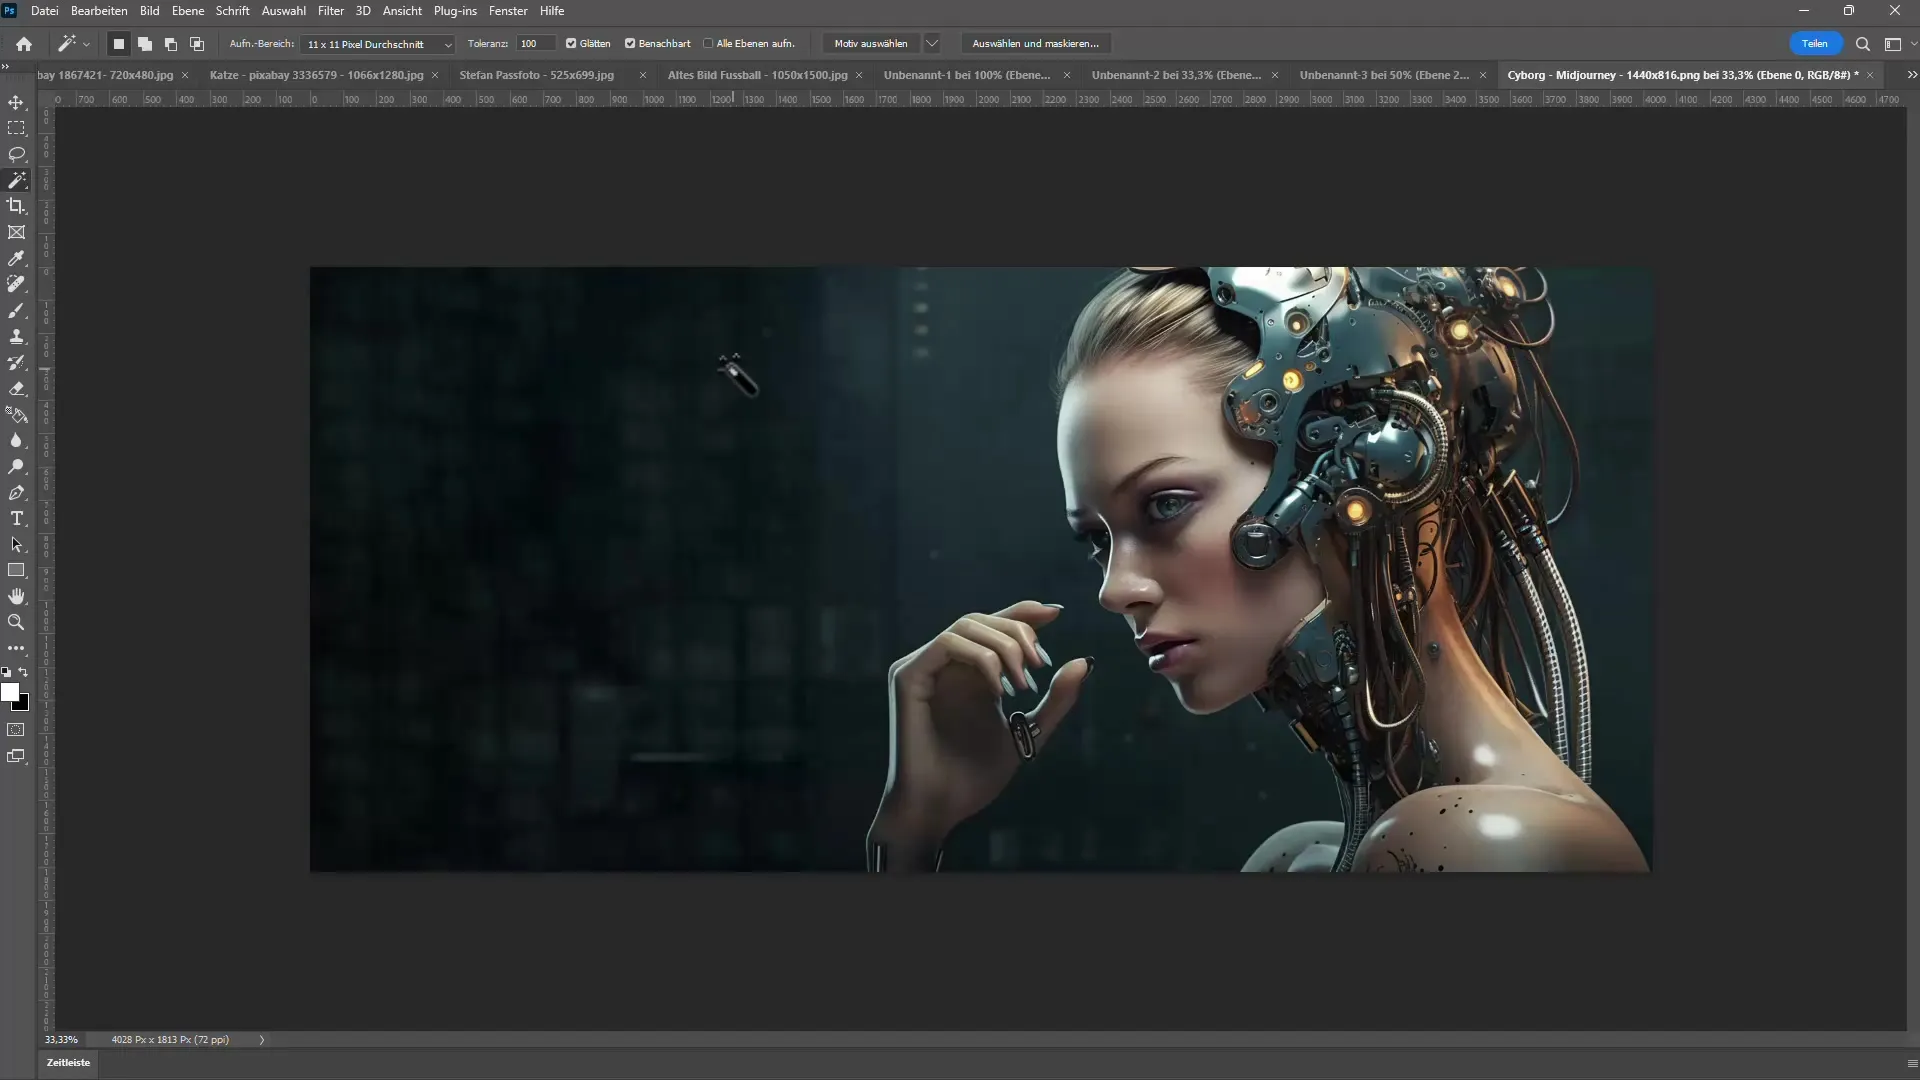
In digital image editing, enlarging images is often a challenge. This frequently results in blurry or pixelated images when simply adjusting the image size. However, Photoshop offers innovative solutions to bypass these issues — particularly through the use of neural filters. In this tutorial, I will show you how you can effectively enlarge images using these AI-powered technologies to achieve better results.
Key Insights:
- Standard methods of image enlargement often lead to suboptimal results.
- The neural filters in Photoshop, particularly "Super Zoom," offer significant advantages when enlarging images.
- With the right techniques and the comprehensive tools in Photoshop, you can upscale images with high quality.
Step-by-Step Guide
Step 1: Enlarging an image using standard methods
First, open your image in Photoshop. To try the traditional method of enlarging an image, go to the "Image" menu and select "Image Size." Here, you can adjust the dimensions in centimeters or pixels. For example, set the width to 60 cm and the height to 40 cm. When you confirm the changes, you will notice that the image becomes blurry. This is a typical issue with direct image enlargement.

Step 2: Activating the neural filters
To achieve better results, switch to the neural filters. Click on "Filter" in the main menu and select "Neural Filters." Here, you will find the "Super Zoom," which reconstructs highly detailed details. Activate this filter with a simple click on the switch.

Step 3: Adjusting image enlargement with Super Zoom
After activating the Super Zoom filter, you can adjust how much the image should be enlarged by. You can enlarge it up to four times. While Photoshop processes the enlargement, you can track the progress in real-time. Marvel at the quality that this filter adds to the image.

Step 4: Removing JPEG artifacts
Determine whether you want to activate the option to remove JPEG artifacts. These artifacts often occur when saving in compressed formats and can affect image quality. By checking the box, Photoshop will attempt to minimize these artifacts during enlargement.

Step 5: Optimizing image details
After the initial processing, examine your image closely and make any further adjustments as needed. Consider if some noise reduction or sharpening is necessary to further optimize the details. You can also apply the button to enhance facial details if your image contains faces. This can help enhance the quality of portraits.

Step 6: Previewing before and after editing
Take advantage of the option to preview the image before and after editing. This allows you to clearly compare how the image quality has changed. Often, you will be impressed by the results of the neural filter, which visibly adds more details to the image.

Step 7: Creating the final image
Once you are satisfied with the results, create the final image by clicking "OK." The new image will now open as a new document in Photoshop. Make sure the resolution is set to reflect the result of your enlargement perfectly.

Step 8: Applying further image enhancements
In addition, after enlarging your images, you can add additional enhancement steps such as sharpening and noise reduction. Use the classic tools in Photoshop to enhance the overall image. However, keep in mind that these steps often require additional time and patience.

Step 9: Safely Saving Image Data
To preserve the quality of the newly enlarged image, save it in a suitable format that preserves the image data. For example, a lossless format such as TIFF or PNG should be used to ensure maximum detail accuracy.

Step 10: Alternative Options for RAW Files
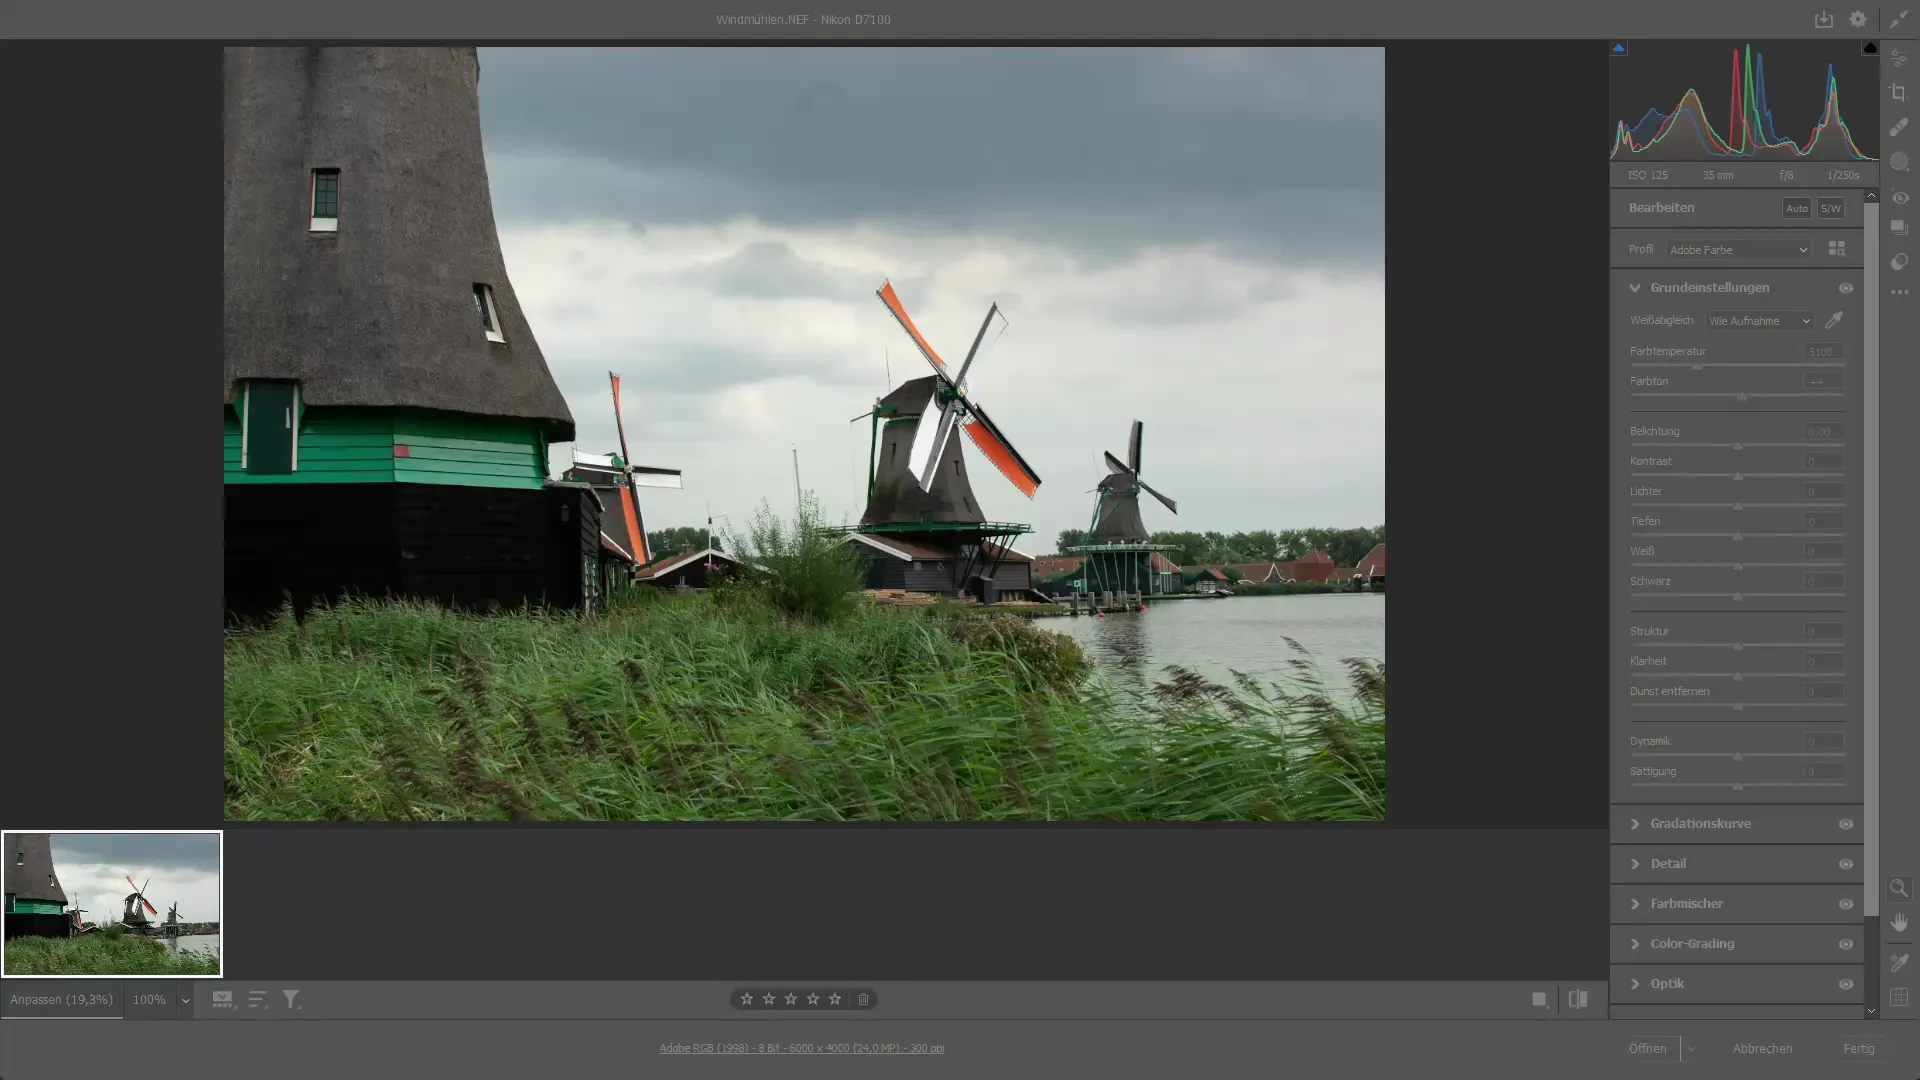
If you work with RAW files, open your file using the integrated Camera Raw module. Here you will also find the option to enhance the resolution by using the "Super Resolution" feature. With a simple click, you can significantly improve the quality of your RAW photos.

Summary
By using neural filters, Photoshop opens up new possibilities for image enlargement. Instead of blurry, pixelated outputs, you get high-quality images with clear details. Whether the source formats are JPEG, PNG, or RAW, Photoshop provides functions to maximize quality for all formats. With these techniques, you can significantly improve your image editing skills.
Frequently Asked Questions
How can I change the size of an image in Photoshop?Go to "Image" > "Image Size" and adjust the values.
What are neural filters in Photoshop?Neural filters are AI-based tools that optimize image editing processes.
How can I remove JPEG artifacts?Activate the option "Remove JPEG artifacts" in the neural filters during processing.
Can I edit RAW files with Photoshop?Yes, Photoshop offers special tools for editing RAW files, including resolution enhancement.
How do I save an image after editing?Save the image in a lossless format such as TIFF or PNG for the best quality.


