The creation of HDR-images (High Dynamic Range) is a fantastic way to enhance the depth and vibrant colors of your photos. Corel PaintShop Pro offers a variety of tools to achieve both simple and complex HDR effects. In this guide, you will learn how to create an impressive HDR image from a series of exposures or a single RAW photo. Let’s dive directly into the process!
Main insights
- Corel PaintShop Pro offers extensive tools for HDR editing.
- The tonemapping function is crucial for creating HDR images.
- You can make various adjustments to achieve your desired look.
- Pay attention to the balance between image sharpness and noise.
Step-by-step guide
Step 1: Preparing the image
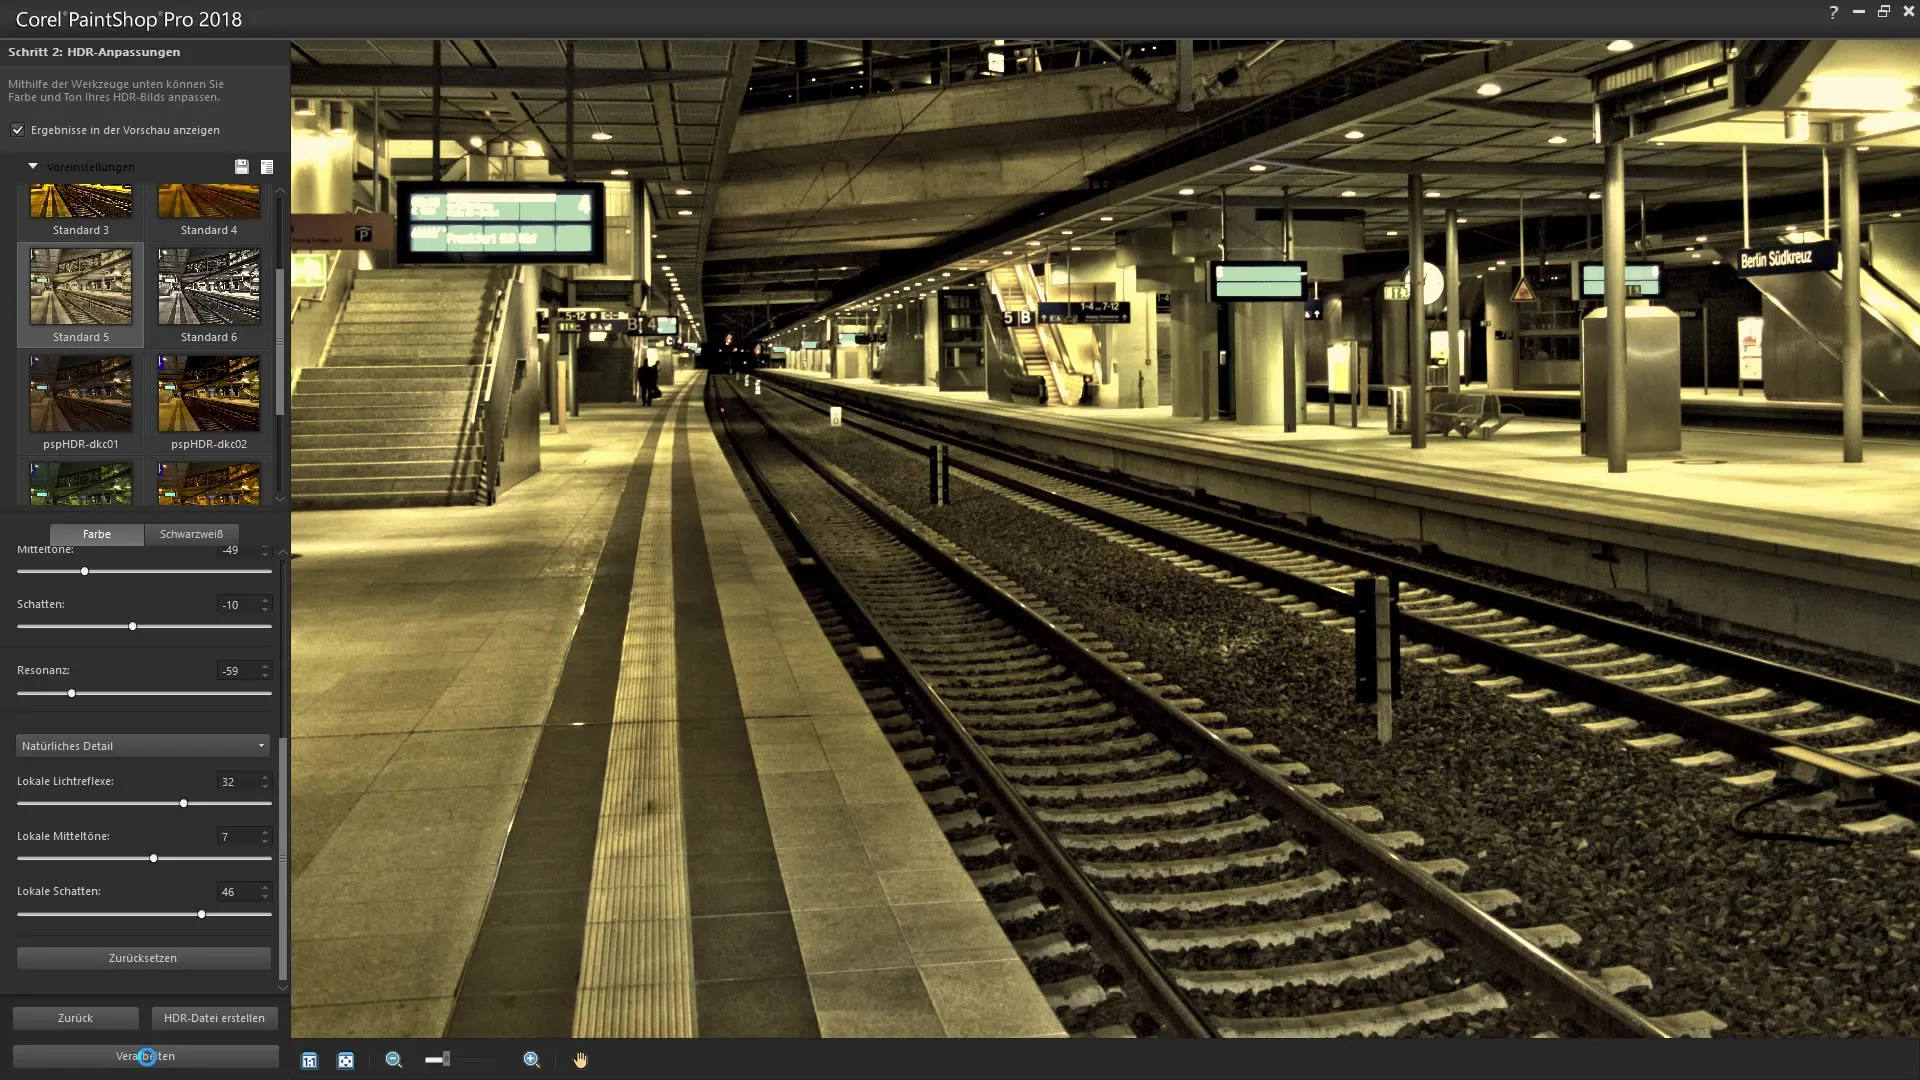
To start creating your HDR image, first open the image or the series of exposures you want to edit. You can do this through the "File" menu. Select your image and open it in Corel PaintShop Pro.
Step 2: Straightening the image
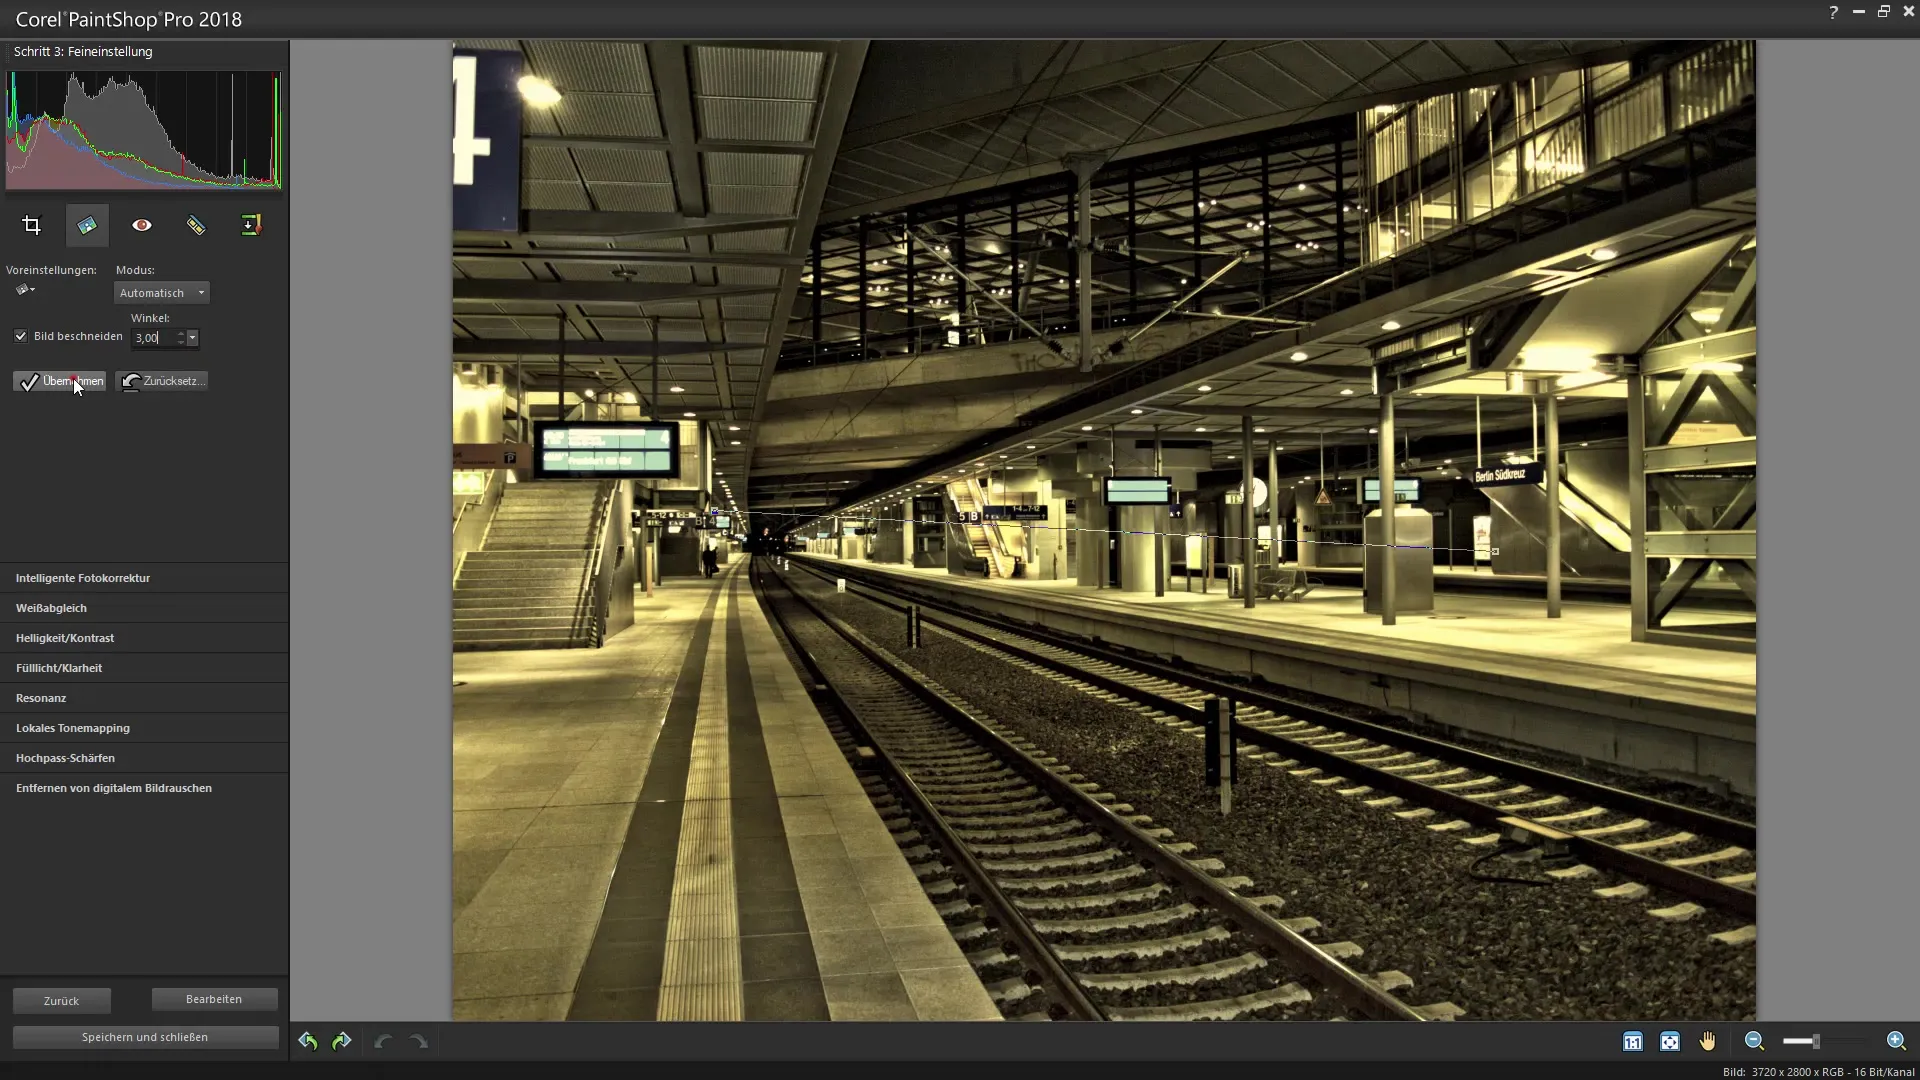
Once your image is open, you can choose the cropping tool to remove unwanted parts of your image or to straighten the image. Adjust the edges to ensure the image is well presented. You can work horizontally or vertically and ensure that all lines are nicely aligned.
Step 3: Smart photo correction
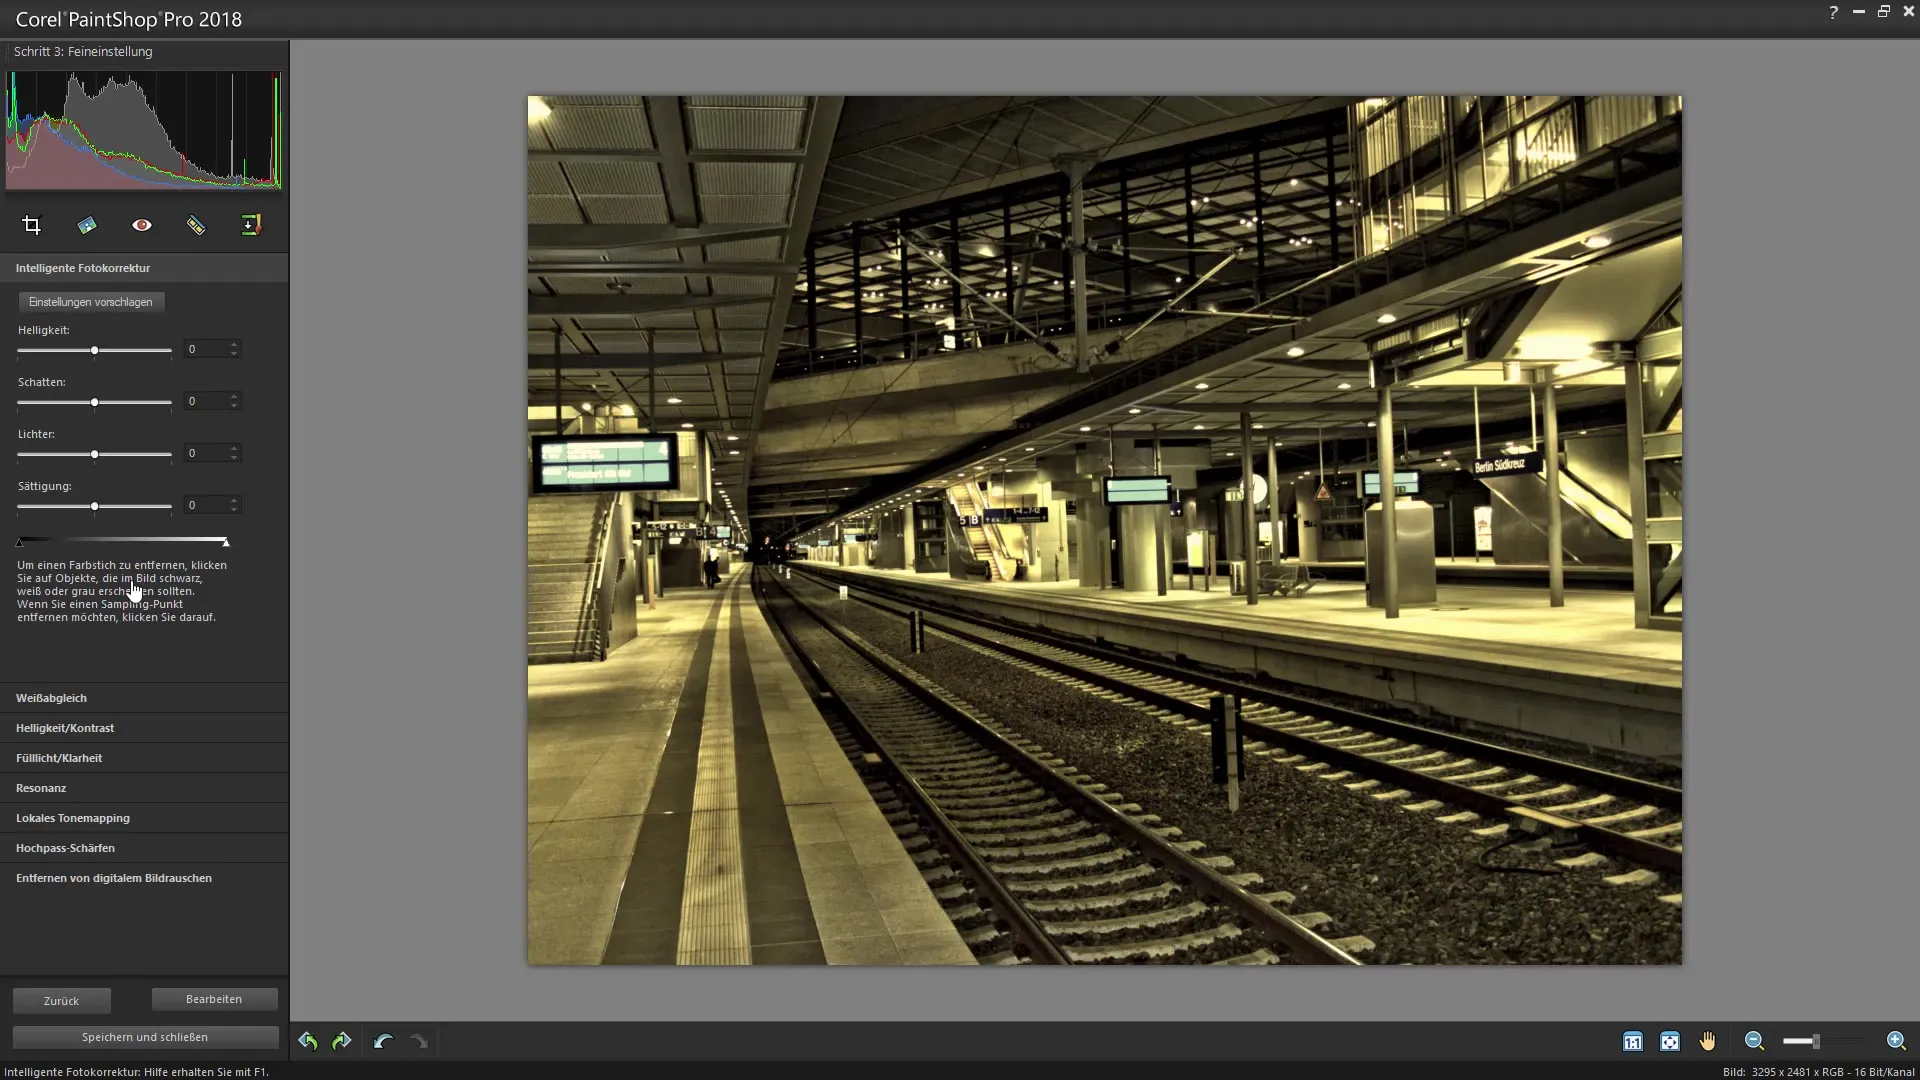
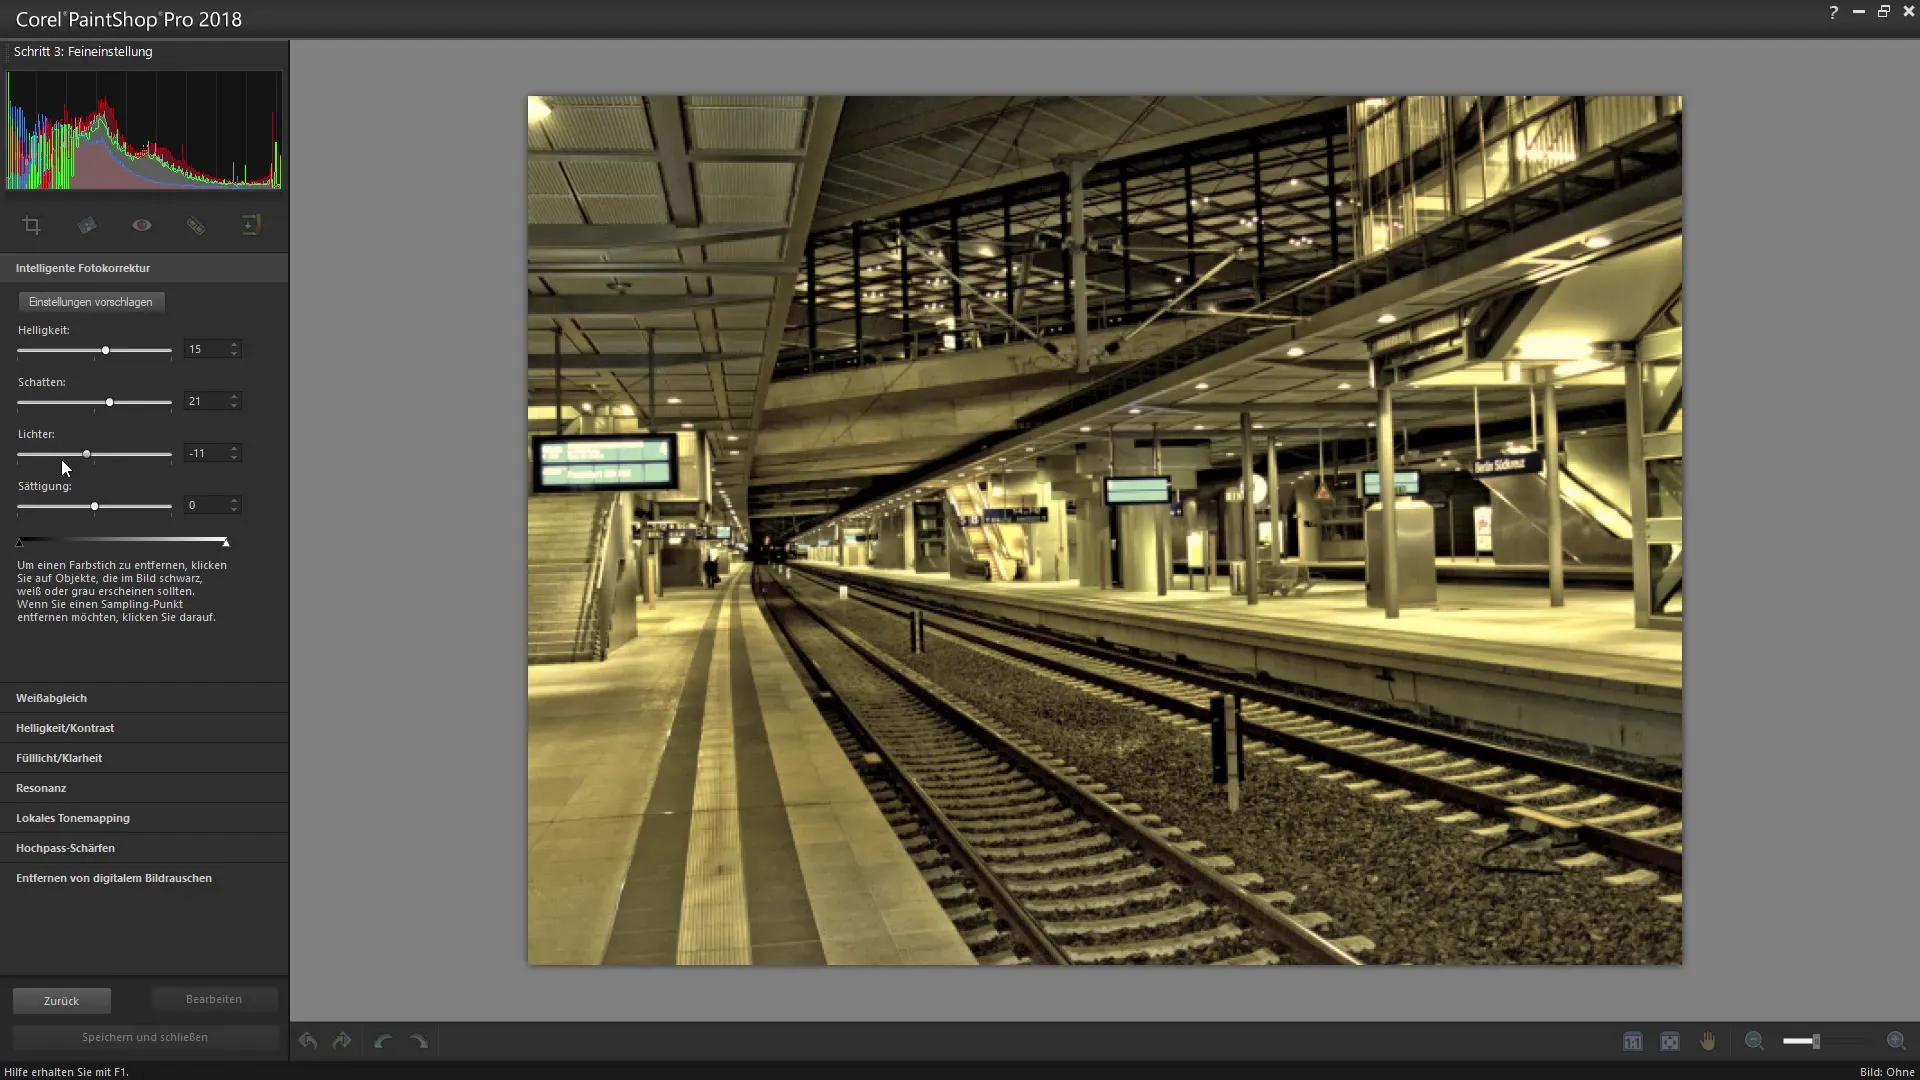
The next step is smart photo correction. Use the function to optimize various aspects of your image, including brightness and shadows. Check the histogram to see the color distribution and adjust the tone curves to avoid overexposure.
Step 4: Adjusting brightness and shadows
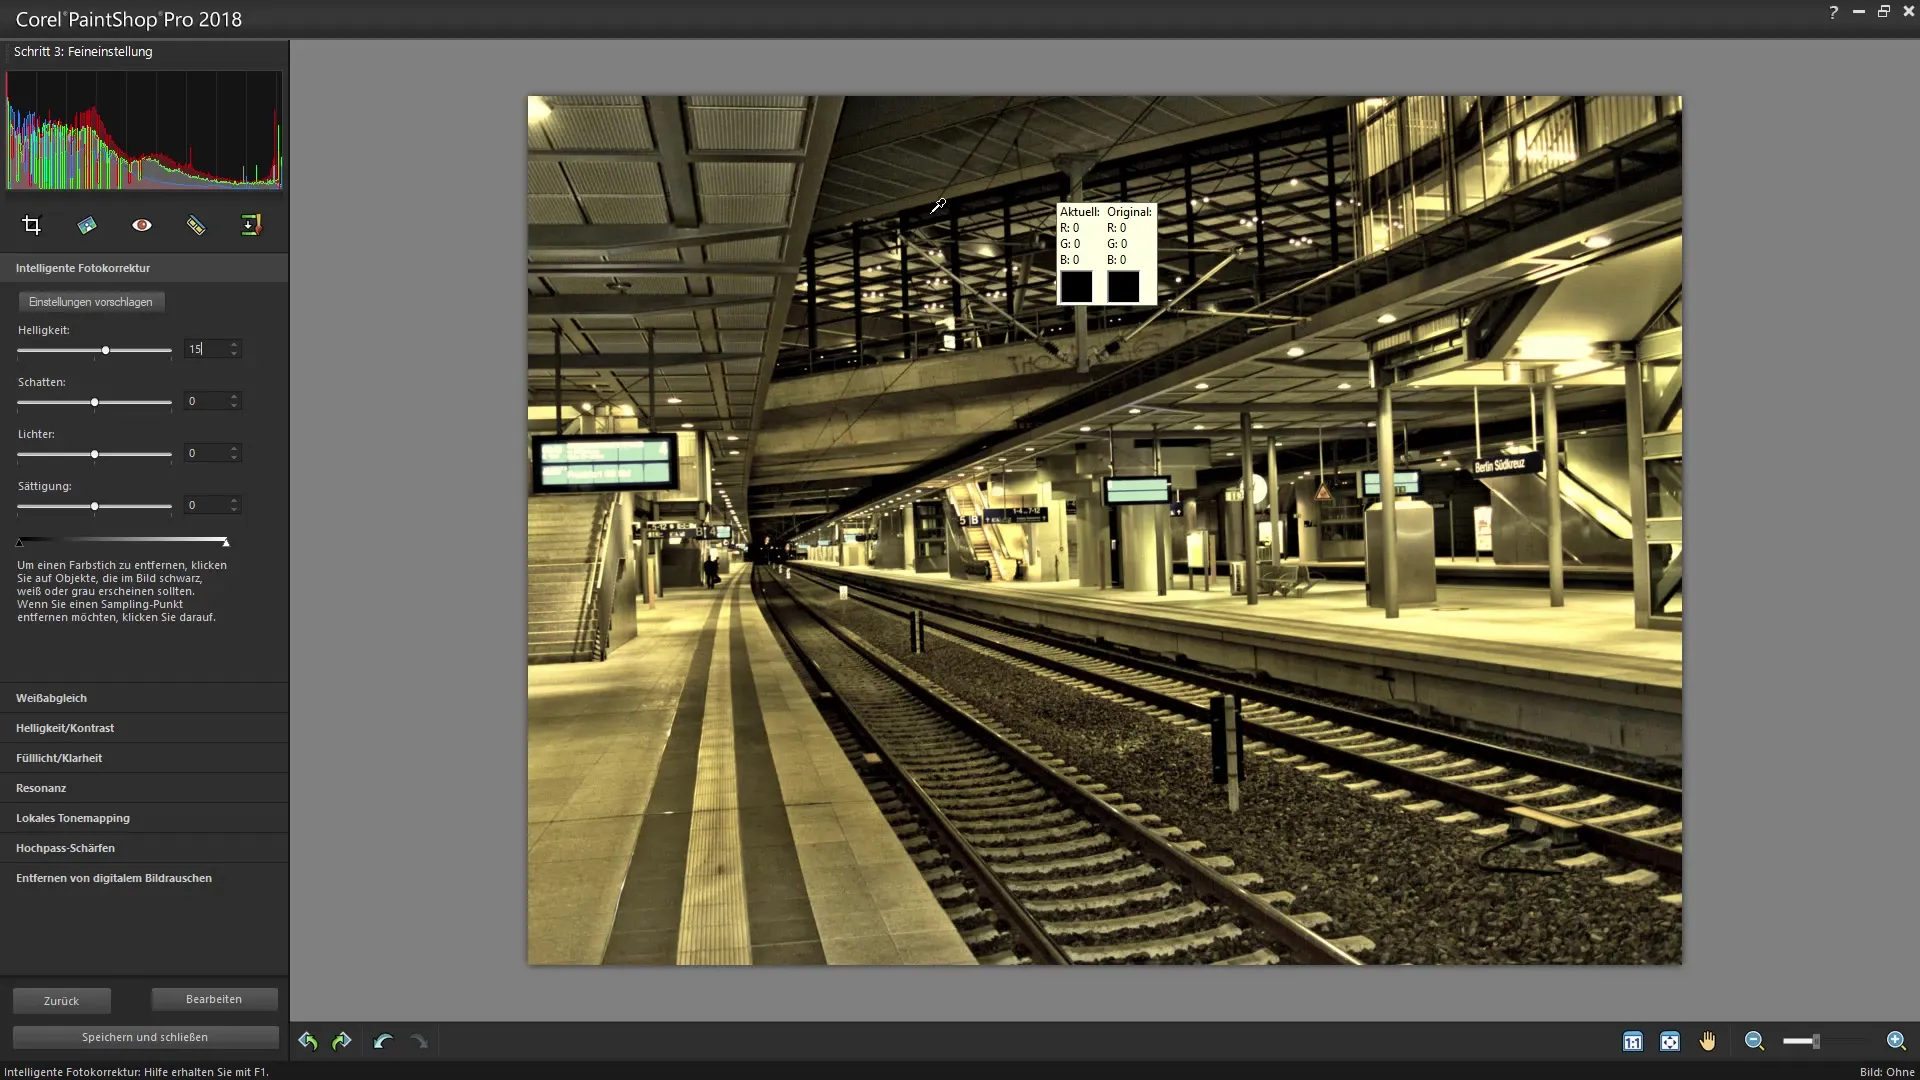
Now go to the settings for brightness and shadows. You can lighten the shadows to reveal more detail. Be careful not to add too much brightness, as this can lead to overexposure. Experiment with different values to achieve the best result.
Step 5: Working with the lights
Next, you can adjust the lights in your image. Here, you should be careful not to remove too much dynamic range from your image. Often, a smaller value is more effective in creating a harmonious image. Also, you have the option to adjust saturation and create a pleasant color nuance.
Step 6: Setting color temperature
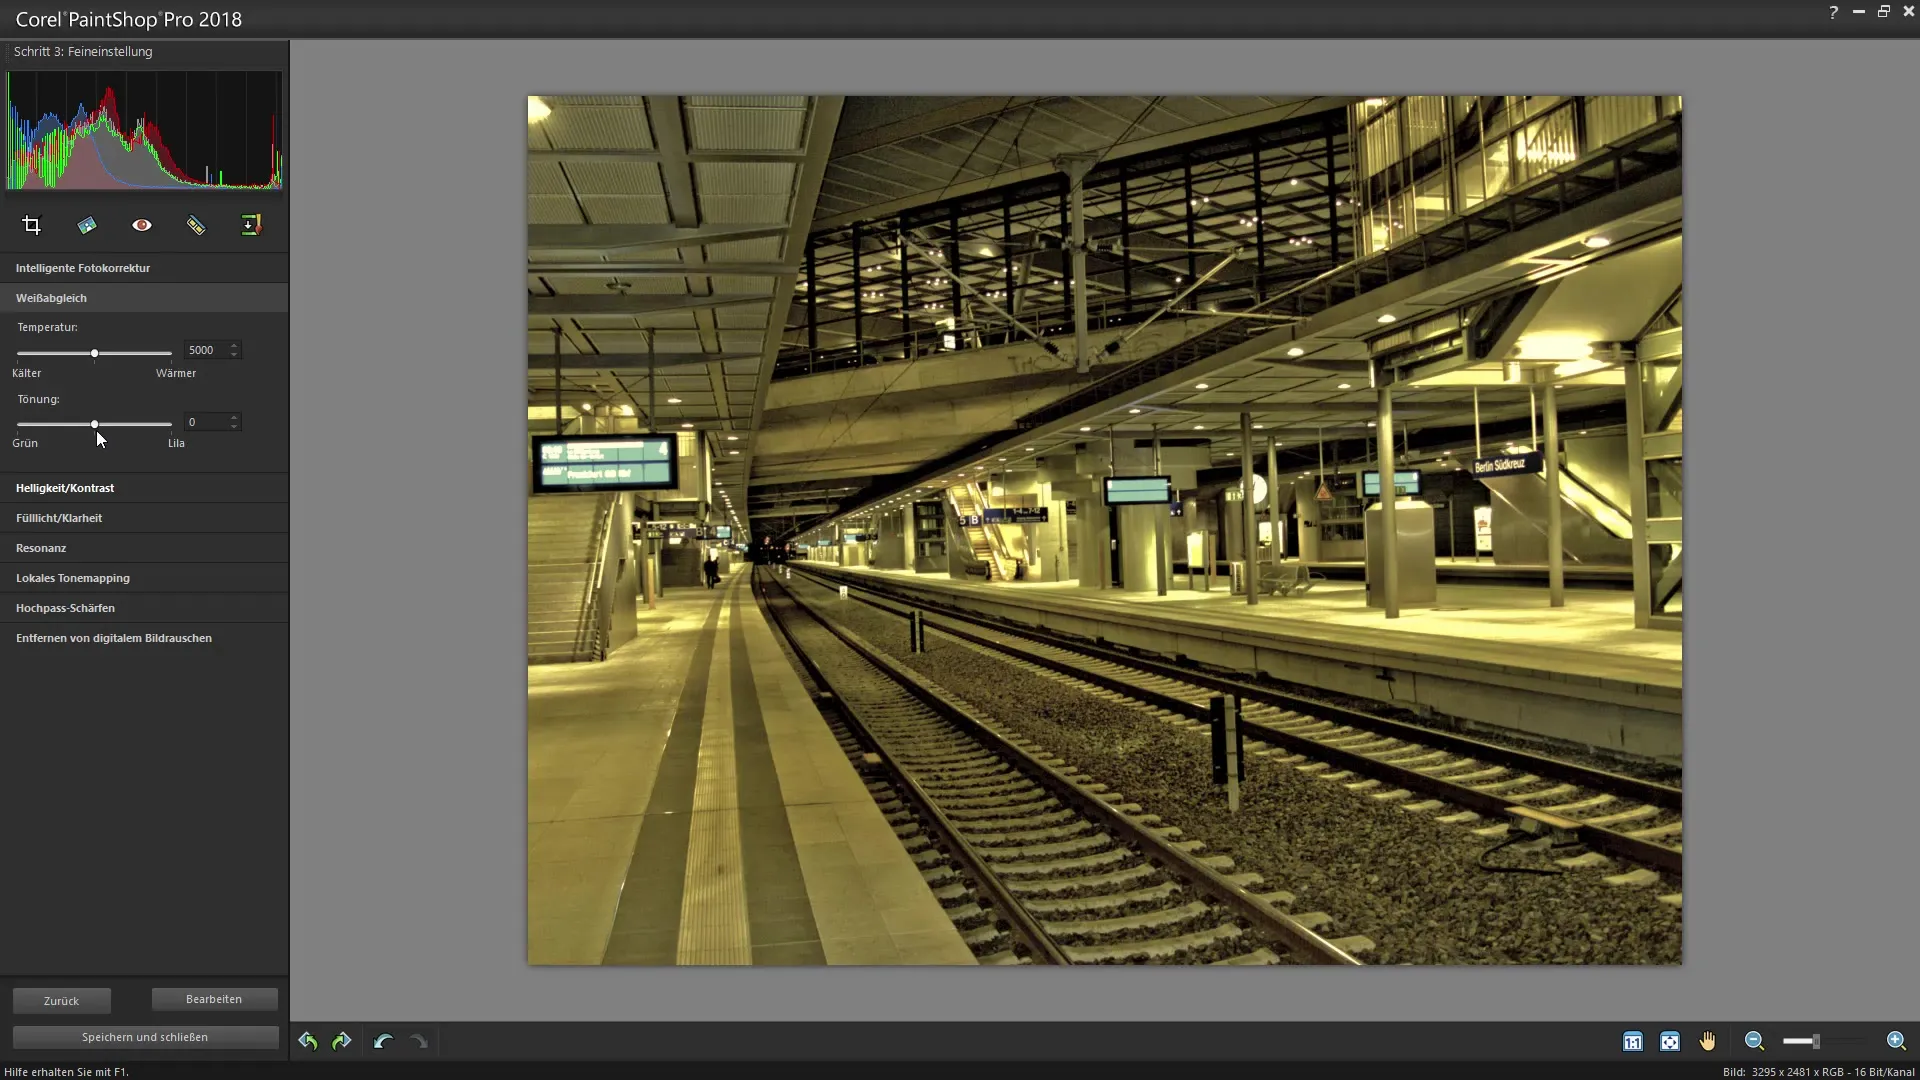
The color temperature also has a significant impact on the overall effect of your HDR image. Experiment with the sliders to achieve the desired temperature for your image. Depending on lighting conditions and personal preferences, you should try different values here.
Step 7: Detail enhancement through tonemapping
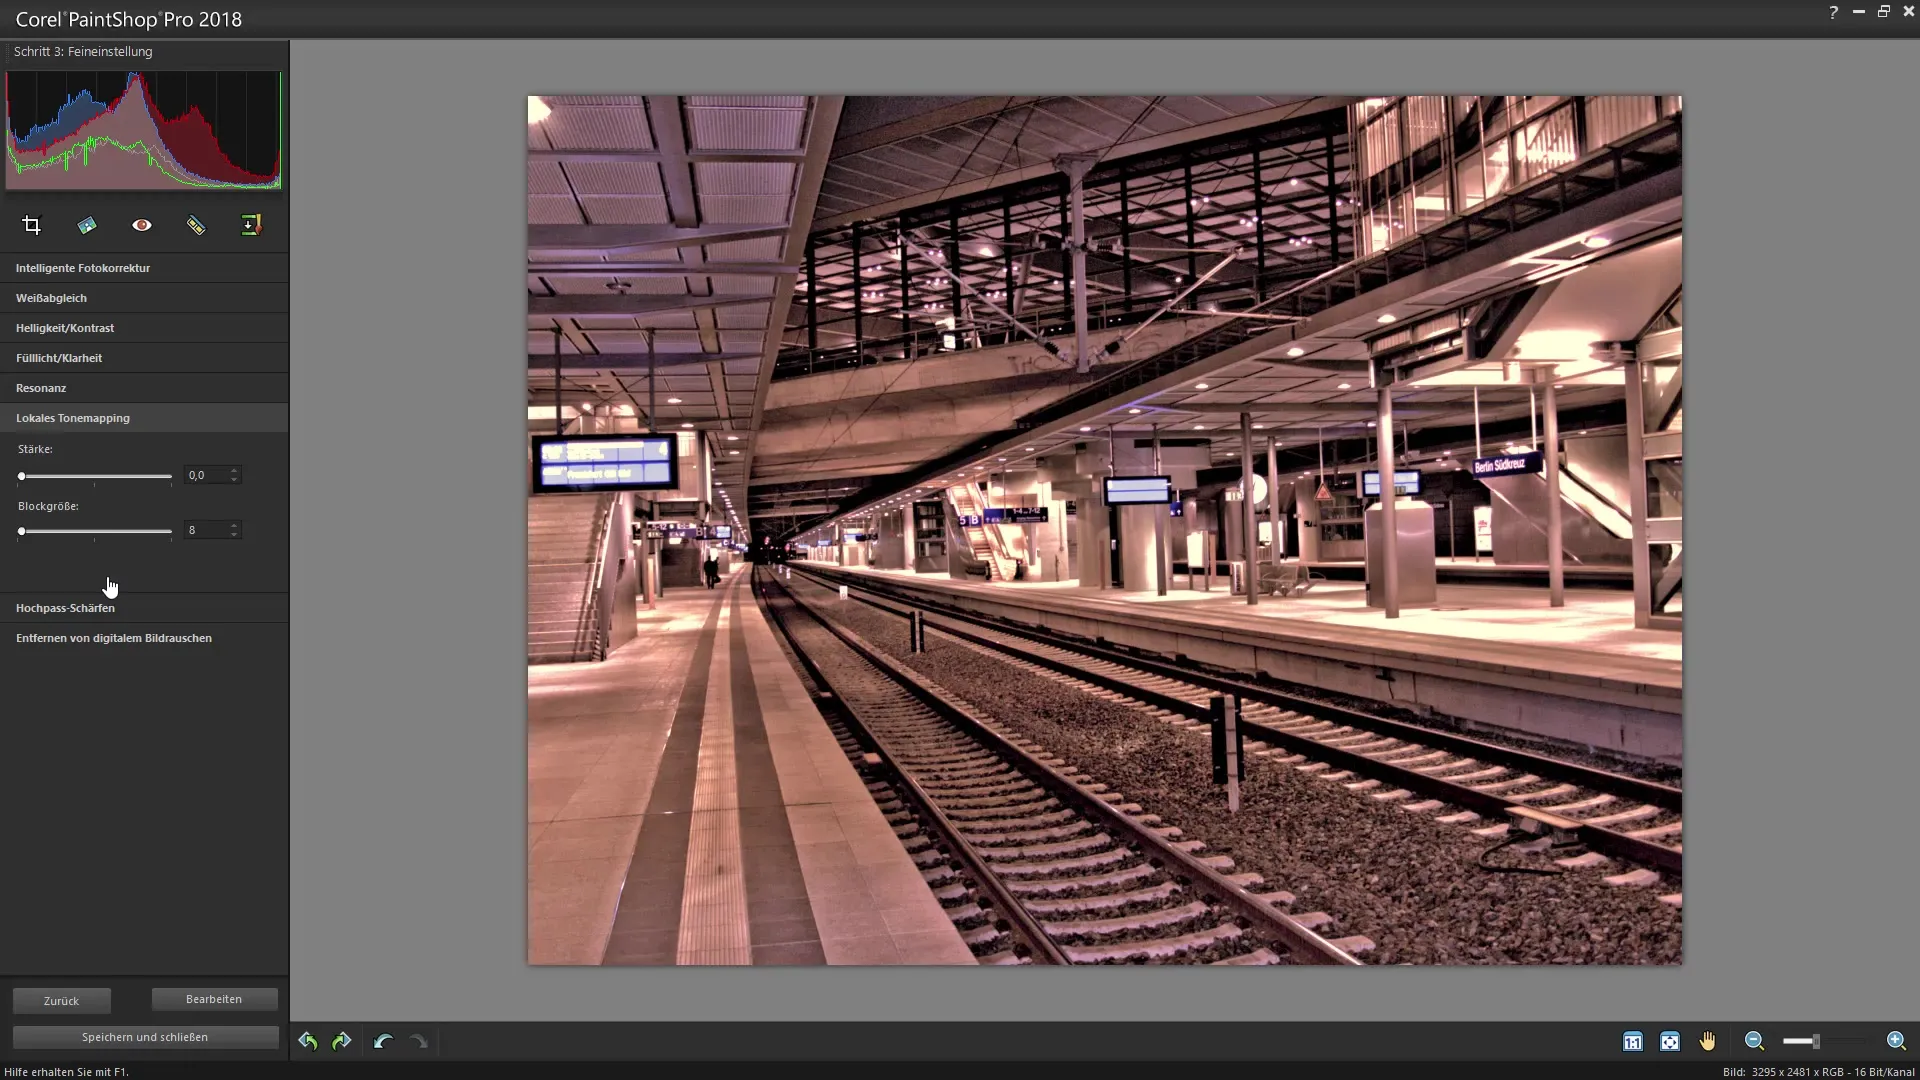
This is where the crucial element for your HDR comes in: tonemapping. This function allows you to maximize the dynamics of your image. Set the strength of the effect and observe how the fidelity and color depth change. Be cautious with the strength; a setting that’s too high can make the image appear unnatural.
Step 8: High-pass filter and sharpening
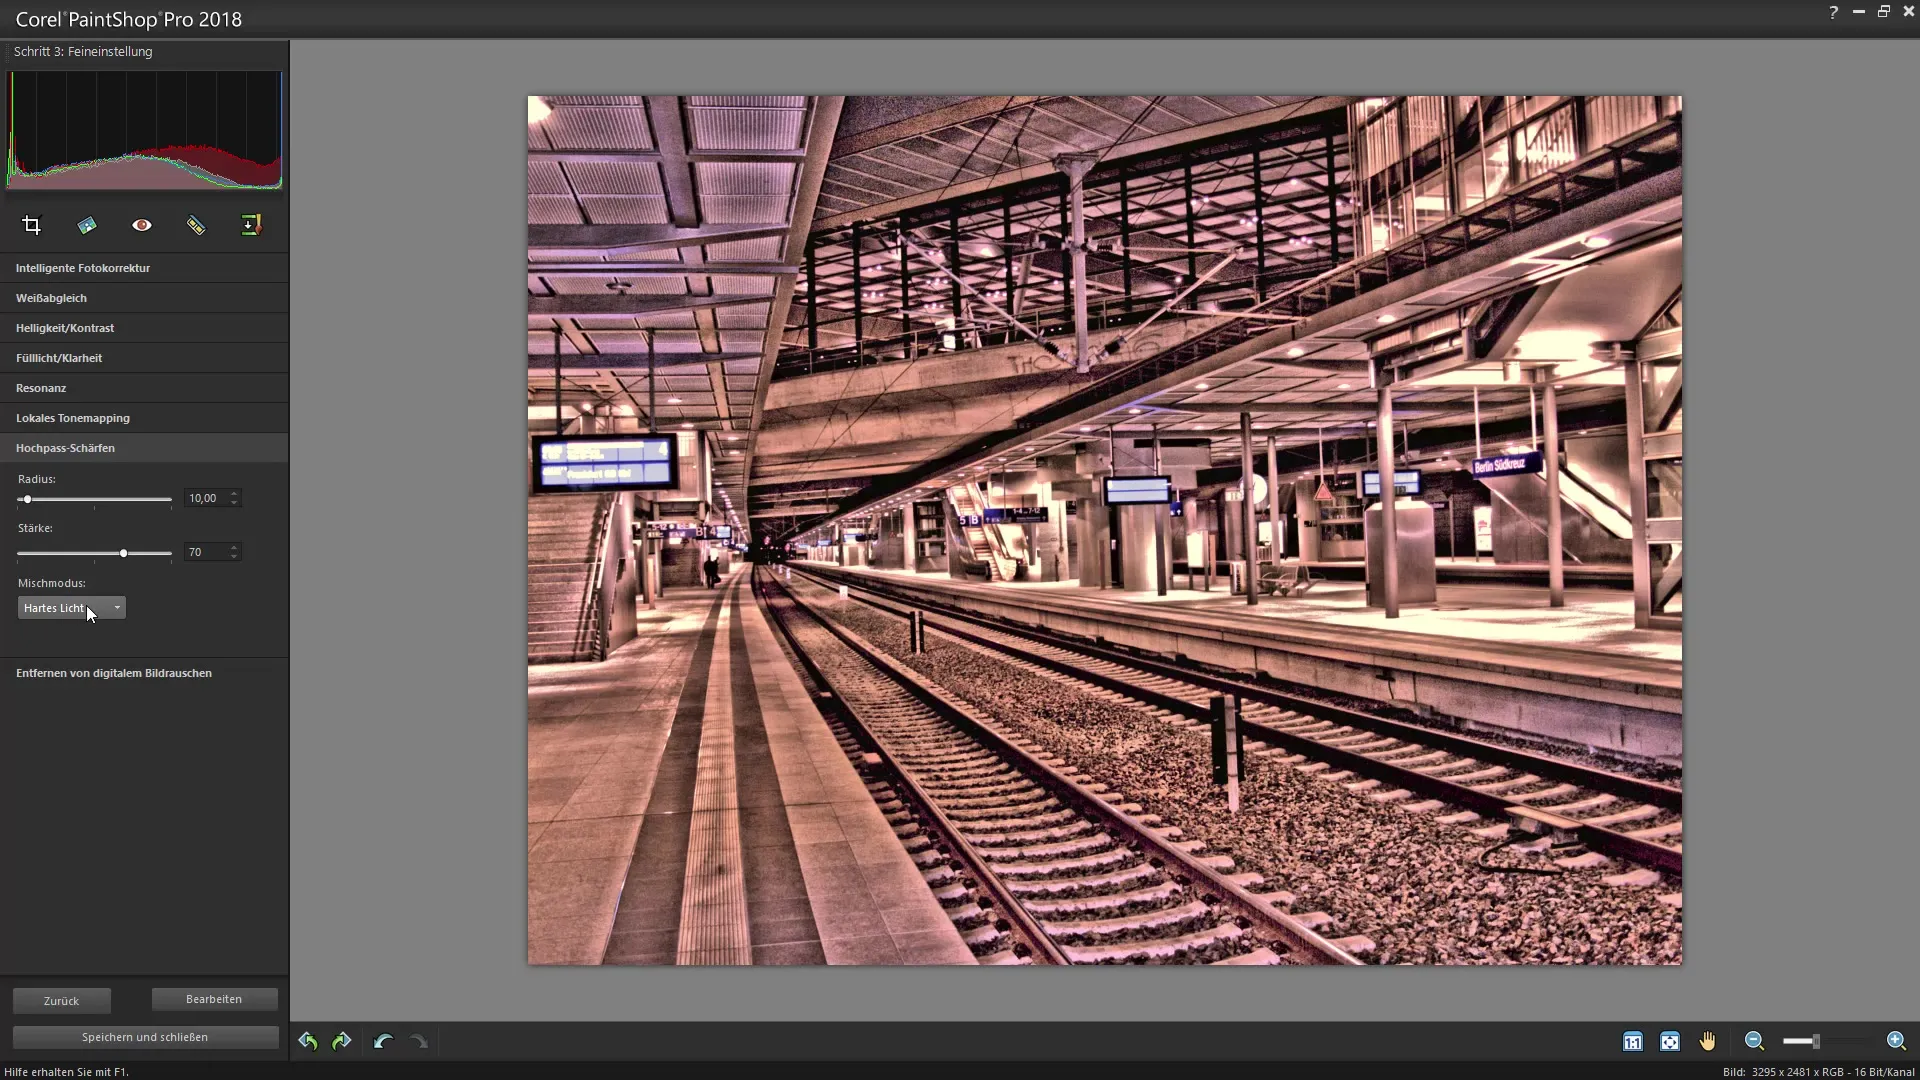
To further refine the sharpness of your image, apply the high-pass filter. This filter helps to define the contours in your image more clearly. Test different values for the strength to ensure that the image does not lose its natural quality.
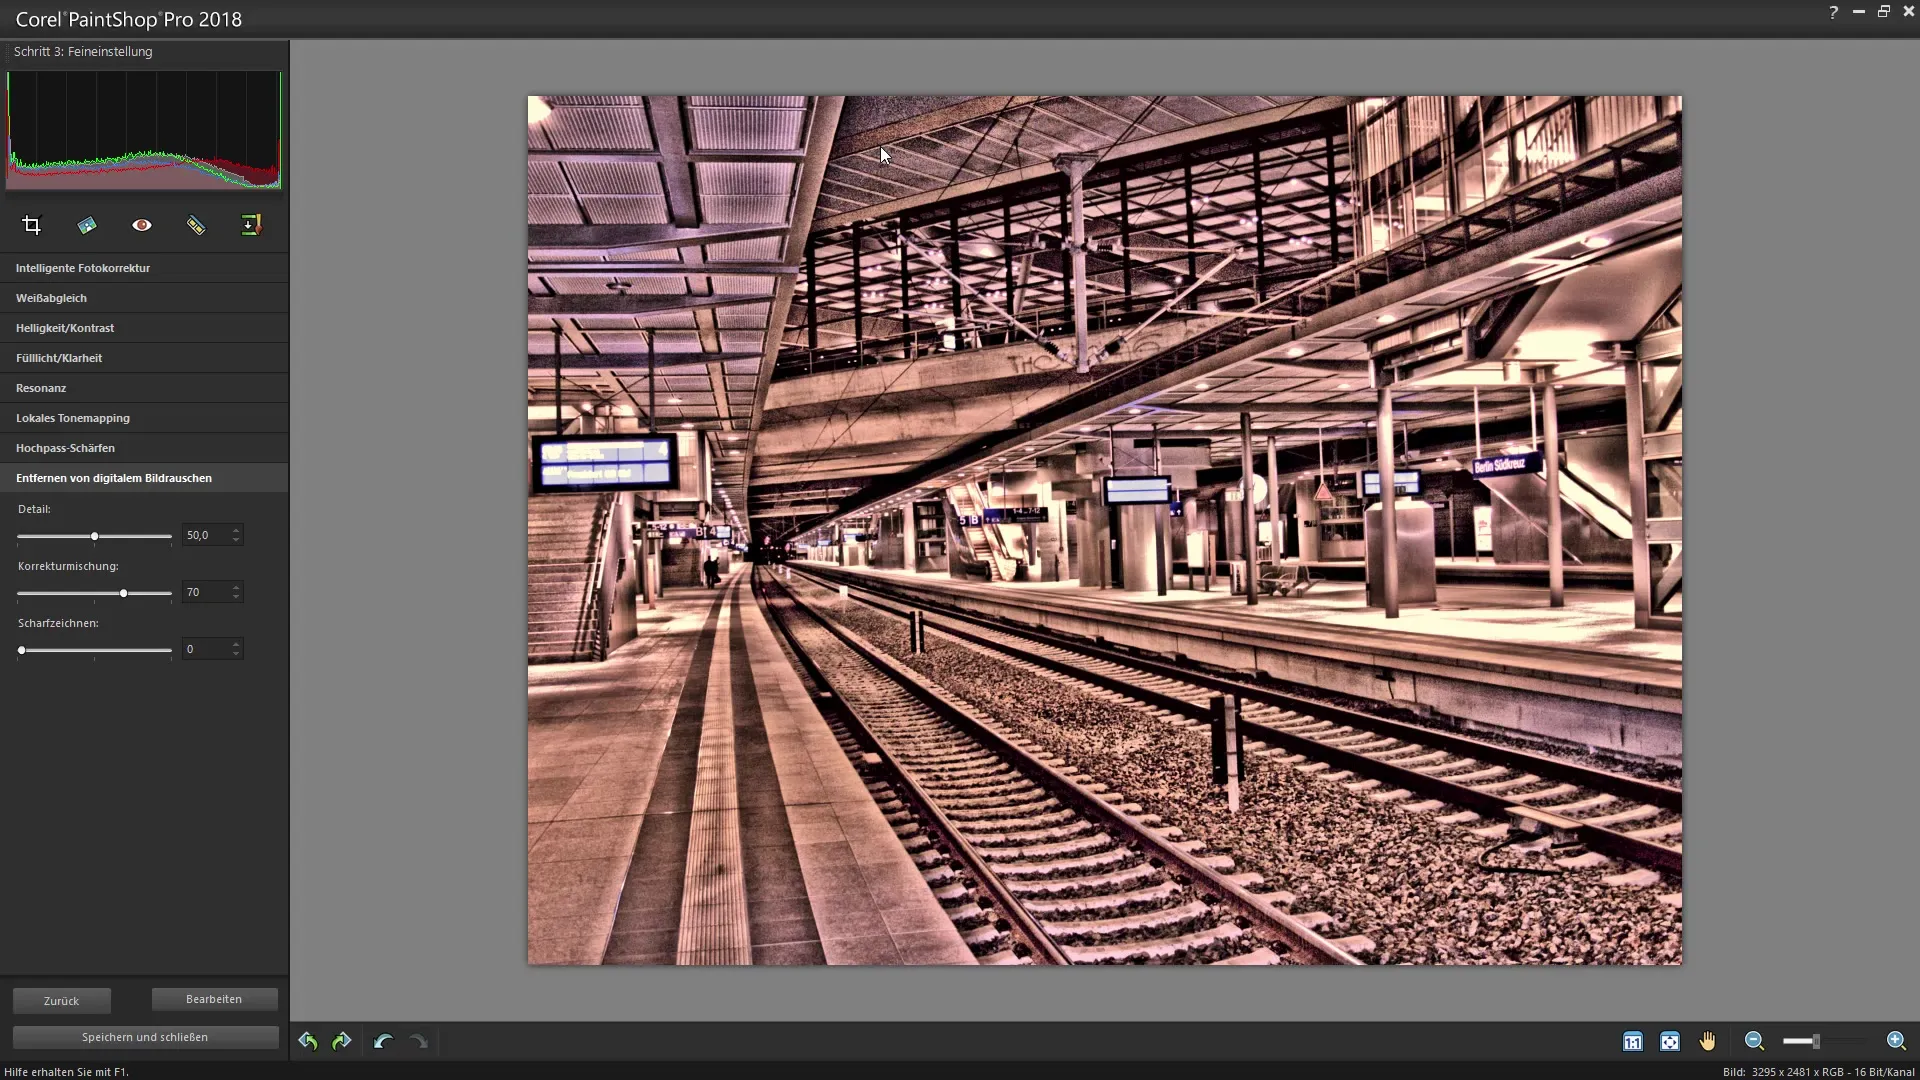
Step 9: Reducing image noise
The final step involves reducing image noise. Through noise reduction, you can eliminate unwanted spots in your images. Ensure that the calculated amount does not inflate the image to preserve image quality.
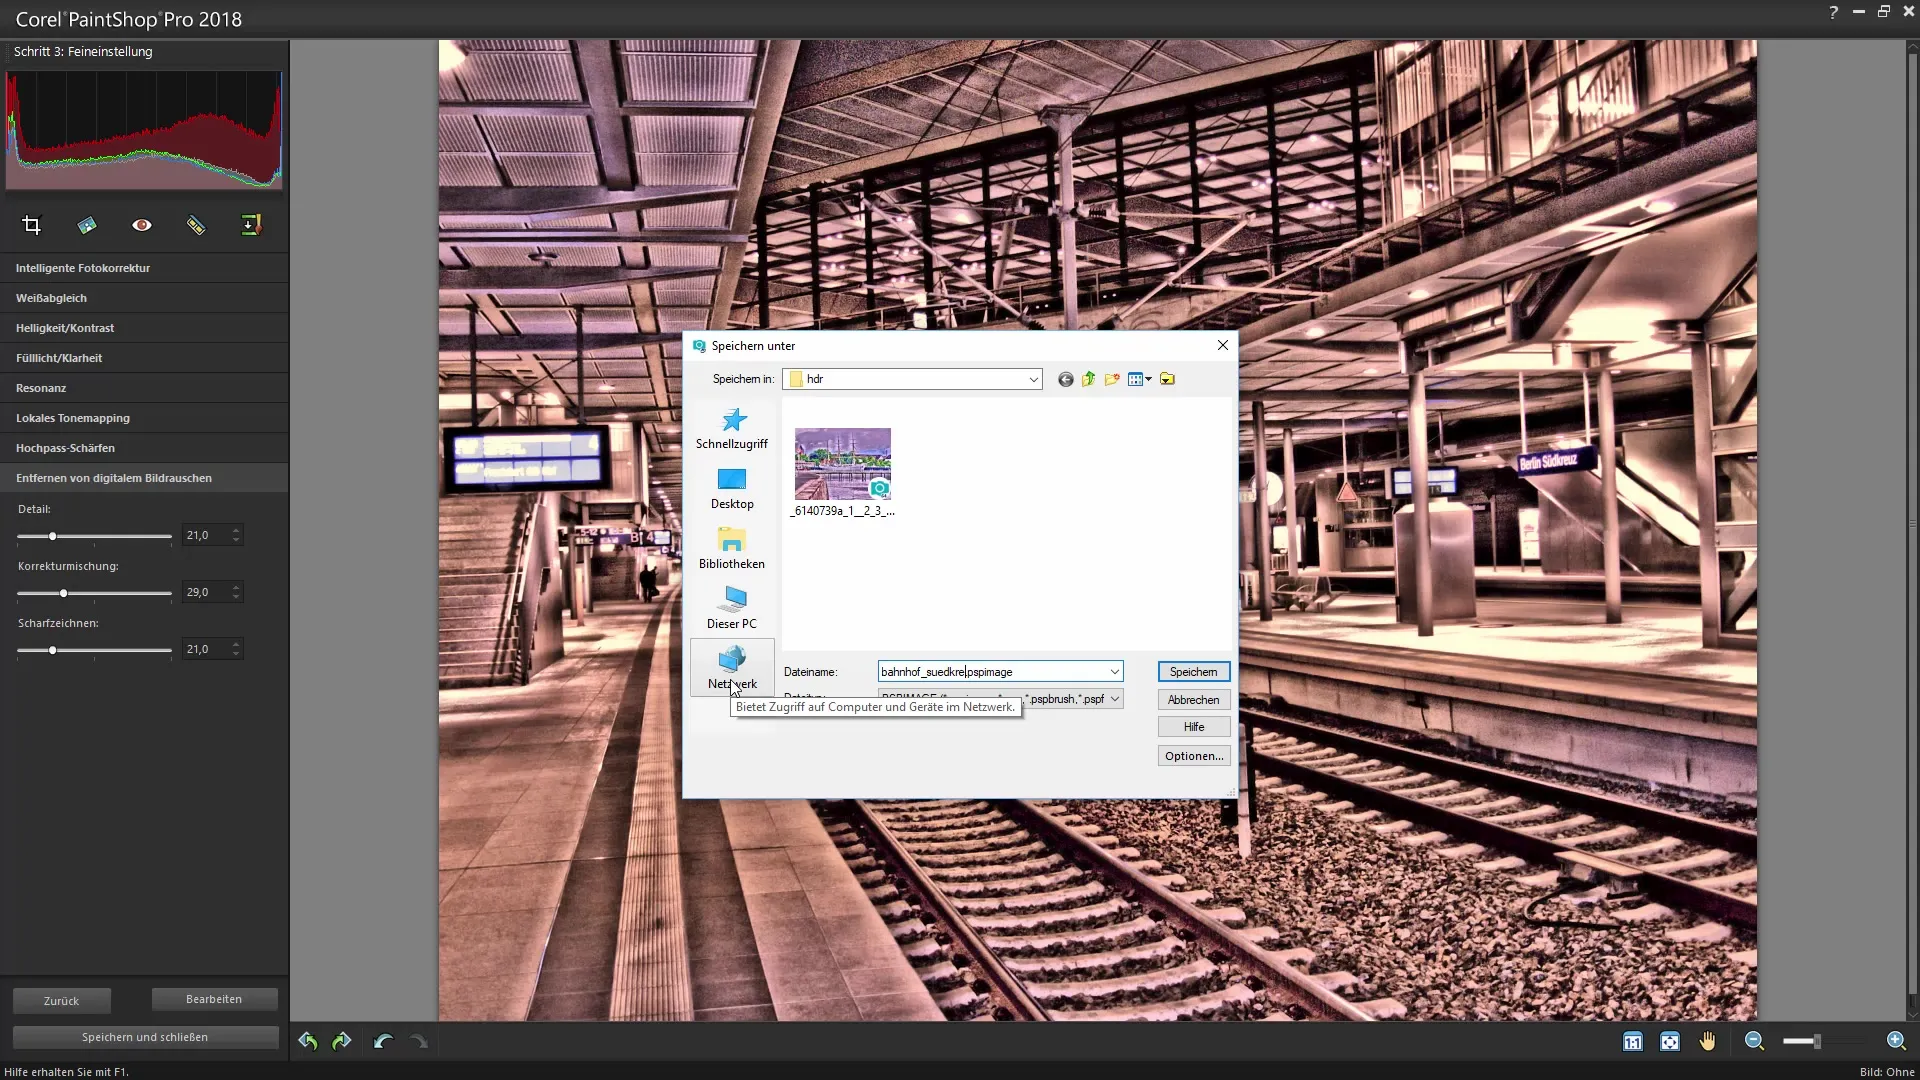
Step 10: Saving the finished image
After making all the adjustments, save your image in the desired format. Simply go to "File" > "Save As". Name your file for easy recognition and save it in a suitable location.
Summary – Creating HDR images with Corel PaintShop Pro
In this guide, you have learned how to create effective HDR images with Corel PaintShop Pro. From initial image editing to applying tonemapping and noise reduction, you have absorbed the fundamentals for impressive HDR photos. Experiment with your own images and find the style that suits you best!
Frequently Asked Questions
How can I ensure that my HDR image is not overexposed?When adjusting brightness, make sure to only make fine adjustments to avoid overexposure.
Can I also create HDR images with an exposure series?Yes, you can import multiple exposure photos and use them for your HDR image.
How can I further adjust my image after HDR editing?You can continue to open your edited image in PaintShop Pro and work with further adjustments in the layers palette or filters.
Can the HDR effect be reset if I’m not satisfied?Yes, you can always undo changes in PaintShop Pro as long as the file has not been closed.


