Creating image compositions can be an exciting journey of creative expression. In this tutorial, you will be guided step by step through the process of creating an engaging image composition. Here, you will learn not only how to combine different elements and designs, but also how to playfully handle shapes and texts to bring your works to life.
Main insights
- You will learn how to effectively use vector layers to create and design shapes like stars.
- You will discover how to move and adjust different layers to create a harmonious overall image.
- The use of adjustment layers is explained to optimize brightness and contrast in your images.
- Engaging text creation and the insertion of graphic elements round off your composition.
Step-by-step guide
To create an engaging image composition, start by selecting a new vector layer on which you want to place the shape. This is done by creating a new vector layer and naming it accordingly. You can do this with a simple click on the "New Vector Layer" button in the top menu bar.
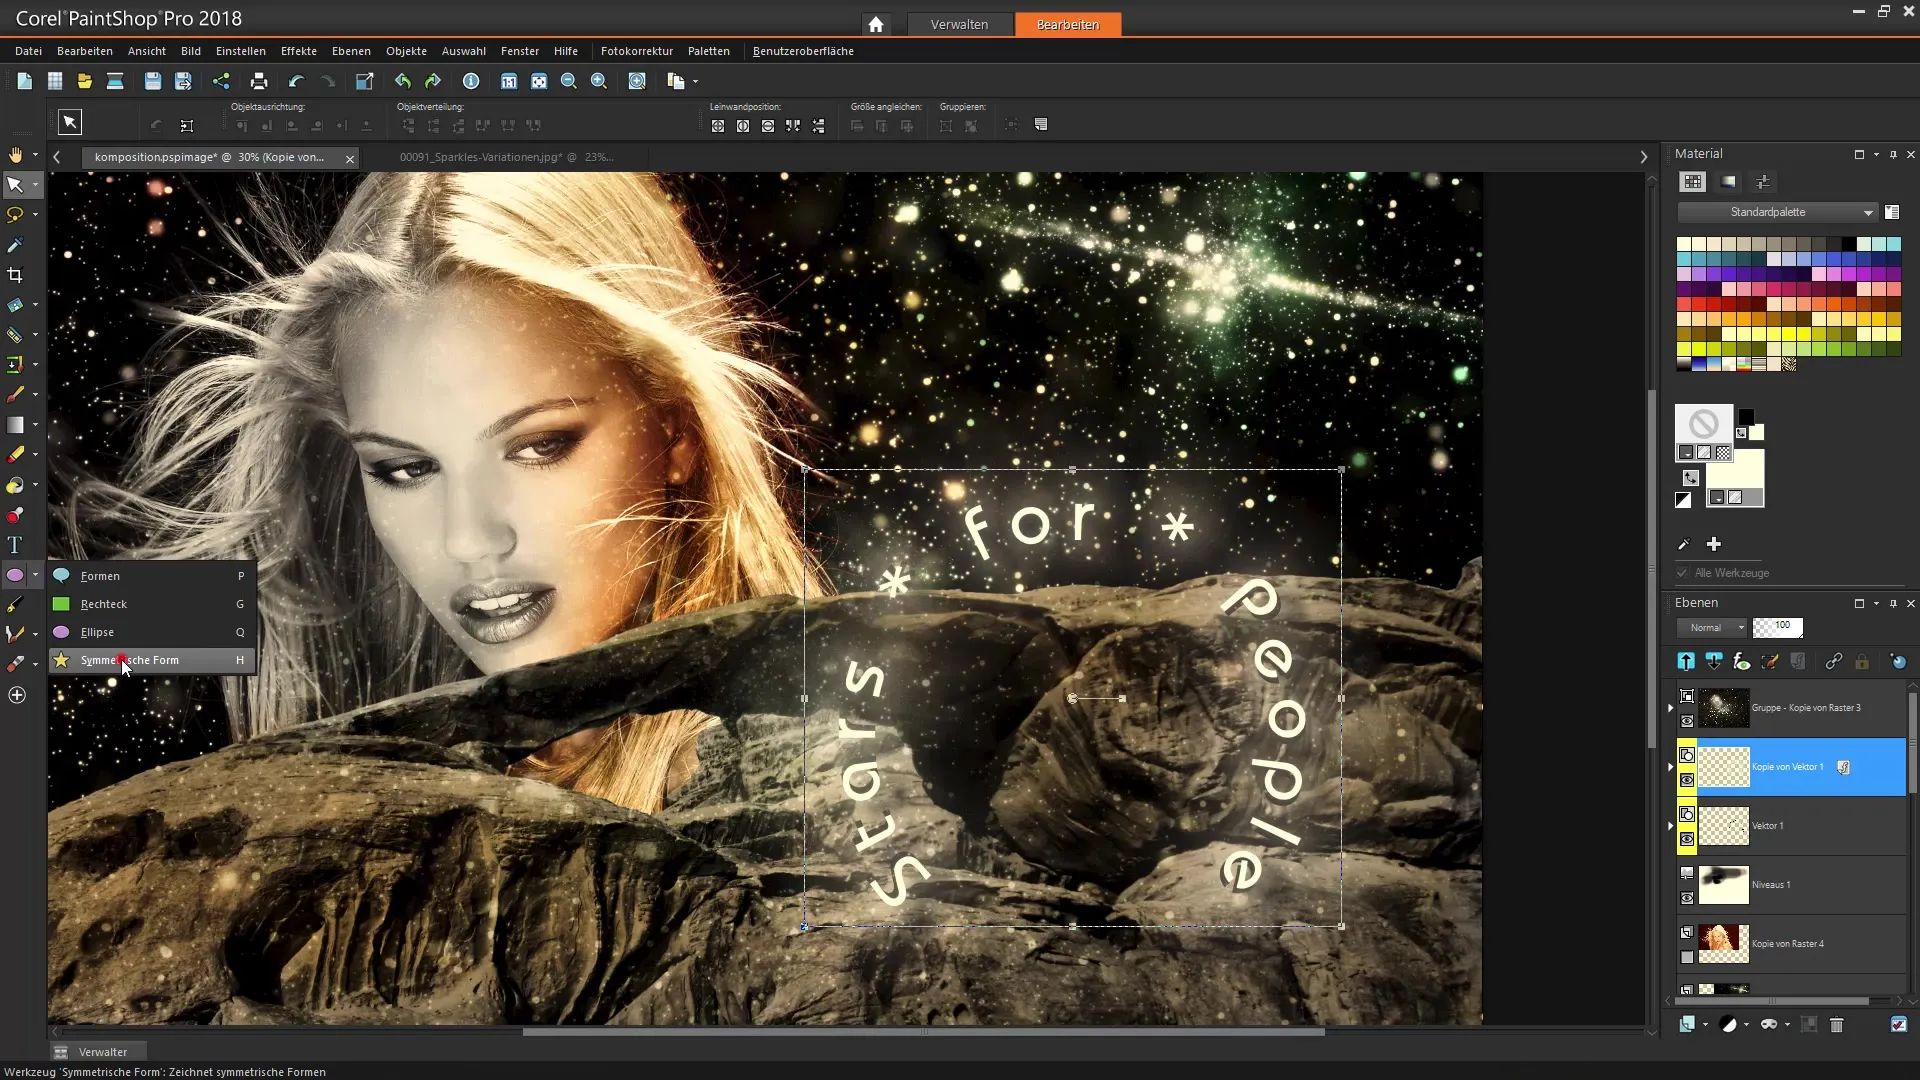
Once the new vector layer is created, you can select a shape. We will go with a star with five points here. You will find the shape tools in the left toolbar. Select the star tool to draw your shape on the vector layer.
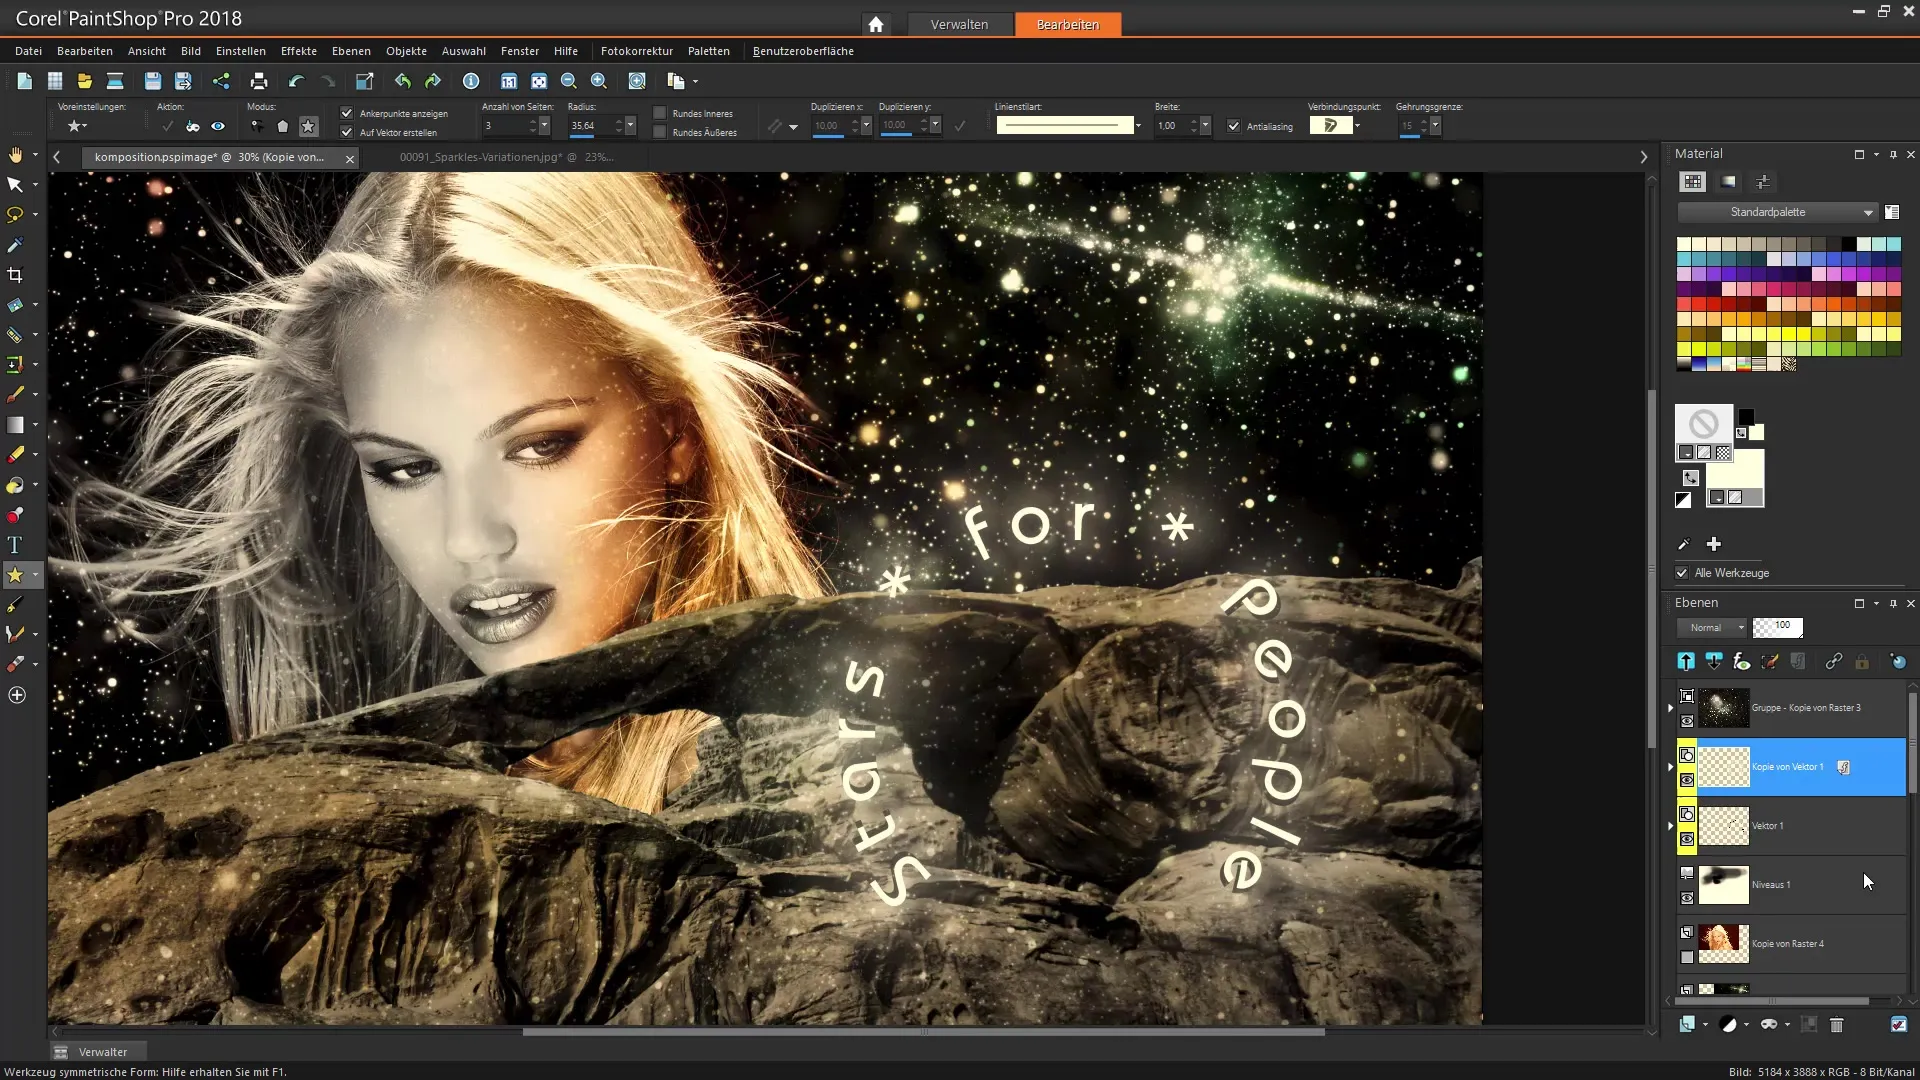
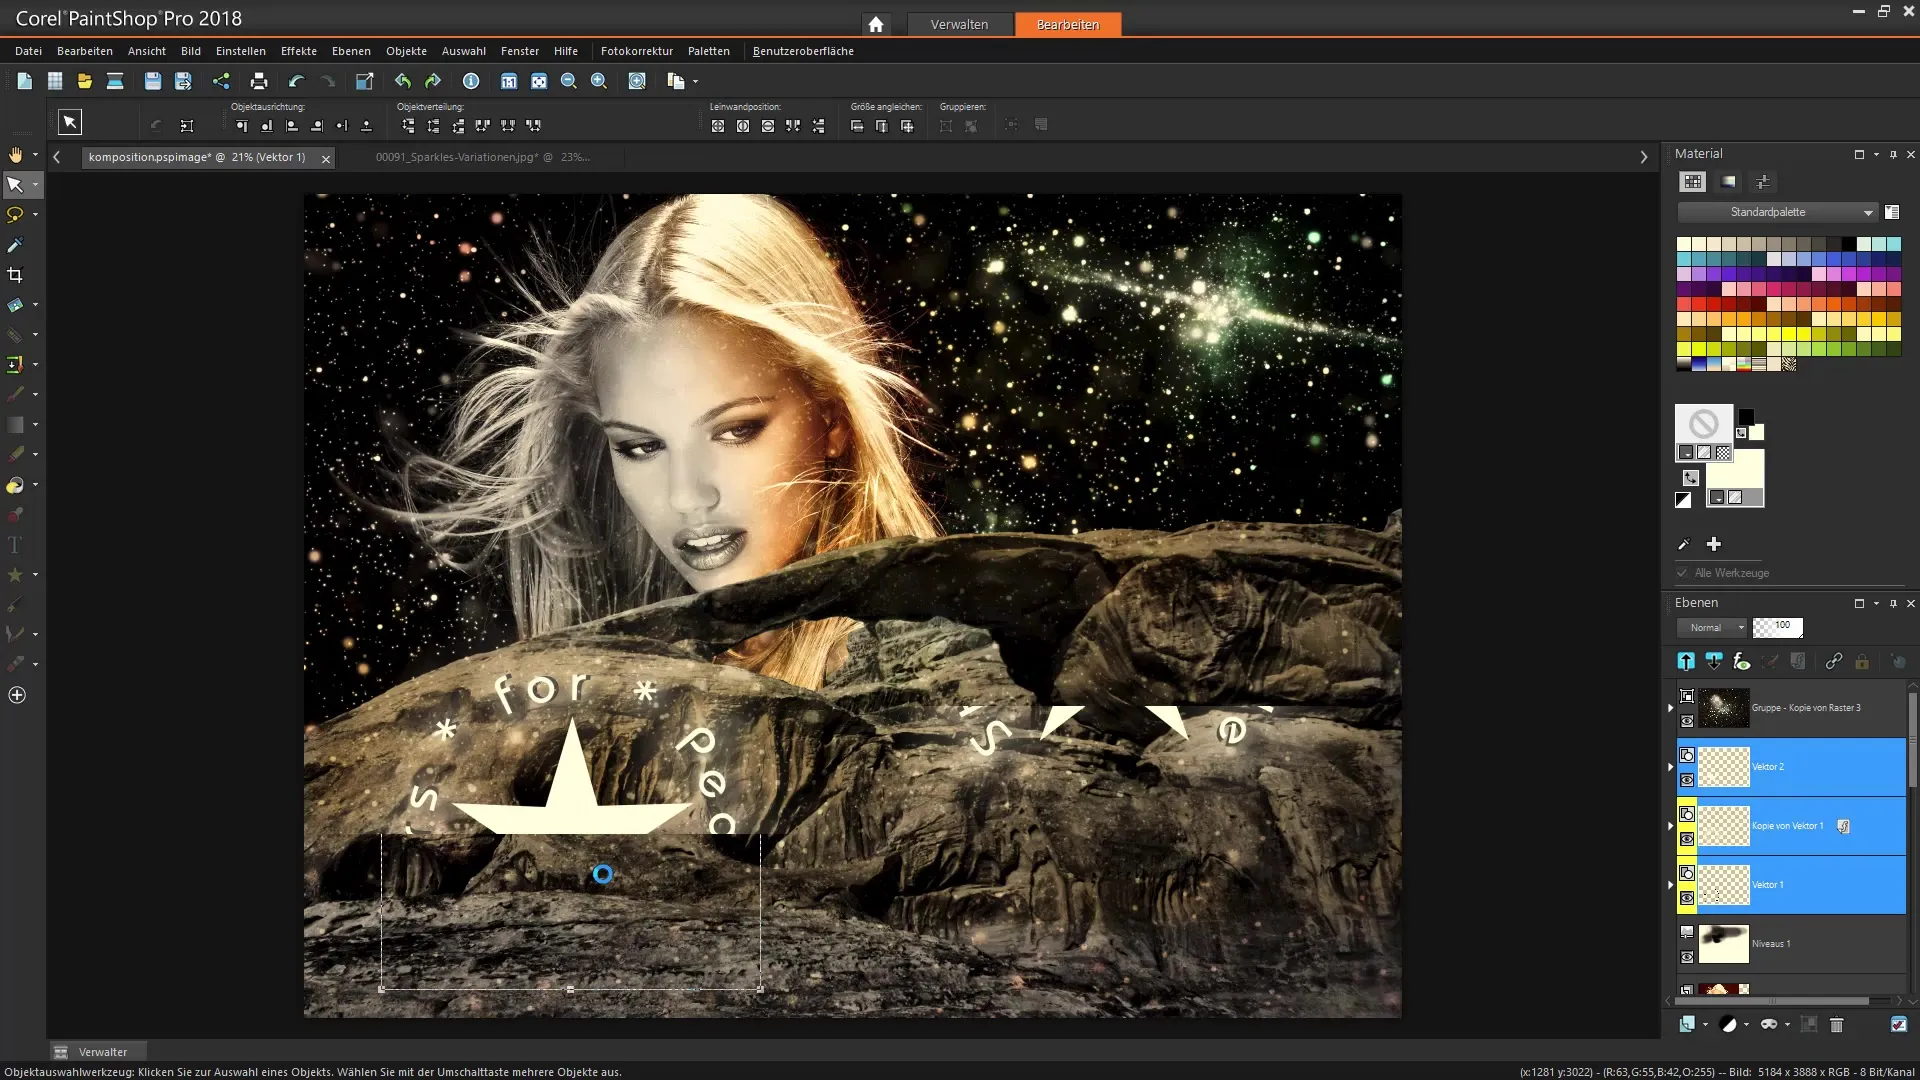
The placement of the star is crucial for the composition. Position it in the center of your image and adjust the size to achieve a harmonious balance. By dragging the corners of the star, you can intuitively change its size.
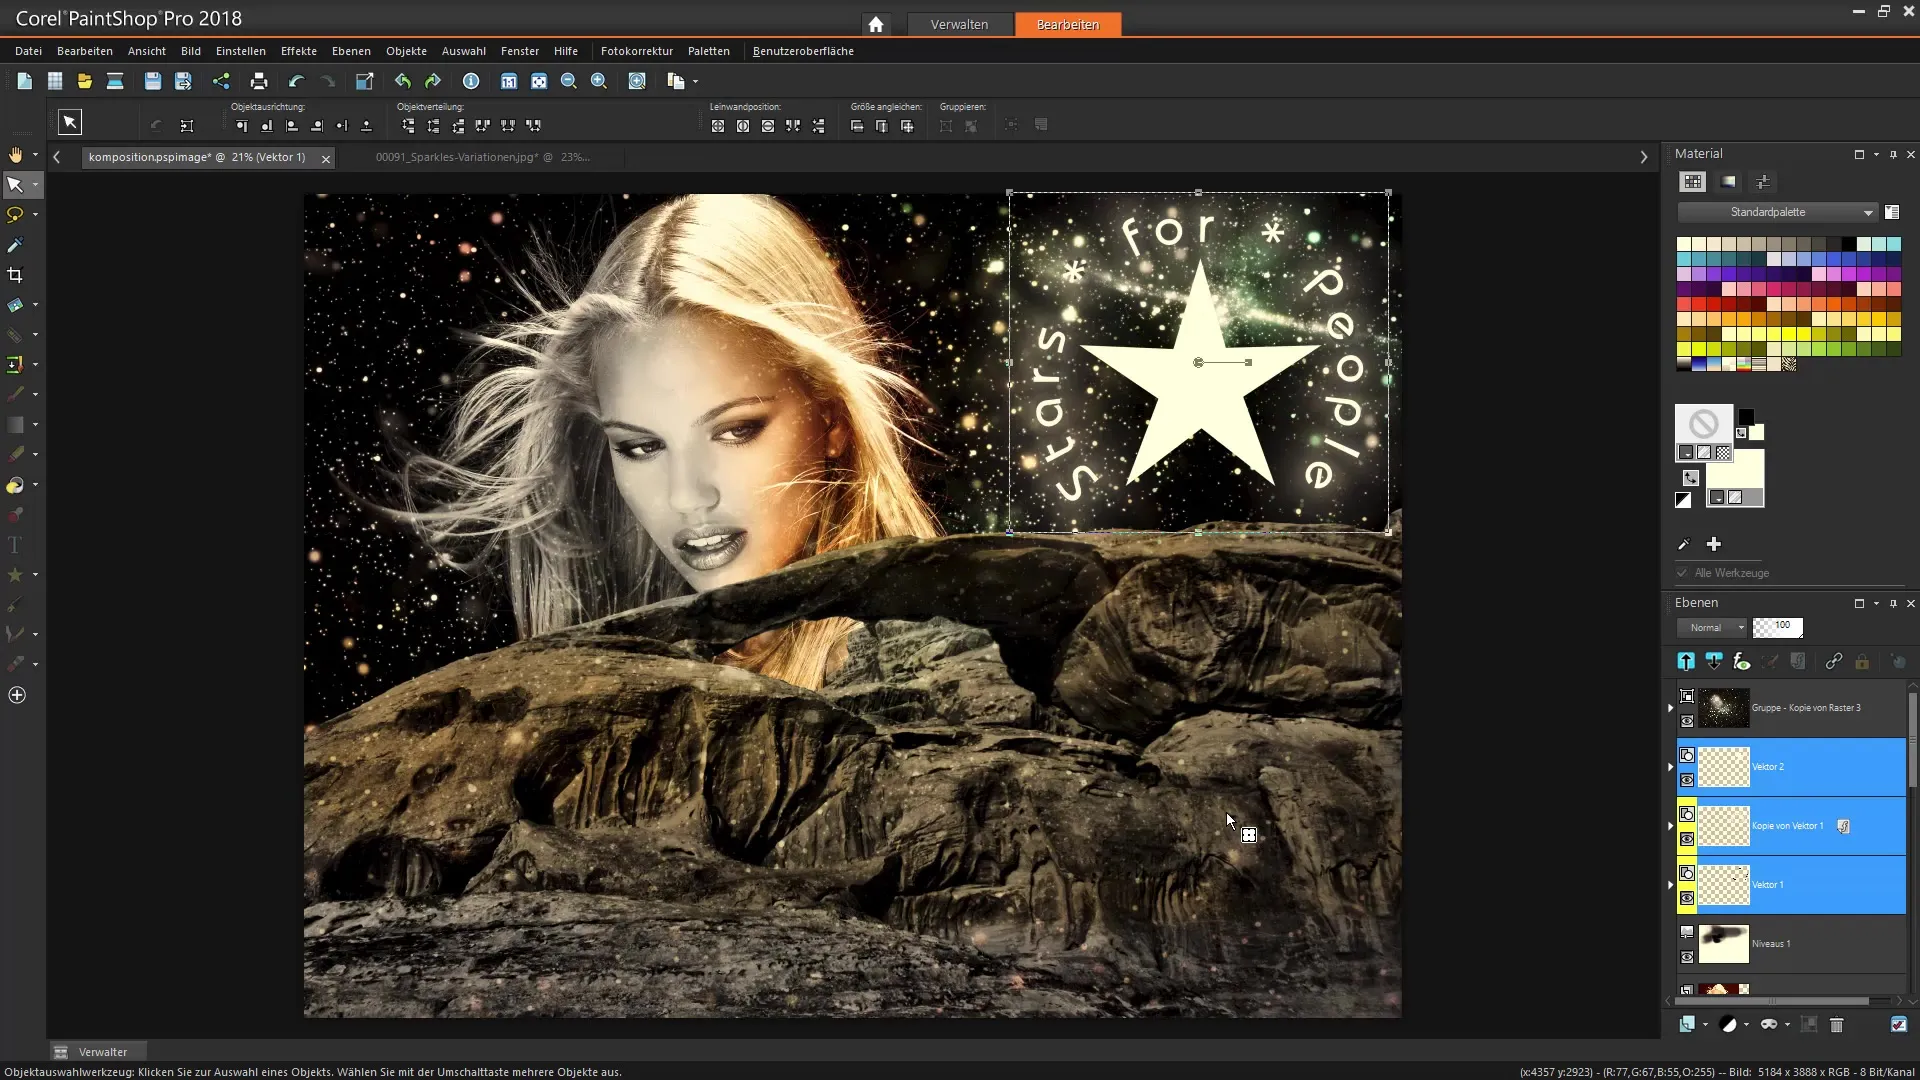
After you have drawn the star, you should arrange the layers accordingly. This is done by selecting all relevant layers and dragging them to the desired position. Make sure to move the star to an area that appears visually appealing in the layout, perhaps to the upper right corner of the image.
To further refine the image, it is helpful to add additional elements such as texts or further shapes. This allows you to incorporate additional messages or information. To do this, select the text tool and place your text where desired to complete the image.
A concise color design can make a difference in your image composition. Therefore, go to the adjustment layers to optimize brightness and contrast. You will find these options in the "Corrections" menu. Effective adjustment of these values will make your image composition more vibrant.
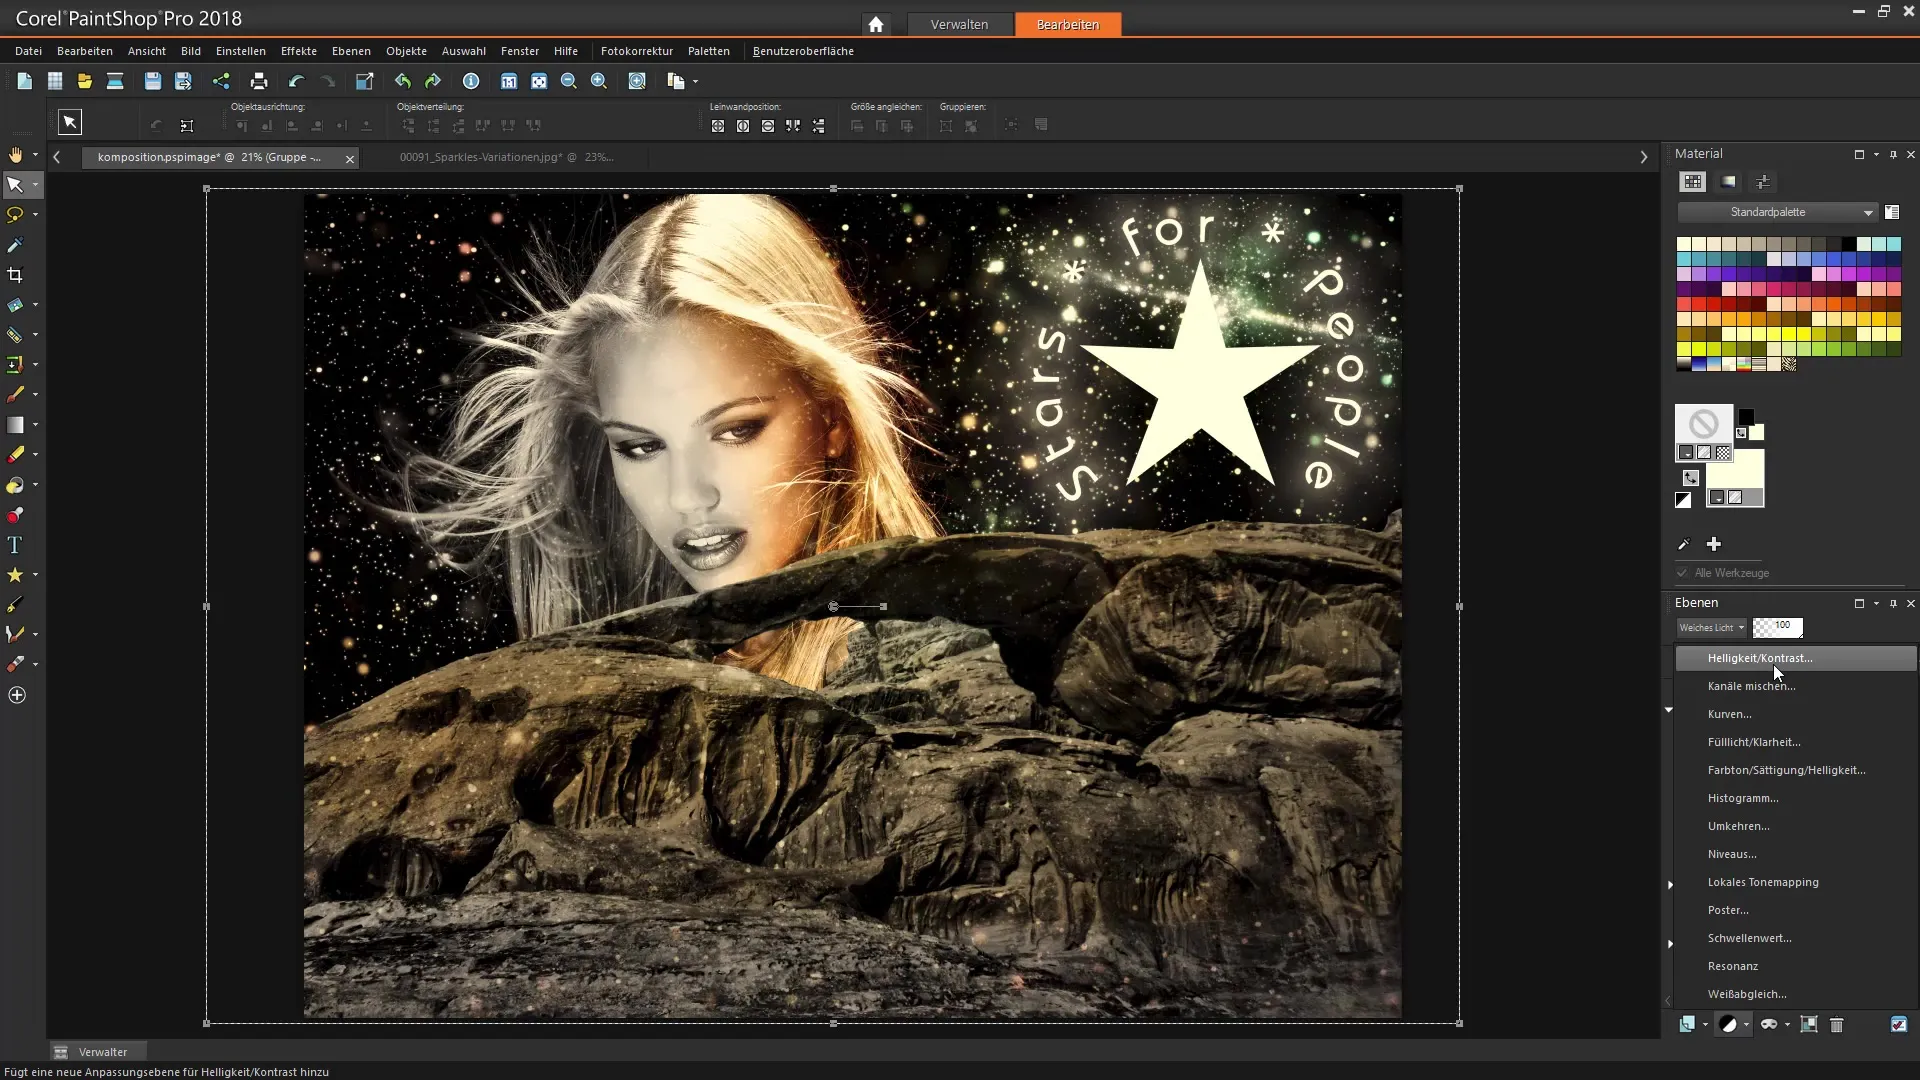
After you have made enough adjustments, you can add further effects. For example, layer another image layer with a starry background to create additional depth. To do this, select the corresponding image layer and apply the "Multiply" mode.
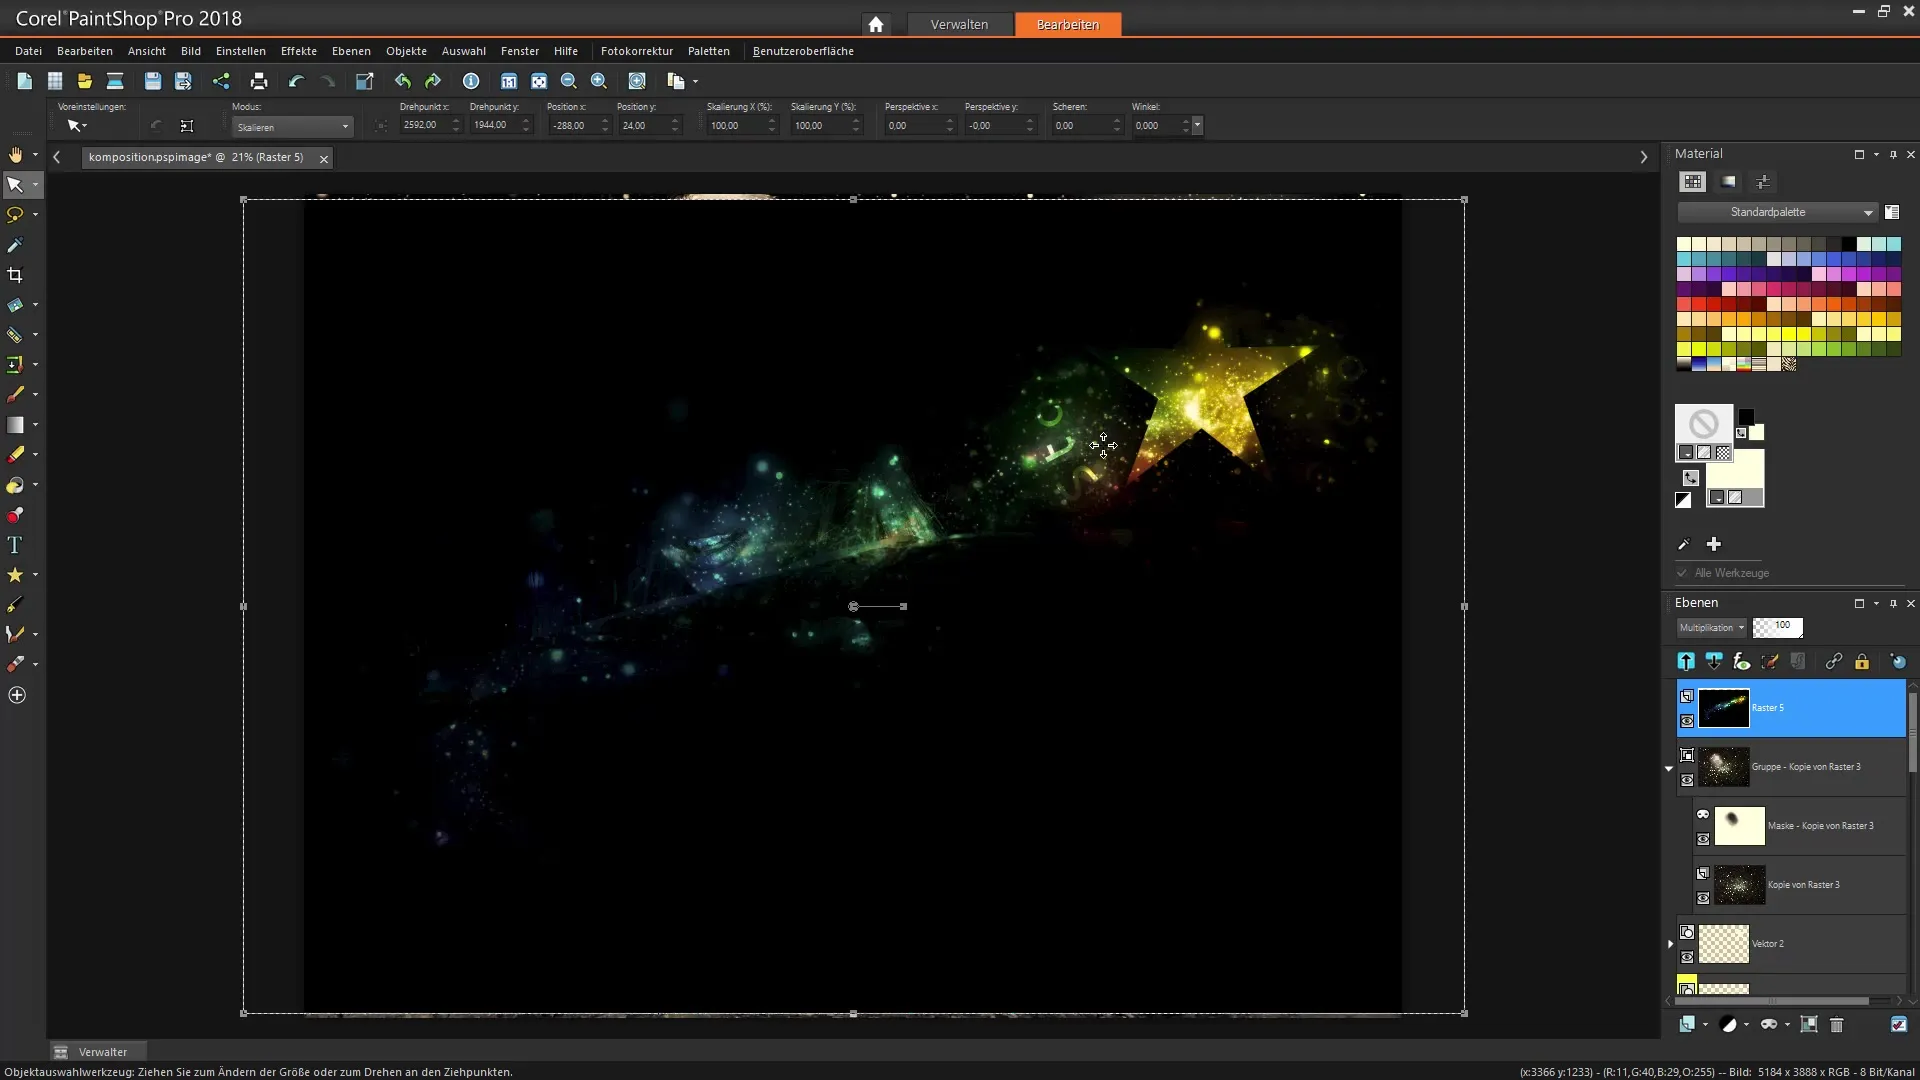
By layering, you can achieve dramatic light and shadow effects. This manipulation not only adds visual depth to your image but also creates an interesting, dynamic composition.
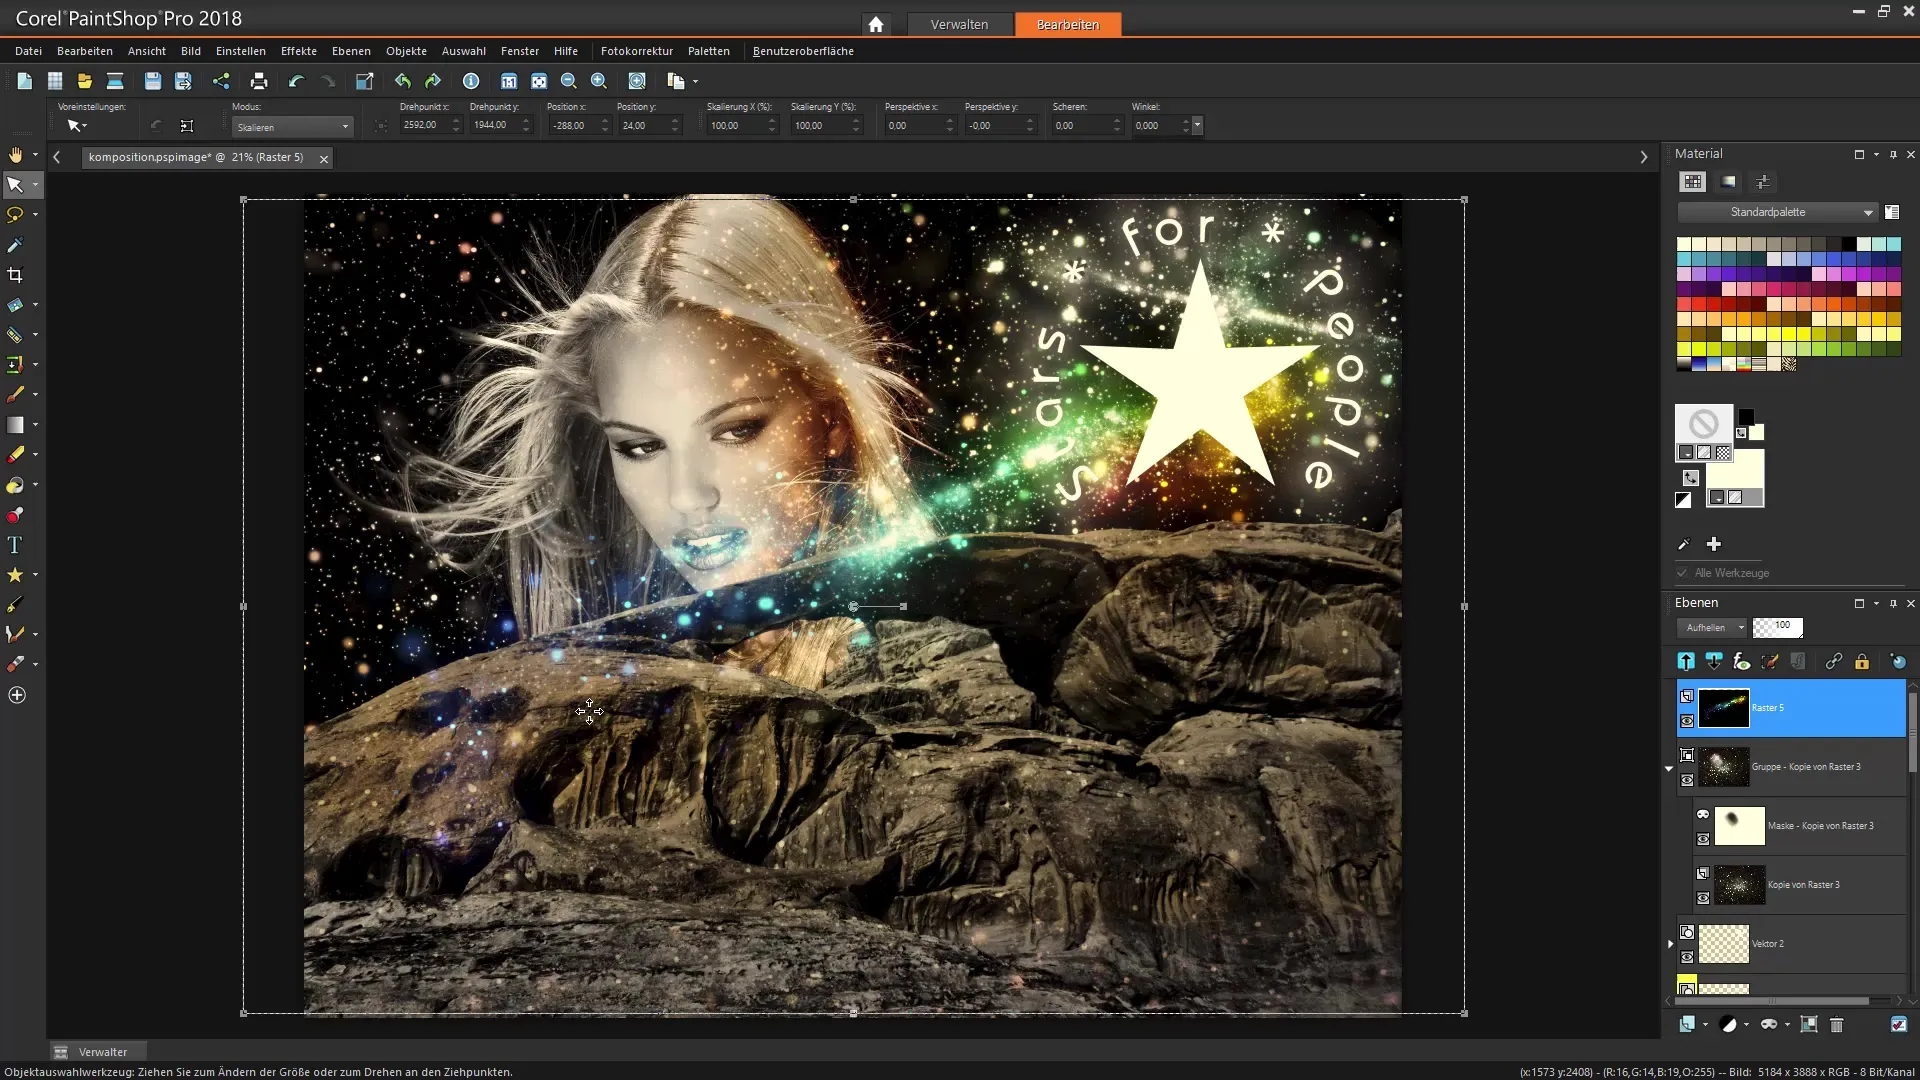
In the final phase of your composition, you should also insert a texture or a unique graphic element. For this, choose a suitable image file that harmonizes well with the existing composition. Drag it into the workspace and play with various offset options to achieve the best effect.
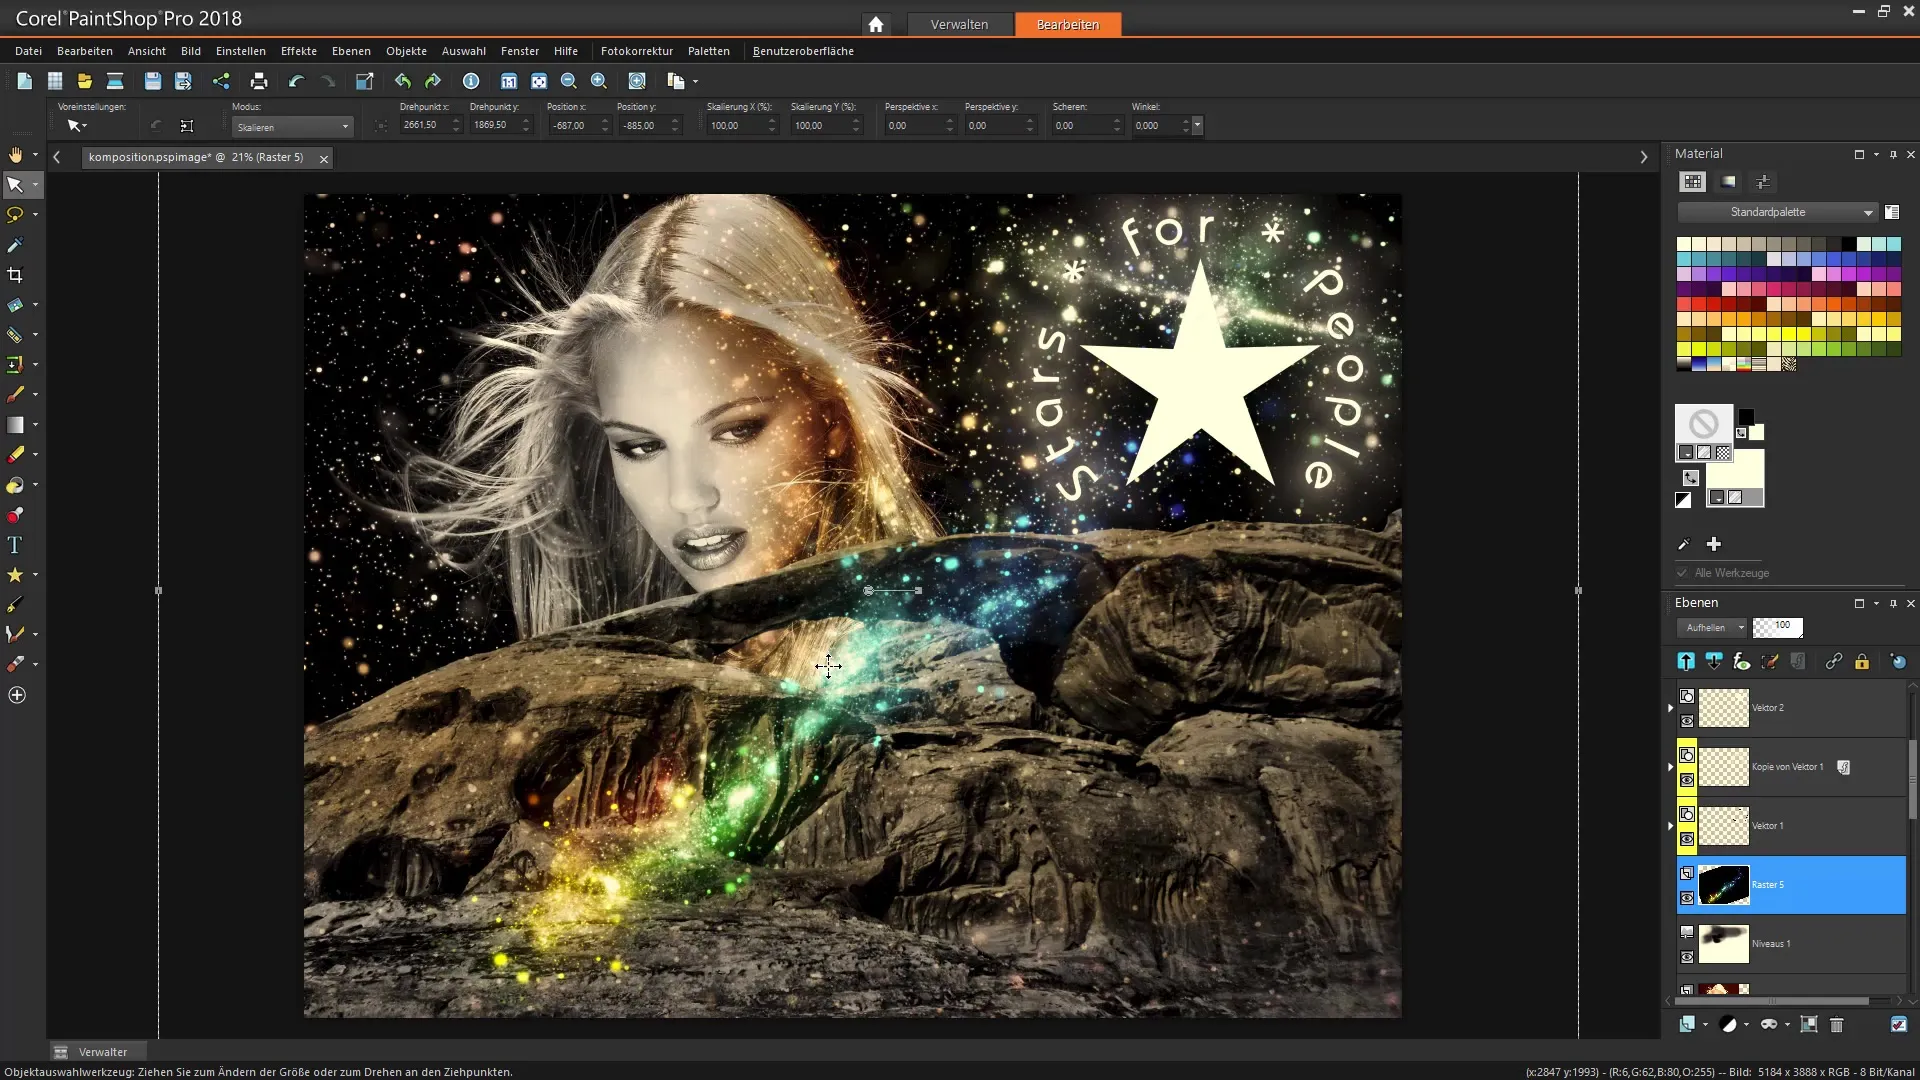
Finally, I recommend taking a look at the complete composition before saving it. Critically examine your work and adjust the positions or effects as needed to achieve an optimal image.
You have now created a complete image composition that is both engaging and unique. With these techniques, you can further expand your creative skills in Corel PaintShop Pro and create impressive artworks.
Summary - Corel PaintShop Pro Tutorial: Creating Creative Image Compositions
In this tutorial, you have learned how to create an engaging image composition using vector layers, texts, and various image effects. Use these fundamentals to develop your own designs and experiment creatively.
Frequently Asked Questions
What are vector layers and how are they used?Vector layers allow the creation and editing of shapes in Corel PaintShop Pro, ideal for clear, scalable designs.
How do I change the size of shapes?You can change the size of shapes by dragging the corners of the shape while the selection tool is activated.
How do I add text to my image?Select the text tool and click where you want to place the text. Then enter your desired text.
Which adjustment layers are useful?Adjustment layers for adjusting brightness and contrast are particularly useful for optimizing the visual result of your image.
How do I save my finished image?You can save your image by going to "File" → "Save As" in the desired format.

