Welcome to your creative journey in Adobe Illustrator! In this tutorial, you will learn how to easily create the shape of a balloon. This technique is perfect for greeting cards, whether digital or for printing. Let's get started!
Key insights
- You will learn how to create a new document in Illustrator.
- You will find out how to create and edit shapes, including ellipses and triangles.
- You will learn how to adjust colors and create gradients to make the balloon look more three-dimensional.
Create a new document
Start by creating a new document in Illustrator. Click on File and then New. A dialog box will open. Under Name, enter the title "Balloons". Choose A4 format in portrait orientation as the size. For the color mode, select RGB, as you intend to use the graphic primarily digitally. Confirm your entries with OK.
Rename and prepare layers
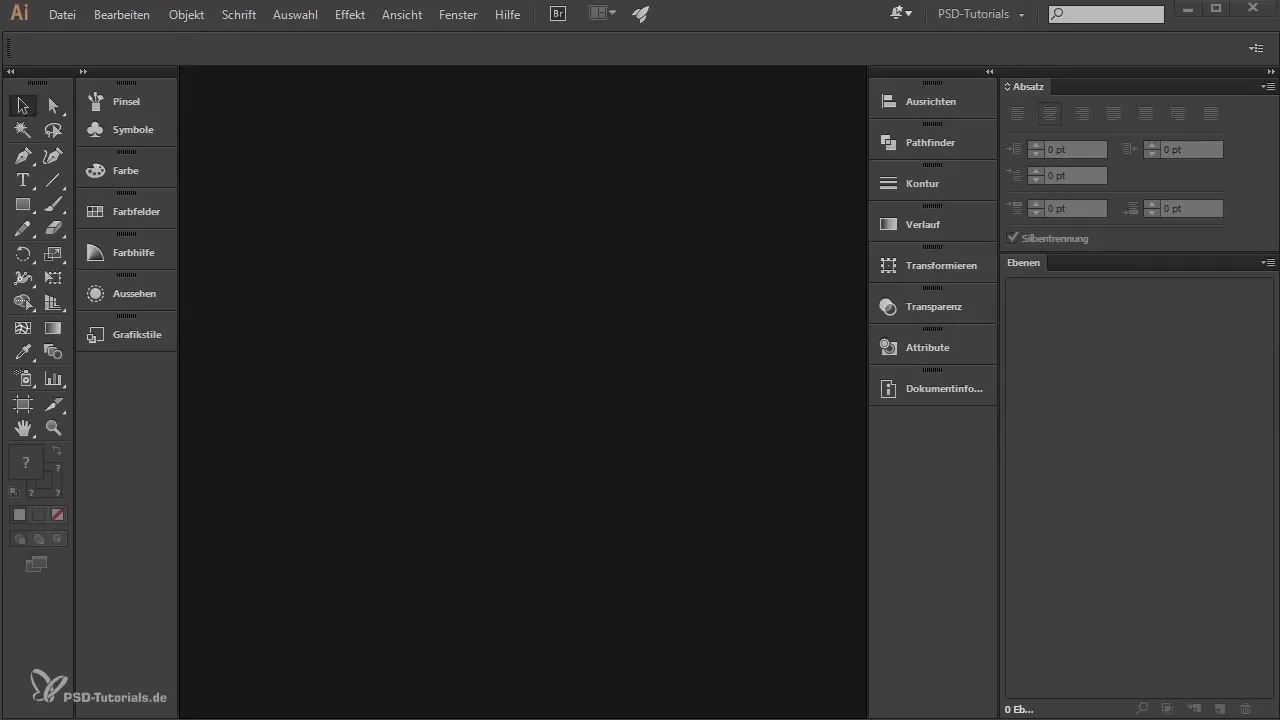
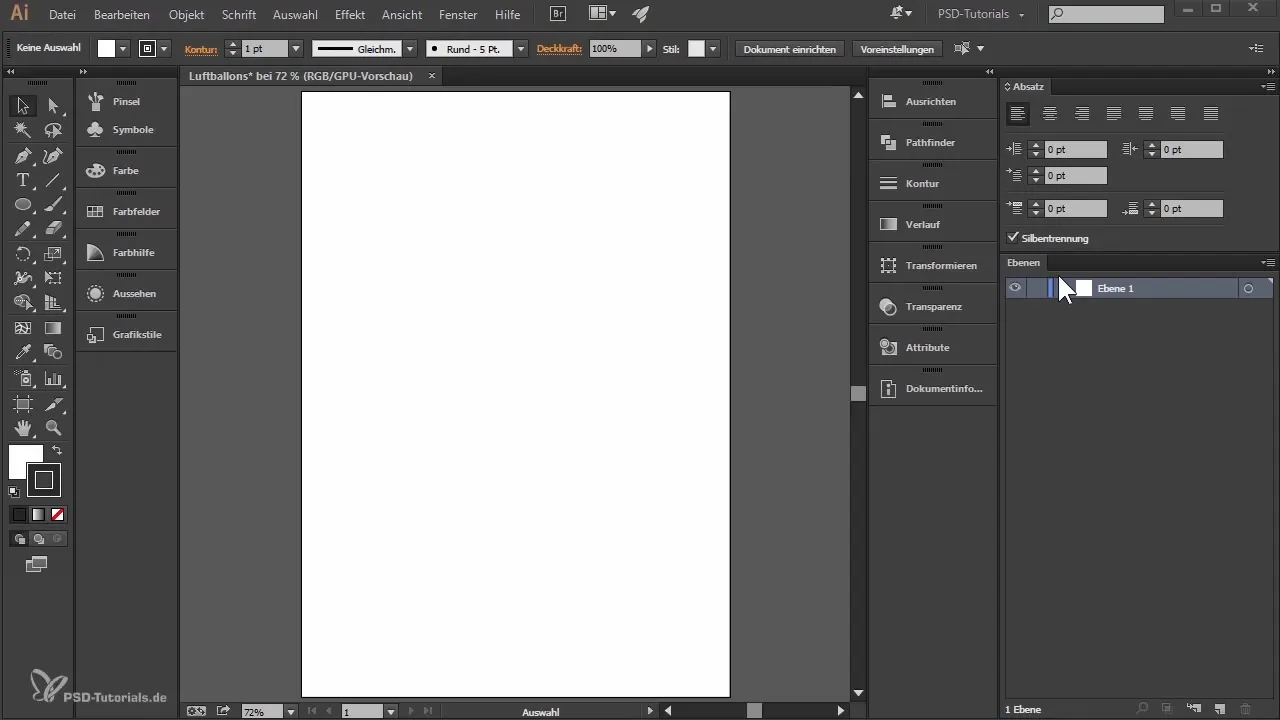
After creating the document, a new layer has been automatically created. This will be shown in the layers palette on the right. To keep things organized, double-click on the layer named "Layer 1" and rename it to "blue balloon".
Draw the first element
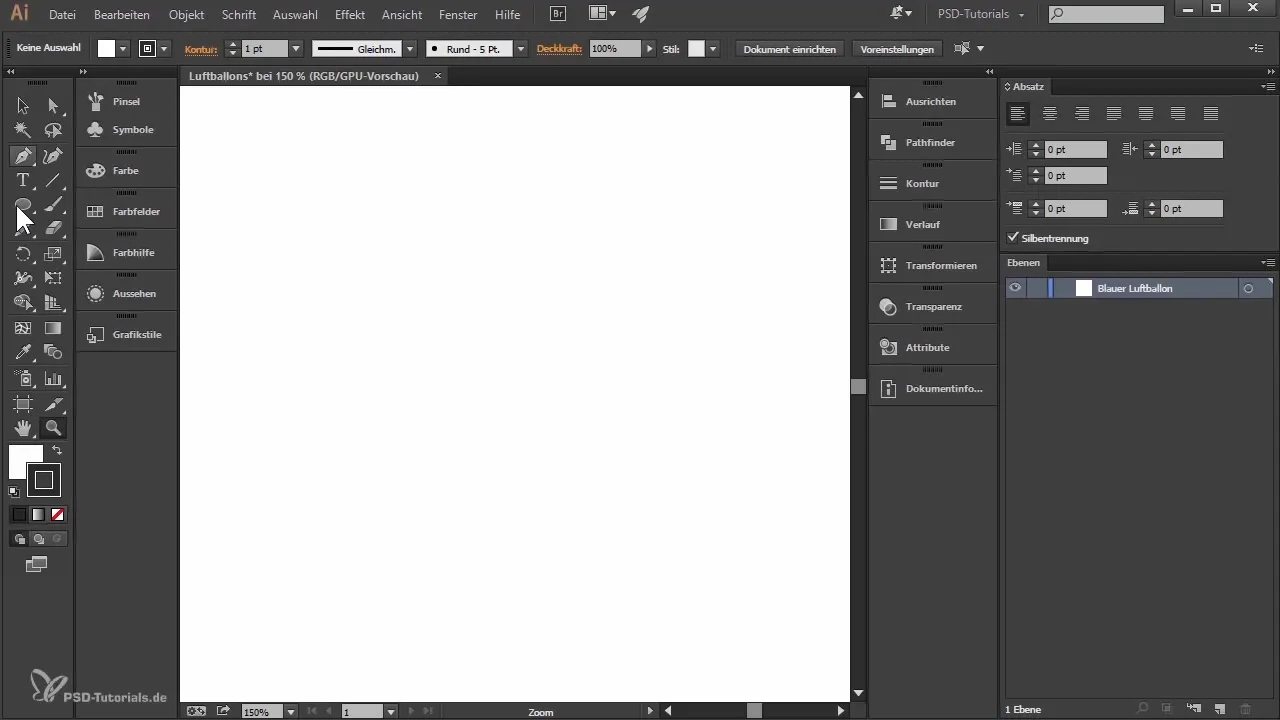
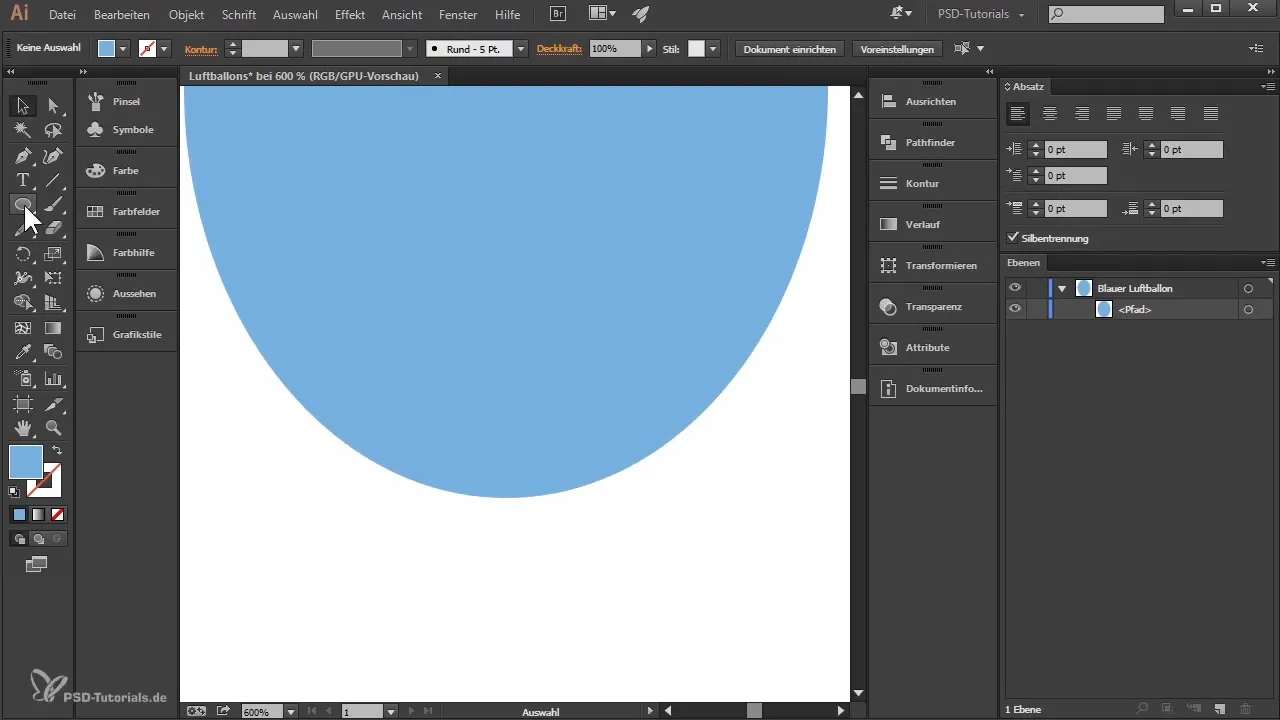
You have now selected the correct layer. Zoom in to your document to work more precisely. Hold down the Alt key and scroll with the mouse wheel. Select the Ellipse Tool by pressing the L key or by accessing the tool via the Rectangle Tool. Draw an ellipse that serves as the base for your balloon.
Adjust fill and stroke
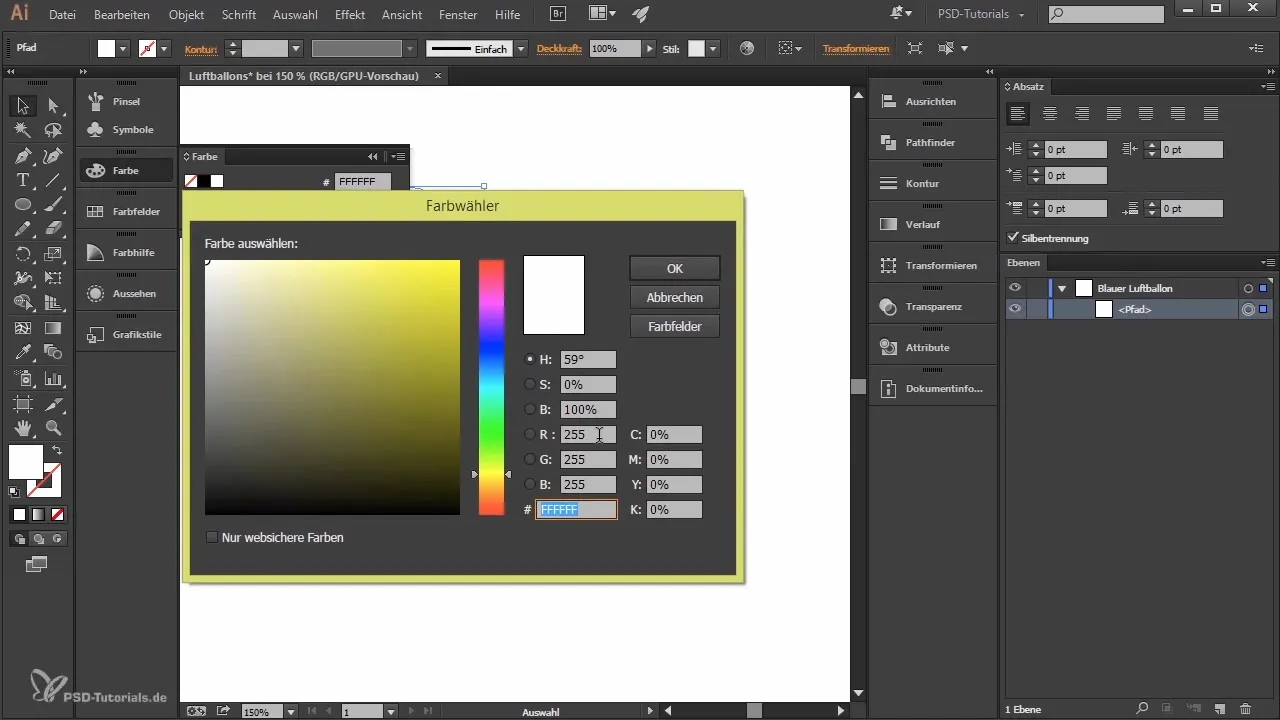
After drawing the ellipse, you will see that it has a black stroke with a white fill. To remove the stroke, select the stroke and click on the small square with the diagonal line. Now you should just adjust the fill. Double-click on the fill color and choose a shade of blue. A suggestion would be: Red 100, Green 170, and Blue 220.
Create the knot of the balloon
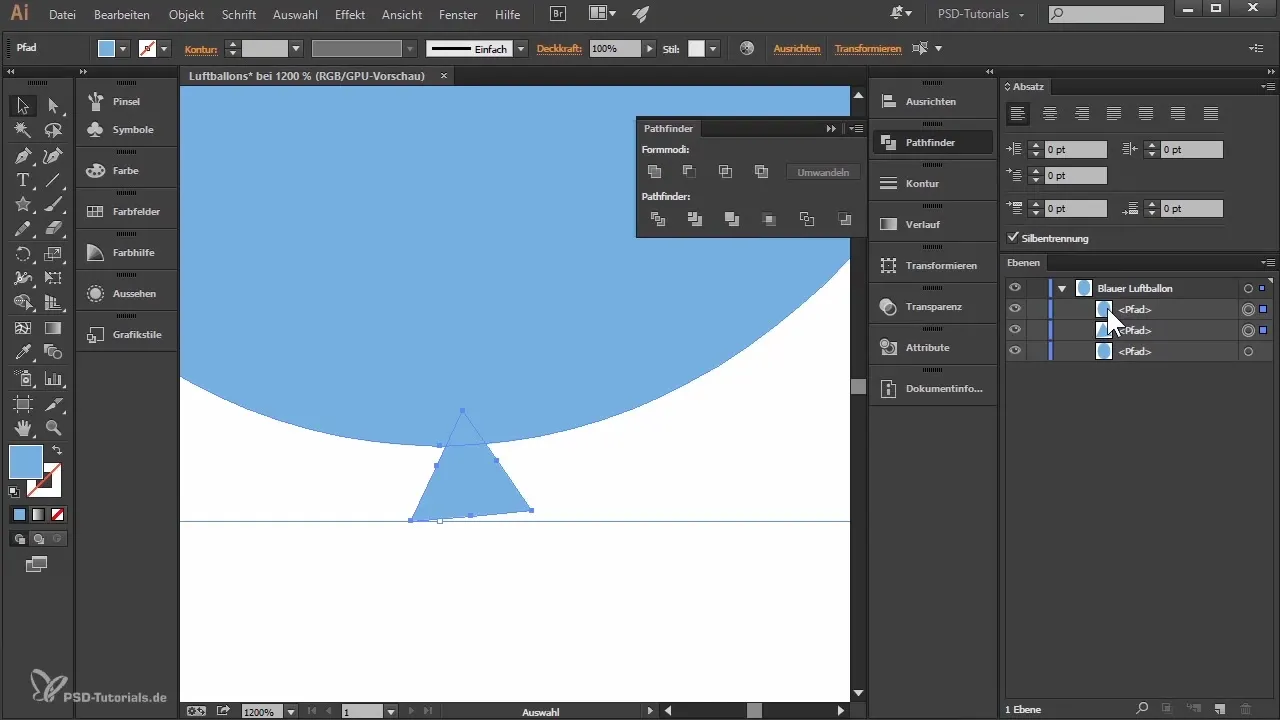
Now let's deal with the knot where the string will be attached. Zoom in again and select the Star Tool. Click once on the canvas to open the dialog box. Choose "Points: 3" to create a triangle. Resize the triangle by holding the Shift key and drag it to the bottom tip of the balloon.
Trim the knot
To remove the protruding part of the balloon, duplicate the ellipse by holding down the Alt key and dragging the ellipse over the triangle. Select both the ellipse and the triangle, go to Window, then Pathfinder, and choose the option "Subtract from Front Object". This will remove the excess part.
Add a plastic look
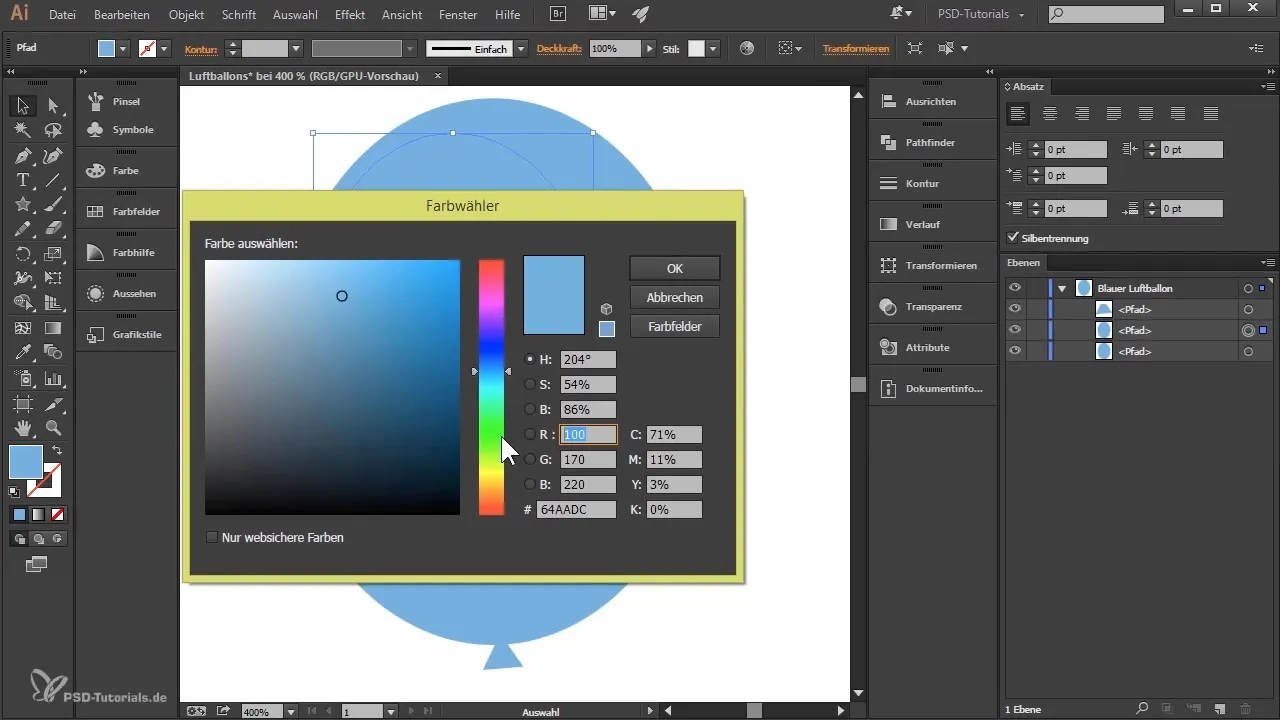
To give the balloon a more three-dimensional look, duplicate the top ellipse by pressing Ctrl + C and then Ctrl + F. Resize this ellipse and place it in the upper left corner of the balloon. Then select a lighter shade of blue for this ellipse. You can adjust the RGB values to achieve the desired color.
Create gradients
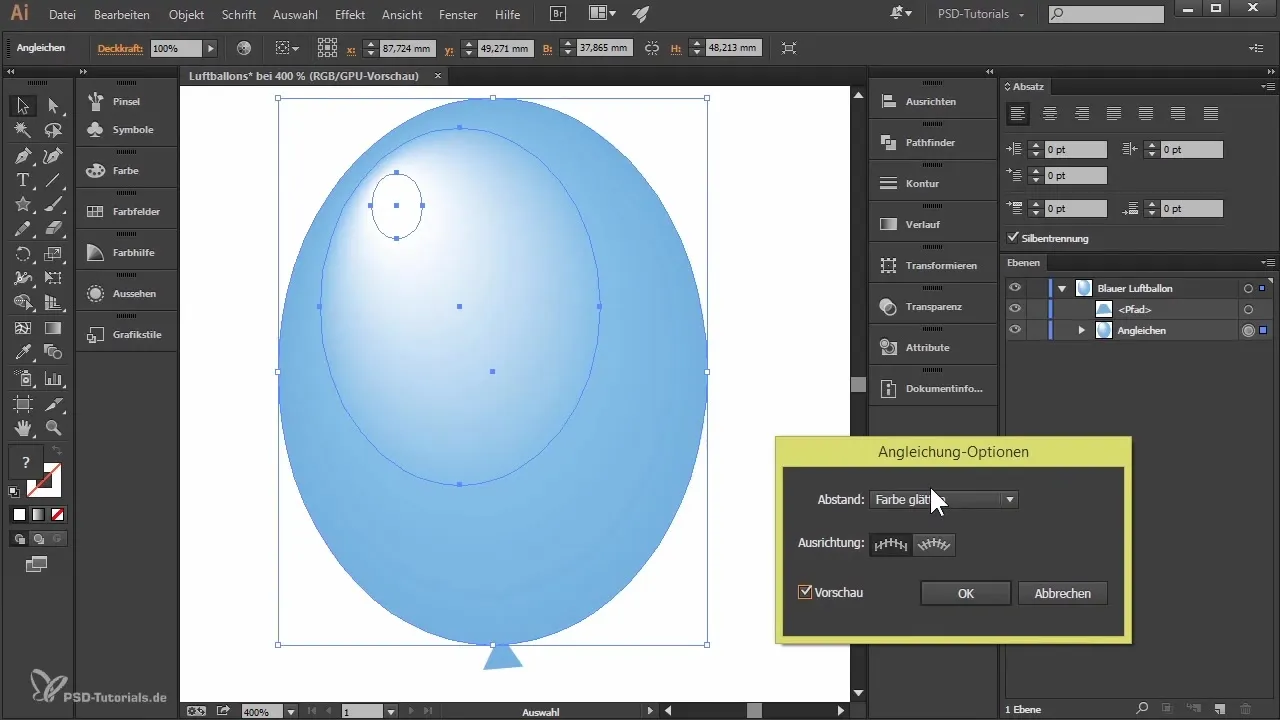
Select all three ellipses and go to Object > Blend > Make. This will create a nice gradient between the different shades. You can use the "Blend Options" to adjust the number of color steps for a smoother transition.
Round the anchor point
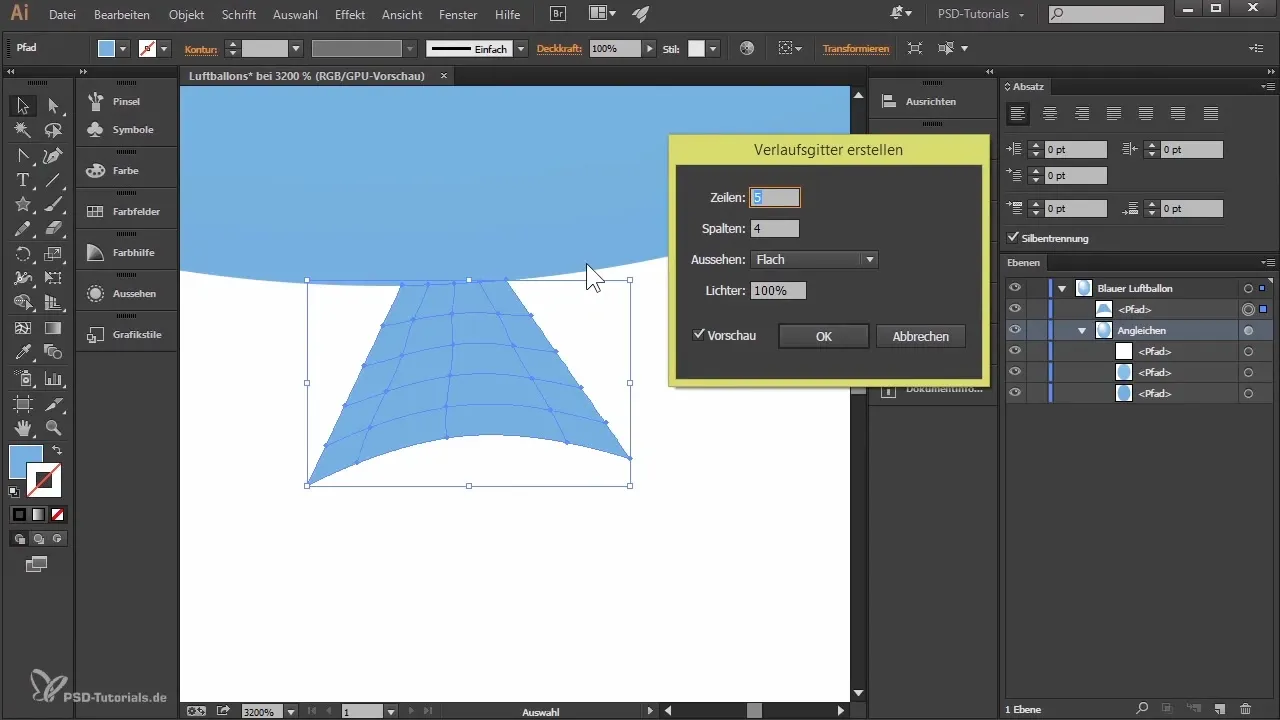
To make the knot of the balloon rounder, select the knot with the Direct Selection Tool and drag the anchor point inwards. You can also use the Pen Tool to further round the curve. Through Object > Create Gradient Mesh, you can create a mesh structure to gain more control over the color distribution and the three-dimensionality of the balloon.
Summary – Creating balloons in Illustrator
In this tutorial, you have learned how to create a balloon in Illustrator. From creating the document, drawing shapes, to creating gradients and editing anchor points – all steps lead to an engaging graphic that you can use for various purposes.
Frequently Asked Questions
How can I change the shape of my balloon?You can adjust the ellipse with the Direct Selection Tool and move the anchor points to change the shape of the balloon.
What colors can I use for my balloon?You can choose any color you want by adjusting the RGB values in the color window.
Can I save the design to work on it later?Yes, you can save the document by going to File > Save As. Save it in AI format to access it later.
