You are at the end of your project in Adobe Illustrator and have created the knot in the middle, but the final detail is still missing: the loop. In this tutorial, we will show you how to design the knot, make the final adjustments, and perfectly place the loop. Take the opportunity to refine your design and learn important techniques to make your designs more vibrant and engaging.
Key Insights
- The knot is created and designed on a new layer.
- The use of helper colors and the smoothing tool enhances the design.
- The gradient tool can create appealing color gradients.
- Duplicating and mirroring layers allows for a symmetrical design of the loop.
- Finalize your design by arranging the objects and giving the final touch.
Step-by-Step Guide
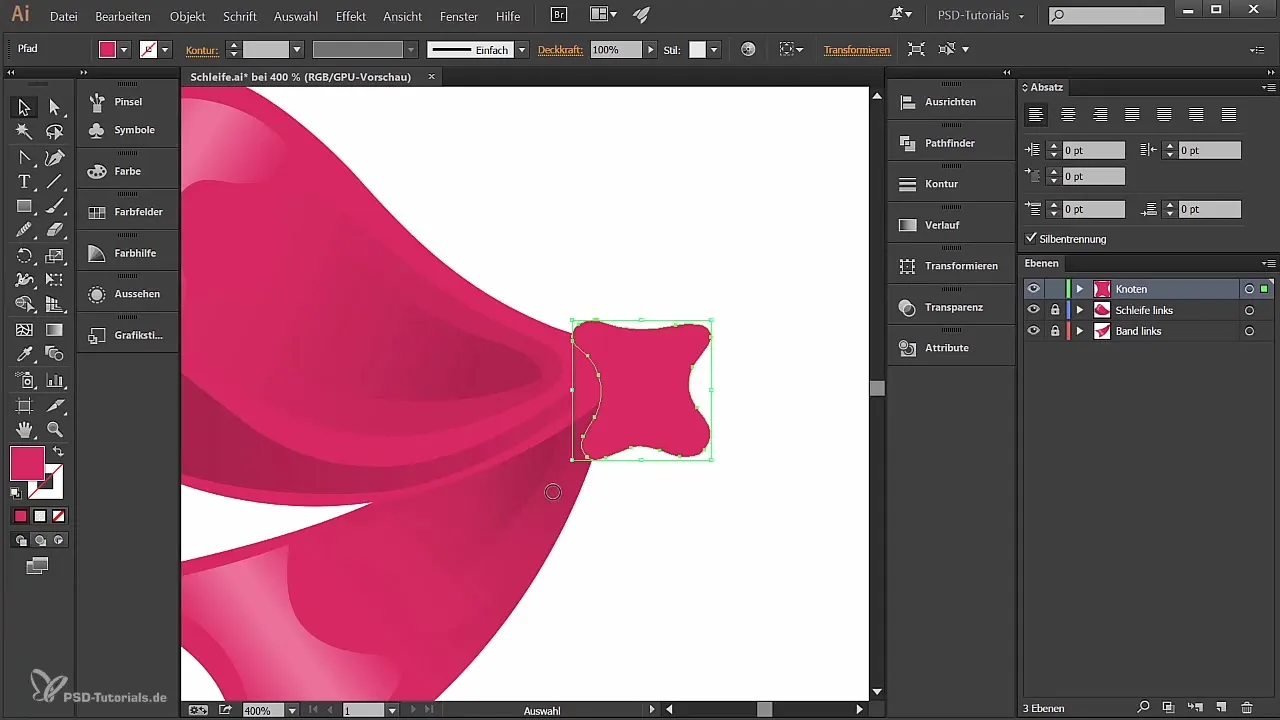
First, we start with the creation of the knot. Create a new layer and name it “Knot”. Make sure the other layers are locked to avoid unintentional changes.
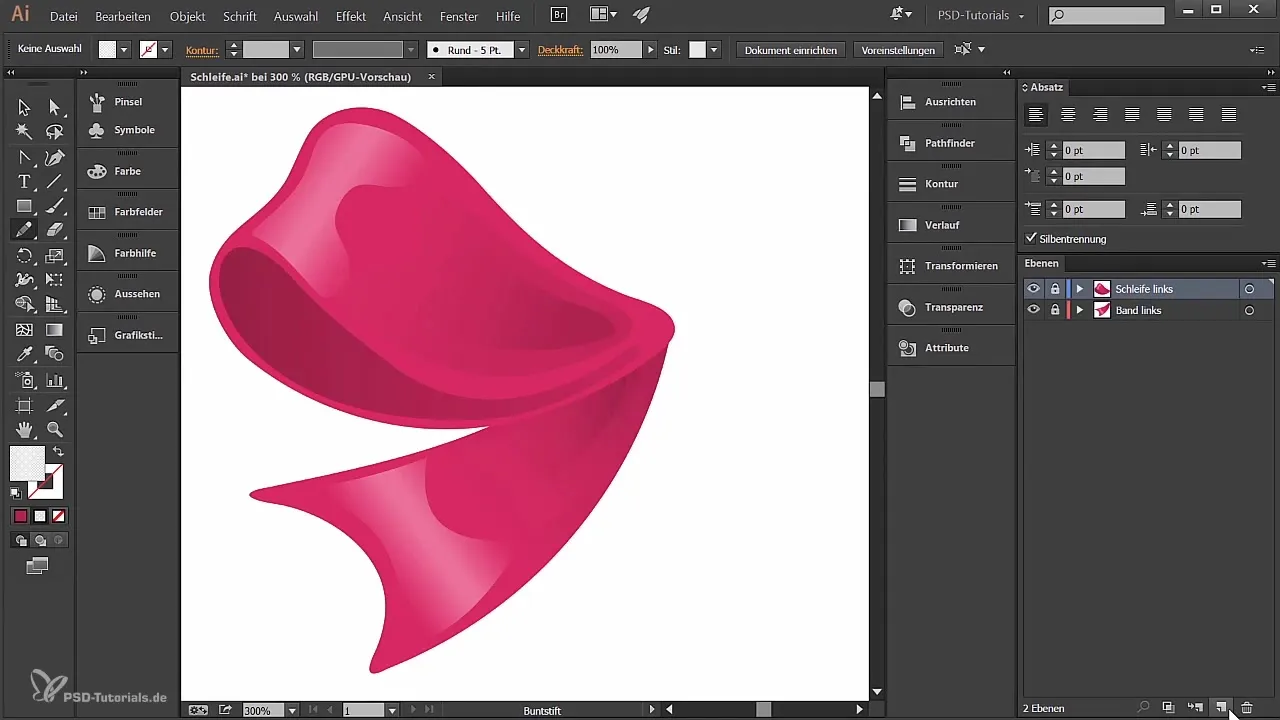
Now use the pencil tool to draw your knot. Start at one point and follow the desired path. Use the stability of the tool to create a smooth line.
Once you have seen the undesirable spots, it is important to correct them. Choose a helper color so you can better see where adjustments are needed. The smoothing tool comes into play here to refine the lines and optimize the shape.
After you have created a first design, you can give the shape a color. Choose a suitable color palette that fits the rest of your design. Ensure that the image is well positioned and adjust the size accordingly if necessary.
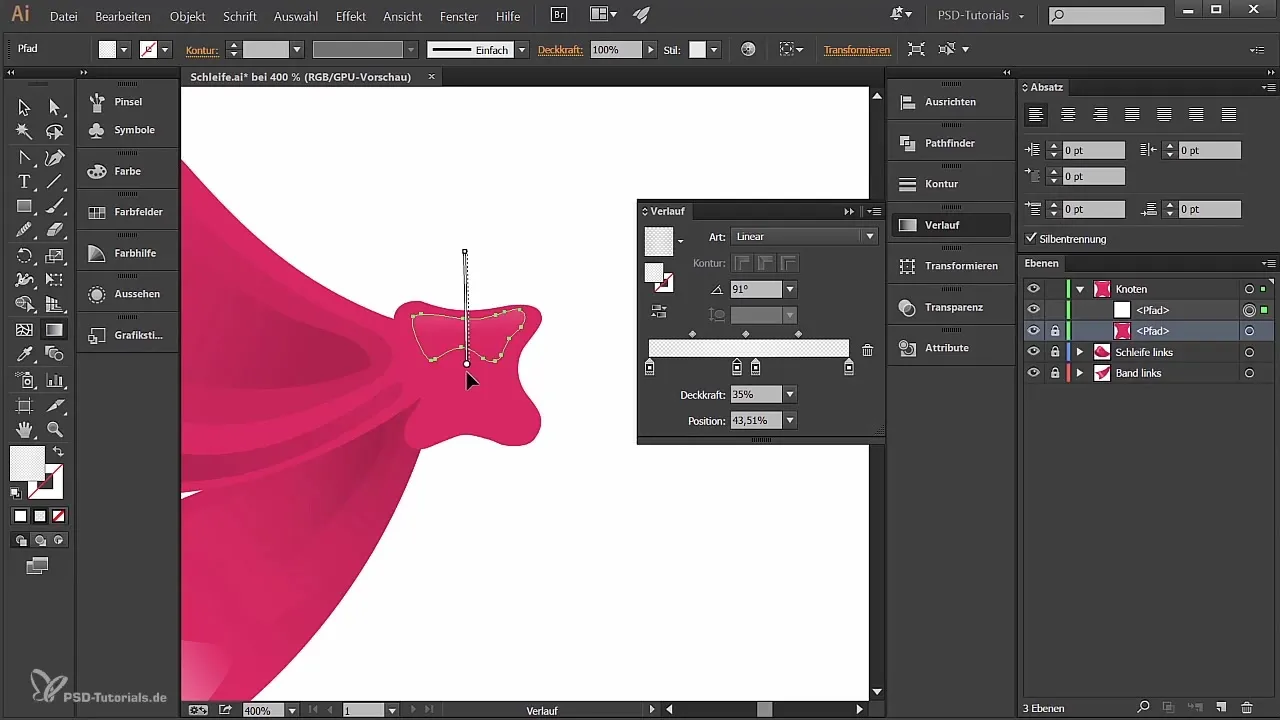
To further refine the knot, use the pencil tool to design the light reflections on the top of the knot. Shade the knot with a linear gradient to enhance the three-dimensional effect.
Use the gradient tool to adjust the position and color of the shadow. Experiment with different shapes and settings to achieve the best visual impression.
Now add shadows to give the knot more depth. This is achieved through the same process as before, using the pencil tool and the linear gradient again.
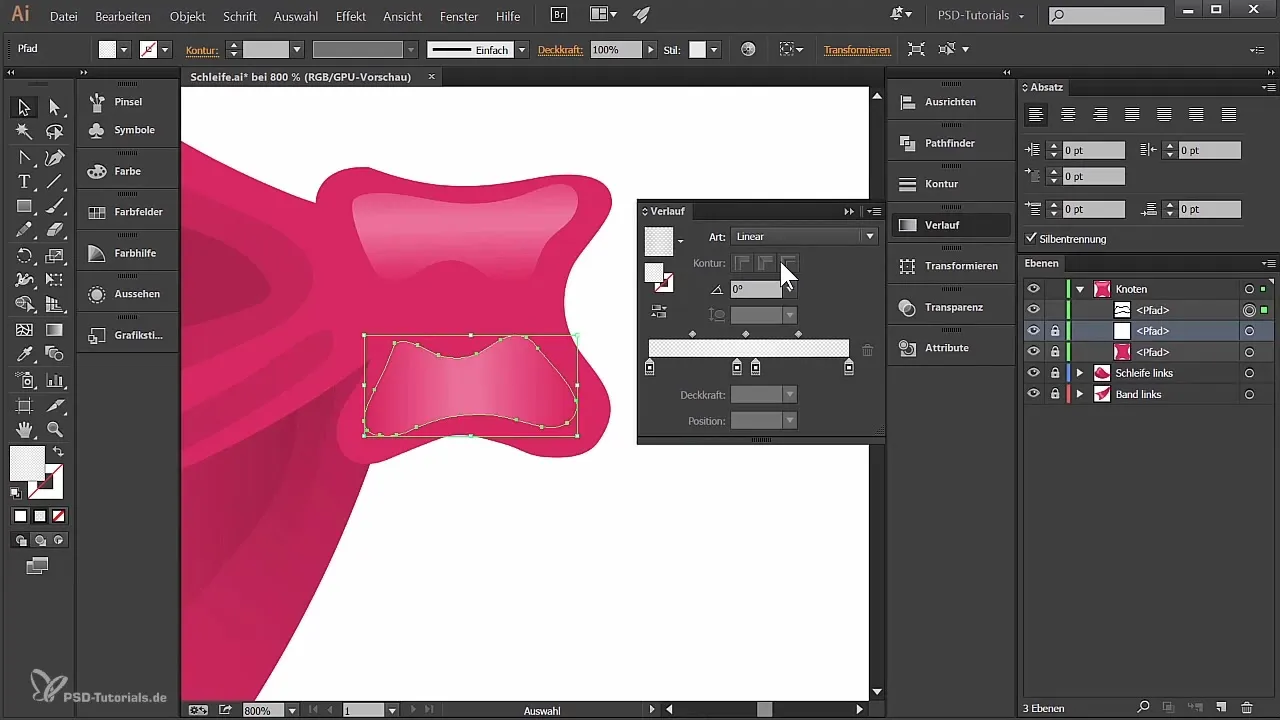
With the last shadow image, you can add another linear gradient for a harmonious finish. Make sure to use the software in a way that all colors and highlights are perfectly placed.
Now the necessary steps for creating the knot are completed. What you are still missing is the loop. To create the loop, duplicate the knot layer and create a new layer named “Loop Right”.
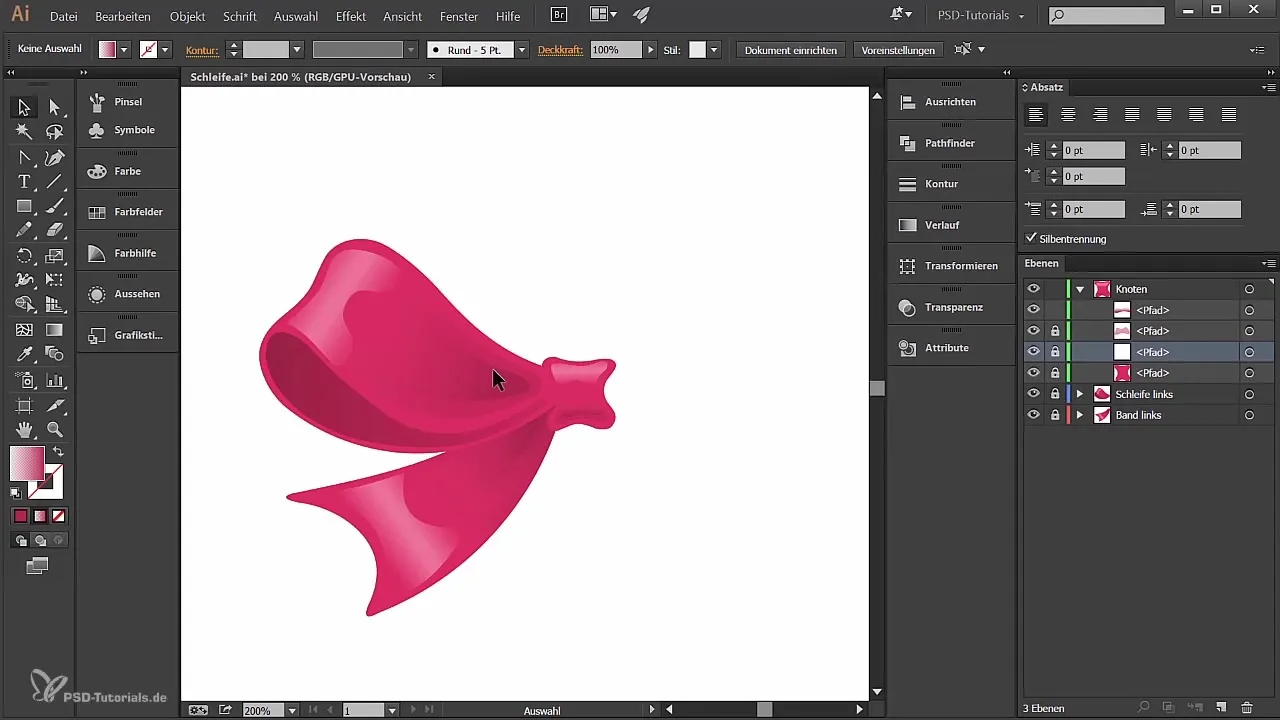
Give the duplicated objects elegant, symmetrical edges. You can arrange them by unlocking all layers, selecting them, and dragging them to the side while holding the Alt key. Also, hold the Shift key to align the objects straight.
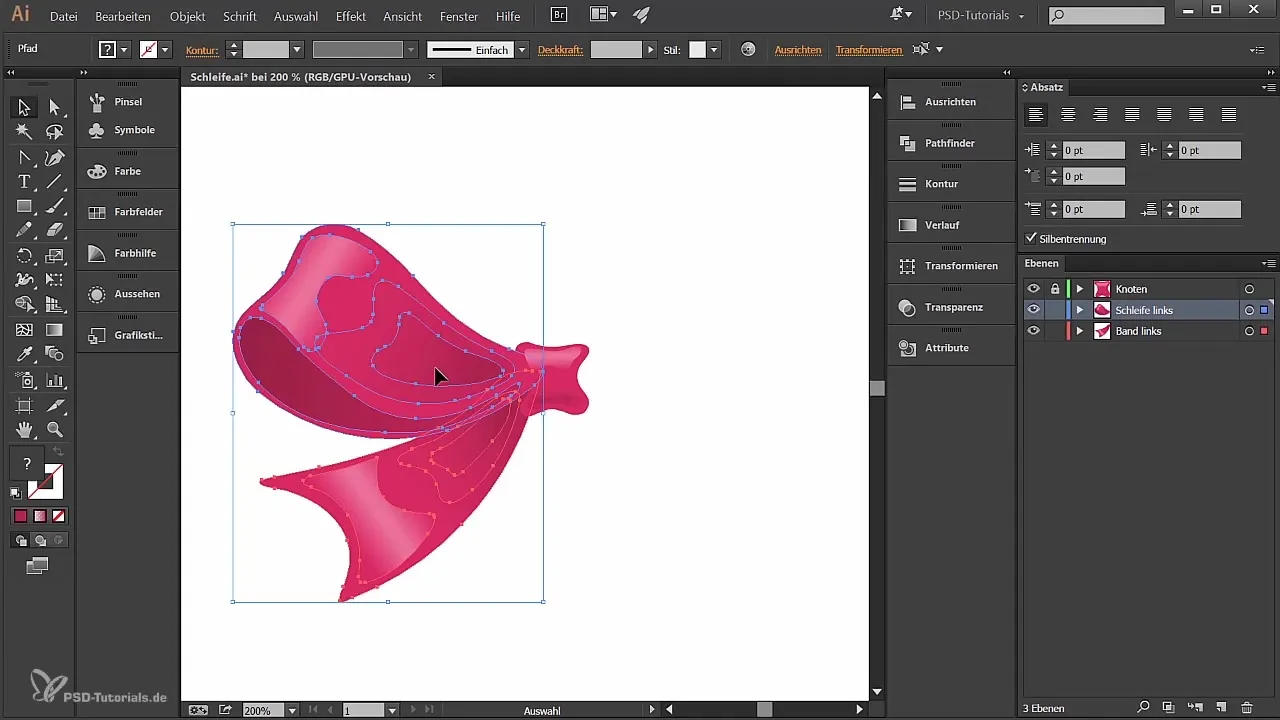
Transform the whole thing by using the move function to mirror the objects vertically. Make sure to keep an eye on the preview during the mirroring to see the result immediately.
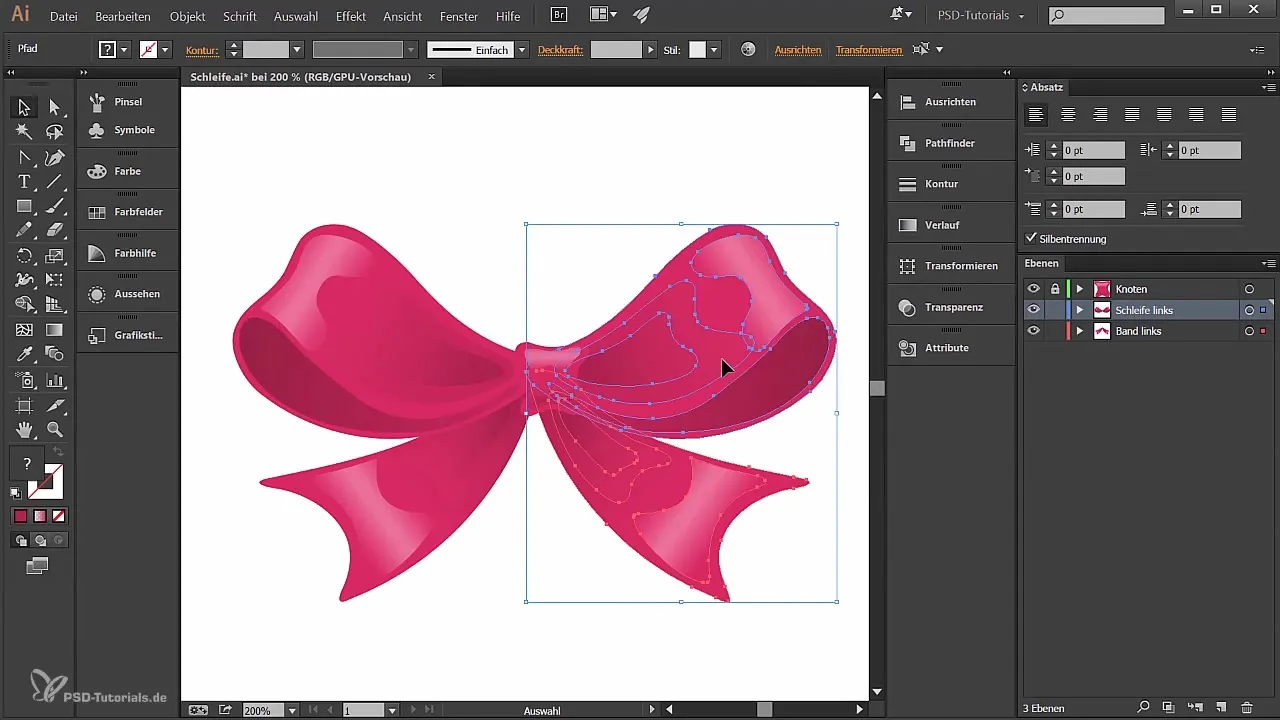
Now install all imported objects into the “Loop Right” layer, but below the knot, to create a harmonious overall picture. Arrange them so they fit well together.
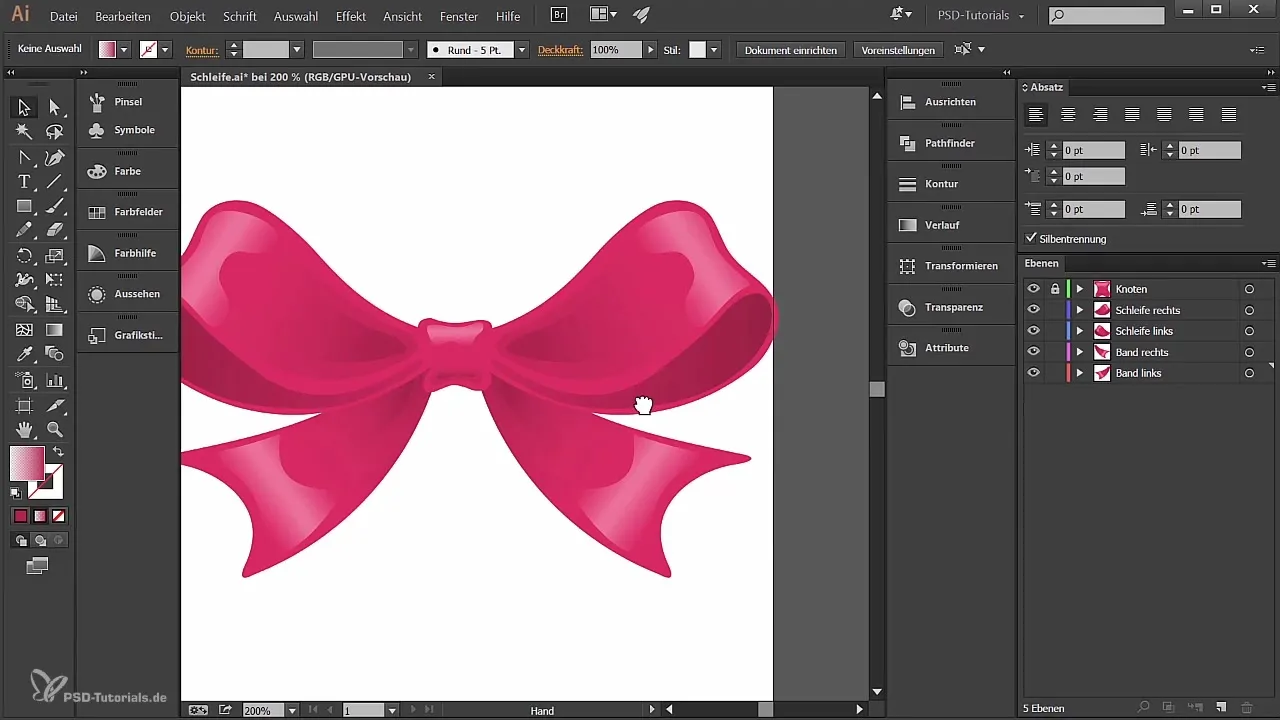
To give the loop the finishing touch, pull all the elements into the center and optimize the placement. Make sure to adjust the size and arrangement of the elements to achieve the best visual result.
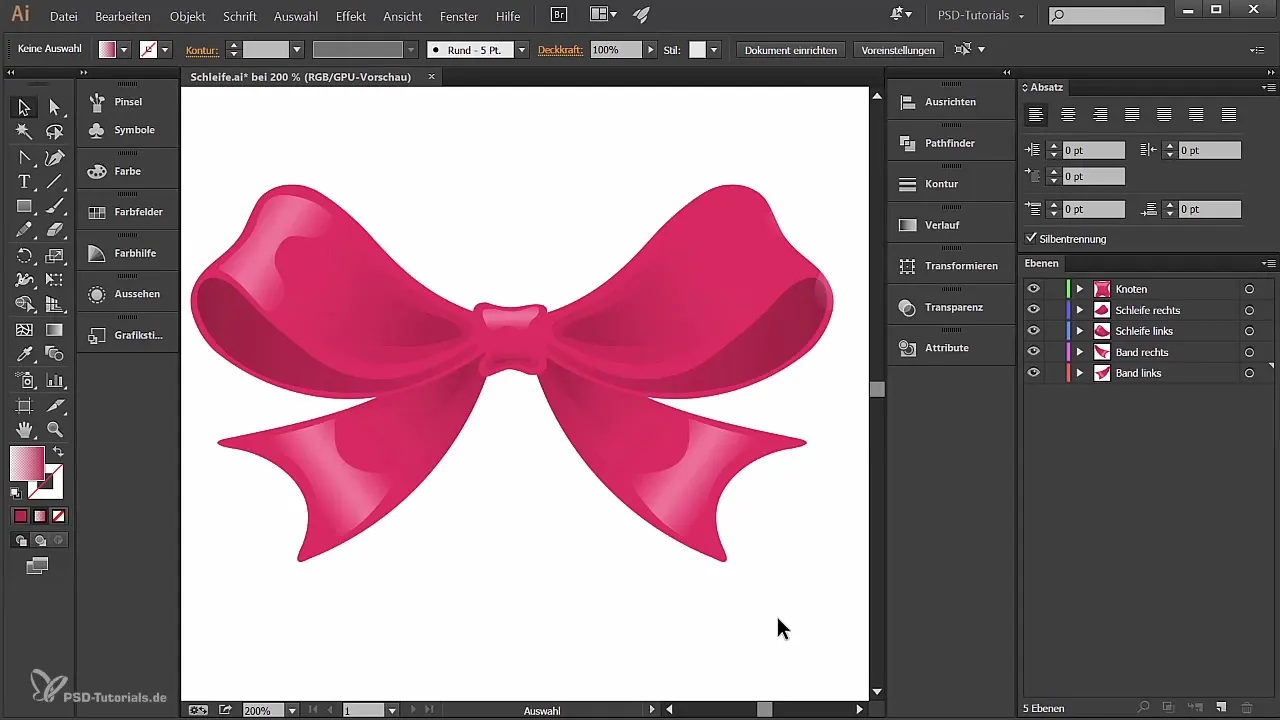
Your loop is finished! This can be wonderfully used on invitation cards, gifts, or other designs.
Summary – Creating a Knot and Loop in Illustrator
This guide has explained to you step by step how to create a knot in Illustrator and then finalize the loop. With the practical tips and techniques, you are now able to further improve your designs and make them more engaging.
Frequently Asked Questions
How can I change the color of my shapes in Illustrator?Select the shape and open the color palette. There you can choose a new color or add a gradient.
What can I do if a line won't become straight?Use the smoothing tool to optimize the contours and lines and remove unwanted waves or irregularities.
How do I duplicate a layer in Illustrator?Right-click on the layer and select “Duplicate” or hold down the Alt key and drag the layer.
How do I add a new layer in Illustrator?Go to the layers panel and click on the “New Layer” icon or use the menu bar.
Can I also create 3D objects with Illustrator?Yes, the extensions and functionalities in Illustrator allow for the creation of 3D objects that can be edited with paths.
