You want to make the most of Adobe Illustrator and enhance your designs with a colored veil? In this tutorial, you will learn how to create another veil, adjust the individual paths, and refine the gradient with a rainbow effect. Let's dive right into the creative implementation and design the veil step by step.
Main Insights
- Creating a new layer for the color veil.
- Using the pencil tool to create the shapes.
- Adjusting the gradients to enhance the visual impact.
- Using transparency effects combined with the blending mode function.
Step-by-Step Guide
To create your colored veil, follow the steps below. Make sure to use the described tools and functions in Adobe Illustrator.
First, create a new layer in the layers panel. To do this, go to the layers panel and click on the corresponding icon to generate a new layer. Name the new layer “colored veil 2”. With this new layer, you can structure your work and make editing easier as you create your designs.
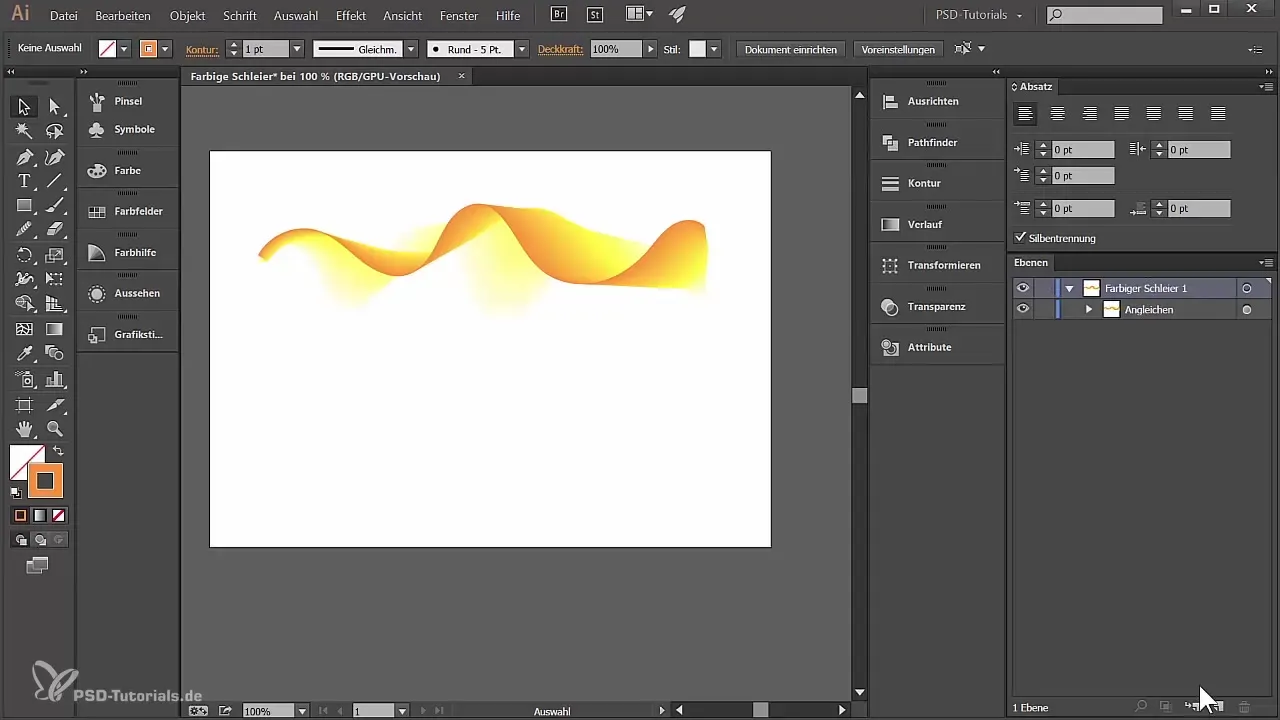
Now, use the pencil tool to draw your veil. Select a pleasing color, perhaps a cheerful orange in this case, and start drawing the shape of your veil. Make sure to insert curved lines this time to create a dynamic shape. Stop after each stroke and check your image to ensure everything looks good.
Now it's time to change the color. Choose yellow from your color palette to design the next part of your veil. Move down a bit in the image and place the points in such a way that a harmonious transition is created. If you don’t like an anchor point, you can simply delete it and adjust the shape.
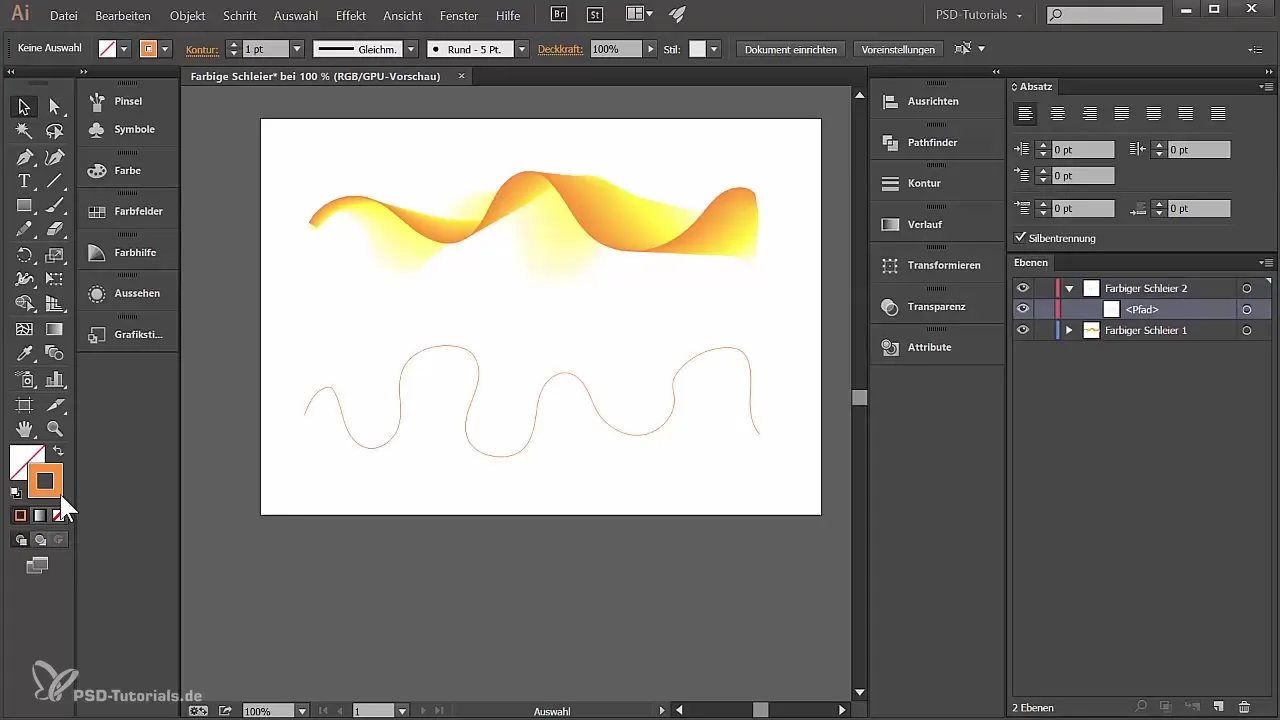
For the next step, create a third path in white. This is particularly useful if you are using a dark background. You can draw the shape flat and work to ensure everything transitions well. Make sure the transitions to your previous colors look harmonious.
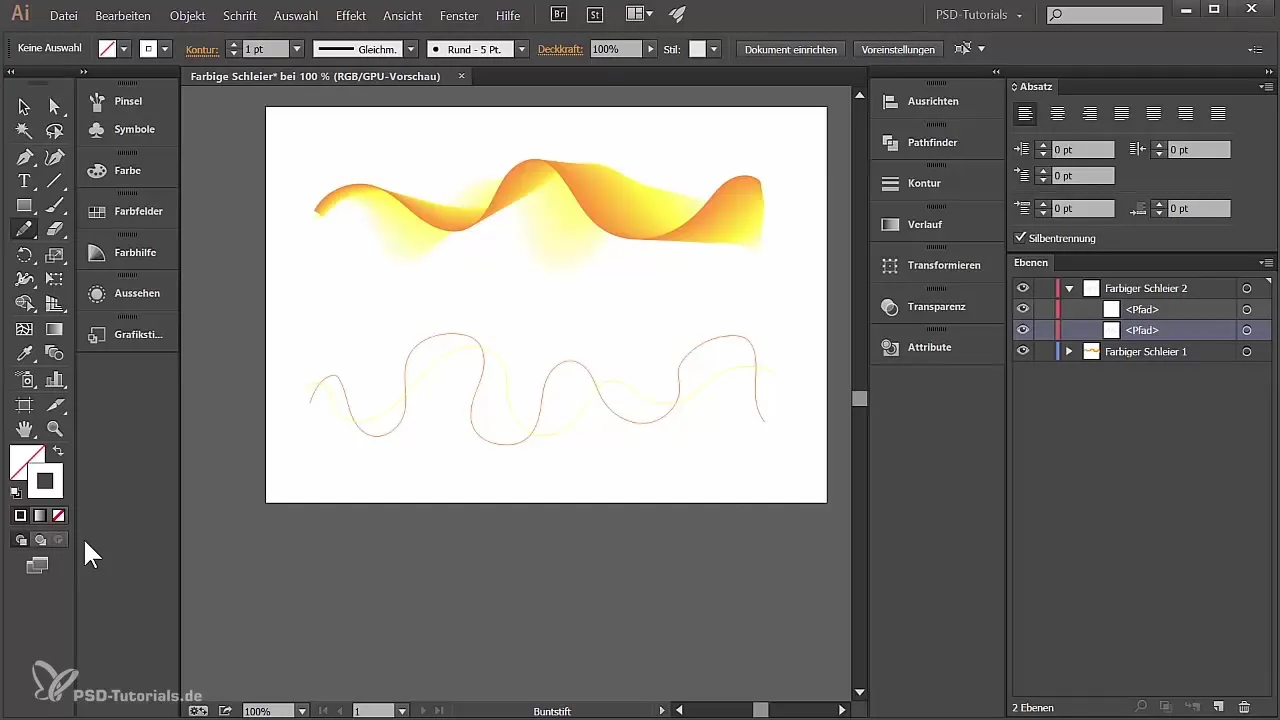
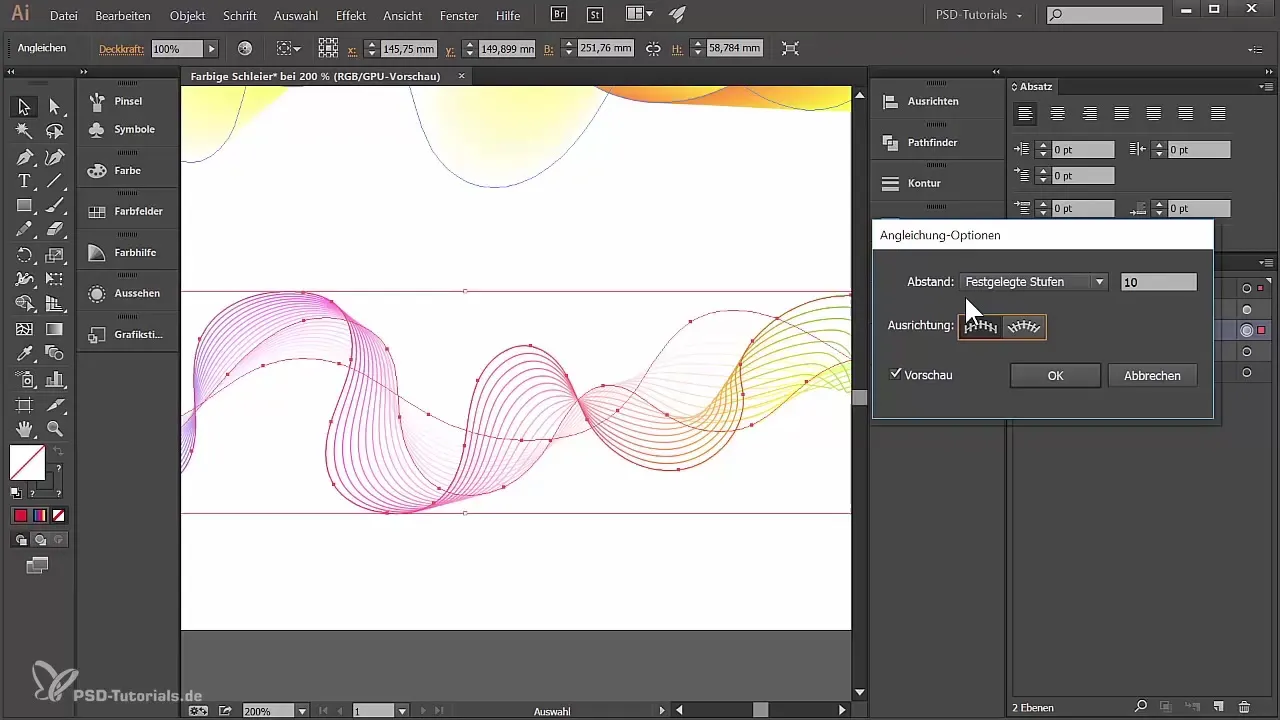
Once you have created your paths, it's time to select all of them. Use the “Object” function and then go to “Blend” to group the paths together. Choose the blend options and possibly set fixed steps to enhance the visual effect. Experiment with different values to see which ones you like the most.
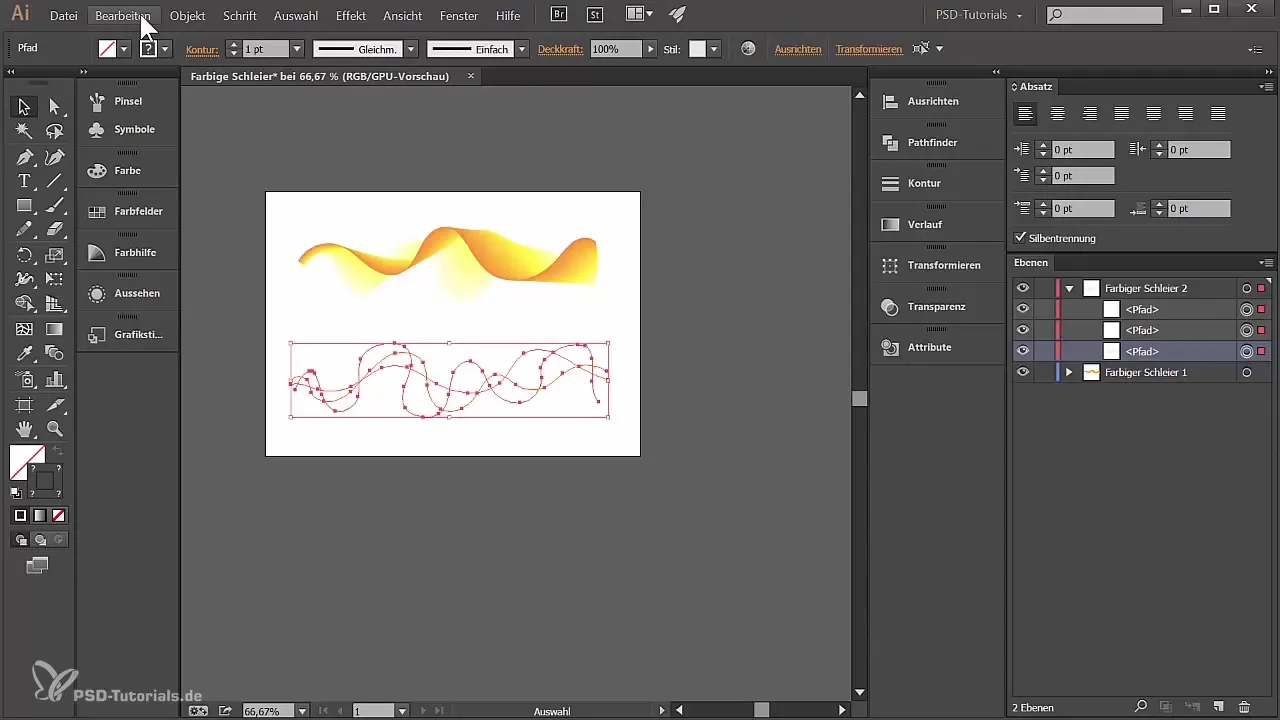
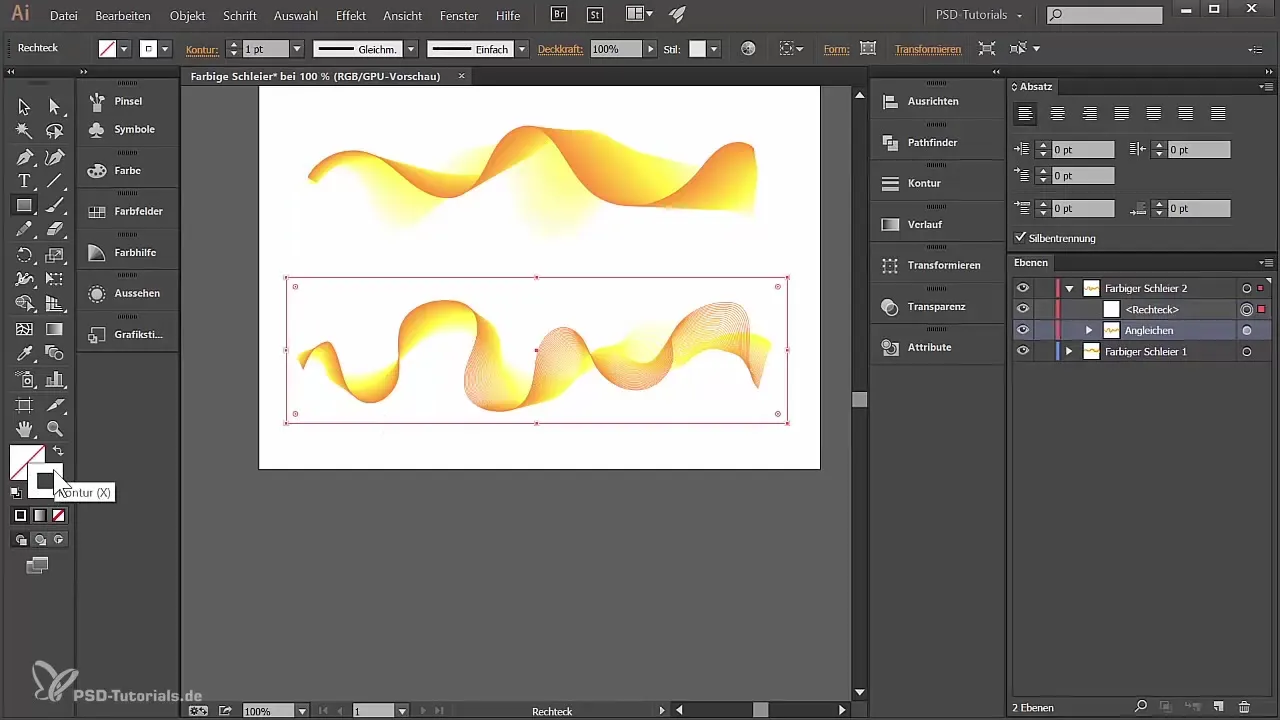
If you are satisfied with the result, place a rectangle over your group. This will serve as the base for the gradient. Make sure there is no stroke, only the fill. You can duplicate the rectangle and arrange it below your blend group to create a solid background for the next effect.
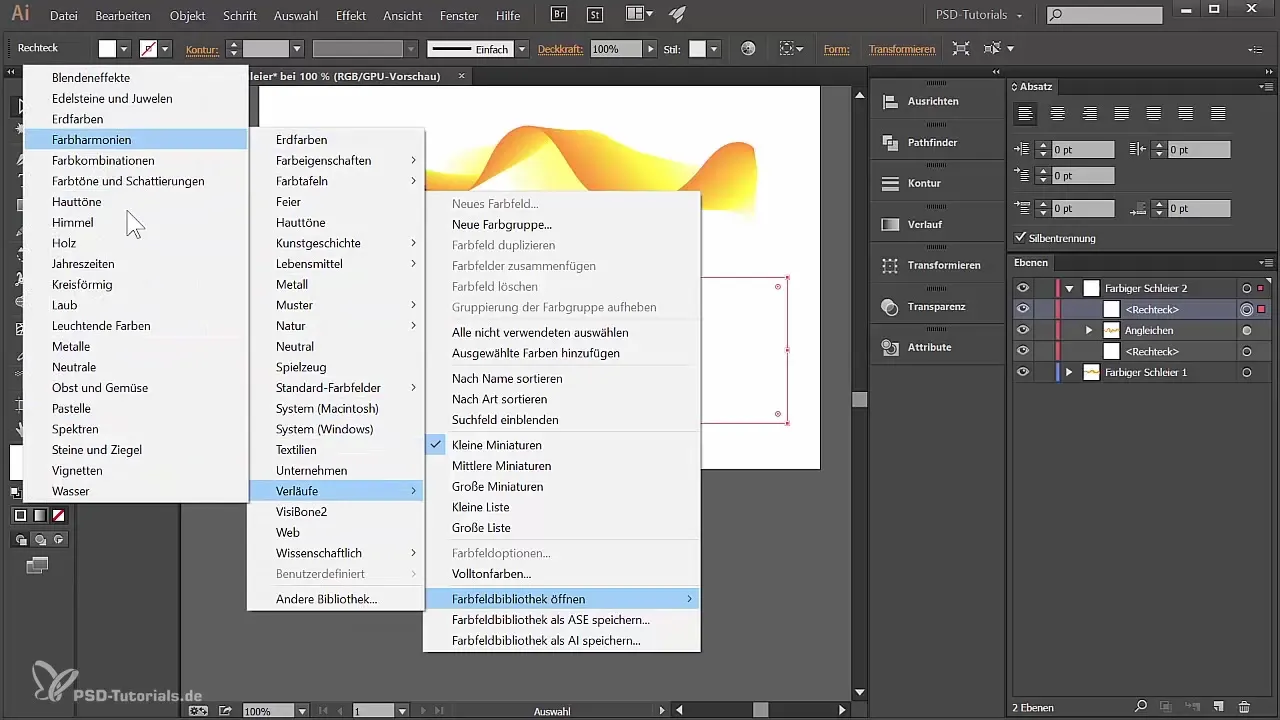
Now let's turn to the gradient. Open the swatches and select the gradient gallery, where you can find many different options. Choose the desired rainbow gradient and make sure to delete the stroke first so that the gradient becomes visible.
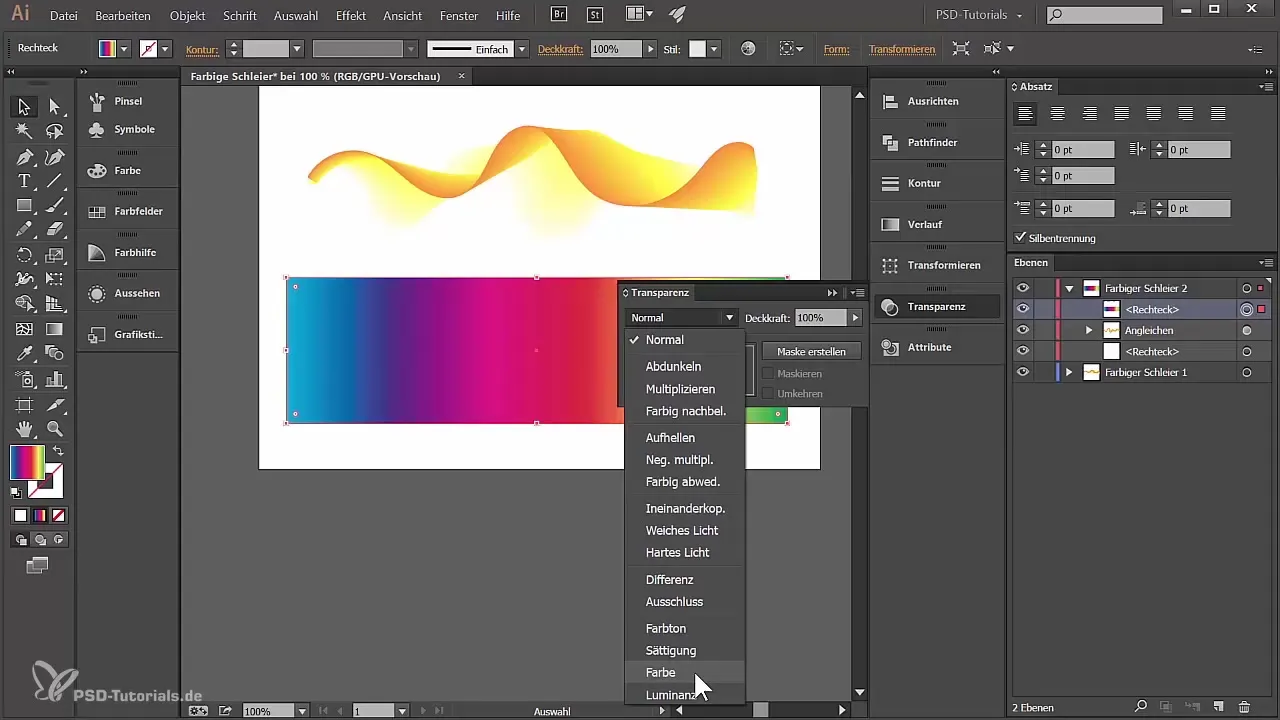
Go to the transparency panel to adjust the opacity or blending mode of your rectangle. You can reduce the opacity here so everything underneath shines through. Experiment with different blending modes. For example, the “Color” mode can create an interesting effect and make the gradient appear more vibrant.
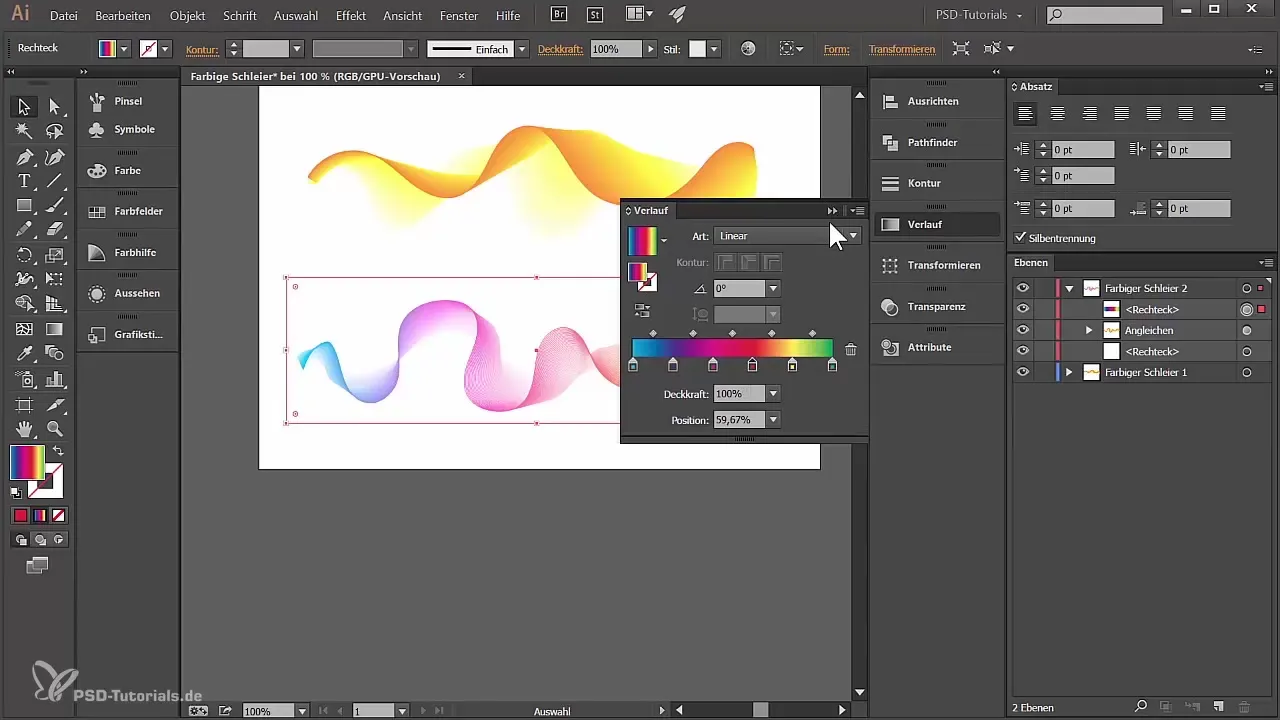
Once the gradient is ready, you can work with the handles to change the colors to your liking. You can also play with the position of the handles to further perfect the representation of your gradient.
You now have the option to activate your blend group again and adjust the spacing of the blending between the colors. Experiment with the spacing and adjust it repeatedly until the result meets your expectations.
With this, you should now have created an impressive colored veil with a dynamic gradient in Illustrator. Your creative possibilities are truly limitless.
Summary – Creating a Colored Veil in Adobe Illustrator
You have learned to create a colored veil in Adobe Illustrator step by step. Starting from the paths, through color selection, to exciting gradient effects, you have significantly expanded your graphic design skills.
Frequently Asked Questions
How do I create a new layer in Adobe Illustrator?Click on the small icon in the layers panel to create a new layer.
What can I do if I am dissatisfied with an anchor point?Select the anchor point and delete it to adjust the design.
How do I add colors to my gradient?Open the gradient panel and select the handles of the gradient to change the colors.
How can I adjust the transparency of a shape?Go to Window > Transparency and set the opacity or blending mode.
Can I still adjust the shape afterwards?Yes, you can edit the paths and shapes at any time to perfect your design.
