The creation of fireworks in Adobe Illustrator opens up countless creative possibilities. With the right tools, you can create impressive graphics that are suitable for invitations, posters, and much more. In this tutorial, I will show you how to use brush tools to create a variety of fireworks, adjust their colors and transparencies, and give them a glow effect. Let's get started!
Key Insights
- You will learn how to use brush tools to create fireworks.
- Adjusting colors and transparencies gives your illustrations more dynamism.
- The glow effect makes your fireworks appear more vivid.
Step-by-Step Instructions
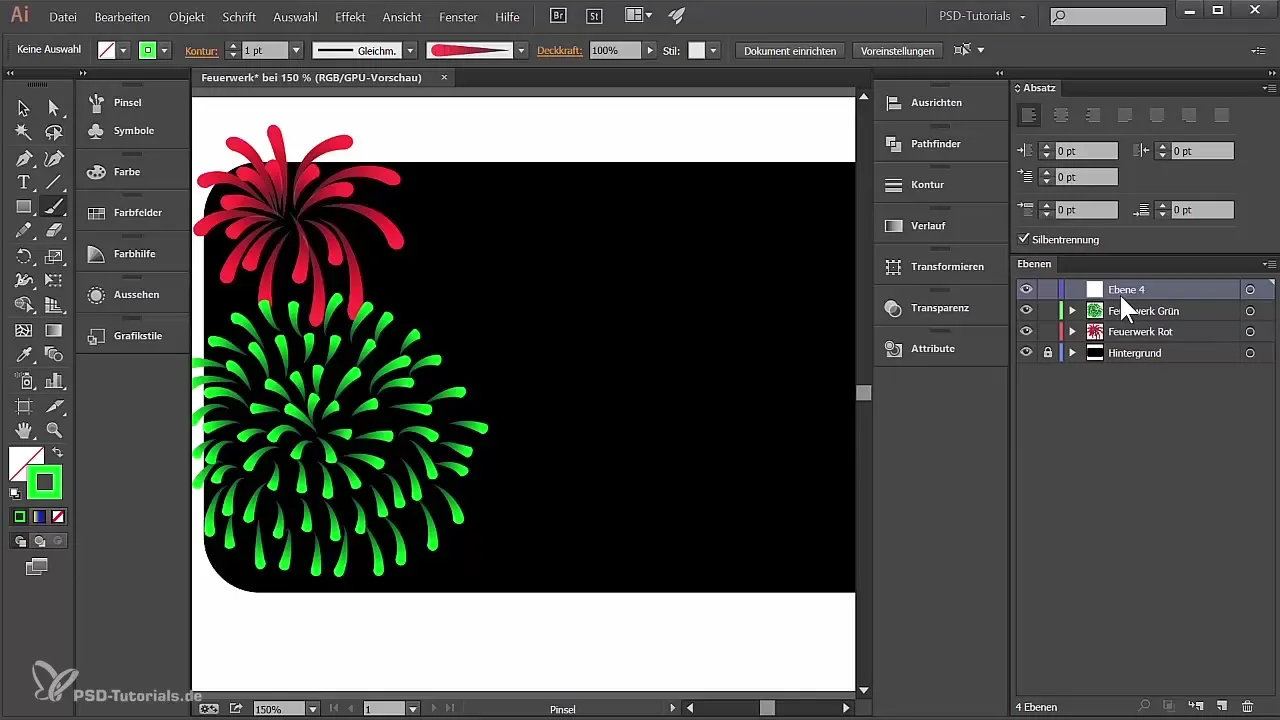
First, you need to prepare the workspace. Create a new layer and name it "Firework Red" to maintain clarity.
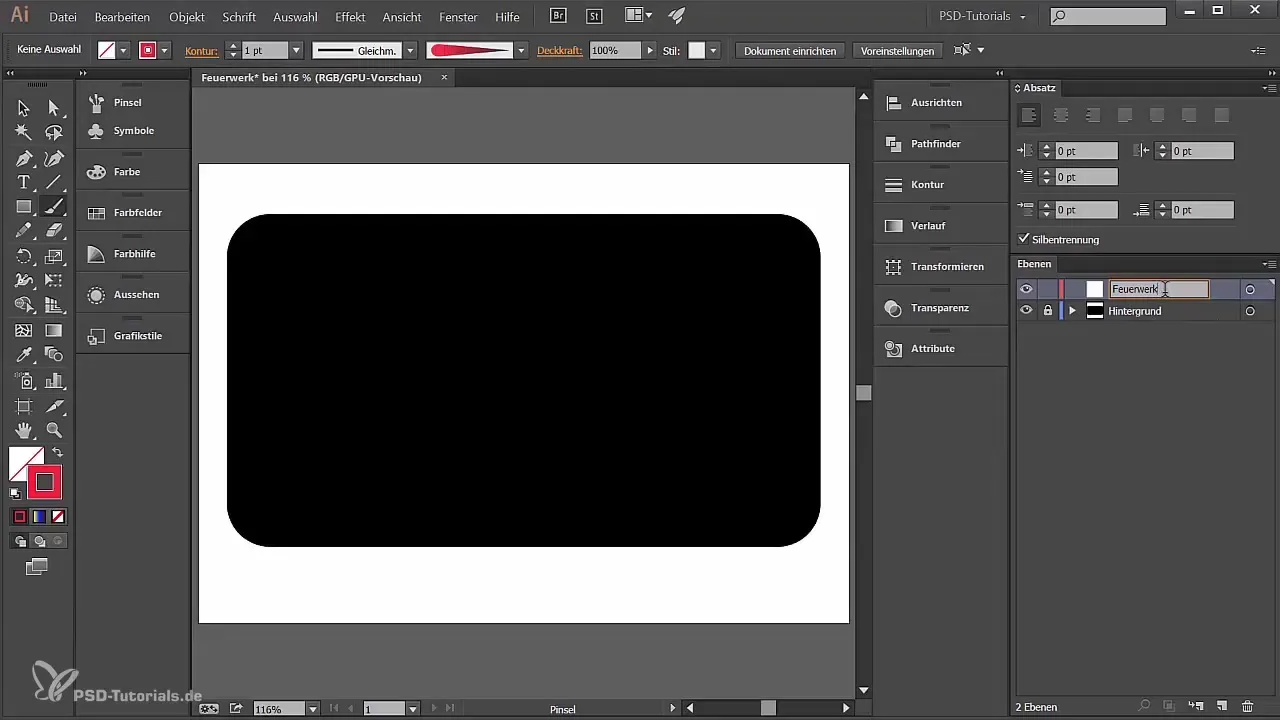
Select the brush tool. Make sure the stroke color is a bright red, and no fill is selected. If you want a different color, you can choose that as well.
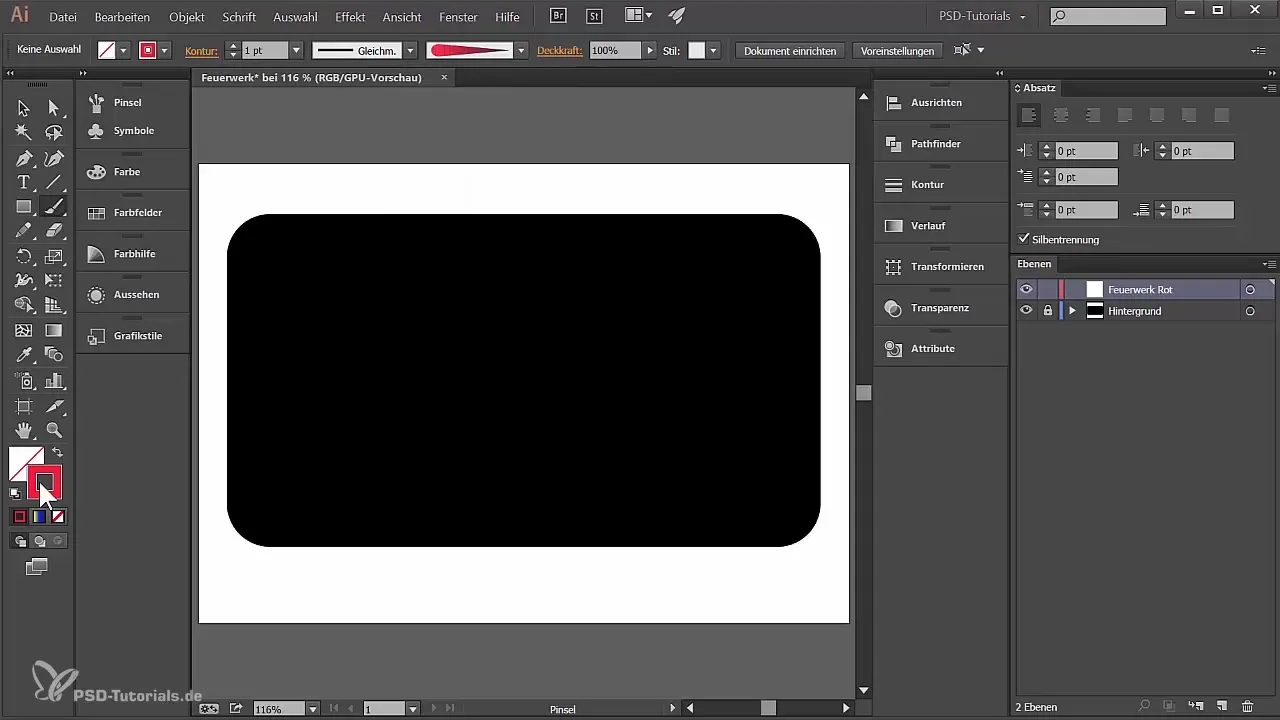
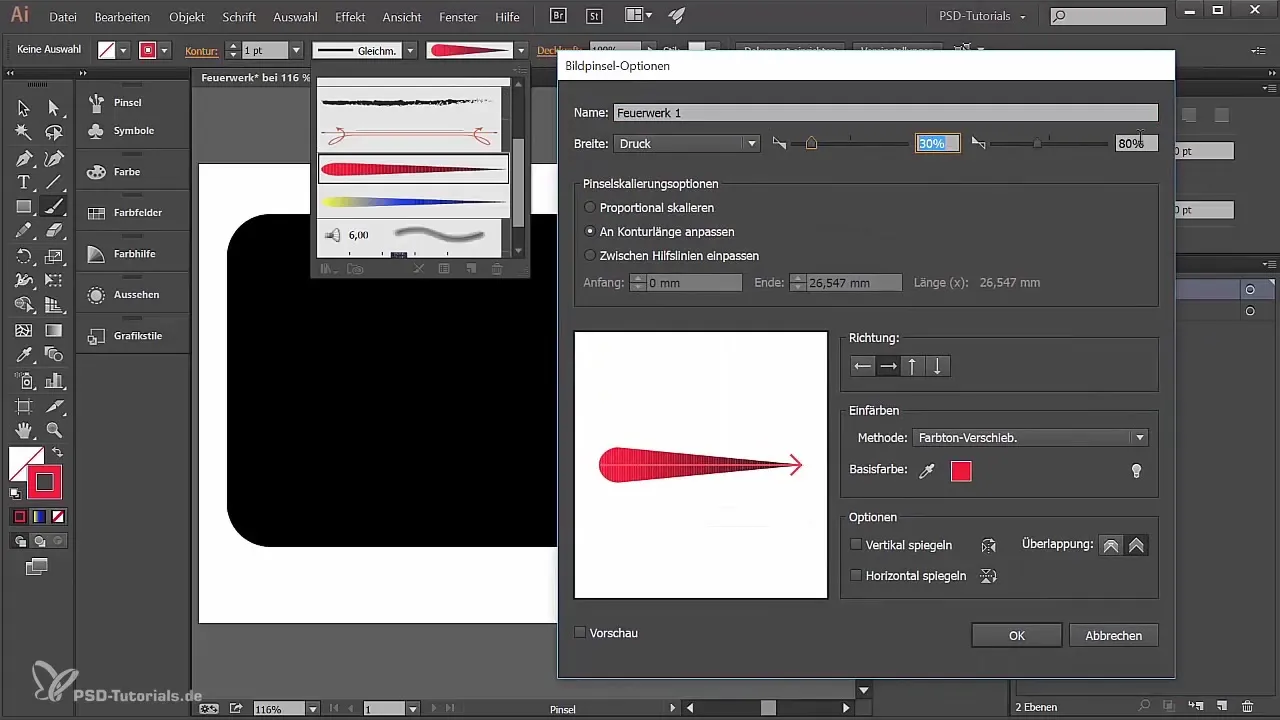
Now you can start drawing the first sparks for your fireworks. Experiment with the brush size: double-click on the brush and adjust the size between 80% and 150% to change the thickness.
Start painting the sparks on the canvas. Make sure the sparks are well-curved to simulate the shape of actual fireworks. You can also invest more time to achieve a great overall result.
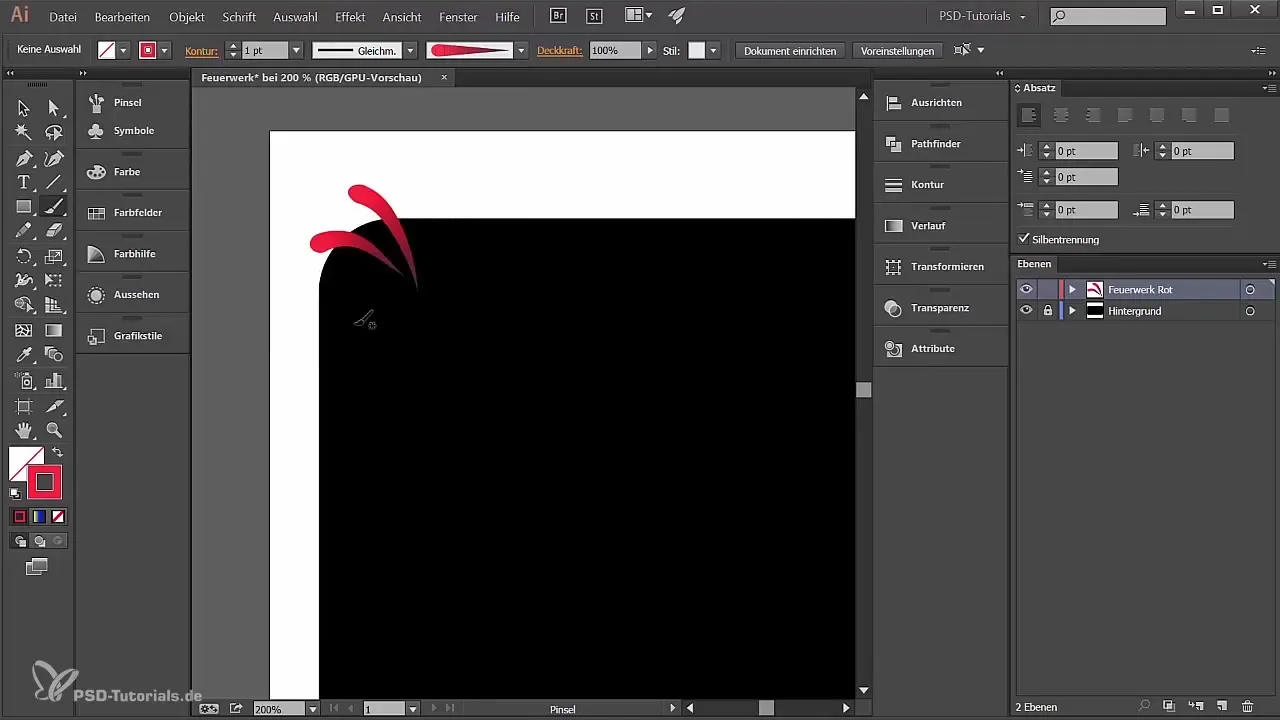
It makes sense to position the sparks so that they overlap, creating a more interesting effect. Experiment with the direction of the sparks – thick to thin – to create a varied illusion.
To achieve the transition of your sparks from red to black, you should adjust the background. Choose a dark shade to emphasize the contrast.
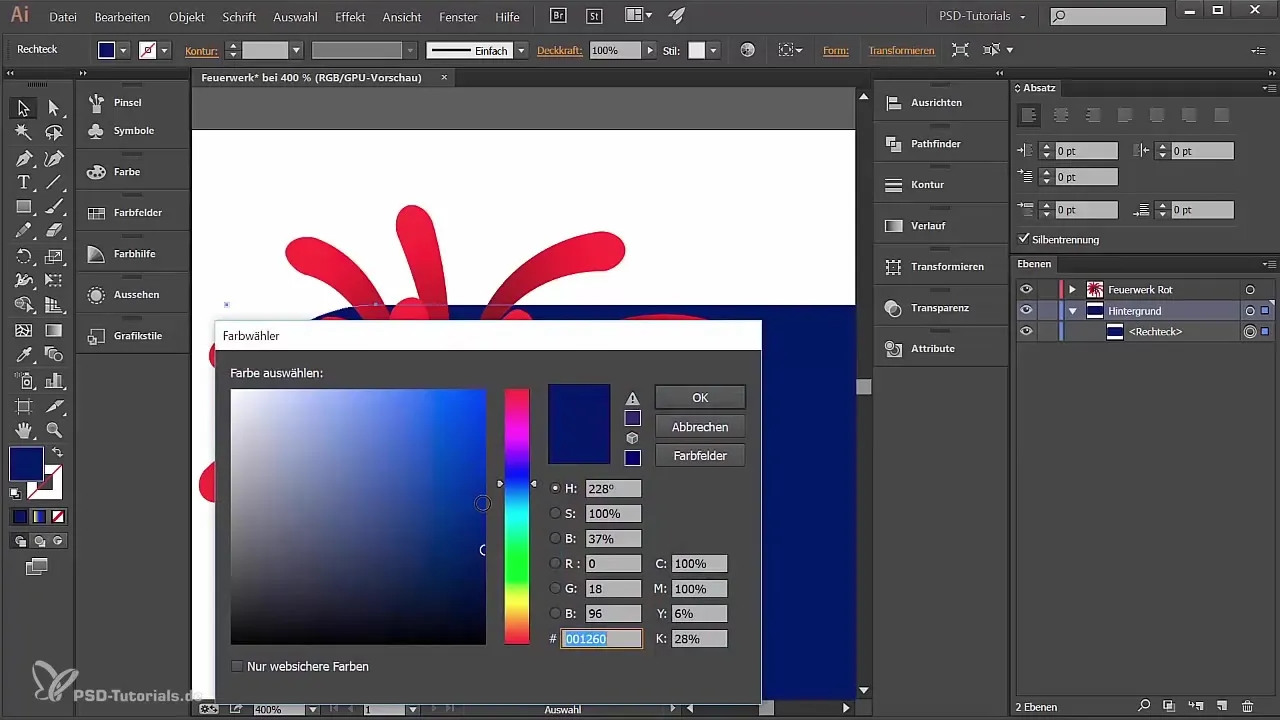
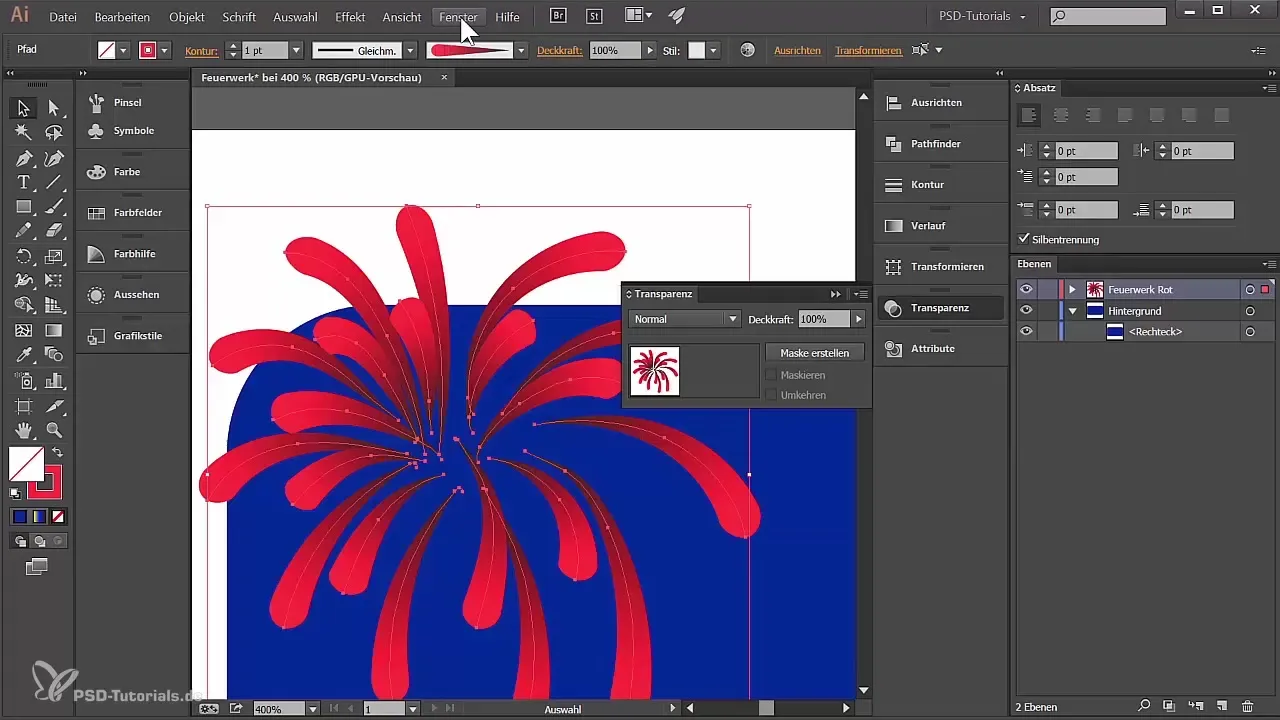
Now here’s a tip for working with transparencies: select the sparks and go to the “Window” menu > “Transparency”. Change the blending mode to “Multiply” to highlight the bright colors and make the dark ones transparent.
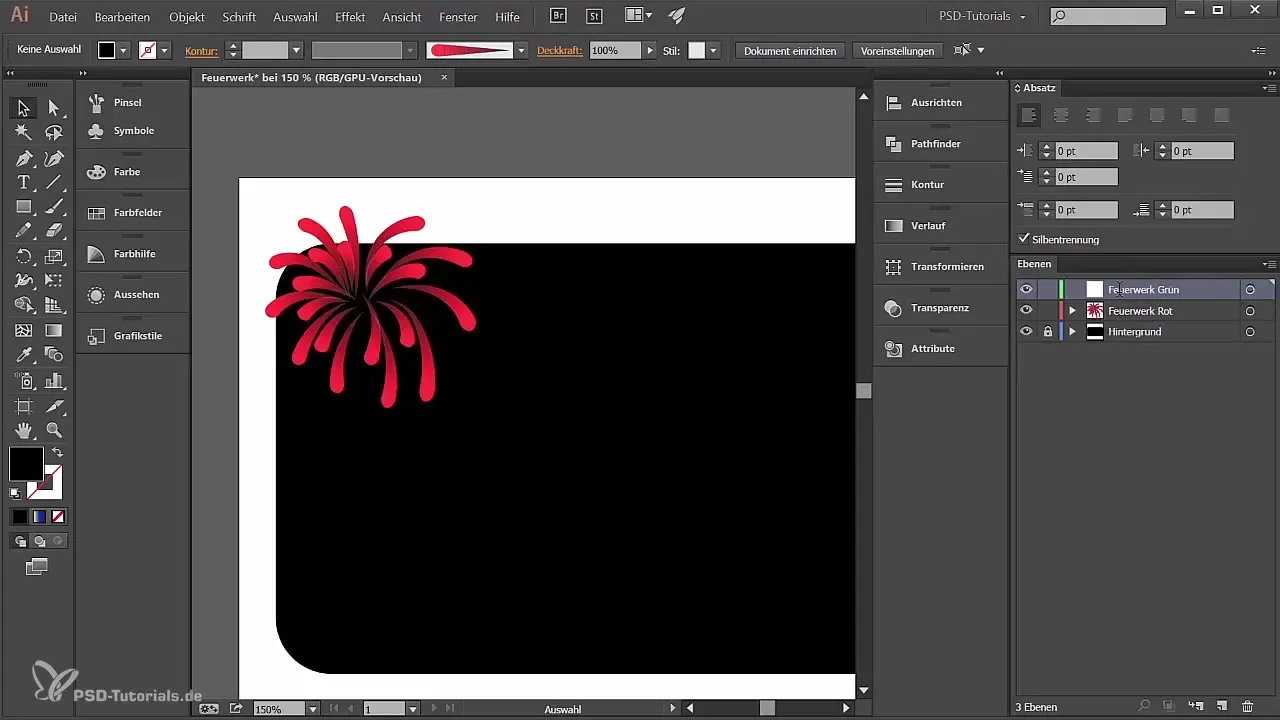
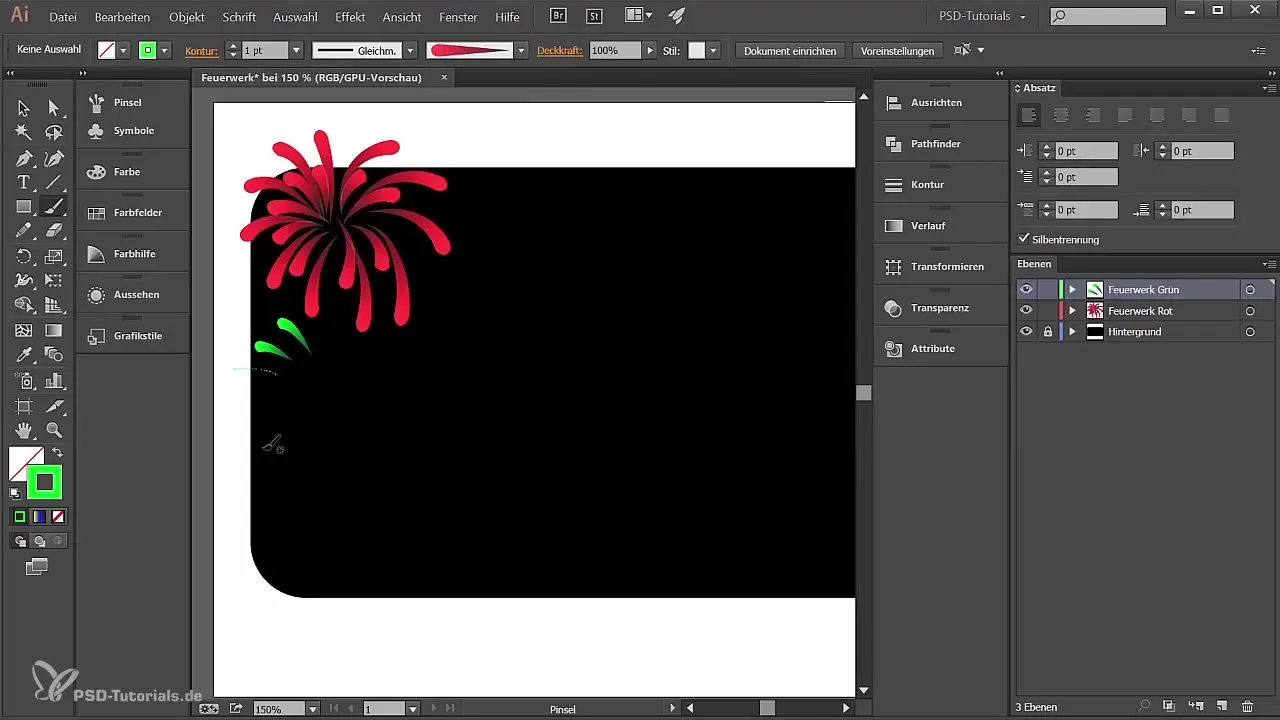
After you have completely created the first firework, create a new layer and name it "Firework Green." Repeat the steps – select the brush tool and choose a bright green. Vary the brush thickness to achieve different effects.
Use the same drawing method to create sparks again. Ensure they overlap to create a dynamic effect. Feel free to experiment with different motifs and colors.
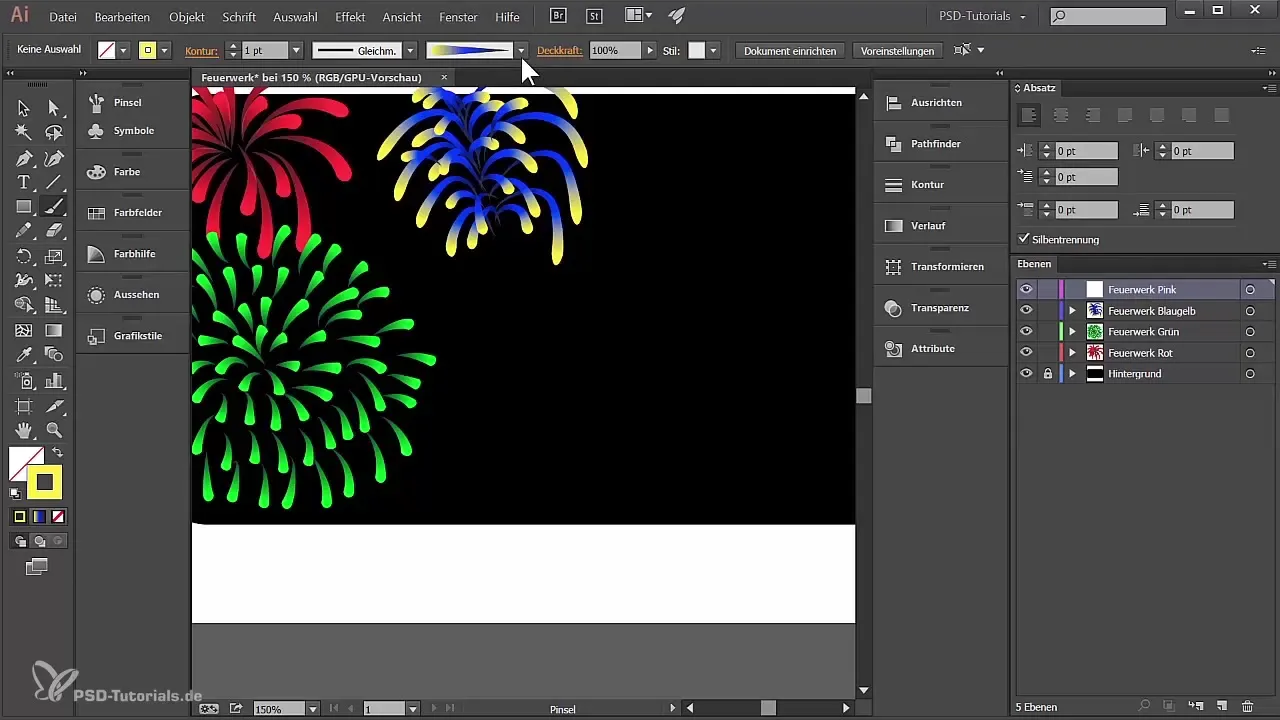
The next firework will be blue-yellow. Switch to a new layer and adjust the brush again to create the desired structures. Here, it is also advisable to use the basic techniques by working from the outside in.
For the next firework you want to create, you can try a pink variant. Just change the color of the brush and paint again. Experiment with different sizes and arrangements.
To perfect the overall effect of your fireworks, you can use the “Gaussian Blur” effect for all layers. Make sure to adjust the height of the effect according to the visibility of your creations.
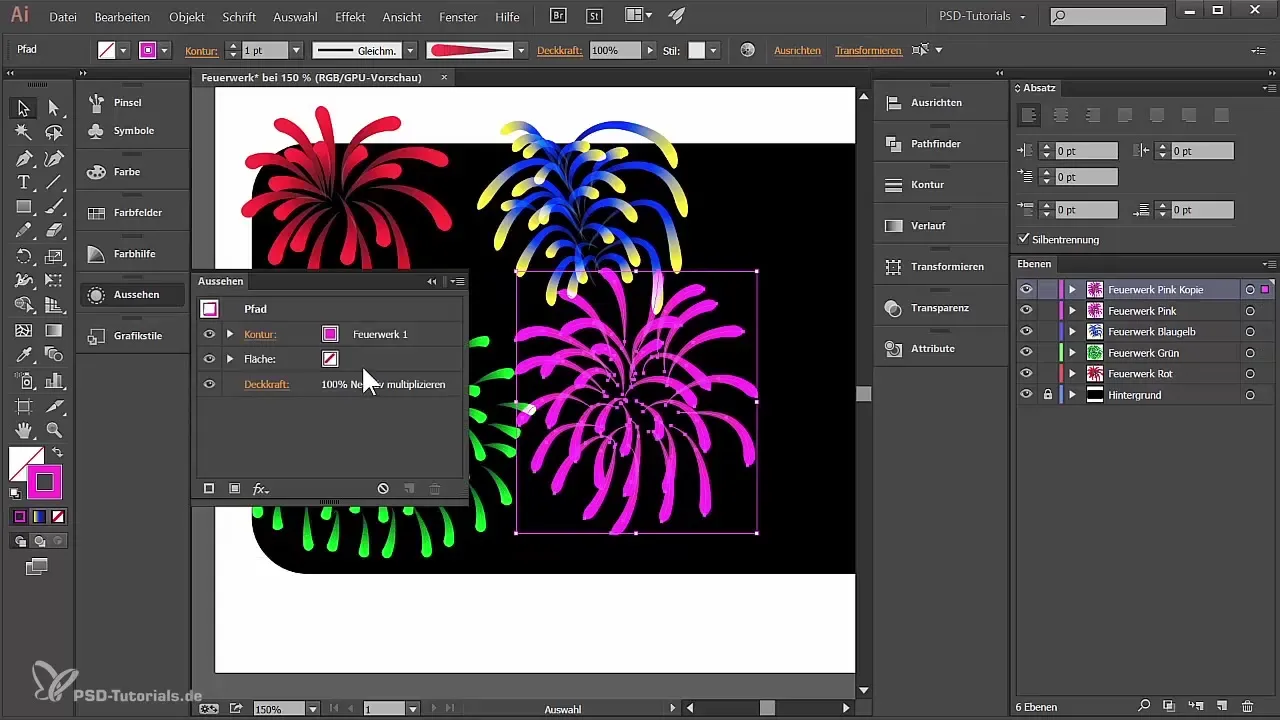
Once you have created all the fireworks, select all layers. Set the transparency for each layer to “Multiply” – this will give you a great glow effect.
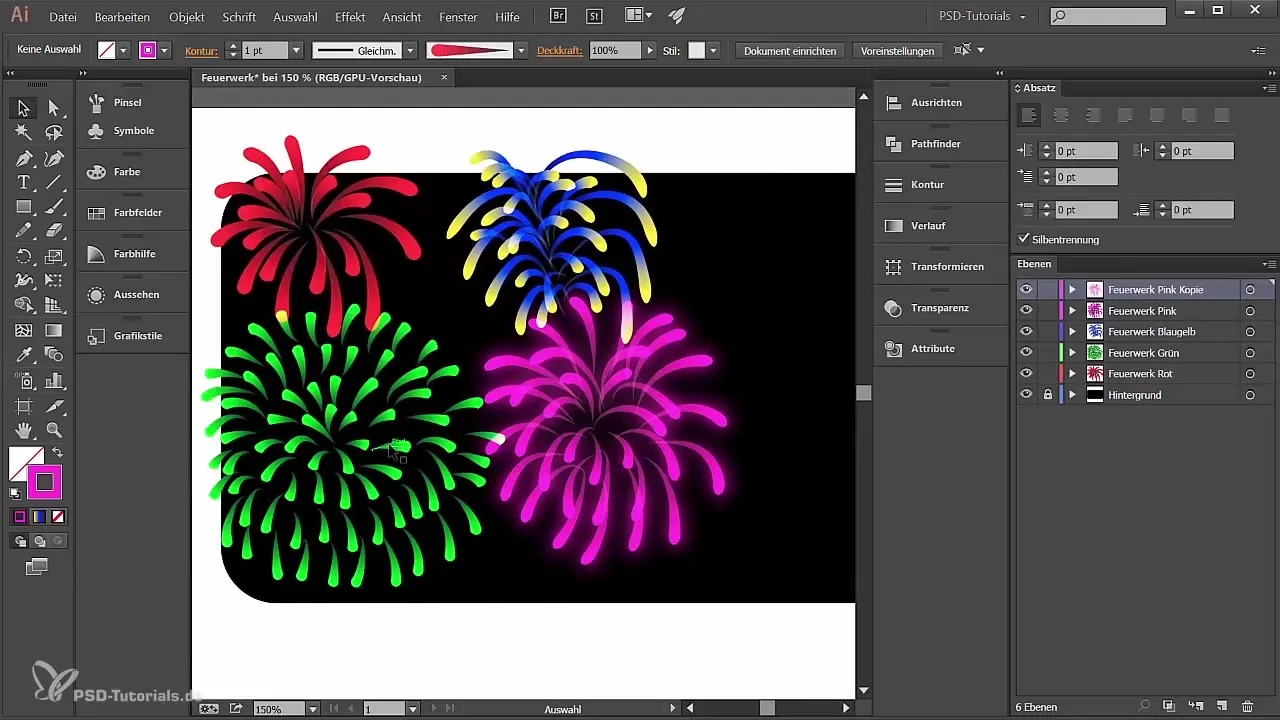
Now you can take a look at the overall display of your fireworks. If you want to make changes, you can still edit and adjust individual paths.
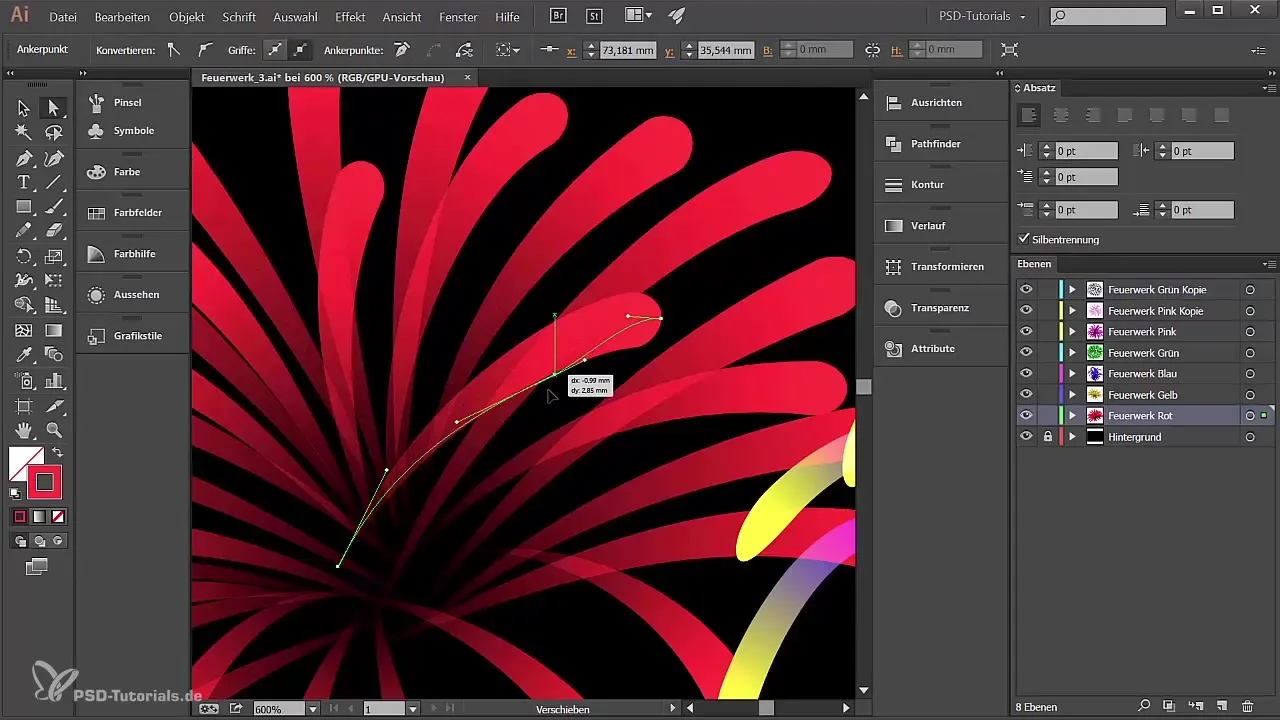
Summary – Designing Fireworks in Adobe Illustrator
In this tutorial, you learned step by step how to create impressive fireworks in Adobe Illustrator. Using brush tools, adjusting transparencies, and color effects give your designs a special touch. Use your newly acquired skills to realize creative projects.
Frequently Asked Questions
What is the best brush for fireworks?Use a brush with variable stroke thickness to achieve realistic effects.
Can I draw shapes other than sparks?Yes, you can use and adjust any shape to achieve various effects.
How can I adjust the colors for the brushes?Double-click on the brush and change the color values to influence the style.
