In the second part of this tutorial, you will learn how to efficiently create the heel of a high heel in Adobe Illustrator and give your design the final touch. Let's dive straight into the steps!
Main Insights
- Locking objects helps avoid accidental movement.
- Gradients and transparency settings can be used for better visual effects.
- Using the Pathfinder tool allows for effective shape modifications.
- Smaller details contribute to a more professional overall impression.
Step 1: Create Heel and Lock Main Part
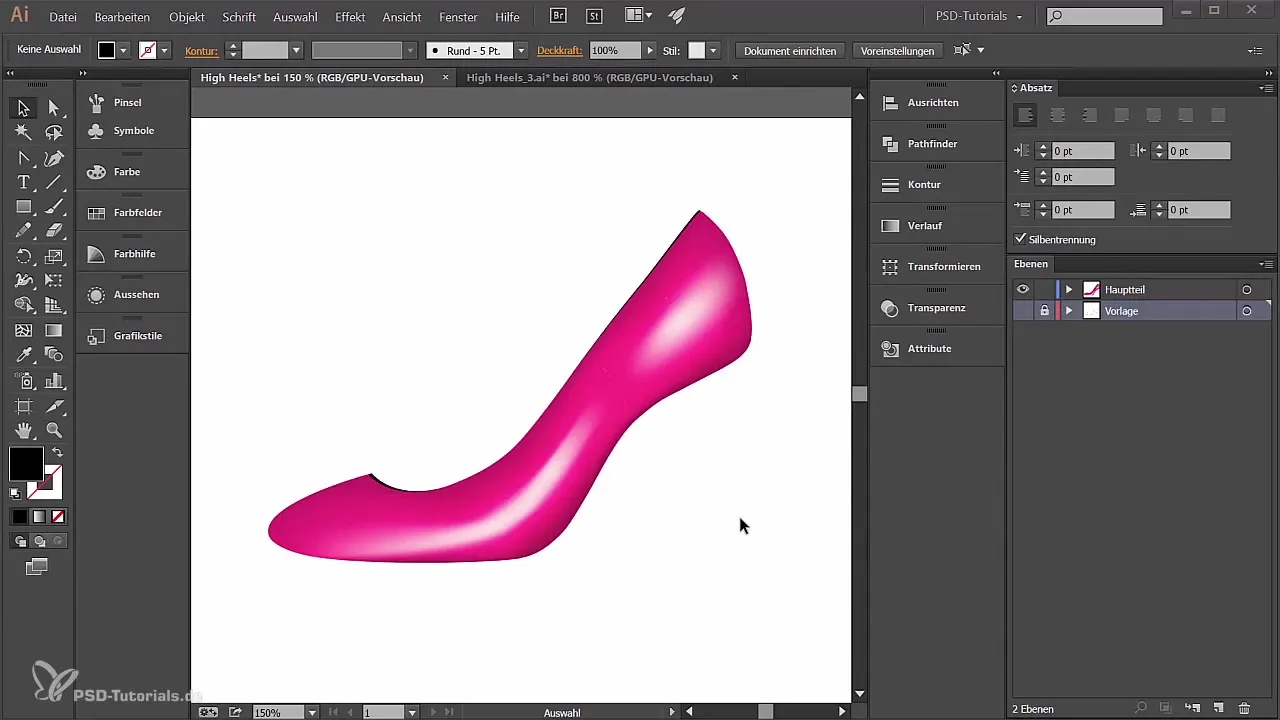
First, take care of the heel of the high heel. To prevent the main part of the shoe from being accidentally edited, lock it. To do this, click on the free area to lock the main part. This way, you can focus completely on the heel.
Step 2: New Layer for the Heel
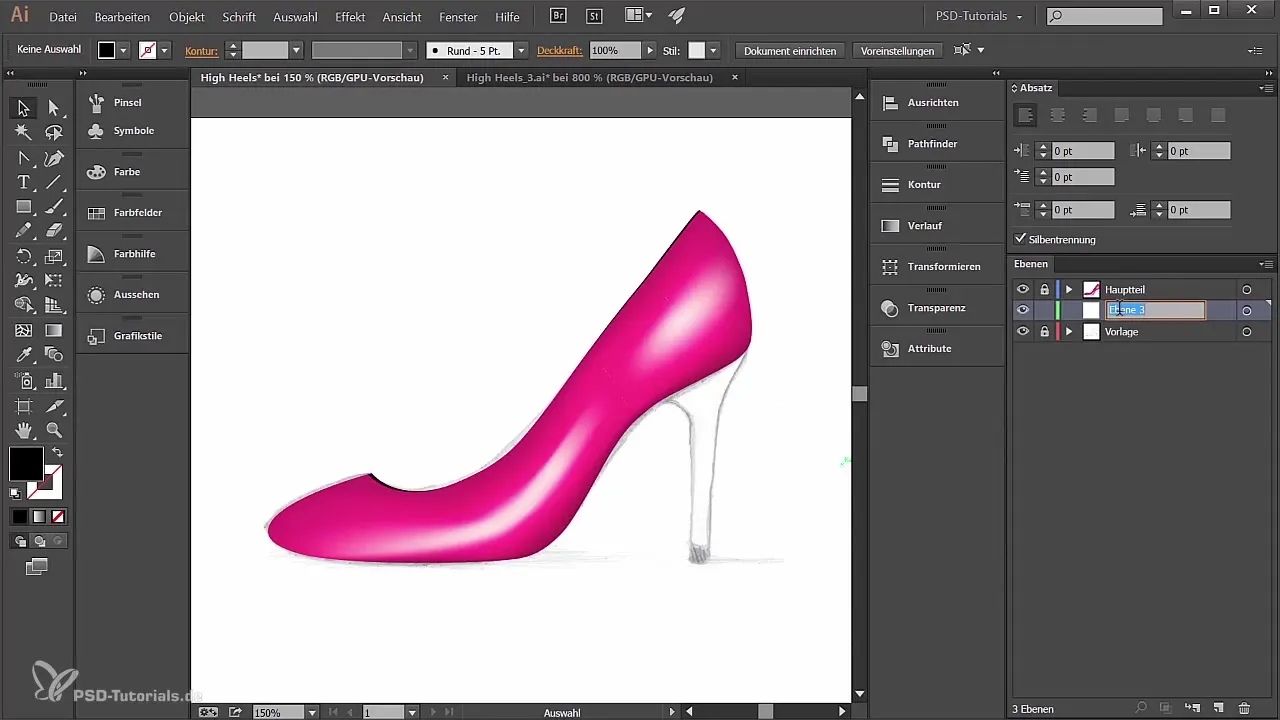
Create a new layer and name it "ABS". Place this layer below the main part. This will allow you to concentrate fully on the heel without disturbing the main part.
Step 3: Draw Rectangle for the Heel
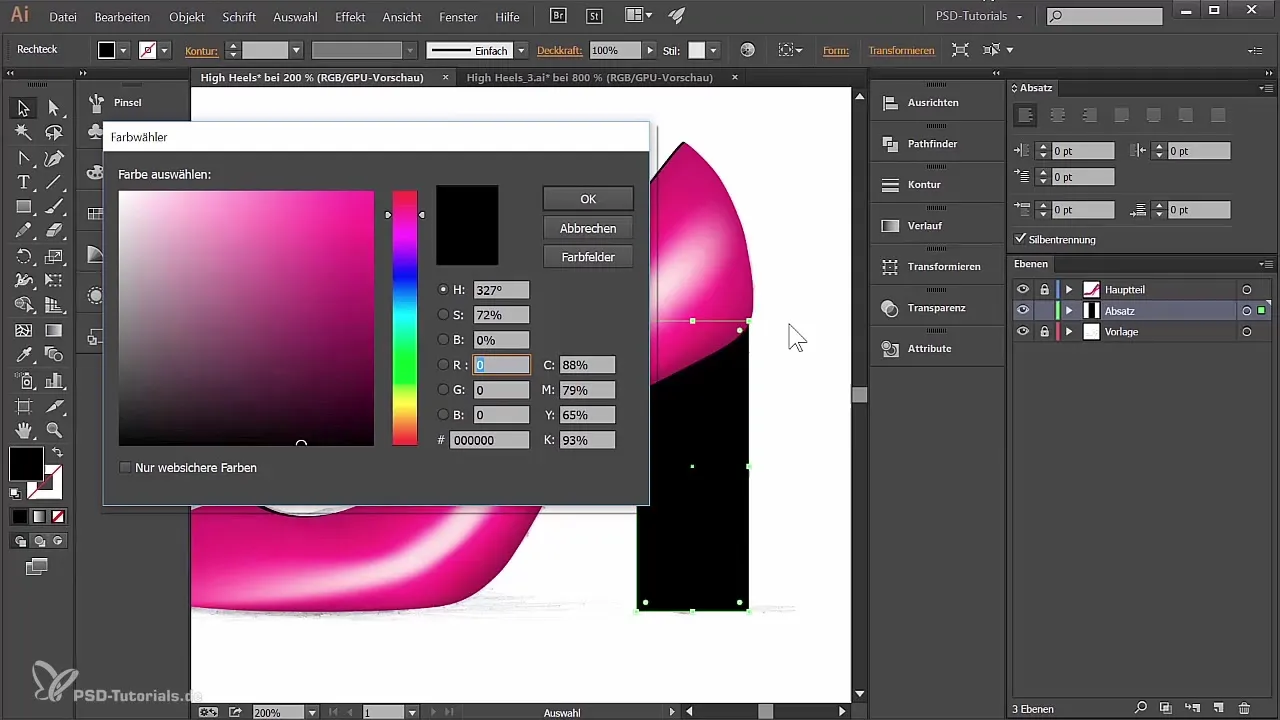
Select the Rectangle tool and draw a rectangle. Hold down the spacebar to position the shape while dragging. The smart guides help ensure that the heel is aligned with the main part.
Step 4: Add Color and Gradient
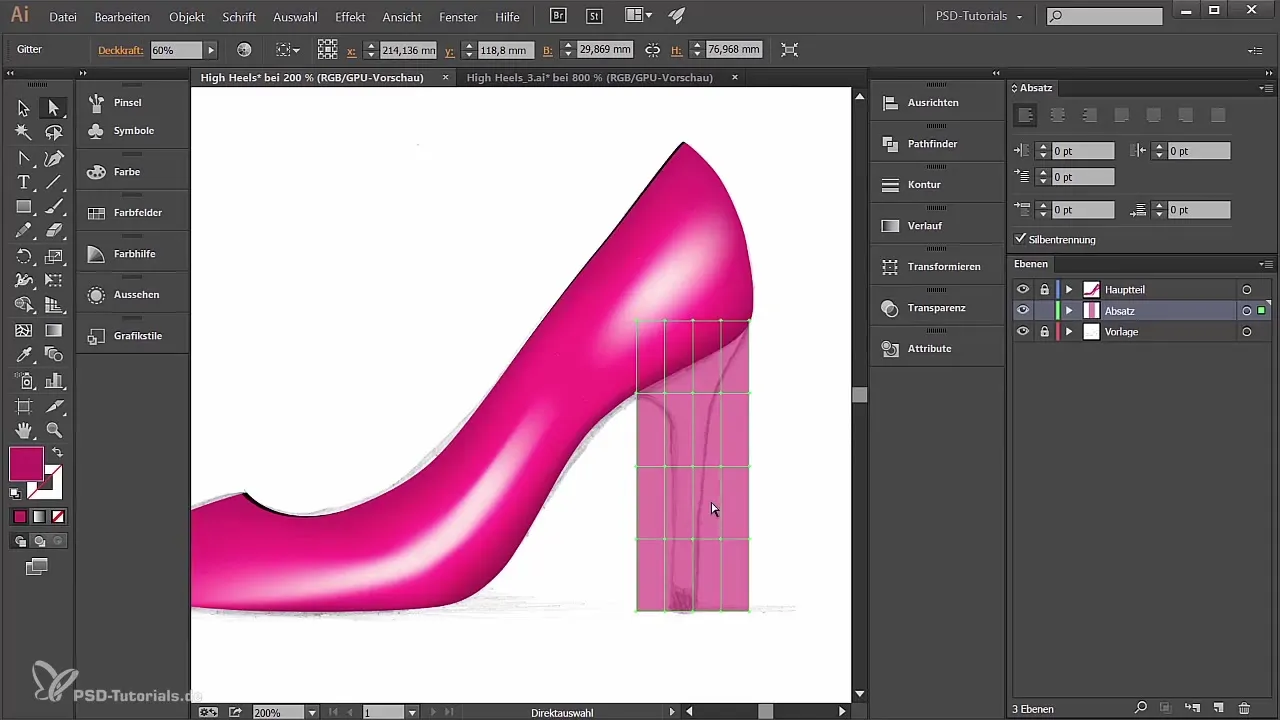
Color the rectangle with a similar color to the main part. Use the RGB values 161, 0, 84. Then create a gradient mesh with four rows and four columns to give the heel more depth.
Step 5: Adjust Shape
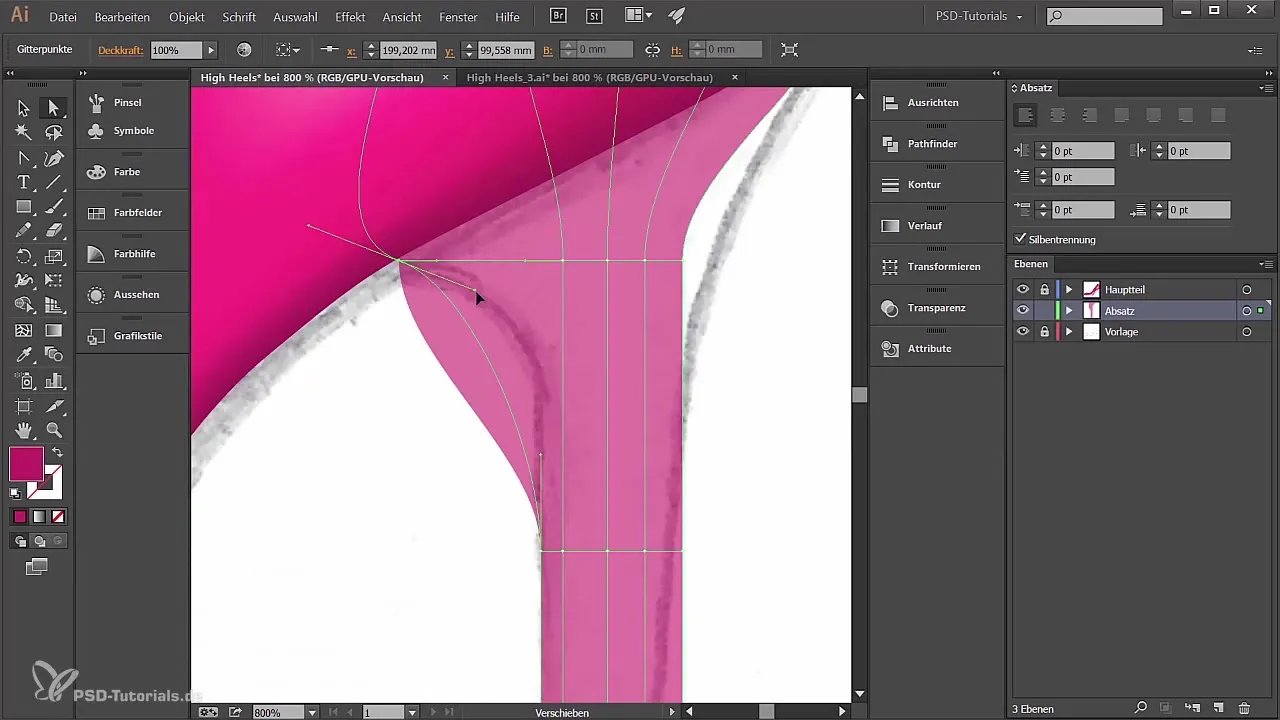
First, go to the transparency panel and set the opacity to about 60% to see the underlying image better. With the Direct Selection tool, you can now squeeze and edit points of the gradient mesh to achieve the desired shape.
Step 6: Further Adjustments
Drag the anchor points and segment the heel accordingly to refine the shape. Be sure to hold down the Shift key during adjustments to move the points precisely.
Step 7: Add Details
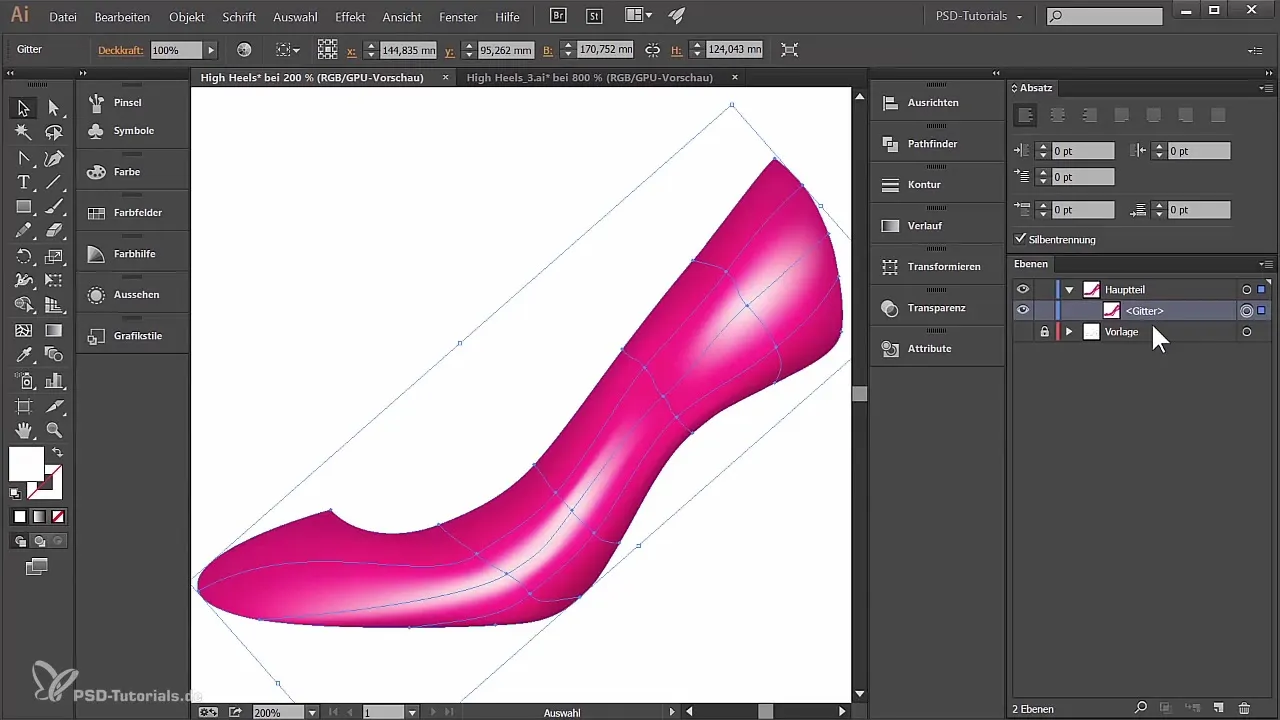
To give the shoe more depth and dimension, add another detail. Duplicate the mesh to create a path. Select the object, go to “Object” > “Path” > “Offset Path” and use an offset of 0 mm to extract the shape.
Step 8: Set Color
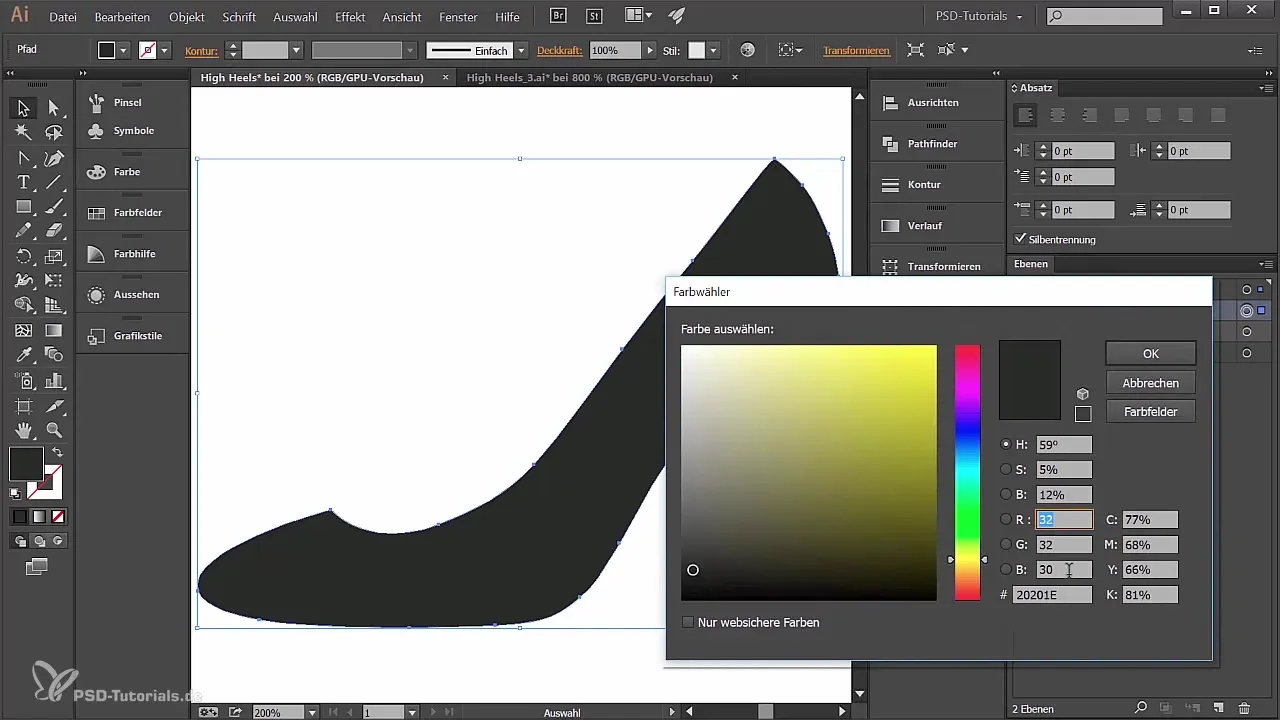
Now give the new shape a black fill. Make sure the color values for a deep black are correct to achieve the best print effect.
Step 9: Create Copy
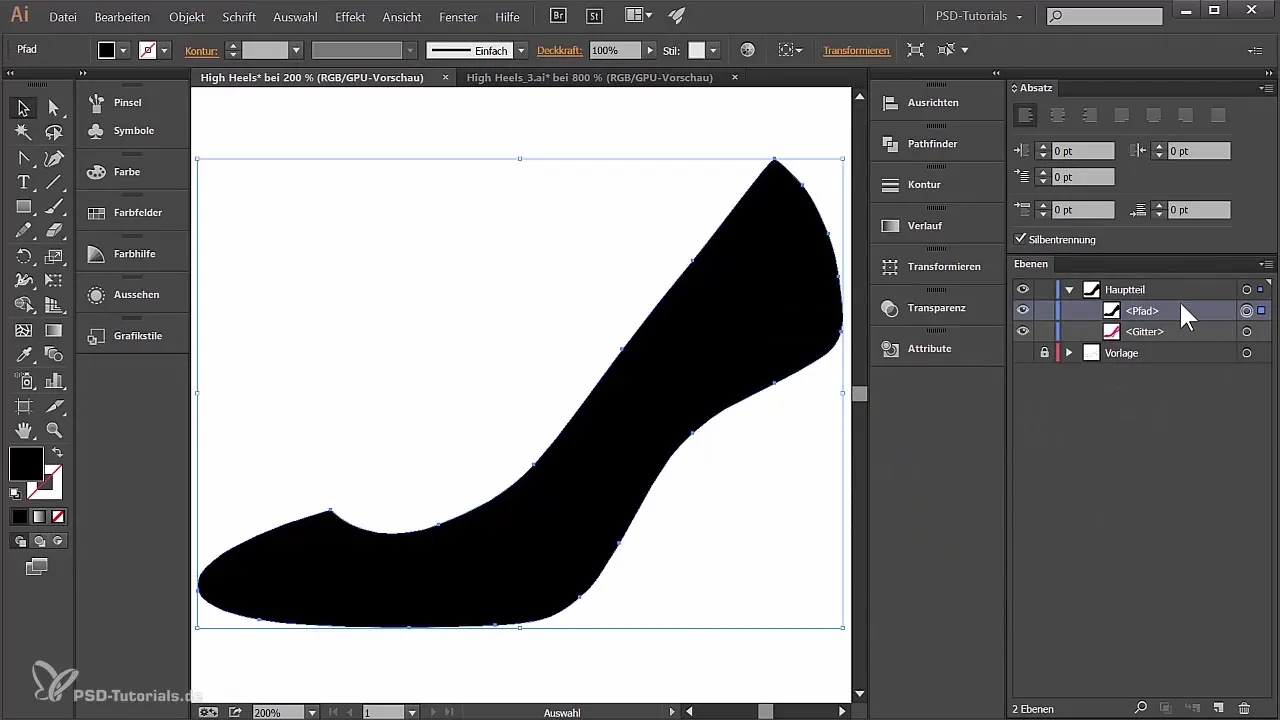
Create a copy of the path and place it in the foreground. You can change its color to create even more dimensions. With the Pathfinder tool, you can then subtract the excess part to further refine the shape.
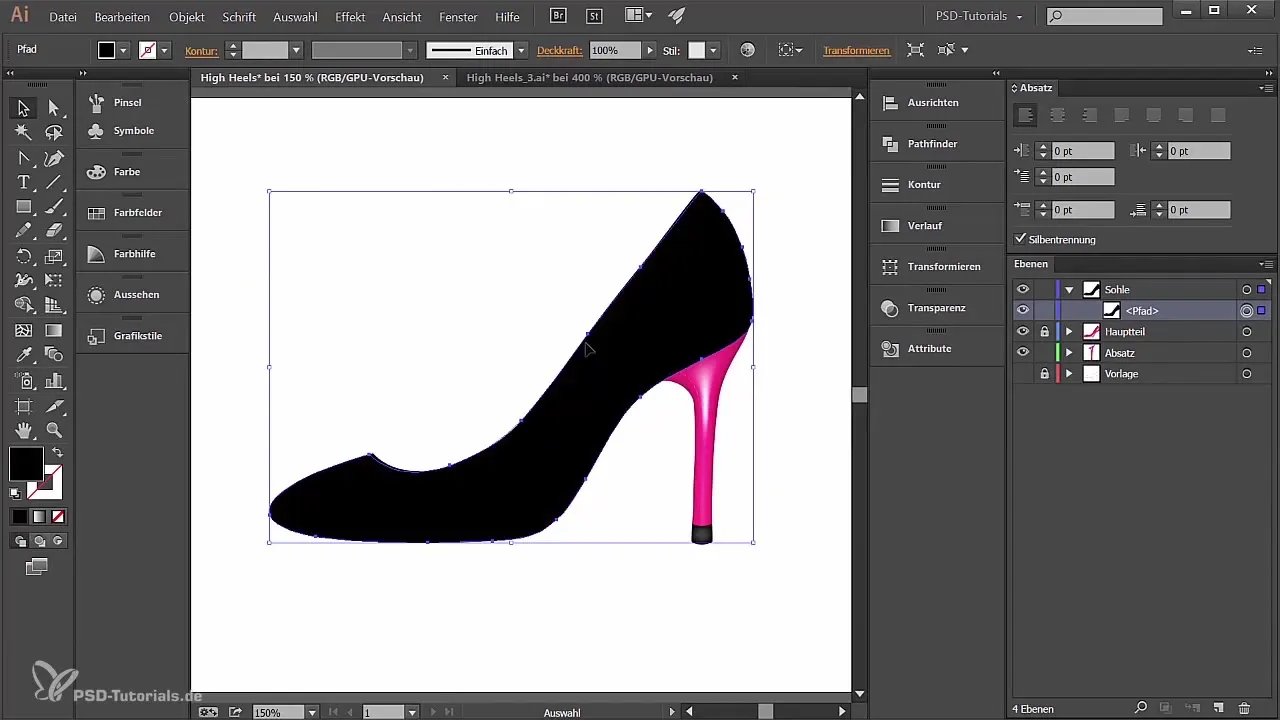
Step 10: Create Sole
Now it's time to design the sole. Create a new layer named "sole" and copy the path onto it. Change the color to black and add a clear contour.
Step 11: Add Effects
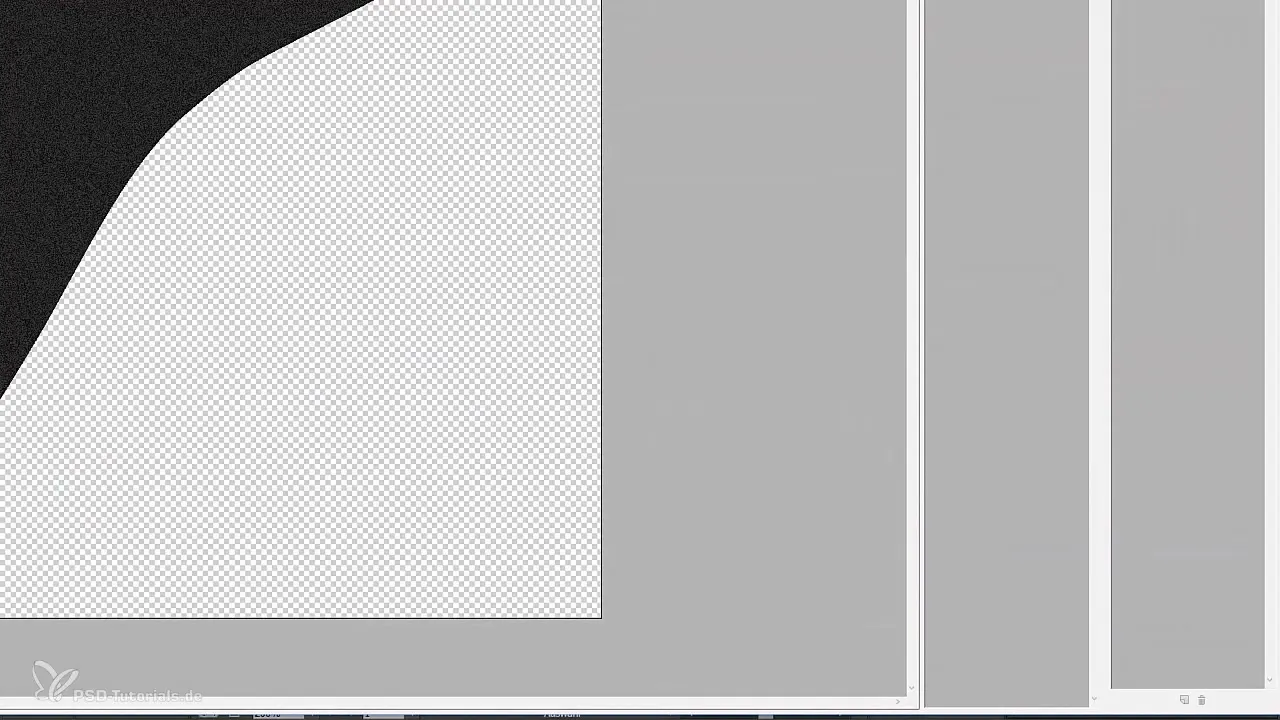
Apply a light grain effect to give your design a more harmonious look. To do this, select the fill area and go to Effects > “Artistic Filters” > “Grain”.
Step 12: Finalize
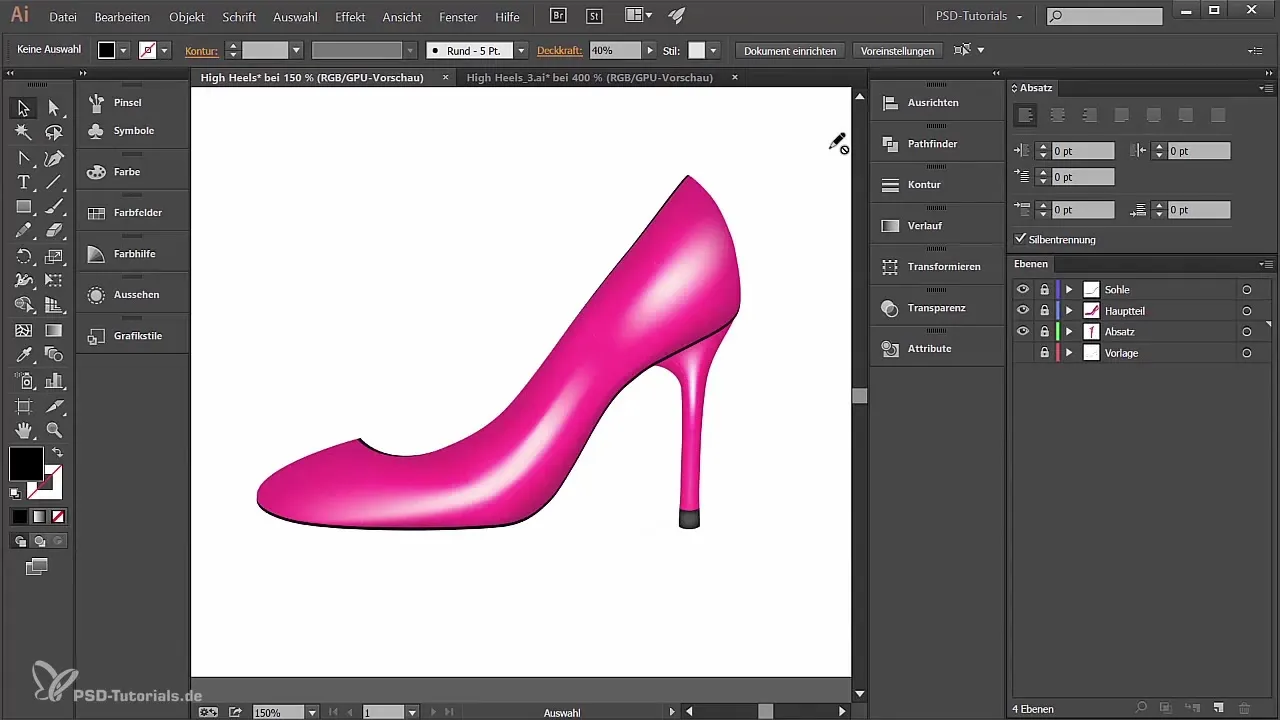
Finally, review your work by turning off the visibility of the template. Make sure everything looks well-proportioned and cohesive. You have successfully created a professional heel!
Summary
You have now gone through the steps to create a stylish and professional heel for high heels in Adobe Illustrator. With these techniques, you can efficiently implement and further customize your own designs.
Frequently Asked Questions
How do I lock an object in Illustrator?Select the object and then click the lock icon or go to “Object” > “Lock”.
How do I extract a shape from a mesh?Select the mesh, go to “Object” > “Path” > “Offset Path” and choose 0 mm for the offset.
How do I add effects in Illustrator?Select the object, go to “Effects” and choose the desired effect from the list.
How do I create a gradient in Illustrator?Select the object, go to the gradient panel, and adjust the colors and settings as needed.


