Designing lips can be a rewarding creative task in Adobe Illustrator, where the use of a gradient grid can make a significant difference in the design and realism of colors and shades. This tutorial will show you how to easily and effectively create a kiss mouth with vibrant colors and soft shadows. Let's dive straight into the process of designing an appealing kiss mouth in Illustrator!
Key Takeaways
- Working with gradient grids allows for realistic lip designs.
- Careful preparation of the document facilitates creative work.
- The use of anchor points within gradient grids is crucial for adjustments and gradients.
Step-by-Step Guide
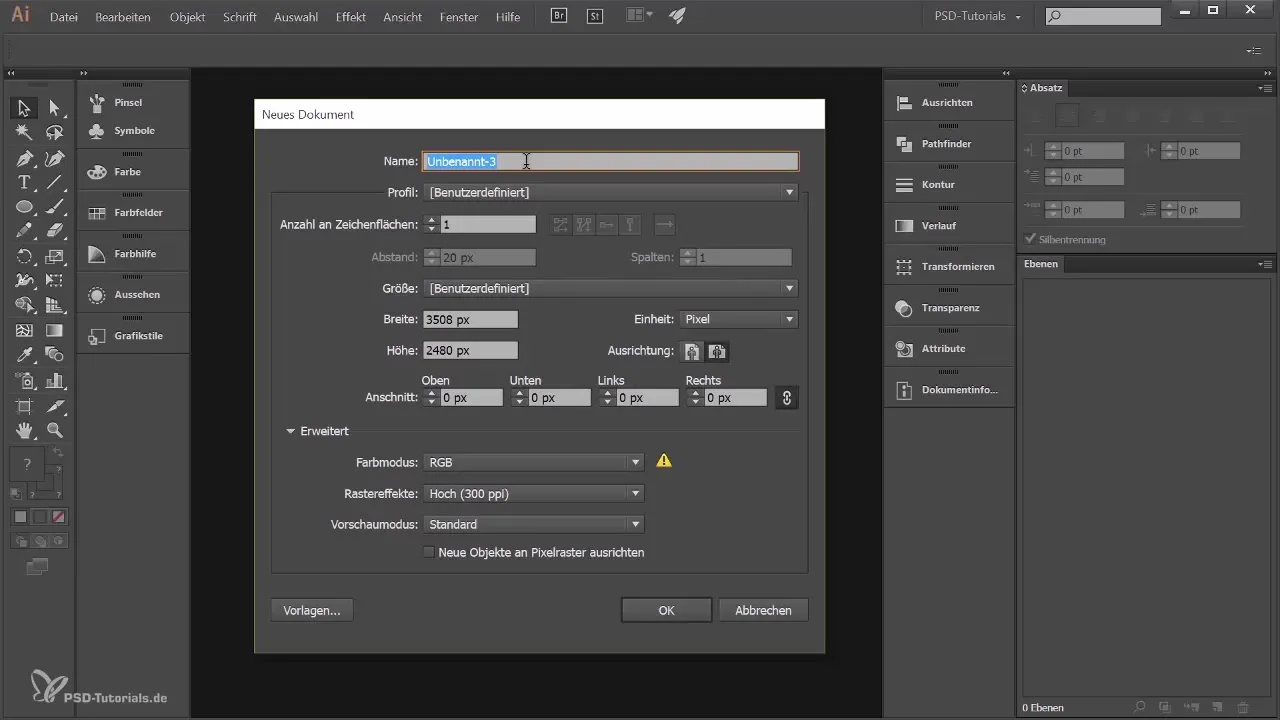
First, open a new document in Adobe Illustrator. Click on "File" and then "New". Name the document best as "Lips" and choose the A4 landscape format. You can also enter the millimeters manually if needed. Make sure to select the RGB color mode, as this is more suitable for digital use. Your settings should look like this: Raster effects at 300 ppi, A4 landscape.
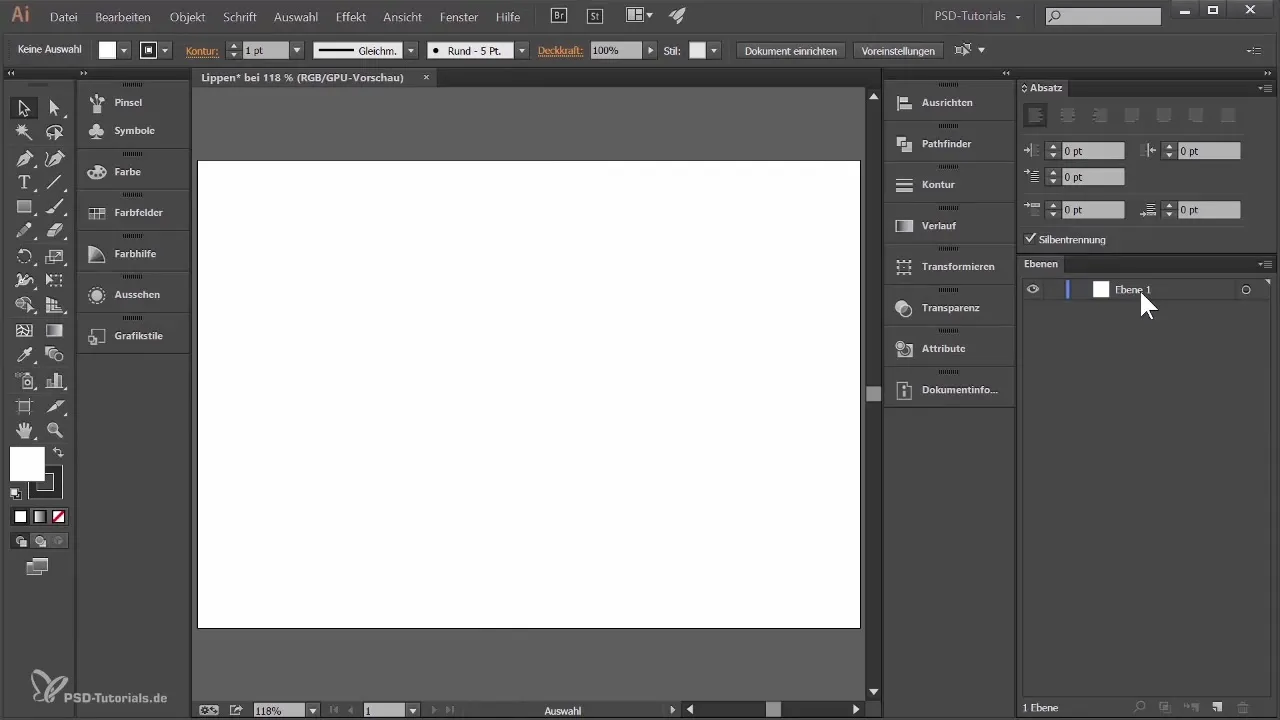
Now that you have your new document, there will also automatically be a new layer. If necessary, you can open the layers palette via the "Window" menu. You will later need a red background for your kiss mouth, so rename the first layer to "Background" by double-clicking on the name. To avoid accidental changes to the background, lock the layer.
Now create a new layer via the layers palette to draw your upper lip. Rename this layer to "Upper Lip". You can choose the color of the upper lip immediately: Go to the color field and select a warm red that is suitable for lips. For example, you could enter RGB values like 194, 0, and 22 to create the perfect shade of red.
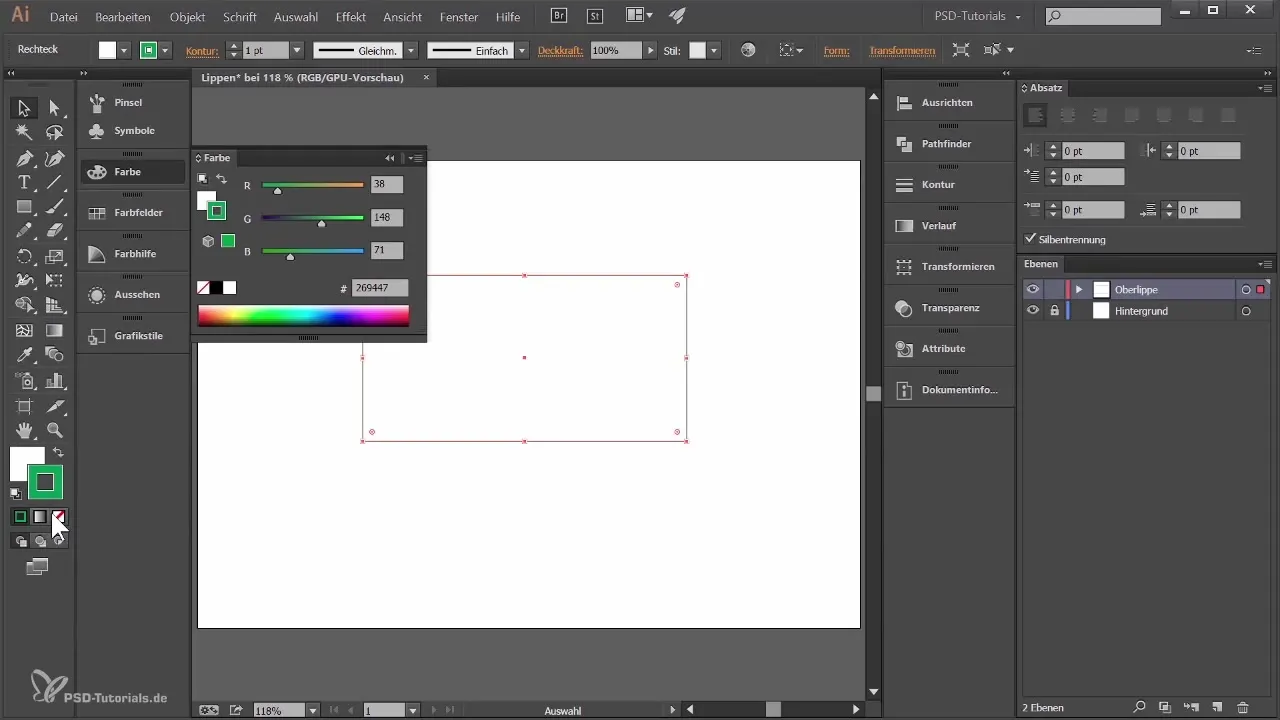
Select the Rectangle Tool from the toolbar and draw a rectangle that serves as the base for your upper lip. Make sure that the rectangle has a red fill without a stroke. If a stroke is present, you can simply remove it by clicking on the stroke symbol and pressing the small icon "none" or by pressing the hash key.
You will now transform the rectangle and give it more dimension with a gradient grid. Duplicate the rectangle by holding the Alt key and dragging the rectangle down. Select one of the rectangles, click on "Object", and then on "Create gradient grid create". In the dialog box that opens, you can adjust the number of columns and rows. 4x4 is a good starting point.
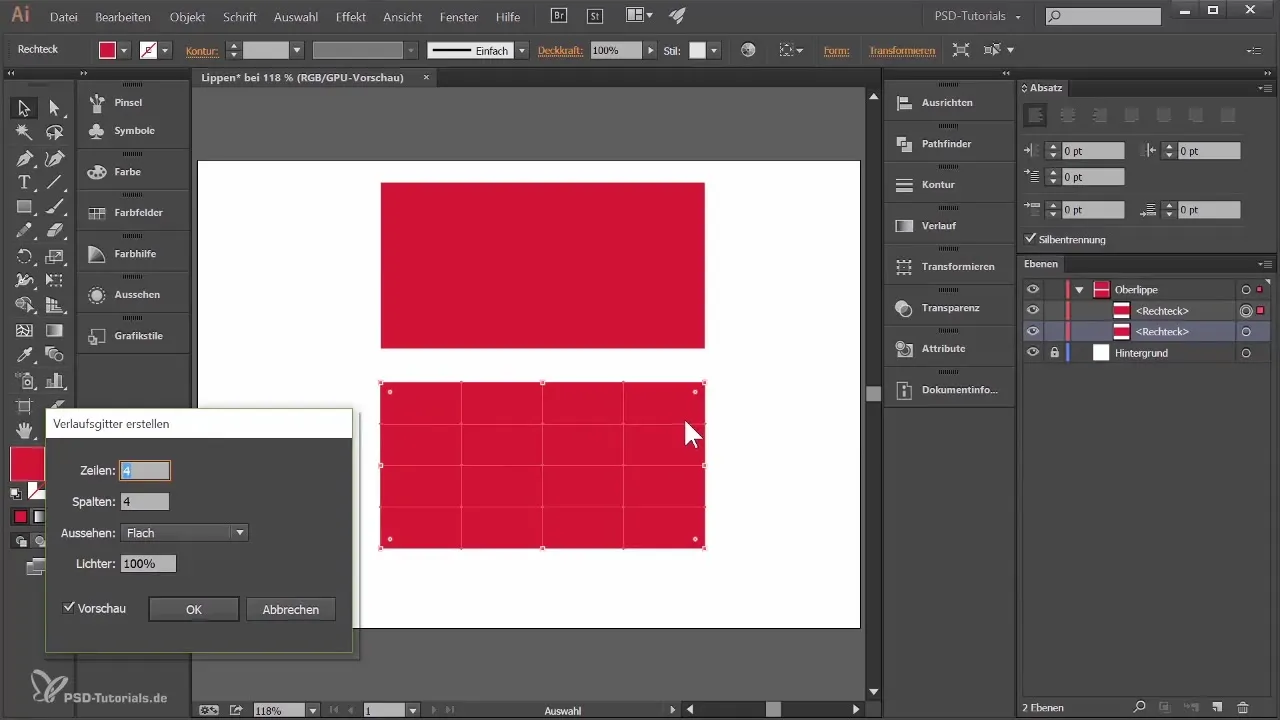
After confirming the dialog box, you will notice that the rectangle is divided into several small squares. To edit the individual anchor points, switch to the Direct Selection Tool and click on one of the anchor points. You can then change the color of this point, creating a gradient. Try changing one point to white while leaving other points red to see the effect.
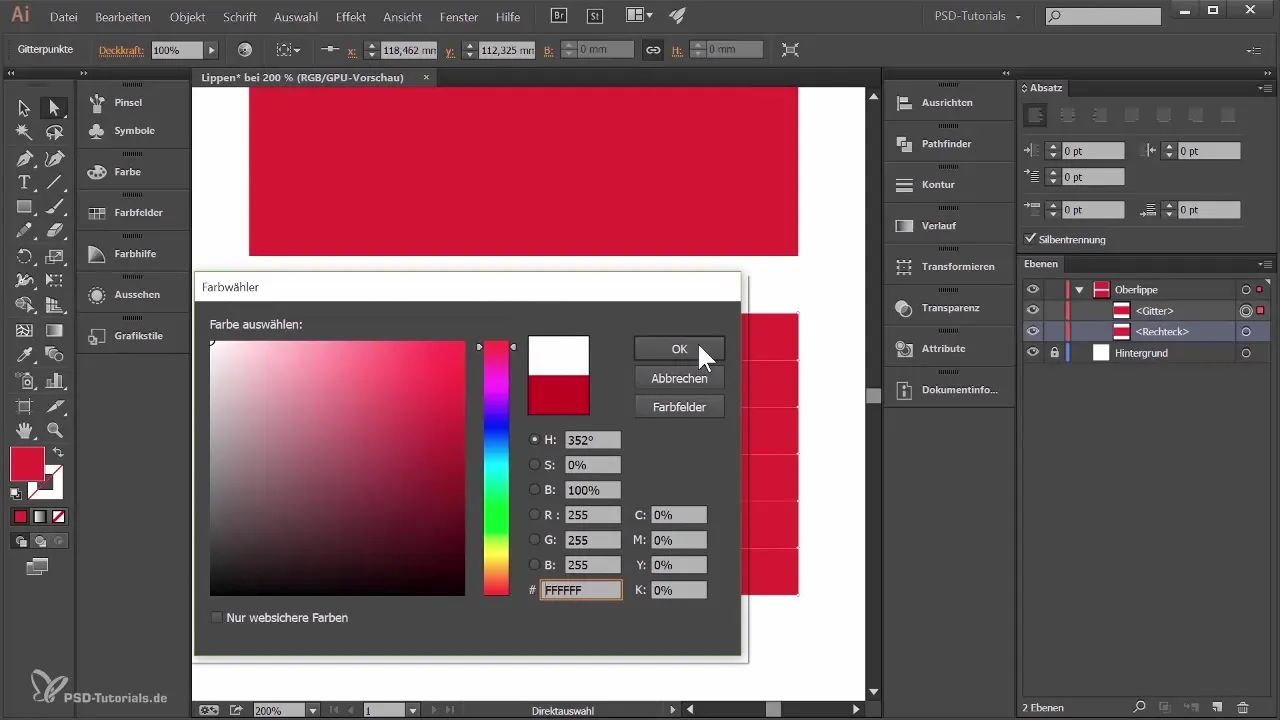
Repeat this process with different anchor points to create various gradients. You can vary the colors to achieve the desired look. Add more depth to the lip by including black or green anchor points as well. Move the anchor points as needed to define the shape of the lip and adjust the respective gradients.
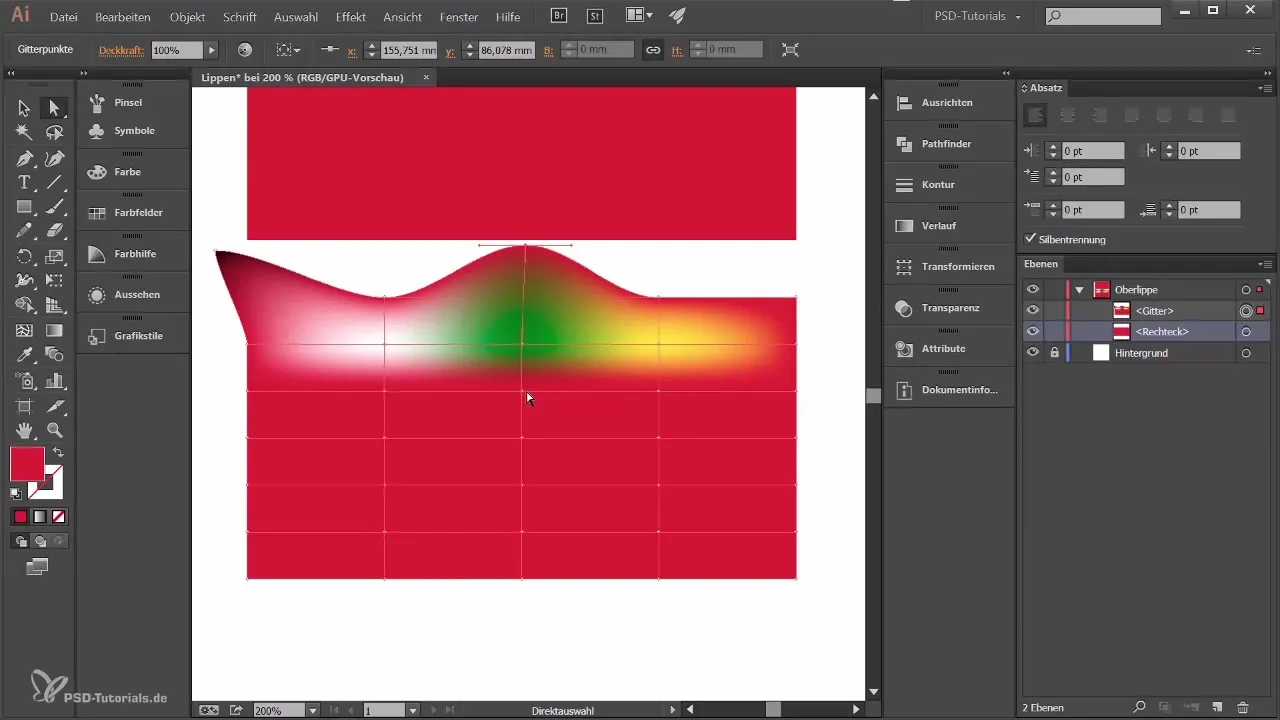
To further refine the design, it is important that you know where you can move the control points. This not only allows for adjustments to the shape elements of the gradient, but you can also further correct the overall shape of the lip. If you want to give the lip a curved shape, add more anchor points and shape them using the Direct Selection Tool.
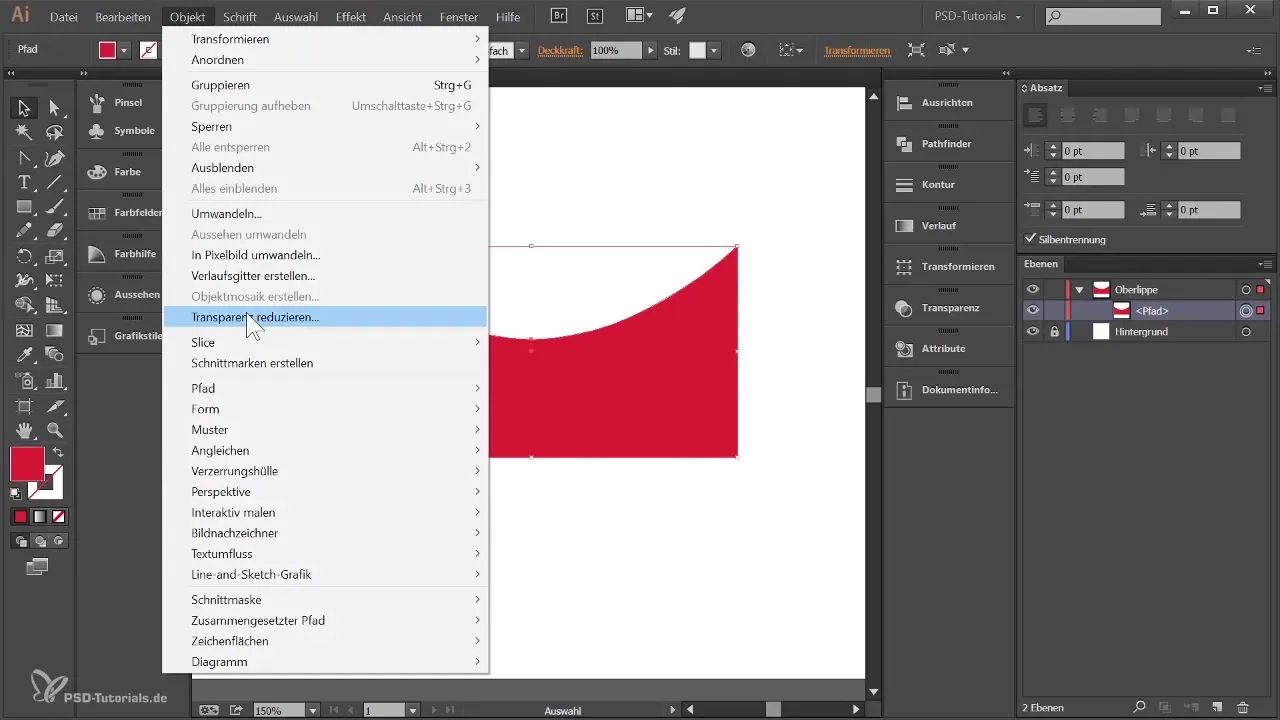
If the gradient grids or the arrangement of the elements are not optimal, do not hesitate to delete them and start over. It is important that the elements are well-aligned and the color transitions are smooth to achieve an appealing result.
Summary - Creating Lips in Adobe Illustrator - Part 1
In this tutorial, you have learned how to create a kiss mouth in Adobe Illustrator by working with a gradient grid. You have seen how important the use of color transitions and anchor points is to achieve a realistic result. Keep experimenting with the colors to create your own, unique design.
Frequently Asked Questions
What is a gradient grid?A gradient grid is a technique in Adobe Illustrator used to divide an object into small areas, allowing you to create color transitions within those areas.
How can I lock a layer in Illustrator?Click on the lock symbol in the layers palette to lock a layer.
What format should I choose for a lip design?The A4 landscape format is suitable for most designs, especially for digital graphics.
Can I set background colors in Illustrator?Yes, you can set background colors by creating a layer for the background and applying the desired color there.
How can I create gradients in Illustrator?Using gradient grids and the color selection of anchor points allows for creating beautiful gradients.
