Often it is about presenting images in the best possible quality. The resolution plays a crucial role. The AI model Real-ESRGAN (Enhanced Super-Resolution Generative Adversarial Networks) offers an advanced method for enhancing and upscaling images. This is a technology that is used not only in surveillance technology but also in video games and other areas where low-resolution images need to be scaled up using AI. In this guide, I will show you step by step how you can use Real-ESRGAN to quickly, easily, and freely enlarge your images.
Main Insights
- Real-ESRGAN enables high-quality and fast upscaling of images using artificial intelligence.
- The tool can be used directly through Google Colab or downloaded as a program from GitHub.
- With a few steps, you can significantly increase the resolution of your images and achieve impressive results.
Step-by-Step Guide
Step 1: Access Real-ESRGAN
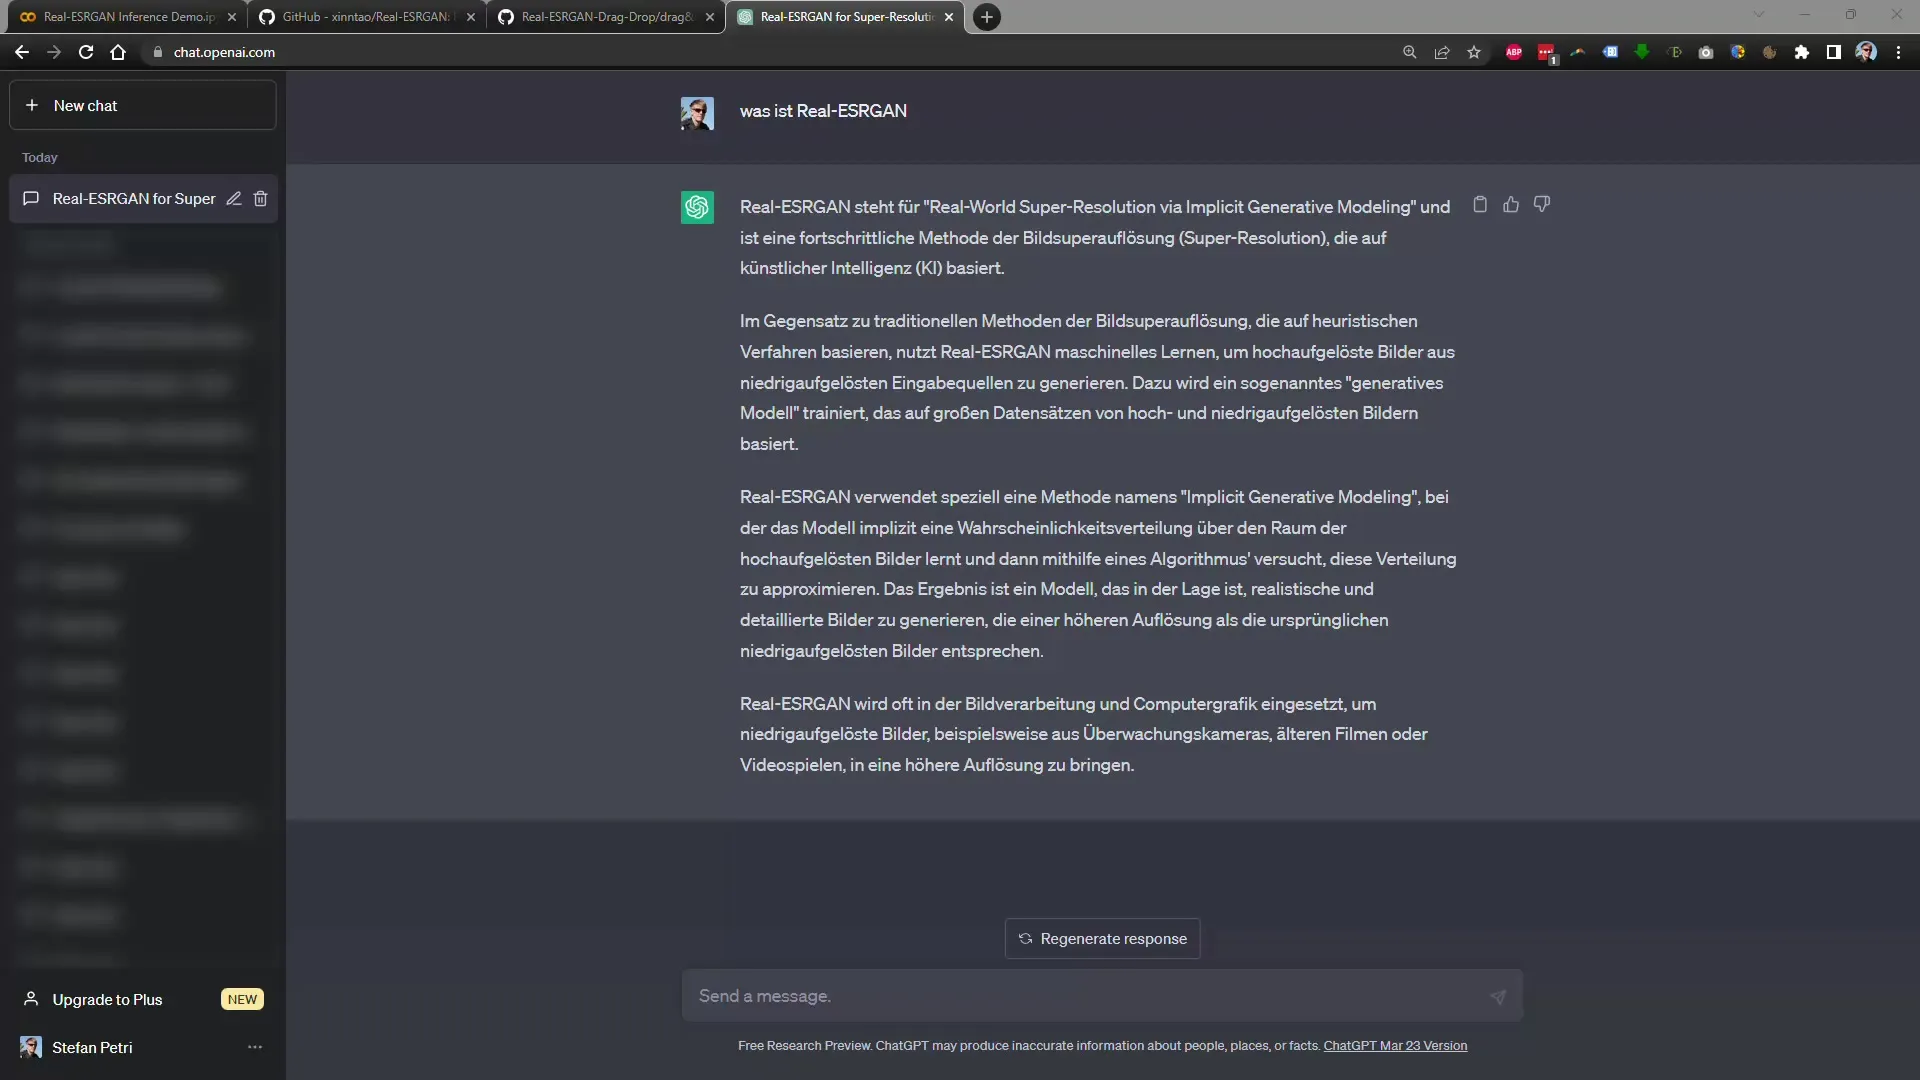
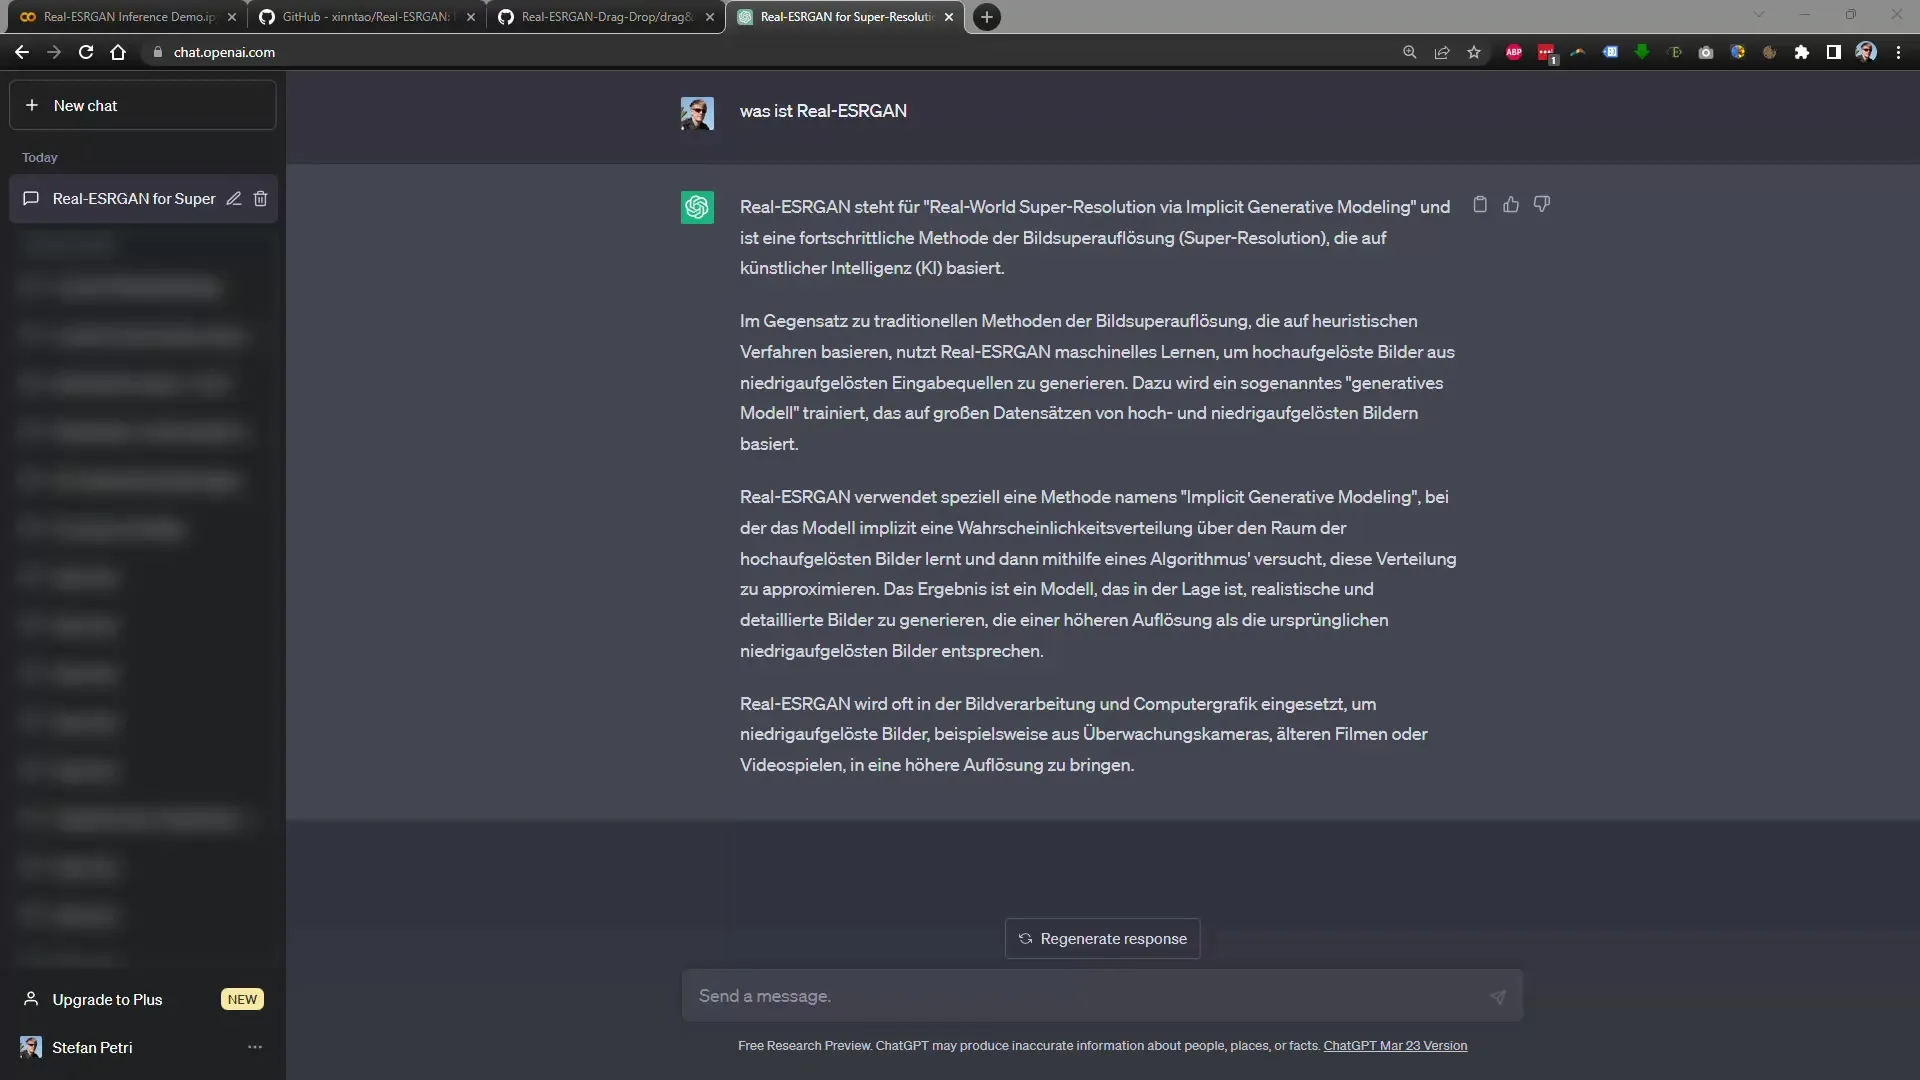
To start using Real-ESRGAN, you have several options. You can use the service directly on the web or install the program on your computer. To make it easier for you to use, I recommend using the Google Colab version.
Step 2: Open Google Colab
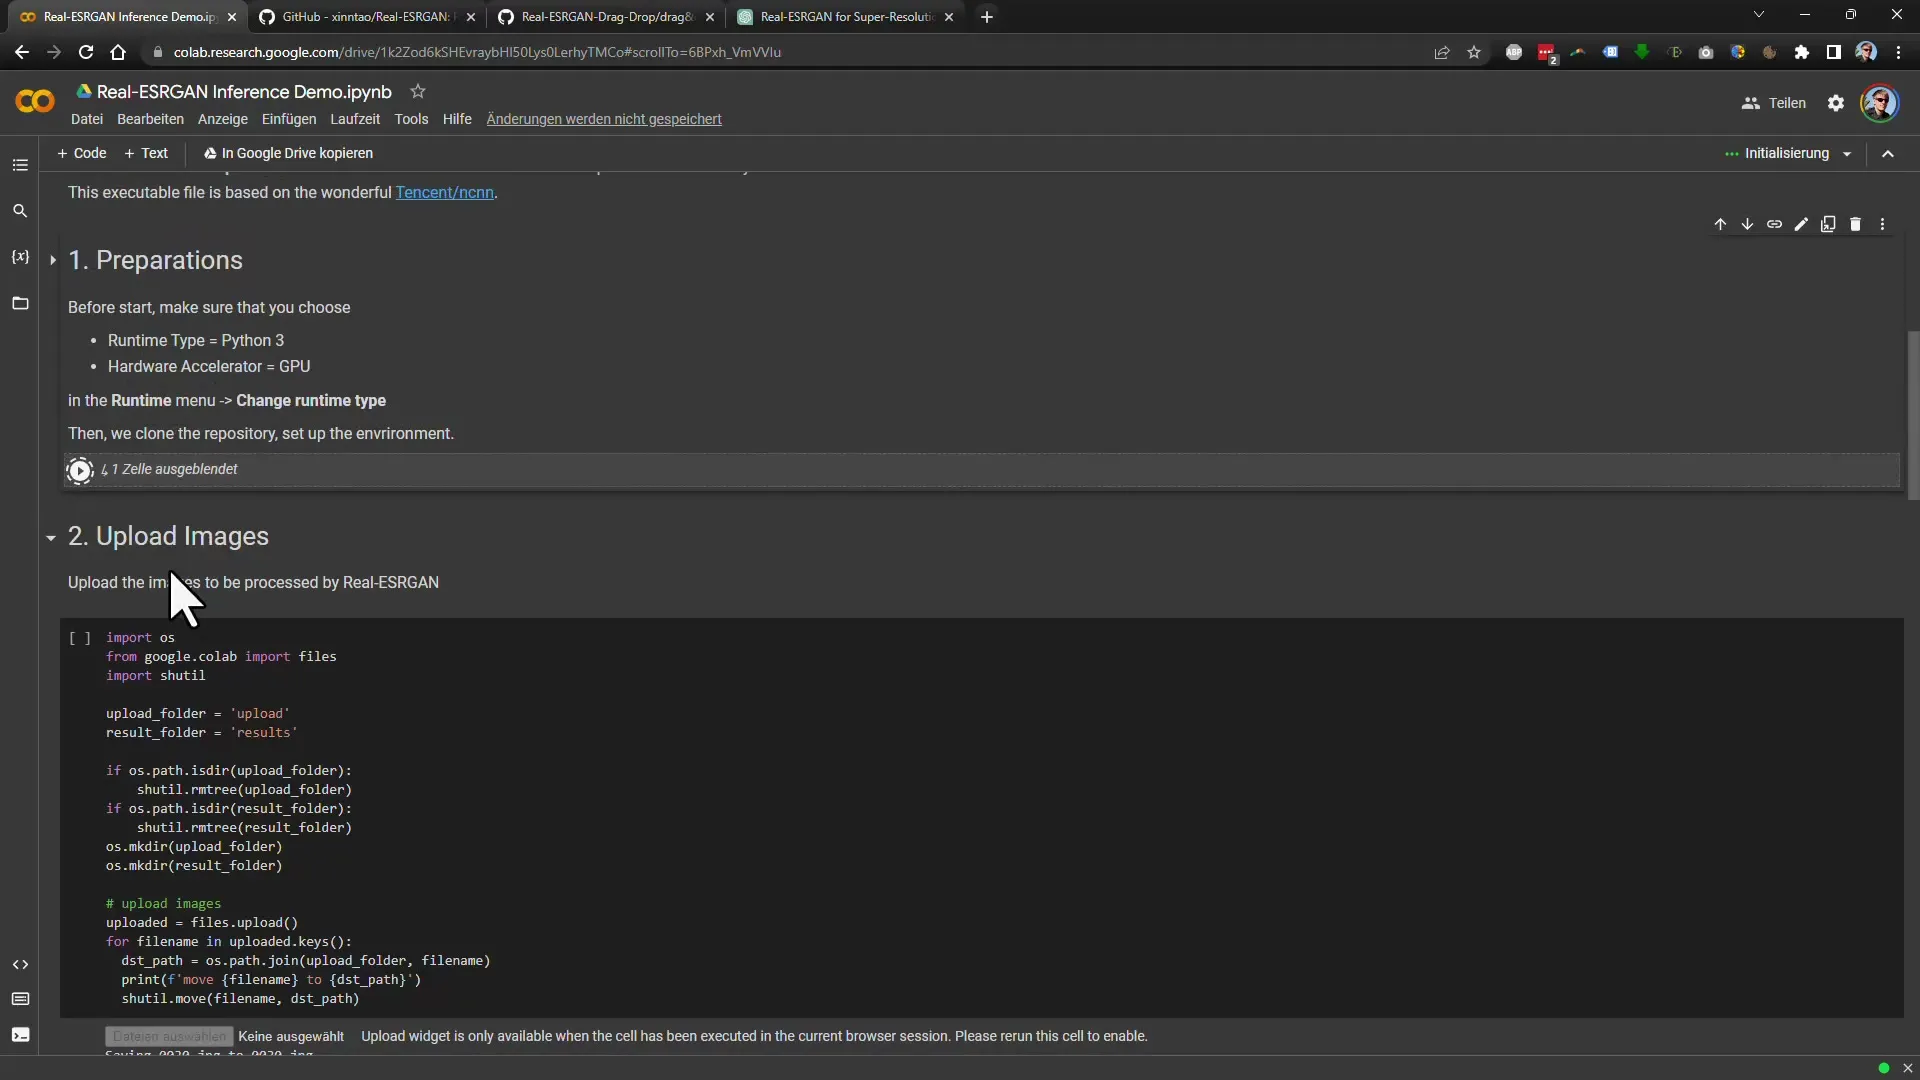
Open the Google Colab page that contains the Real-ESRGAN code. Here, you can work directly in the browser without having to install any software. Fully refresh the page to ensure all content is loaded correctly.
Step 3: Run the Code
In the Google Colab interface, there is a play button that you need to click to run the code. This is the first step in your process. Once you click on Play and the green light appears, the first step is completed, and you are ready for the next step.
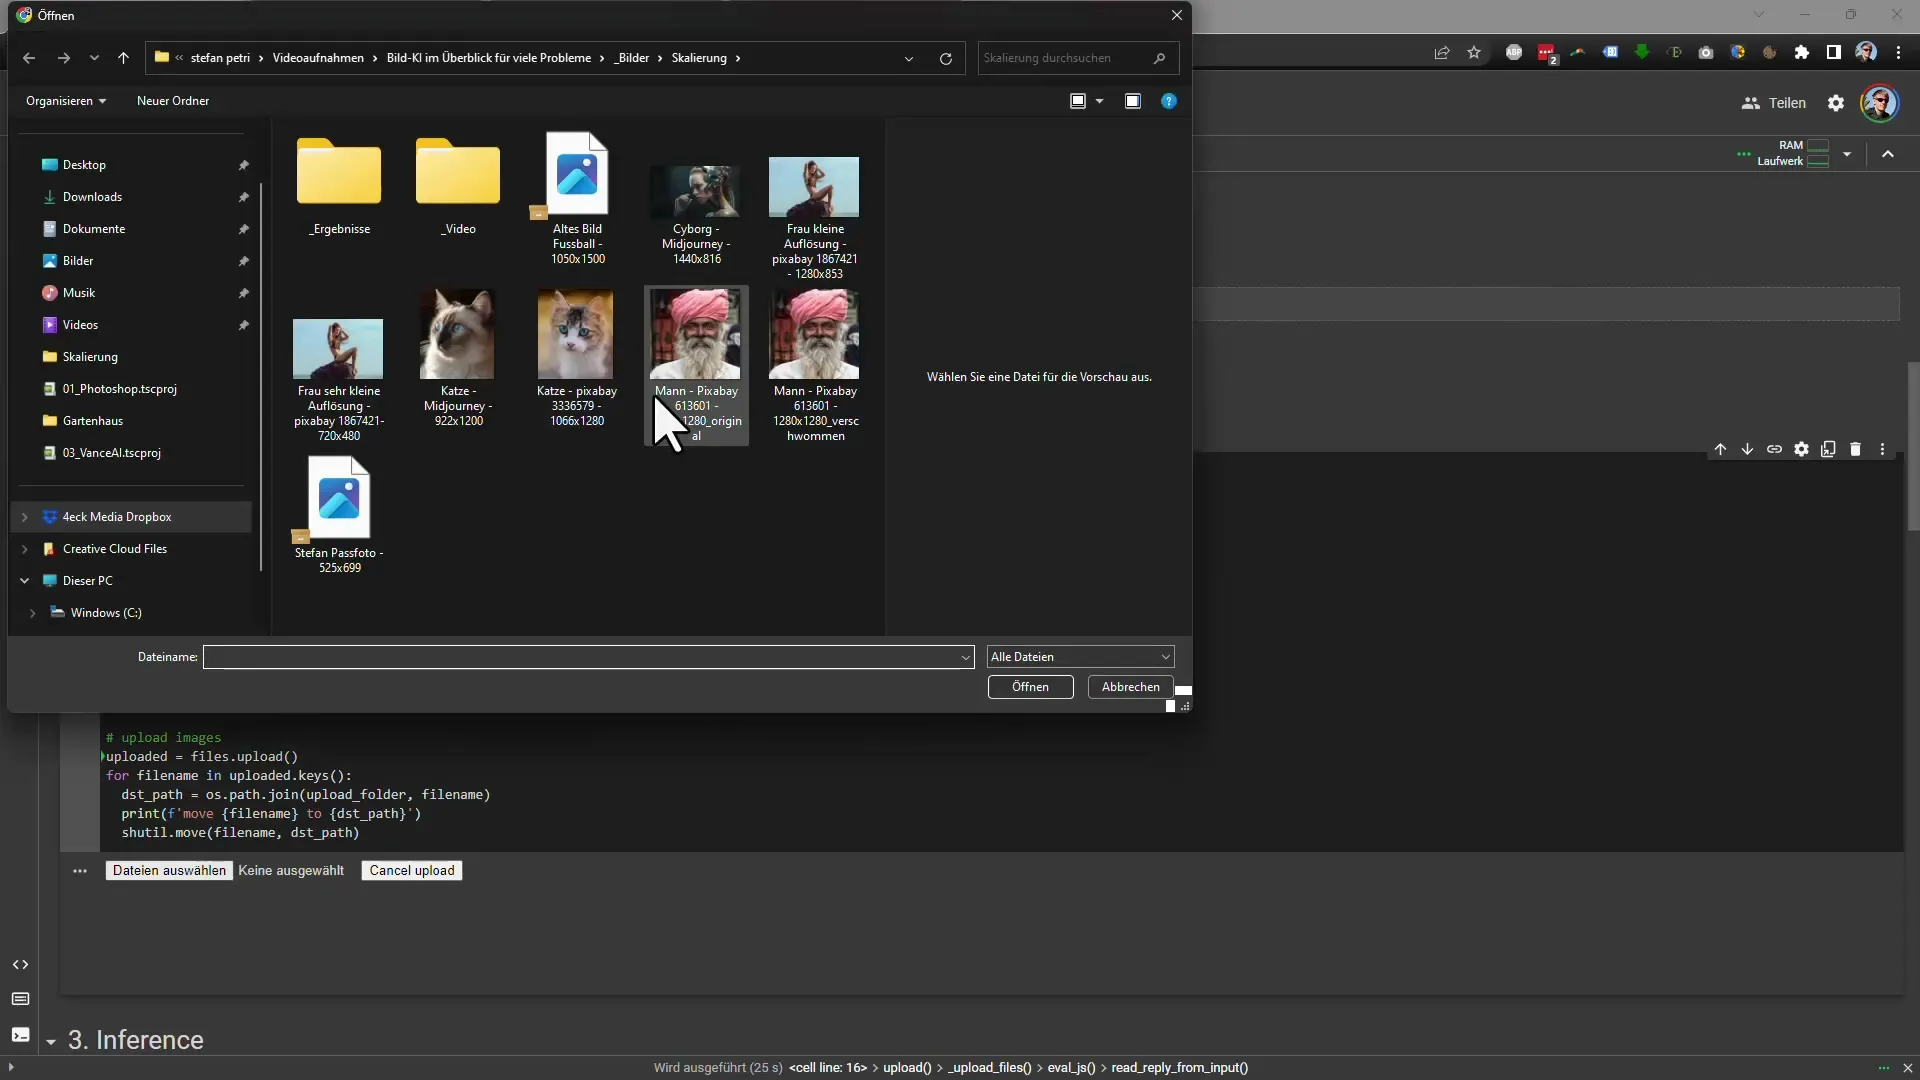
Step 4: Select Image
Now you will see an option to select a file. Click on "Choose File" and upload the image you want to enlarge. I recommend using an image with a low resolution to achieve the best results.
Step 5: Set Resolution
In this step, you have the option to set the desired enlargement size. For example, you can choose a 3.5x enlargement. Make sure your image is not too large, as this can lead to memory issues.
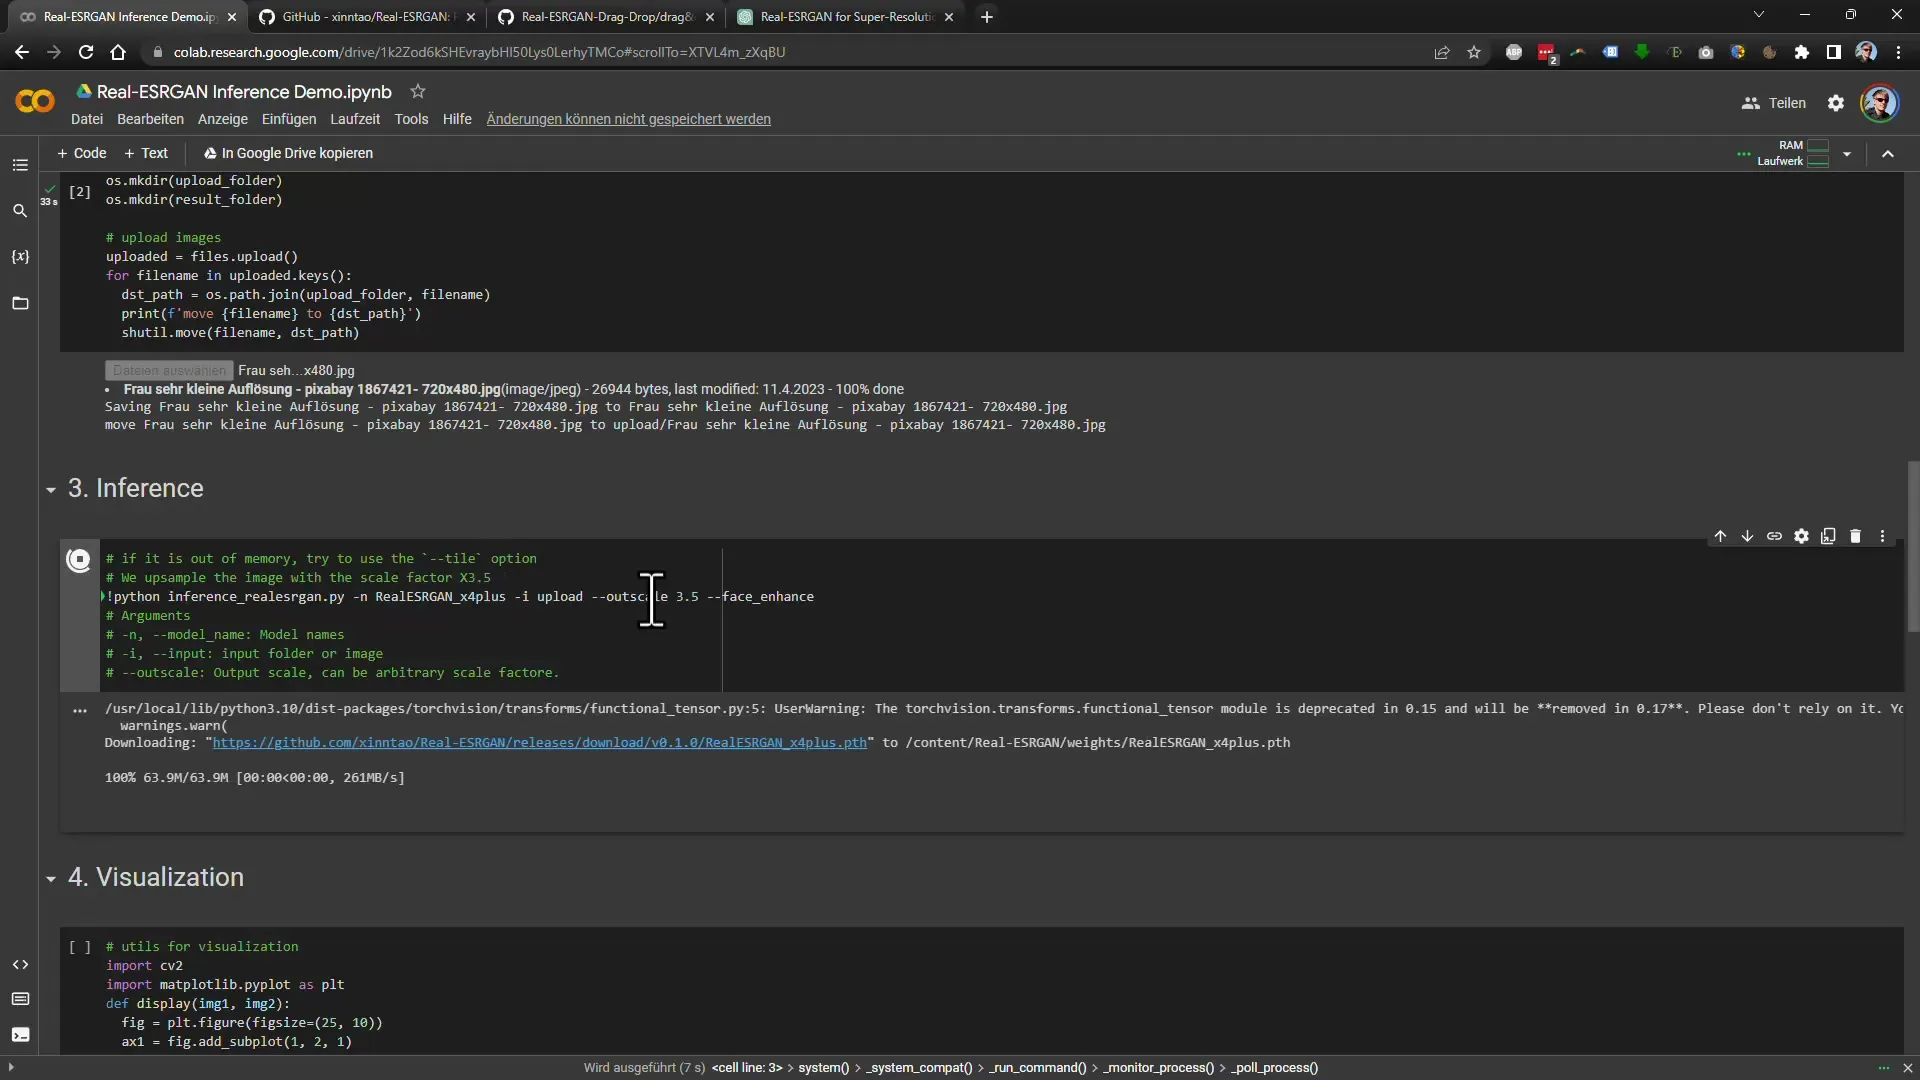
Step 6: Preview Display
In the next step, you can display the preview of your image to see the difference between the original image and the upscaled image. The tool will present you with a preview of the previous and following images.
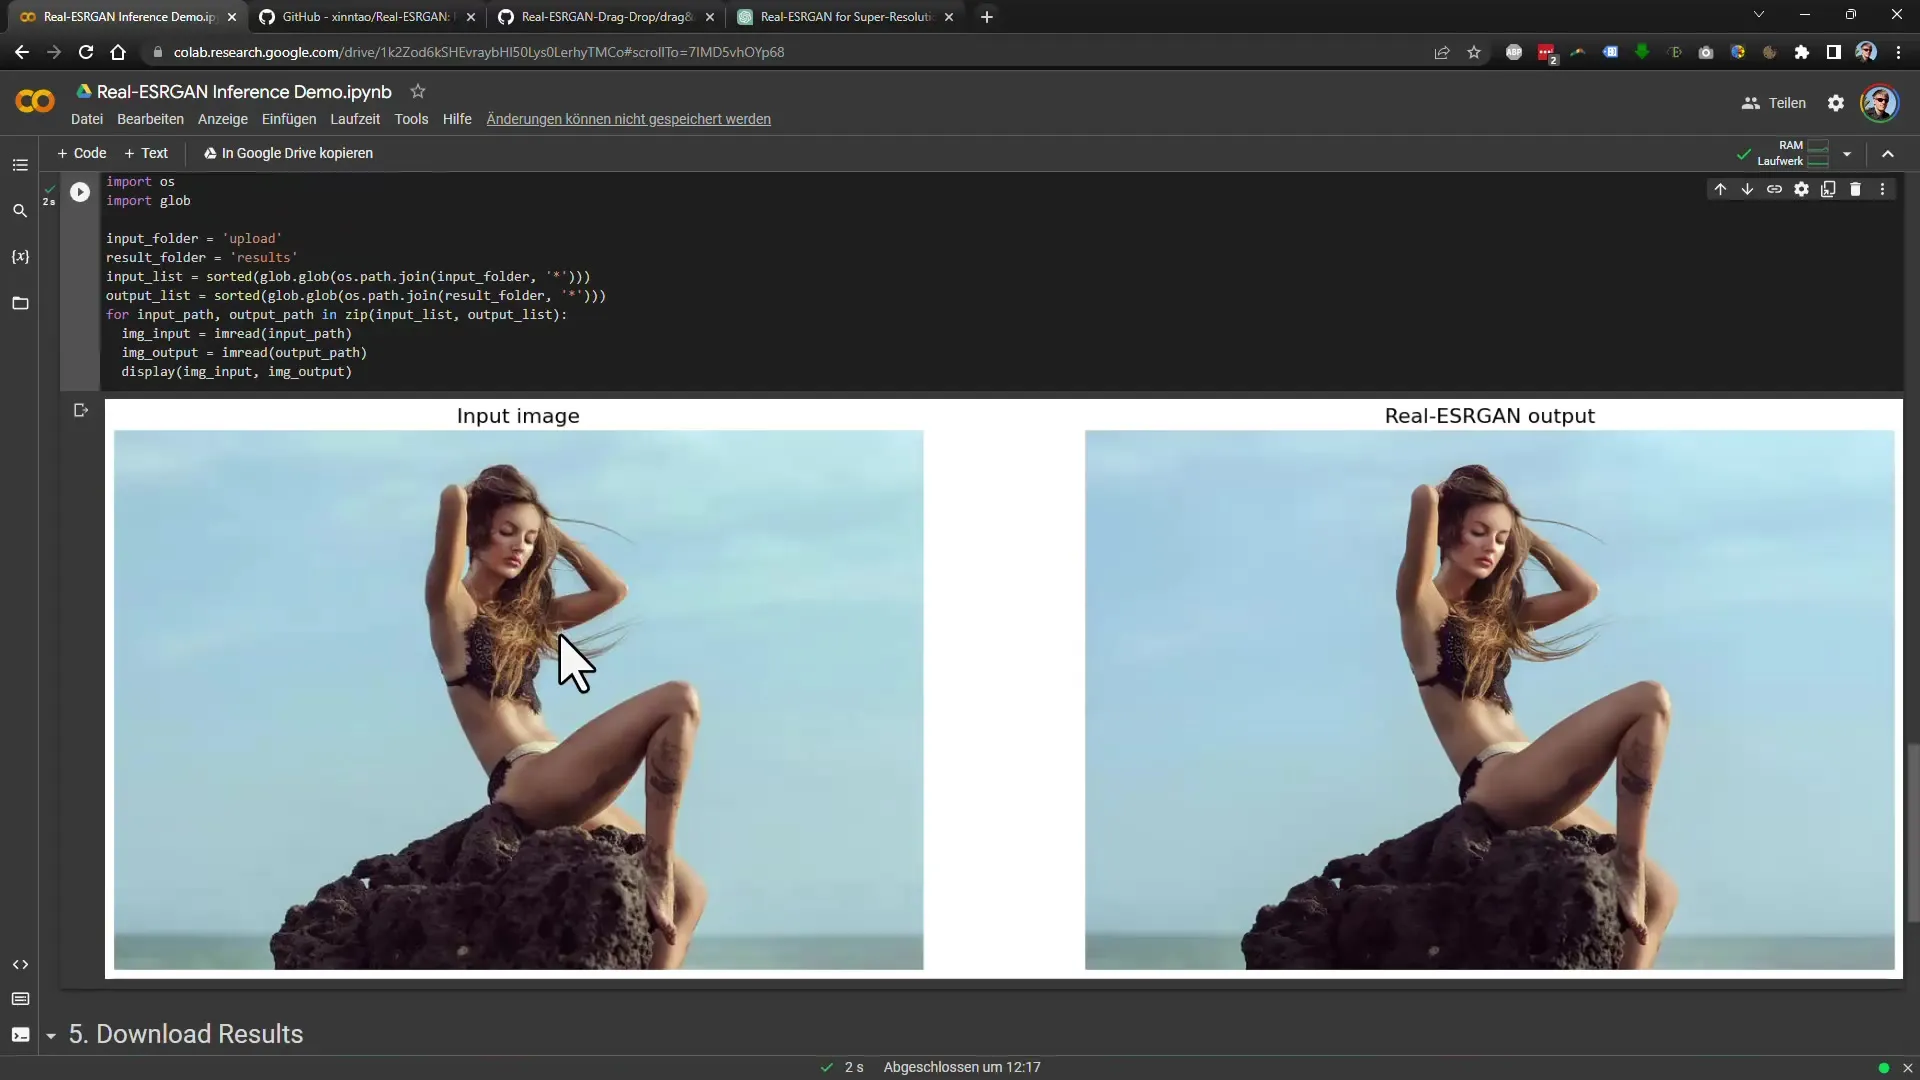
Step 7: Download Image
If you are satisfied with the result, click on the download button to save the image. A download window will open, allowing you to save the image in a desired folder.
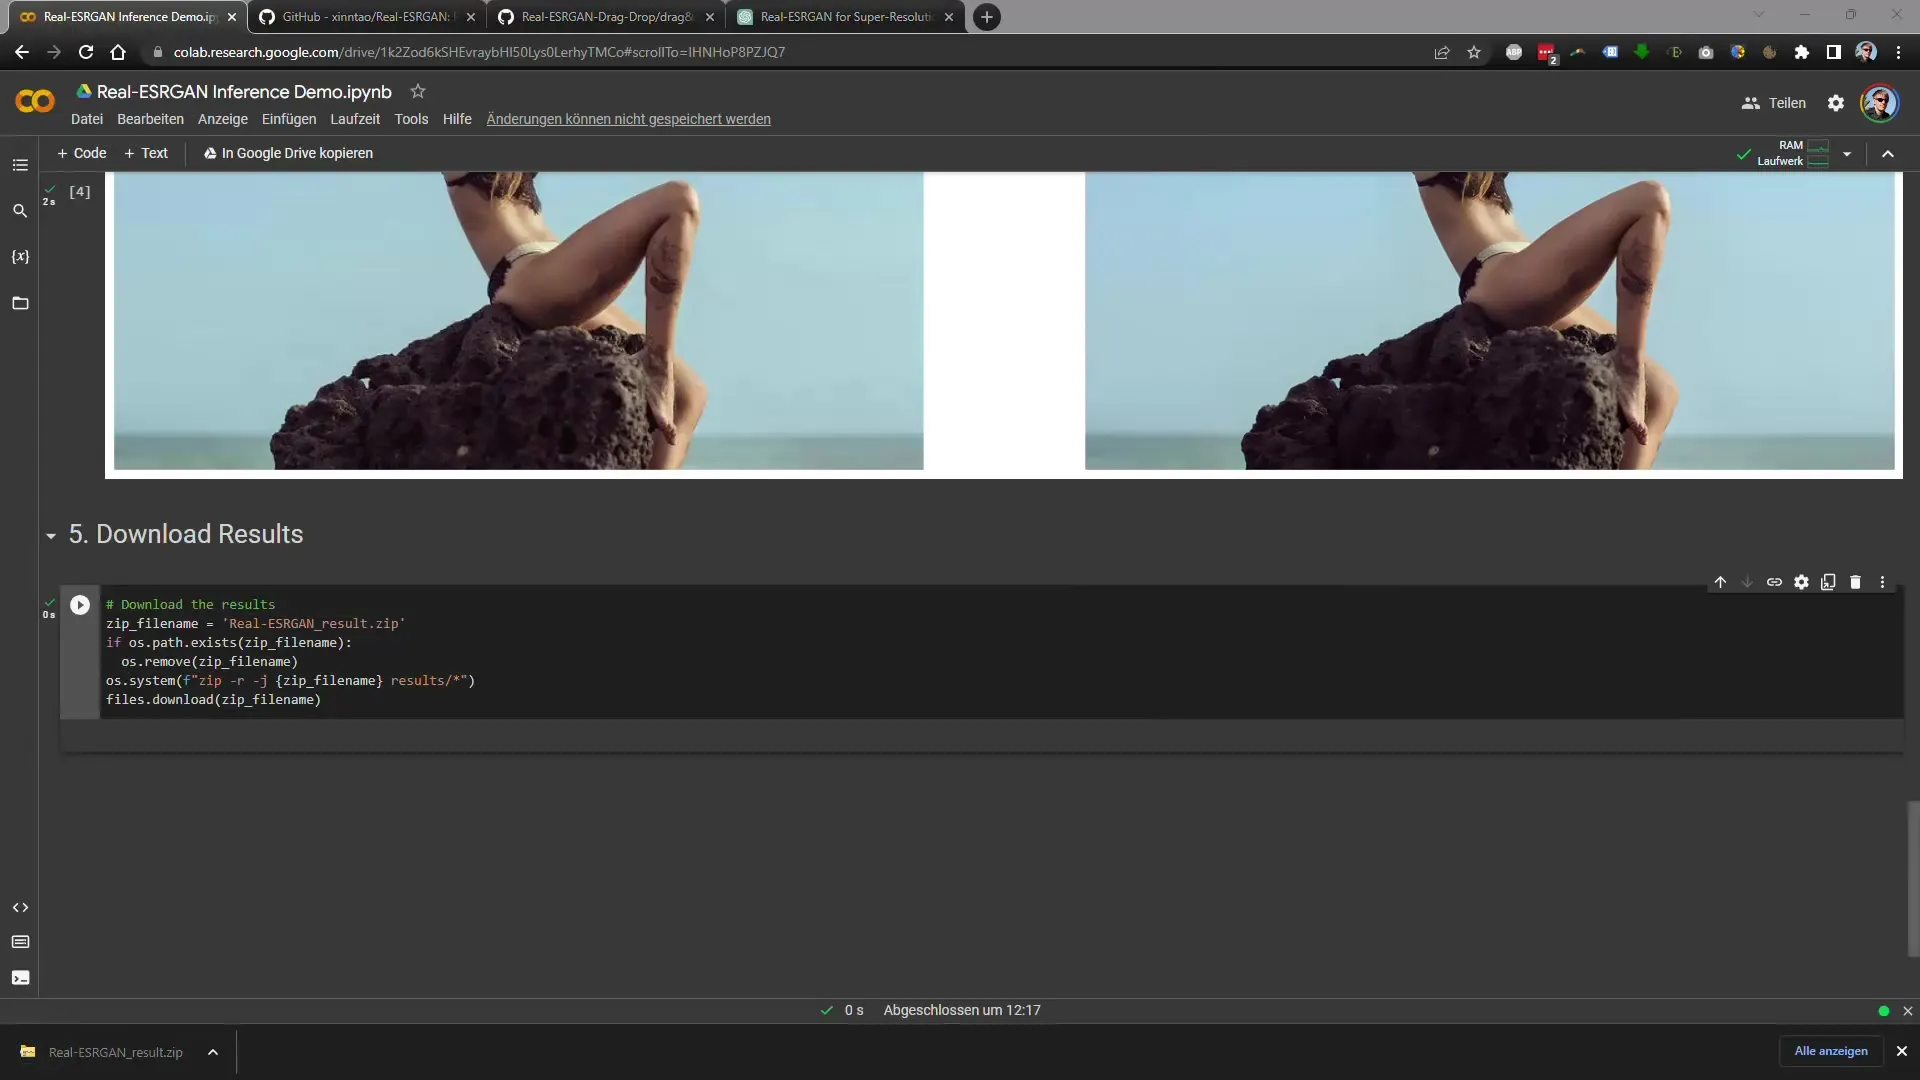
Step 8: Compare Results
Once the image is downloaded, you should compare the quality with the original image. You will notice that the upscaled image offers significantly better resolution.

Step 9: Download Program from GitHub
If you find the steps in Google Colab complicated, you can also download the program directly from GitHub. There is a portable version available that is easy to use. Scroll down a bit on the GitHub page to find the download options.
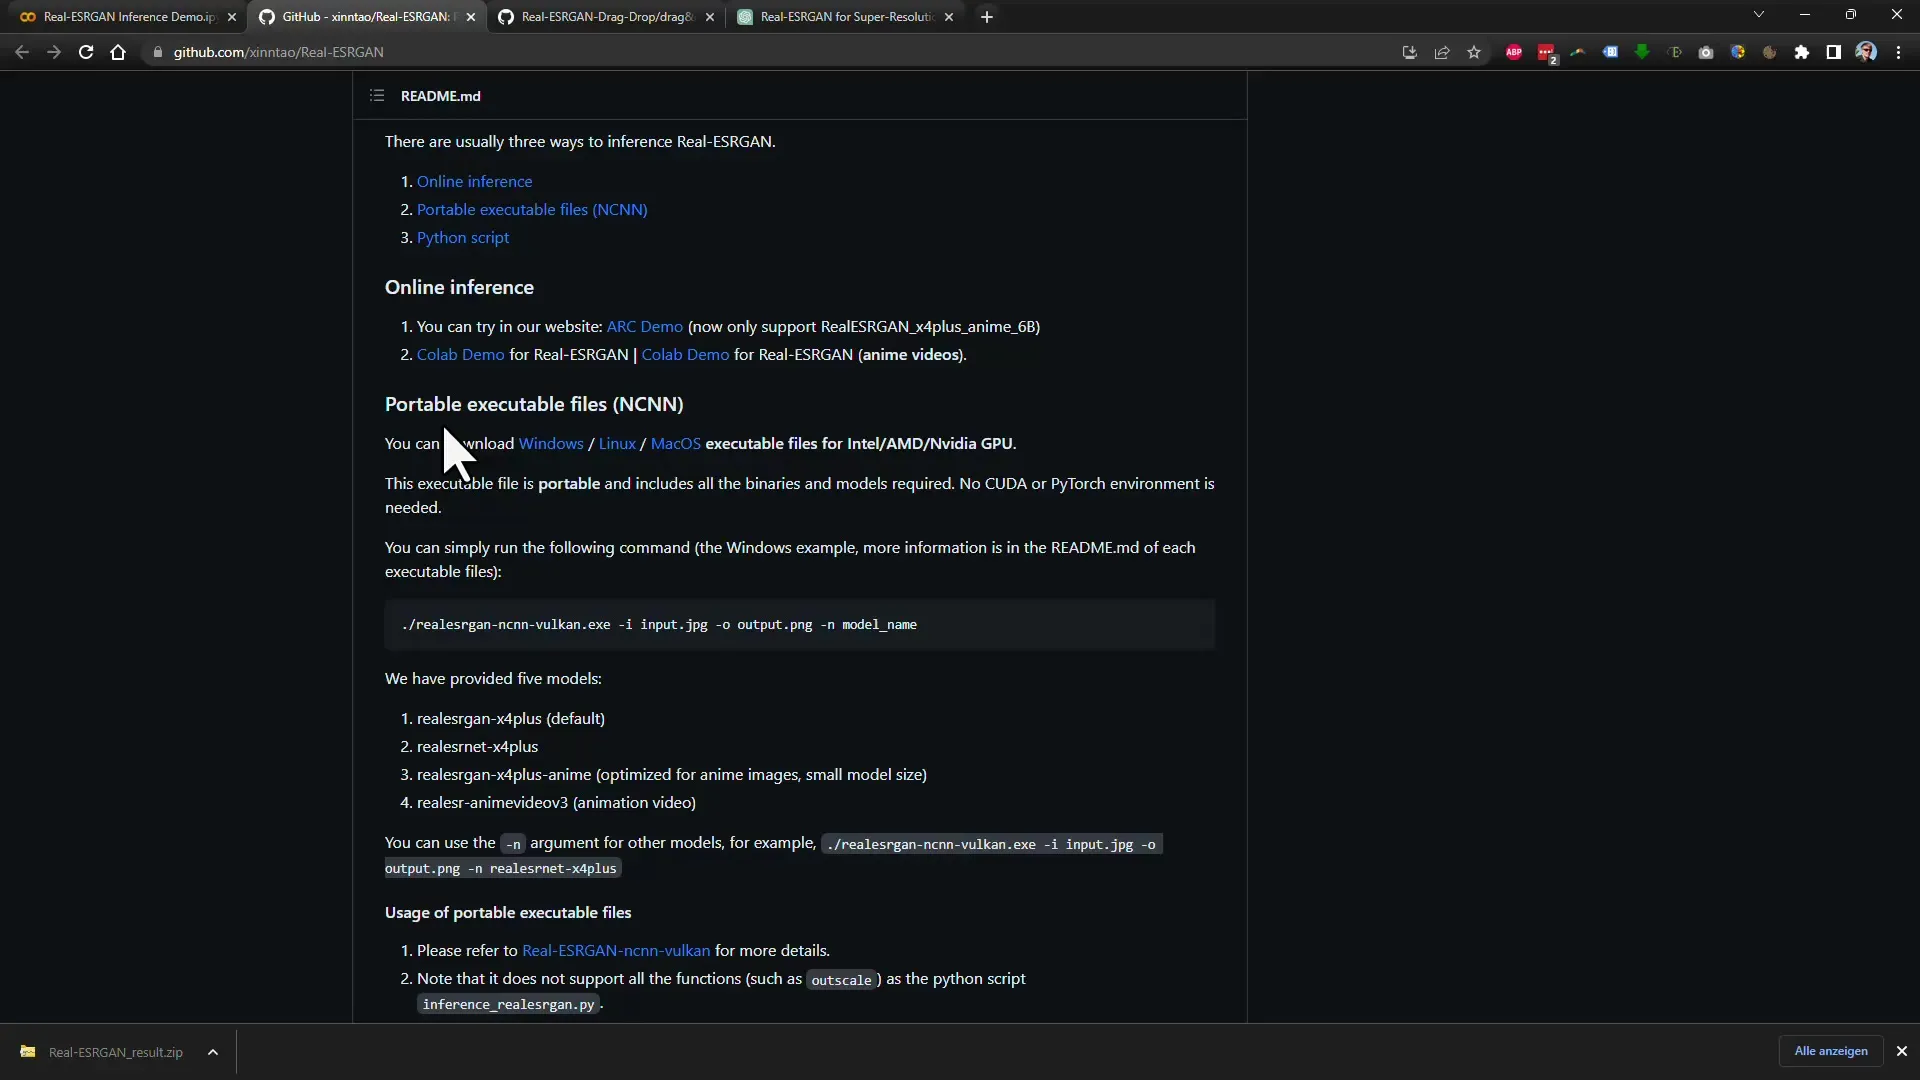
Step 10: Installation and Usage
After downloading and extracting the program, open the command prompt in the directory where the program is saved. Here you can execute the necessary commands according to the instructions in the README file.
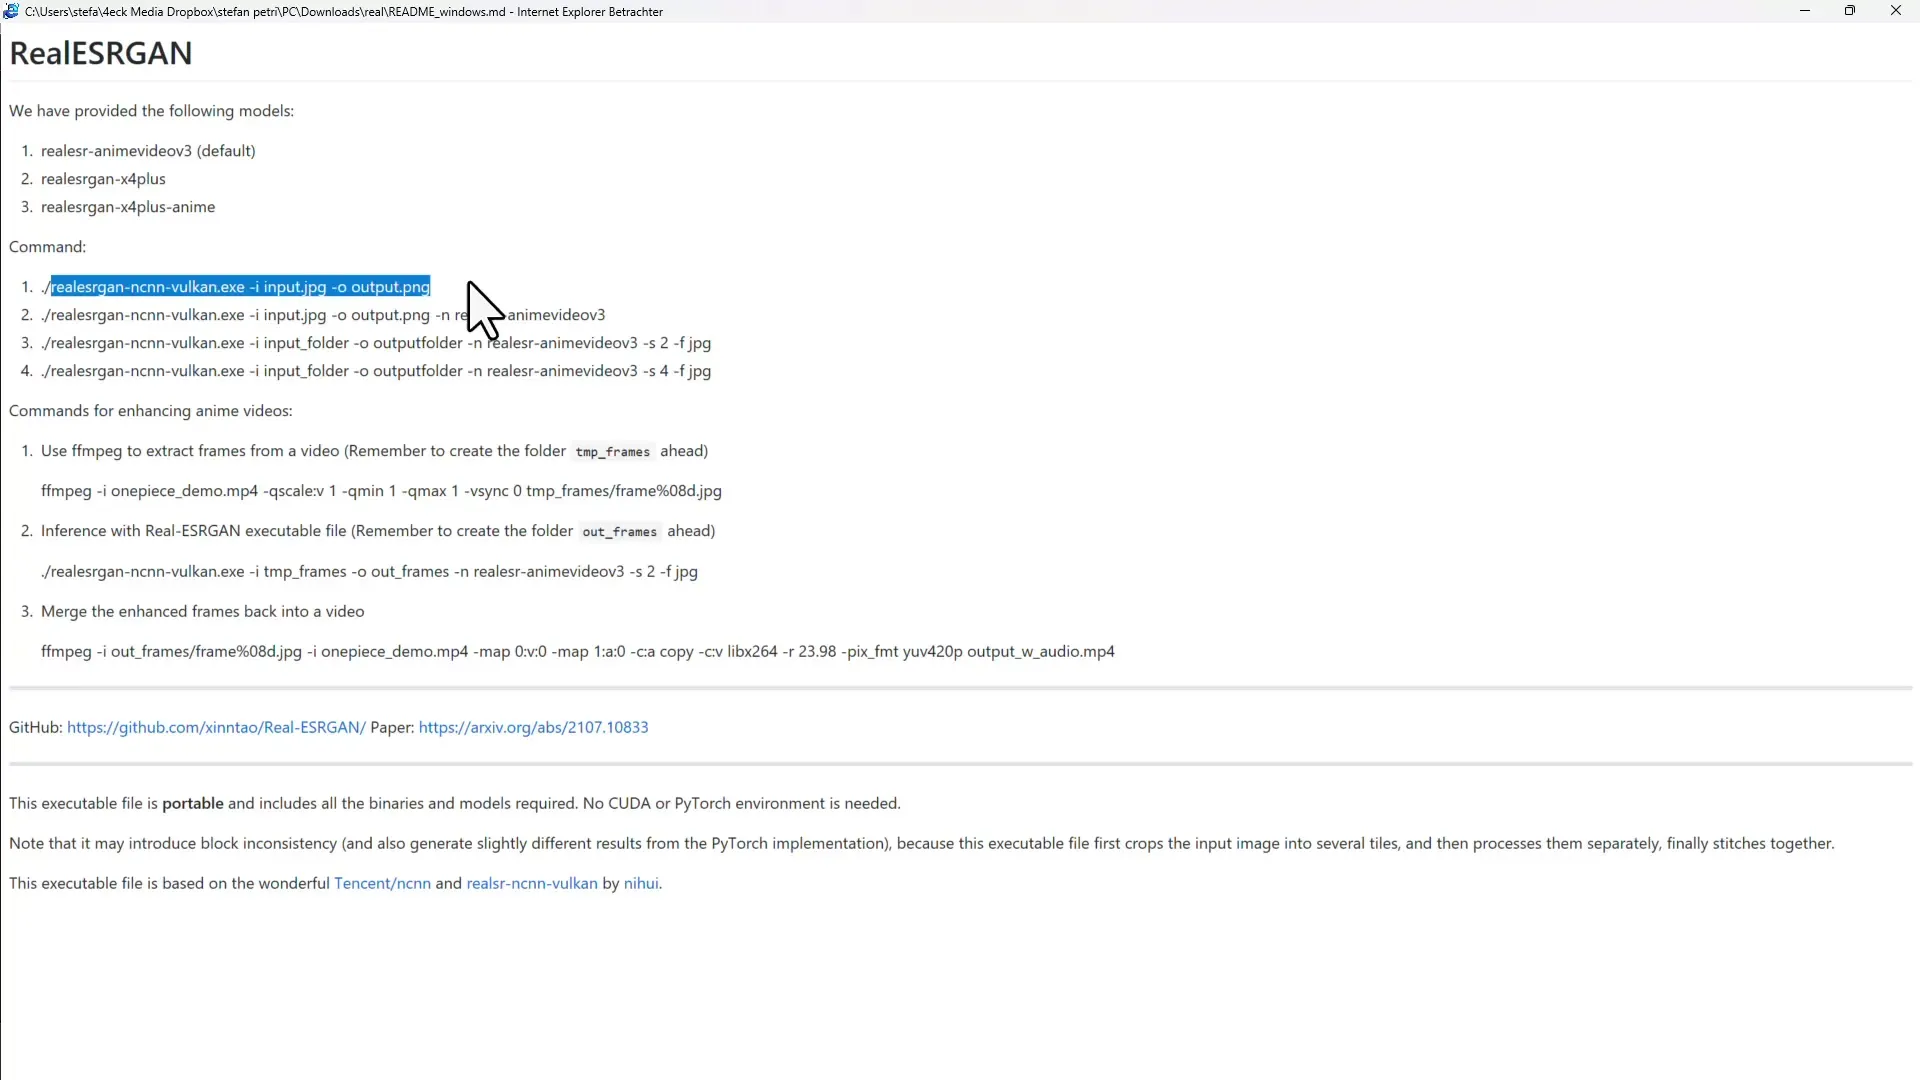
Step 11: Use Batch File
For simplicity, I recommend using a batch file. You can create one yourself or obtain it from other sources. This way, you save yourself the manual input of commands. You can simply drag and drop the image file onto the batch file.
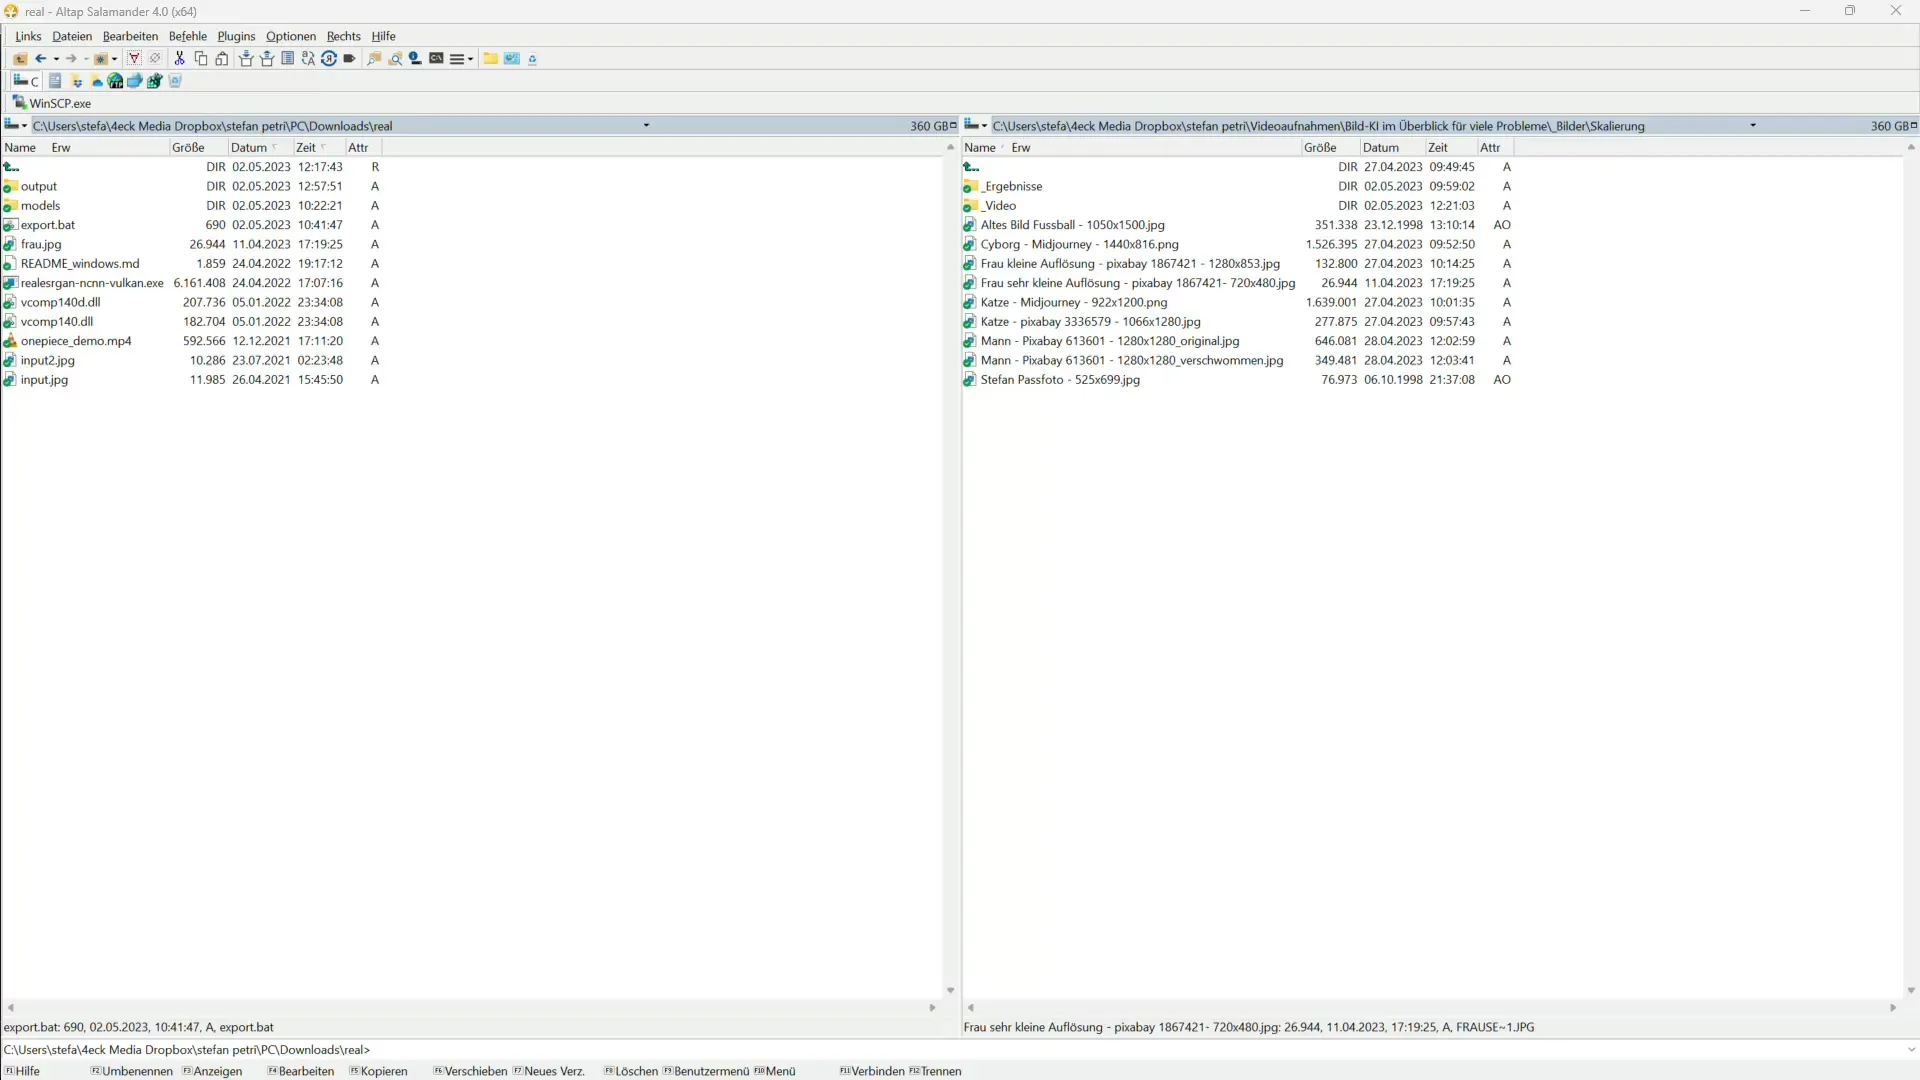
Step 12: Upscale Image with Batch File
After the drag-and-drop, the process will start automatically, and your image will be upscaled in the background. You will find the result in the output folder you defined earlier. This method is not only fast but also extremely practical.
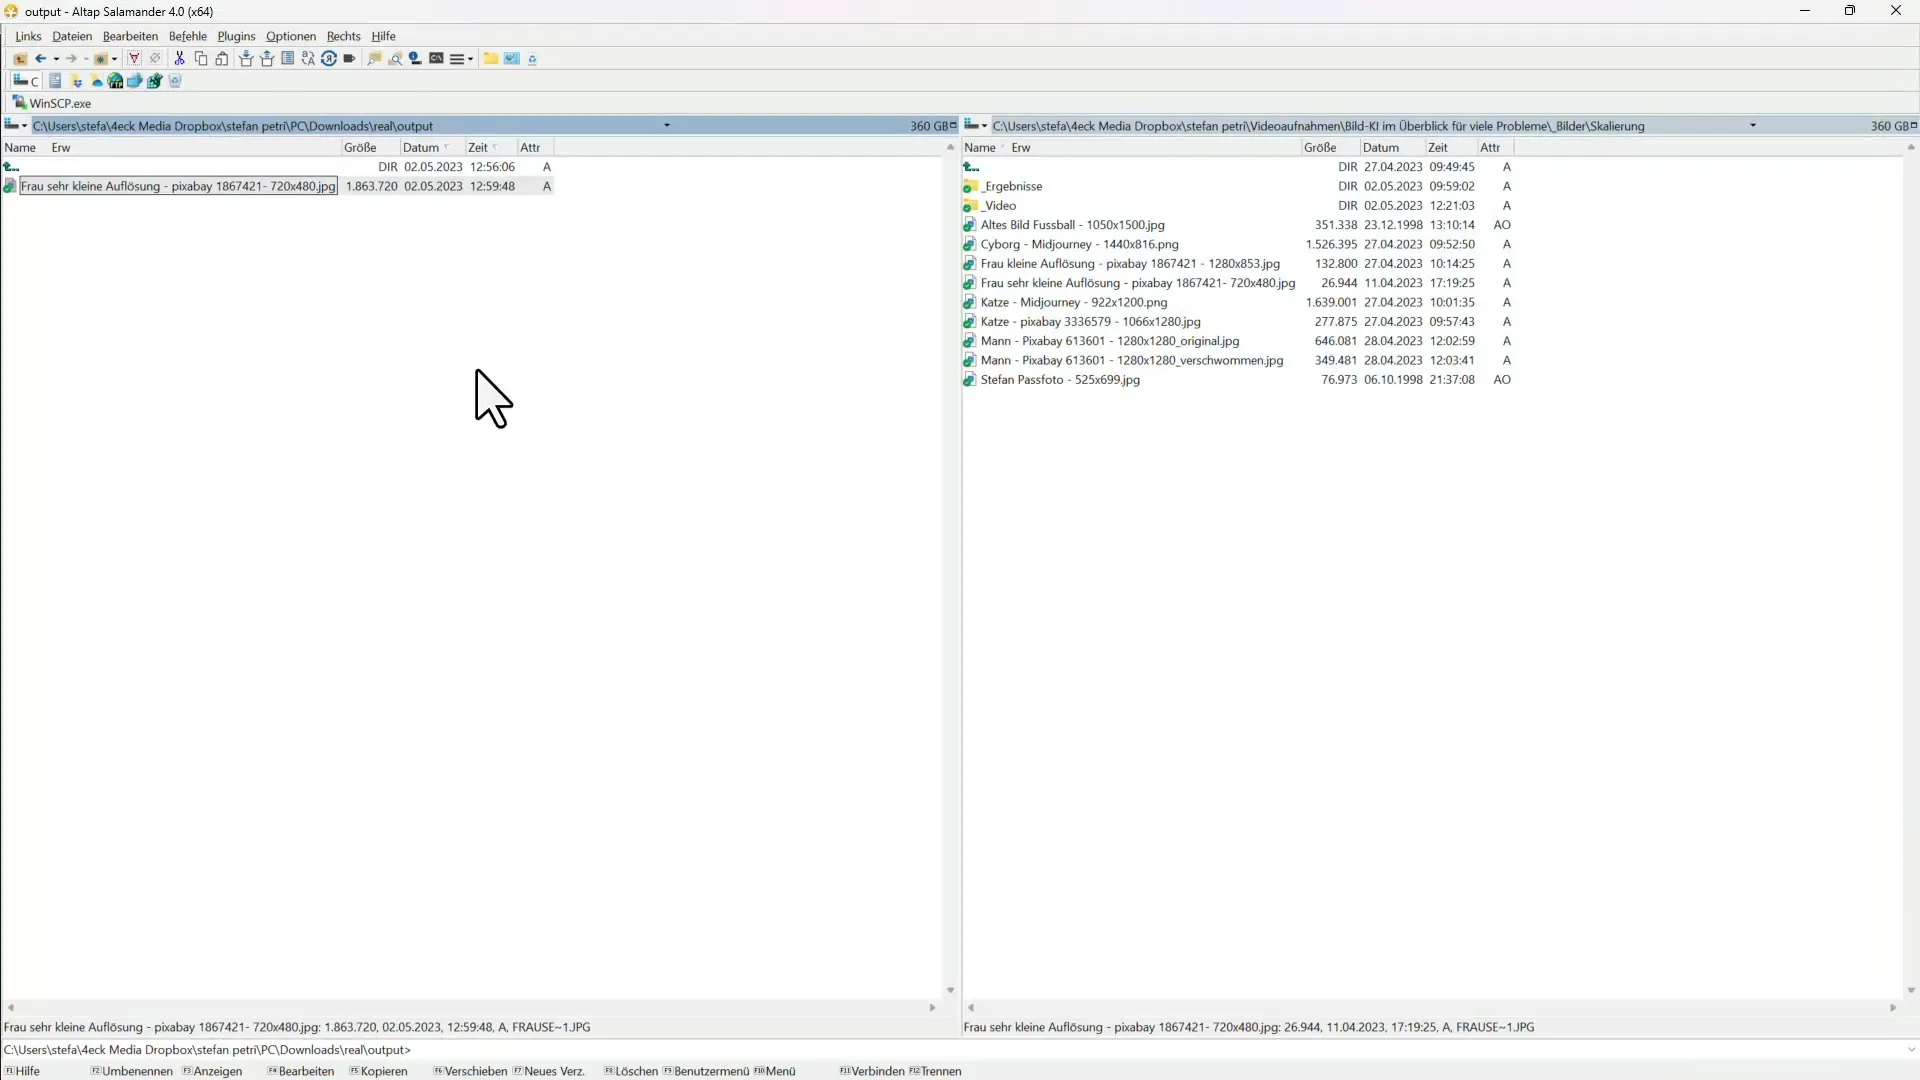
Step 13: Check Results
Once the process is complete, open your output folder to check your upscaled images. You will see that the quality of the images, whether from natural scans or digital captures, is impressive.
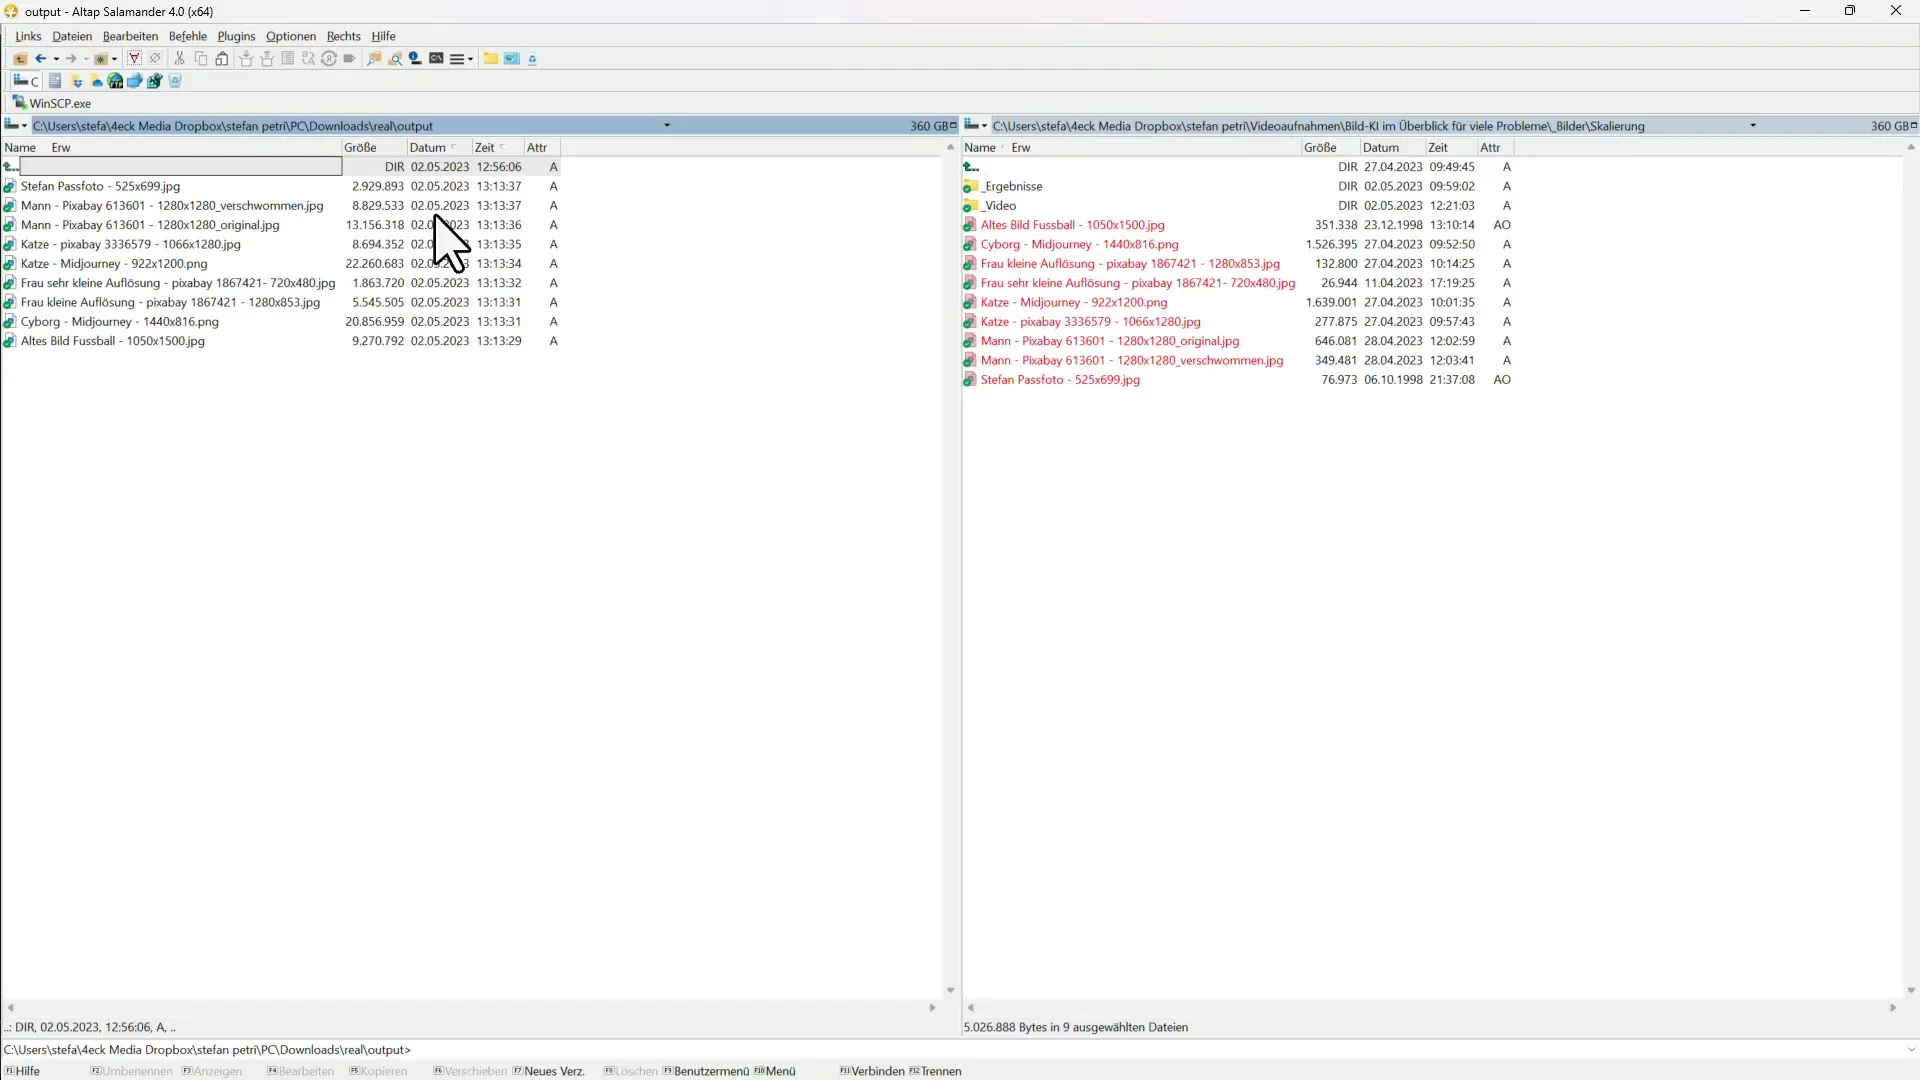
Summary
In this guide, you have learned step by step how to use Real-ESRGAN for upscaling images. Whether you are working in Google Colab or using the local program, the process is clear and simple. Thanks to the powerful AI technology, you can create high-quality images at a speed that exceeds your expectations.
Frequently Asked Questions
How do I download the Real-ESRGAN program?You can download the program directly from the GitHub page.
How do I use Google Colab for Real-ESRGAN?Open Google Colab, upload your image, and follow the provided steps for upscaling.
Can I also upscale my images with a batch file?Yes, a batch file simplifies the process and allows for quick image processing.
Which image formats are supported?Real-ESRGAN supports common image formats like JPEG and PNG.
How can I check the quality of the upscaled image?Compare the upscaled image with the original in a similar view.


