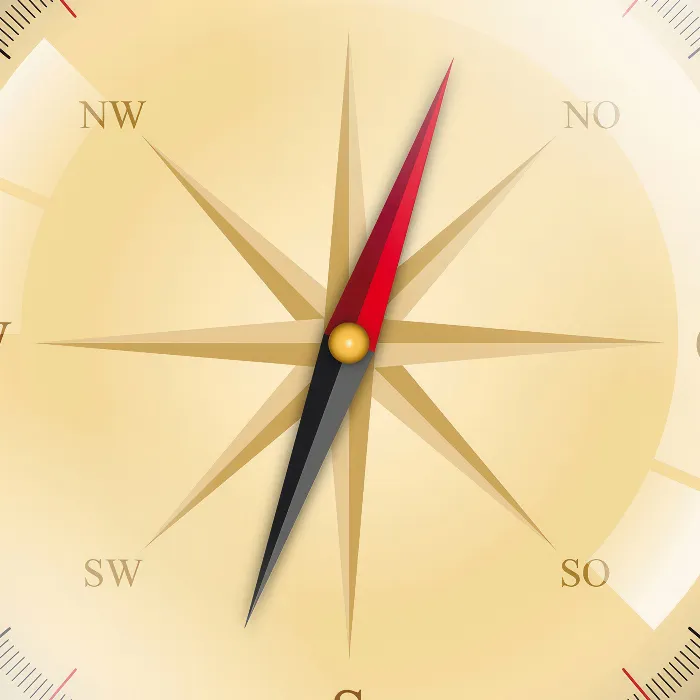
A compass is not only a practical tool but can also be used as a decorative design element in numerous projects. In this guide, you will learn how to create an appealing compass in Adobe Illustrator from scratch. You will have the opportunity to customize the shapes and colors to your liking and add a personal touch. Let’s get started and create your own compass!
Key Insights
- You will create a compass from scratch in Adobe Illustrator.
- You will learn how to use guides for the precise placement of elements.
- Different strokes will be demonstrated to create depth and texture.
- You will gain insight into using gradients to enhance the design.
Step-by-Step Guide
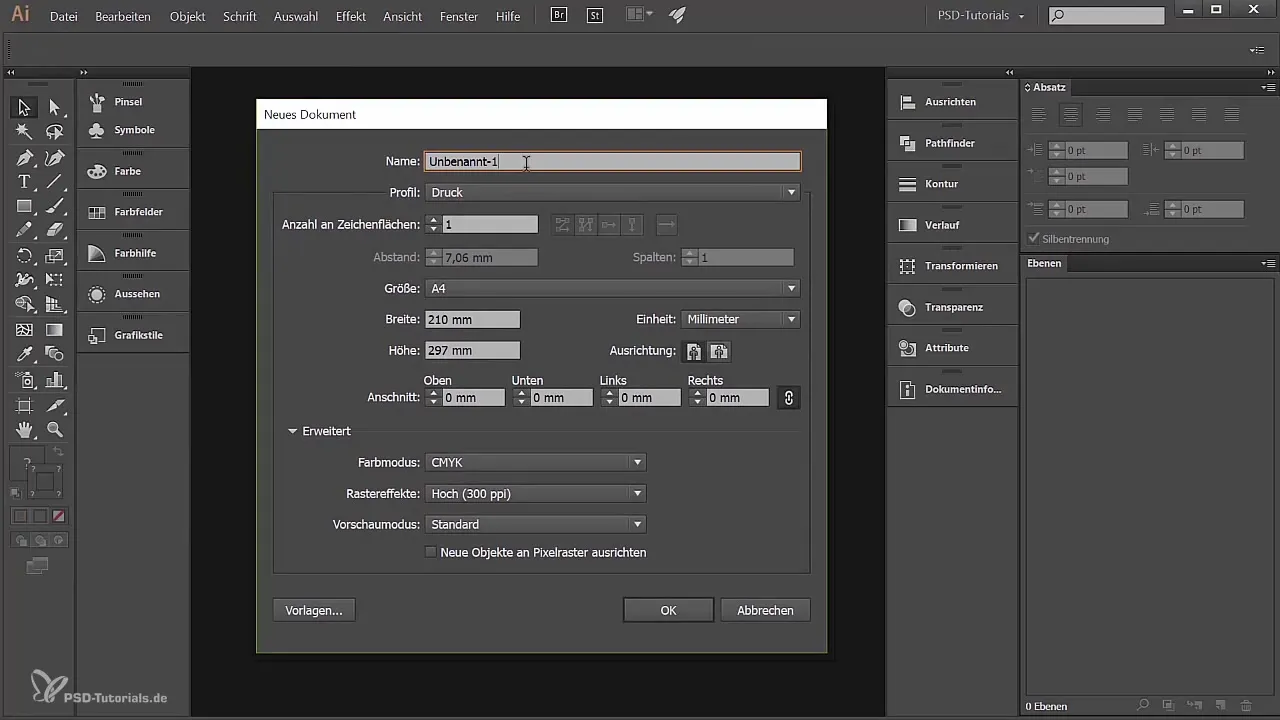
First, you need to create a new document in Adobe Illustrator. Go to “File” and click on “New”. Name your document something like “Compass” and set the size to A4 in landscape orientation. However, you can also choose another size that you prefer. Make sure to set the color mode to RGB if the graphic is primarily intended for digital use. For print products, you should choose CMYK. Confirm the settings with “OK”.
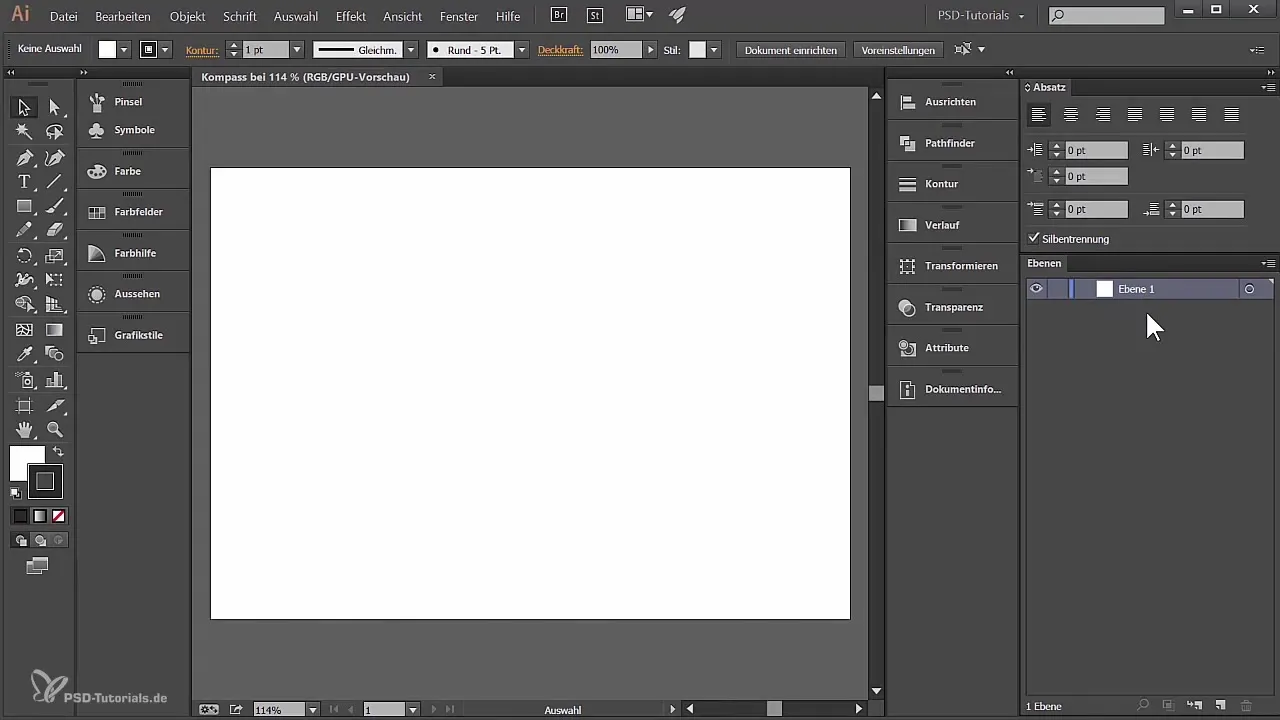
Now that you have your new document, you will call up the layers panel. If it isn’t visible, go to “Window” and select “Layers”. You should now see a new layer named “Layer 1”. Rename this layer to “Guides” for better management.
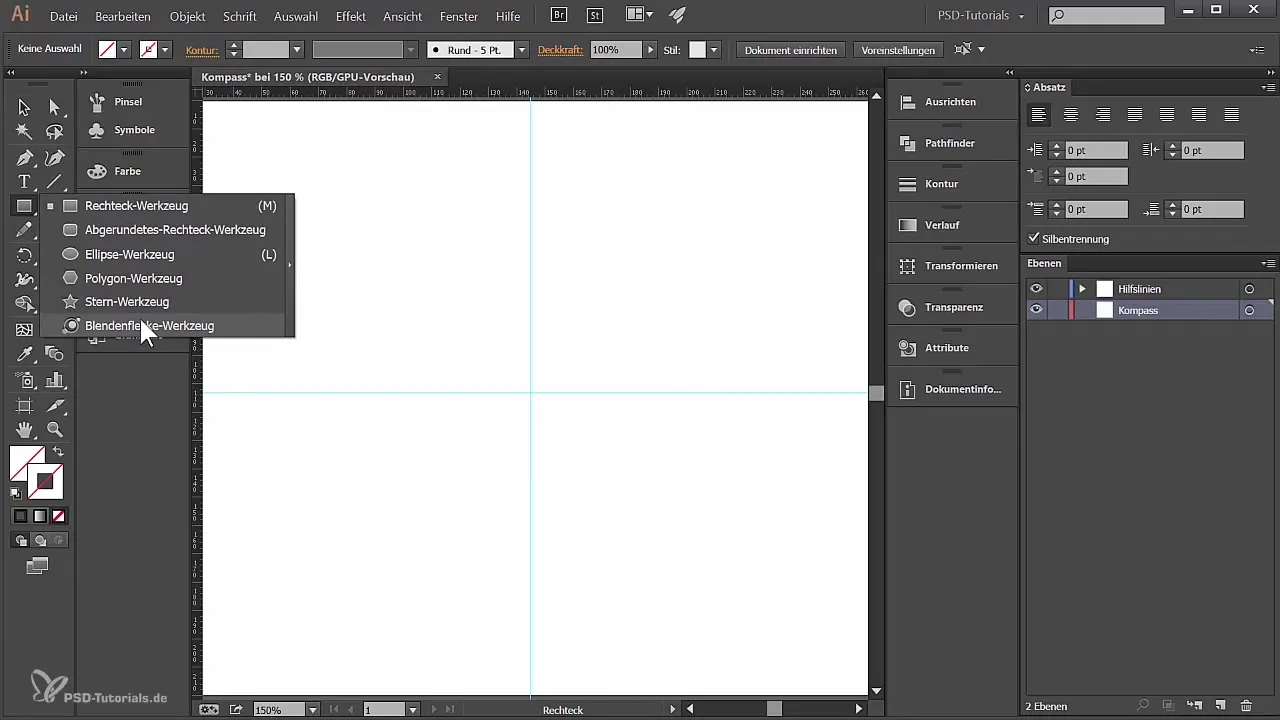
To work precisely, show the rulers by using the keyboard shortcut “Ctrl + R” or through the menu command “View” -> “Rulers” -> “Show Rulers”. You can now draw guides: Drag the top and left line to the center of the document to form a cross. This will help you place the elements accurately later.
The guides should be in the new “Guides” layer. Click on it to lock it so that it doesn’t get accidentally moved while you work. To do this, go to “View” -> “Guides” and select “Lock Guides”. This keeps the guides in place while you work on your compass.
Now create a new layer and name it “Compass”. Move the guides up so that they remain above the compass layer in the hierarchy. You now have a clear and organized base to work from.
To create the main circle of your compass, select the Ellipse tool by clicking and holding on the Rectangle tool until the menu appears, or press the “L” key. Hold down the Shift key while you draw an ellipse to create a perfect circle with a diameter of about 56 mm. Make sure that the circle is centered on the artboard.
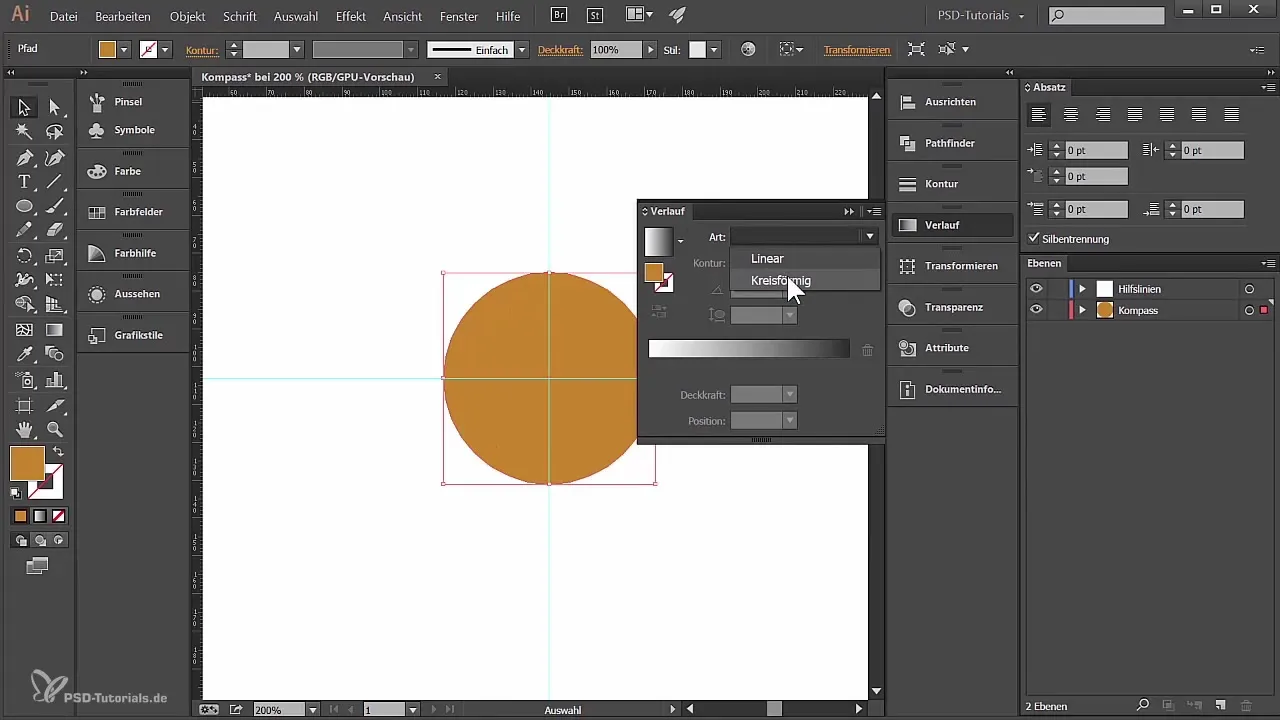
Now I will adjust the color of the circle. Select the fill (not the stroke), go to the color palette and choose a gradient instead of a solid color. You can achieve this through the “Gradient” window, which you can find under “Window” -> “Gradient”. Then select a radial gradient and adjust the colors to your preference. For example, you might use a gradient from white to black and dynamically adjust the center of the gradient to achieve the desired effect.
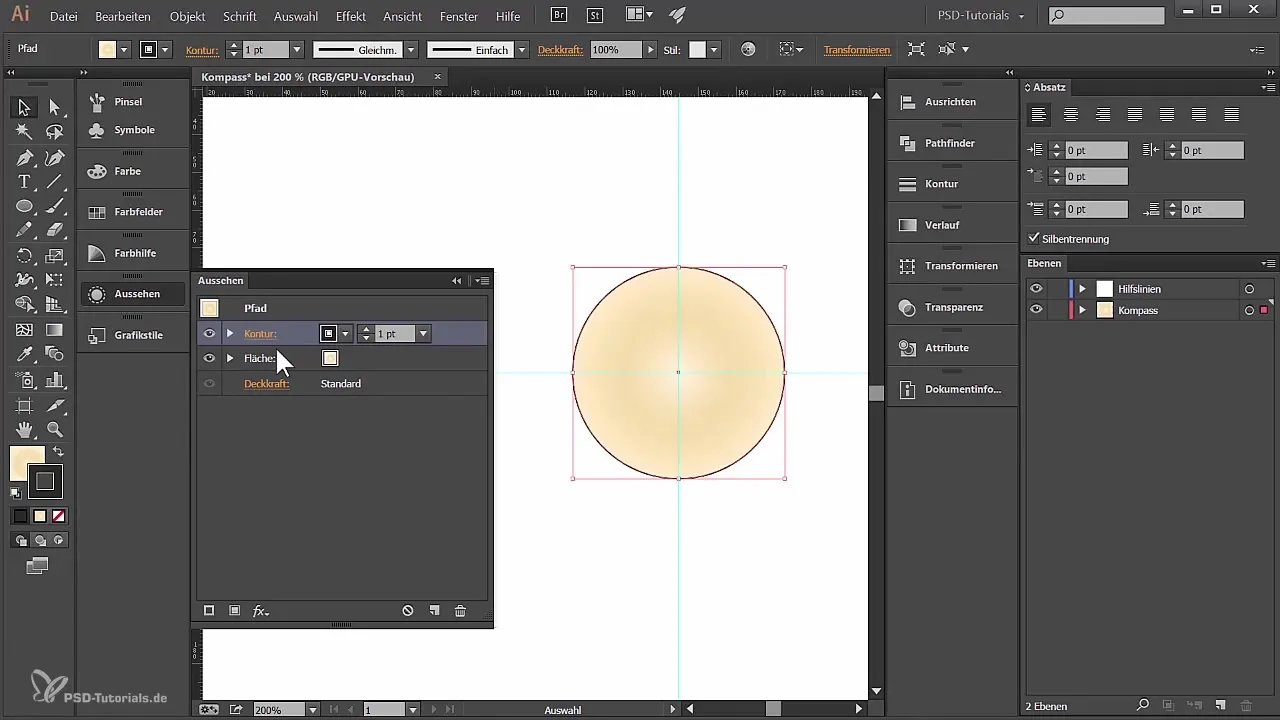
Next, open the “Appearance” panel via “Window” -> “Appearance”. Here you can manage the hierarchy of your object, and it also allows you to add a stroke to the fill. I will add a new stroke starting from the top layer. Choose a thickness of 1 point and an appropriate color for the first ring using R: 112, G: 94, B: 46.
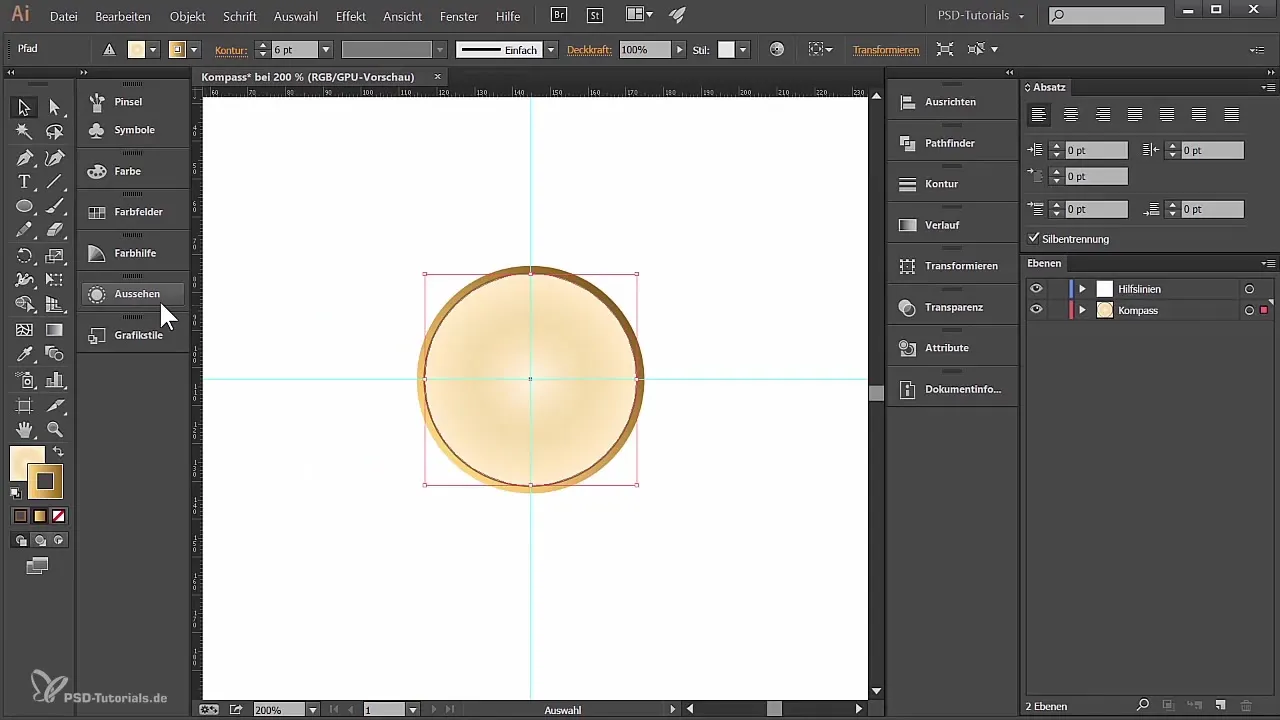
Now add a second stroke that follows the base circle but is significantly thicker, say 6 points. This stroke should also have a different color and be executed with a linear gradient to give the compass more dimension. Make sure you select “Align Stroke Outside”.
To enhance the outer effect, I will add another stroke with a width of 17 points that also has a gradient. You can customize this variant to create different light and shadow effects by changing the colors in the gradient panel accordingly.
You can show and hide the guides throughout the process to maintain a clear view of your project. When you are satisfied with the design, save your work regularly to ensure that no changes are lost.
Summary - Designing Your Compass in Adobe Illustrator
You have learned how to create a compass from start to finish in Adobe Illustrator. This guide has introduced you to the fundamentals of design in Illustrator and shown you how to combine colors, shapes, and gradient options to achieve an appealing result.
Frequently Asked Questions
How do I save my work in Illustrator?Go to “File” and select “Save As” to secure your work.
What file formats can I save in Illustrator?You can save in AI, EPS, PDF, or PNG among others.
How can I hide the guides?Go to “View” and select “Guides” and then “Hide Guides”.
What are the best color formats for print?For print, you should use the CMYK color mode to achieve the best results.
Are there special keyboard shortcuts for Illustrator?Yes, many functions have keyboard shortcuts, e.g., “Ctrl + R” for rulers or “Ctrl + Z” for undo.
