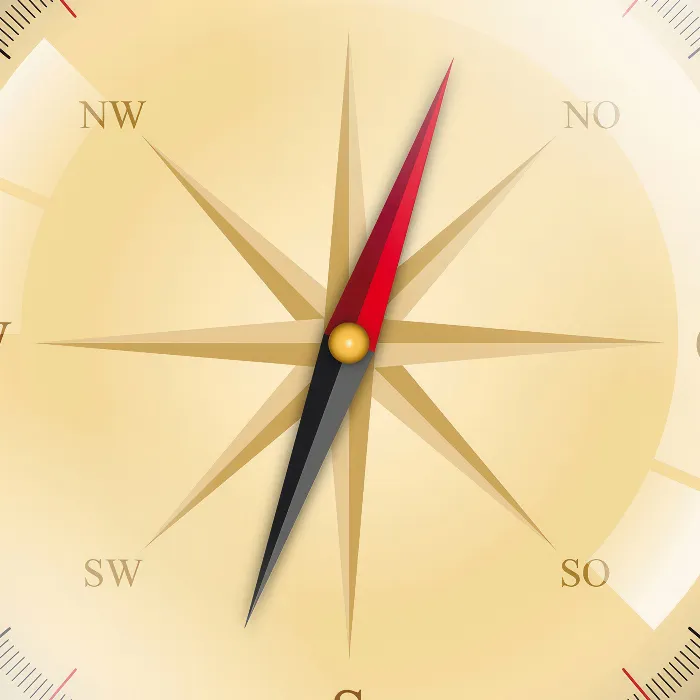
A compass is not only a useful tool for navigation, but also an impressive graphic element used in many design projects. In this guide, you will learn how to create degree marks for 10° and 20° intervals in Adobe Illustrator and place all necessary degree numbers precisely. Rely on simple steps to design your project efficiently and attractively.
Key Insights
- Create separate layers for 10° and 20° degree marks.
- Use the rotation tool for precise placement.
- Place degree numbers in the correct positions for an aesthetically pleasing design.
Step-by-Step Guide
Create New Layer for 20° Degree Marks
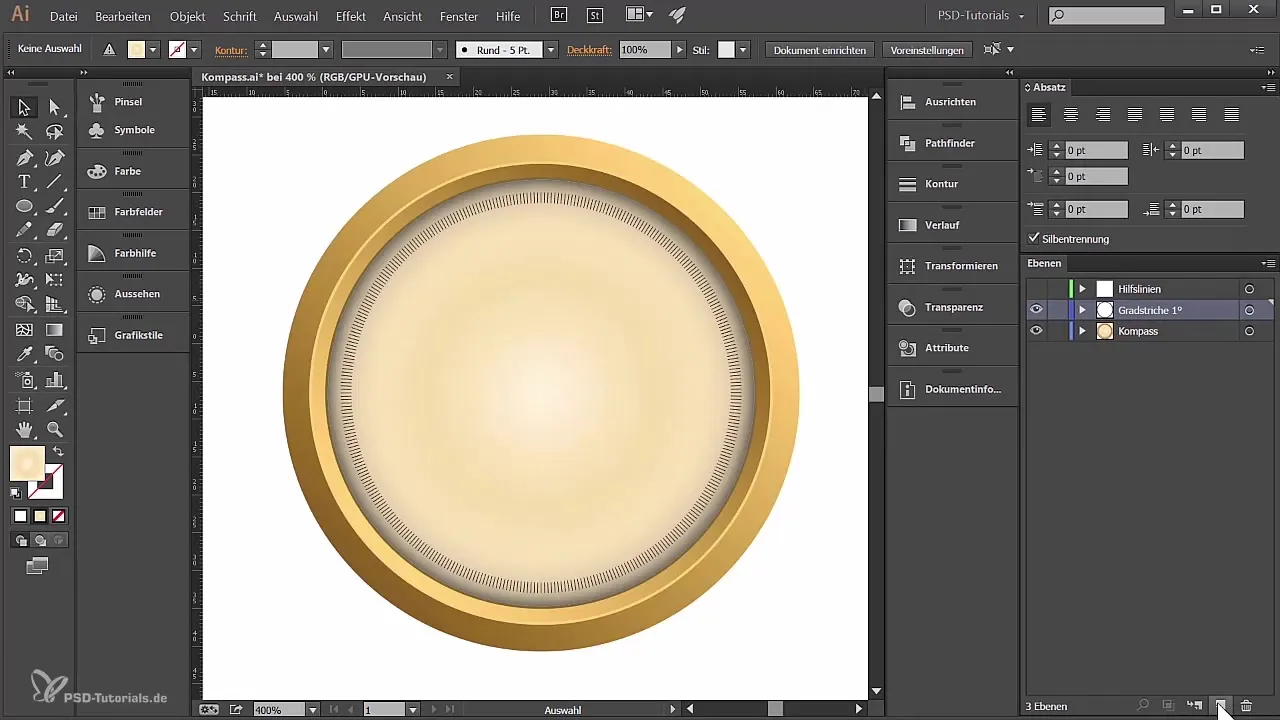
Start by creating a new layer called “Degree Marks 20°”. Here you will draw the 20° degree marks. Using the line tool, you can now create a horizontal line. Be sure to activate the guides to align the line precisely. You should choose a stroke weight of 0.4 points to increase visibility. After setting the stroke color to an attractive red tone (162, 27, 37), place the line where you want it.
Copy and Rotate Lines
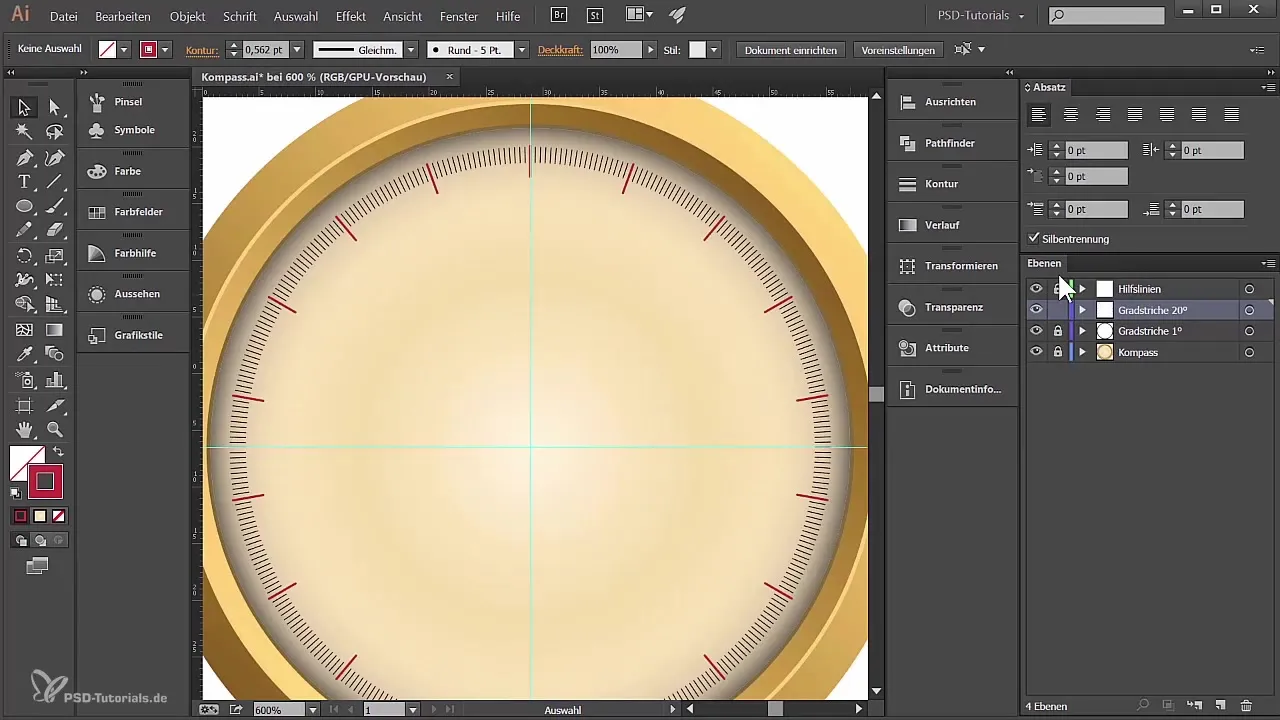
After creating the first line, you will now need the rotation tool. Hold the Alt key and click on the midpoint of your first drawn line. Set the rotation to 20°. By simply copying, you will create the next 20° marks by using the "Ctrl" + "D" (Windows) or "Cmd" + "D" (Mac) function repeatedly until you have eight marks evenly spaced around.
Create New Layer for 10° Degree Marks
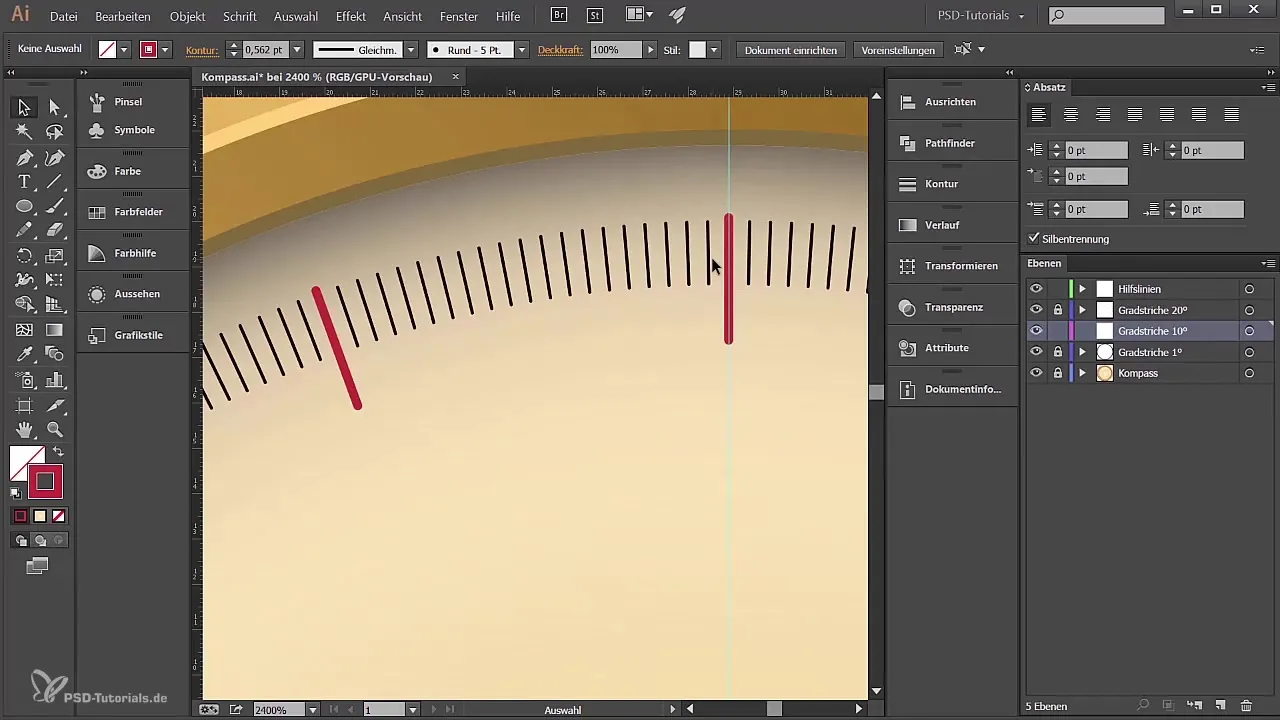
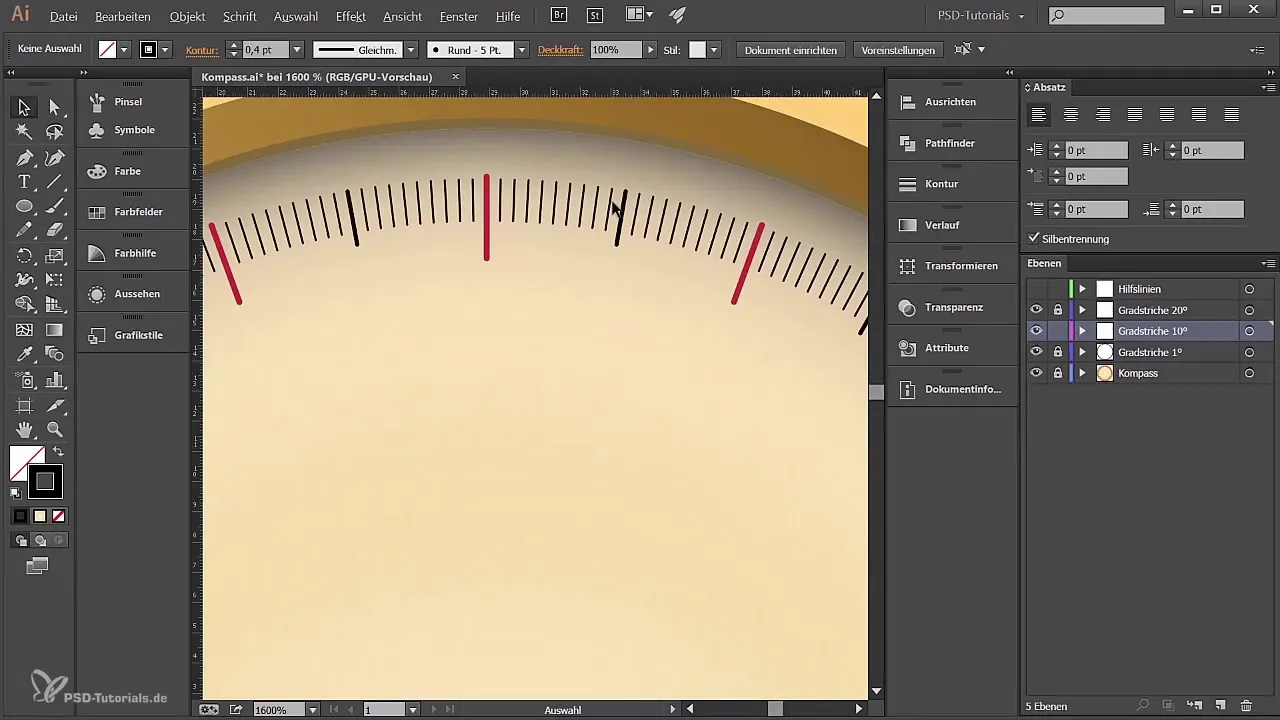
Now create another layer called “Degree Marks 10°”. Repeat the process: Choose a 10° mark as a reference and draw another line with the line tool. Make sure this one also has a stroke weight of 0.4 points to achieve a subtle difference compared to the 20° marks.
Use the Rotation Tool for 10° Marks
Similar to the 20° marks, use the rotation tool to copy the new mark by 20°. Repeat the copying process until you have a total of 36 lines that form a complete circle.
Add Degree Numbers to the Marks
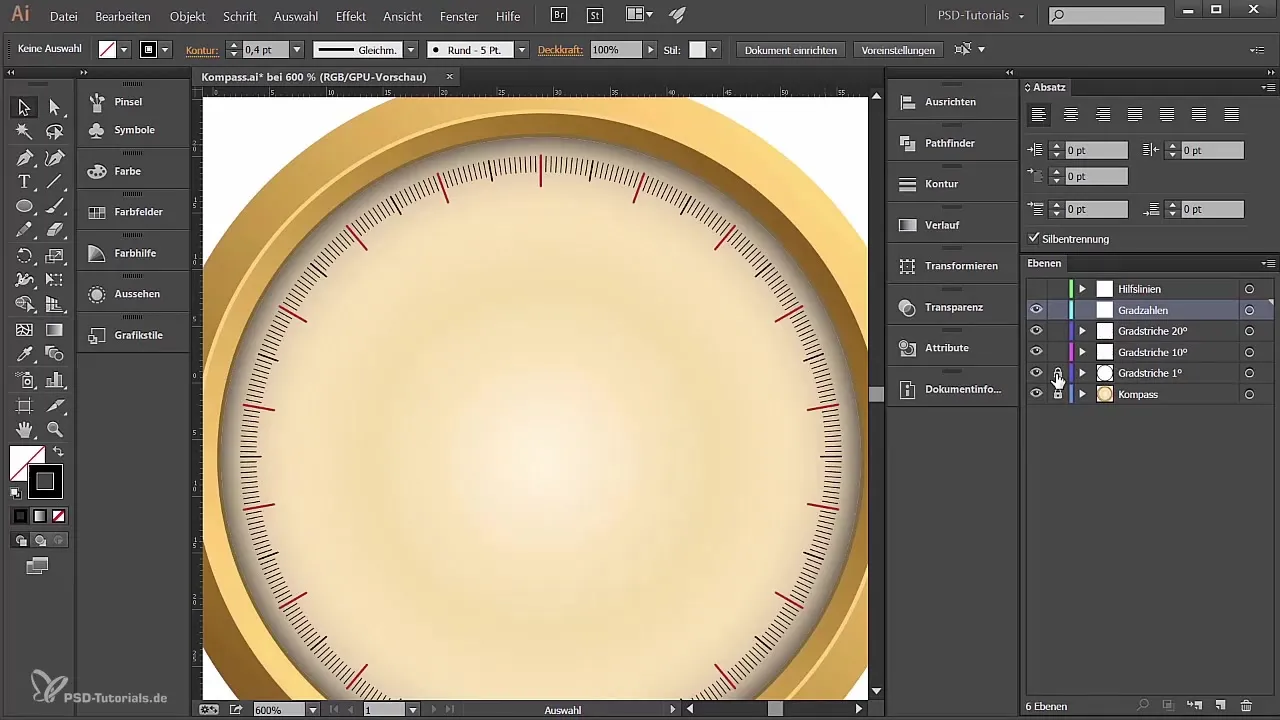
Now it is time to add the degree numbers. Create a new layer titled “Degree Numbers”. Unlock the previously drawn marks, select all of them, and resize them to create enough space for the labeling. Use the text tool to place the number “0°” at the appropriate position, and choose a readable font like Myriad Pro in 6-point size.
Arrange Numbers Around the Marks
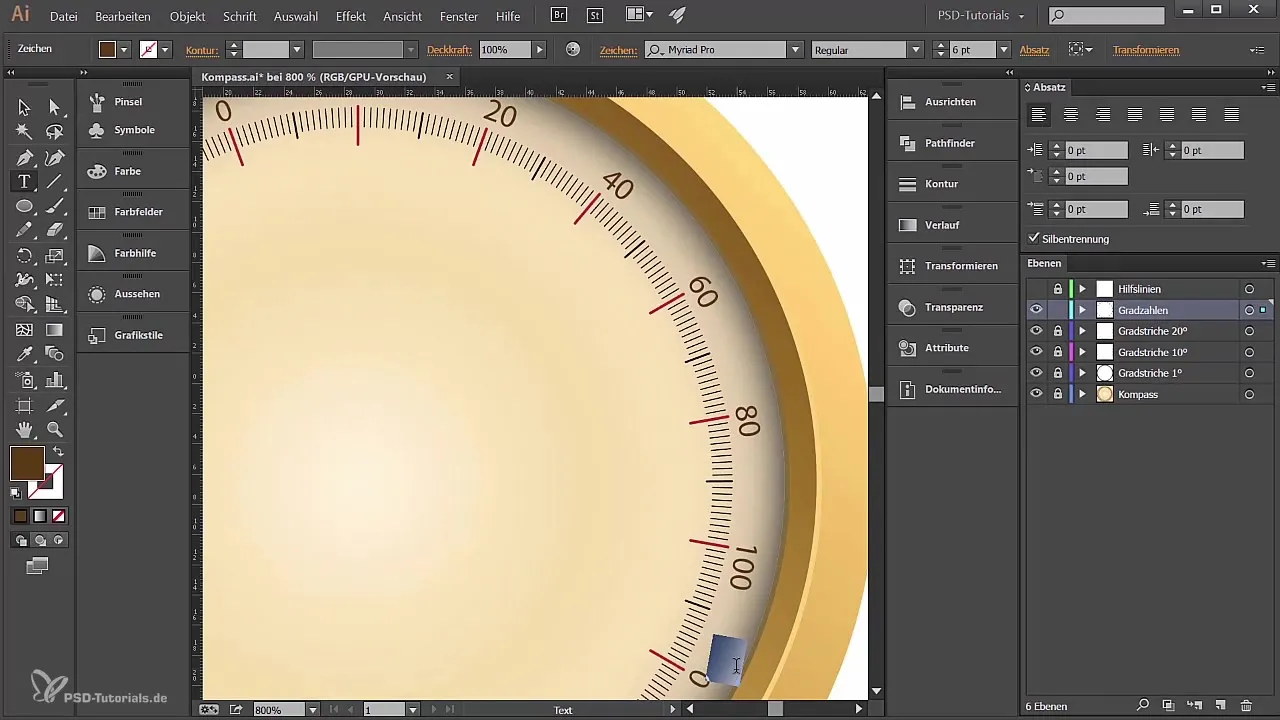
Take the number you just entered and again use the rotation tool to copy it by 20°. This will give you the numbers for each degree unit. Ensure that the numbers are centered above their respective marks. A small tip: If you want to move the view in Illustrator, it's advisable to use the selection tool first.
Make Adjustments and Refine Details
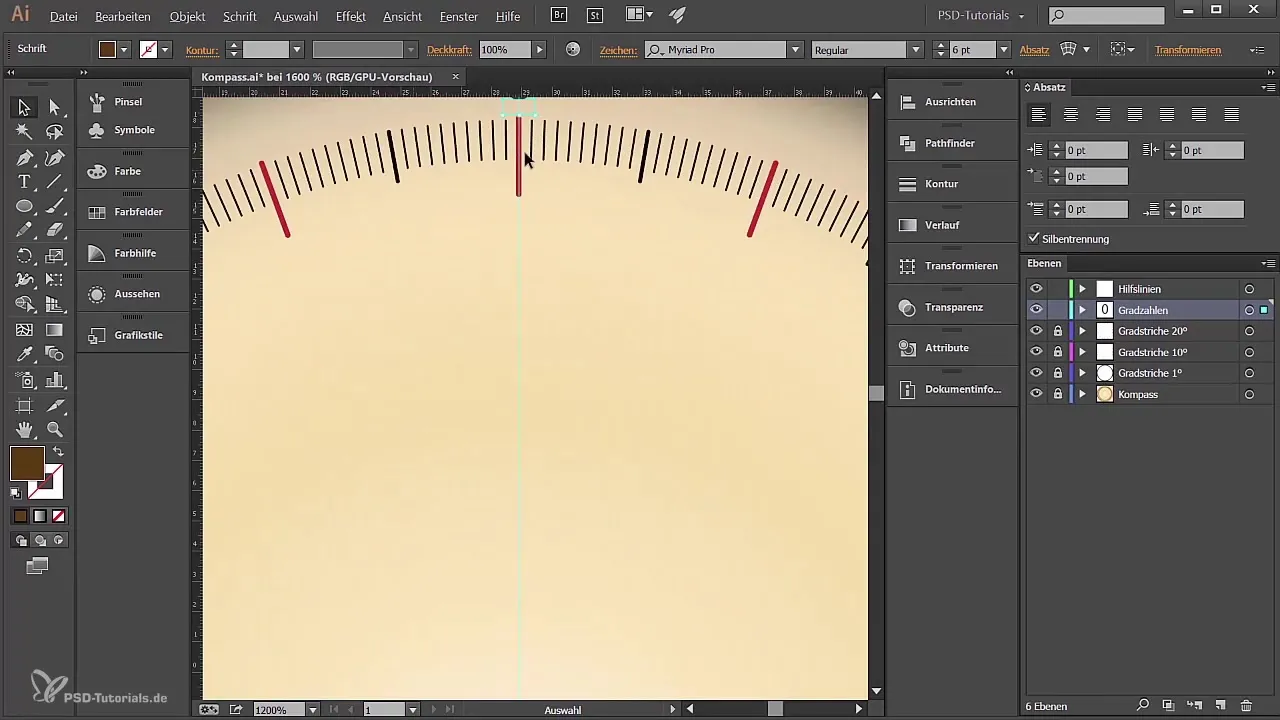
If you notice that the numbers are not perfectly centered, you can adjust the paragraph formatting in the text tool. Select the respective number and center it accordingly before moving on to edit the numbers for the other degree units.
Summary - Creating a Compass in Adobe Illustrator
In summary, in this guide you have learned how to create degree marks for 10° and 20° intervals in Adobe Illustrator and place all degree numbers. With this knowledge, you can now design a precise and professional-looking compass that is both functional and aesthetically pleasing.
Frequently Asked Questions
How can I change the stroke weights in Illustrator?Select the line and adjust the stroke weight in the stroke panel.
How can I save my creatively created degree marks?Simply save your project via “File” > “Save As” and choose the desired format.
Can I change the colors of the lines later?Yes, the color can be changed at any time using the color picker tool in the toolbar.
