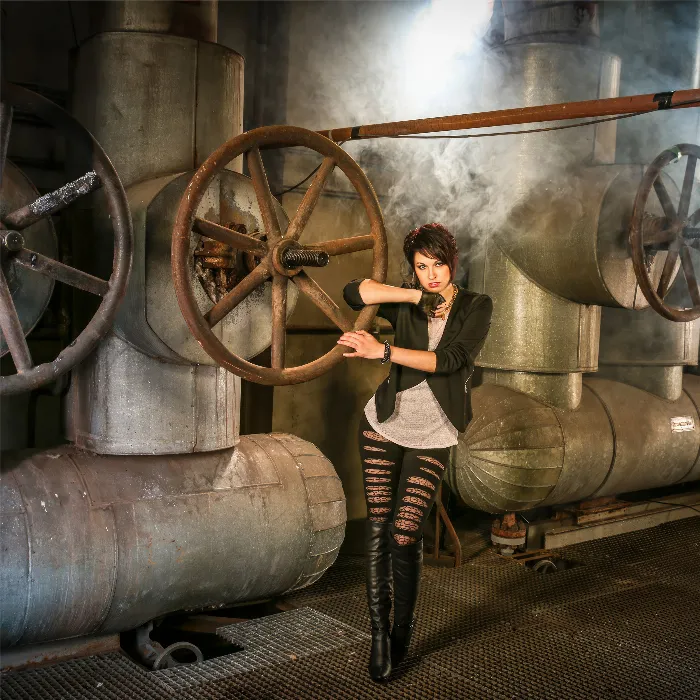
The editing of images can make a significant difference in the visual impact of your photos. Particularly, understanding and applying hue, luminance, and saturation are key components in Adobe Lightroom. In this guide, you will learn how to get the best out of your landscape shots through targeted adjustments.
Key insights
- HSL stands for hue, saturation, and luminance.
- With the HSL sliders, you can precisely adjust colors and significantly improve the character of your image.
- Hue shifts affect the color perception in your image.
- Luminance sliders help control the brightness of individual colors.
- Saturation allows you to increase or decrease the intensity of colors.
Preparing the Images
Before you start with the HSL adjustments, make sure that your basic settings in Lightroom are optimized. This includes raising the exposure, enhancing contrast and clarity, and minimizing sensor spots. These initial steps create a solid foundation for detailed work with HSL.
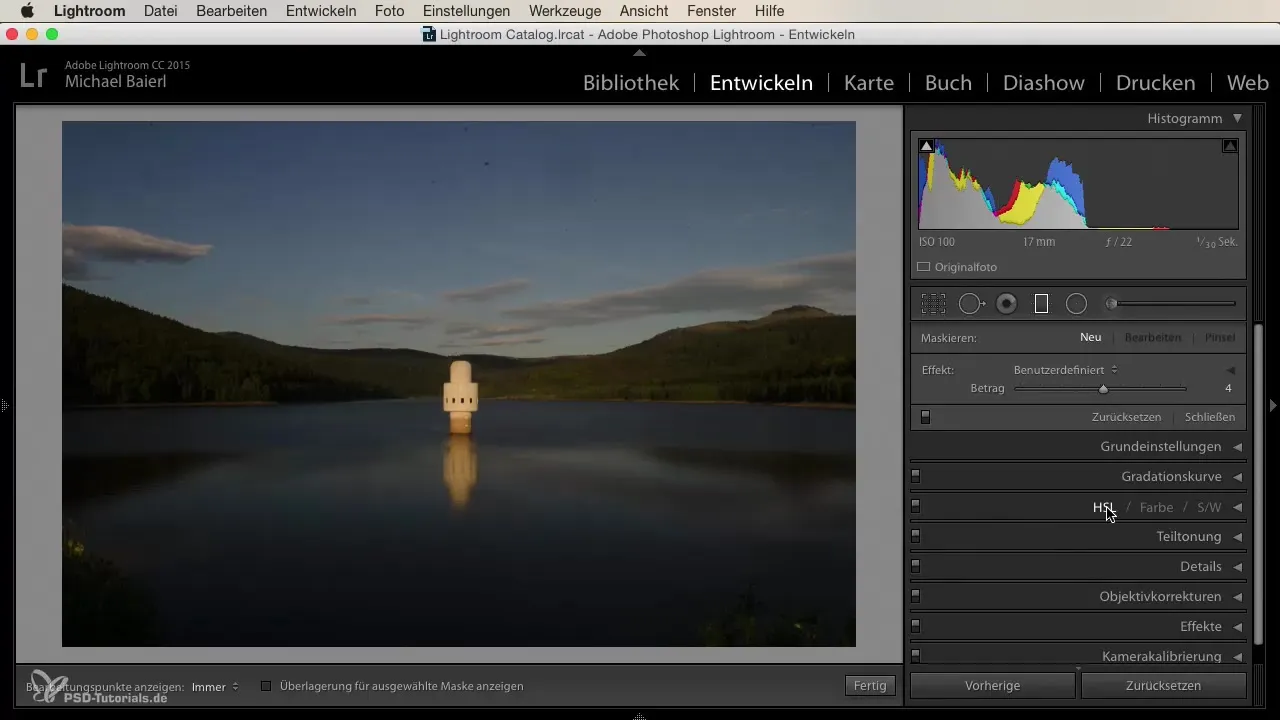
What does HSL mean?
HSL is an abbreviation for hue, saturation, and luminance. These sliders are not always intuitive and may seem a bit unclear when first used. Let's take a closer look at each component:
- Hue: This allows you to change colors in the image. For example, if you pull down the green hue, it shifts towards yellow.
- Saturation: This regulates the intensity of colors. High saturation makes colors appear more vibrant, while low saturation makes them fade.
- Luminance: This slider affects the brightness of individual hues. Increasing the luminance of blues will make the sky and water brighter.
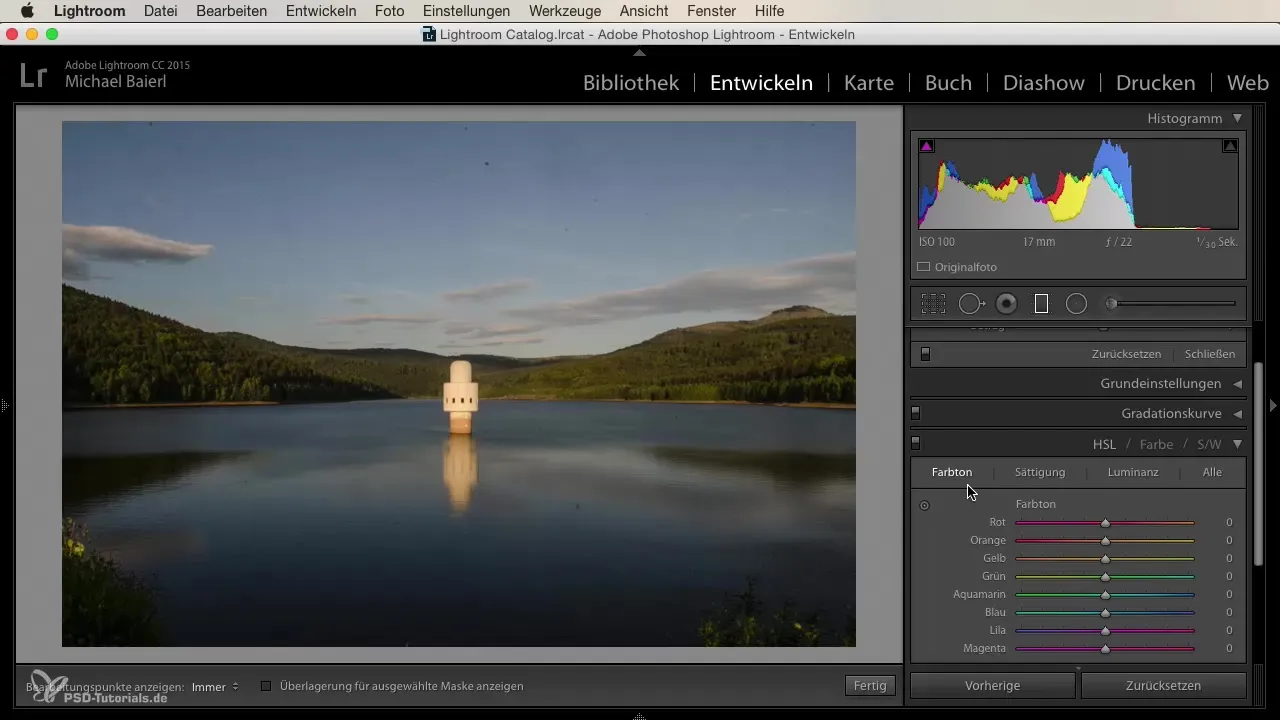
Adjusting Hue
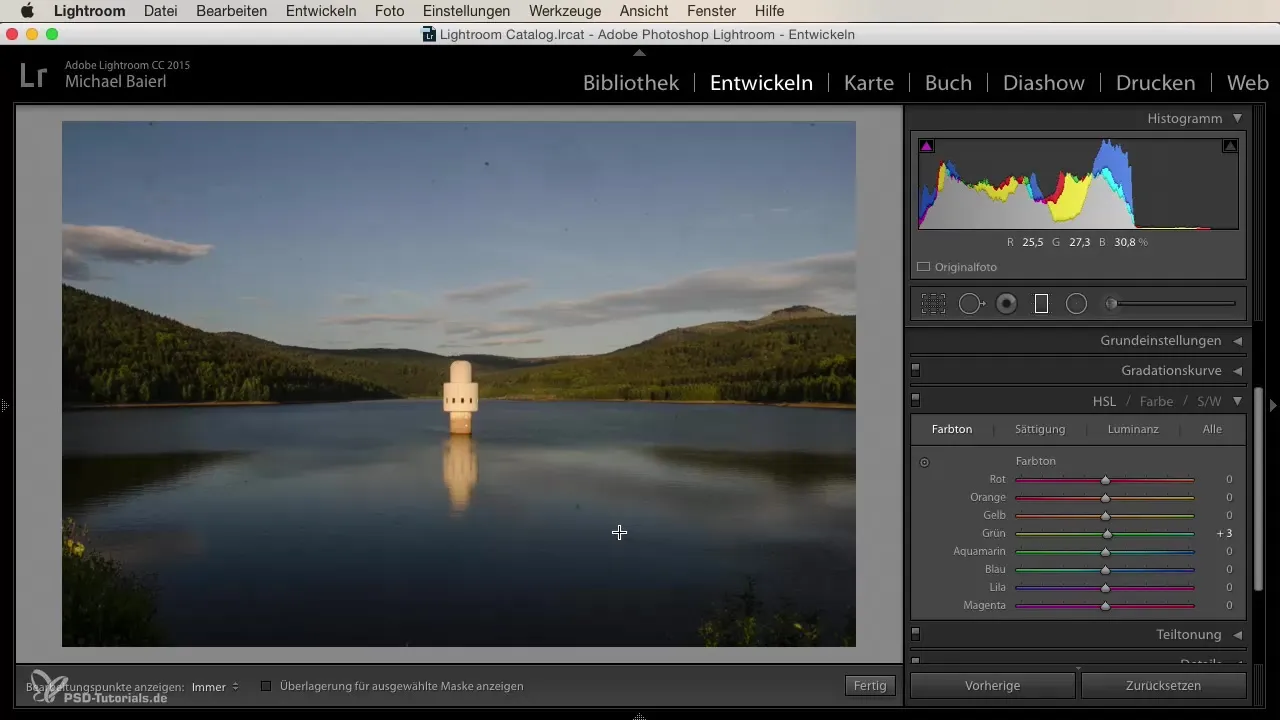
To specifically change the hue of your images, go to the HSL sliders and start with the hue. Experiment with the individual hues. For example, pull the green hue all the way down to yellow or push it towards aquamarine. This will give you an immediate sense of how hue affects the overall impact of the image.
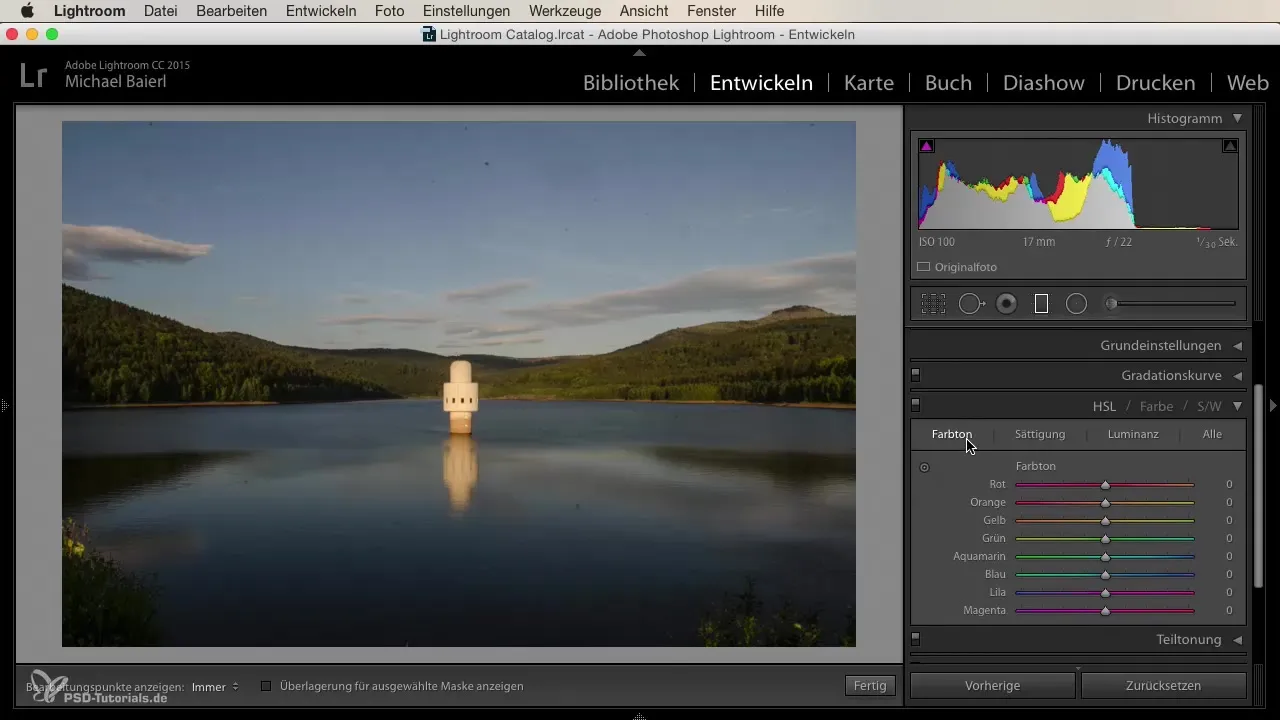
When adjusting the hue, it's important to look at the entire image. Ensure that you analyze the color distribution in your image well. For example, if you notice purple hues in the sky or green tones in the vegetation, you can adjust them specifically and intensify or dampen their nuances.
Changing Luminance
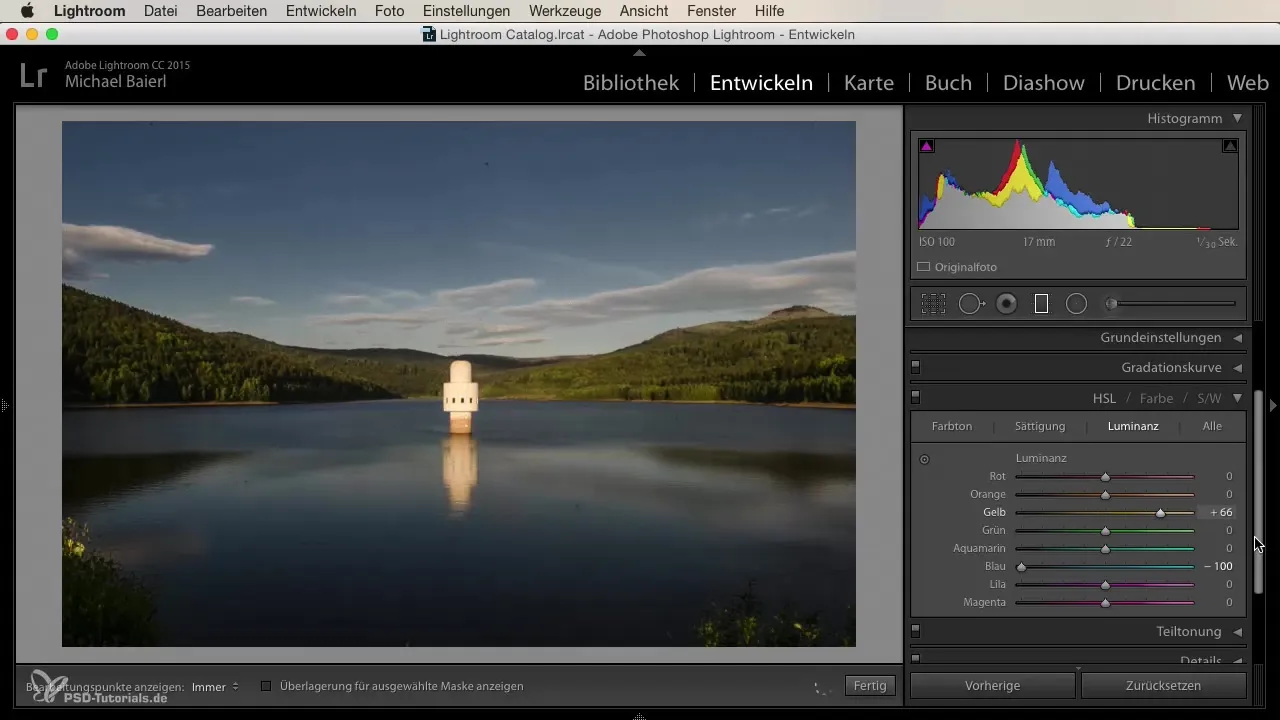
After experimenting with the hue, the next step is luminance. Here you can specifically adjust the brightness of colors. If you move the luminance slider for blue up, you will quickly notice that the sky and water become significantly brighter. This selective opportunity allows you to shape the image.
Pay attention to whether certain areas of the image appear too bright or too dark. The goal is to create a harmonious overall image that highlights the key elements more strongly. If you also experiment with yellow tones, increasing or decreasing the brightness may be crucial for the representation of the subject.
Adjusting Saturation
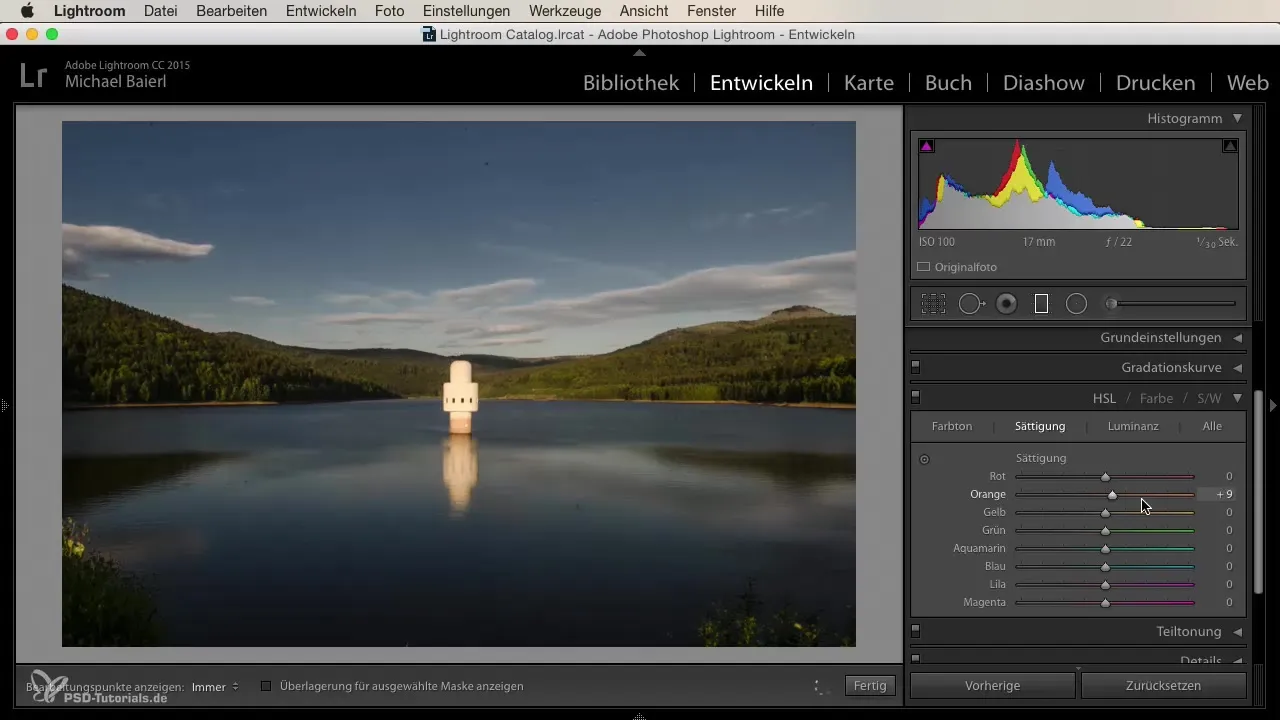
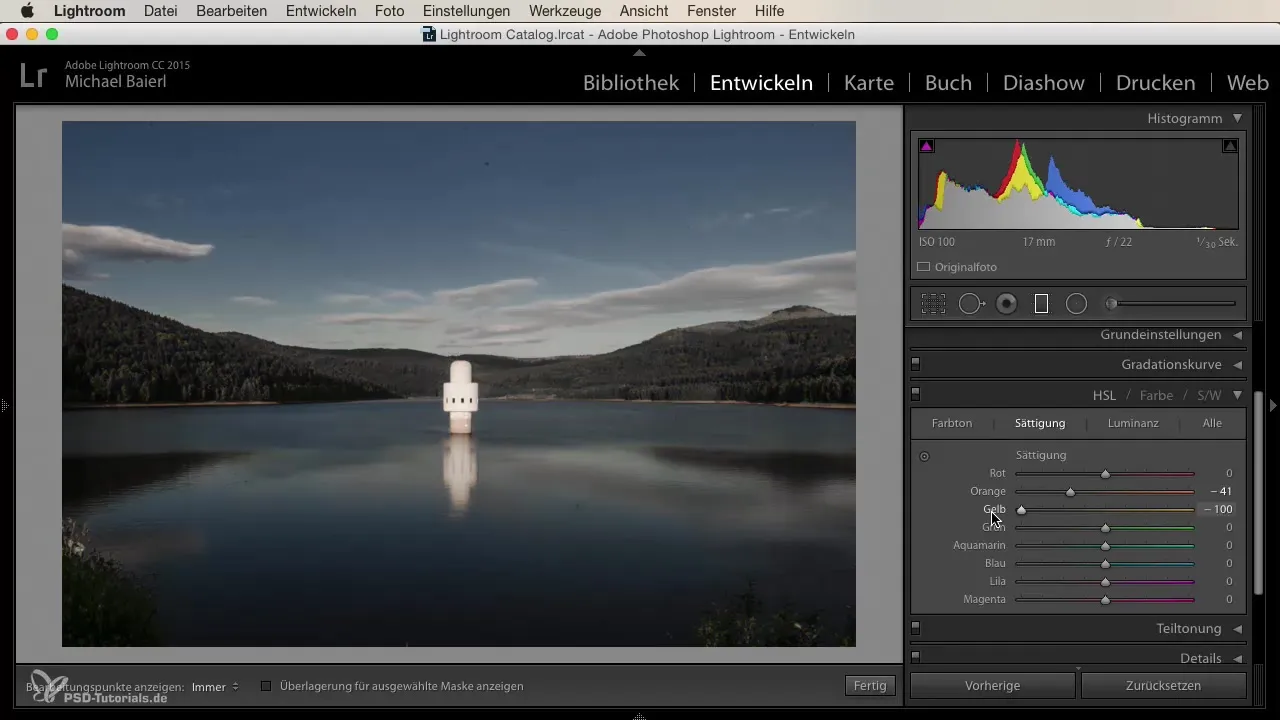
Now we come to saturation. Here you can increase or decrease the intensity of colors. Pull the sliders for orange and yellow up and see how the image changes. Again, be careful not to overdo it. An image can quickly appear exaggerated and unnatural if the saturation is too high.
With the saturation sliders, you can unfold what is truly important in the image – it can be everything from a vibrant and lively impression to a subtle and aesthetic look. Approach cautiously so that the image does not lose its credibility.
Responsive Adjustments
As you continuously adjust the HSL sliders, it is helpful to keep an overall view of the image. Sometimes a small change in luminance or saturation in one area can have drastic effects in other areas.
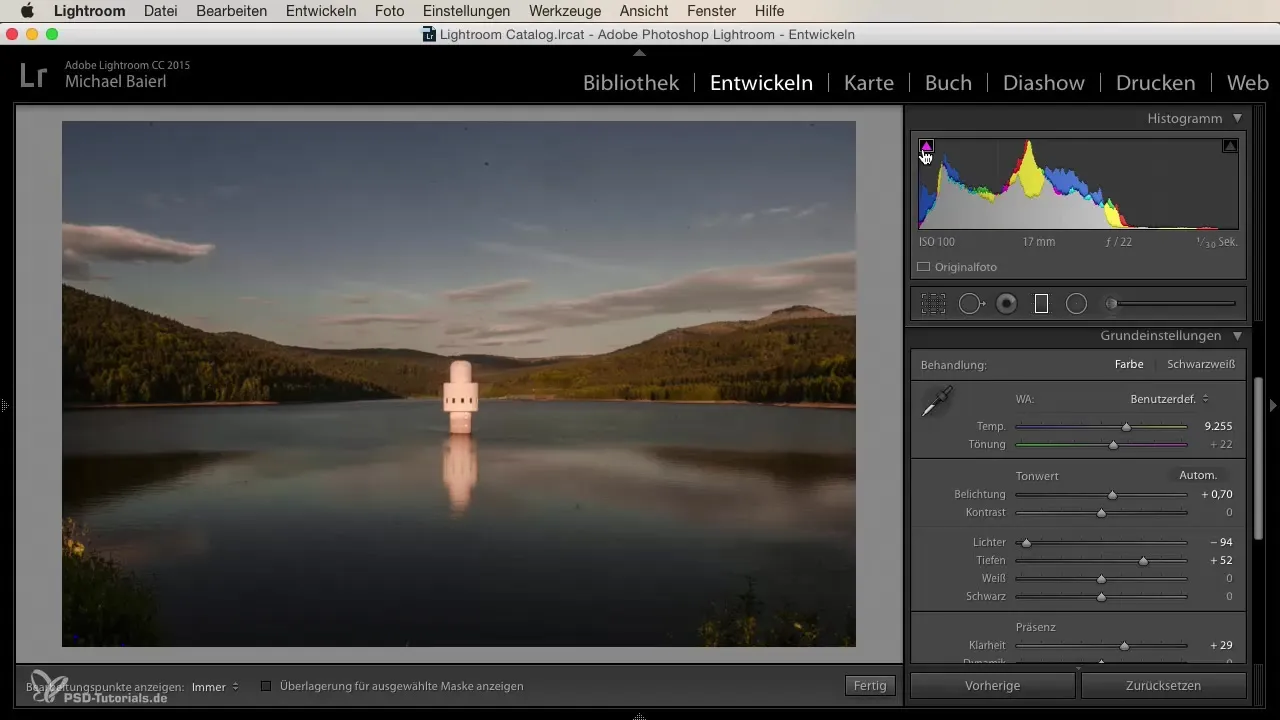
Repetitive adjustment and checking is the key principle in this process. Consider how the changes affect your composition. Sometimes it makes sense to make small adjustments to restore balance.
Summary – Optimally Utilizing Hue, Luminance, and Saturation in Lightroom Image Editing
In the end, you need patience and a critical eye during the editing process. Mastering the HSL tool in Lightroom can make the difference between an average and an outstanding image. The proper application of hue, saturation, and luminance allows you to perfectly capture the emotions and moods in your photos.
Frequently Asked Questions
What is HSL in Lightroom?HSL stands for hue, saturation, and luminance and allows for the targeted adjustment of colors.
How does hue affect the image impact?By shifting the hue, color perception changes, which can influence the mood of the image.
What is the difference between saturation and luminance?Saturation controls the intensity of colors, while luminance changes the brightness of hues.
How should the sliders be used?Start with small adjustments and observe the effects on the overall image.
How important is the analysis of colors in the image?A good analysis helps in adjusting the right sliders and creating a harmonious image.
