Nero, originally known for burning CDs and DVDs, also offers a powerful online tool for image optimization and scaling. In this tutorial, you will learn step by step how to use this tool to enhance your images using Artificial Intelligence (AI).
Key Takeaways
- Nero offers both an online version and downloadable software for image optimization.
- You can enlarge and optimize up to five images for free per day.
- The tool allows not only enlarging images but also making color adjustments and repairs.
- Using the tool is easy and requires only a few steps.
Step-by-Step Guide
1. Download and Install Nero Tool
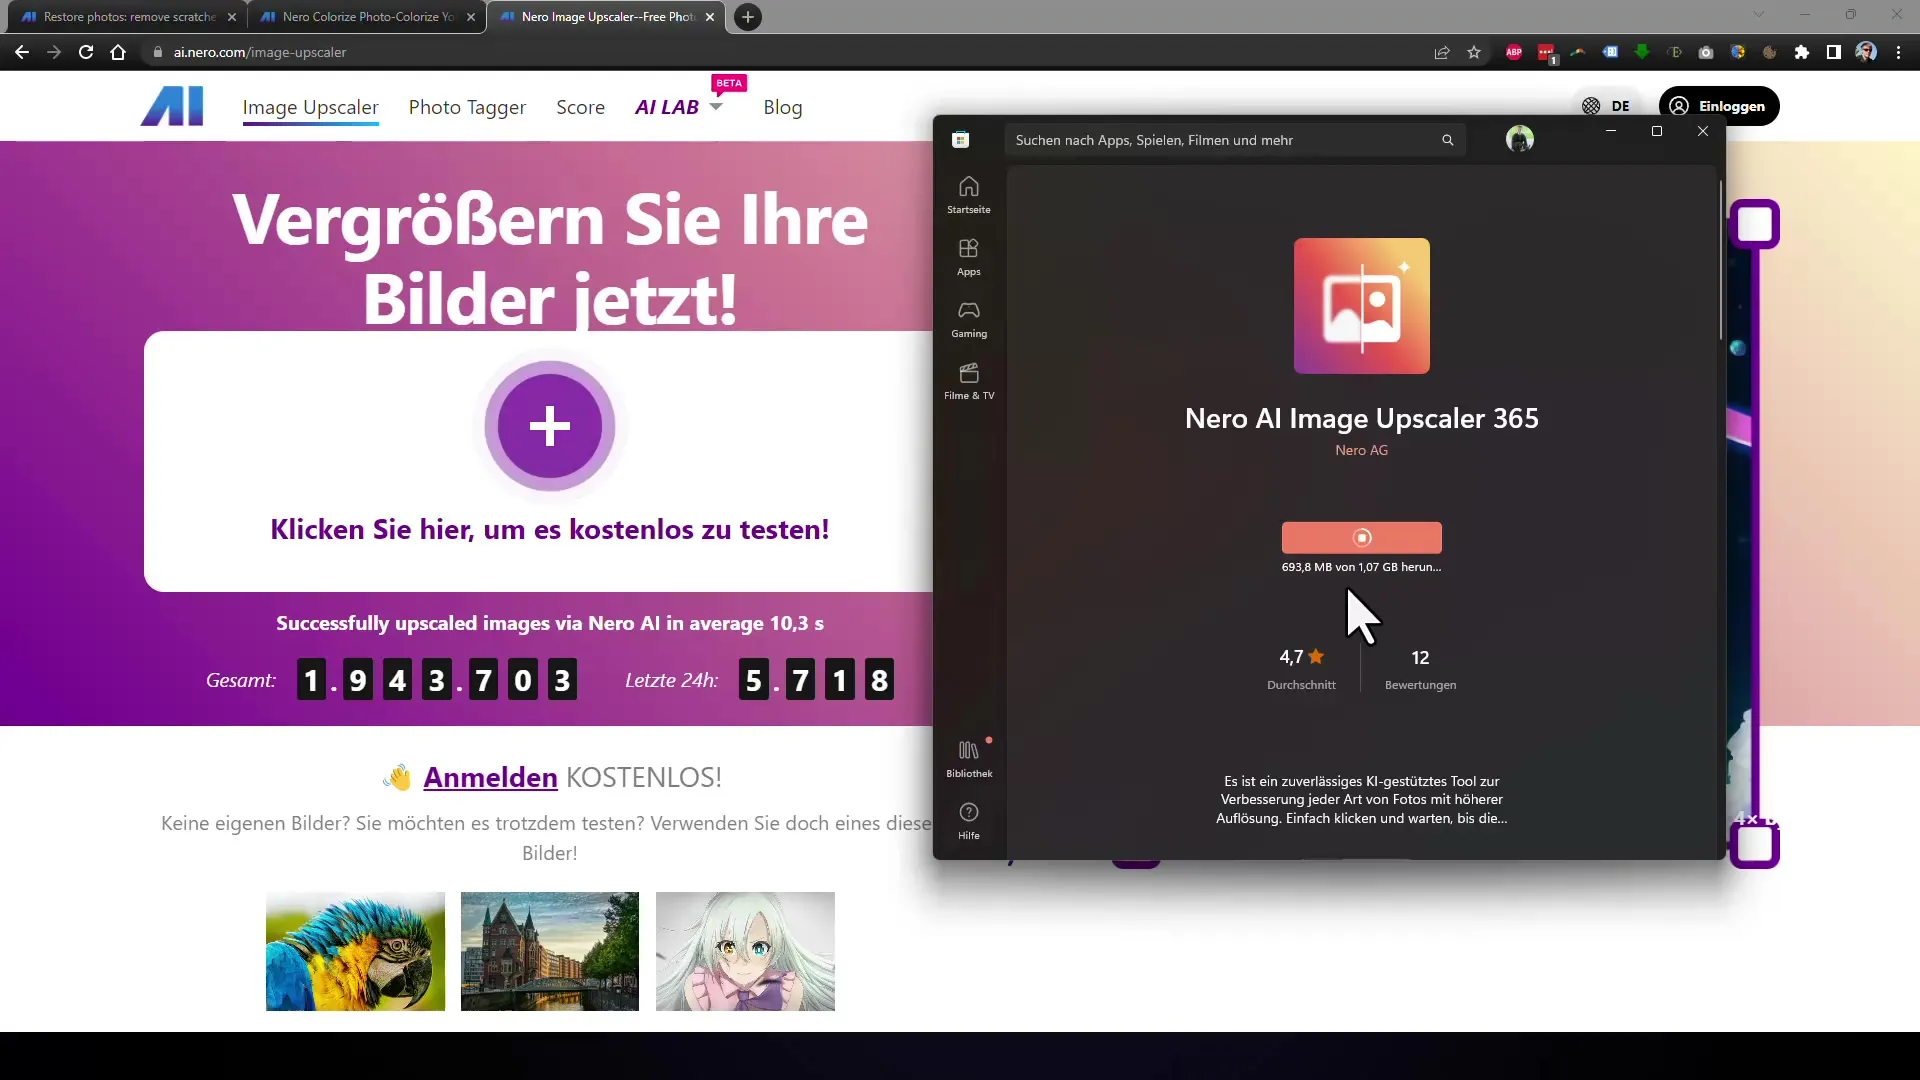
Before you start with image optimization, you need to download the Nero Tool first. Visit Nero's official website and choose the option that best suits you - either the online version or the downloadable software.
2. Explore Online Tool
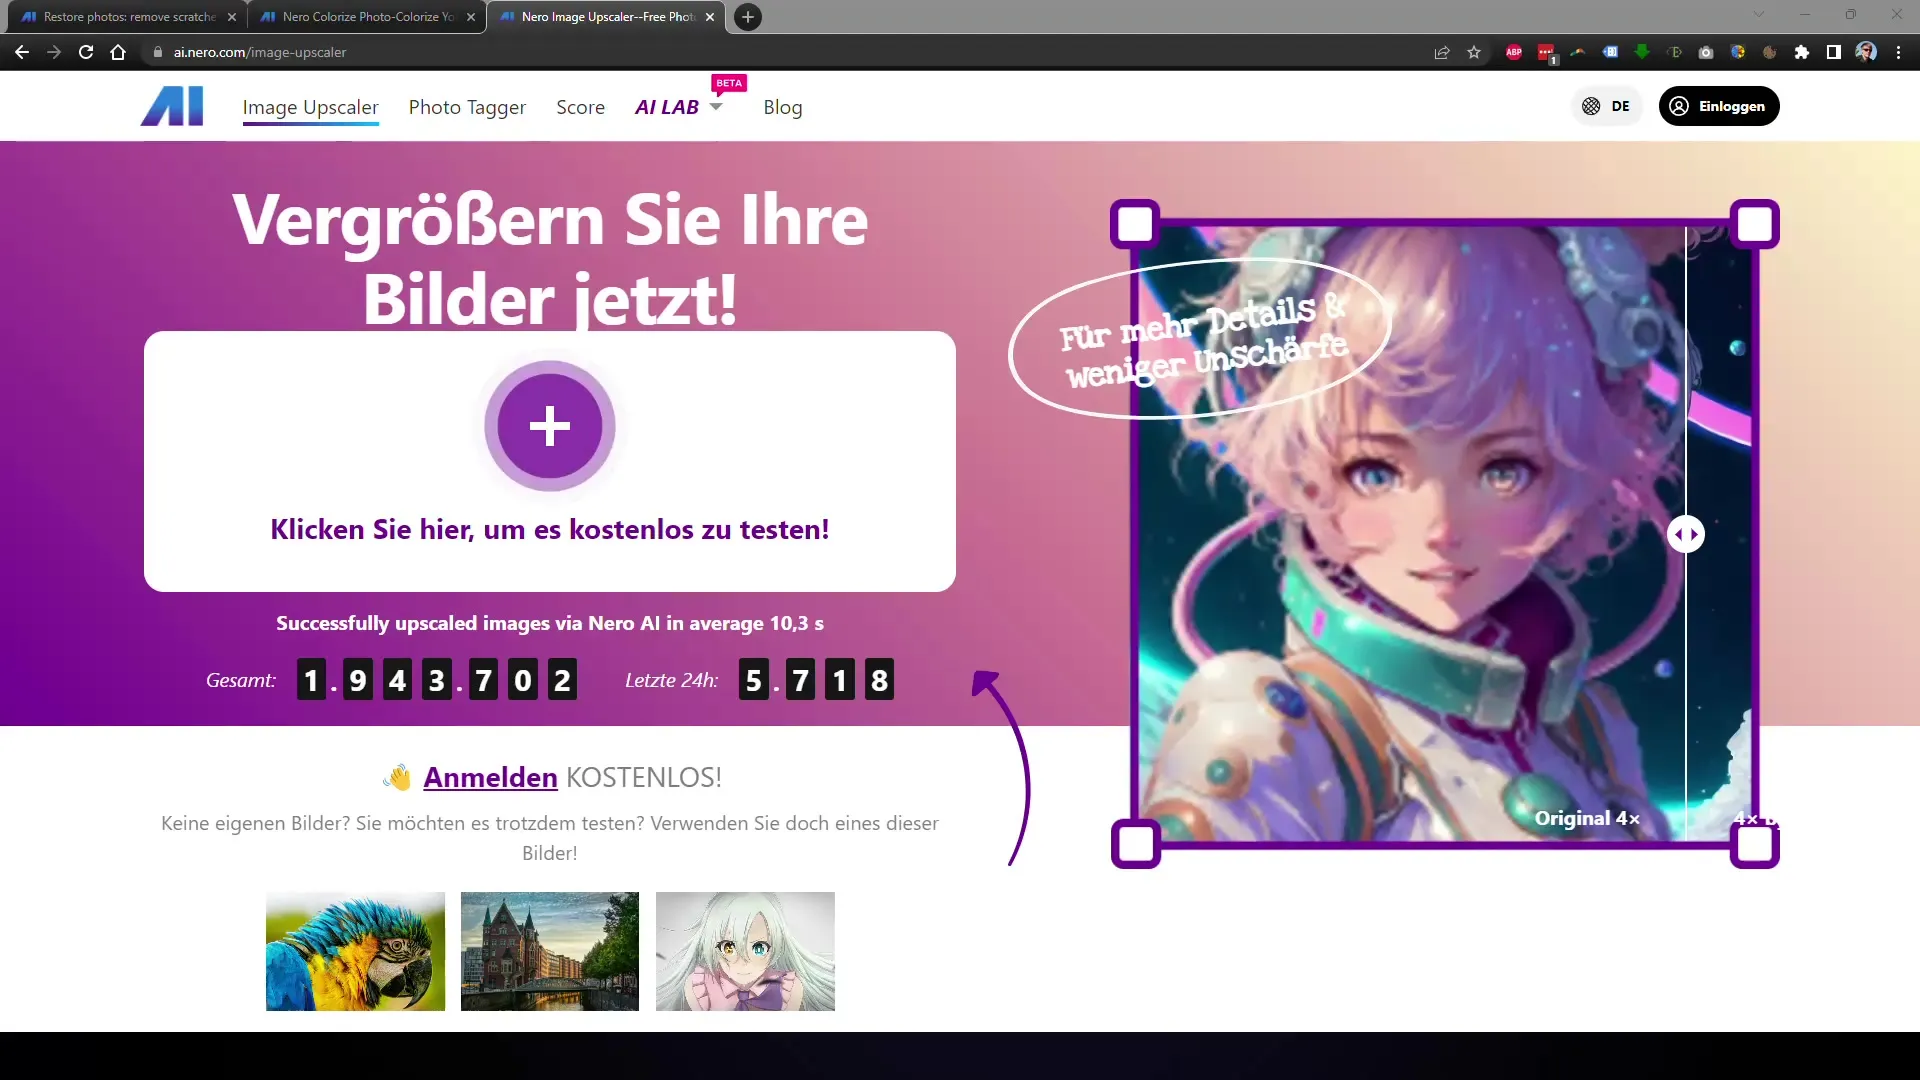
Once you have opened the tool, you will see a clear user interface. Here, you can already see a number of images that have been optimized in the last 24 hours. Use this overview to familiarize yourself with the features and capabilities of the tool.
3. Upload Image
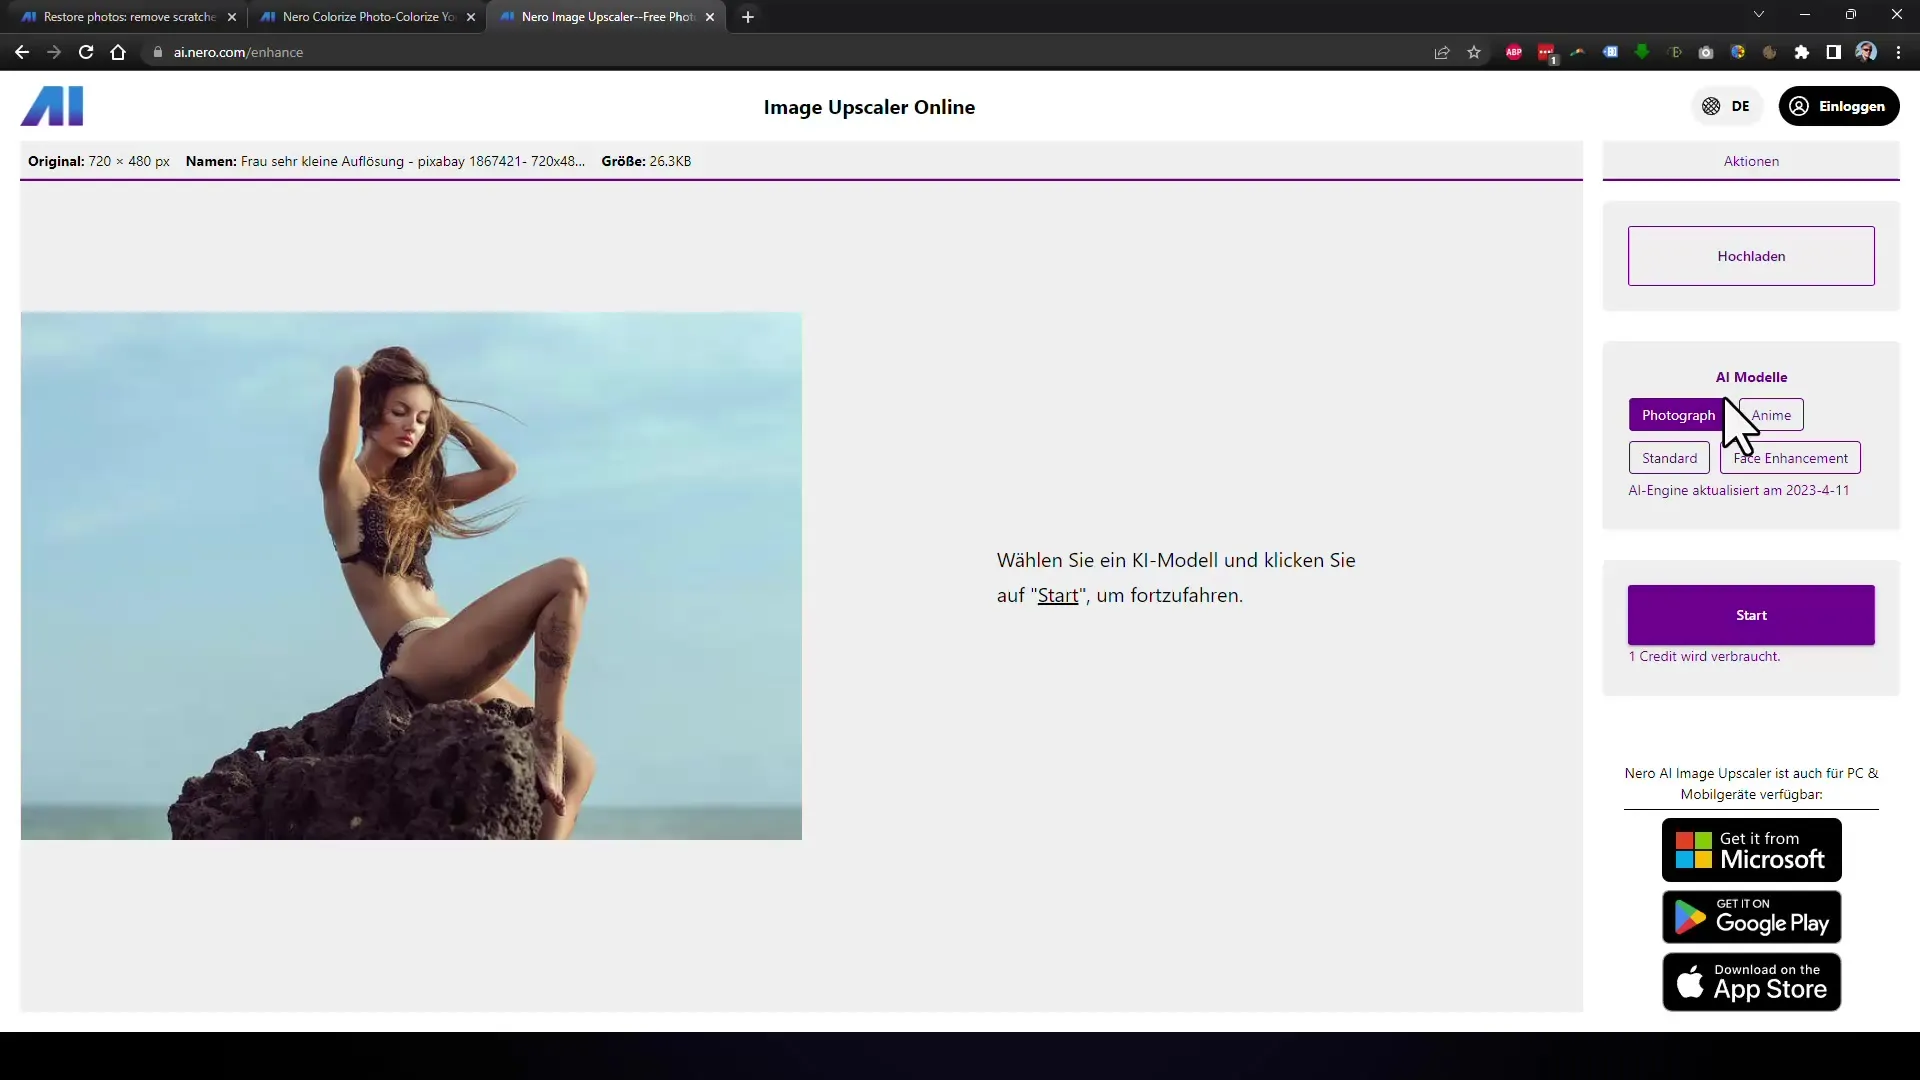
Now you can start uploading the image you want to optimize. Choose the image you want to enlarge and simply drag it into the designated area. It is important to choose an image with a low resolution to fully utilize the tool's potential.
4. Choose AI Model
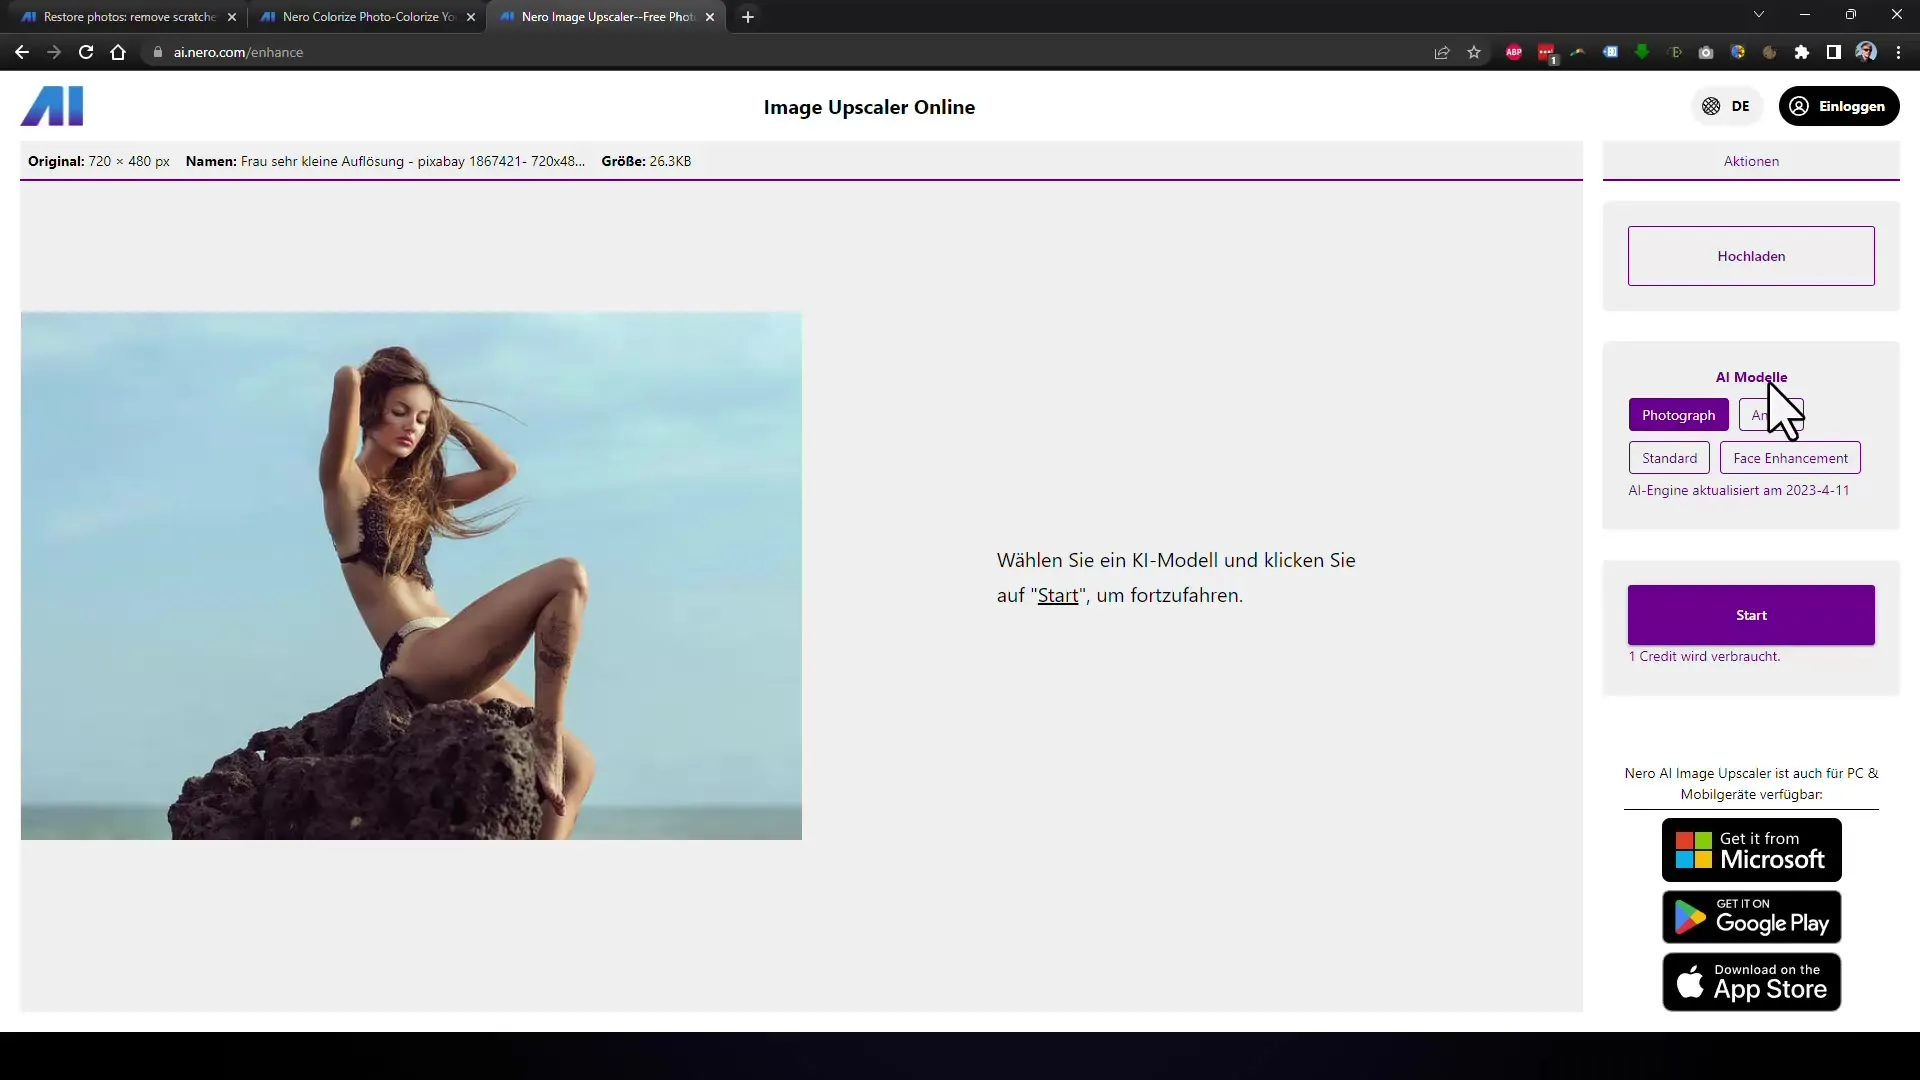
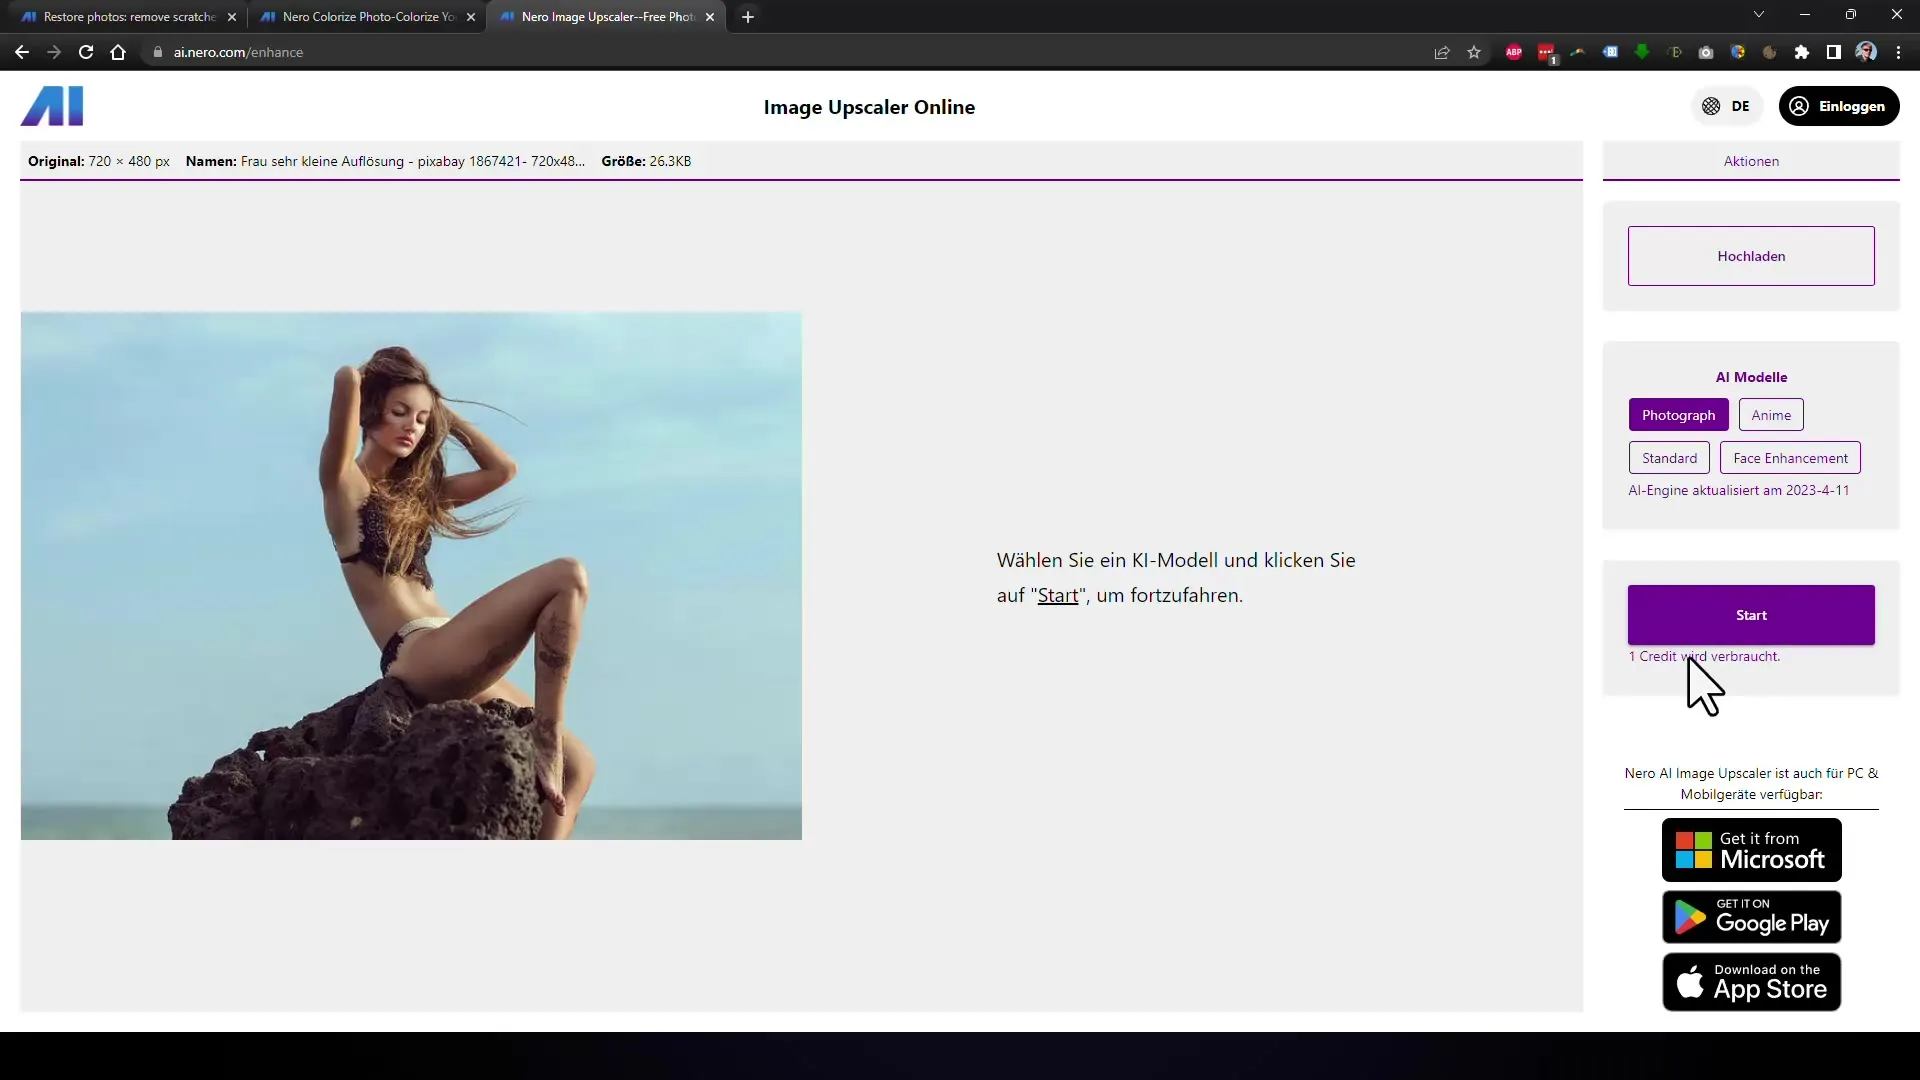
Before starting the process, you can select the AI model to be used for image editing. This can be crucial to achieve the best possible result. In this tutorial, choose the "Photography" model to achieve optimal image enlargement.
5. Set Enlargement Factor and Start
After selecting the AI model, set the enlargement factor. For example, you can enlarge the image by 400%. Then click on the "Start" button to initiate the optimization process.
6. Image Analysis and Processing
After clicking "Start," the AI starts analyzing and processing your image. Depending on the image size and complexity, this process may take a few moments. Be patient and observe how the AI enhances the image.
7. Compare Results
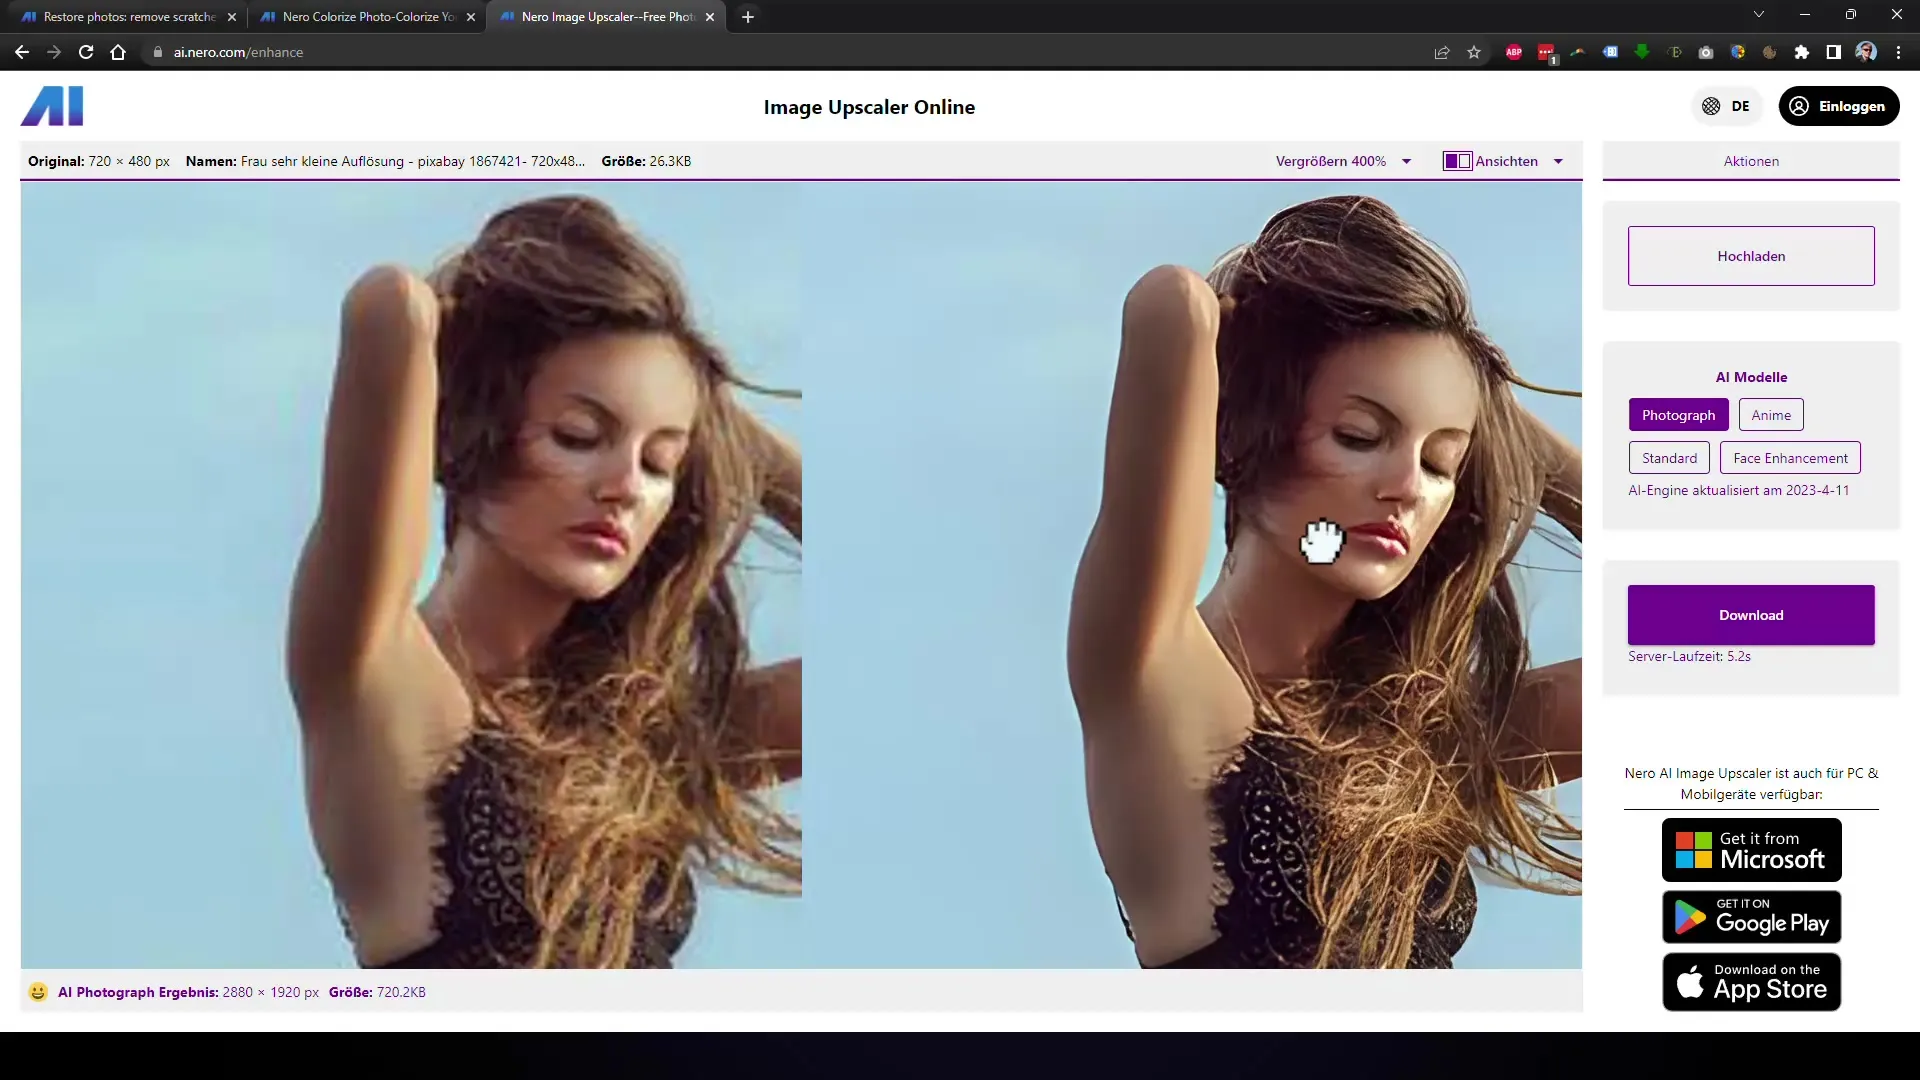
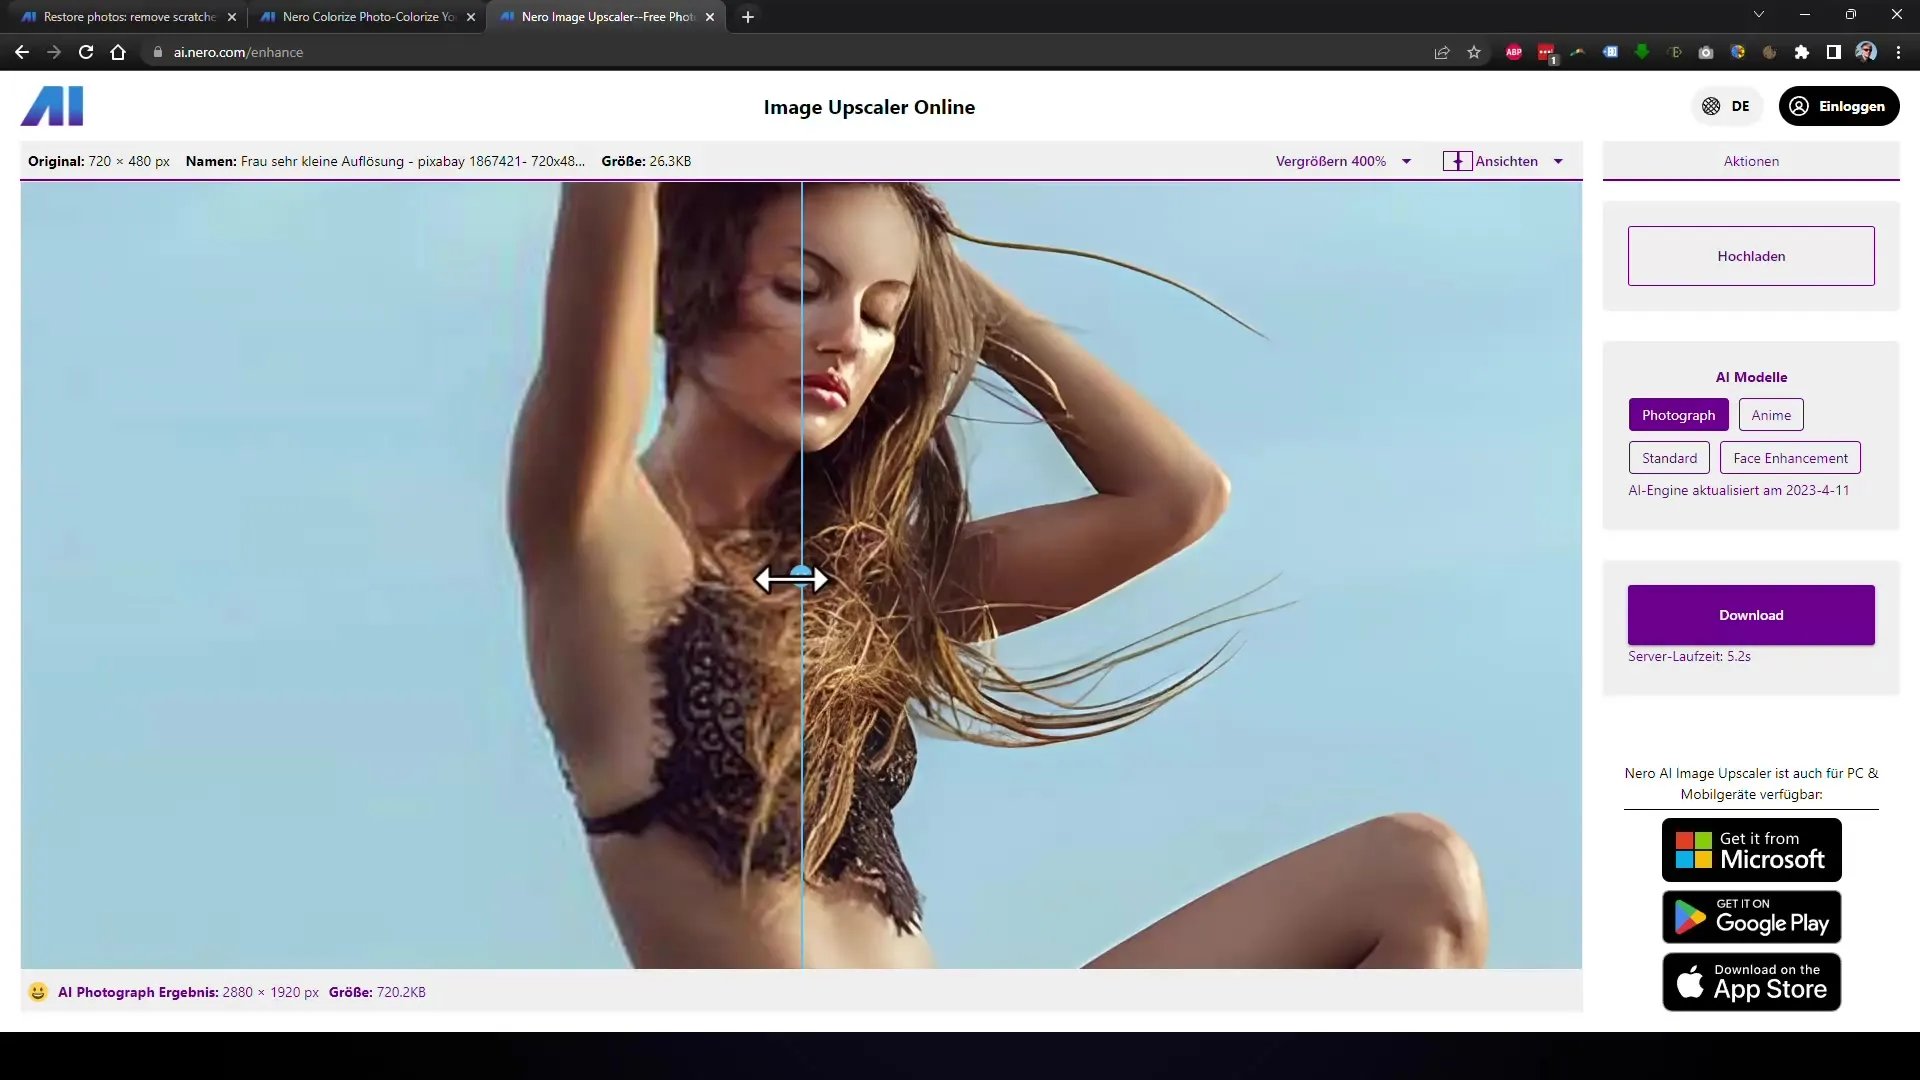
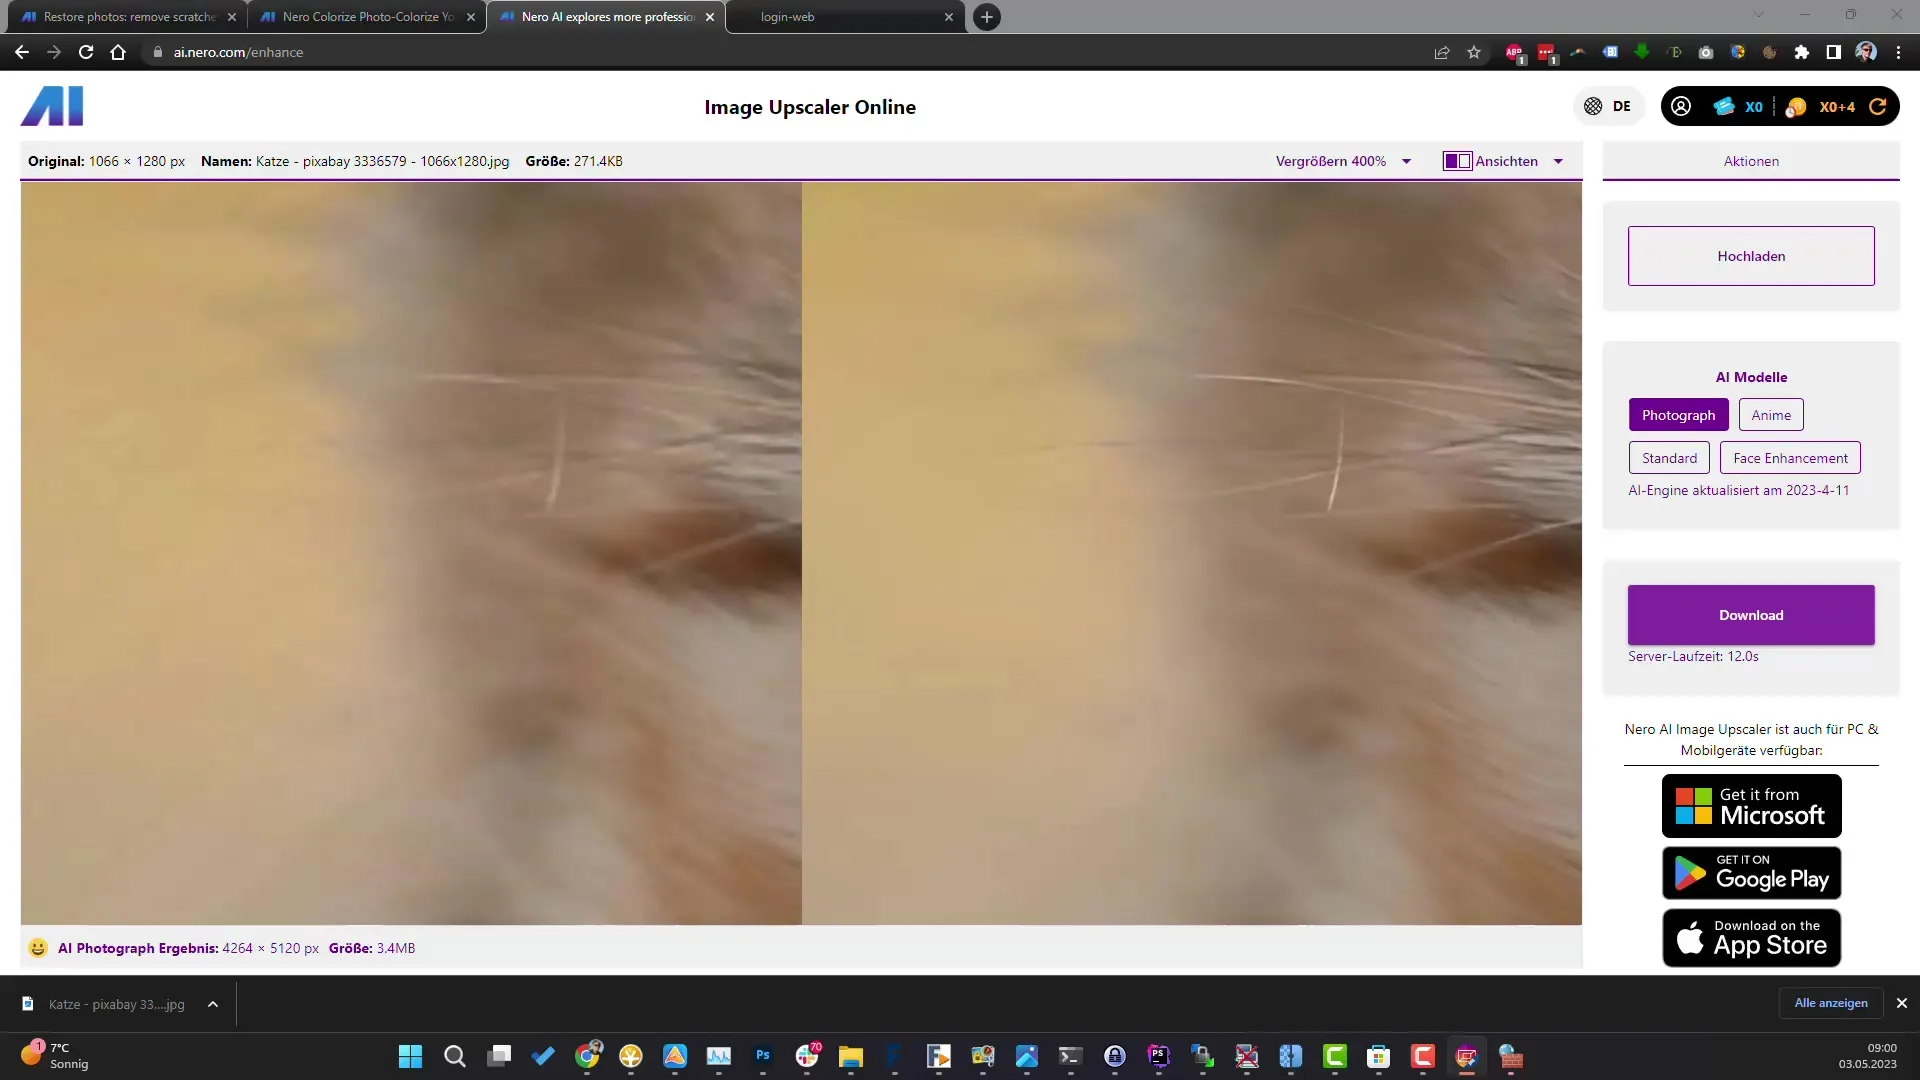
Once the process is complete, you can compare the original version of your image with the optimized version. The differences are often remarkable and show the power of Nero's AI. You can switch between the versions to better assess the improvements.
8. Download Image
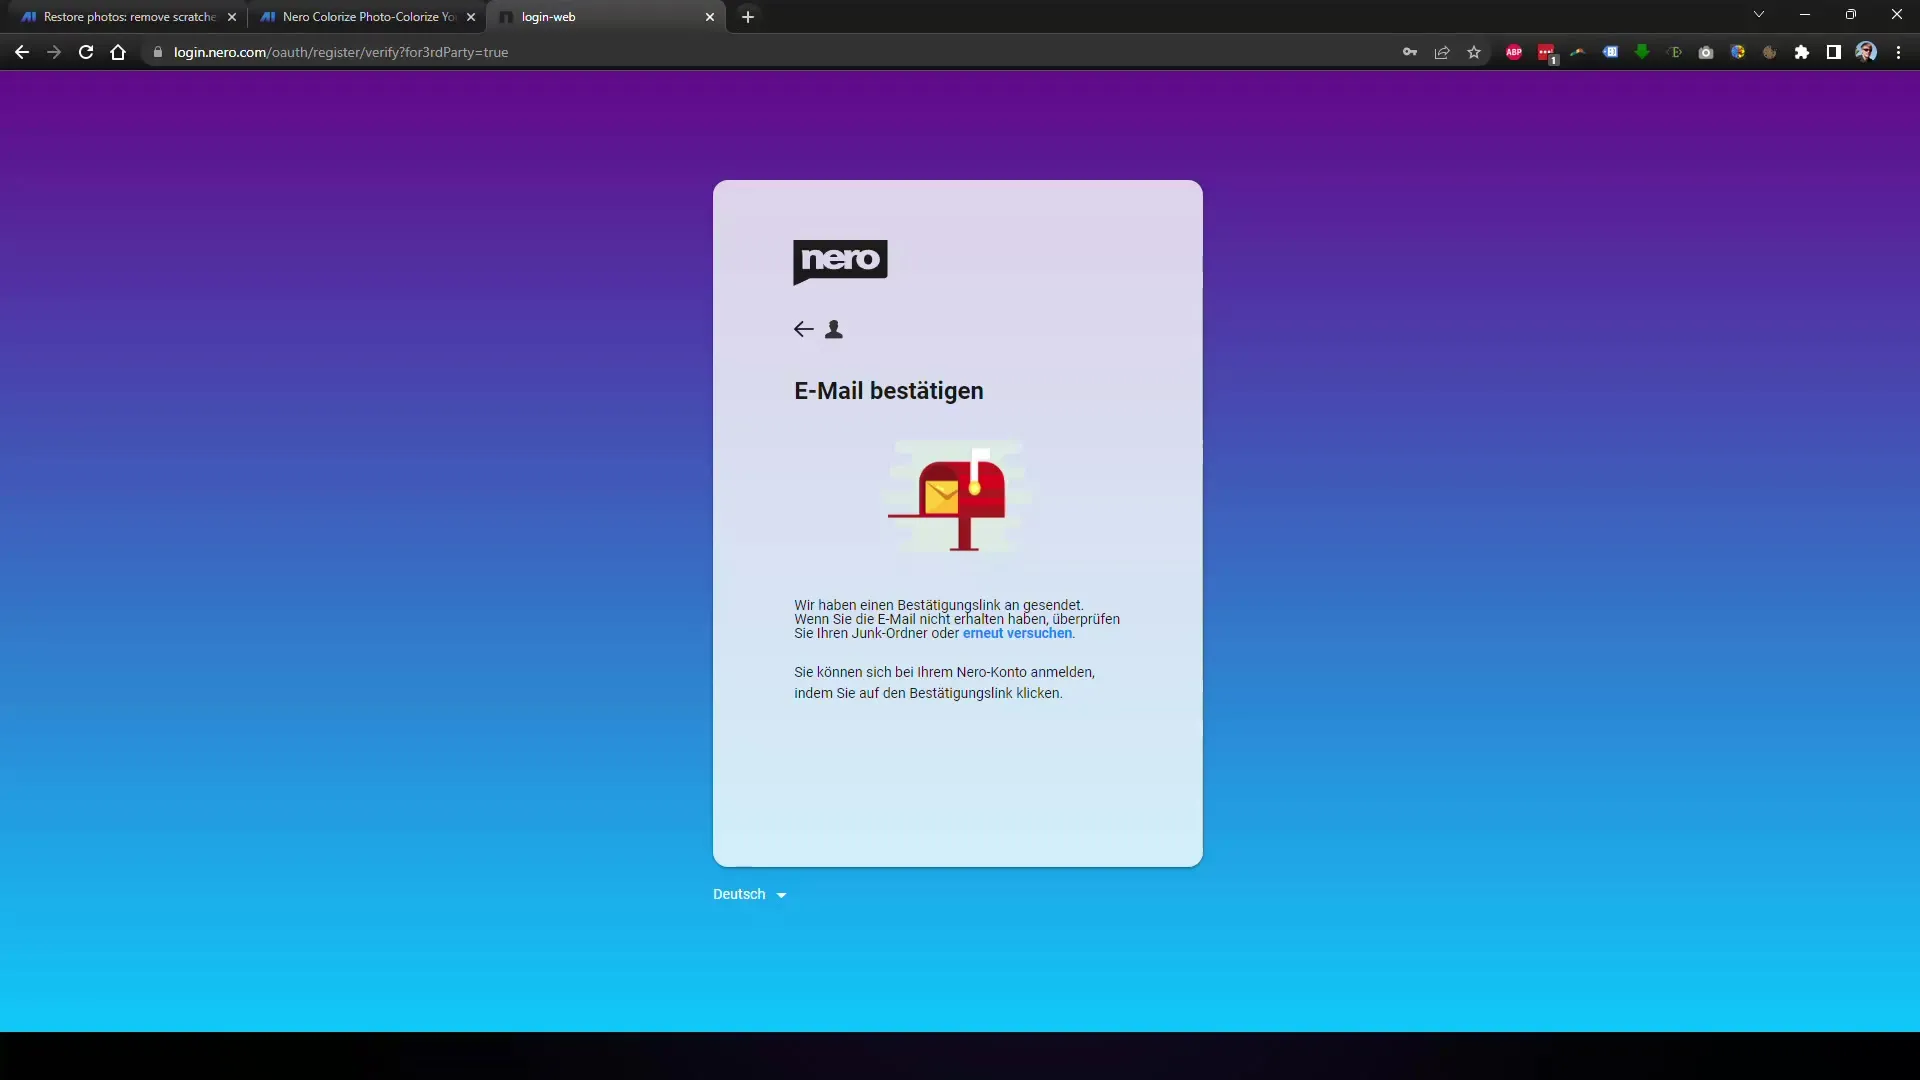
To download the optimized image, you usually need to sign in with your email address or through a Google account. After signing in, you can easily download the improved image. Remember to note down the name of the image and its size to track the visual changes.
9. Optimize More Images
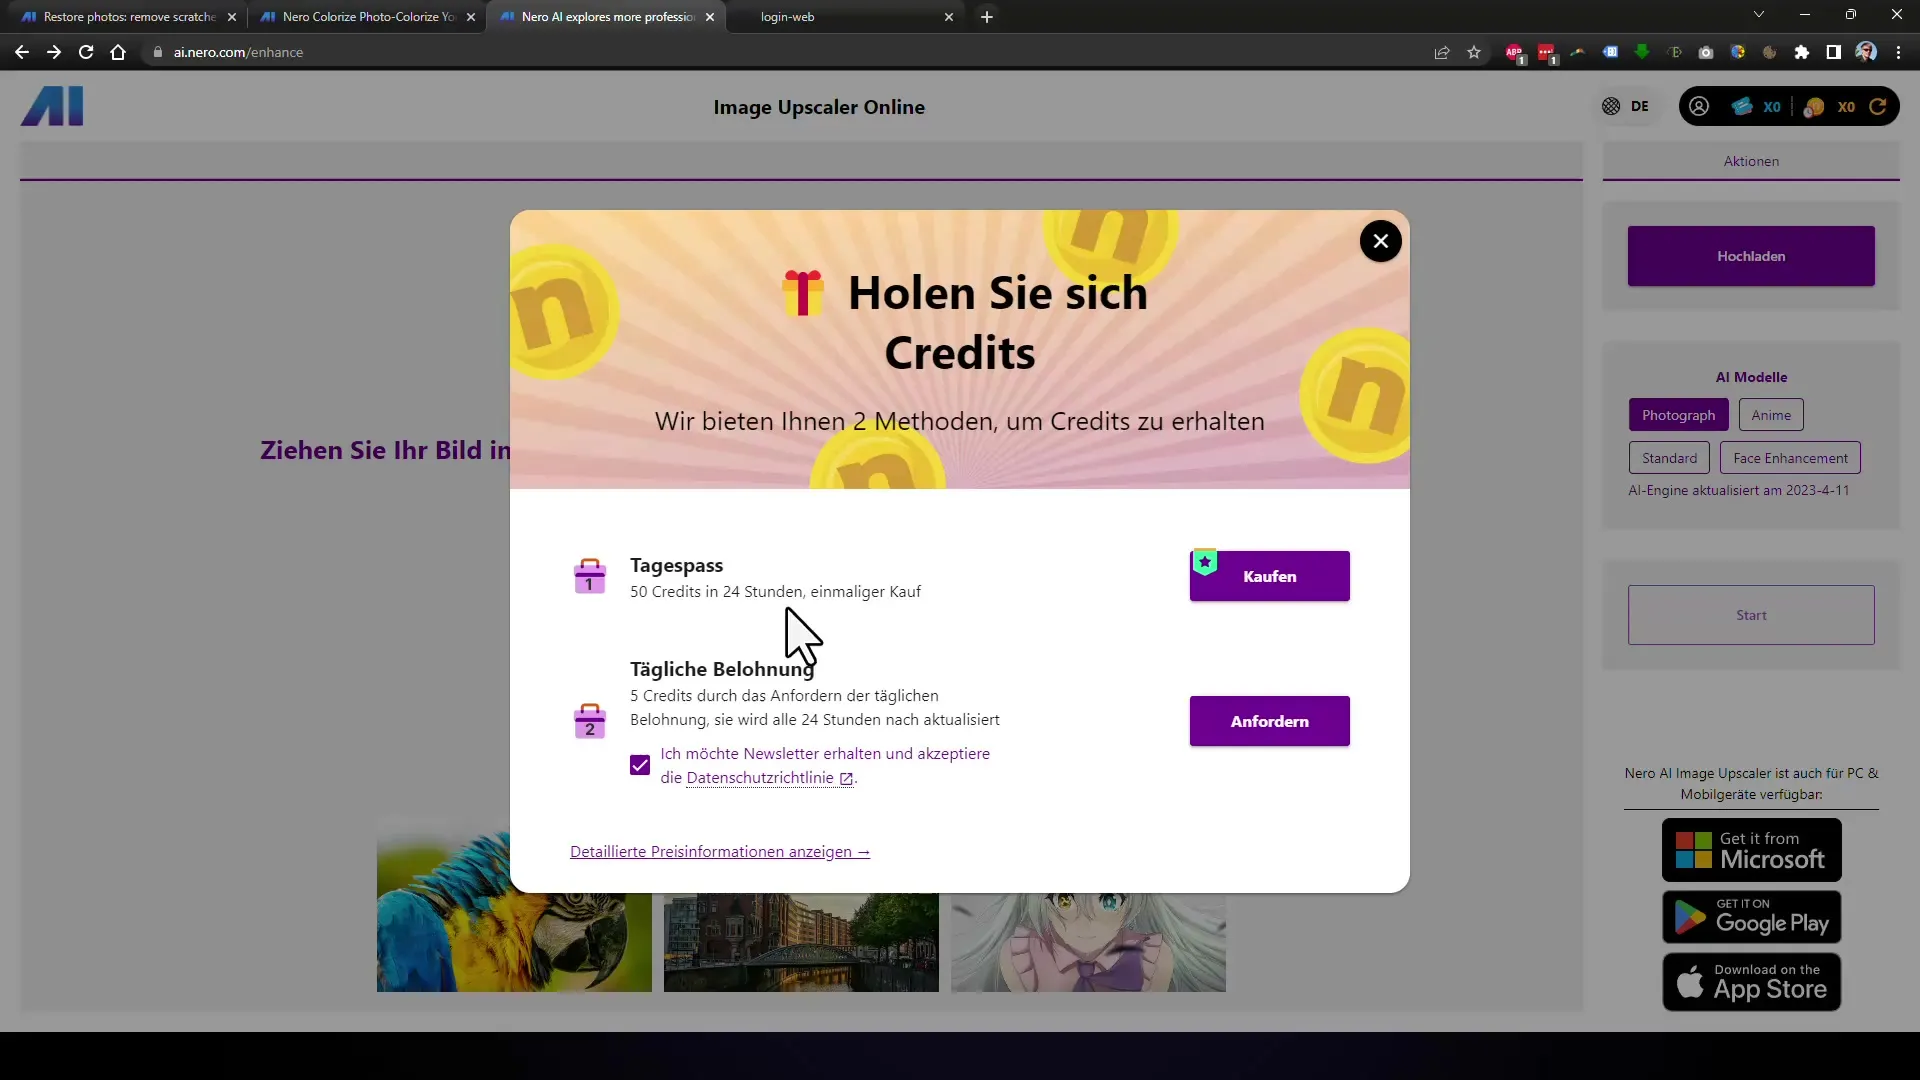
If you want to optimize another image, you can repeat this process. You have the option to edit up to five images per day for free, which is sufficient for most applications.
10. Explore Alternative Functions
Nero also offers the option to test additional functions, such as color adjustments for black and white images or the use of special models for facial optimization. Experiment with these functions to achieve different results and improvements.
Summary
In this guide, you have learned how to easily enlarge and optimize images and photos with the Nero tool. The tool is accessed through a user-friendly interface that allows you to use both online and downloadable versions. With free usage, you can edit five images daily, making it a convenient solution for many use cases. Experiment with different features to achieve the best results for your photos.
Frequently Asked Questions
How does image enlargement work with Nero?Nero uses AI algorithms to analyze images and optimize details when enlarging them.
Can I use the tool for free?Yes, you can enlarge and optimize up to five images daily for free.
What happens if I want to edit more than five images per day?You can purchase additional credits to edit more images or subscribe.
Is registration required?Yes, registration is required for downloading and using the online version.
Does the tool add watermarks to edited images?In the free version, a watermark can be added.


