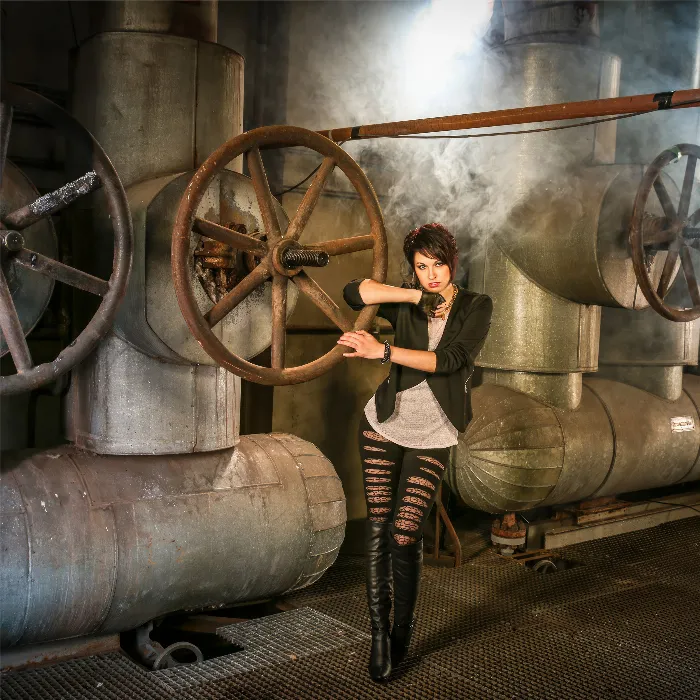
Sharpness is one of the most crucial elements in digital photography. When your images are sharp and clear, they attract the viewer’s eye and convey professionalism. In this guide, I will show you how to effectively sharpen images in Adobe Lightroom so that they appear in the best light. Let's go through the different options in the development module together.
Key takeaways
- Sharpening occurs in the "Development" module under the "Details" section.
- The Amount is the most important slider that determines the strength of the sharpening effect.
- Radius, Detail, and Masking are additional settings that influence the quality of sharpening.
- The Detail slider is important for fine structures, while the Amount adjusts coarser structures.
- Masking helps to apply sharpening selectively to specific areas.
Step-by-step Guide
Step 1: Accessing the Sharpening Tool
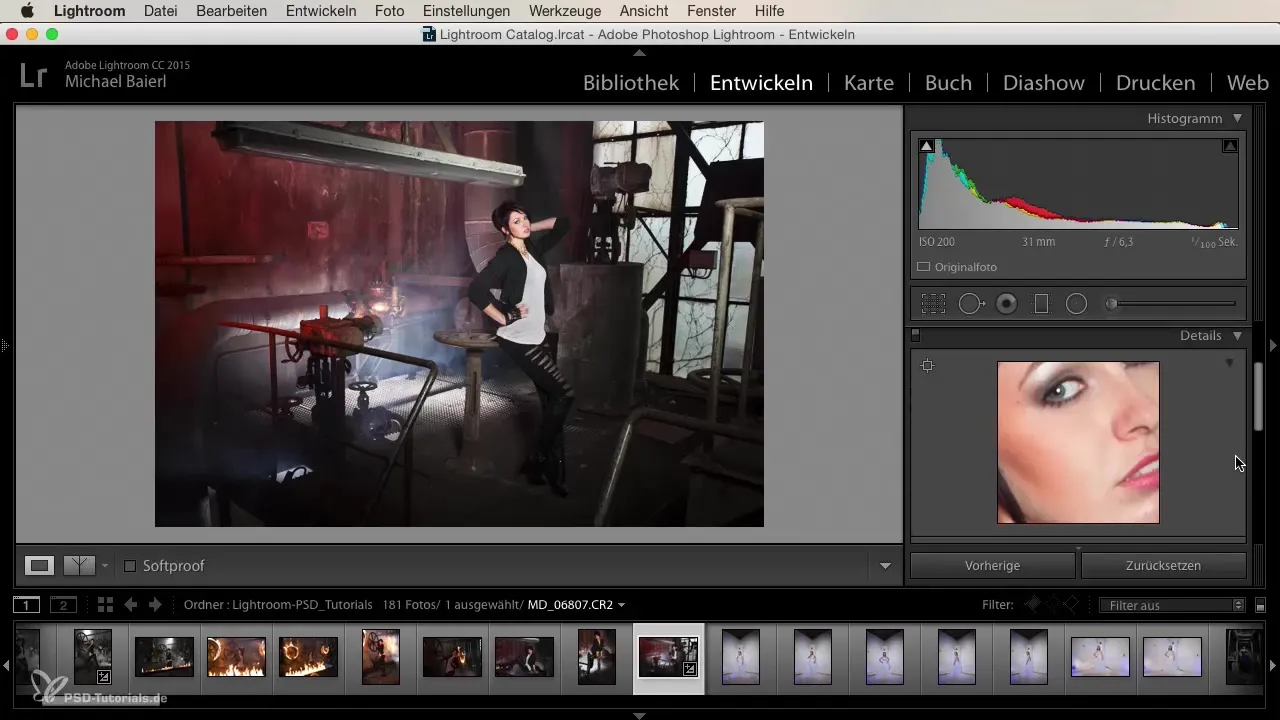
To sharpen your images in Lightroom, open the development module, where all image editing tools are located. Go to the "Details" section to find the sharpening options. Here you can adjust the sharpening parameters to get the most out of your image.
Step 2: Selecting the Crop
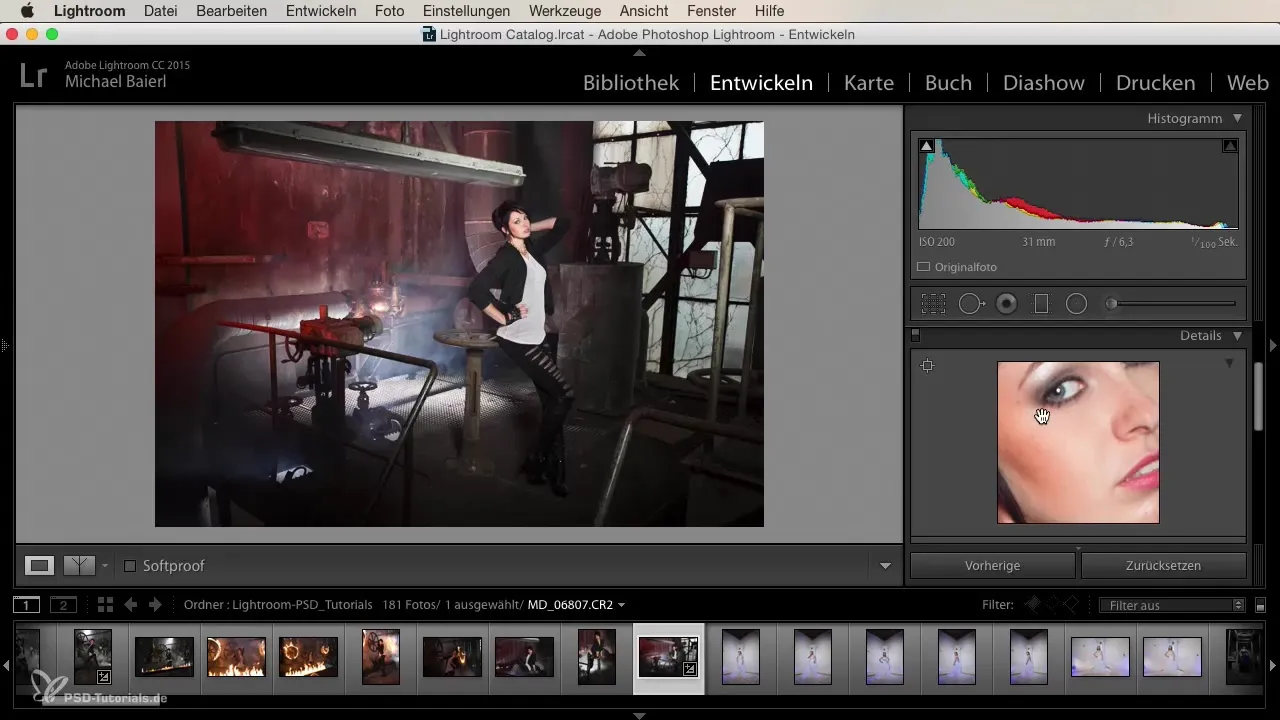
Use the small preview window that provides you with a 100% view of the selected crop. You can freely move the crop around to see how changes affect different parts of the image. This preview window is helpful for recognizing details and subtleties.
Step 3: Adjusting the Amount
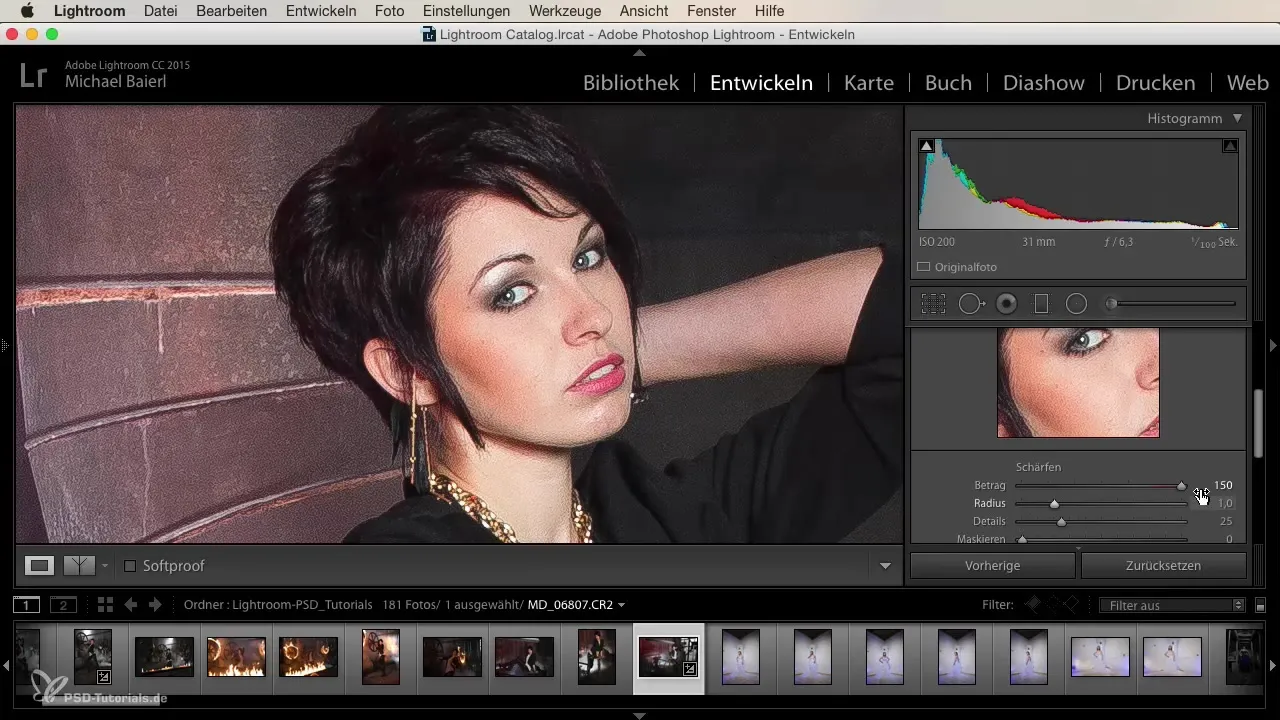
The Amount is the crucial slider for sharpening your images. A value around 50 is a good starting point for perfectly focused images. Don’t hesitate to experiment with this value – increasing it leads to more aggressive sharpening but can also result in increased noise, which you may want to avoid.
Step 4: Adjusting the Radius
The Radius slider determines how far the sharpening should be extended around each pixel. At a low value (e.g., 1), sharpening is applied very finely, while a higher value (e.g., 3) can yield coarse results. Start with a moderate value of 1.5 and adjust it based on the image and the desired effect.
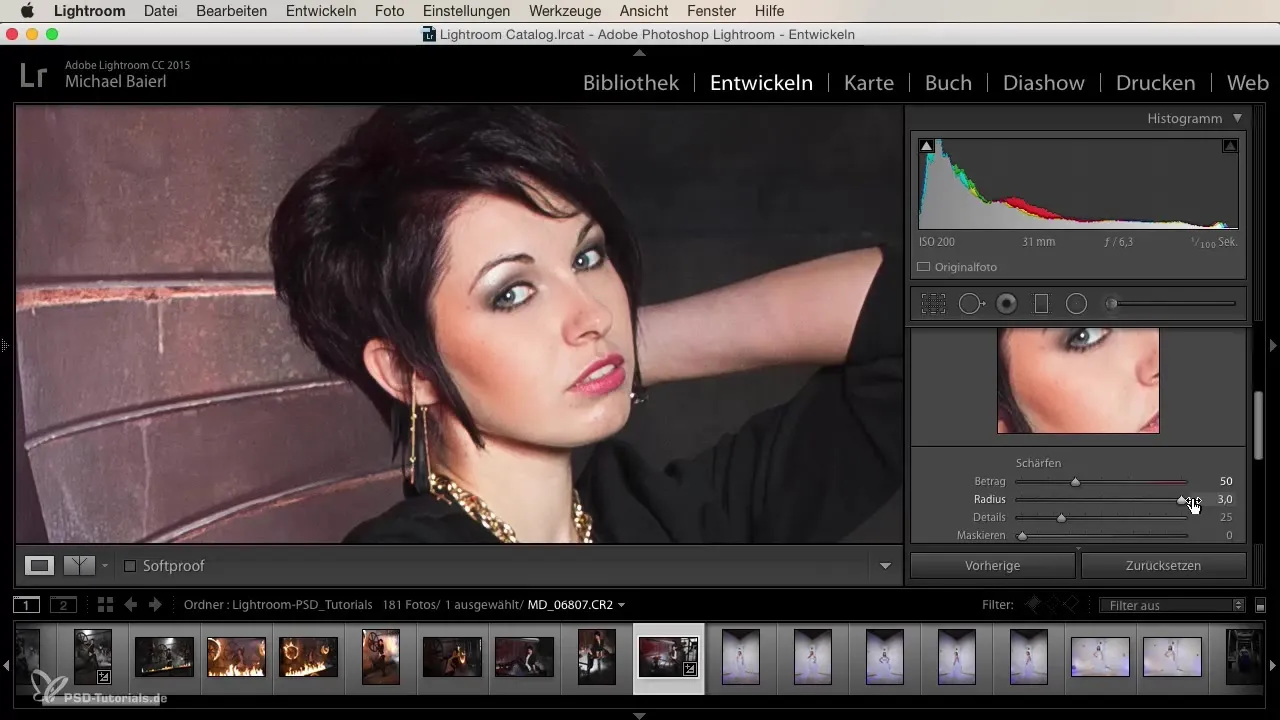
Step 5: Using the Detail Slider
The Detail slider helps you highlight fine structures. While you adjust the Amount and Radius to make the larger sharpening effects visible, the Detail slider ensures that the small nuances of the image are not lost. Sometimes a value of 100 can be helpful for specific images, while for others, around 50 is sufficient.
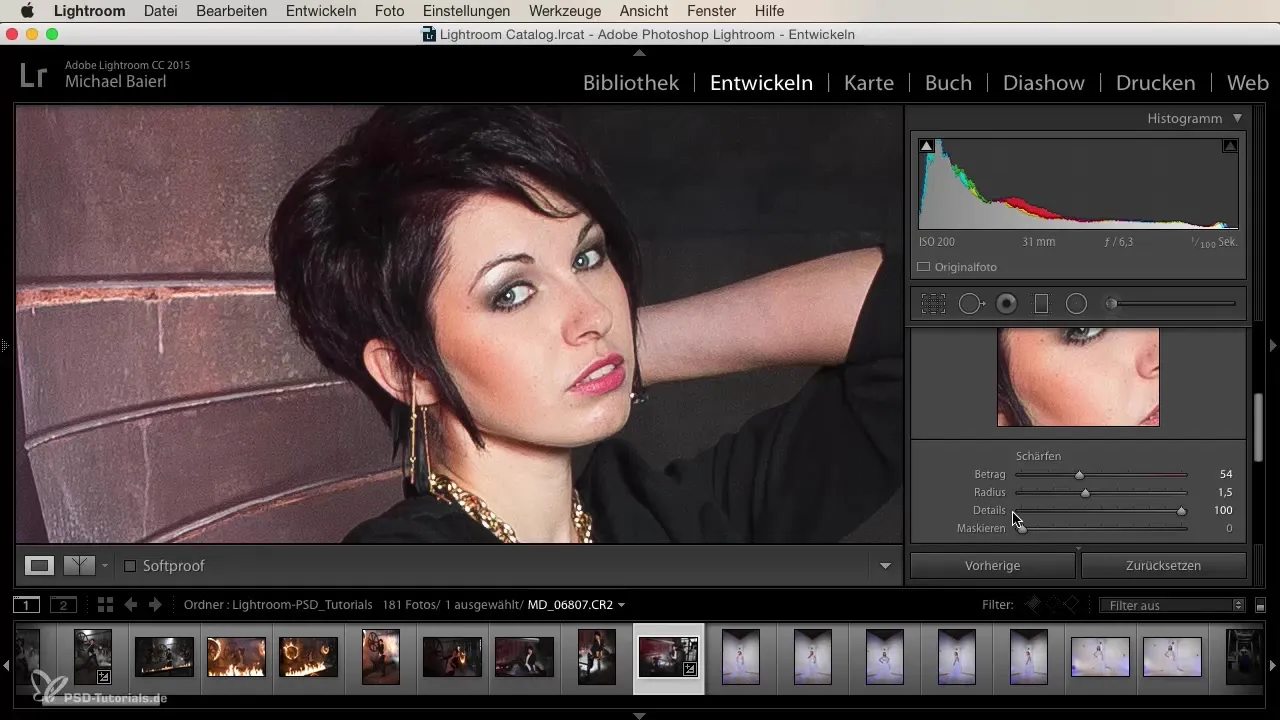
Step 6: Masking for Targeted Sharpening
The Masking slider allows you to apply sharpening specifically only to certain areas. If you set this value to zero, sharpening will be applied evenly across the entire image. By increasing the value, you can reduce the sharpening effect in specific parts of the image. This is particularly useful to avoid oversharpening very smooth areas like skies or backgrounds.
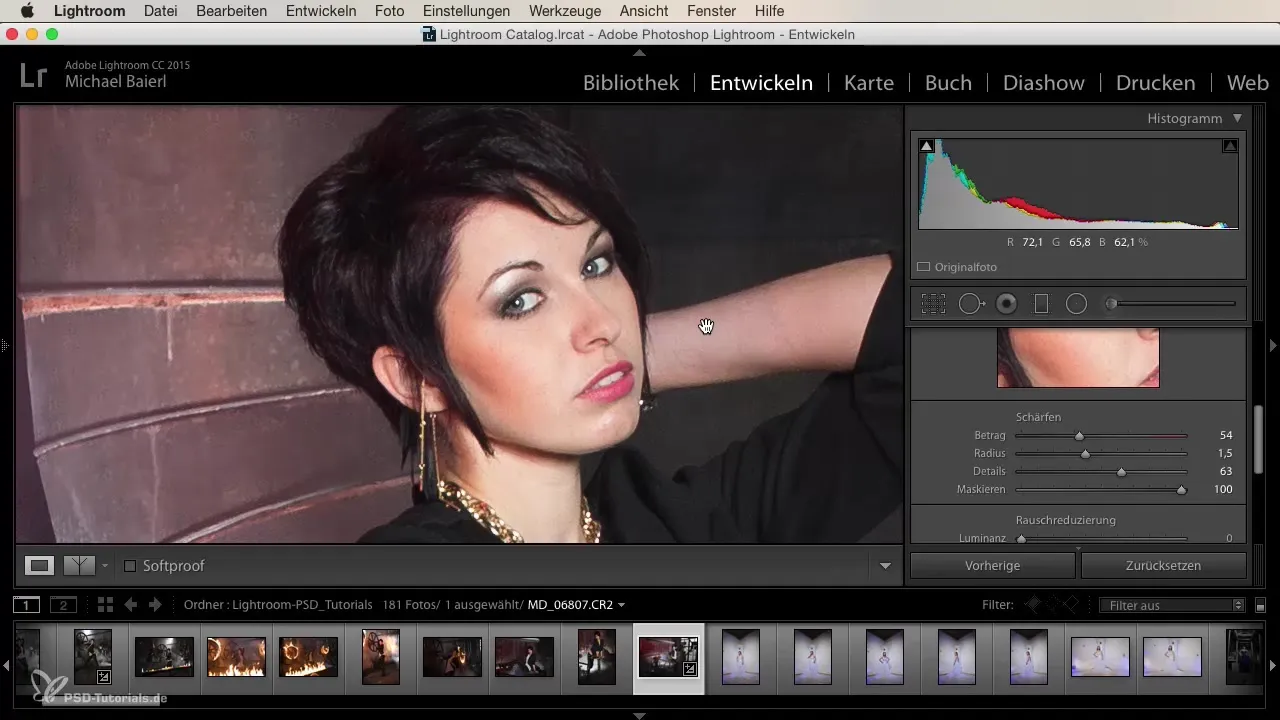
Summary - Sharpening Images Correctly in Lightroom
Shooting in Lightroom is a powerful tool, but it should be used carefully. By balancing Amount, Radius, Detail, and Masking correctly, you can achieve impressive results without damaging your image. Instead of setting everything to maximum, it is often better to take a more subtle approach.
Frequently Asked Questions
How do I sharpen images in Lightroom?Go to the development module, select “Details,” and adjust the sliders for Amount, Radius, Detail, and Masking.
What should I consider when sharpening?Make sure to keep sharpening subtle to avoid noise and artifacts in the image.
What is the ideal value for the Amount?A value of 50 is often a good starting point, but it can vary depending on the image.
What do the Radius and Detail sliders do?The Radius determines how far the sharpening is applied around each pixel, while the Detail slider highlights fine structures.
How can I selectively sharpen certain areas of the image?Use the Masking slider to limit the sharpening effects to selected areas.
