Experience how you can get the often annoying noise patterns in your images under control for better image quality. Especially underexposed photos can reveal noise when brightened, significantly affecting the overall quality. In this guide, I'll show you how to reduce noise efficiently in Lightroom and what settings are crucial for this.
Key Insights
- Noise occurs especially in underexposed photos.
- Lightroom offers targeted tools for noise reduction.
- The separation between luminance and color noise is crucial for optimal results.
- Experimenting with the sliders is necessary to achieve the best result.
Step-by-step guide
First, open your underexposed image in Lightroom. Be sure to select an image with rather dark areas, as these often exacerbate the noise.
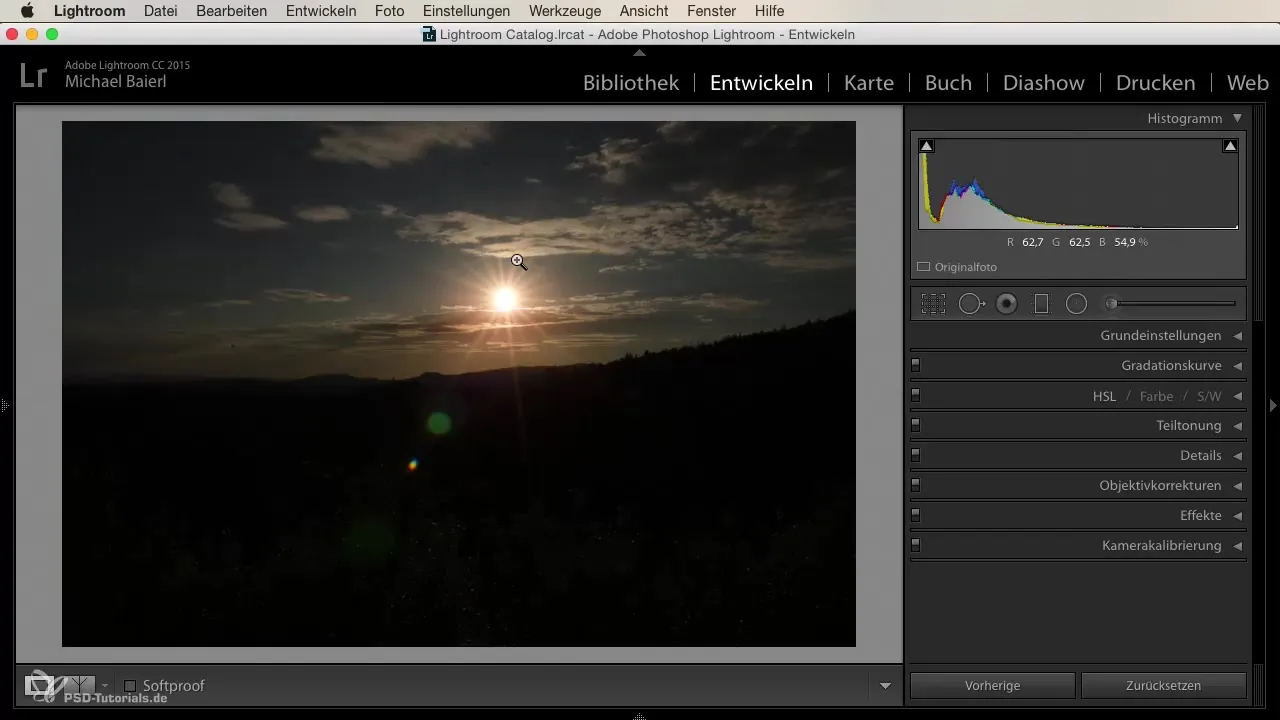
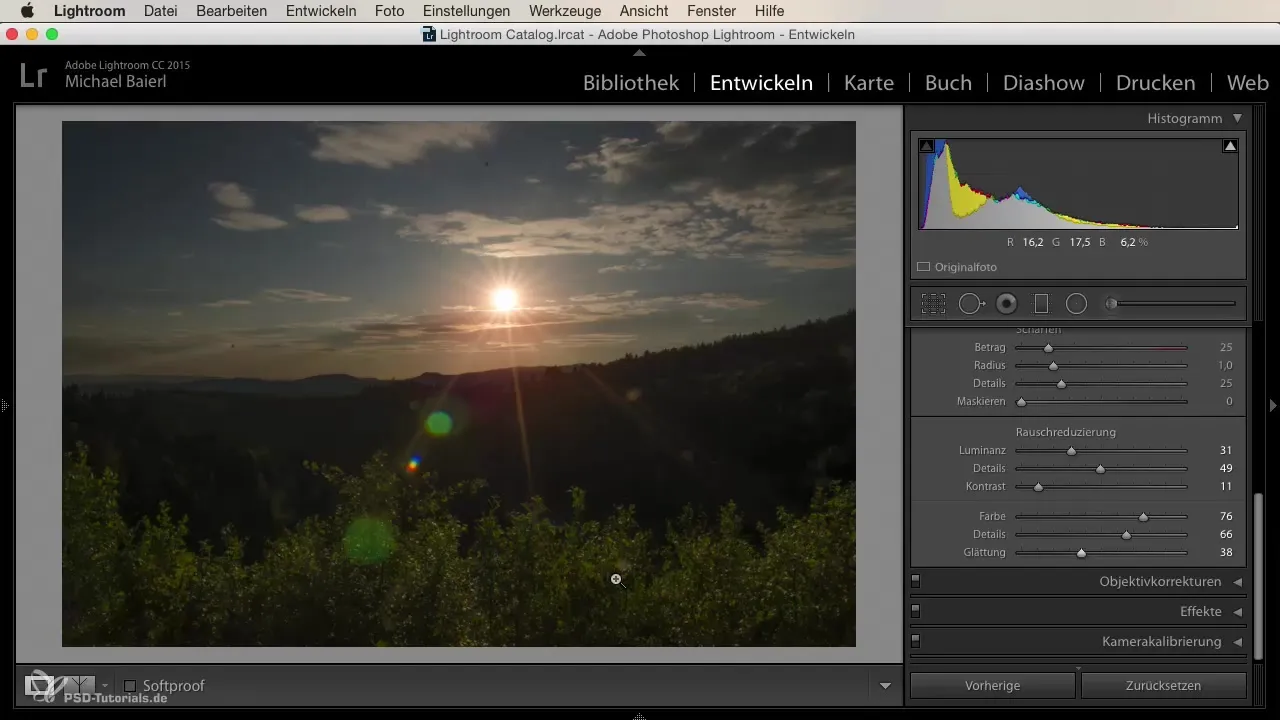
You will notice that the lower part of the image, where the forest is, is quite dark. In contrast, the sky and sun are properly exposed. For the shot, you chose an aperture of 22 with a 3-second exposure time to highlight the sun rays and flares.
When you brighten the image now, the image noise will likely become noticeably visible. A completely noise-free image does not exist, especially not with older cameras.
To effectively reduce noise, go to the detail slider in Lightroom. There you will find the options for noise reduction, which are divided into luminance noise and color noise.
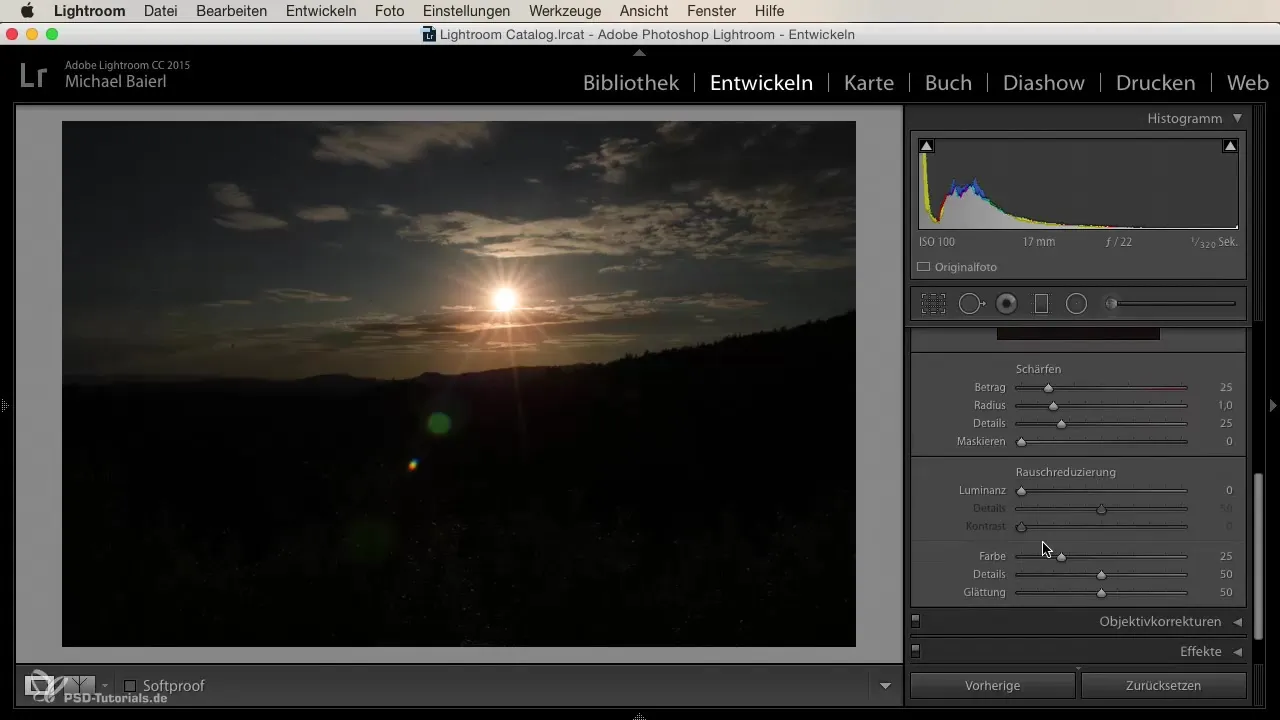
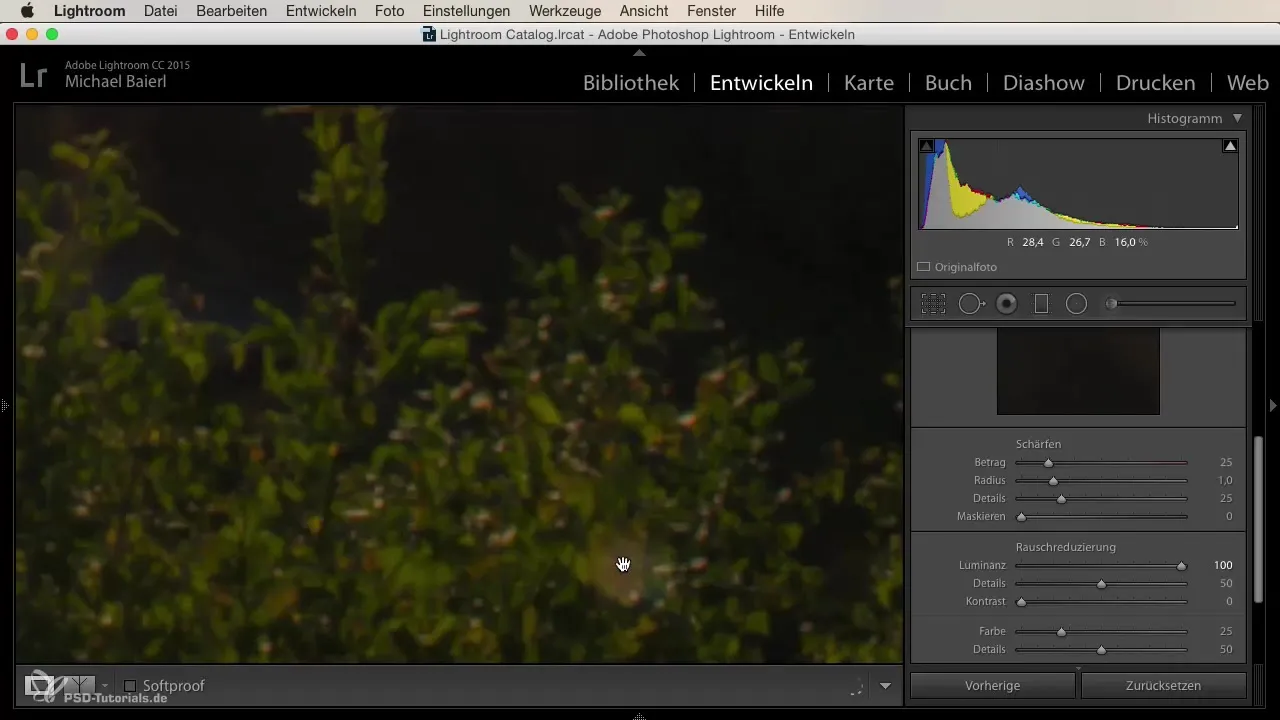
First, focus on the luminance slider. Pull this up to reduce the noise in the brightness. Be careful to avoid unnecessary smoothing. A value around plus 100 may initially make the image appear very smooth.
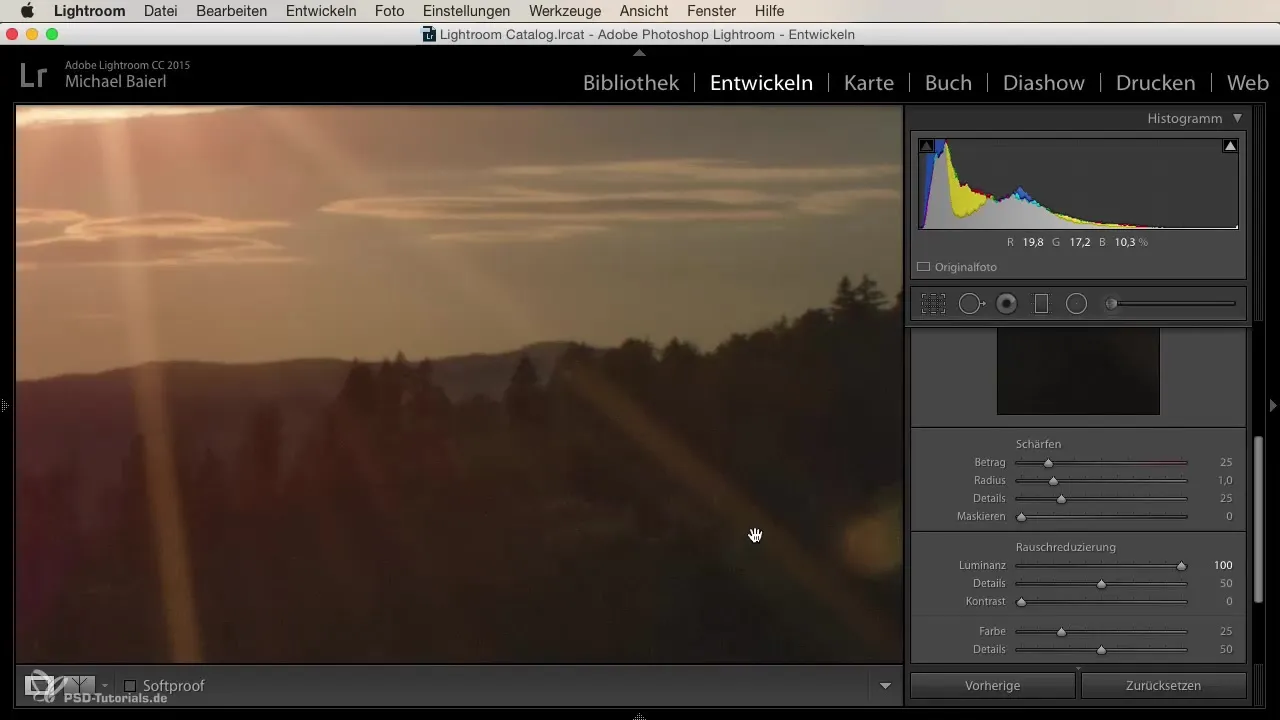
You can now closely examine the image to see how the noise changes. Note that tree details may be lost as the upper areas appear too smoothed.
You should now go back and adjust the luminance slider to a level that is comfortable for your image. Values around 30 often provide a good balance between noise reduction and detail preservation.
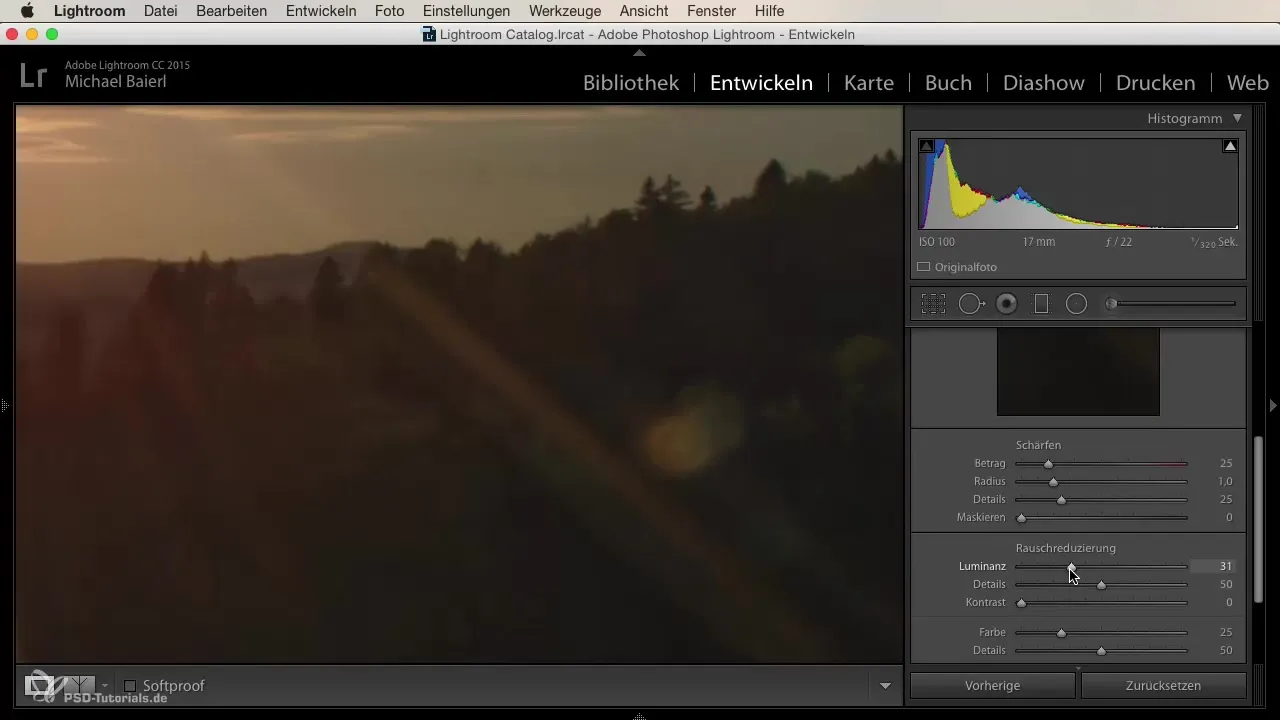
Next, you can adjust the detail sliders. This regulates how many fine details you want to preserve in the image. Set the slider to 50 to achieve a balance between noise reduction and detail correction.
Now let’s focus on contrast. Increase the contrast to make the image edges sharper. A value of 10 to 12 can help without enhancing the noise.
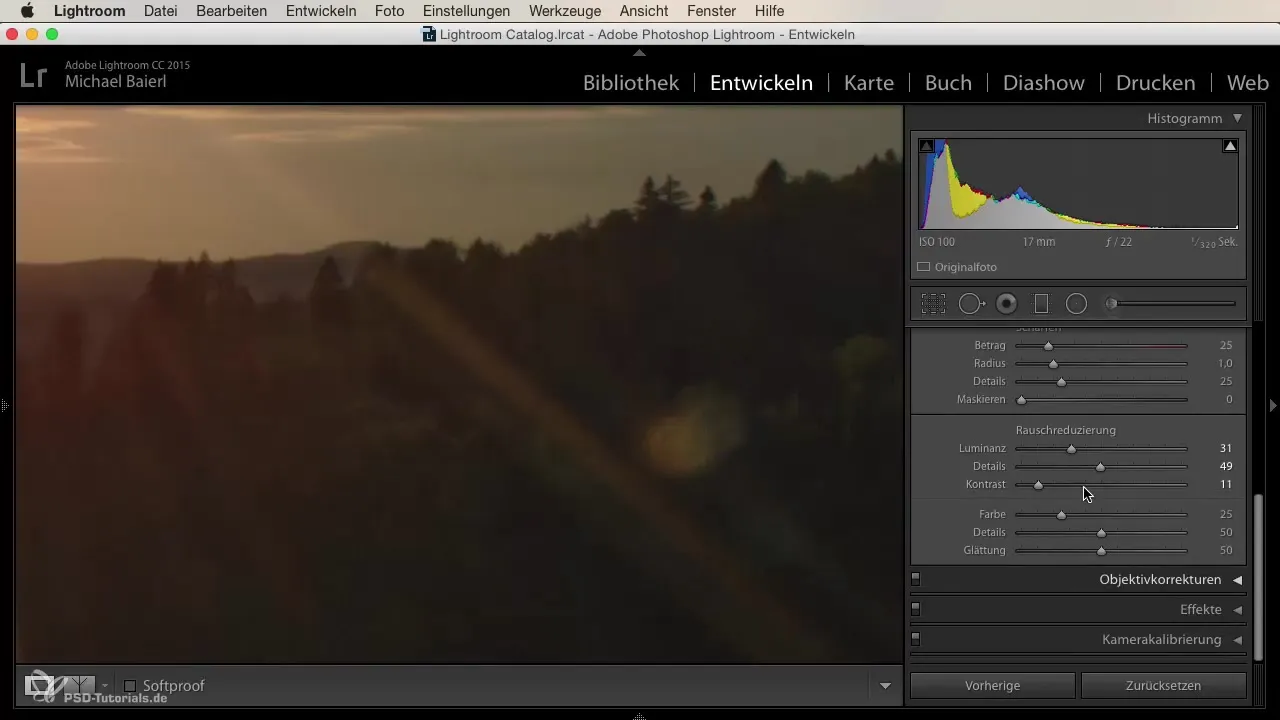
Then, let's look at color noise. Adjust the corresponding slider to smooth out colors that may be distorted. Check the image edges and the transitions of the colors. However, a too high value of color noise reduction can affect the color rendering unpleasantly.
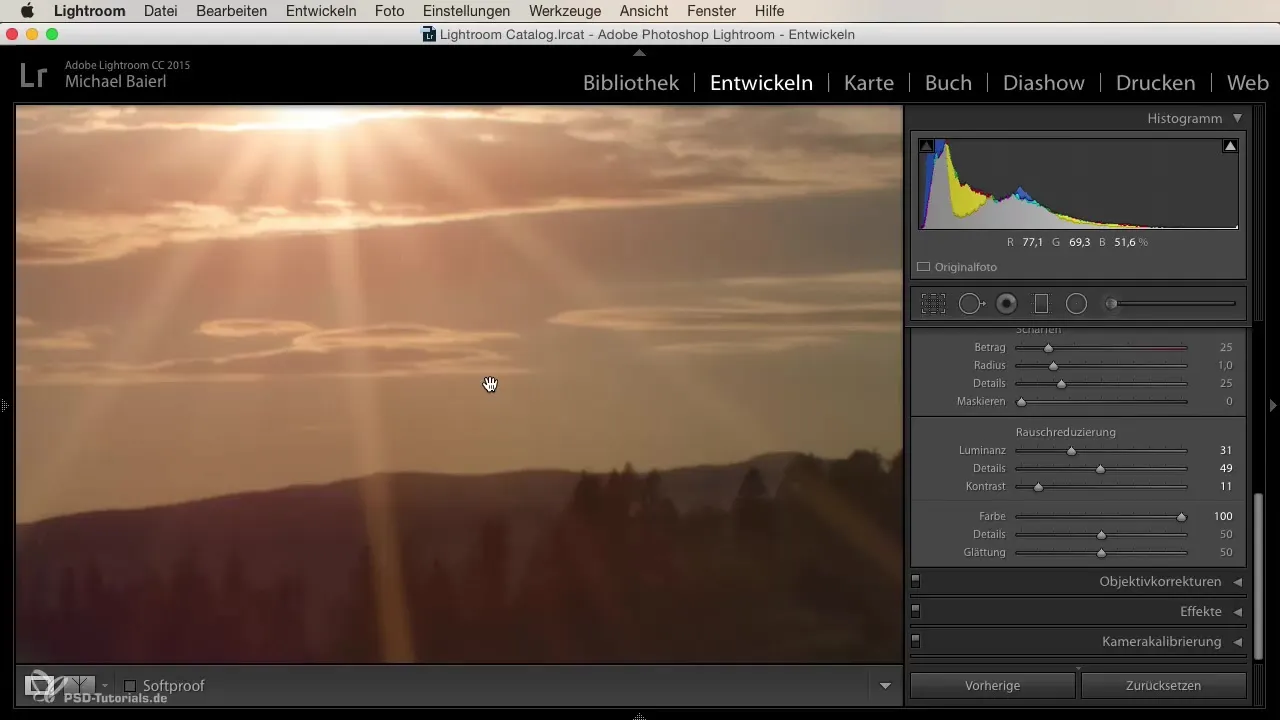
Increase the color details to bring back the texture while reducing the smoothing a bit. This will give your image more life and clarity again.
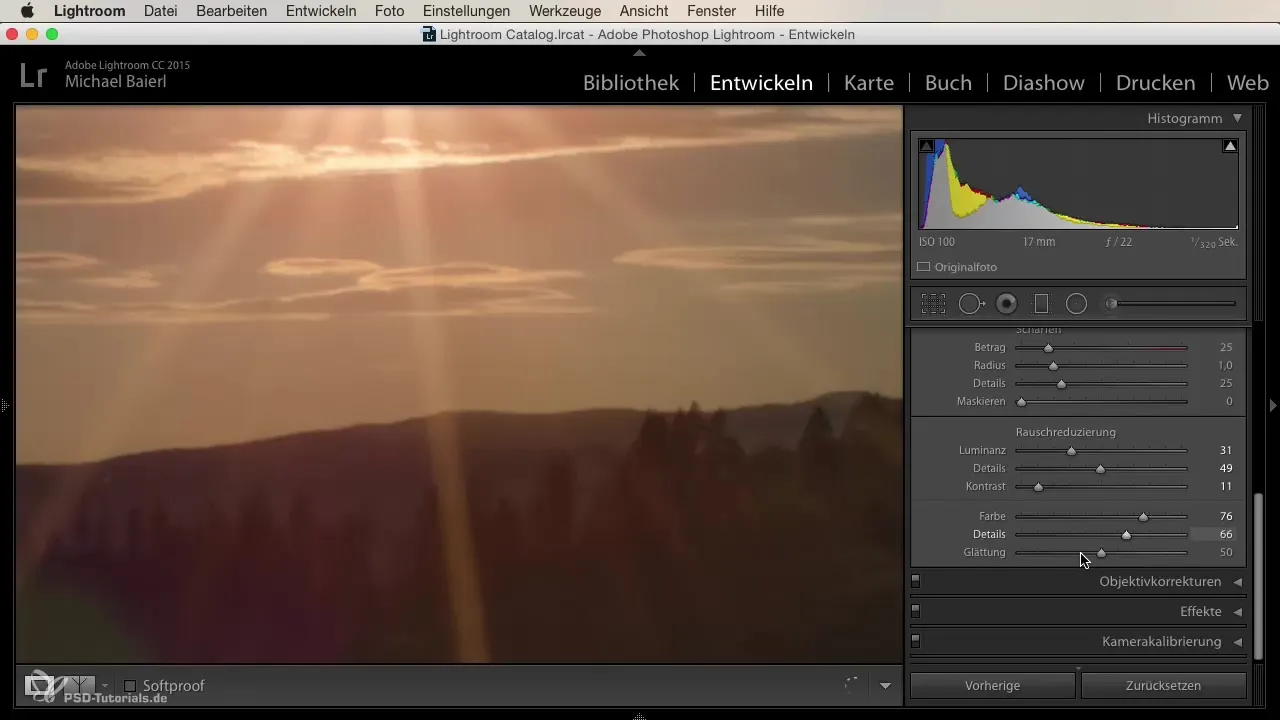
Finally, check your adjustments. A good image still has minimal noise particles, but the measures taken have contributed to improving image quality. Continue to experiment with the sliders and let your eye decide when the result is right for you.
Summary – Effectively Reduce Noise in Lightroom
By purposefully utilizing the tools in Lightroom, you can significantly reduce image noise without compromising the quality of your image. It is important to experiment with the settings and view the image in the context of its qualities.
Frequently Asked Questions
How do I reduce noise in Lightroom?Use the detail sliders for luminance and color noise and experiment with the values.
What is luminance noise?Luminance noise refers to disturbing brightness differences in the image, which often become visible in darker photos.
How can I adjust color details in Lightroom?Adjust the detail slider and color saturation to improve the color quality of your image.
How do I find the best value for noise reduction?Test different values and look at the image in its entirety to find the best compromise between details and noise reduction.
