Discover how you can greatly enhance your images with the linear gradient in Lightroom. This technique allows you to specifically influence certain areas without altering the entire shot. In this guide, you will learn step by step how to effectively use the linear gradient to give your shots the final touch.
Key Insights The linear gradient in Lightroom is a powerful tool that allows you to make local adjustments. It lets you control light, color, and clarity in specific areas of the image, thereby changing the mood and impact of your photos. You can combine multiple gradients in one image to achieve complex effects.
Step-by-Step Guide
Finding and Drawing the Linear Gradient
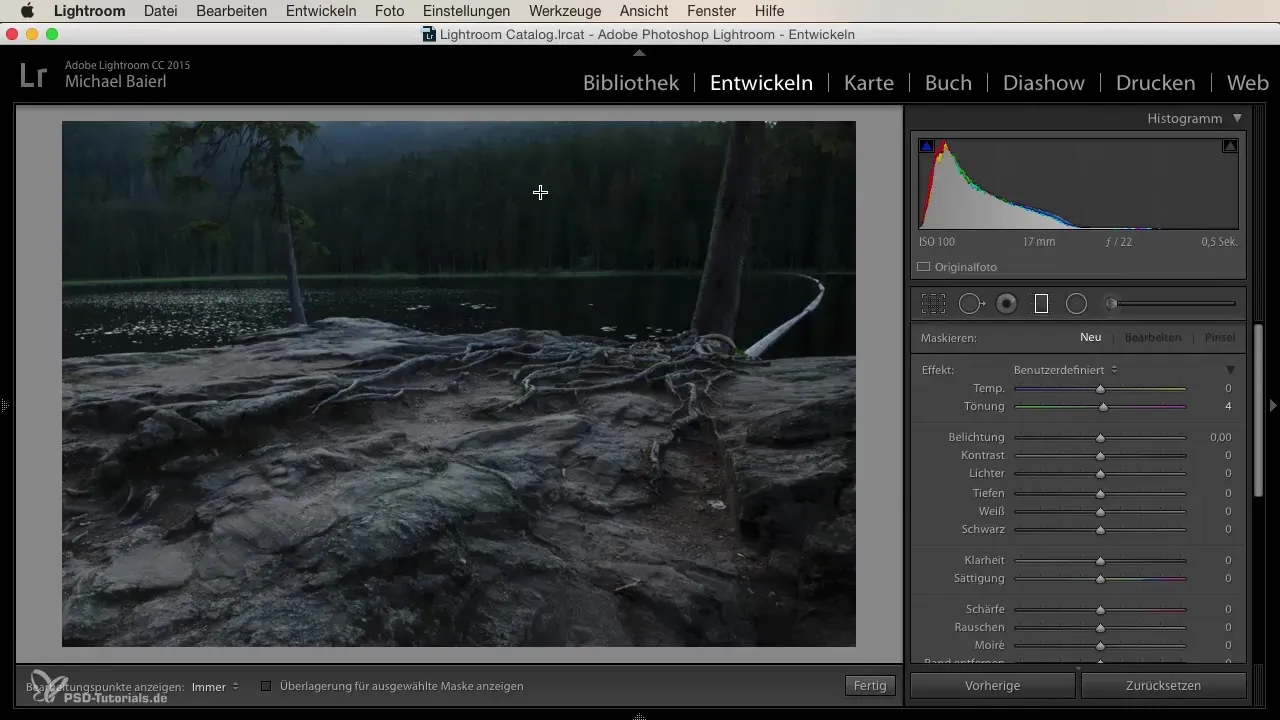
Before you start editing, make sure you have found the linear gradient. It is located in the toolbar, right next to the radial gradient. To demonstrate how easy it is to create a linear gradient, simply draw a gradient into the image. Place the anchor at the very top of the image and drag it diagonally down to the waterline.
Making Initial Adjustments
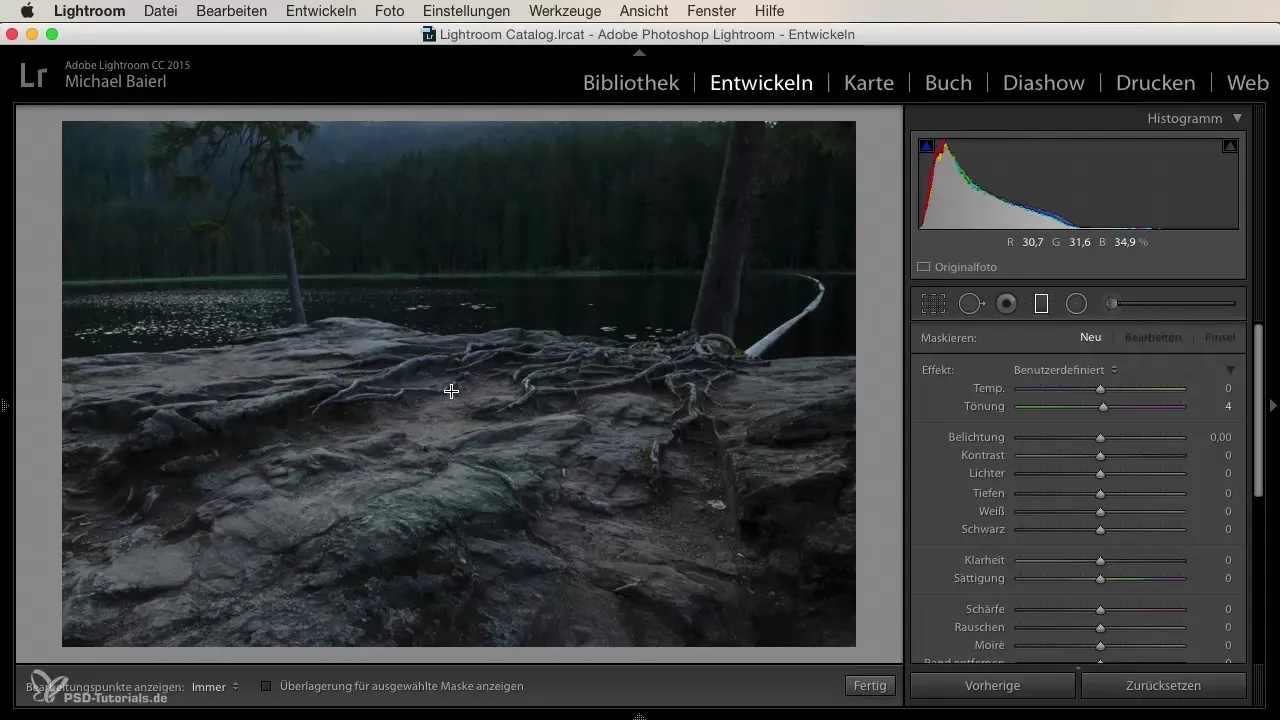
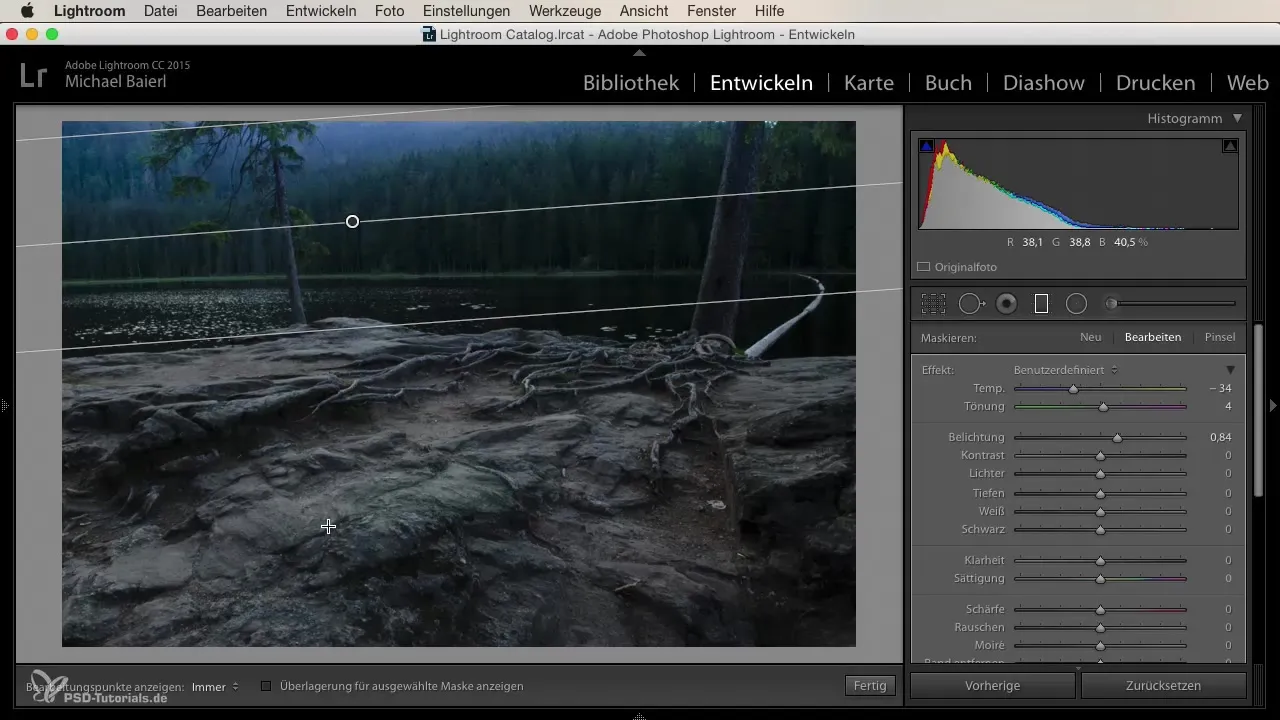
Once you have drawn the gradient, focus on the desired adjustments. For example, the light in the upper part of the image can be intensified. Ensure that the blue in the sky is depicted rather softly to create a dramatic yet aesthetic mood. You can add warmth or adjust the color temperature to create different moods.
Adding a Second Gradient
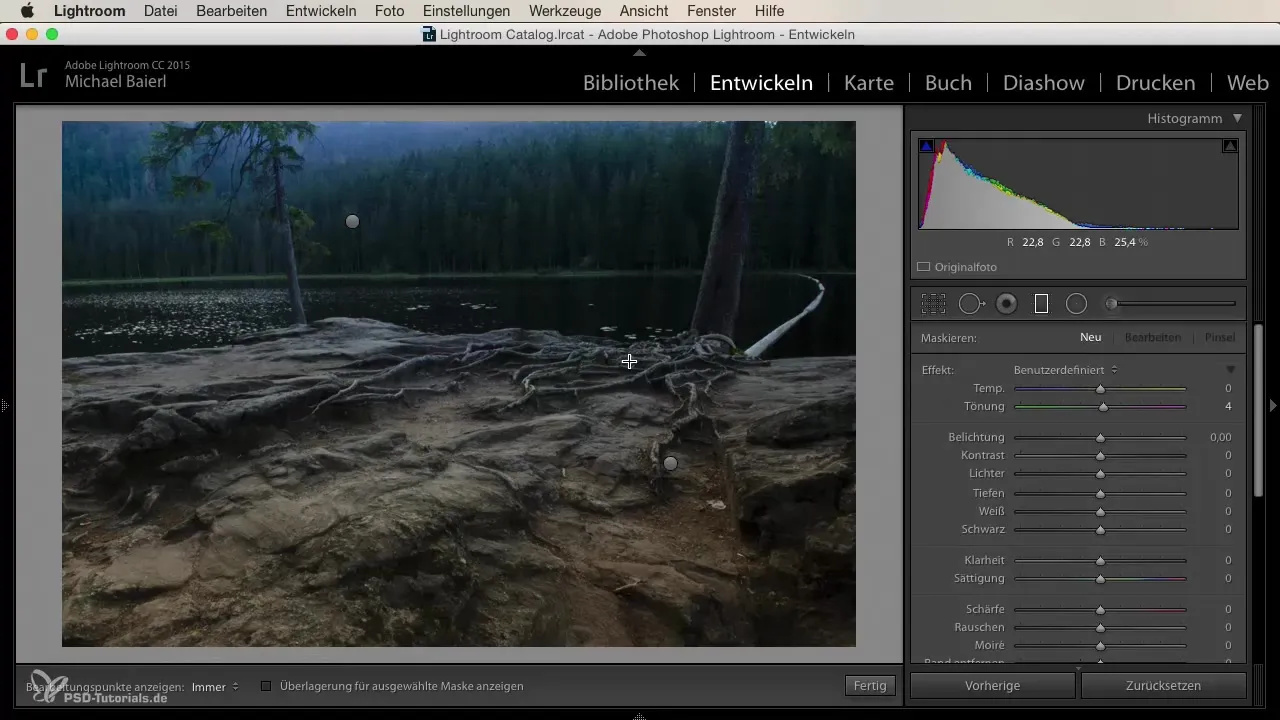
Since a single gradient may not be enough, create an additional gradient to make the stones in the lower part of the image more appealing. It is important to make this adjustment thoughtfully. Make sure that the exposure in this area is neutral before you start adjusting. You can reset the exposure by double-clicking on it before adding warmth.
Increasing Clarity
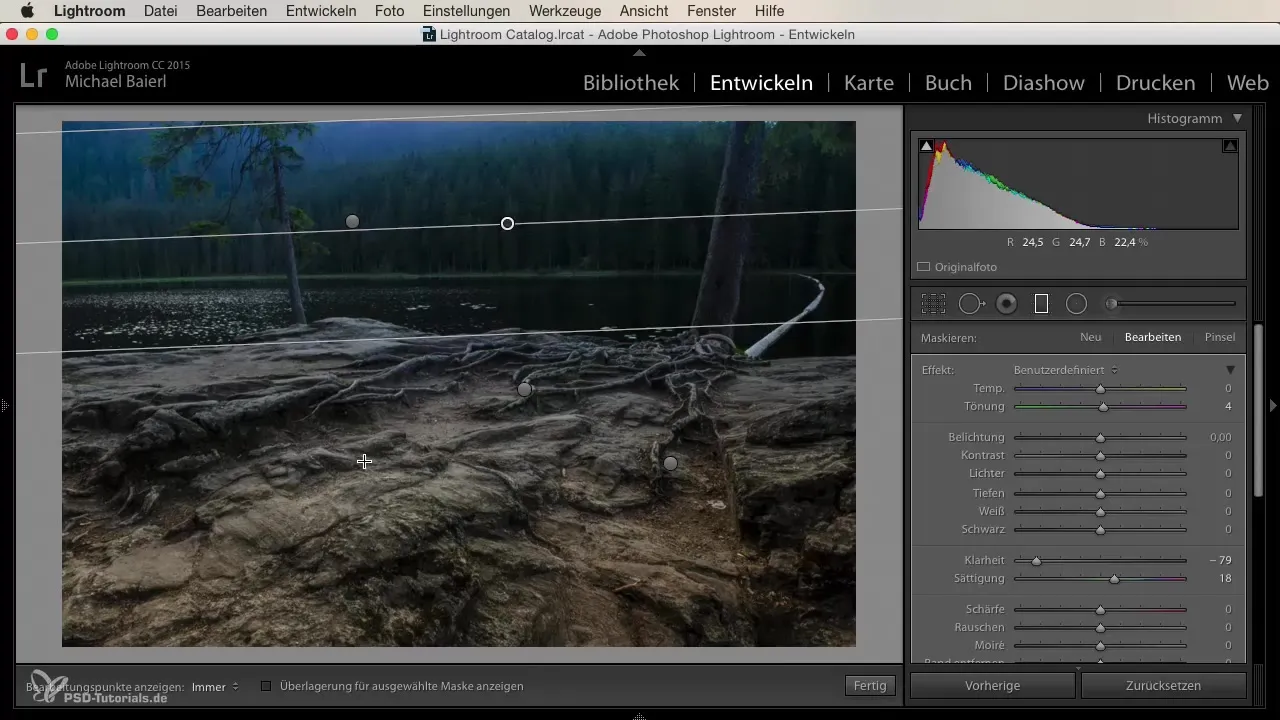
Another important step is to enhance the clarity in interesting areas of the image. When you apply the gradient to the area with the roots, you can significantly increase the clarity to highlight textures. Experiment with different clarity values to achieve the best effect.
Fine-tuning
Once you are satisfied with the initial adjustments, go through your image once more. You can reduce the clarity in the upper area again to create a hazy effect. This subtle change can enhance the visual depth of the image. Also consider whether the saturation of colors like green and blue should be increased to create a surreal effect.
Adding More Gradients
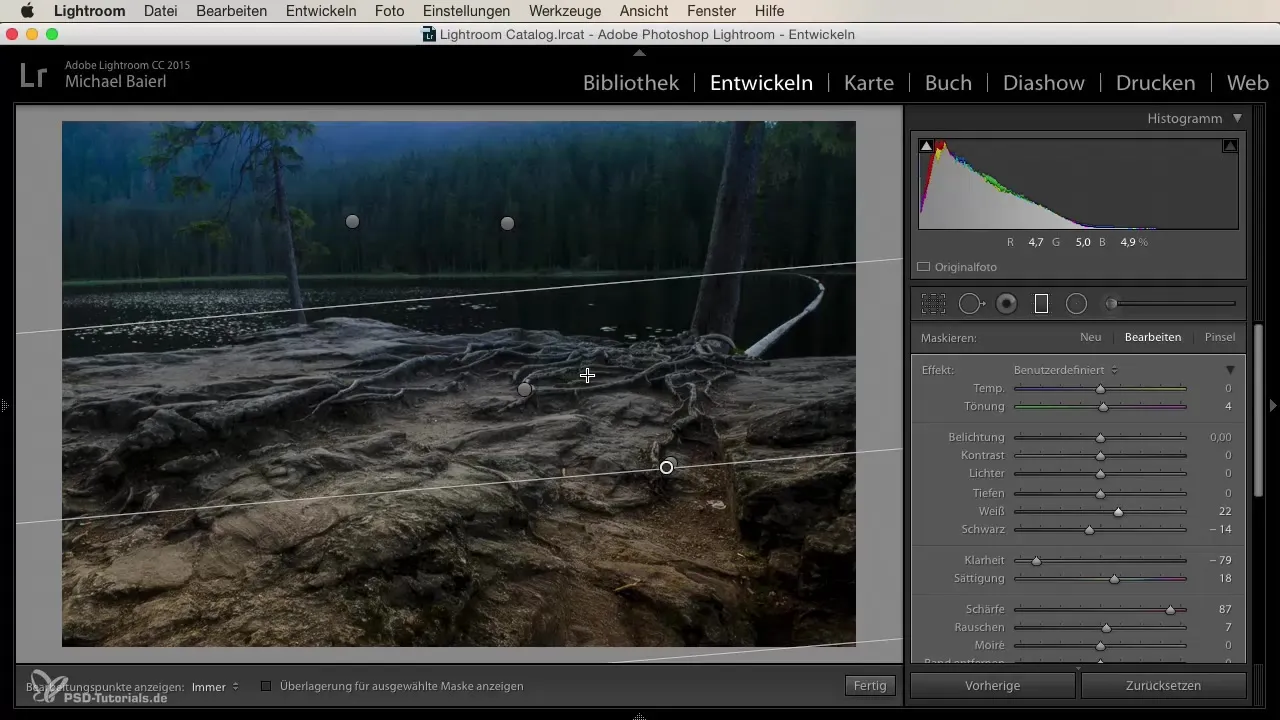
You can further enhance the effect of your editing by adding more gradients. For example, draw a gradient from the bottom up to increase the sharpness of the image or to highlight specific textures even more clearly. This layering makes your editing dynamic and engaging.
Summary – The Linear Gradient in Lightroom: A Comprehensive Guide for Creative Image Editing
With the linear gradient in Lightroom, you can give your images a new dimension. Through local adjustments, you can create various moods and emphasize specific areas. Experiment with the different possibilities of the tool to bring out the best in your images.
Frequently Asked Questions
What is the linear gradient in Lightroom?The linear gradient is a tool in Lightroom that allows you to make targeted adjustments in specific areas of the image.
How can I effectively use the linear gradient?You can drag the gradient over various areas and then make adjustments like light, color, and clarity to change the mood of the image.
How many gradients can I use in one image?You can use as many gradients as you want to individually edit different areas of your image.
Can I change the adjustments later?Yes, you can adjust the settings of the linear gradient at any time to achieve the desired result.
Does the linear gradient also support color adjustments?Yes, the linear gradient allows you to change the color temperature and saturation in specific areas of the image.
