Do you want to find out how to effectively implement Beautyretuschen in Lightroom? Although Lightroom is not primarily designed for beauty retouching, it offers numerous possibilities to bring out the best in your portraits. In this guide, you will learn how to adjust skin tones, eliminate blemishes, and make your images shine.
Key Findings
- Lightroom offers many tools for beauty retouching.
- Colors and brightness can be precisely adjusted.
- With masking tools like brushes and gradient filters, you can work selectively.
Step-by-Step Guide
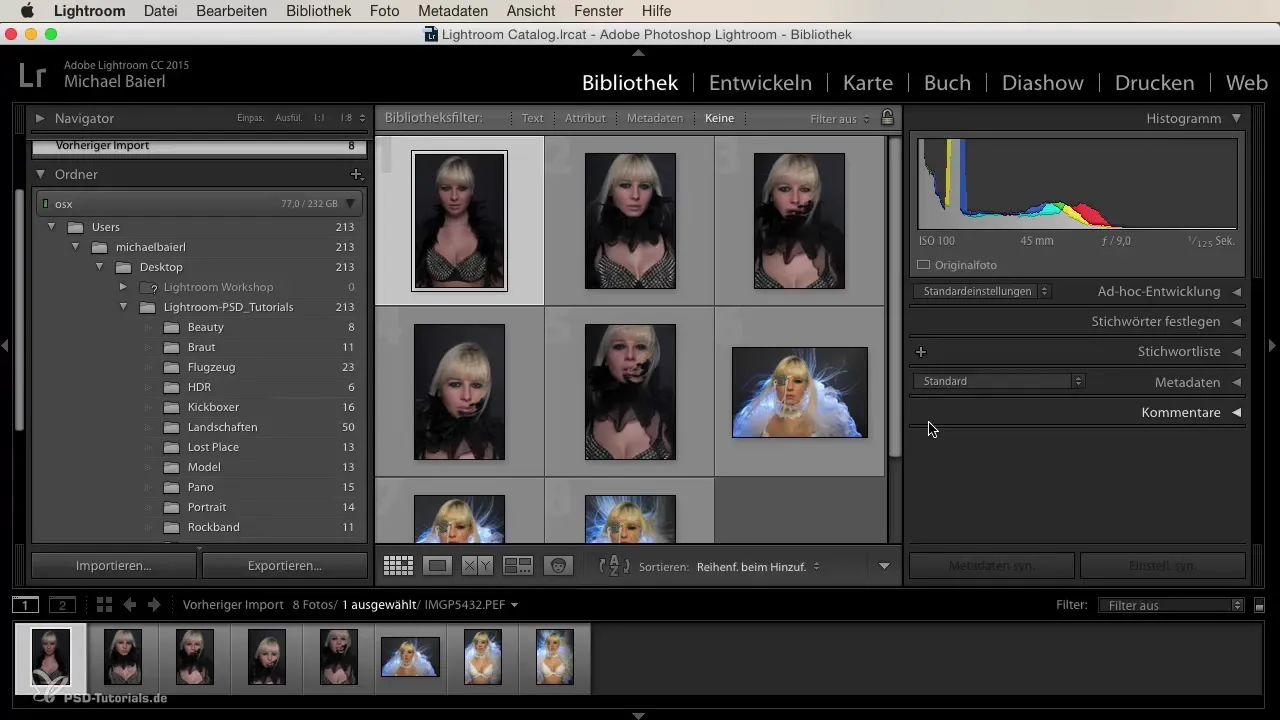
First, upload your portrait into Lightroom and start reviewing the images. Check the sharpness and composition. Pay attention to which images you want to retouch.
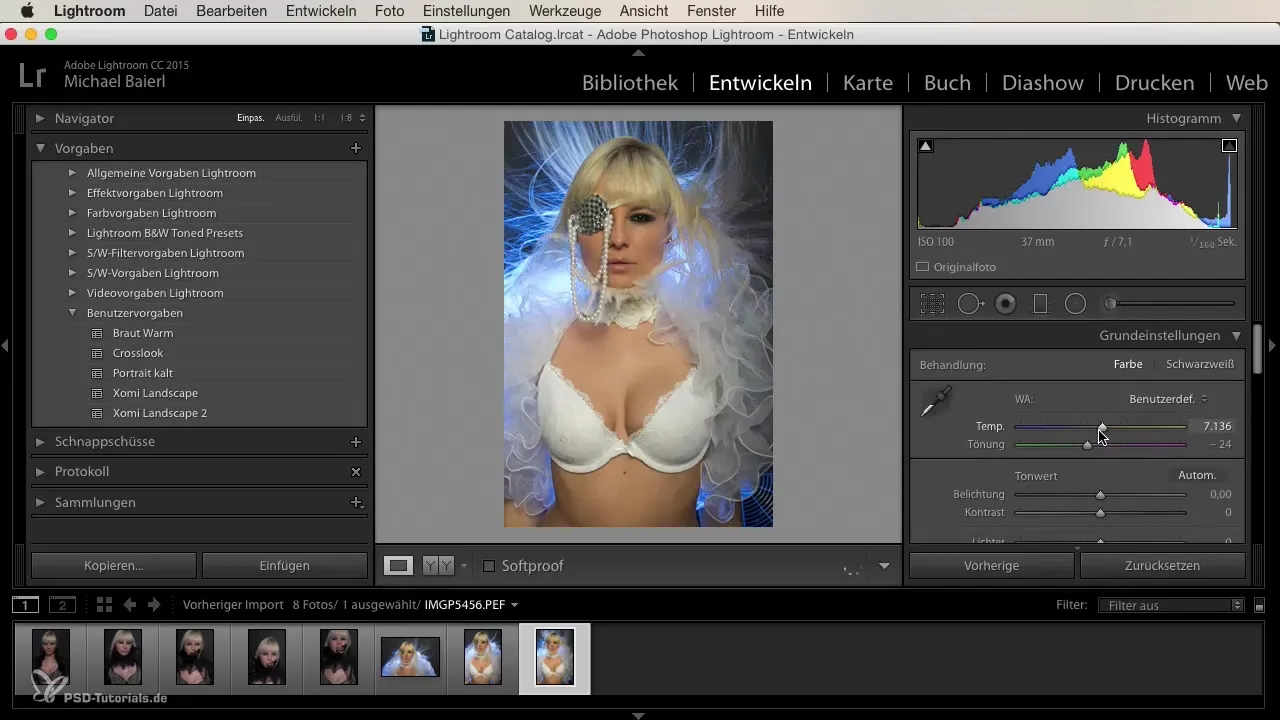
The next step is to adjust the white balance. To give your image a cooler look, pull the white balance slider to the left. Make sure that the skin tone remains appealing.
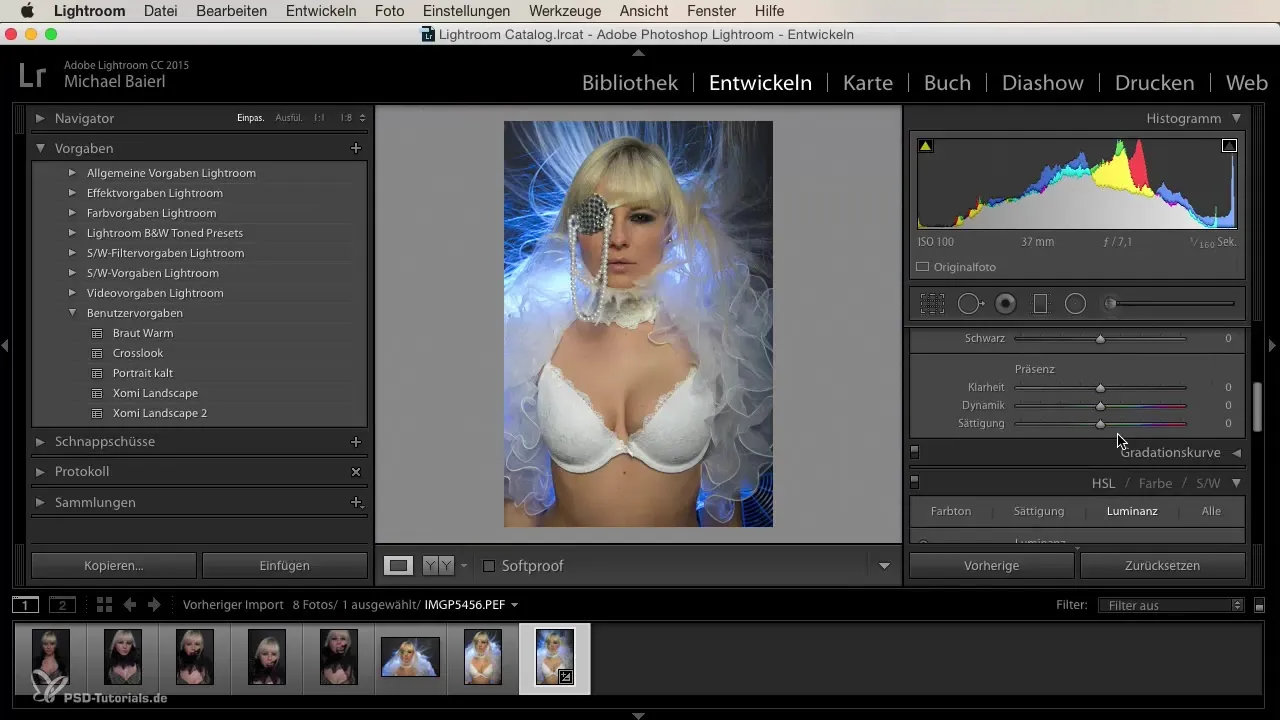
Now take a closer look at the skin tones. You can adjust the skin color through camera calibration. Here you have the opportunity to vary the primary color values. A higher value for red can make the skin appear yellowish, while a lower value makes it appear more reddish. Find the perfect balance between these values.
Once you are satisfied with the skin tones, you might want to brighten the face. Use a mask that you drag over the face. Make sure not to invert the mask, as you only want to brighten the face and not the entire background.
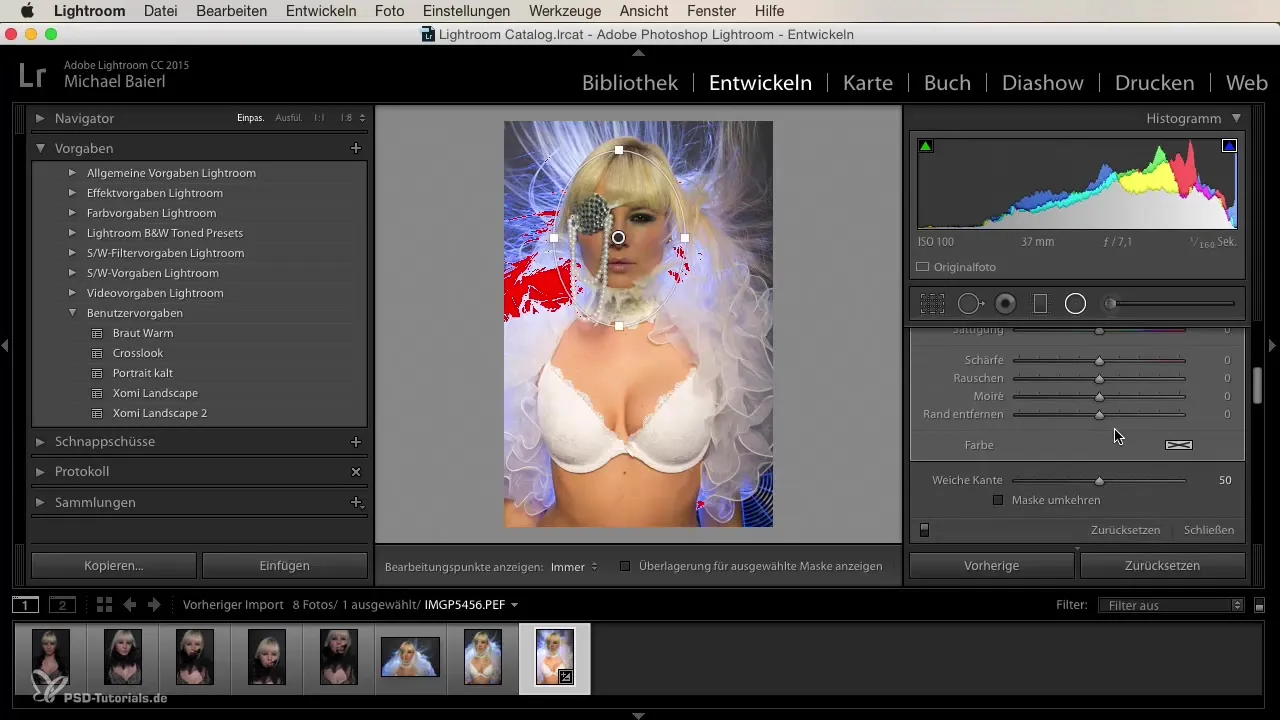
Another step is to create a vignette. To do this, drag a radial gradient from the center of the image outward to focus on the face. Set the space around the face to a darker tone.
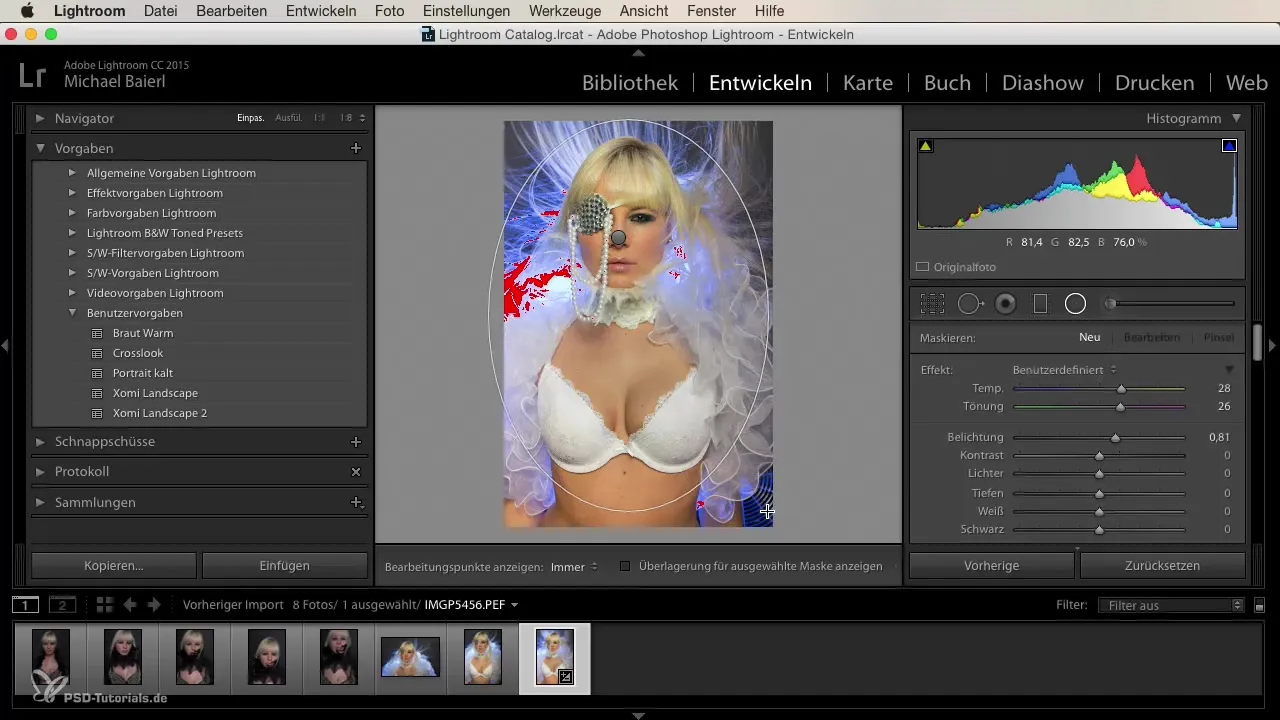
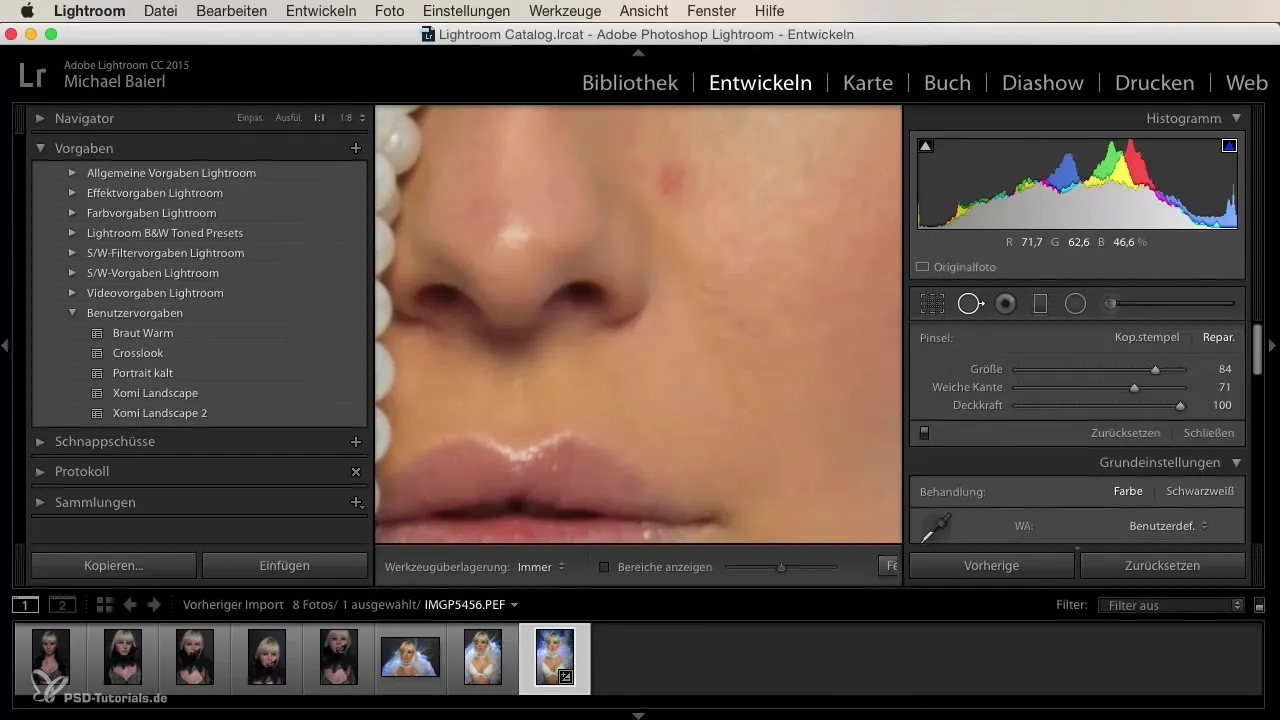
Now comes the crucial part of skin editing. Use the brush to specifically remove blemishes. Ensure that the brush is small enough to work precisely. You can smooth the skin with the healing brush by reducing contrast, brightness, and highlights. This helps to make pores less visible.
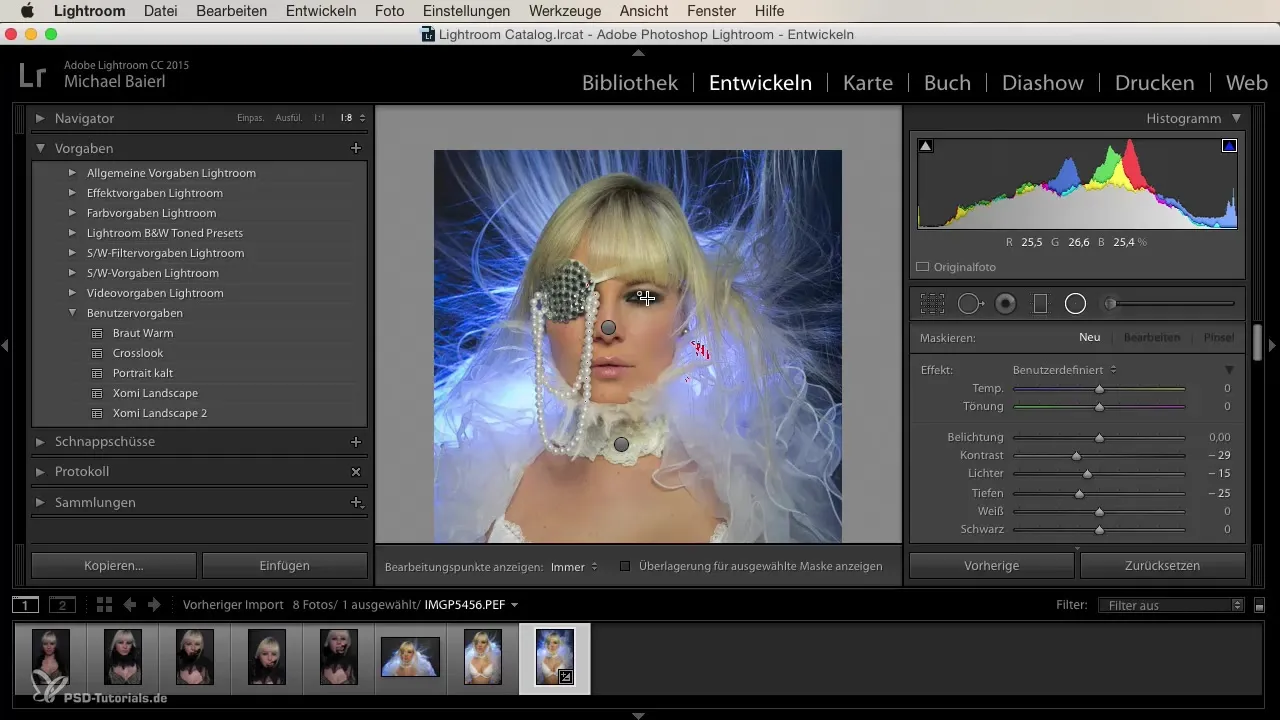
It's also useful to enhance the eyes. Use a radial gradient to brighten the eyes and give them more radiance. Be sure to adjust the mask accordingly to edit only the eyes.
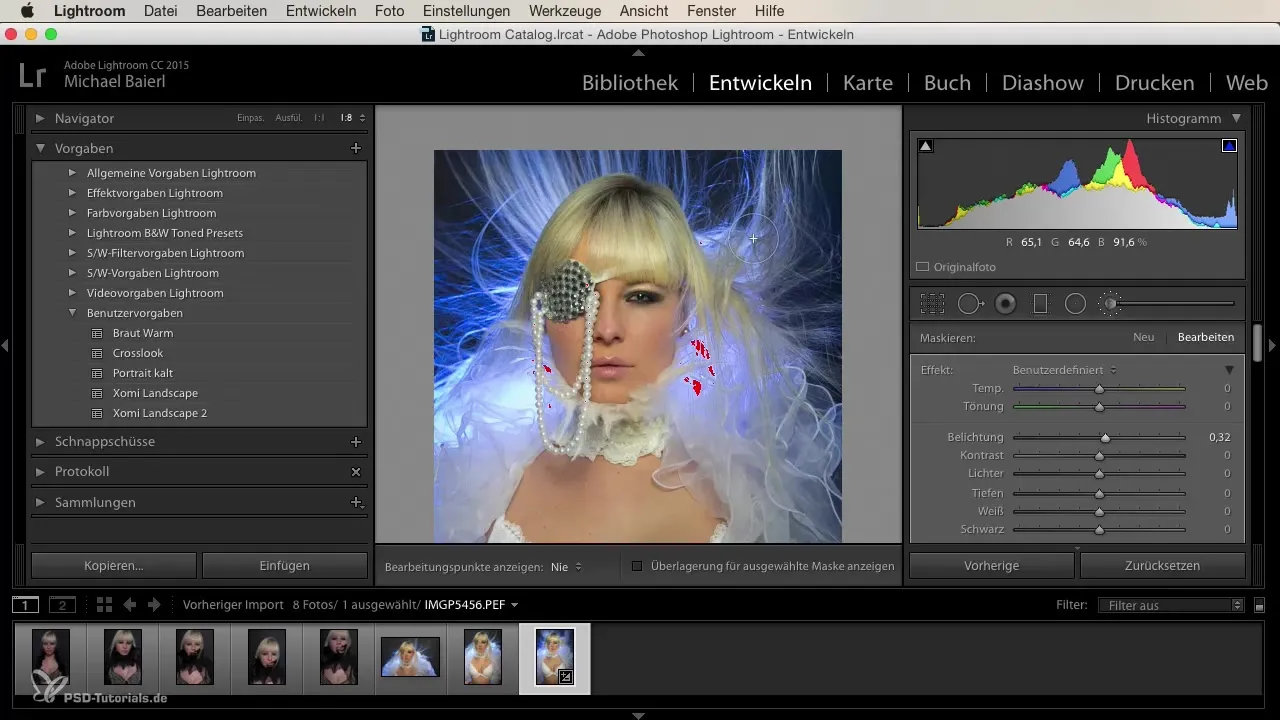
If you want to bring more shine to the hair, go over the hairline with a new brush. Here you can play with the exposure and contrast as desired to highlight the light.
The final touches are made to the lip color. You can remove unwanted saturation or even liven up the lips with color. Paint over them and make sure the exposure is correct.
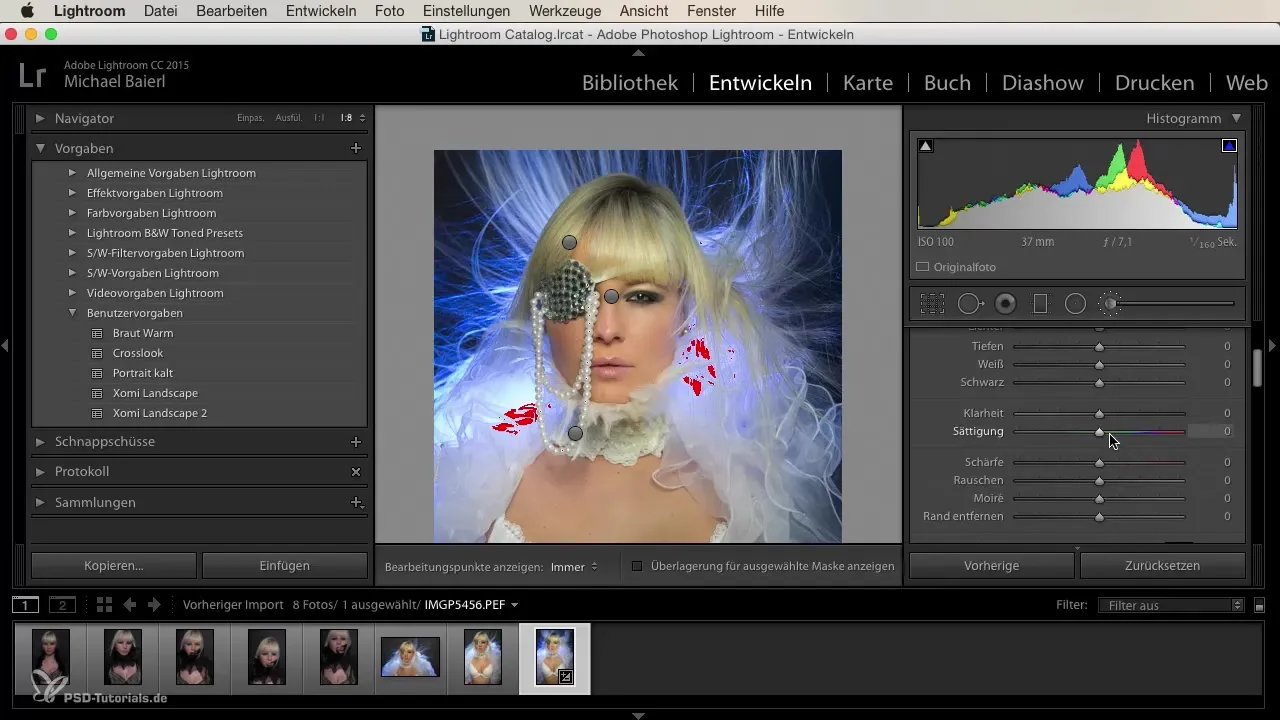
Finally, you can undo your edits if you are not satisfied with certain adjustments. Use the feature with the marking to see the changes and delete them if necessary.
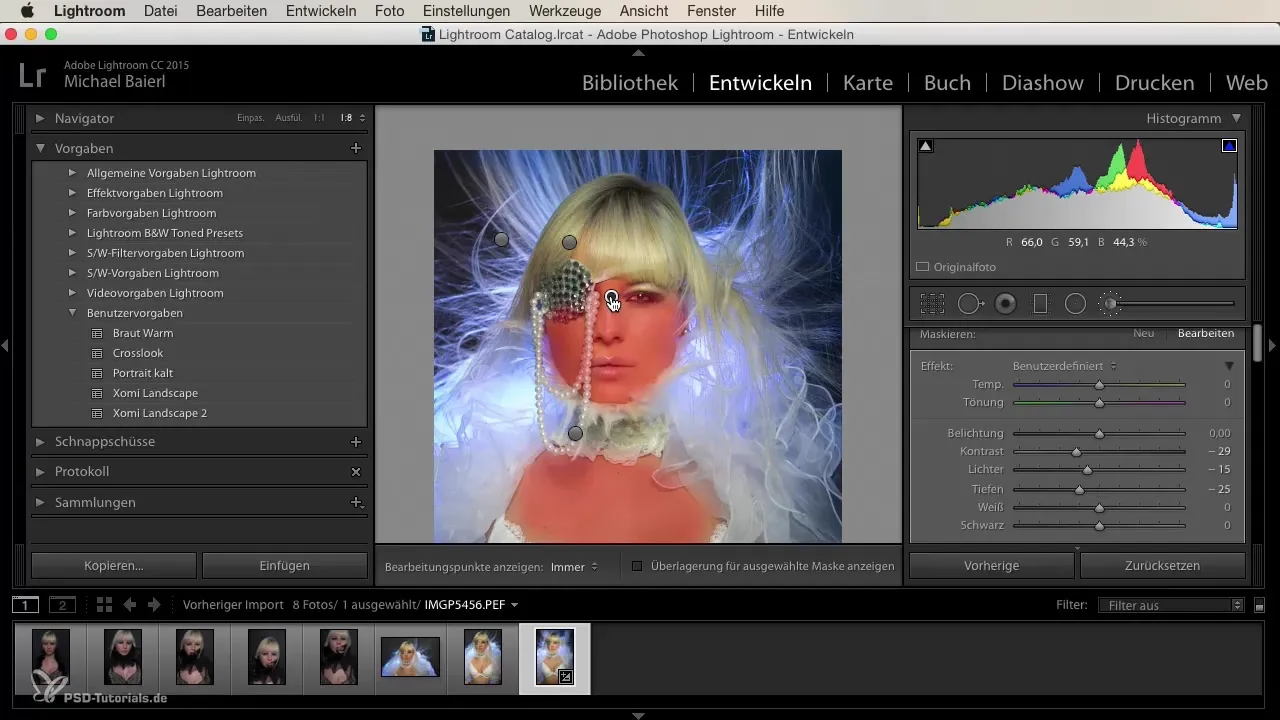
Summary - Beauty Retouching in Lightroom: A Step-by-Step Guide
With the right techniques, you can perform effective beauty retouching in Lightroom. By adjusting the white balance, tweaking color values, and selectively editing skin, eyes, and lips, you can achieve impressive results. Utilize the variety of tools in Lightroom to make your portraits shine.
Frequently Asked Questions
How can I adjust the white balance in Lightroom?Pull the white balance slider left or right to adjust the color temperature of the image.
How do I edit skin tones in Lightroom?Use the camera calibration to adjust the primary color values of red, green, and blue.
How can I selectively brighten facial areas?Apply a mask to the face and increase the brightness without affecting the rest of the image.
How can I reduce blemishes on the skin?Use the healing brush to reduce contrast and brightness in the areas you want to edit.
How can I brighten the eyes in a portrait?Use a radial gradient on the eyes and adjust brightness and clarity.
