Greebles are not just visual gimmicks; they bring life and detail to 3D models. In this guide, you will learn how to effectively integrate Greebles into your building in Cinema 4D. We will focus on adjusting the size and number of Greebles so that they harmoniously fit into the overall picture. At the end, we will set up a light source and render the result to get an impression of how the entire model looks in a realistic environment.
Key Insights
- Targeted subdivision of objects for detailed Greebles
- Adjustments of Greebles by size and number
- Realistic rendering through light sources
Step-by-Step Guide
Step 1: Subdivide the Object
Before you start inserting Greebles, subdivide your object. This allows you to create a finer structure for the Greebles. Go to the Mesh commands and select the Subdivide command. Set the value so that you increase the number of polygons needed for the Greebles.
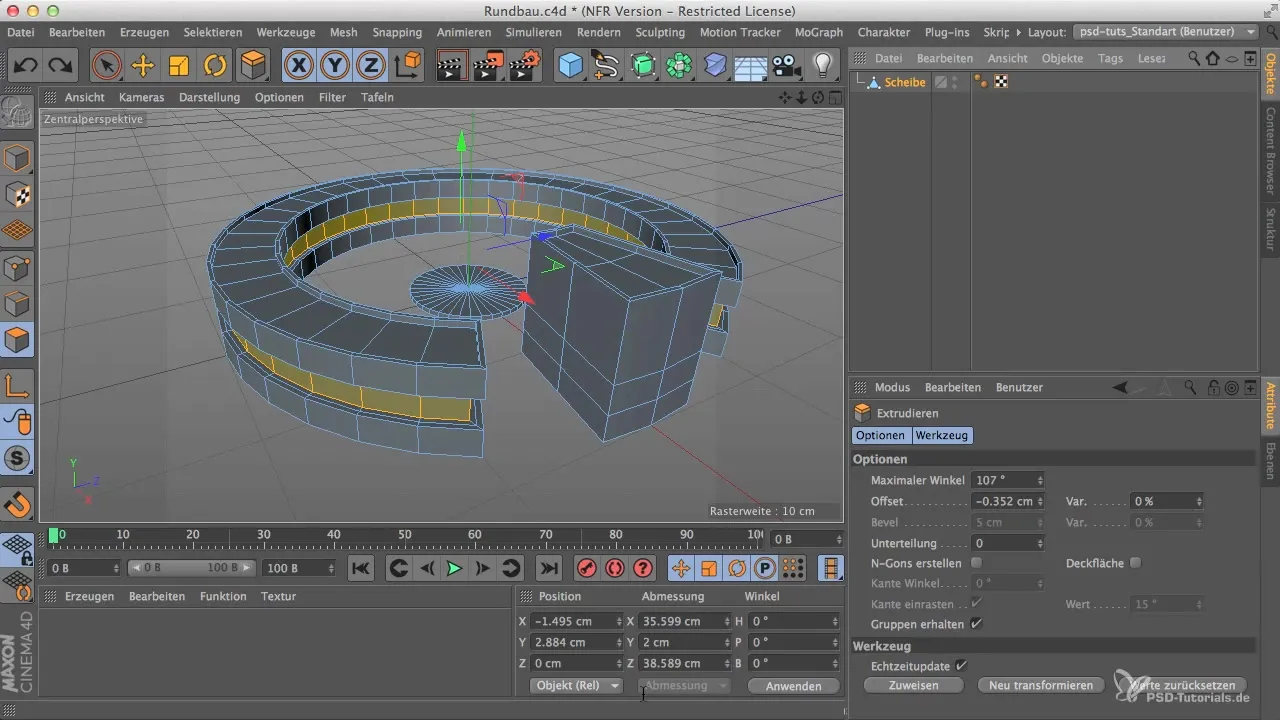
Step 2: Activate the Greebles Plugin
Once your object is subdivided, it’s time to add the Greebles. Navigate to the plugins and select the Greebles tool. Place your building into the Greebles plugin to generate the Greebles.
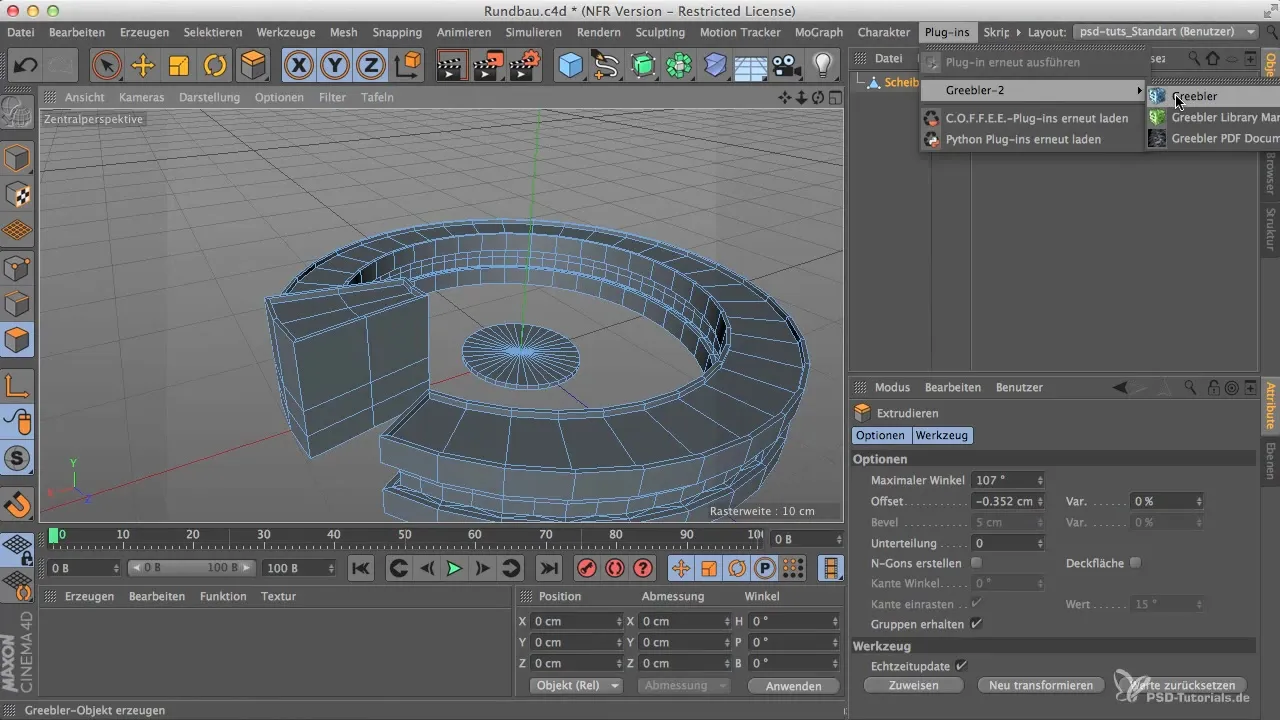
Step 3: Make Initial Adjustments
The first result may not meet your expectations. You will receive a variety of shapes with the Greebles generator. Often, the first Greebles are too spiky or too dominant. Take your time to adjust the settings to have more control over the appearance.
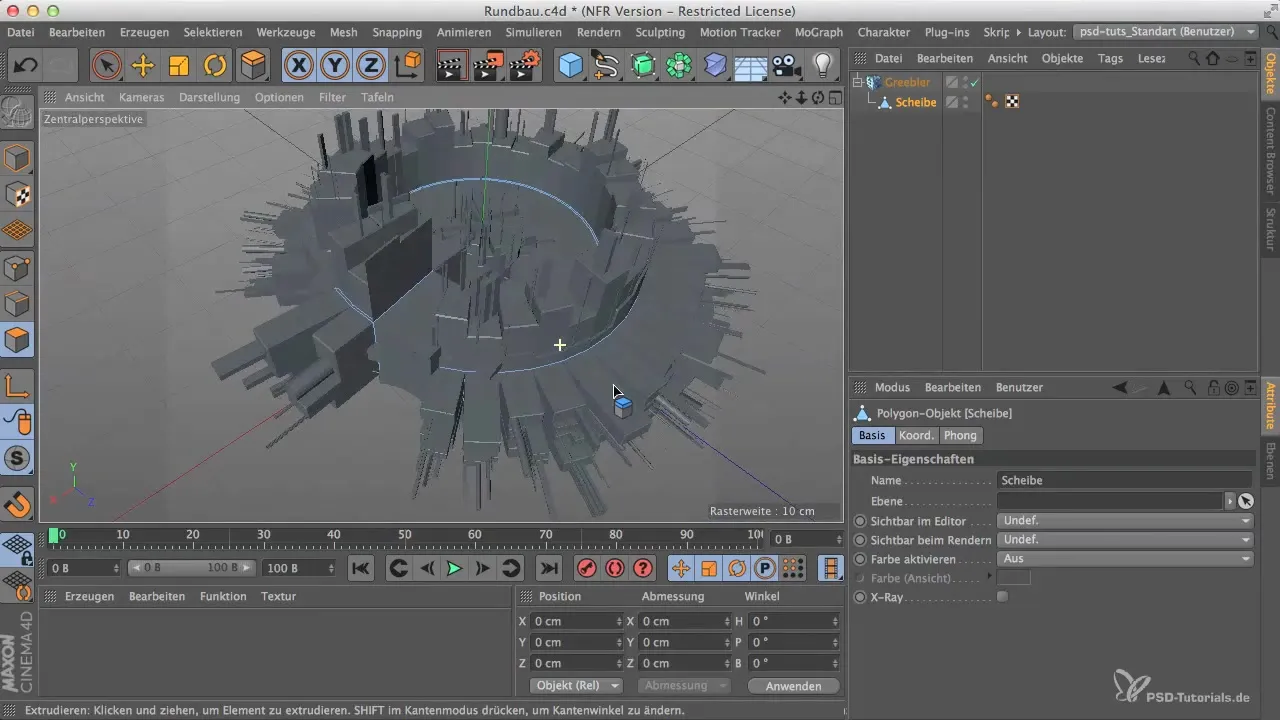
Step 4: Distinguish Base and Greebles
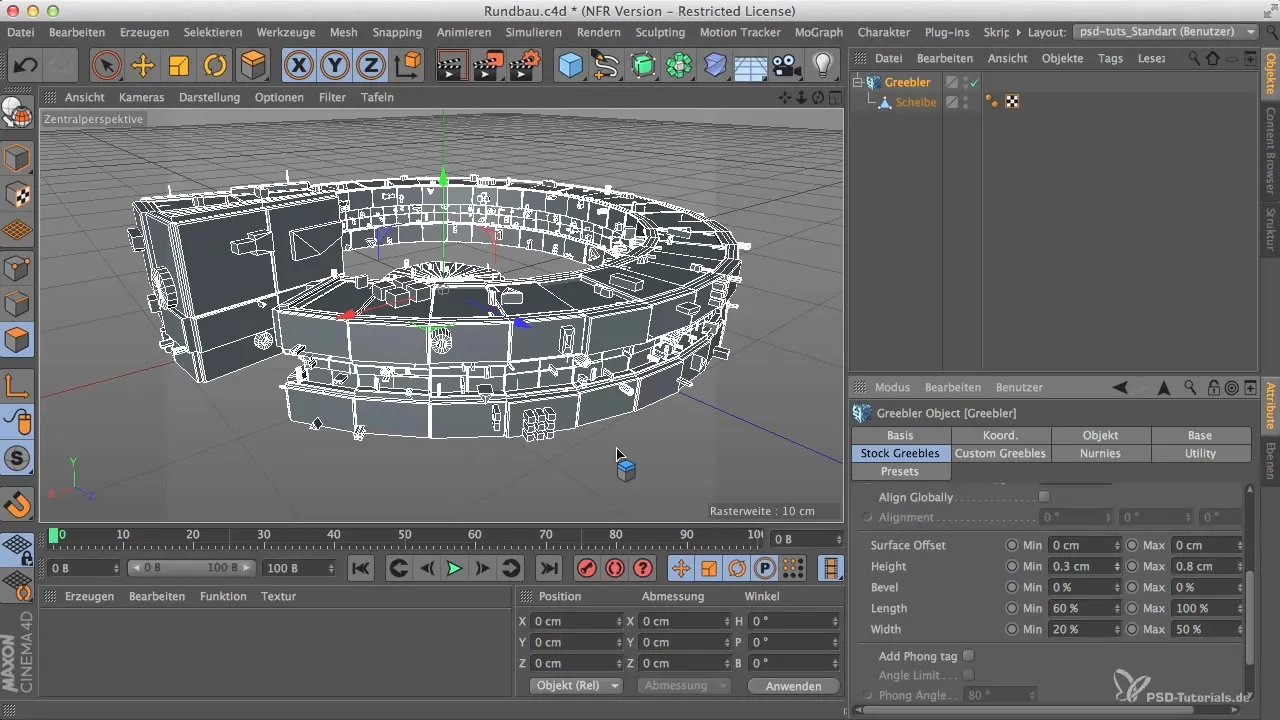
To achieve a better structure, it is important to distinguish between Greebles and the base of the model. Select the base and adjust the values. Set the values to 0.1 and 0.4 and modify this range as needed to create the desired transitions.
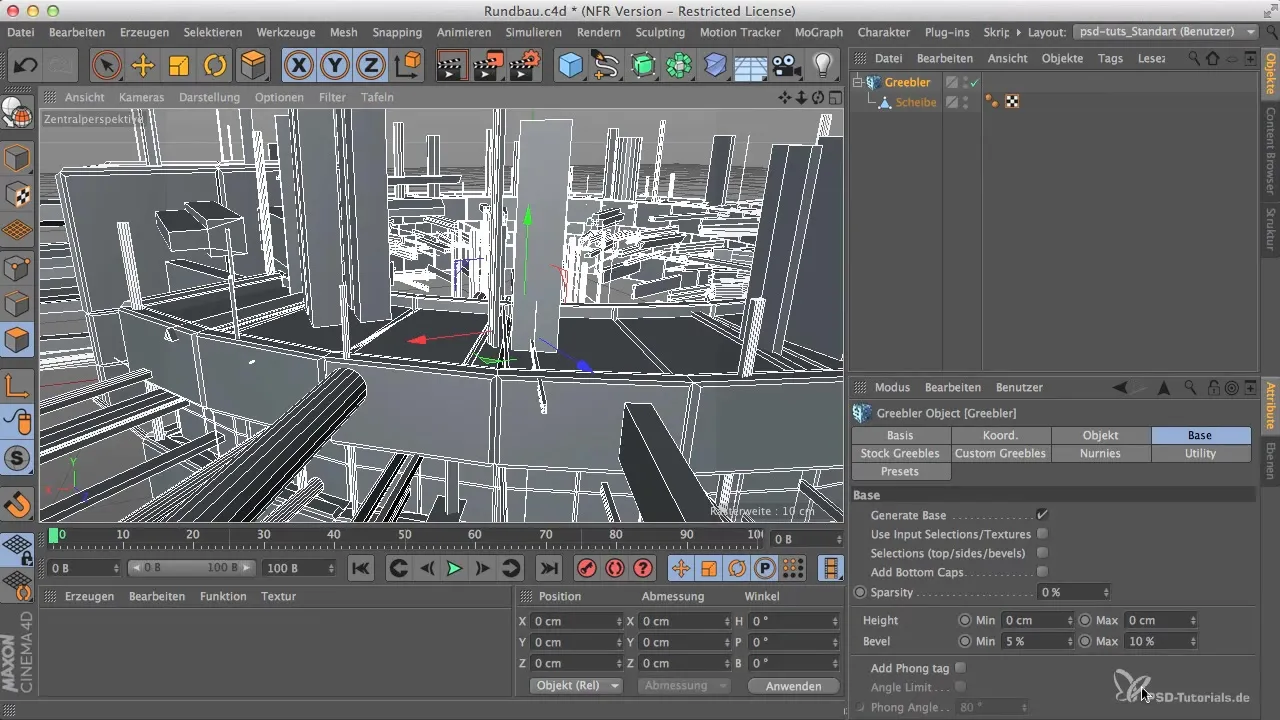
Step 5: Fine-Tune Greebles
Now it's time to adjust the Greebles precisely. To make the Greebles appear harmonious, play with the height and minimum values. Set the maximum value to about one centimeter and the minimum value to 0.2 or 0.3.
Step 6: Increase the Number of Greebles
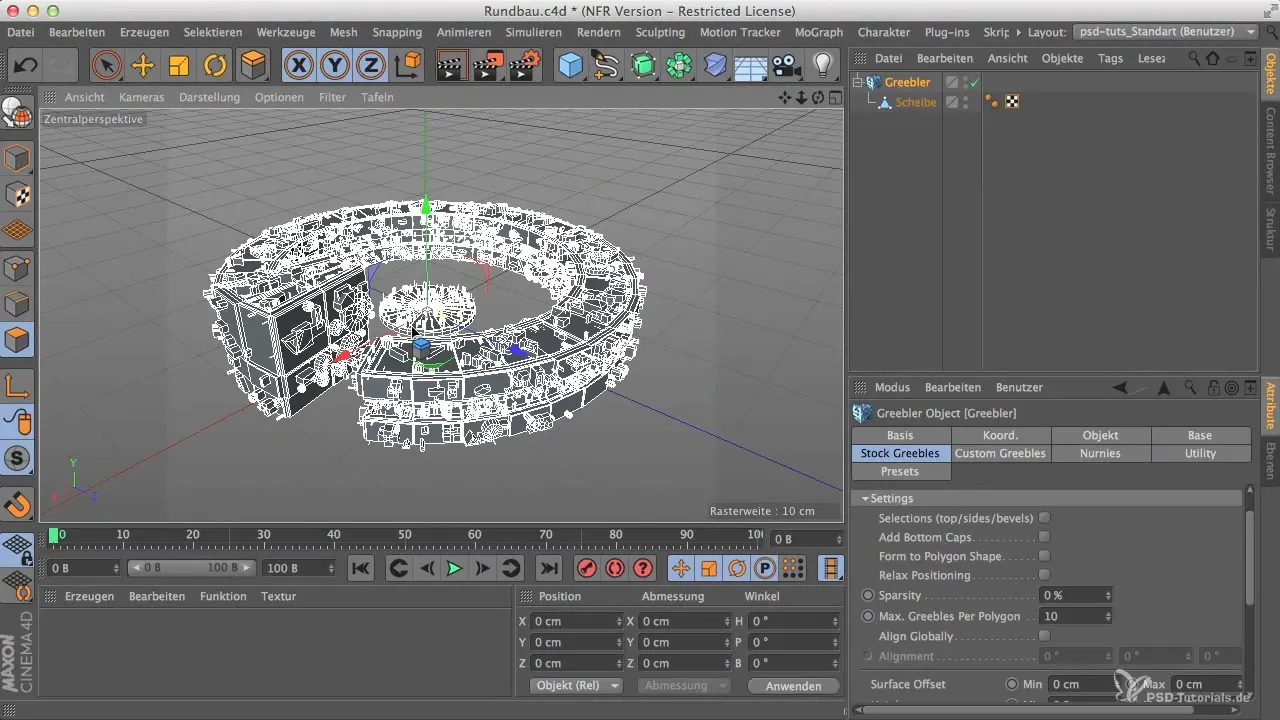
Once you have added your Greebles, you also have the option to increase their number. Go to the Greebles settings and increase the maximum number from 1 to 10 to create more details. Make sure that the Greebles do not become too chaotic and that the scene remains clear.
Step 7: Render the Scene
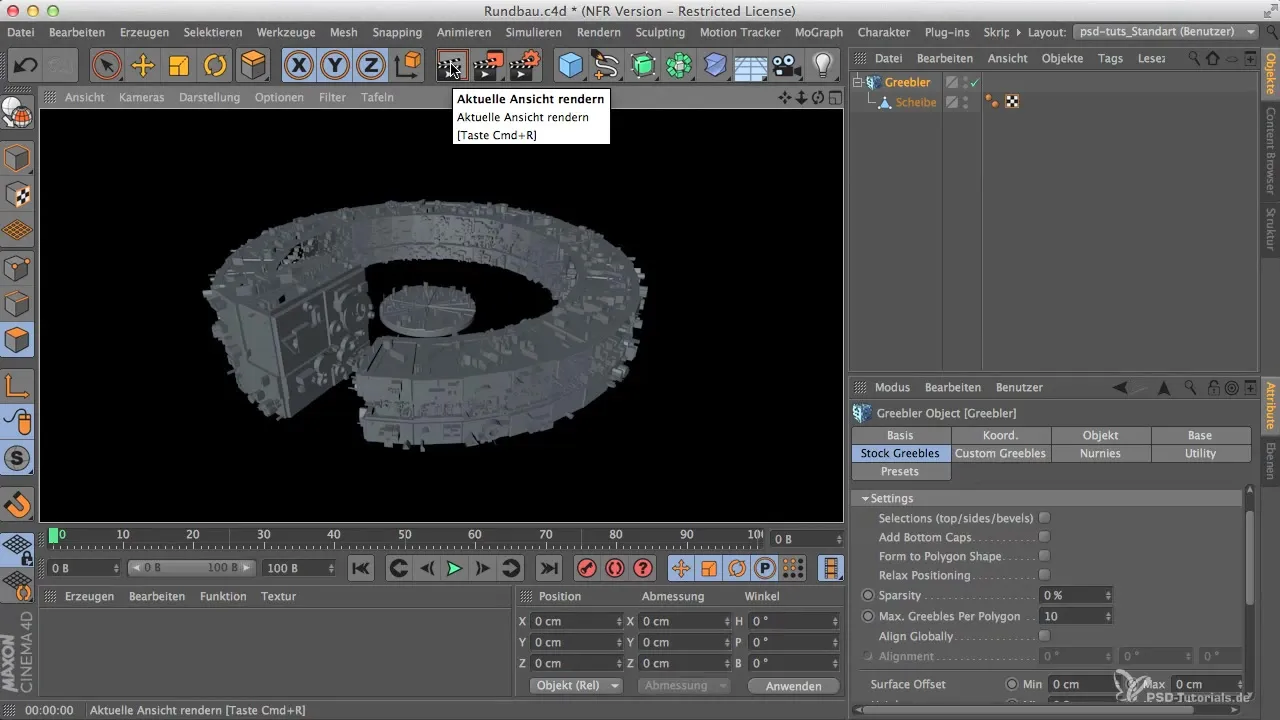
View your model in the rendered view to see how the changes take effect. Simply click on the render button for this purpose. It is helpful to get an idea of how your model could look in the final version.
Step 8: Add Light Source
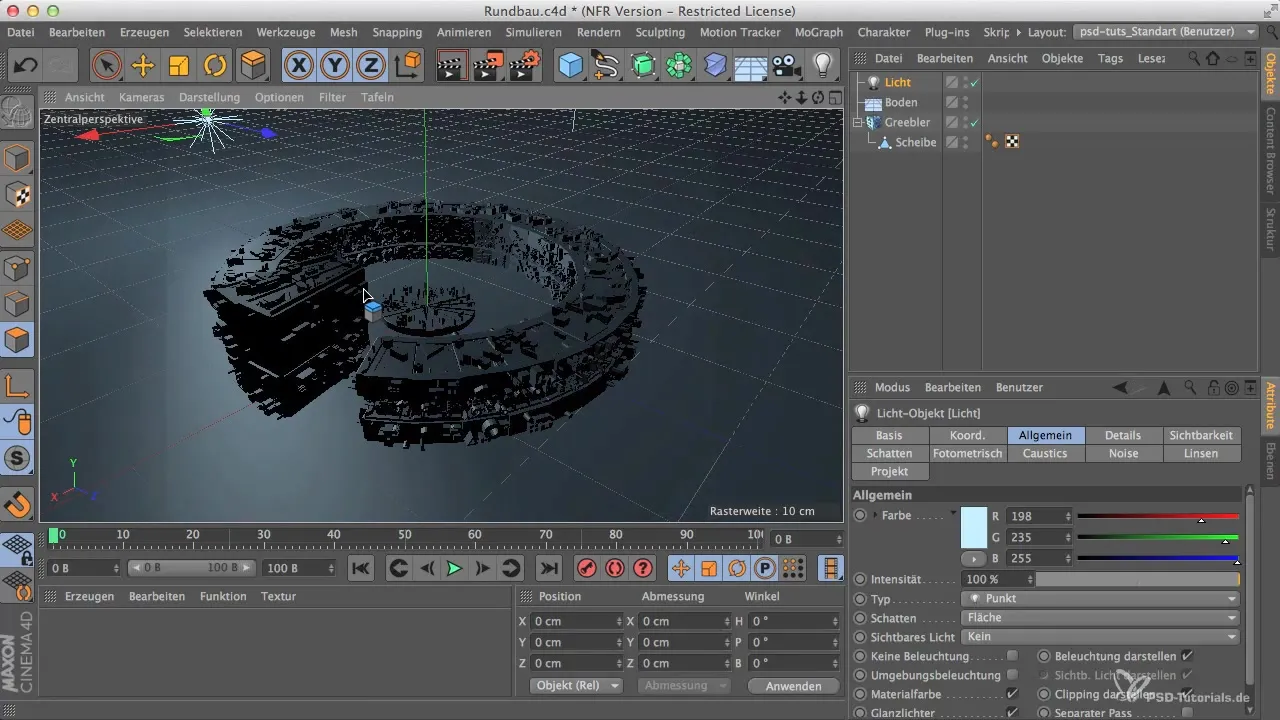
To test the reality of your model, add a light source. Position it so that you can clearly see the shapes of the Greebles. The light source should cast a shadow to give more depth to the scene. Experiment with the position and color of the light source.
Step 9: Fine-Tune Light Intensity
Check the intention of your light source by increasing the intensity. This helps you get a clearer picture of the Greebles and how they behave in space.
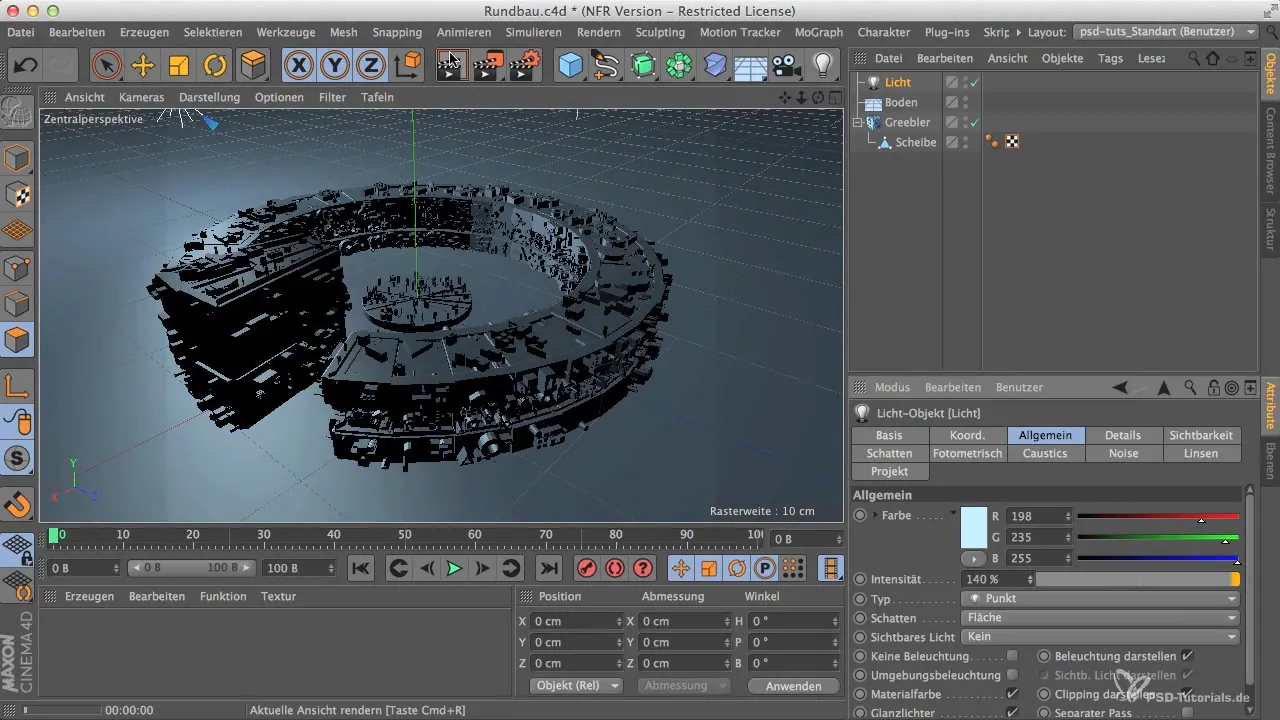
Step 10: Final Review
After making your adjustments, take another look at the rendered image. Now you should have a sense of how much technique and detail your building has.
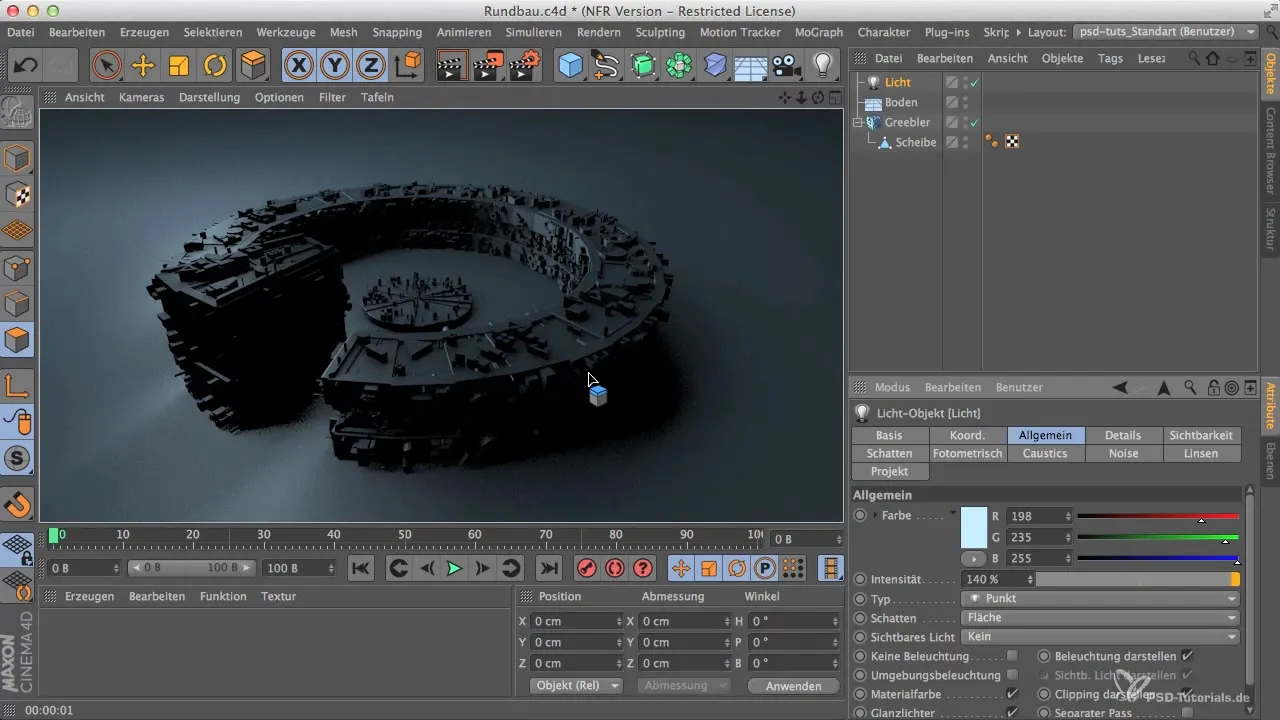
Summary – Cinema 4D: Optimize Greebles for Your Building
You have learned how to create a convincing 3D model in Cinema 4D through targeted subdivision, adjustments to the base and Greebles, and adding light sources. Use these steps to bring your models to life design.
Frequently Asked Questions
How do I subdivide an object in Cinema 4D?You go to the Mesh commands and select the Subdivide command.
What to do if the Greebles look too spiky?Play with the settings in the Greebles plugin to change the size and shape.
How can I increase the number of Greebles?Go to the Greebles settings and adjust the maximum number to generate more details.
How can I adjust the light source?You can change the position, color, and intensity of the light source to achieve different effects.
Why is the render view important?The render view gives you an idea of how your model looks in a realistic environment and what improvements are needed.


