The creative work with 3D models opens up a variety of possibilities for designing fascinating environments. In this tutorial, you will learn how to easily create your own and fantasy buildings with Cinema 4D. With a few targeted steps, you can give your city more structure and diversity.
Key Insights
- Free modeling with Cinema 4D opens up creative spaces.
- The use of simple geometries can lead to complex structures.
- Detailed models enhance the visual appeal of your scenes.
Step-by-Step Guide
To create an appealing building, follow the steps below:
Step 1: Create Base Object
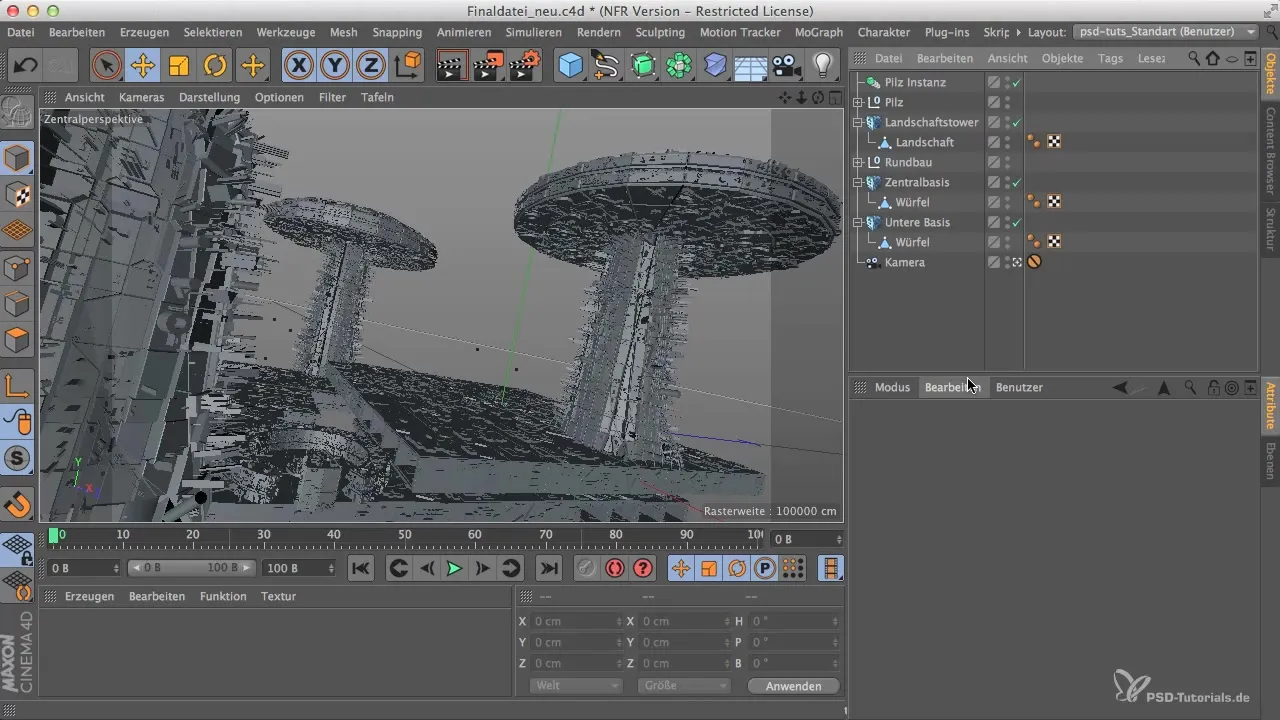
First, select the cube object as the starting point for your building. You can adjust the dimensions to meet your requirements. For example, you could set the dimensions to 80 cm in height, 30 cm in width, and 40 cm in depth to create an interesting dimension. These specifications help you achieve a harmonious integration into the existing city.
Step 2: Convert to Polygon Object
After you have created your cube, it is important to convert it into a polygon object. This is crucial so that you can further adjust the shape of the object. Select the cube and choose the option to convert it into a polygon object. This allows you to specifically edit the individual surfaces.
Step 3: Selection of Surfaces and Adjustment
You now select all the surfaces of the object that you want to change. With the scaling tool, you can then make the shape of the building more interesting design. By pulling the lower polygons inward, you create a more appealing structure that is not only functional but also aesthetically pleasing.
Step 4: Create Base Feet
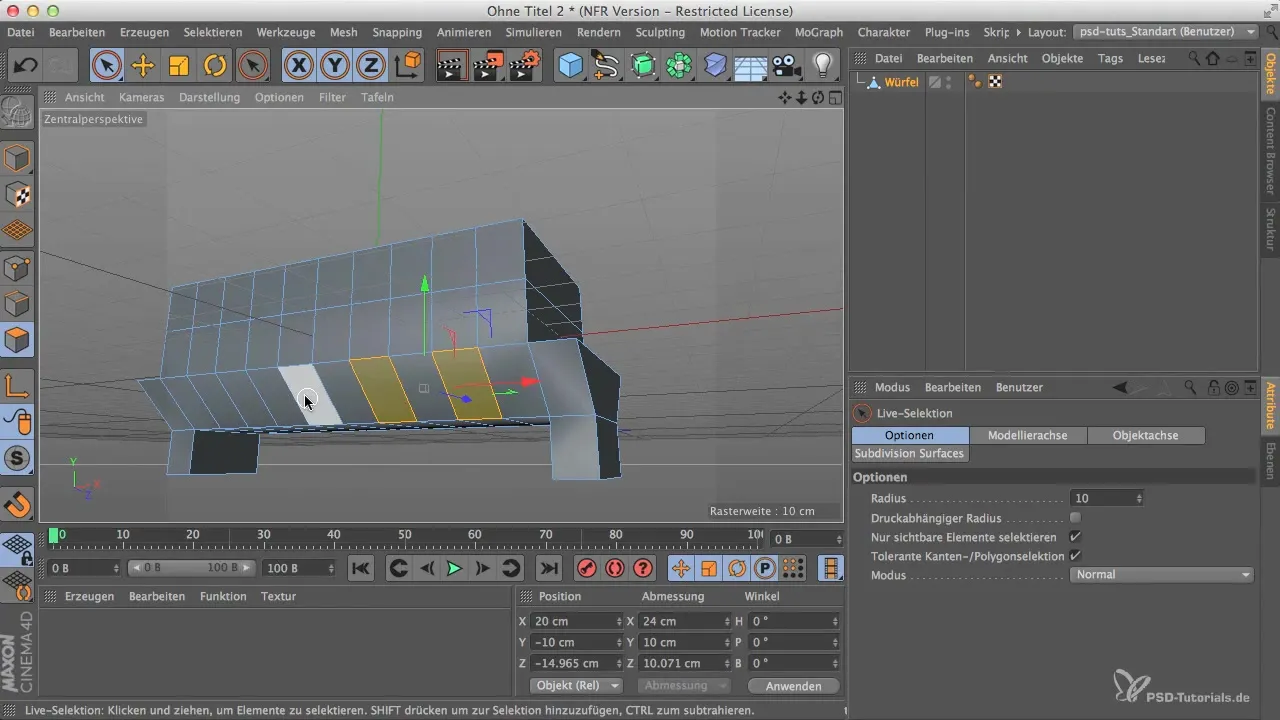
To make your building more stable and visually appealing, you can add base feet. Select the front and back surface and use the extrusion function to pull this into the desired shape. Make sure that the feet appear proportional to the building and do not look too delicate.
Step 5: Adding Projections
Once the base is set, it’s time to add projections. These give the building more depth and visual interest. Create some smaller projections that you attach to the sides. These should fit well into the overall picture without making the object look overloaded.
Step 6: Adjustment and Refinement
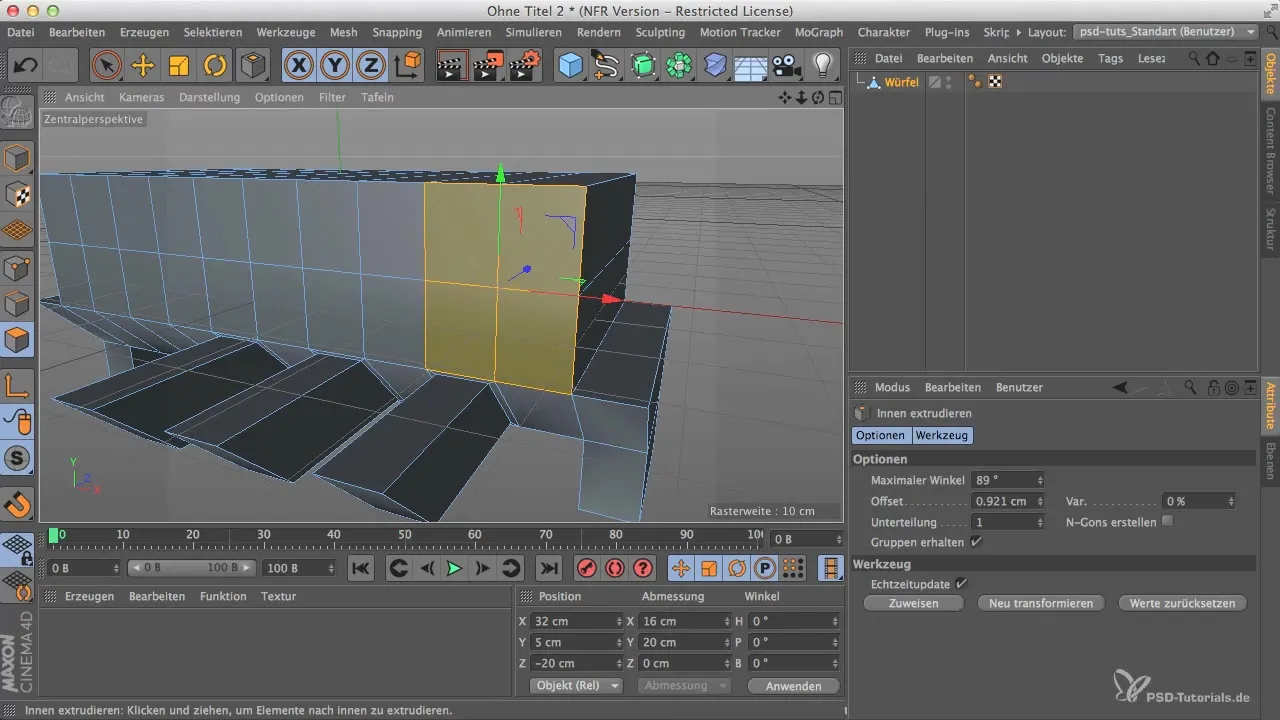
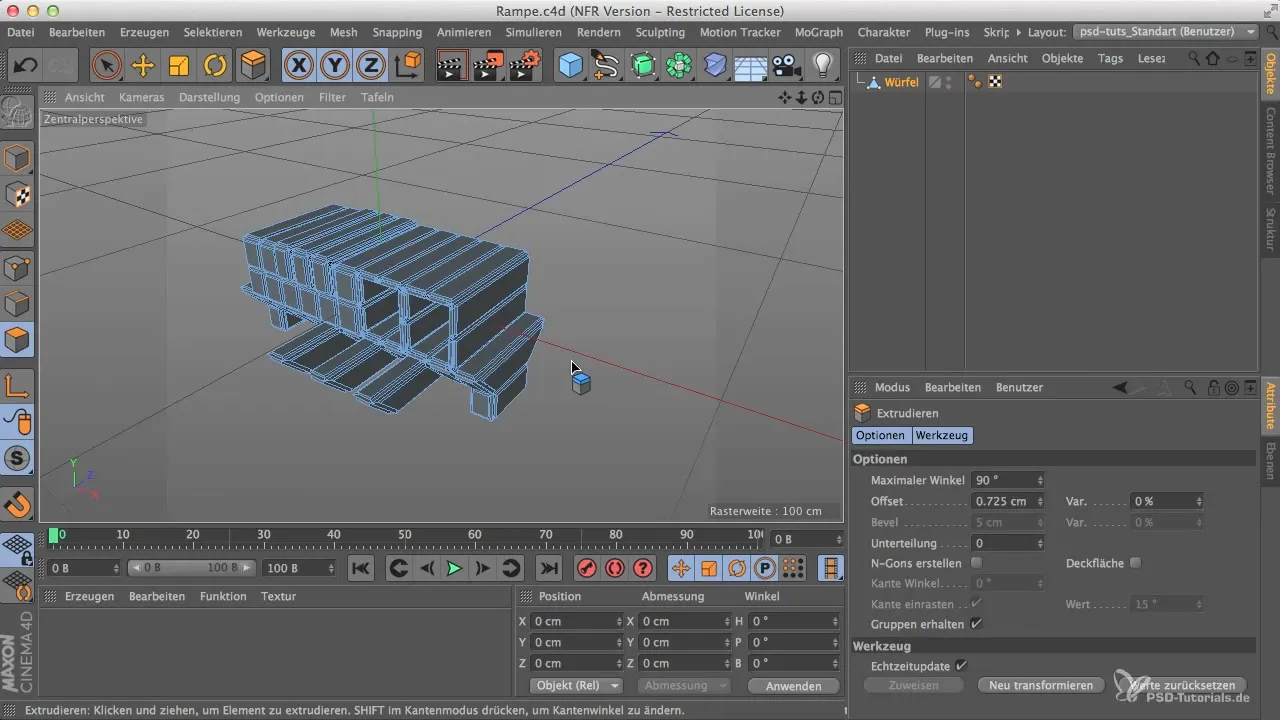
Now you can work on additional structures to refine the design. For example, you can enhance the upper areas of your building with additional details by extruding them in different sizes. This creates visual variety and makes the building appear more lively.
Step 7: Designing the Facade
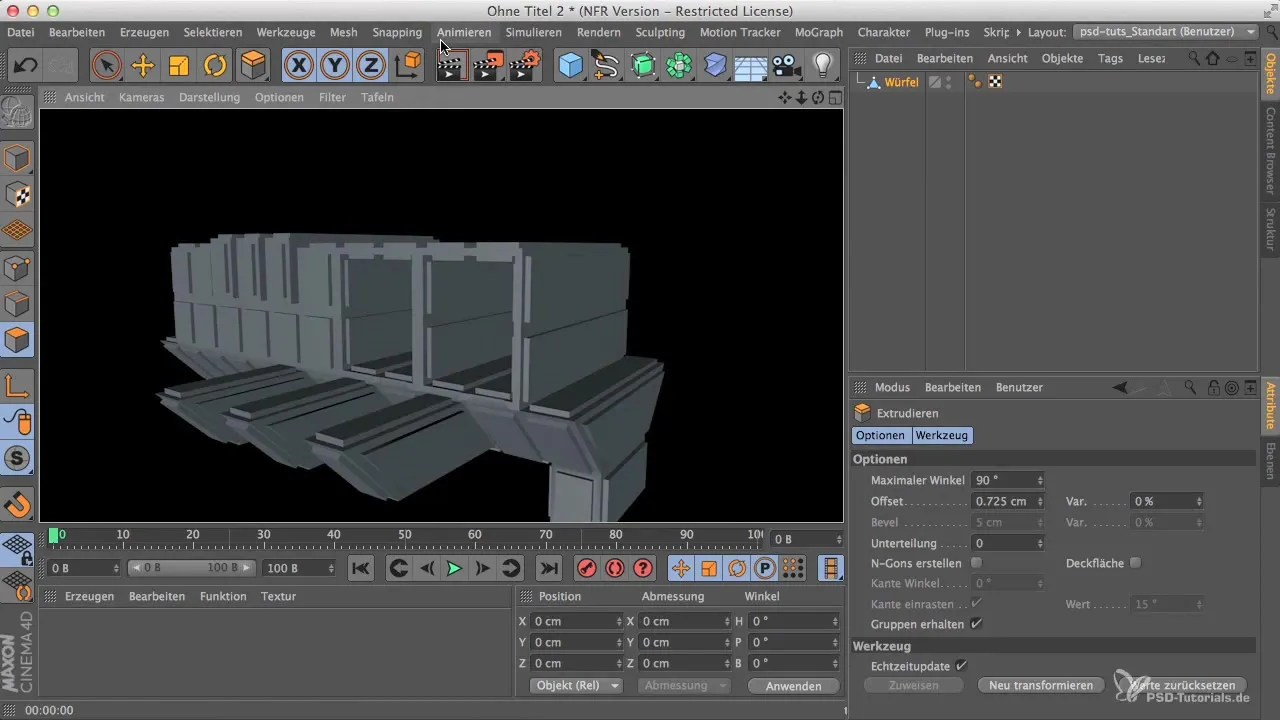
Another important phase is designing the outer facade of the building. Here you can create panels or plates that add structural depth. The choice of design can vary, but the basic idea remains the same: to make the object appear appealing and modern.
Step 8: Saving the Building
After you have designed your building to your liking, the next step is to save it. Make sure to save it with a specific name so that you can easily use it in your other projects later. An appropriate name for this example could be "Ramp."
Summary - Cinema 4D Tutorial: Effectively Creating Fantasy Buildings
In this tutorial, you learned how to create complex and appealing buildings with simple geometric design. From basic shapes to detailed projections and facades, Cinema 4D offers numerous possibilities to express your creativity. Use the techniques you have learned to further enrich your scenes.
Frequently Asked Questions
How do I import objects into my project?You can import objects by opening the file in Cinema 4D or dragging it directly in.
Can I use my models in Photoshop?Yes, you can use the exported models from Cinema 4D in Photoshop for further editing.
How do I save my project?Select “File” and then “Save As” to save your project under a specified name.
