When working with 3D scenes, lighting is a crucial factor that can determine the overall impression of your graphic. The physical sky offers you a remarkable way to create realistic lighting conditions that are perfectly integrated into your scenes. In this tutorial, you will learn how to add the physical sky in Cinema 4D and adjust the appropriate lighting for your scene.
Key Insights
- Use the physical sky to create realistic lighting conditions.
- Activate the shadows in the editor's options menu to get a visual preview of the lighting.
- Experiment with the position of the sun to produce the desired light and shadows.
Step-by-Step Guide
First, open your scene in Cinema 4D. Your goal is to create a realistic daylight situation where the objects are not only lit but also aesthetically positioned.
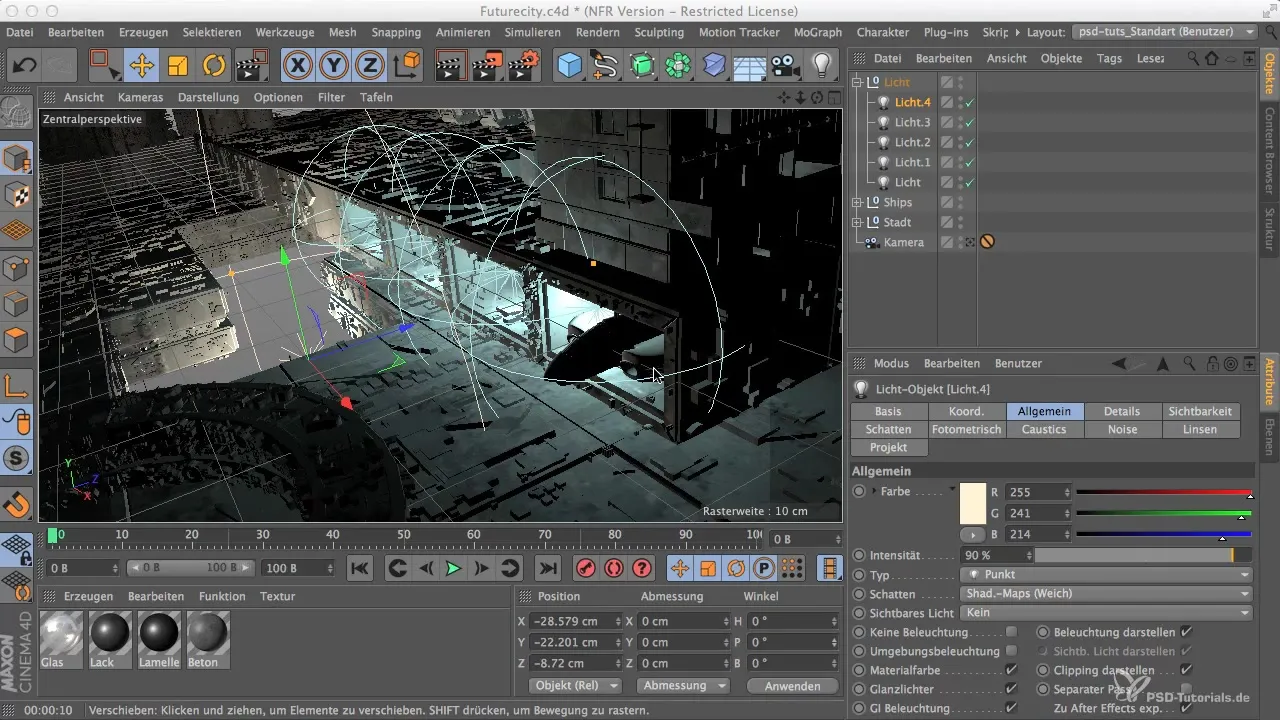
To choose a suitable light source, you have several options. The simplest and most effective is to use the physical sky. This offers both the sky blue and the light from a sun in one object. You must ensure that you do not choose the HDRI sky, as it does not provide the right lighting in this context.
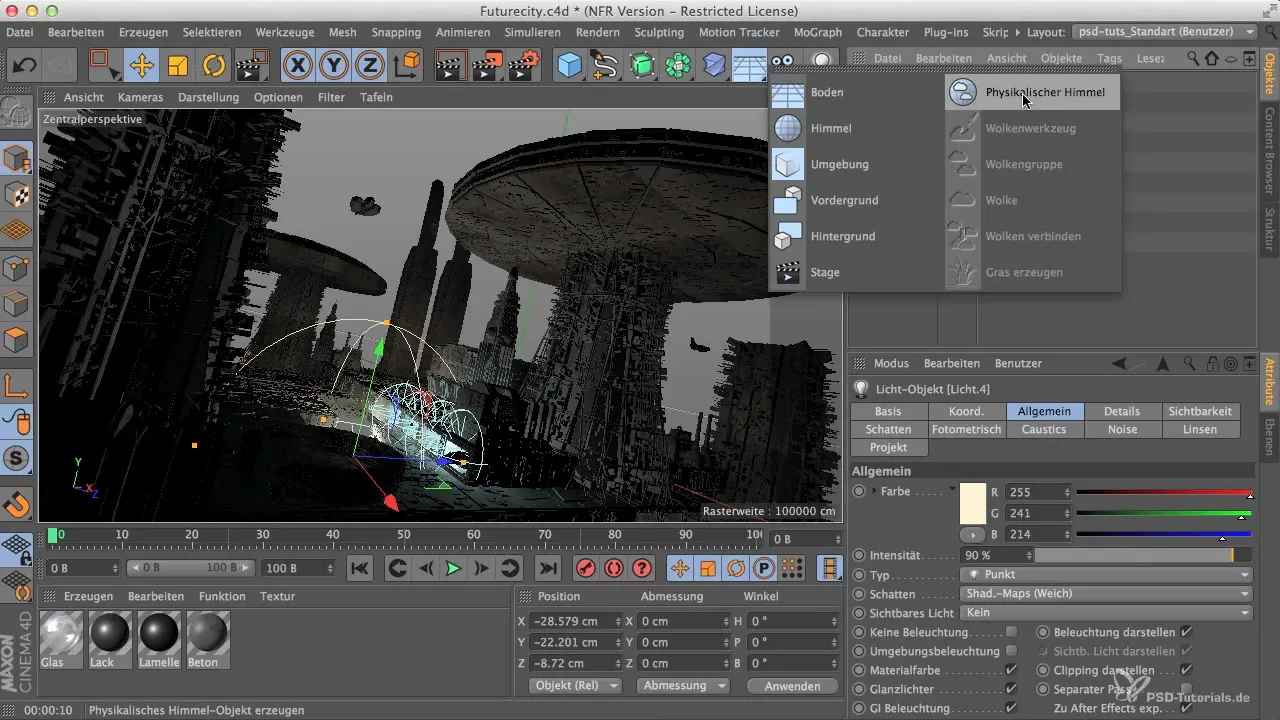
Now that you have the physical sky, you need to position it so that the light beam from the sun points in the desired direction. You may quickly notice that the light source initially comes from the wrong side, making the entire scene look shady and flat.
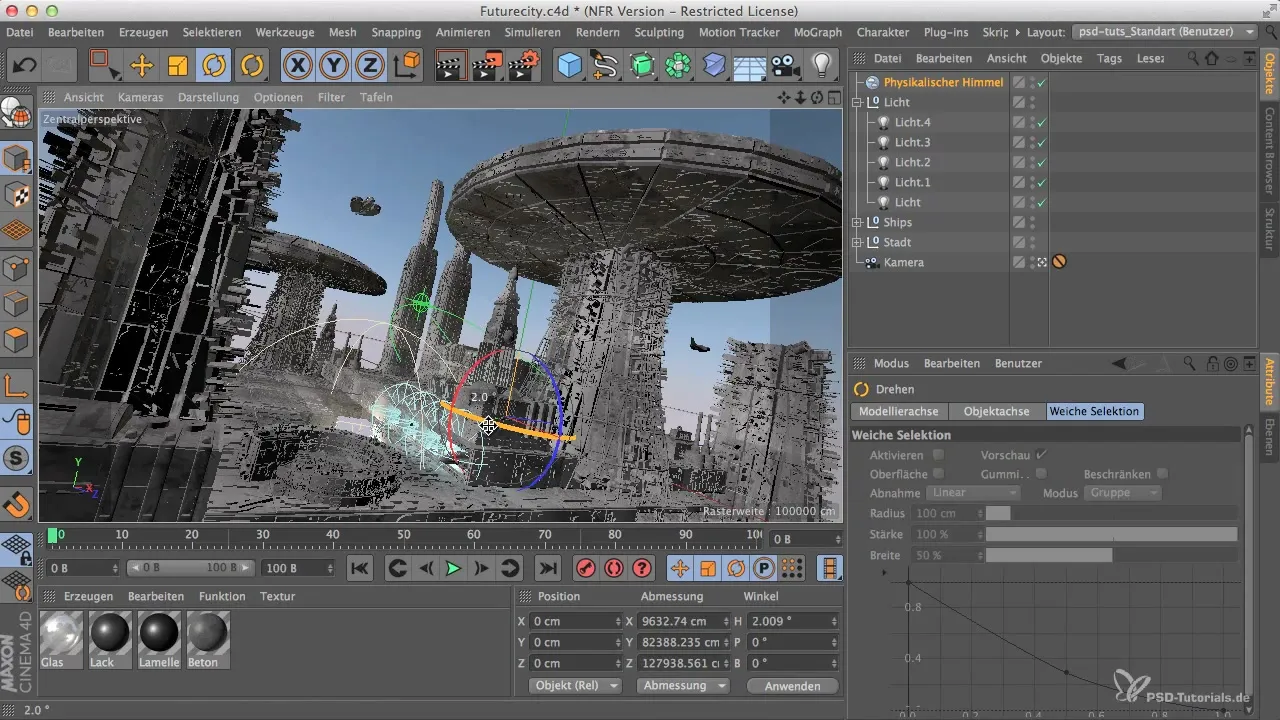
To move the light to the right place, you need to rotate the sun. Position it so that it comes from the side and adds more volume and depth to the scene. Experiment with the positioning until you achieve the desired light.
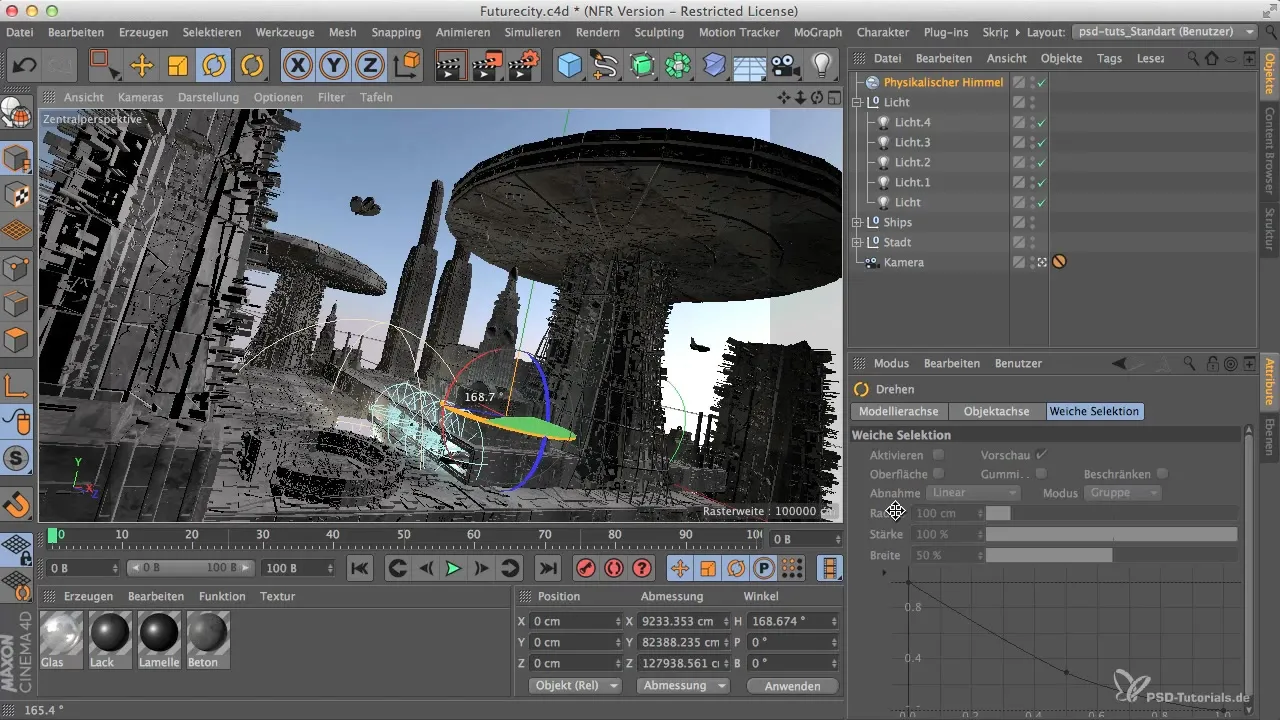
One of the challenges is visualizing the shadows. In the classic workflow, you had to render the scene every time to see the shadows. This can be very time-consuming. To avoid this, activate the advanced OpenGL options in the options menu.
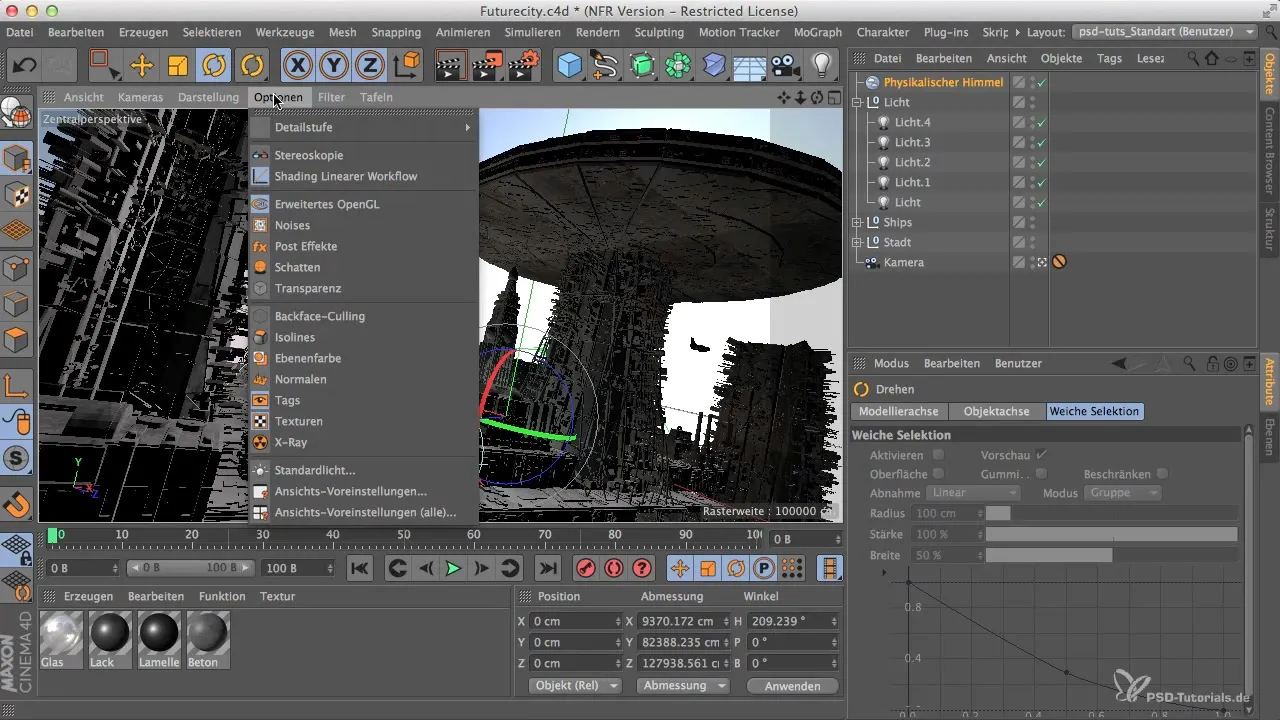
Once you have checked OpenGL, you will see the shadows directly in the viewport. This allows you to easily change the position of the sun and get instant visual feedback. Now, as you rotate the sun, you can see where the shadows fall and make adjustments accordingly.
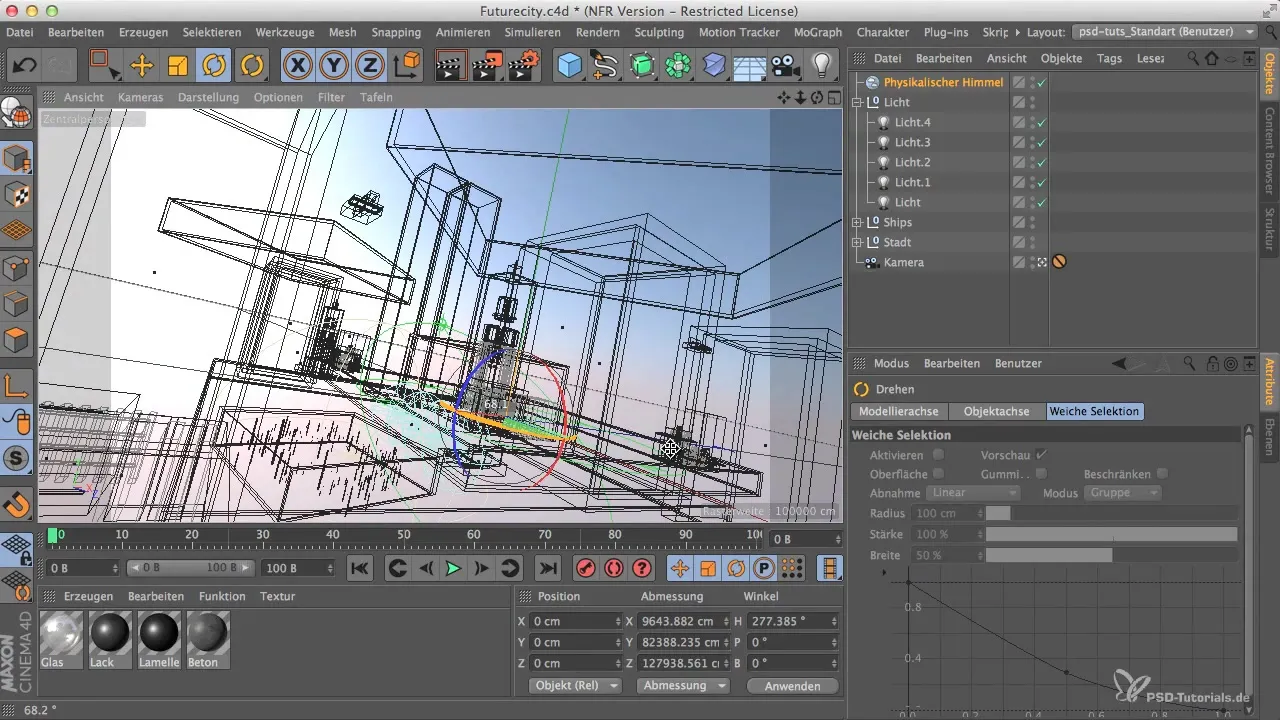
The shadows give you a sense of the realistic appearance of your scene. Make sure you do not position the sun too low on the horizon, as that can make the light appear too flat and dull. Instead, place it at an angle that showcases the objects well.
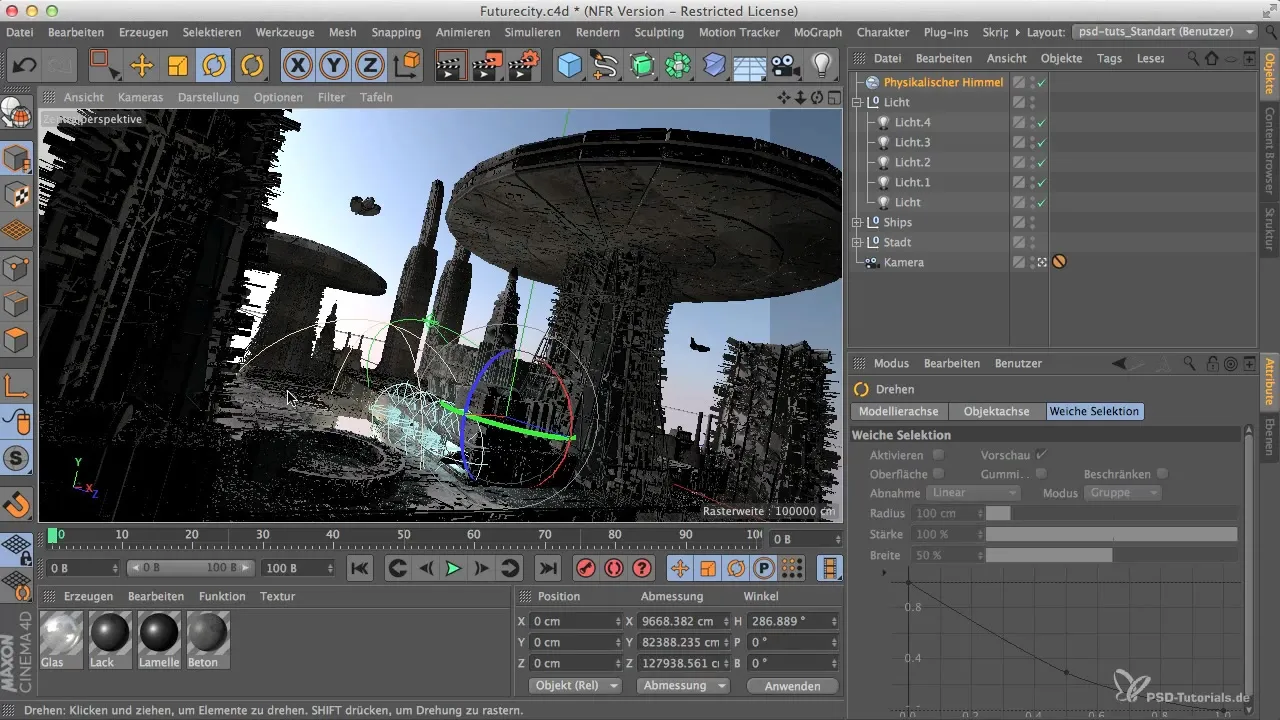
It is important to test the position of the sun and the intensity of the light. Keep some test renderings handy to fully understand the effects of your adjustments. Move the sun's position until you are satisfied with the result.
If you follow these steps, you will be able to optimally set the lighting conditions of your scene and achieve an engaging representation.
Summary – Adding Physical Sky in Cinema 4D
The physical sky is a very practical feature in Cinema 4D that helps you create realistic lighting conditions. With simple adjustments, you can position the sun and activate the shadows to enhance the impact of your scenes. Make sure to test the light intensity and the position of the sun to achieve the desired result.
Frequently Asked Questions
How do I add the physical sky in Cinema 4D?You select the physical sky from the menu and place it in your scene.
How do I activate the shadows in the options menu?Go to the options menu and activate the advanced OpenGL options.
Can I easily adjust the position of the sun?Yes, you can freely rotate and position the sun to create the desired light.
Why is light so important for my scene?Light affects the mood and visibility of the objects and is crucial for the realism of your representation.


